Relic Rush - Laser Edition Components


Print Profile(1)


Bill of Materials


Description
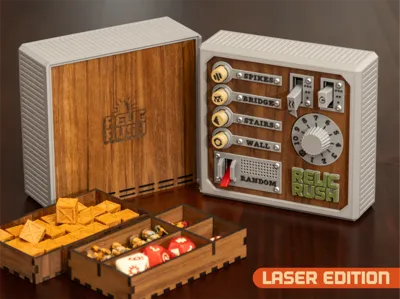
This laser project is an optional upgrade to my Relic Rush board game. It adds two things - a wood face for the controller and a stackable storage container for the game pieces. All 3D printed parts are included in the 3MF on the main model page.
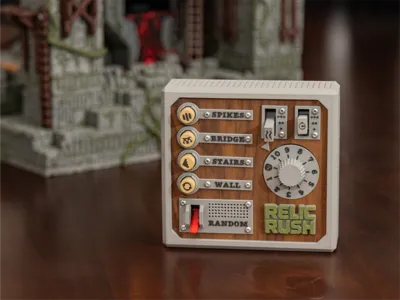
All of the internal components for the controller (along with the case) are identical to the fully-printed version. In this case, the labels for the controls are attached to the cut plywood instead of a printed backing:

The storage container includes cork-lined trays for all of the components - it also has some extra space for future expansion pieces:

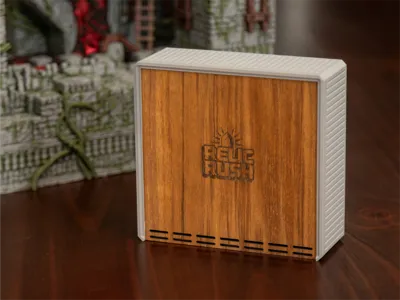
Even better, you can stack remote on top of the storage container:

All of the plywood parts for the storage container can be cut from a single board and the cork elements are optional (although they are a nice addition). Please note the assembly instructions below.
Additionally, you can output the player ability cards the the laser - these will fit in the larger empty spot in the top storage container.

Boost Me (for free)
If you enjoy my models and would like to support me, please consider sharing a boost!
Membership
Want to sell prints of my models? This Commercial Membership grants you a license to all of my MakerWorld models!
I love creating models to share for free, personal use. If you enjoyed this model, please consider buying me a coffee or joining me on Patreon.
Remove the supports from the base. It can help to use a spudger to remove the supports within the channel that will be used for the lid.

Press-fit the storage trays together. For me, the fit was snug and I used some scrap plywood to better press the edges together. You can use small dots of glue on the interior corners if needed. This is optional, but I like it treat the surface of the plywood parts. Wax works well but this time I used Danish Oil and was really happy with the results.

Attach the both inserts into the trays and into the right side of the base using a few dots of glue. I’ve found that using a gel glue works between than superglue (which can cause the cork to warp). Test the fit of all of the cork pieces before applying glue to be sure they aren’t mixed up.

After drying, just stack in the trays and slide the lid into place. When in storage, the controller will next on top of the storage tray.

Apply a surface finish if desired. Because glue will be used in later steps, I reconnect applying stickers to the controller surface as shown so that the oil won’t interfere with the glue in a later step.

The other controller parts are included in the main project. Align the wooden face to the backing and attach the 3D printed labels using M2.5 Button Head Cap Machine Screws (these are included in the Bill of Materials for the main project). You can follow the rest of the controller assembly steps in the main project.

License
You shall not share, sub-license, sell, rent, host, transfer, or distribute in any way the digital or 3D printed versions of this object, nor any other derivative work of this object in its digital or physical format (including - but not limited to - remixes of this object, and hosting on other digital platforms). The objects may not be used without permission in any way whatsoever in which you charge money, or collect fees.
Comment & Rating (7)