Search models, users, collections, and posts

Charge Deck
IP Report
Print Profile(1)

0.16mm layer, 2 walls, 15% infill
Designer
10.2 h
3 plates
Open in Bambu Studio
Boost
2
5
0
0
4
1
Released
Bill of Materials
Maker's Supply Kits and Parts
Select all


Bambu Filaments
Select all

List other parts
- Neodym Magnet Mini Magnete 15x15x3mm x 4: https://www.amazon.de/dp/B084RGJH6J
- Apple MagSafe Ladegerät x 1: https://www.amazon.de/dp/B08L5R6ZHP
- Neodym Magnete 8x2 mm x 12: https://www.amazon.de/dp/B0BLCFSZKZ
- 24V 6A Netzteil Adapter x 1: https://www.amazon.de/dp/B0DMSTNZLW
- PD65W Schnelllademodul typ c x 2: https://www.amazon.de/dp/B0CPLWJFZB
- Stream Deck 15 Key x 1: https://www.elgato.com/ww/en/p/stream-deck
Description
Charge Deck
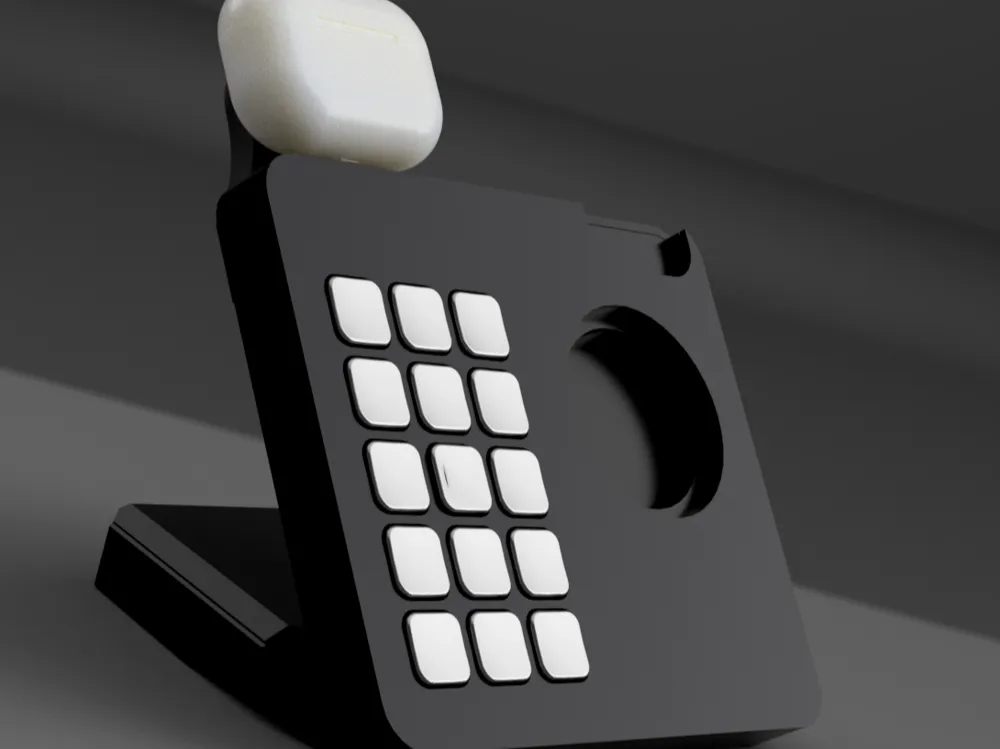
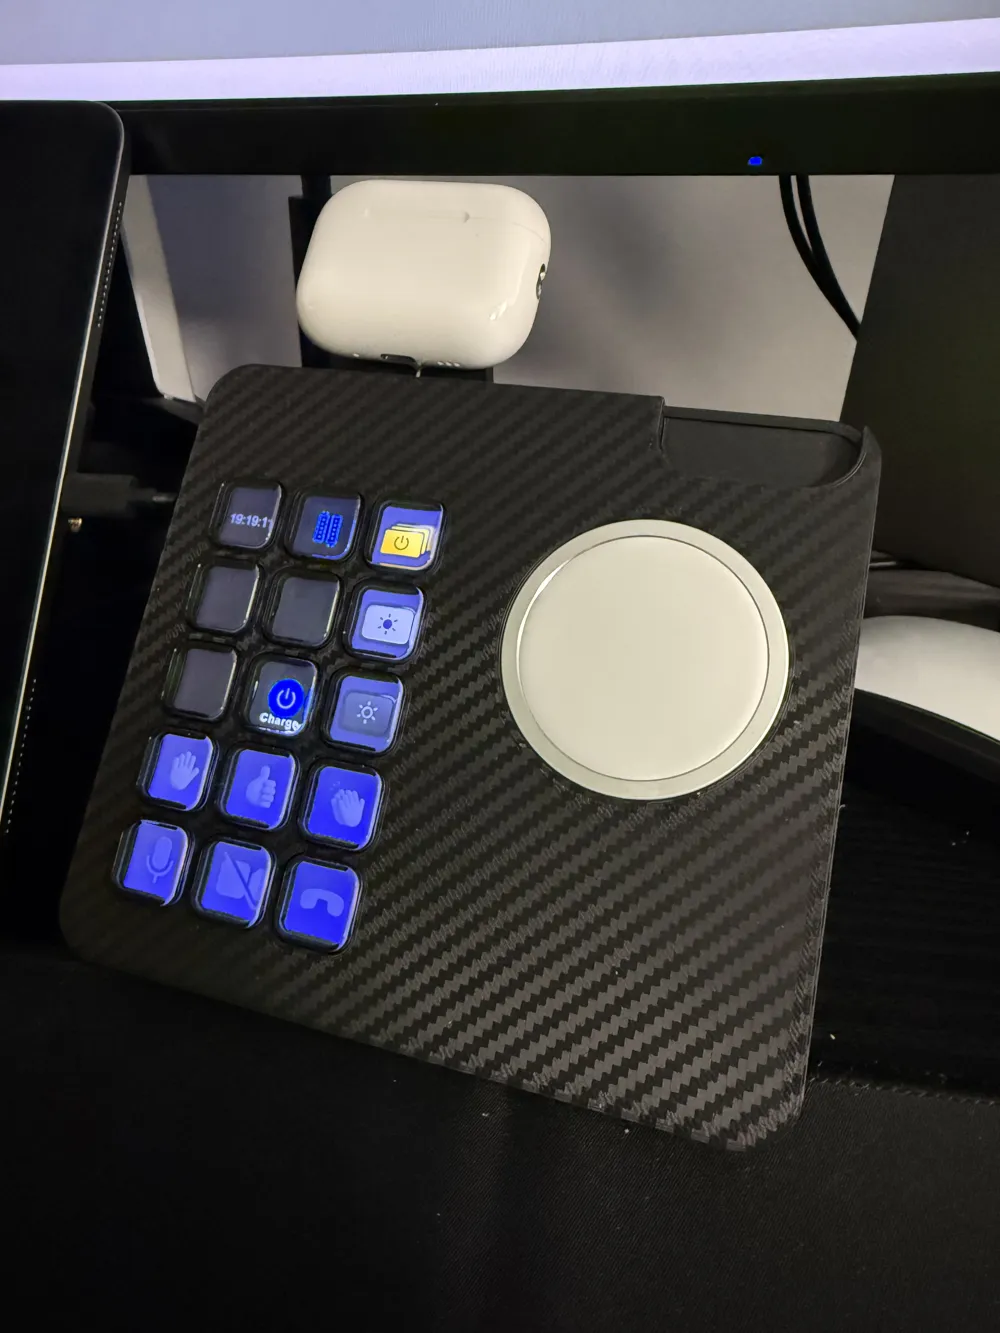
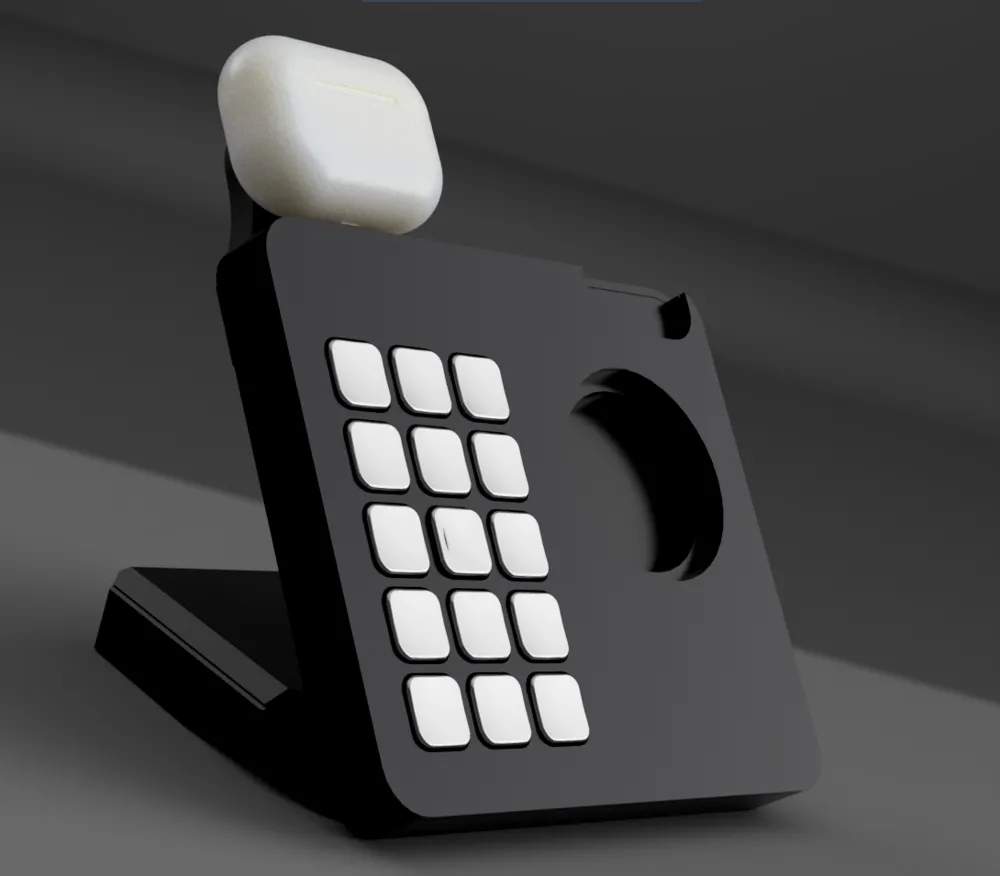
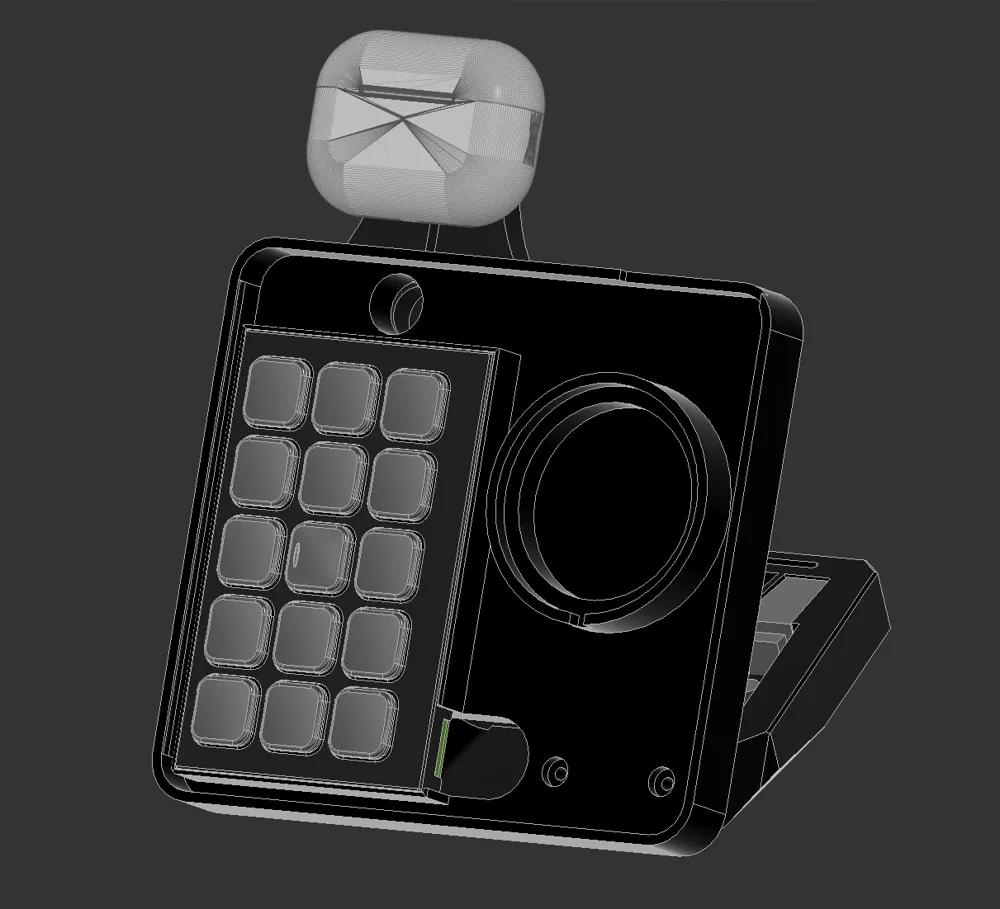
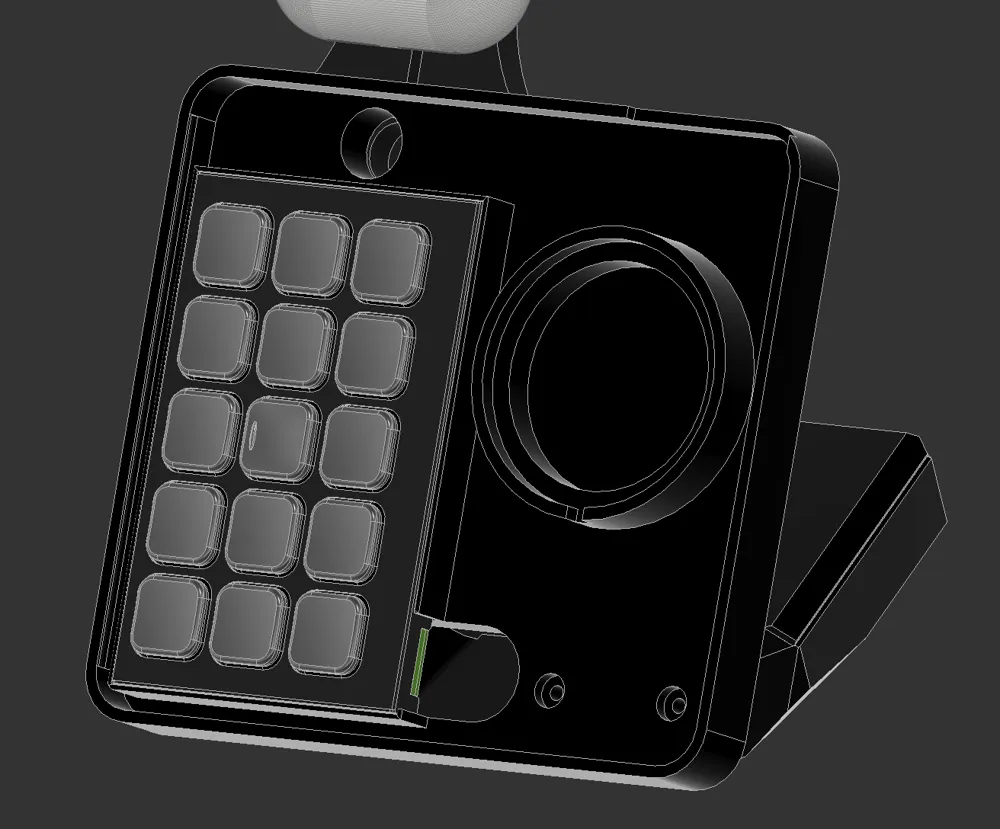
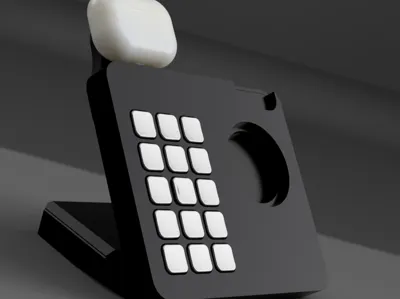
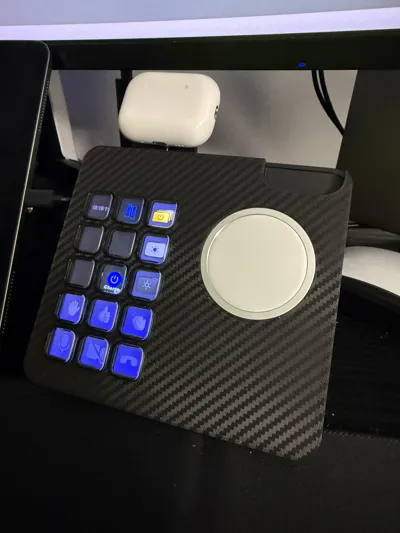
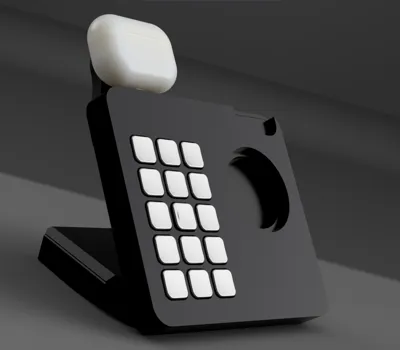
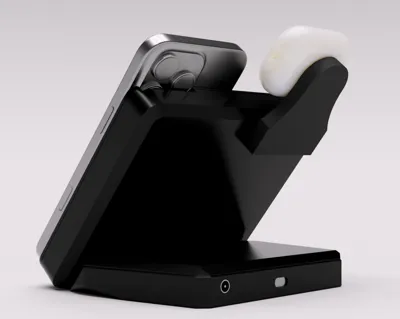
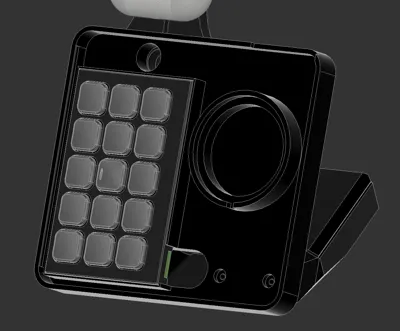
The ultimate 3D-printed desk companion — combining your Elgato Stream Deck with MagSafe charging for iPhone, Apple Watch, and AirPods in one sleek, modular station.
🎯 What is this?
Tired of cable clutter and multiple charging stations taking up desk space? The Charge Deck solves this by integrating your Stream Deck with a complete Apple charging ecosystem. One device, one footprint, everything you need.
✨ Features
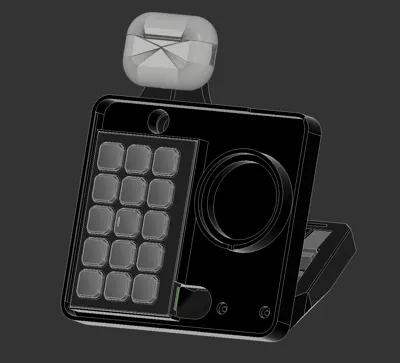
- All-in-One Design — Stream Deck + iPhone MagSafe + Apple Watch MagSafe / AirPods holder
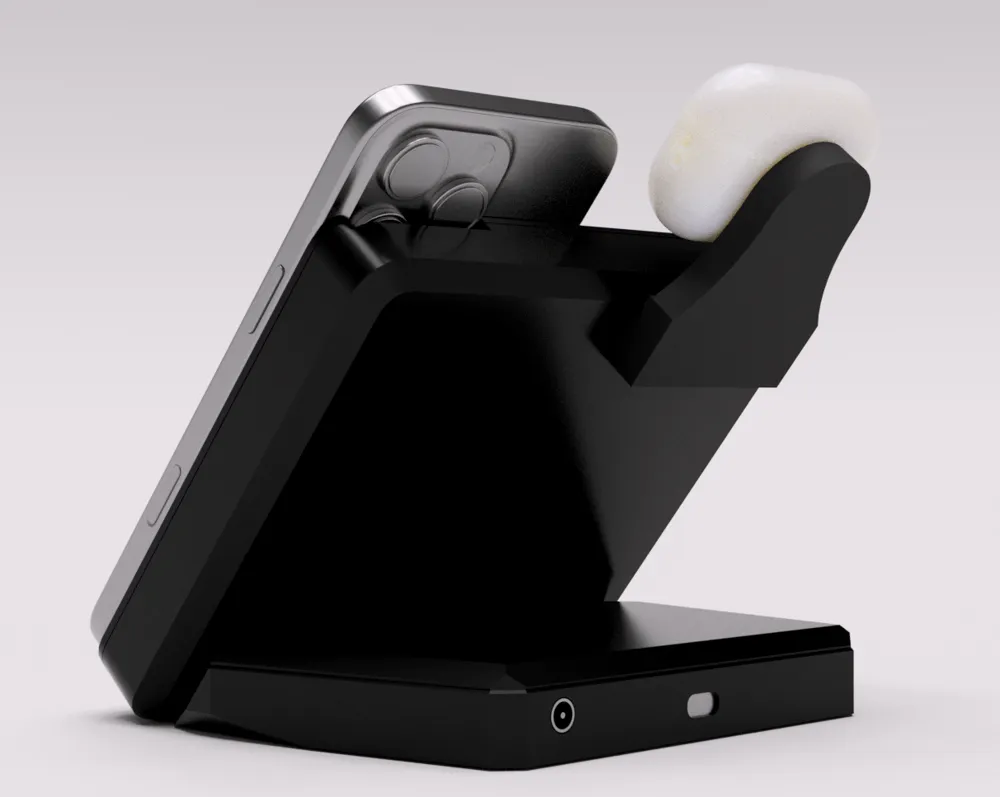
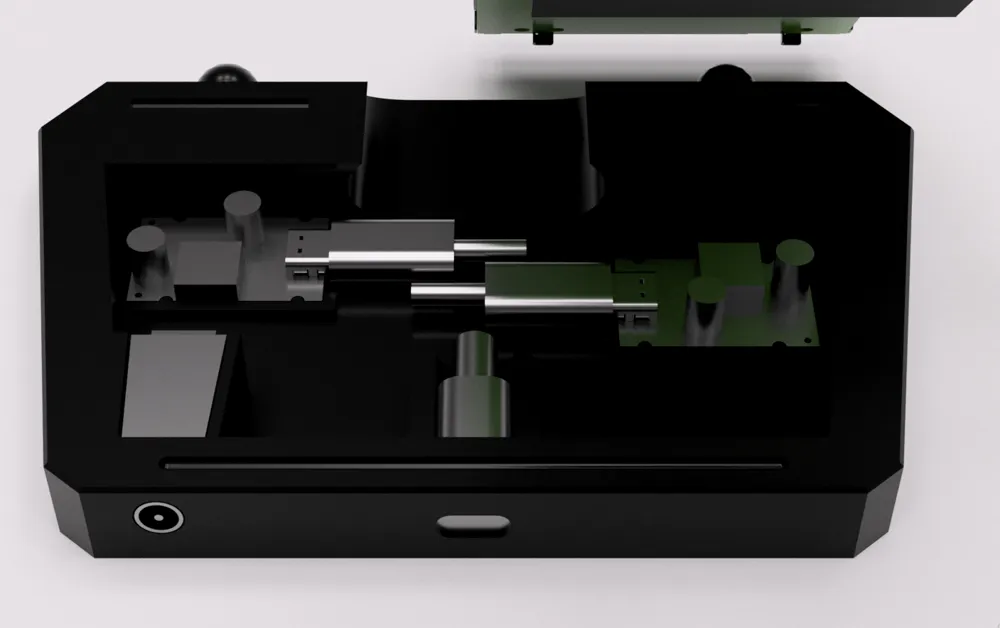
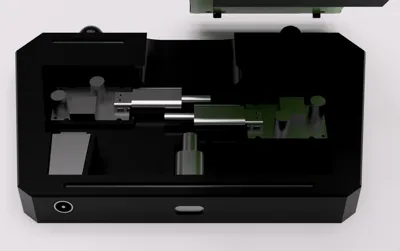
- Modular USB-C Power — Two integrated USB-C PD boards for flexible power delivery from a external Power supply
- Magnetic Assembly — Apple Watch charger and top base section attach via magnets for easy removal and maintenance
- Clean Cable Management — All cables routed internally for a tidy desk setup (needs a bit of Tetris if you have very long cables)
🖨️ Print Settings
Recommended:
- Layer Height: 0.2mm
- Infill: 15-20%
- Supports: No
- Material: PLA/PETG
🔧 Assembly
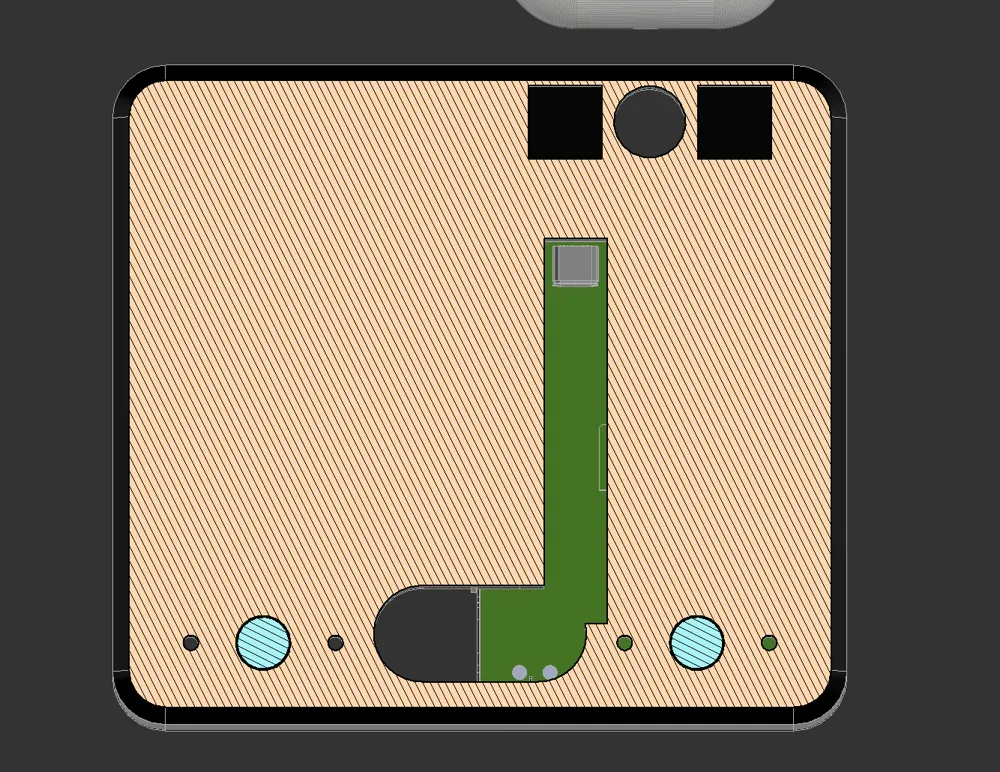
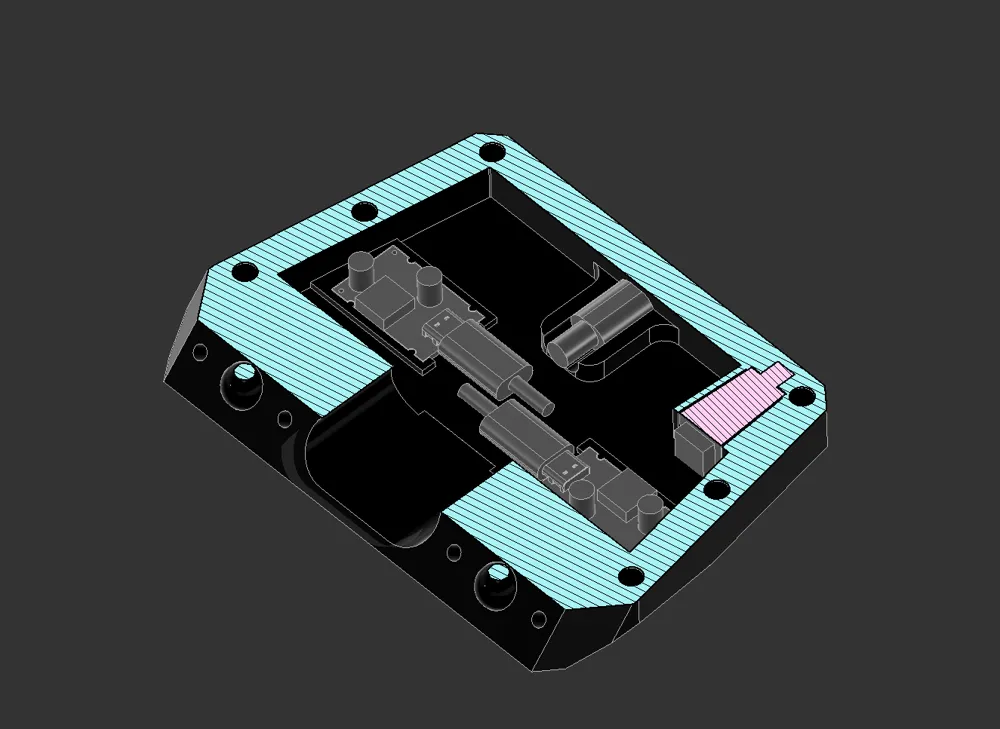
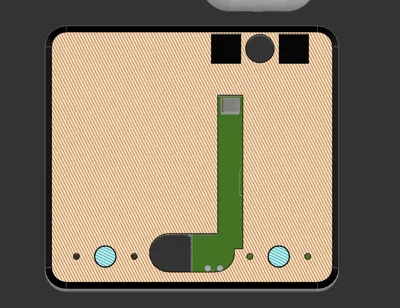
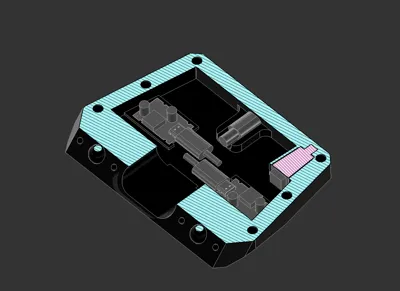
Refer to the included rendered screenshots for:
- Magnet placement and orientation
- USB-C PD board positioning
- Component fitment
⚠️ Important Disclaimer
This is a personal project I created for myself and wanted to share with the community.
- ❌ No guarantee for precise fitment — Tolerances vary significantly based on your filament, printer calibration, and slicer settings. You may need to adjust scaling or sand parts for proper fit.
- ✅ Print and assemble at your own discretion
📝 License
Personal use. If you remix or improve this design, I'd love to see what you create!
Questions or feedback? Drop a comment below!
License

This user content is licensed under a
Creative Commons Attribution-Noncommercial-Share Alike


Comment & Rating (0)