Calida Cube


Print Profile(1)

Bill of Materials

- Crompton Star Domestic Spot Recessed Light 2-Watt LED x 1: https://www.amazon.in/Crompton-Star-Domestic-Recessed-2-Watt/dp/B09TJ3YHKJ
Description
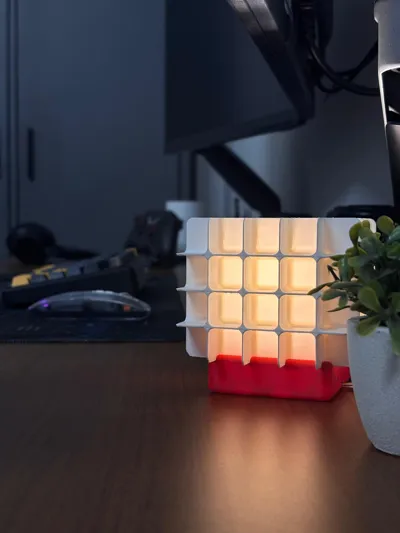
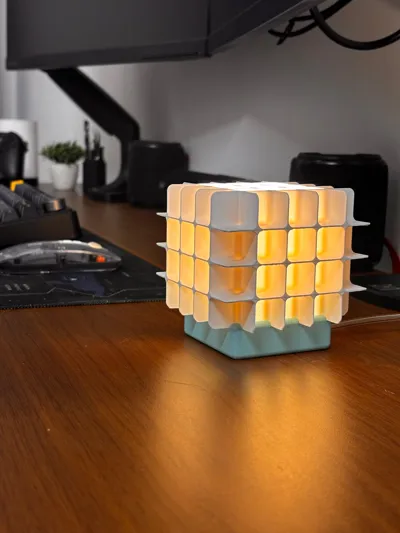
INTRODUCING MY FIRST DESIGN
CALIDA CUBE LAMP
I got inspired when I was looking for a good lamp under a $50 budget. However, none of the lamps were good enough for my liking, and all the designer lamps were way too expensive. So, I came up with this cozy, minimalist design of a little cube that brings warmth to your desk.
NOTE: I have created this lamp in two versions of the Base. One that uses Bambu kit MH001 and another one with Crompton star pro provided in this link: [https://www.amazon.in/Crompton-Star-Domestic-Recessed-2-Watt/dp/B09TJ3YHKJ]
I hope you will like it.
Instructions to Assemble [Crompton Star Pro version]
STEP 1
Take the lamp as shown in the Image below and check if it is working before making connections.
STEP 2
Bend the metal prongs upward to break them as per the image.

Now you will have something like this.

STEP 3
Add the Wires to the lamp as per your liking. Soldering/ Tapeing.

STEP 4
Pass the wire through the Base.

STEP 5
Press fit the light into its place

STEP 6
Press fit the lamp shade.

You have now made yourself a Calida Cube.

Comment & Rating (0)