
Cave creator
Print Profile(2)


Description
- - - - - - - Update - - - - - - -
Added a roof expansion which can be found in the print profiles.
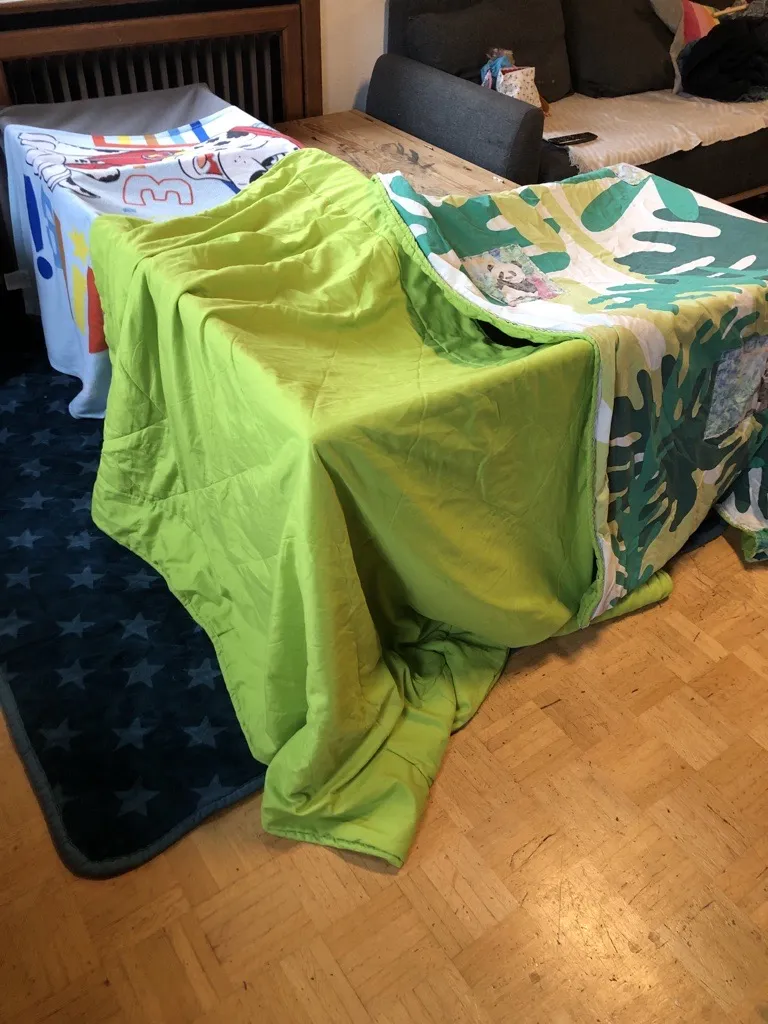
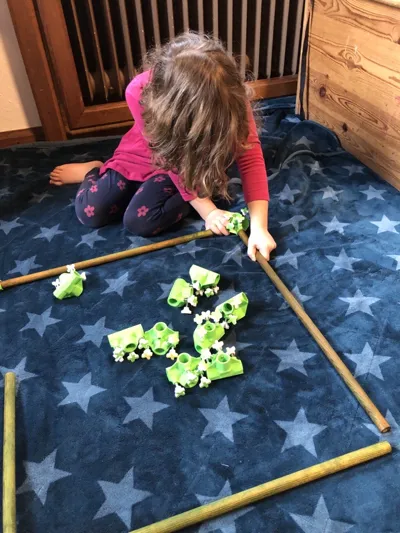
Okok it´s getting dark, the winter has arrived, the weather is bad and the kids are bored. So what do they start doing? The try to build a cave out of everything they can find. And in the beginning this is really nice to watch at…until you realize they start to dissmantle the whole room. In addition the chaos remaining gives you the opportunity to forget the meaning of the word “bored”.
→ So we need something that is capable of being
- easy to use, even for kids
- is really STURDY
- easy to adapt and expand
- easy to assemble AND to dismantle
- looks nice so that they want to use it
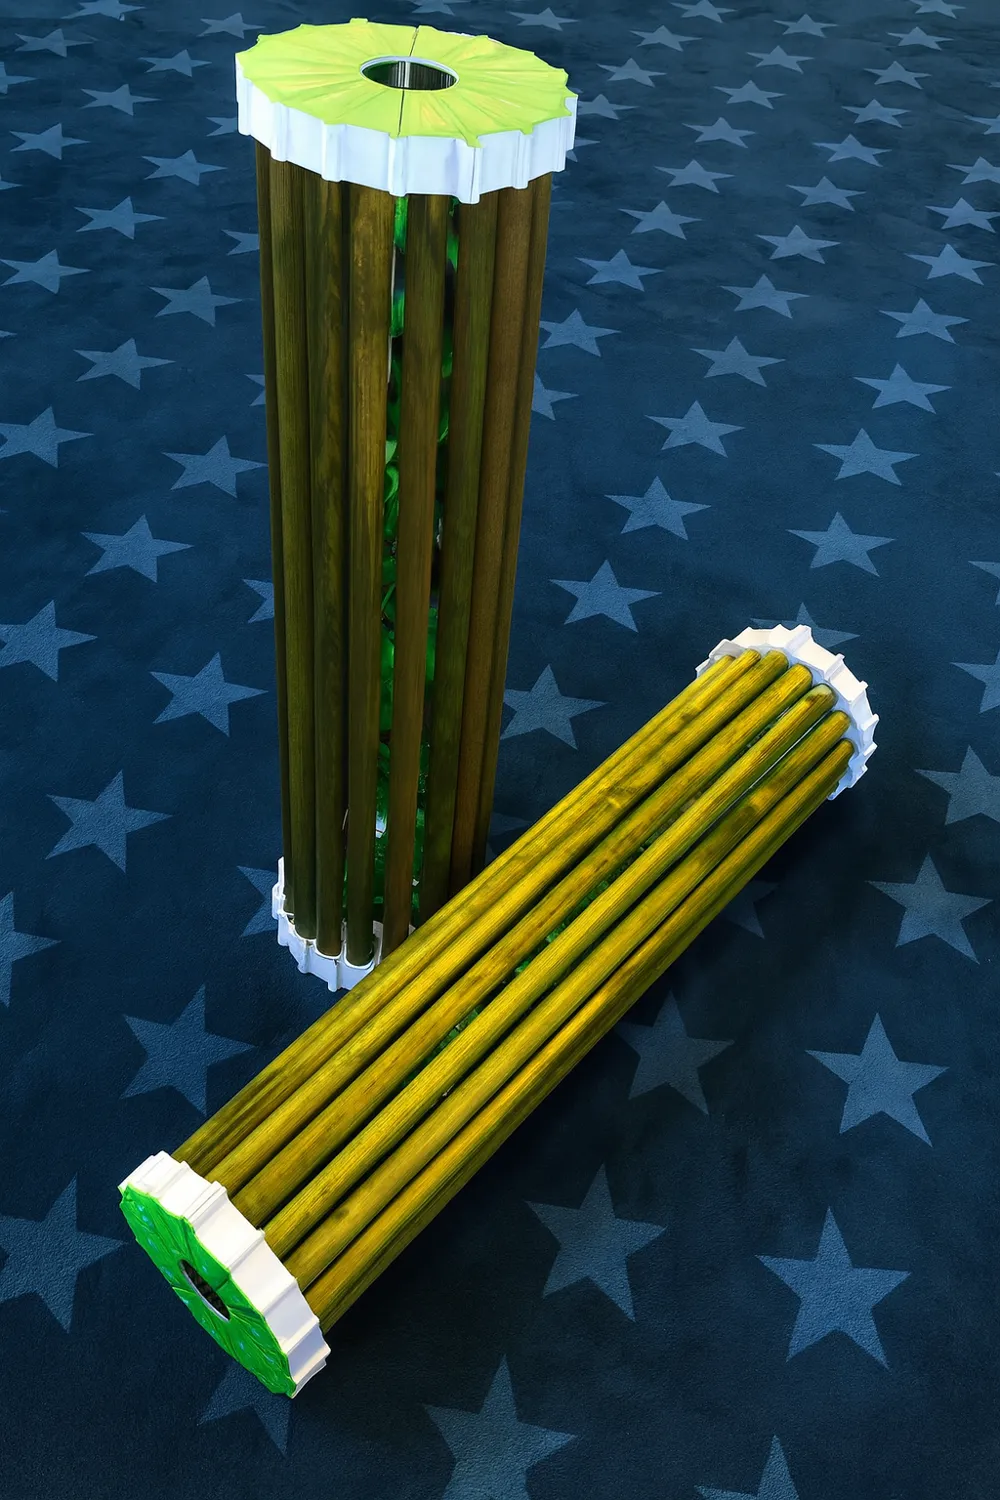
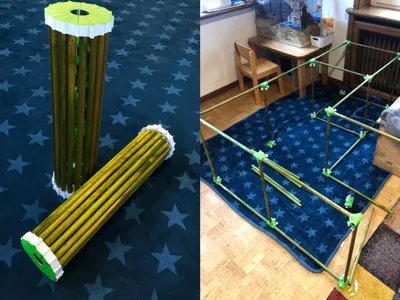
- has a casing which is decorative, to store everything even in sight of guests or friends
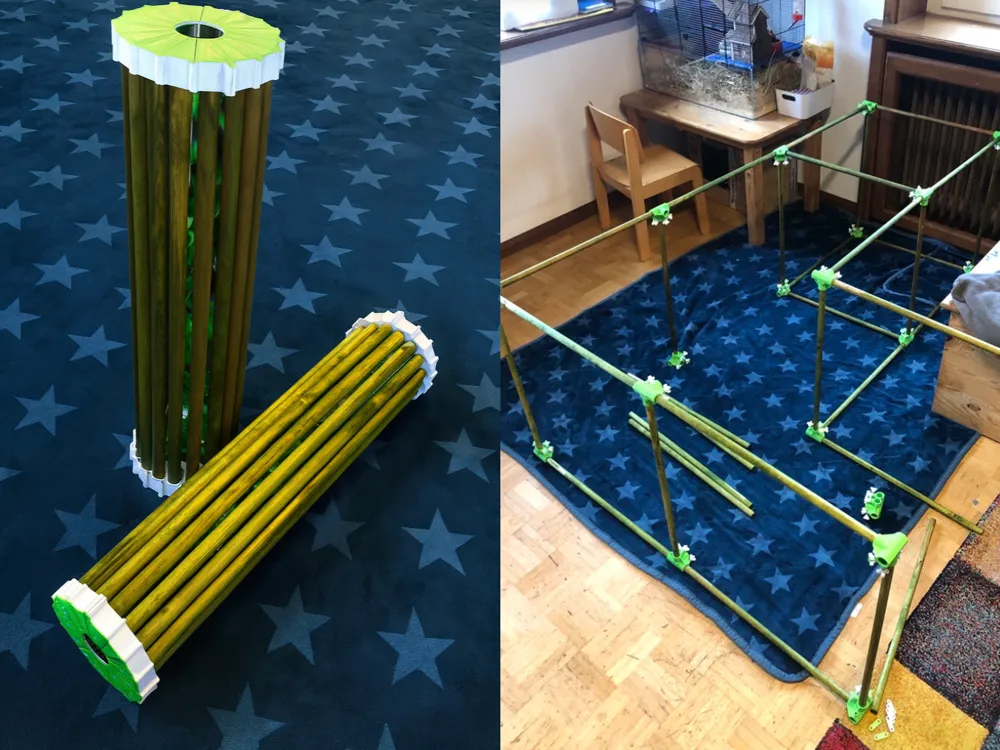
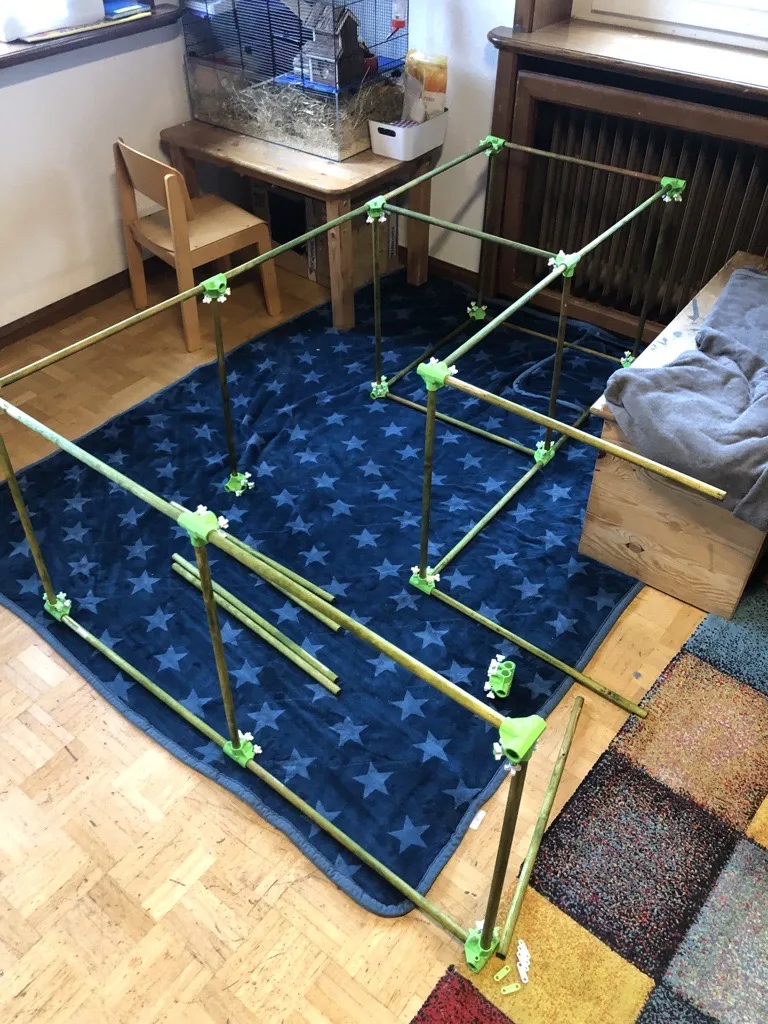
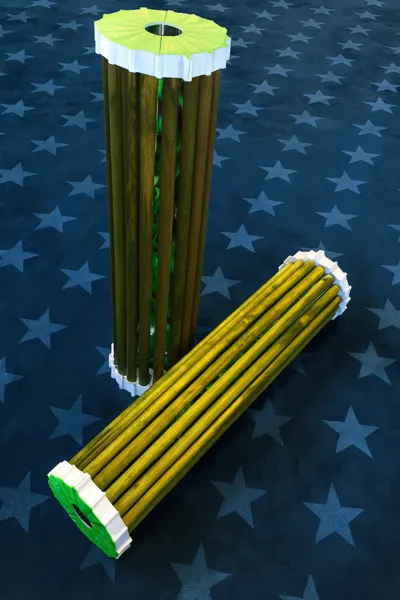
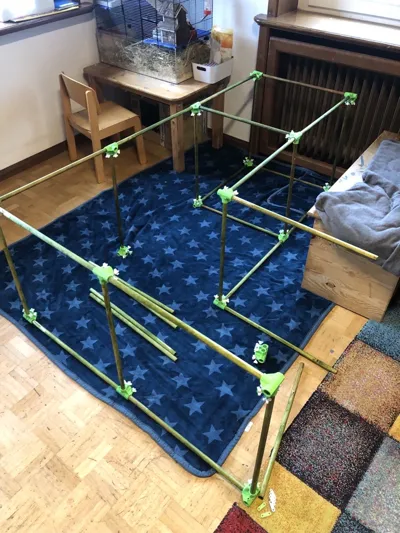
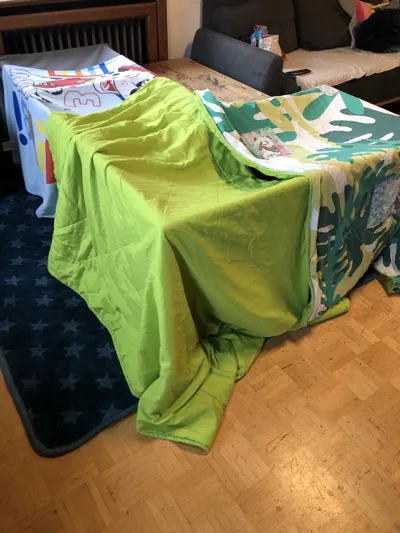
So after all I think the final model is not that bad, build the frame and use all the blakets you have to form the hull of the cave.
Important: The usage of screws suggests that you will have to buy some thread inserts or to cut the thread directly with a drill.
→ That is not necessary, the design is made in a way to make it possible that the screws have enough friction and Material to form the thread directly. Just screw them in by hand and done. Don´t tighten the screws like crazy, it is not needed and could damage the knurl.
General information:

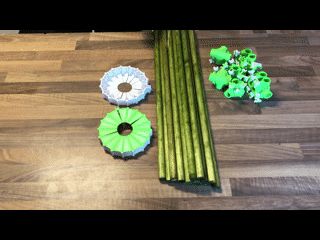
To be able to build a cave in a size like the one shown above you will have to print at least.
- Plate 1 → 2 times
- Plate 2 → 3-4 times
- Plate 3 → 2 times
In Addition you will need
100 srews M5x12 or M5x16 (ISO 4762)
32 Wooden or plastic sticks with an outer Diamter of 16mm. Smaller sizes (scaled down) should work but I suggest a test first.
Recommended lenght →550-700mm. I bought the sticks in 240cm lenght and cutted them in 4 parts.
Assembly instructions:
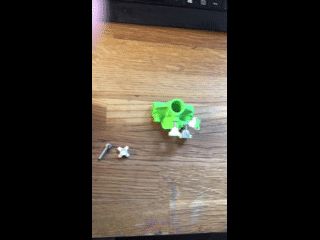
After printing you will first have to free the joints and the clamps. Just move and push the parts a little and they will break free.
→ There is a small support column at the retaining clip. I suggest using a not too sharp knife, that worked really good.
→ In addition you will have to free the retaining clip, that is a bit tricky and you will have to use some force. The not too sharp knife will help here als well. The clips moves better after each usage.
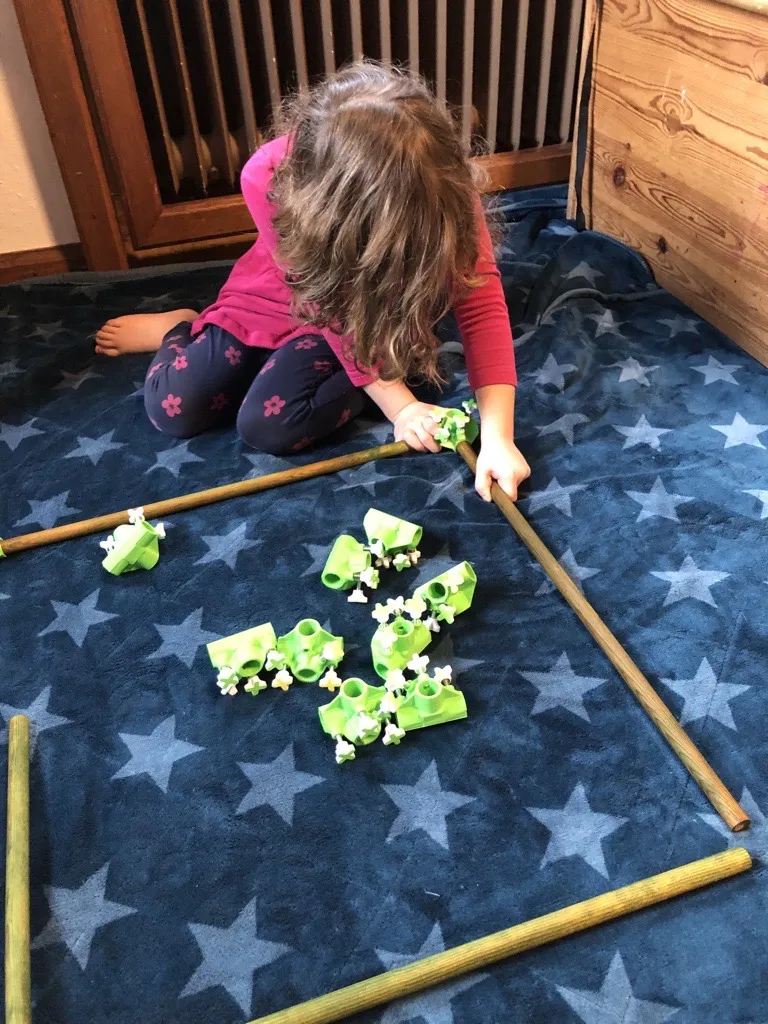

Connecting the knurls to the screws is easier than it looks. You can try around a bit but the process shown below was really ok for me.

3. The “assembly” of the casing is really satisfying. Just follow the steps shown in the GIF below.

Now let them play :)
License

You shall not share, sub-license, sell, rent, host, transfer, or distribute in any way the digital or 3D printed versions of this object, nor any other derivative work of this object in its digital or physical format (including - but not limited to - remixes of this object, and hosting on other digital platforms). The objects may not be used without permission in any way whatsoever in which you charge money, or collect fees.


Comment & Rating (2)