
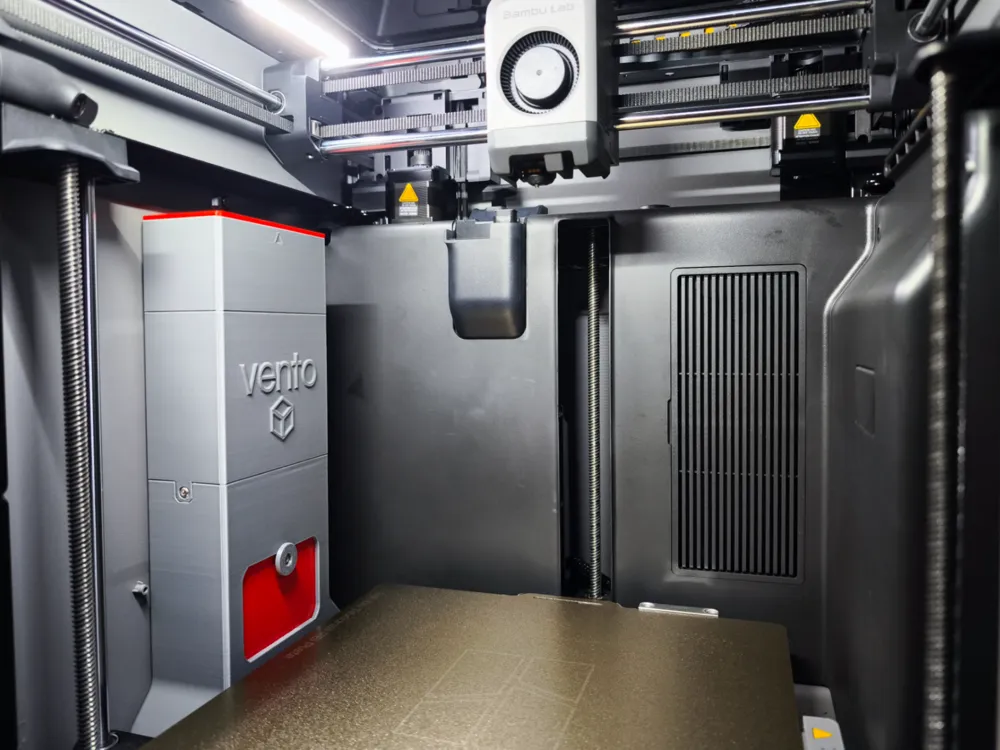
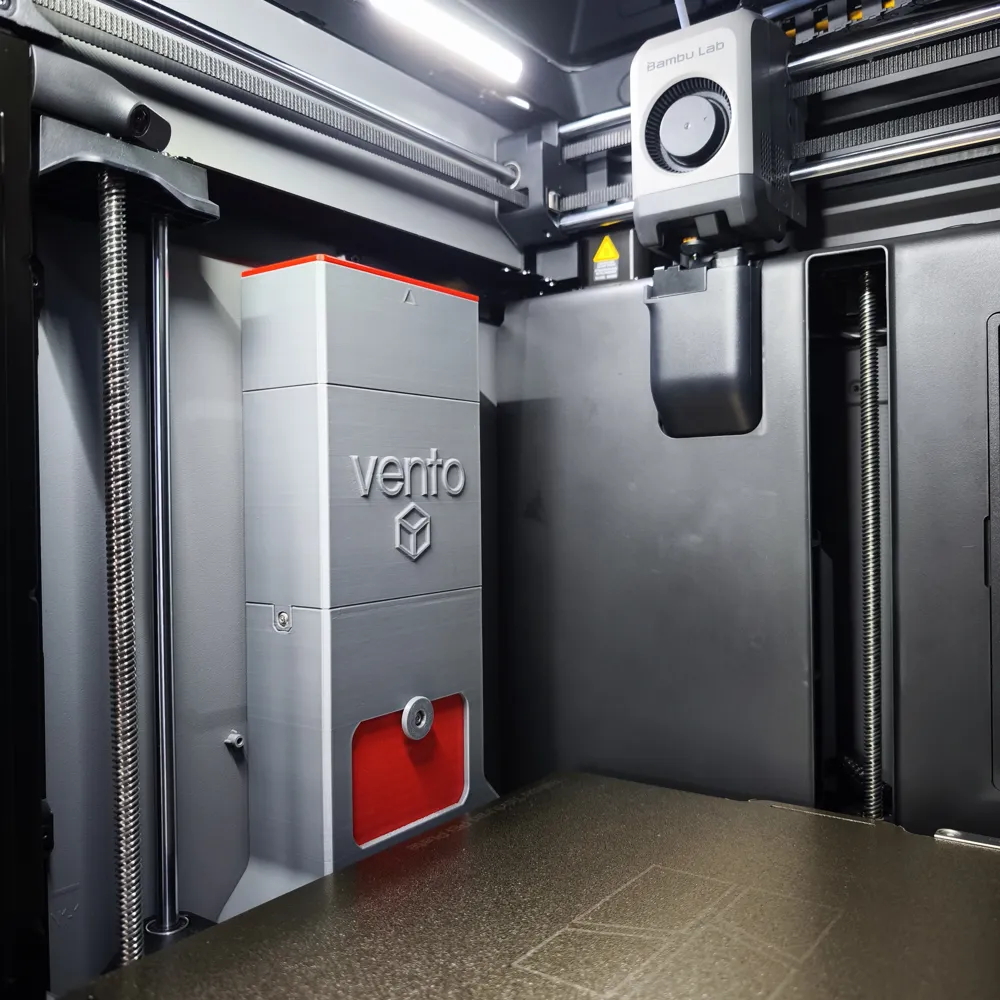
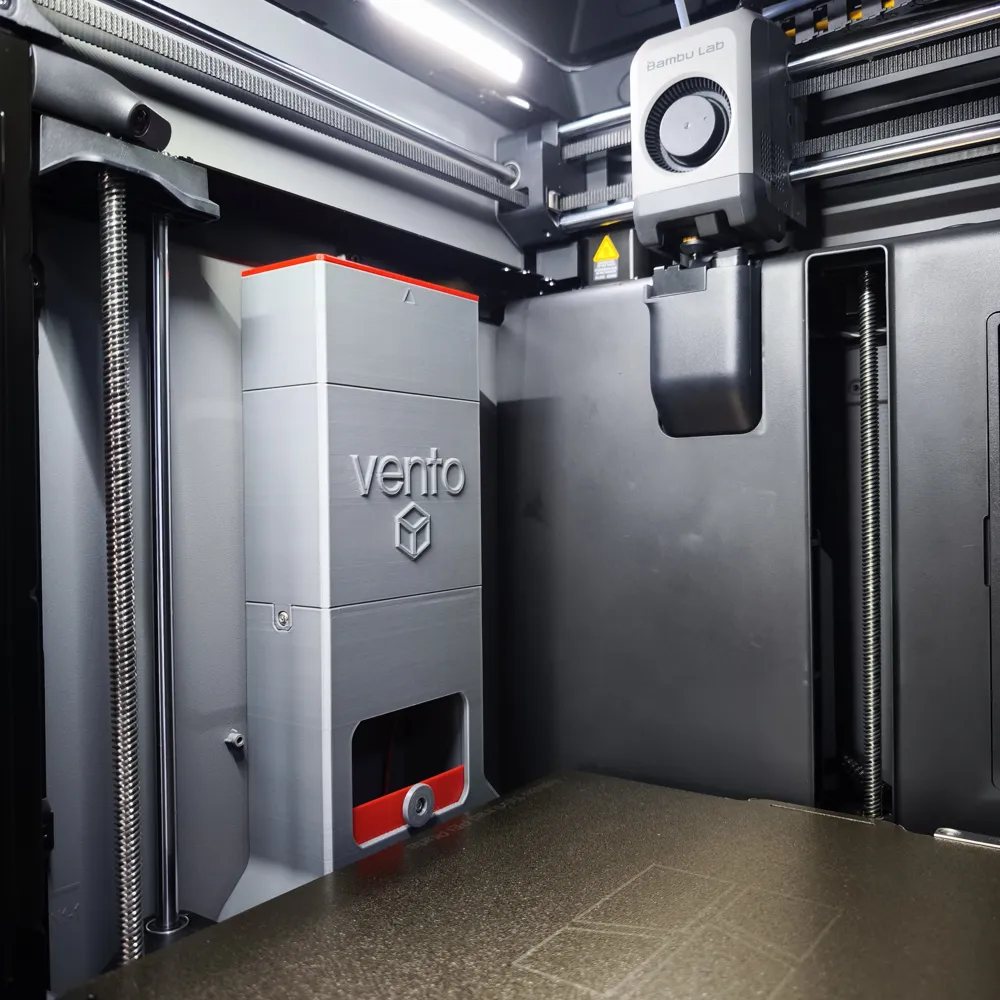
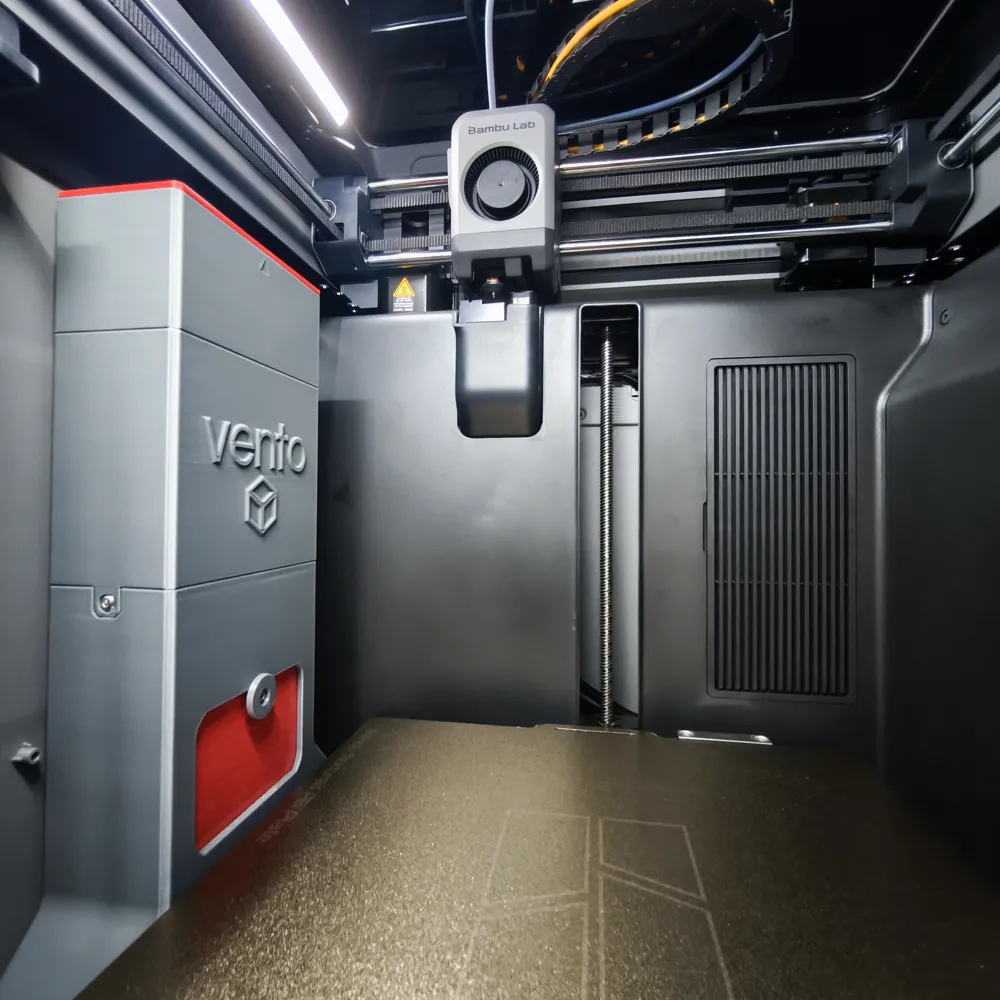
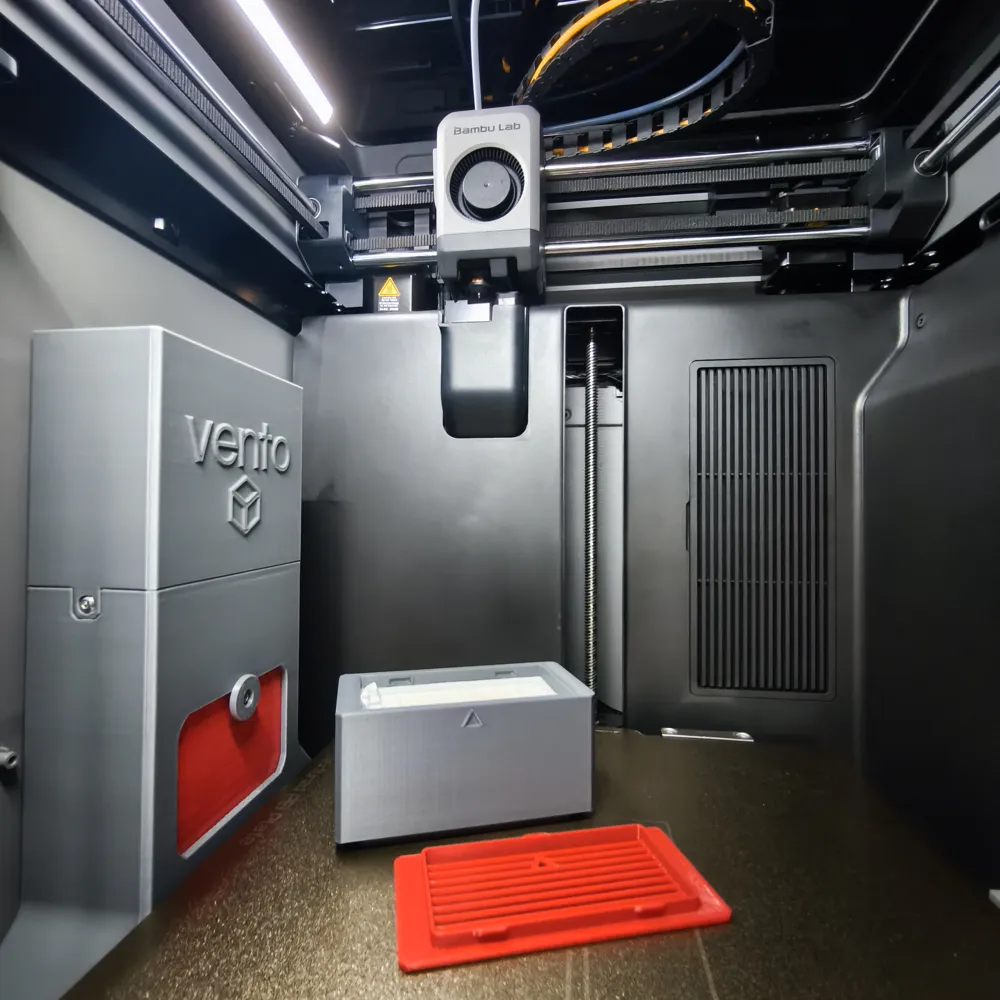
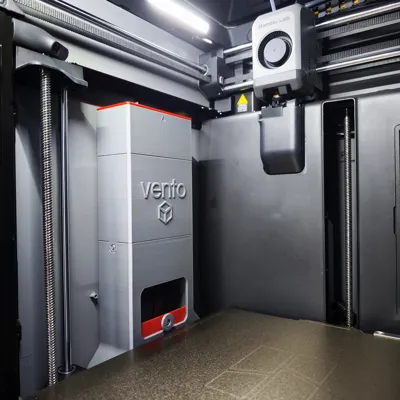
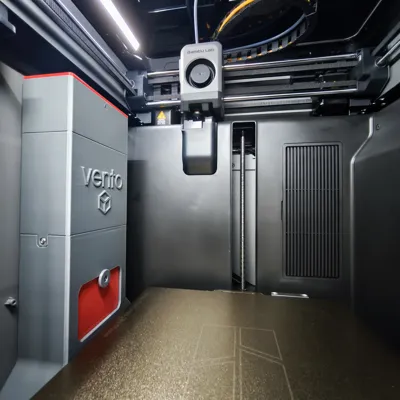
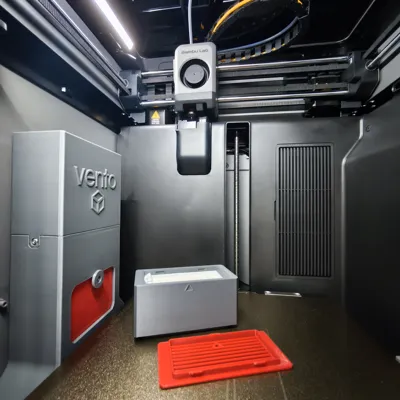
VentoBox Air Filter System for Bambu P2S
Print Profile(6)




Bill of Materials





Description
IMPORTANT
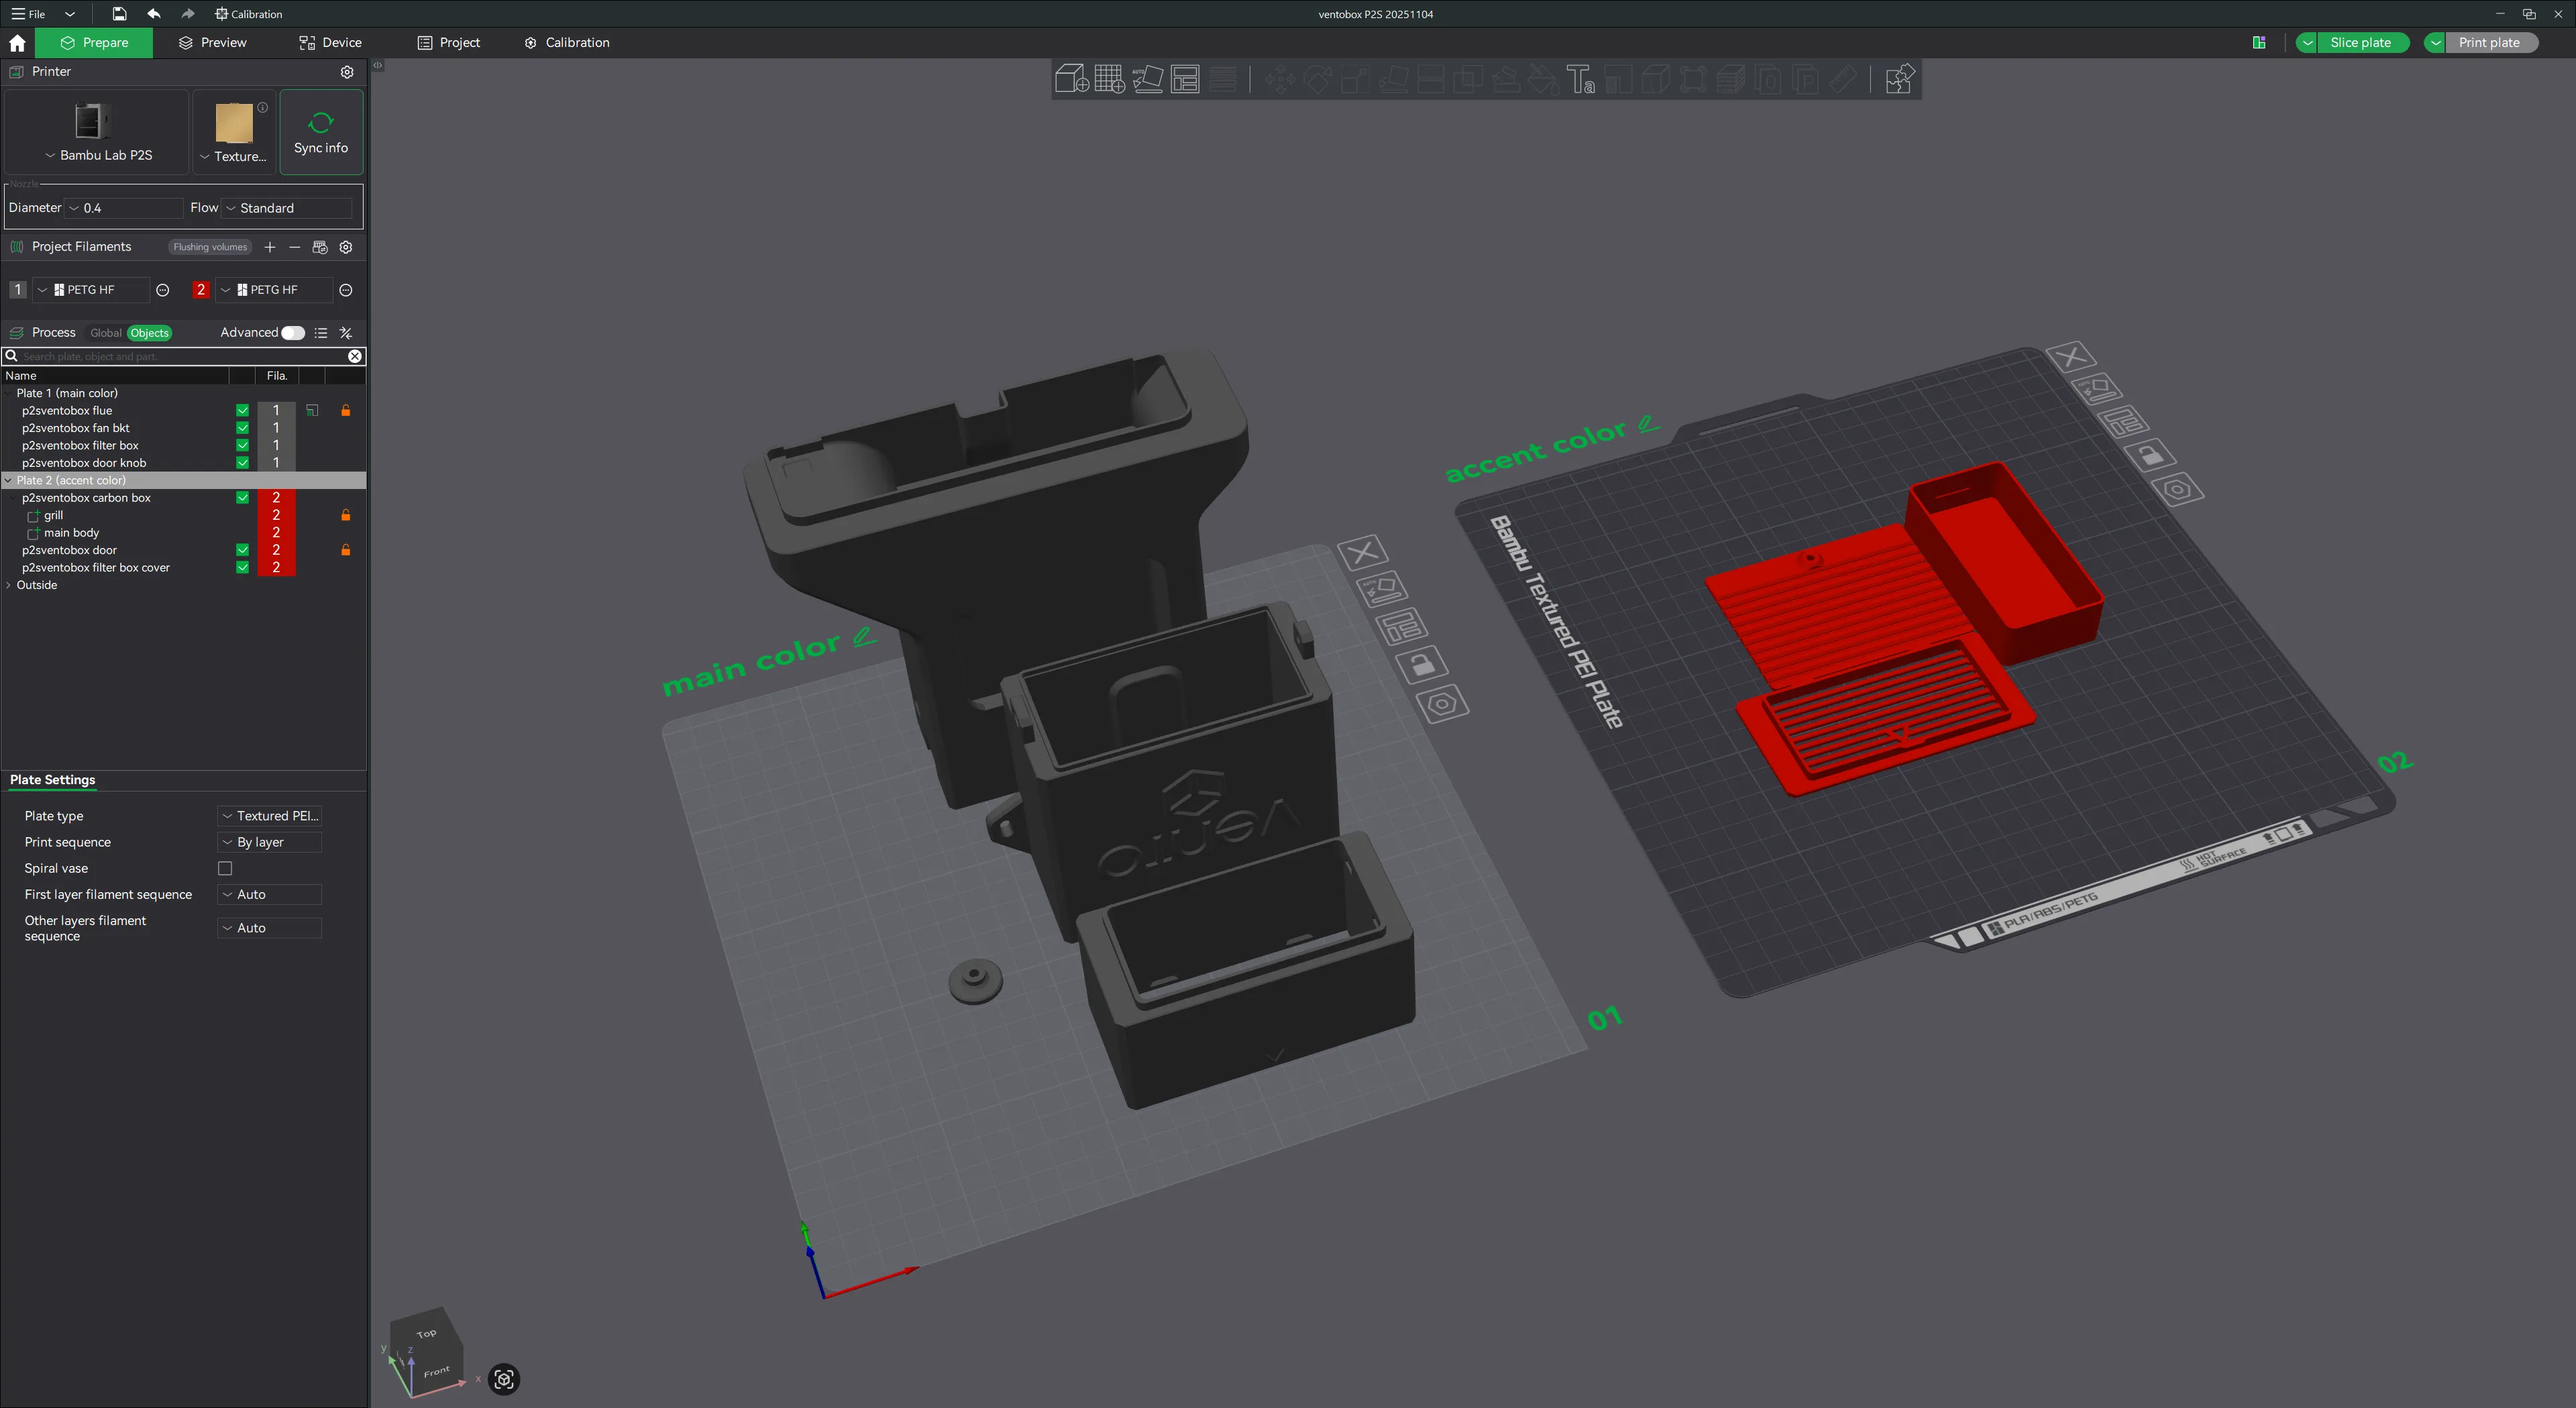
- Please read the PRINTING ASSEMBLY & INSTALLATION (watch the videos too) Guide below before starting the project.
- I recommend using PETG for this project. PLA is not advisable, as the exhausted warm air can cause the VentoBox to soften.
- You can order the pre-assembled ventoBox, Hardware Fan Kit, HEPA filter and activated carbon filter from Voxelpla (US), VTC3D (EU) & Tikihaus (SEA). Please check out the vendors' listing below.
- I do my best to double-check and test the print profile I create. They are up to date with whatever changes I made to the designs. If you are using profiles created by others, please verify that they are up to date.
UPDATE 13 Apr 2026
With the new firmware update, you will notice an increase in max fan power. Previously, G-code at 100% did not equal full hardware output. With firmware and touchscreen control, the fan now runs closer to its true maximum. This gives more headroom, so even with a fully packed carbon box, 80–90% is sufficient.
UPDATE 10 Apr 2026
As with any firmware update, there may be some teething issues. Currently, 2 known bugs:
- ventoBox does not turn off after calibration completes
- Some versions of Handy do not turn on ventoBox during printing.
These issues are being looked at, and there will be an update in a few days. If you notice other issues related to VentoBox with this update, please let me know. Sorry for the inconvenience caused and thank you very much for your patience.
UPDATE 09 Apr 2026
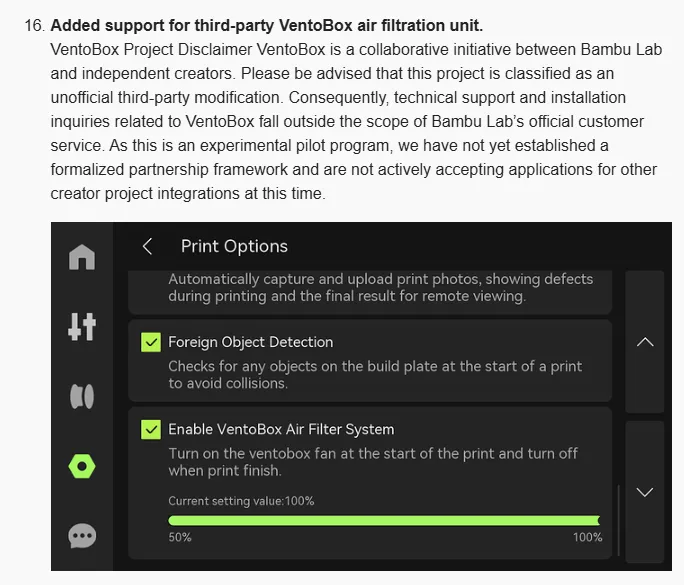
The new firmware for the P2S (ver 1.02.00.00) has been released, and it introduces native touchscreen control for the VentoBox air filter. This is a collaborative initiative between Bambu Lab and myself. VentoBox now works without the need for custom print profiles, and activates automatically even when printing via the Handy app. There is also an update to the stock P2S print profiles in Bambu Studio. Below is a quick overview of how it works.
ventoBox Control Behaviour
| 
|
REGIONAL VENDORS
| US & CA | Voxelpla offers pre-assembled ventoBox (4pin version), 7530 fan only, HEPA filter and Activated Carbon in their VOXELPLA Store. On shipping to Canada, please contact Voxelpla directly. |
| EU | VTC3D offers pre-assembled ventoBox and hardware kit (4pin version), They also carry HEPA filter & Activated Carbon in their store. |
| Singapore, Malaysia & Thailand | You can order a pre-assembled ventoBox or hardware kit from the Tikihaus shopee shop. Ship to Singapore, Malaysia and Thailand |
| Australia & New Zealand | Please note that Australia region will be temporary covered by EU and US vendors. |
INTRODUCTION
Since the launch of Bambu Lab P2S in October 2025, a common question has emerged regarding the original BentoBox's compatibility with the new printer, with many users asking if a modified version would be made available for the P2S.
The original BentoBox was launched in September 2022 for the X1C and P1S. With the significant advancements found in Bambu Lab's second-generation printers, I felt it was time to level up my own design as well. Instead of simply tweaking the existing BentoBox, I decided to take a completely fresh approach and redesign a new air filter from the ground up.
Meet ventoBox - powerful and multifunctional
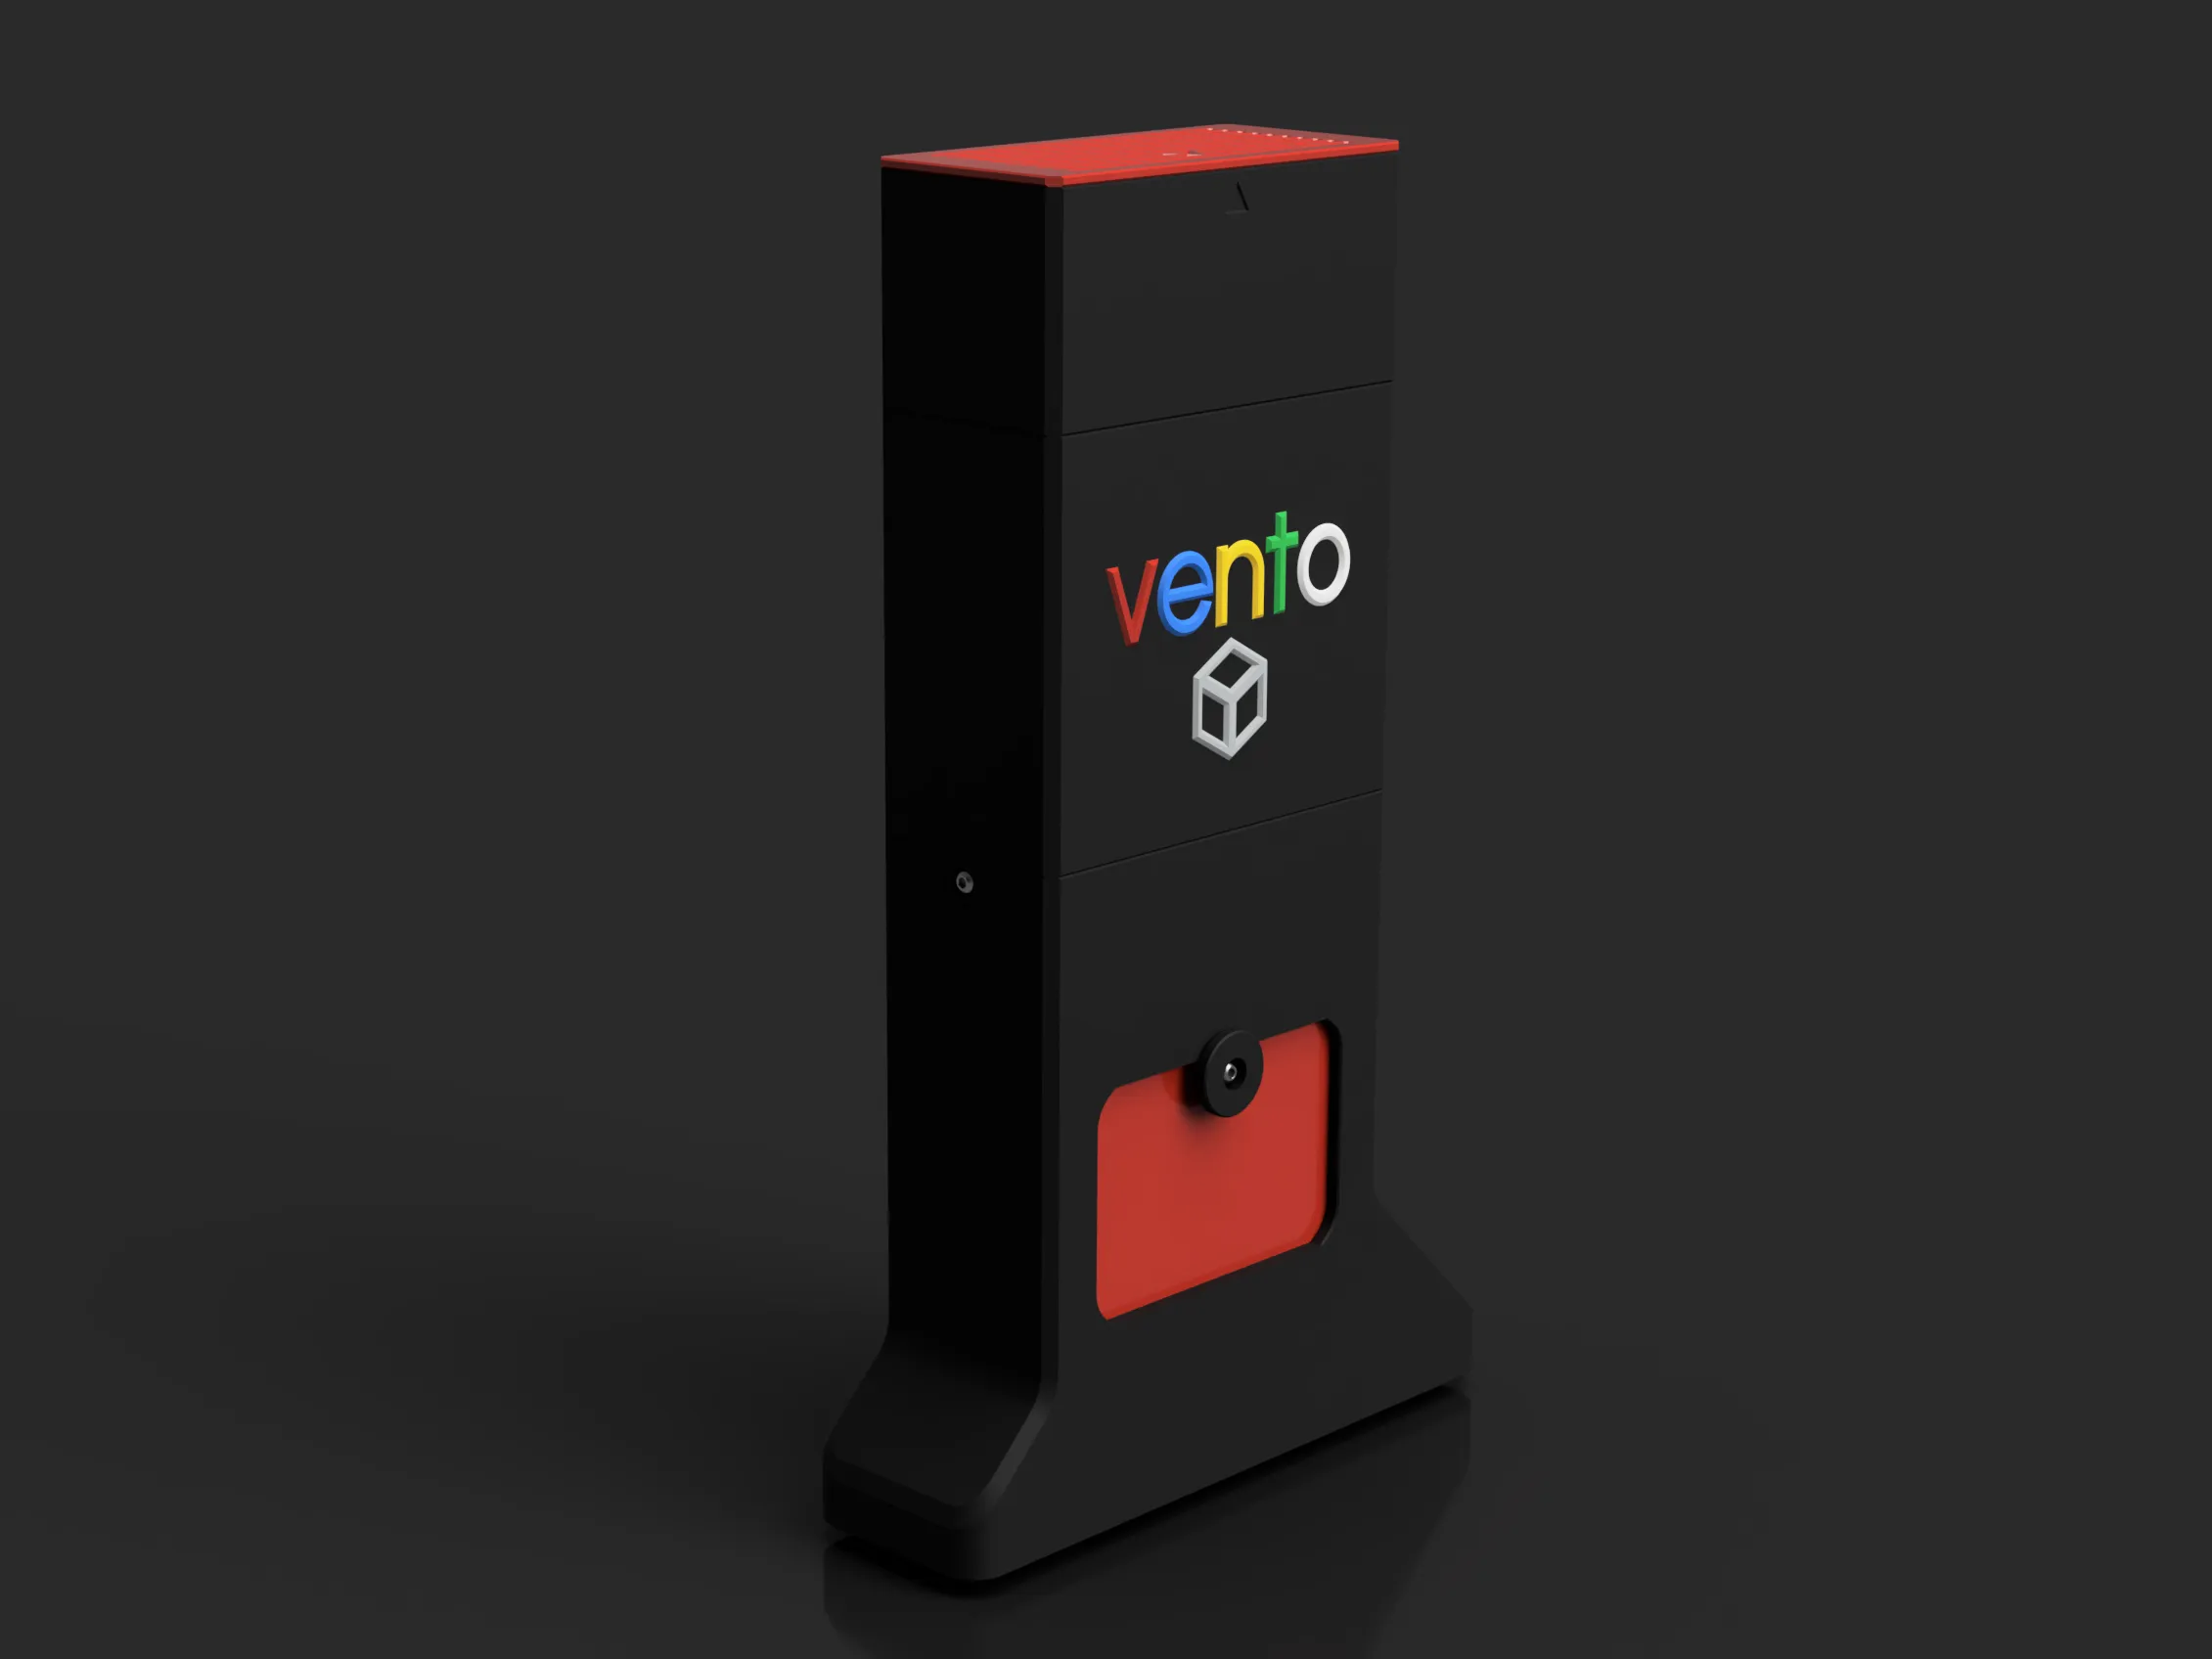
DESIGN APPROACH
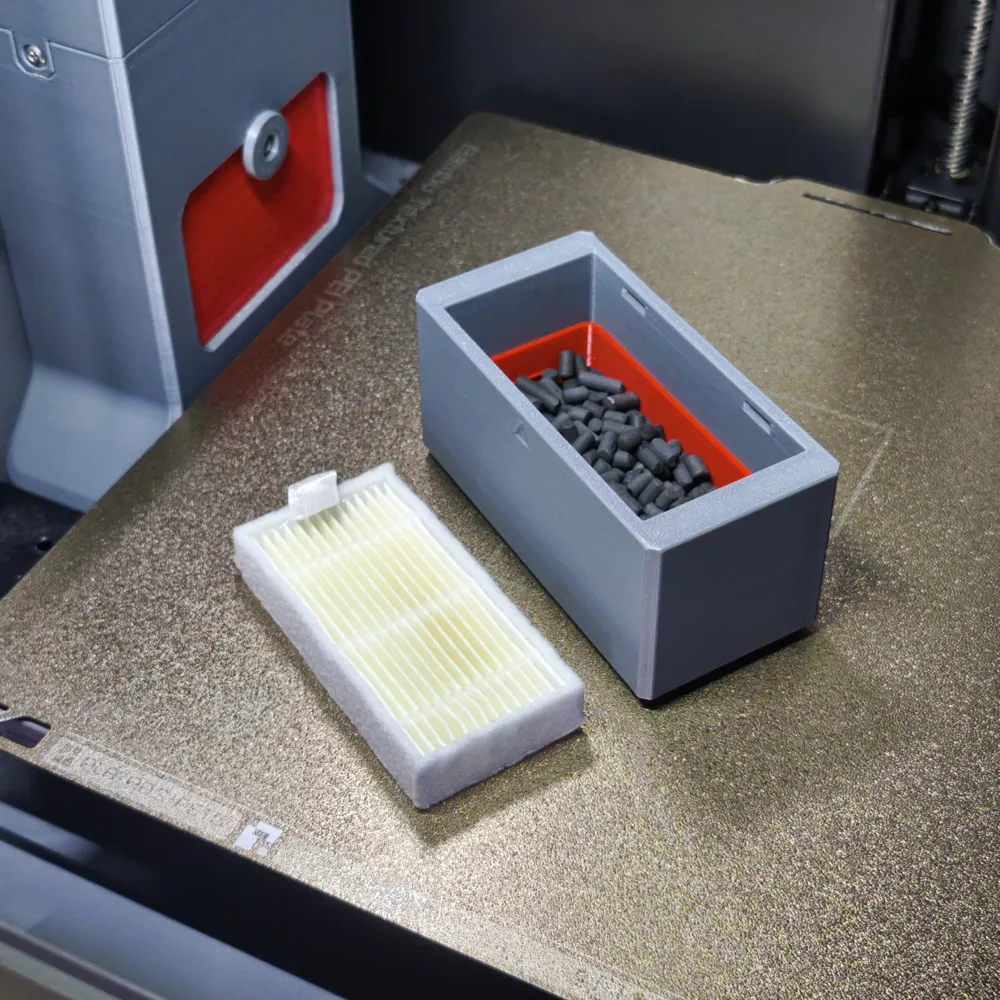
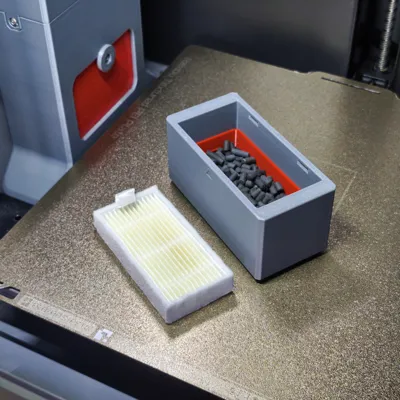
The ventoBox is built around a powerful 7530 blower fan, capable of generating up to 20 mm H₂O of static pressure. This high pressure is key, as it pulls air effectively through the HEPA and activated carbon filters, ensuring thorough filtration without sacrificing airflow.
To handle different printing materials, ventoBox features 2 distinct operational modes.
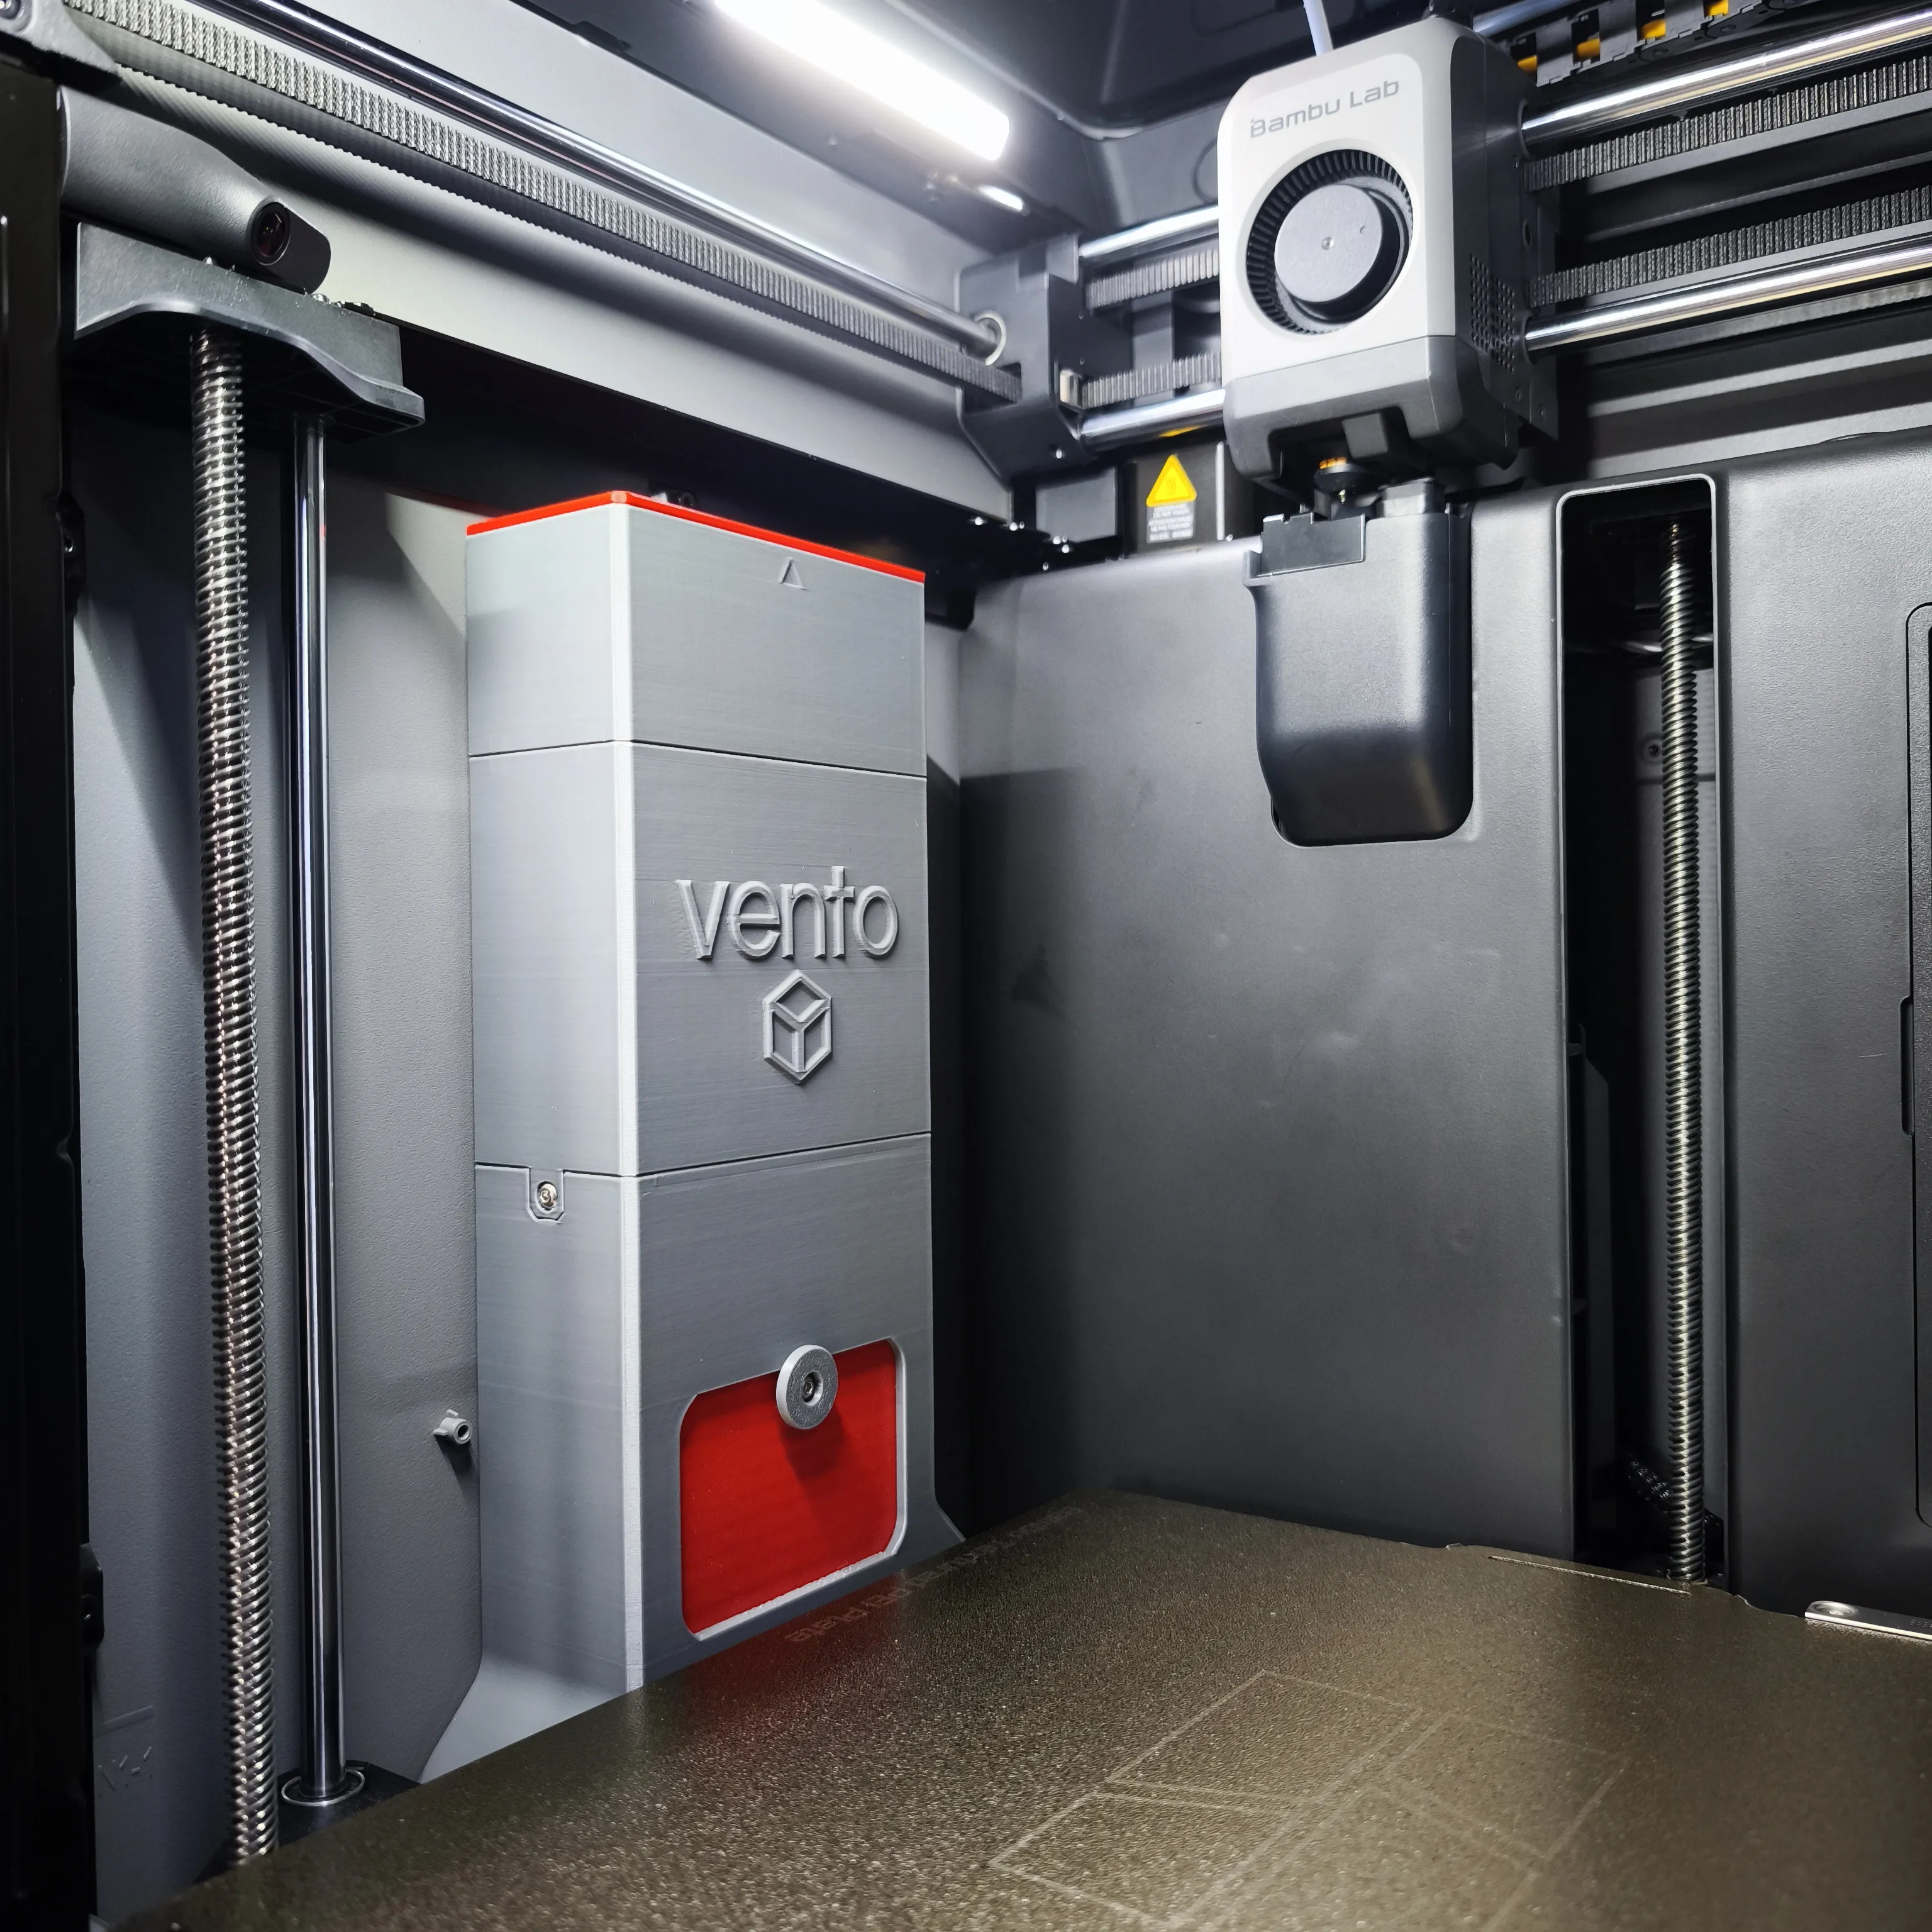
In Single-Pass Mode, designed for materials like PLA and PETG, the ventoBox acts as an exhaust system. It pulls air from the chamber, pushes it through the filtration stack, and expels the warm, clean air outside the printer. This is ideal for improving chamber temperature during cool printing.
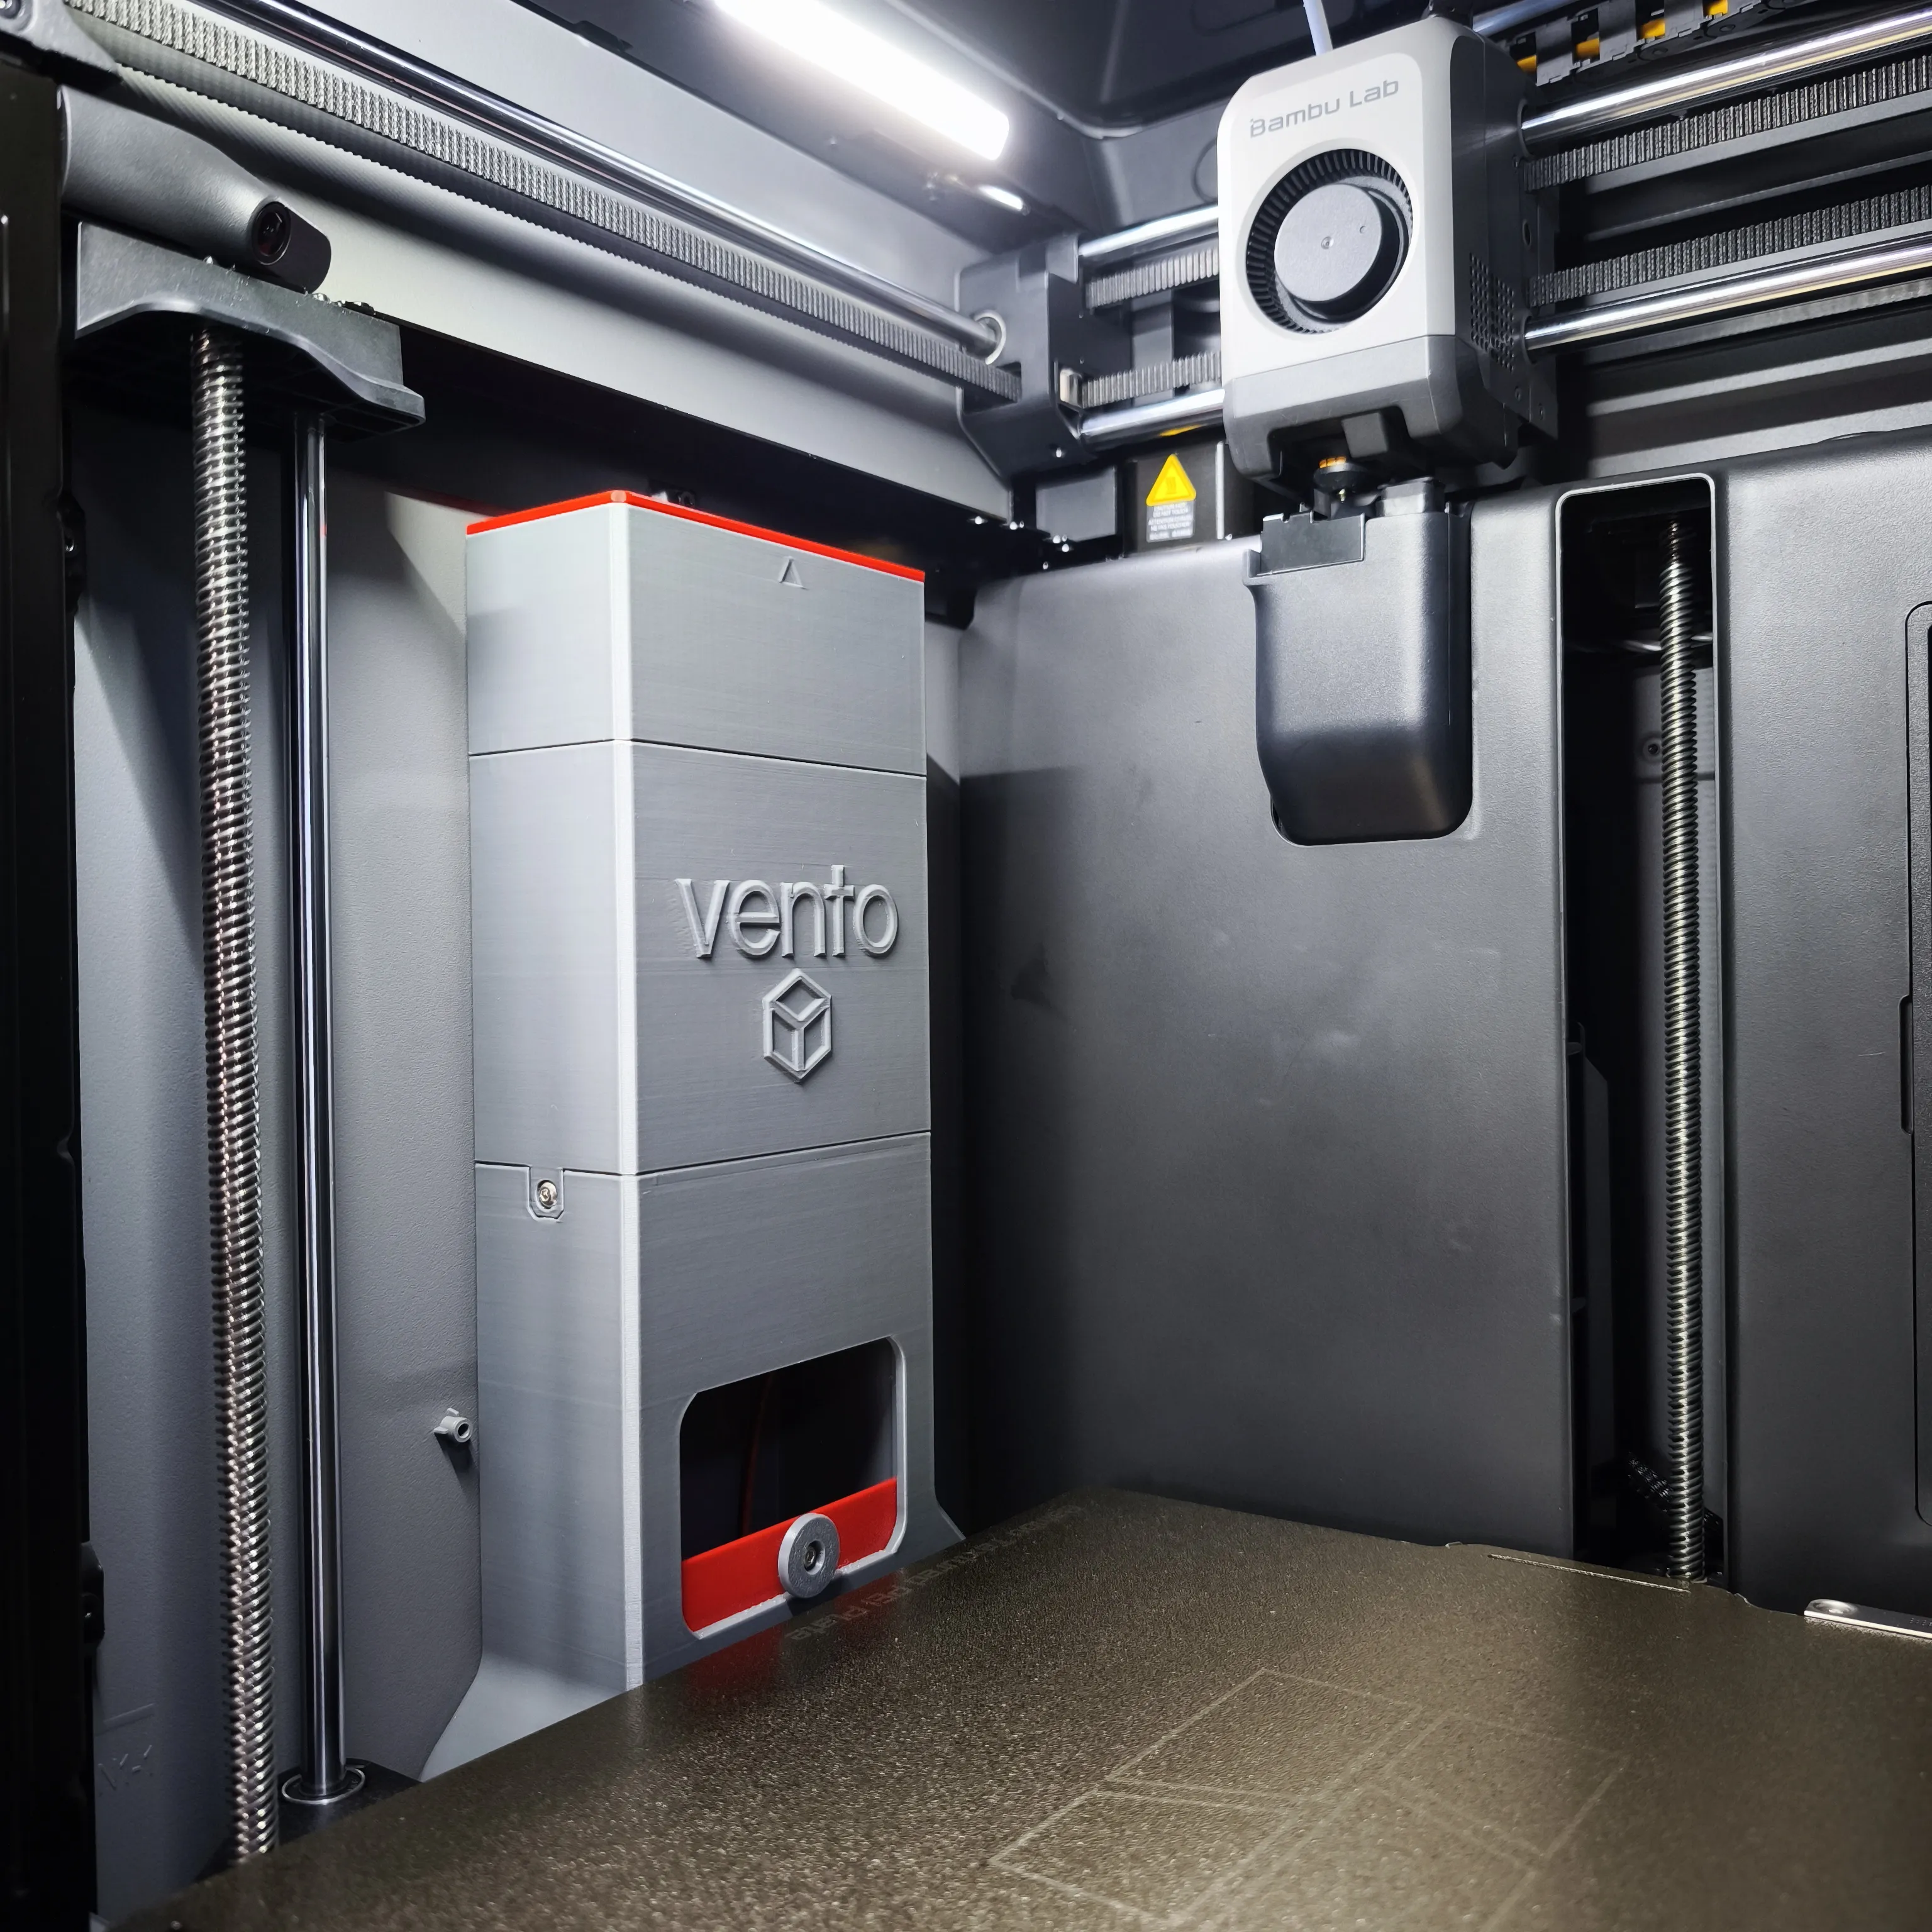
Switch to Multi-Pass Mode for high-temperature materials like ABS, ASA, or Nylon. Instead of exhausting the air, this mode recirculates it, pulling warm air from near the build plate and redirecting it to the bottom to create a consistent temperature throughout the build volume. This circulation is crucial for stabilising the hot environment these advanced materials require.
Single-Pass Mode | Multi-Pass Mode |
 |  |
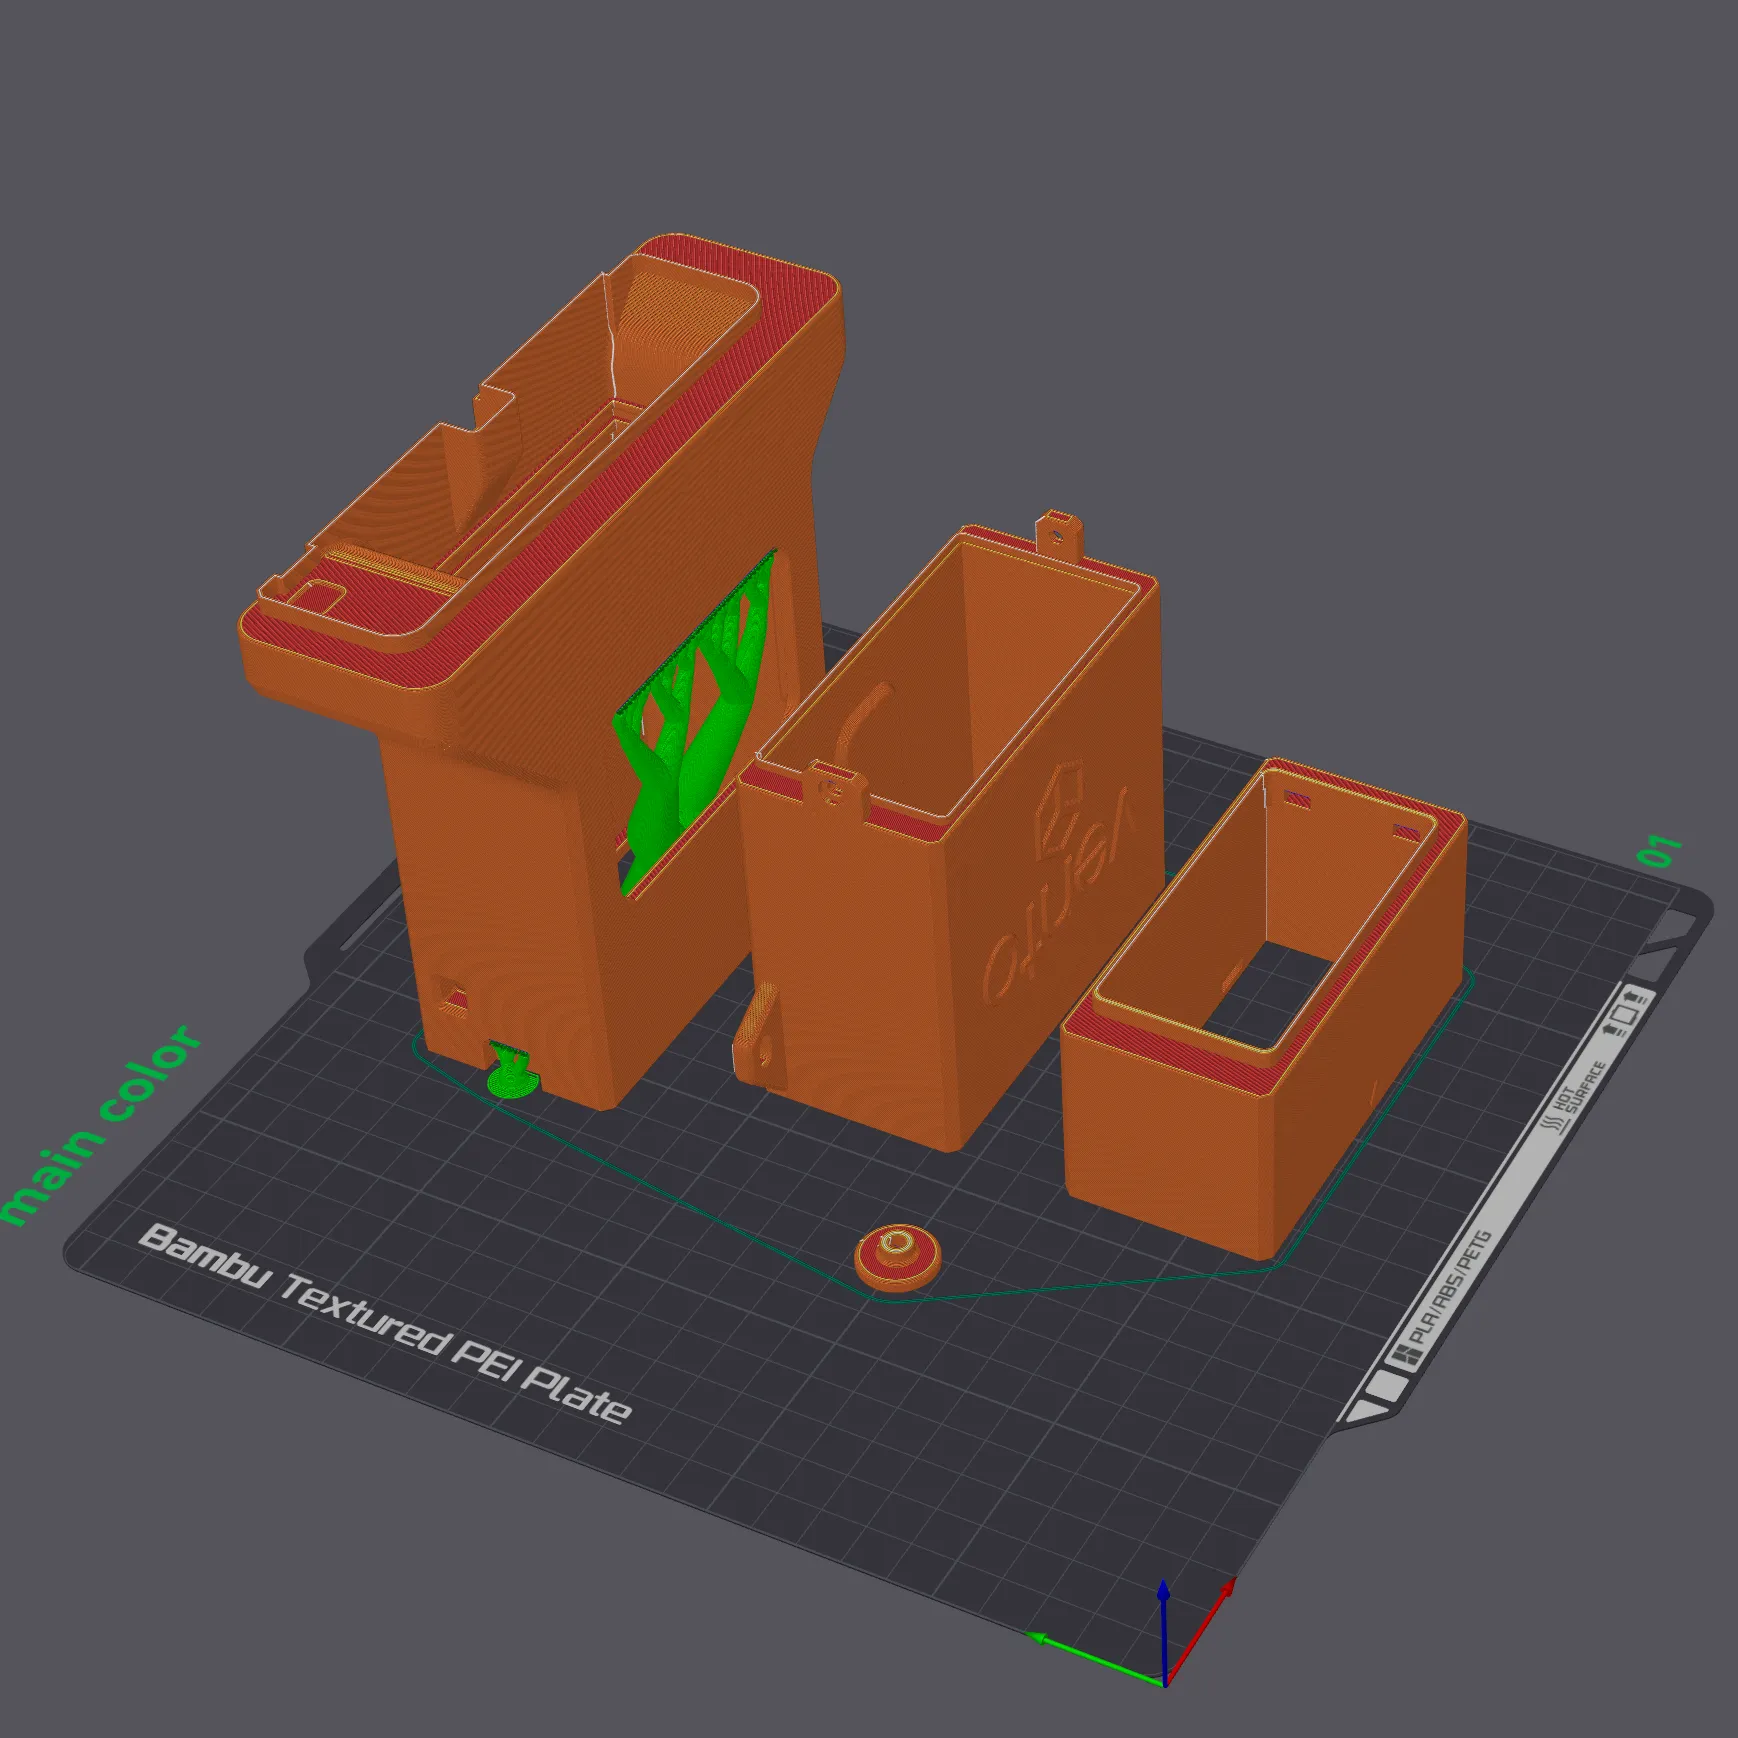
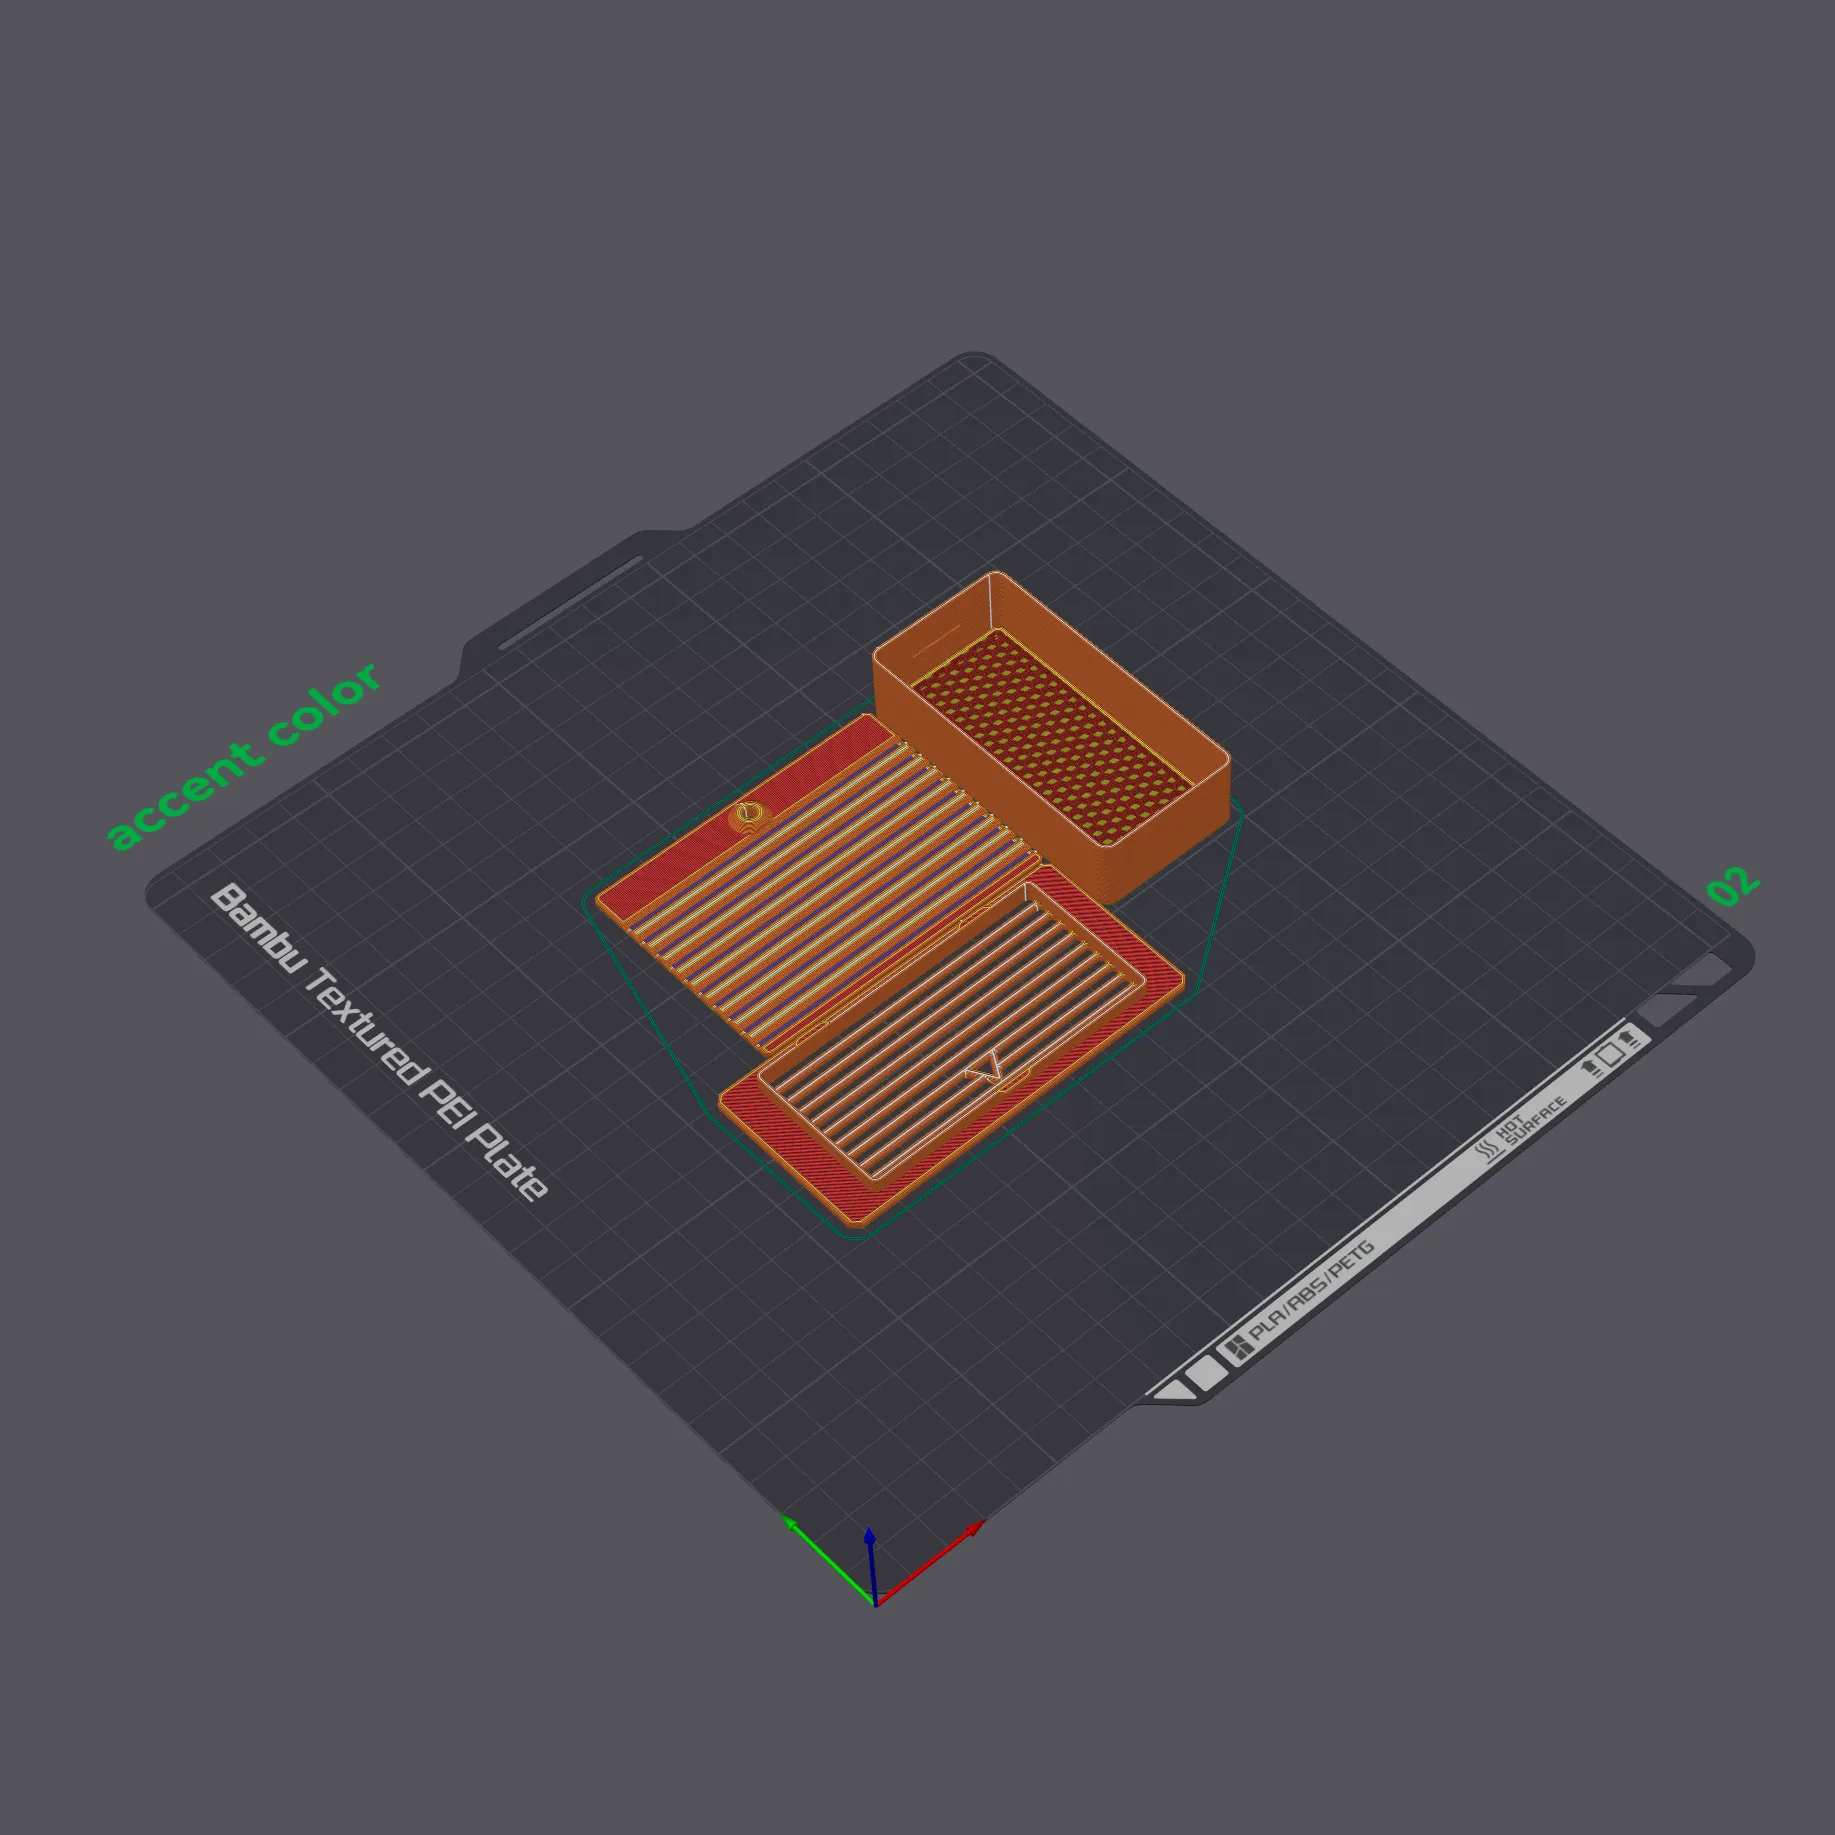
The ventoBox was designed with simplicity in mind, making it both easy to print and intuitive to assemble. The entire system requires just 255 grams of filament and can be printed in under 7 hours on a Bambu Lab P2S. PETG is suitable for printing ventoBox, as it comfortably withstands the chamber temperatures of up to 50°C encountered during a hot chamber environment.
The ventoBox can operate as a standalone unit powered directly by an external power brick with a 2-pin fan configuration. This 2-pin 7530 fan can be easily sourced online, giving users the flexibility to use either a 12V or 24V fan (a 5V fan is not recommended).
Alternatively, ventoBox can be configured with a 4-pin fan connected to the P2S secondary fan port. With the updated firmware, ventoBox can be enabled directly from the P2S touchscreen, providing a more integrated user experience. 4-pin 7530 fans are now available through regional vendors, making this setup more accessible to the community.
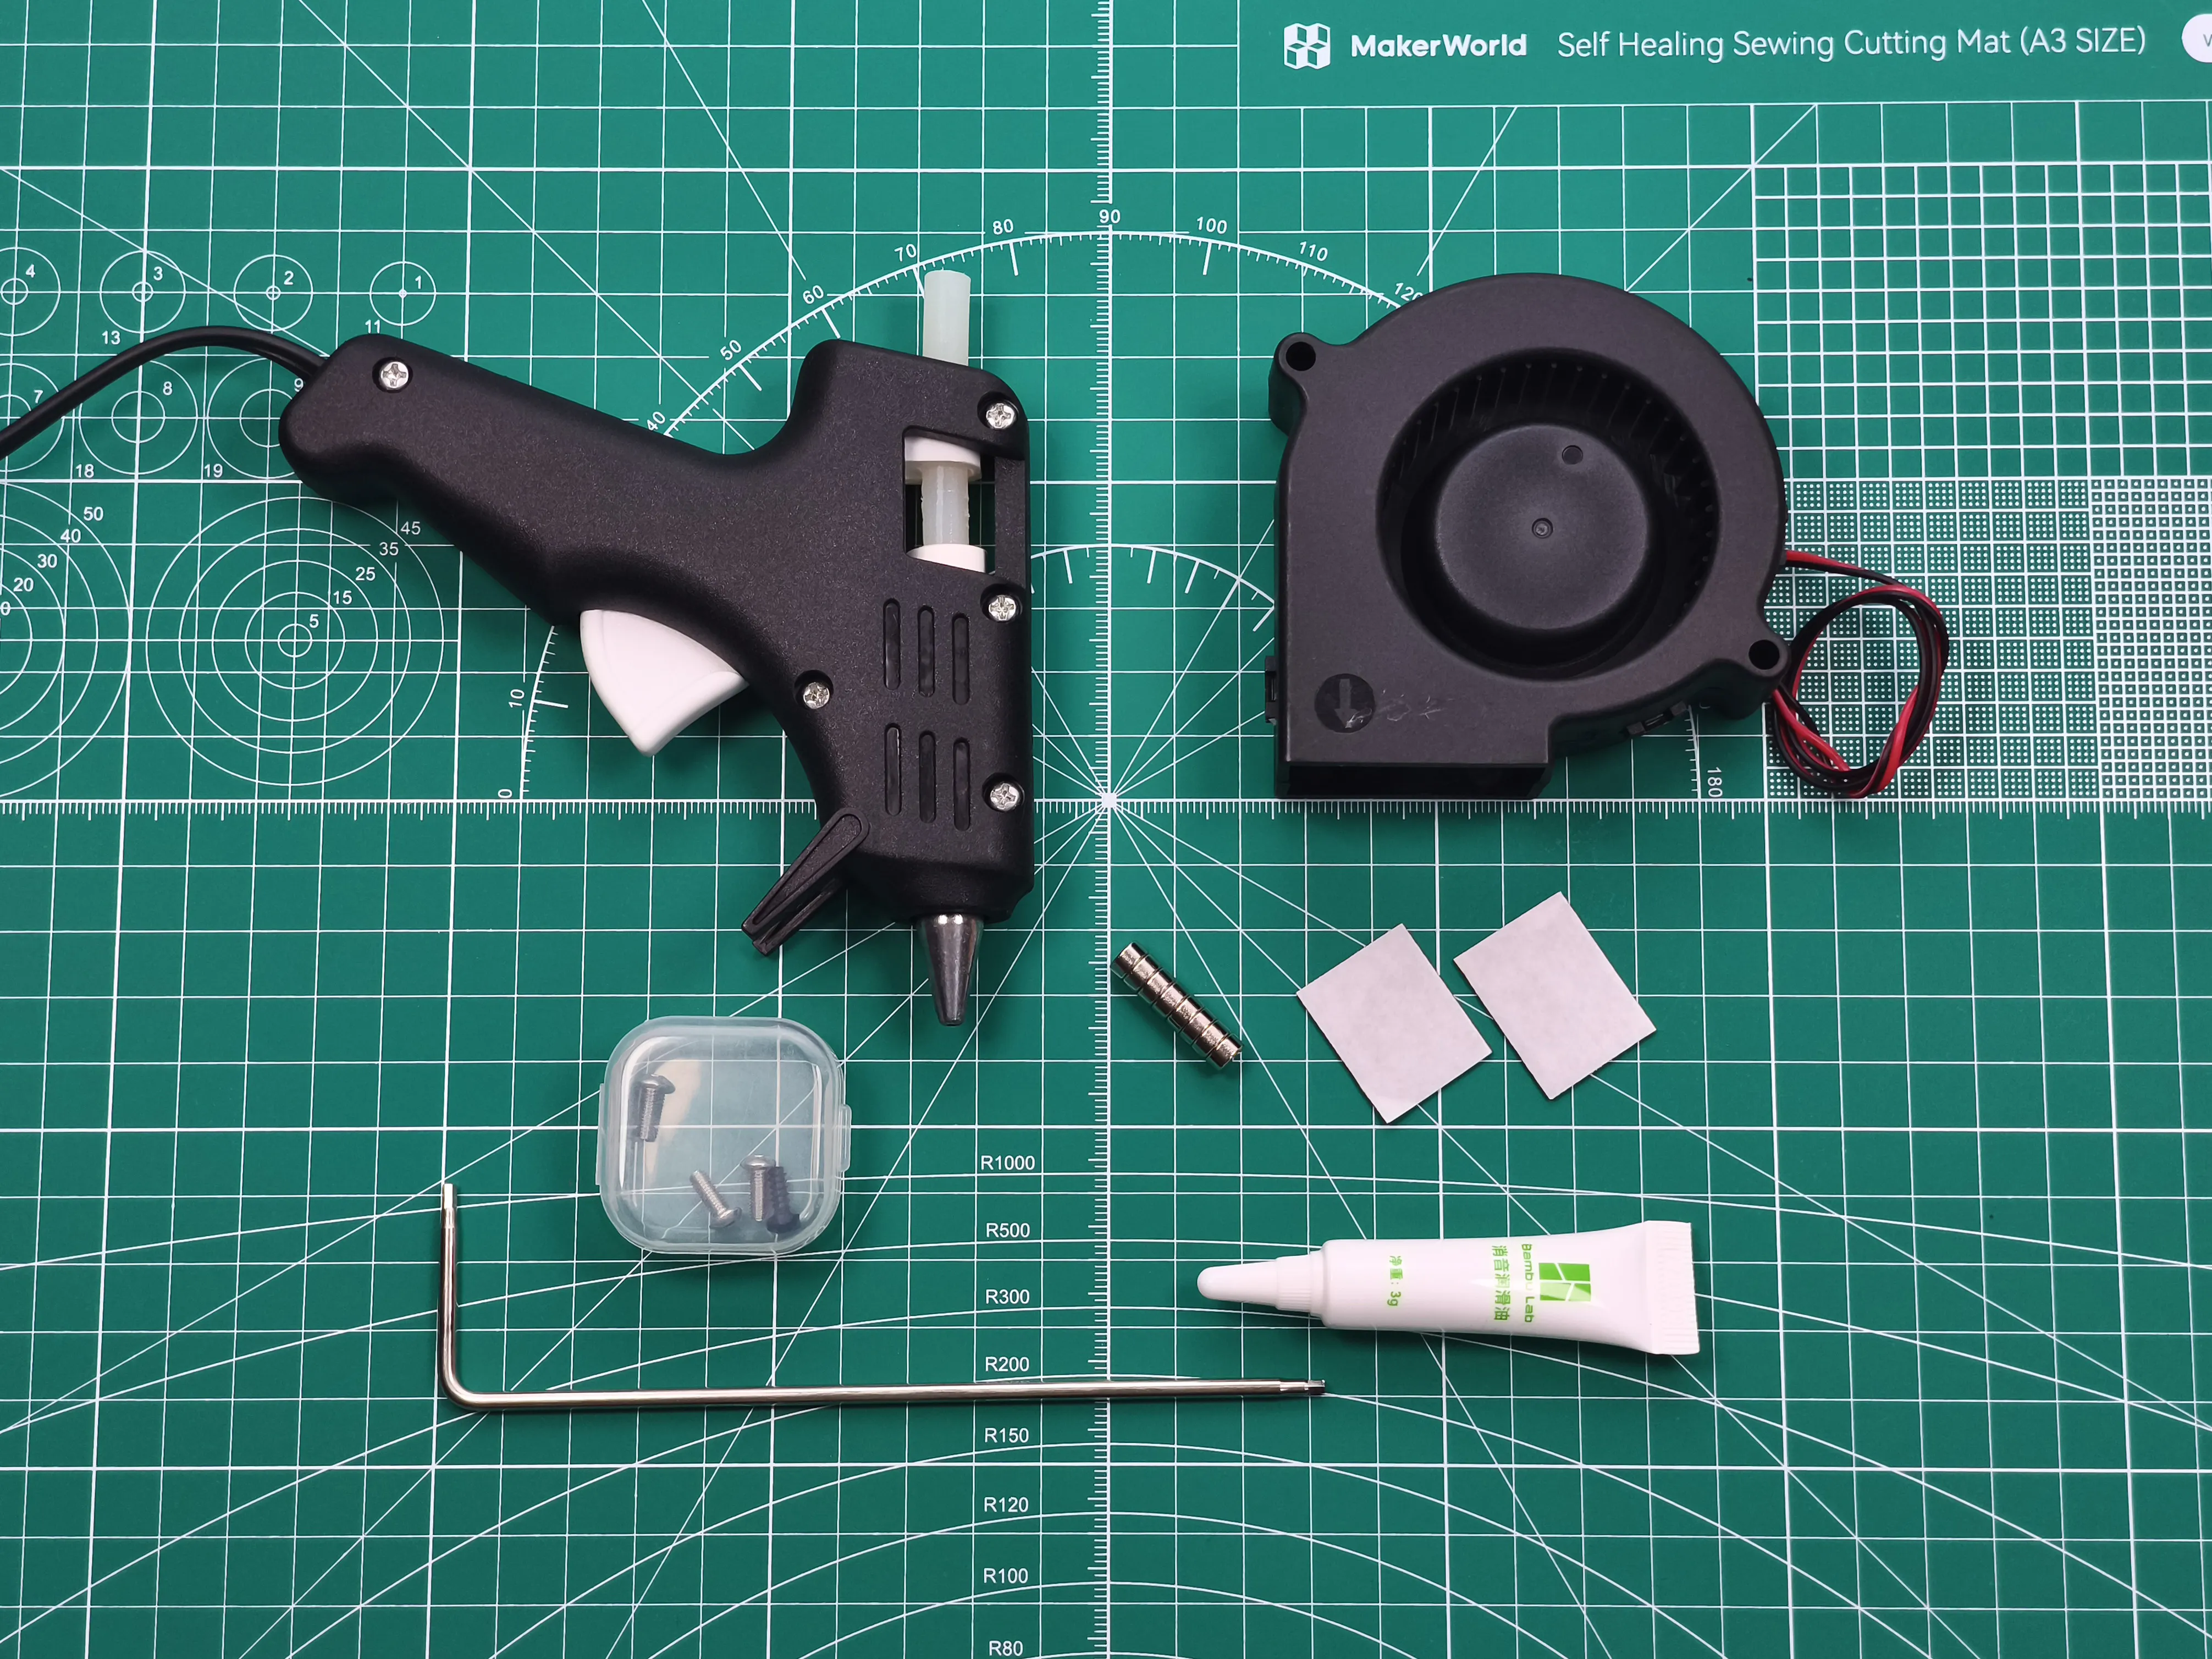
BILL OF MATERIALS
Hardware:
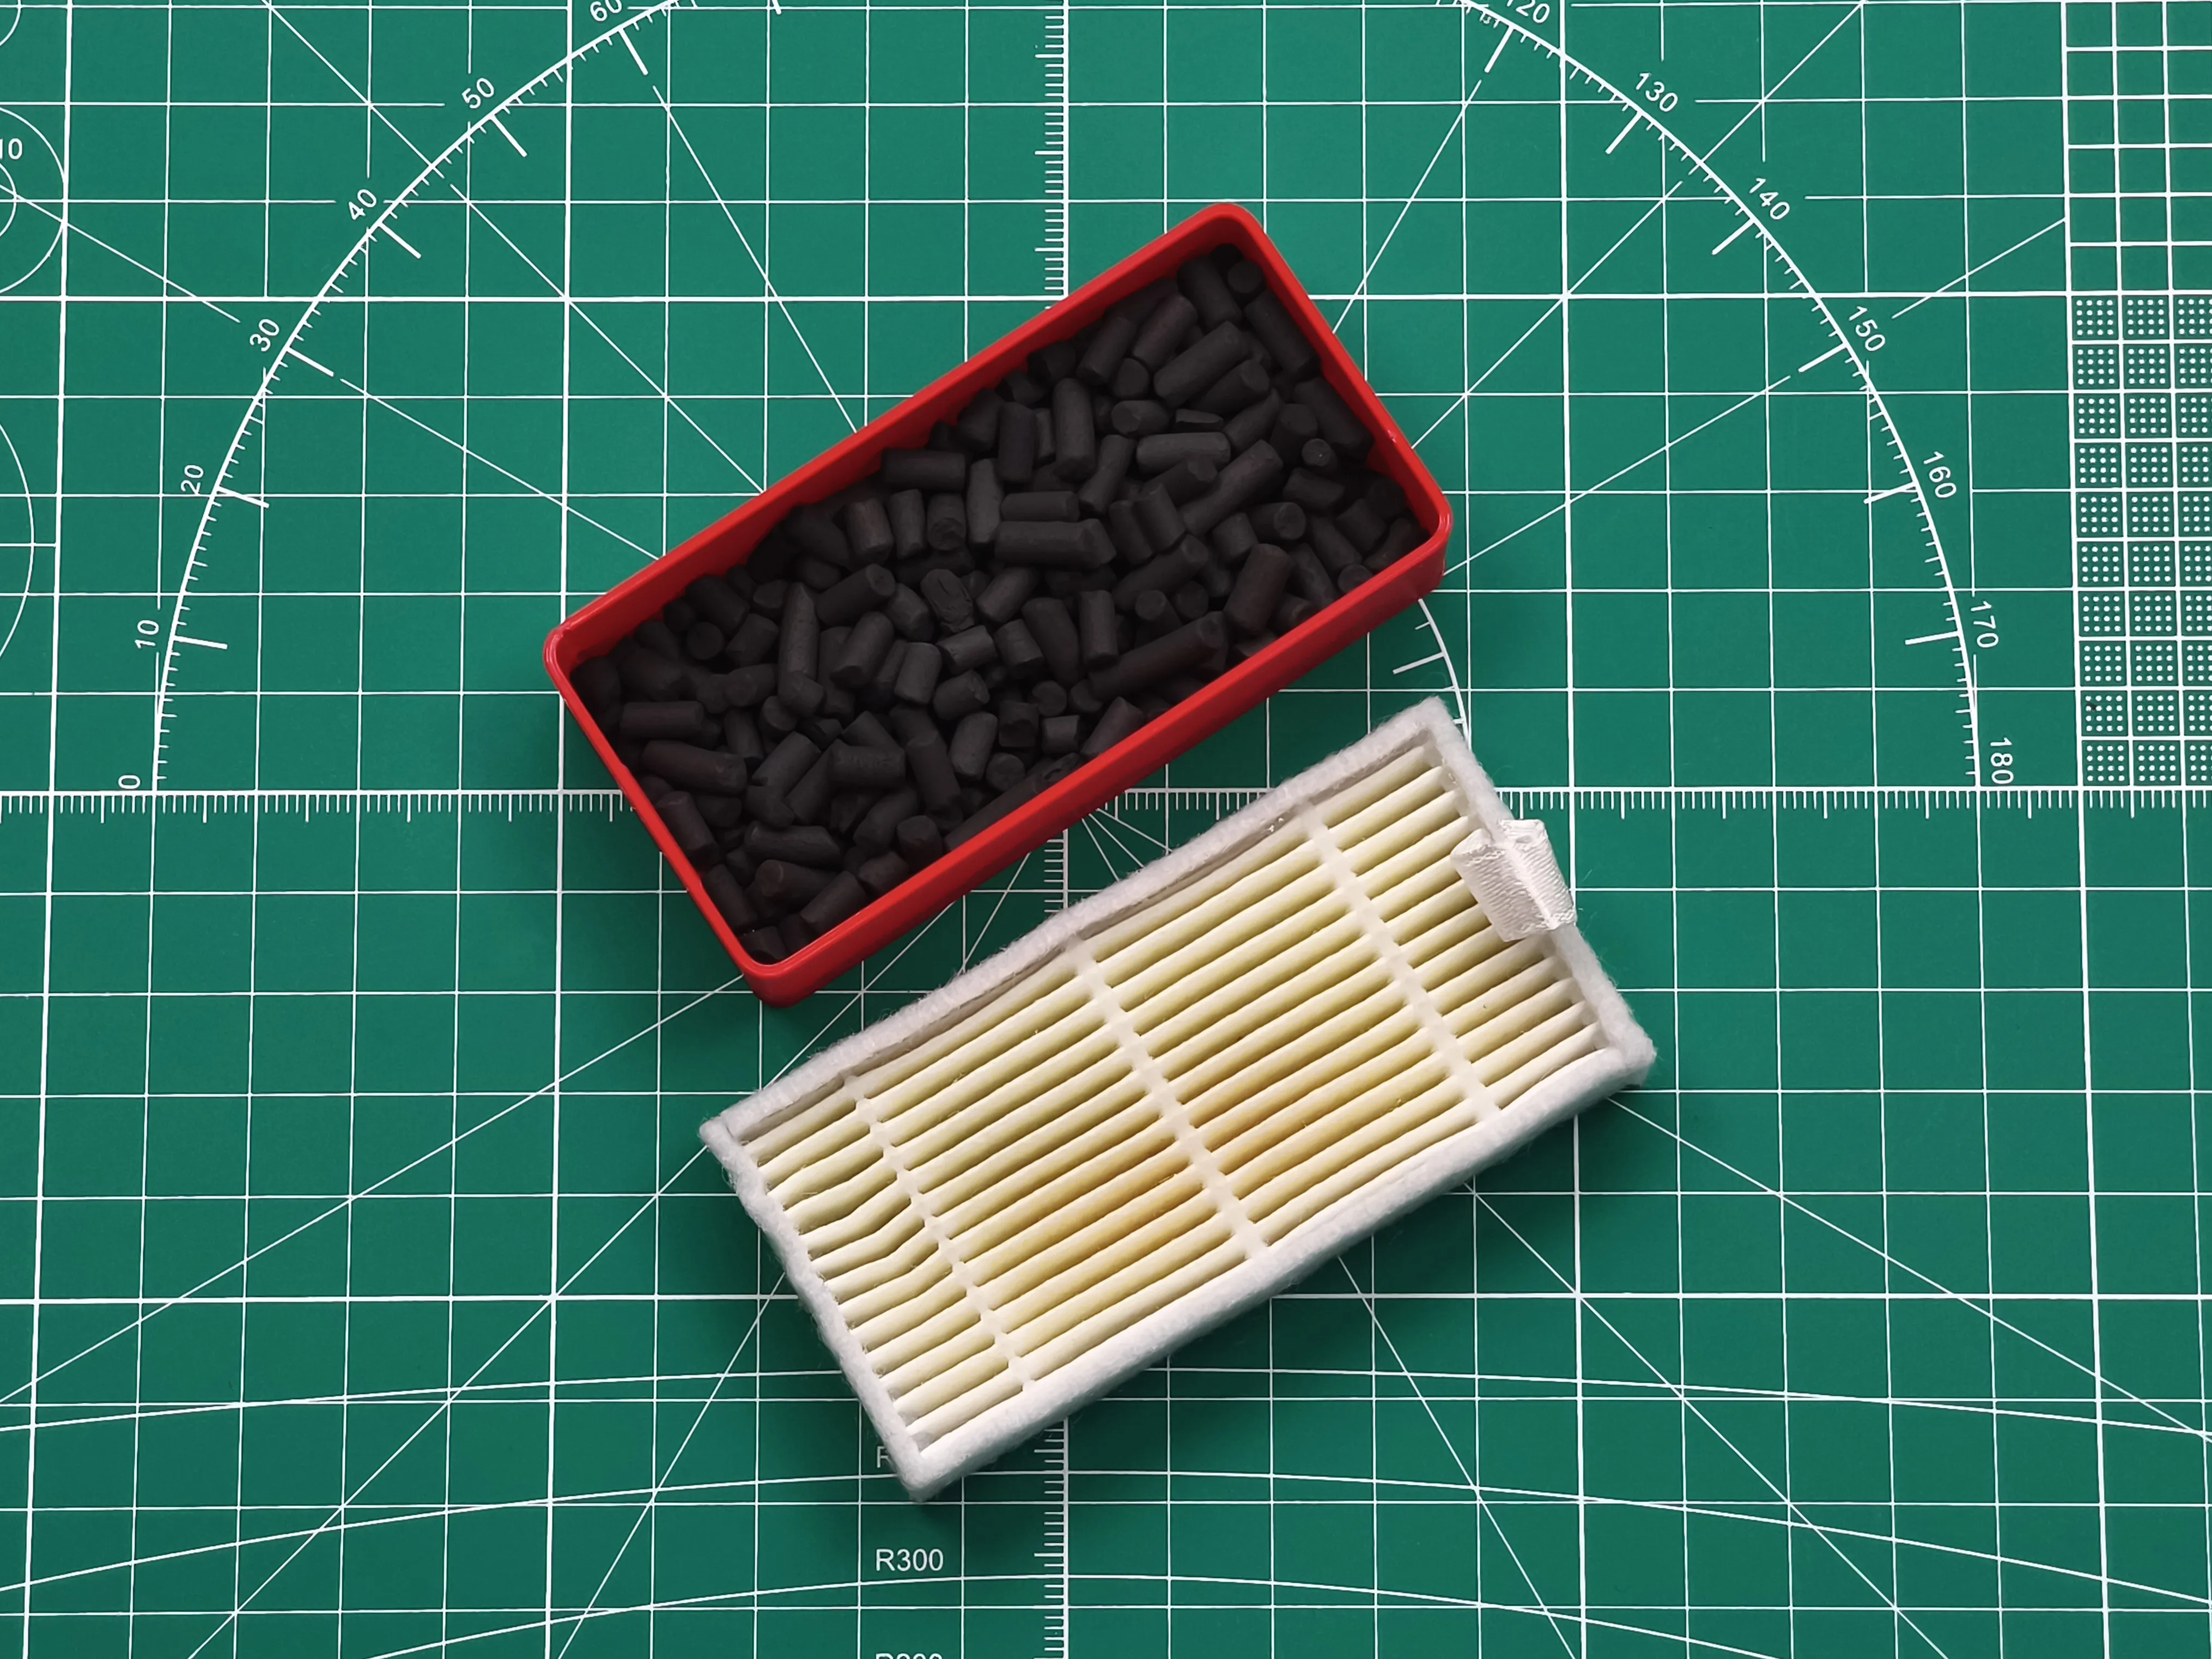
Consumables:
Tools:
|  |
 | |
7530 FAN SPECS (2-Pin Configuration)This section outlines the recommended specifications for a 2-pin fan setup when using ventoBox in standalone mode on the P2S. Basic Specs
2-Pin Configuration (Standalone, Manual Control)
| |
PRINTING GUIDE
 | |
 |  |
| |
VENTOBOX ASSEMBLY VIDEO | VENTOBOX INSTALLATION VIDEO |
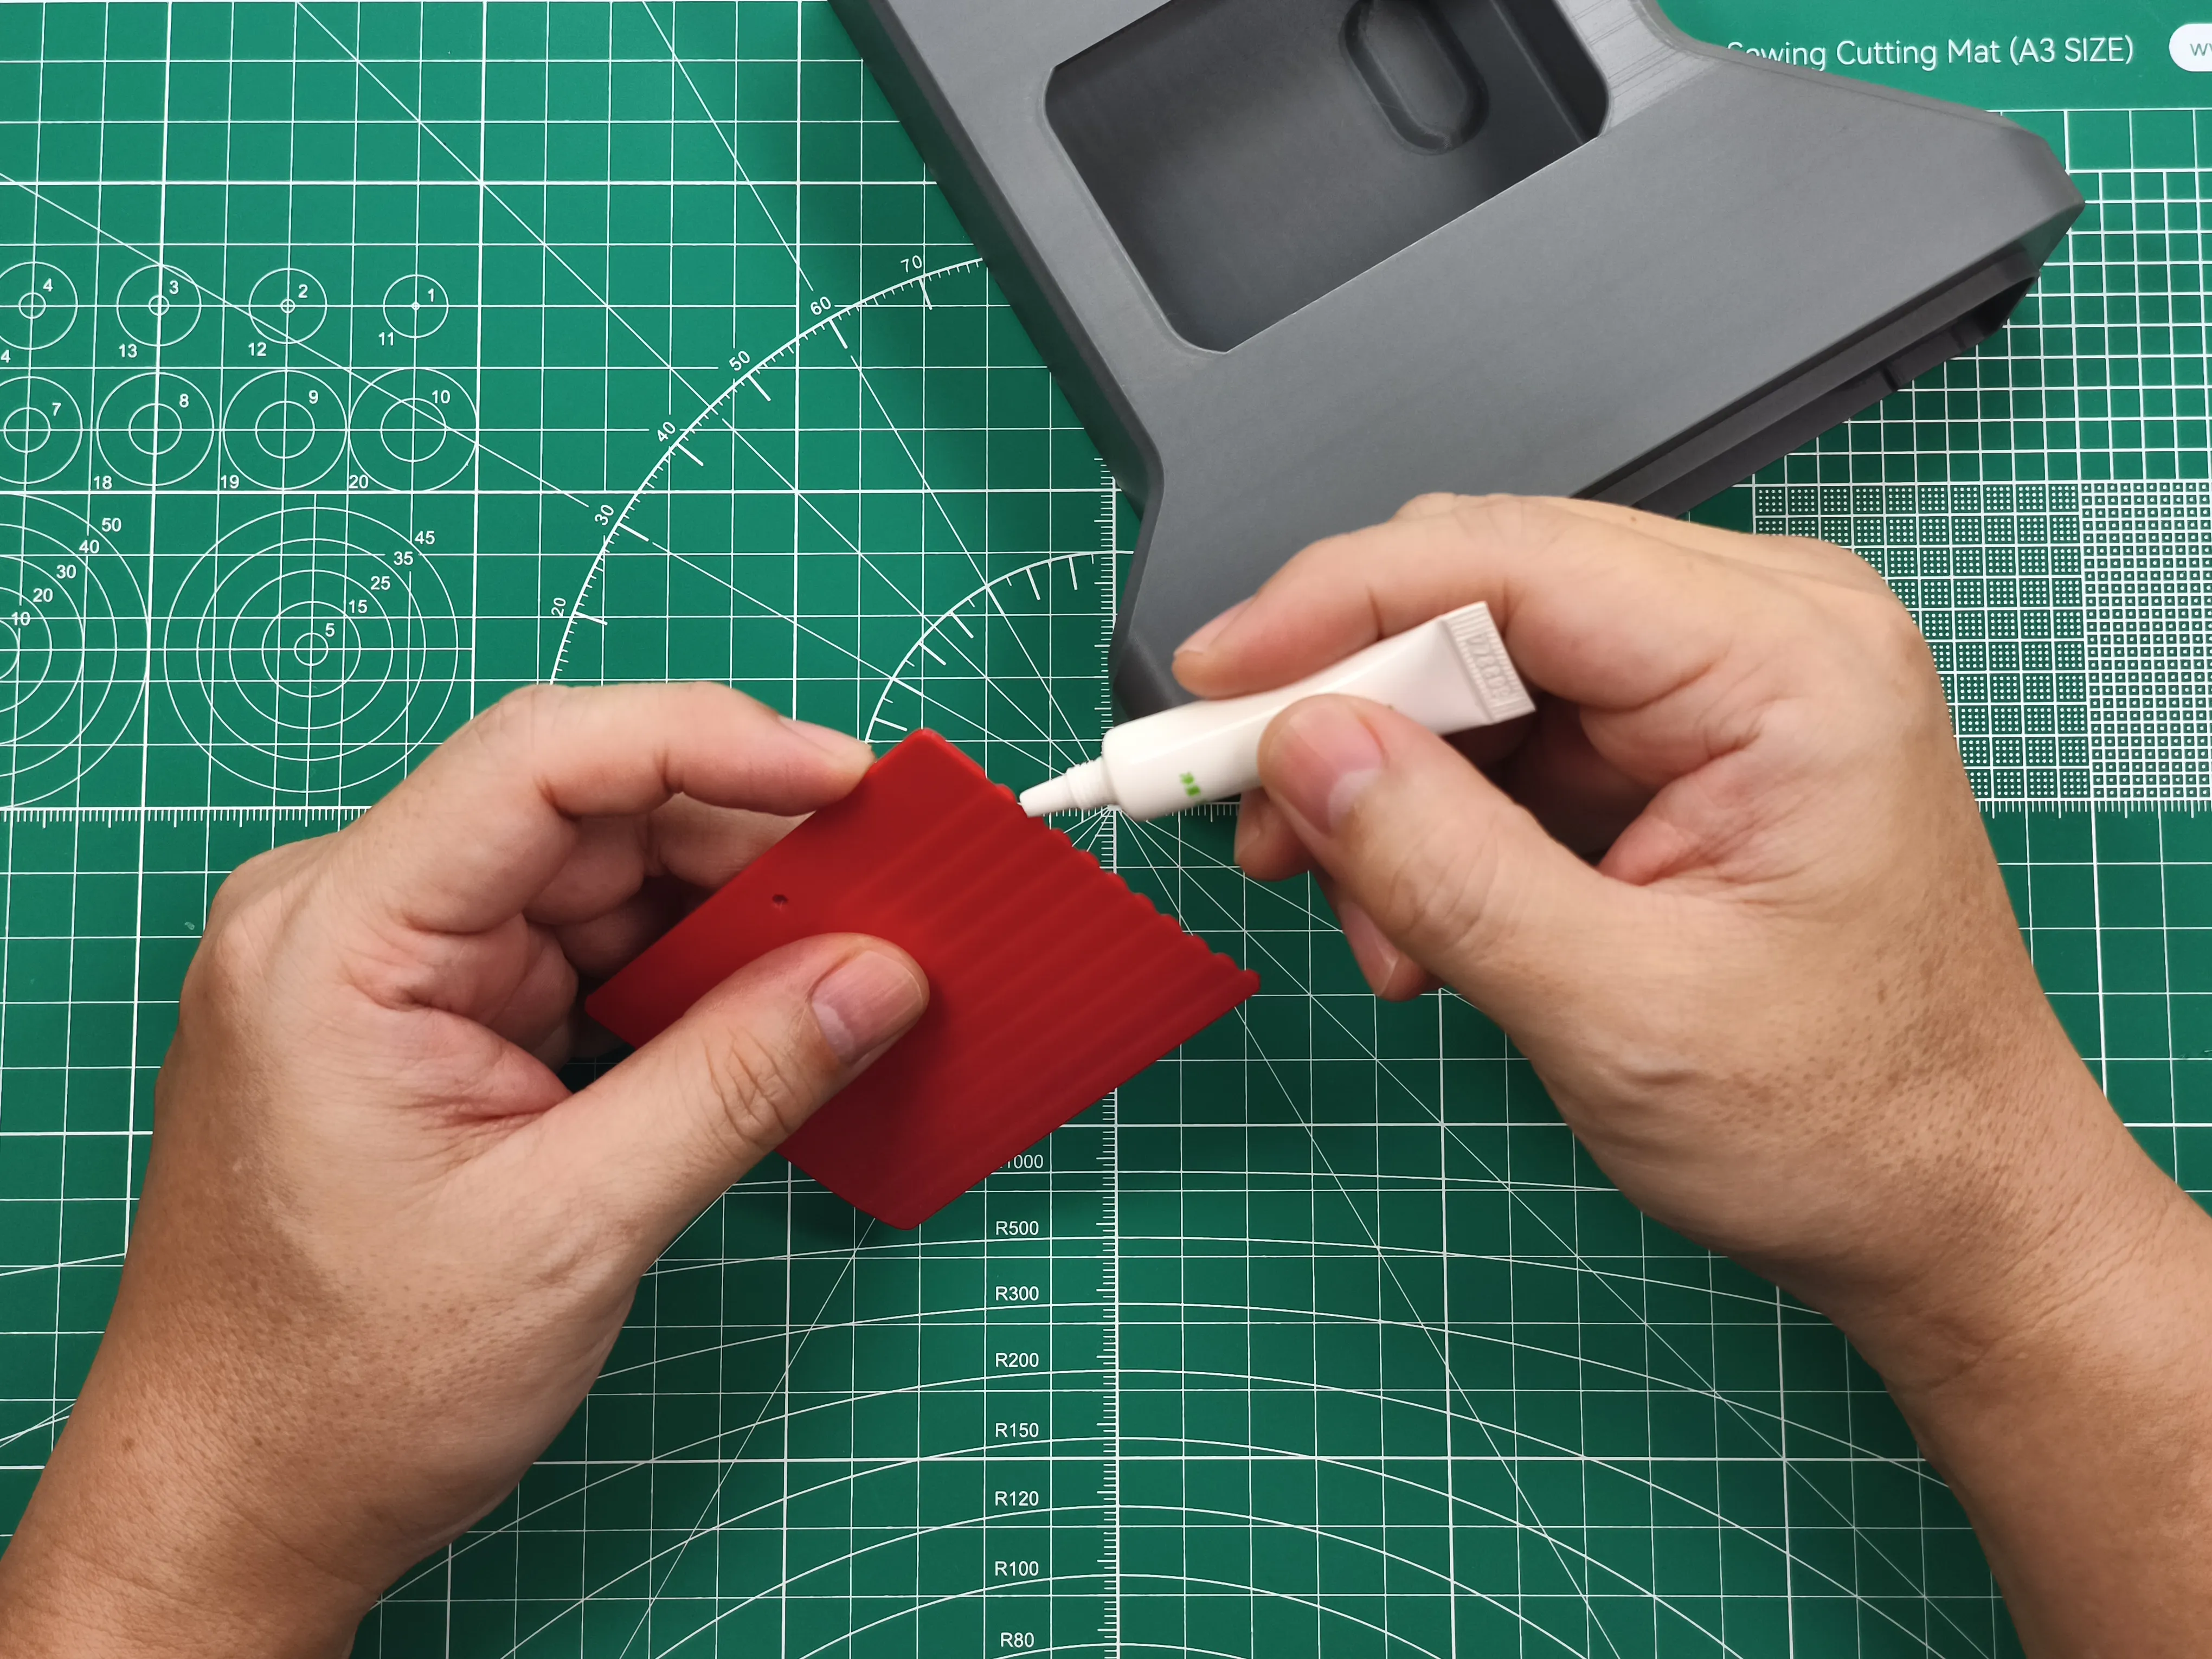
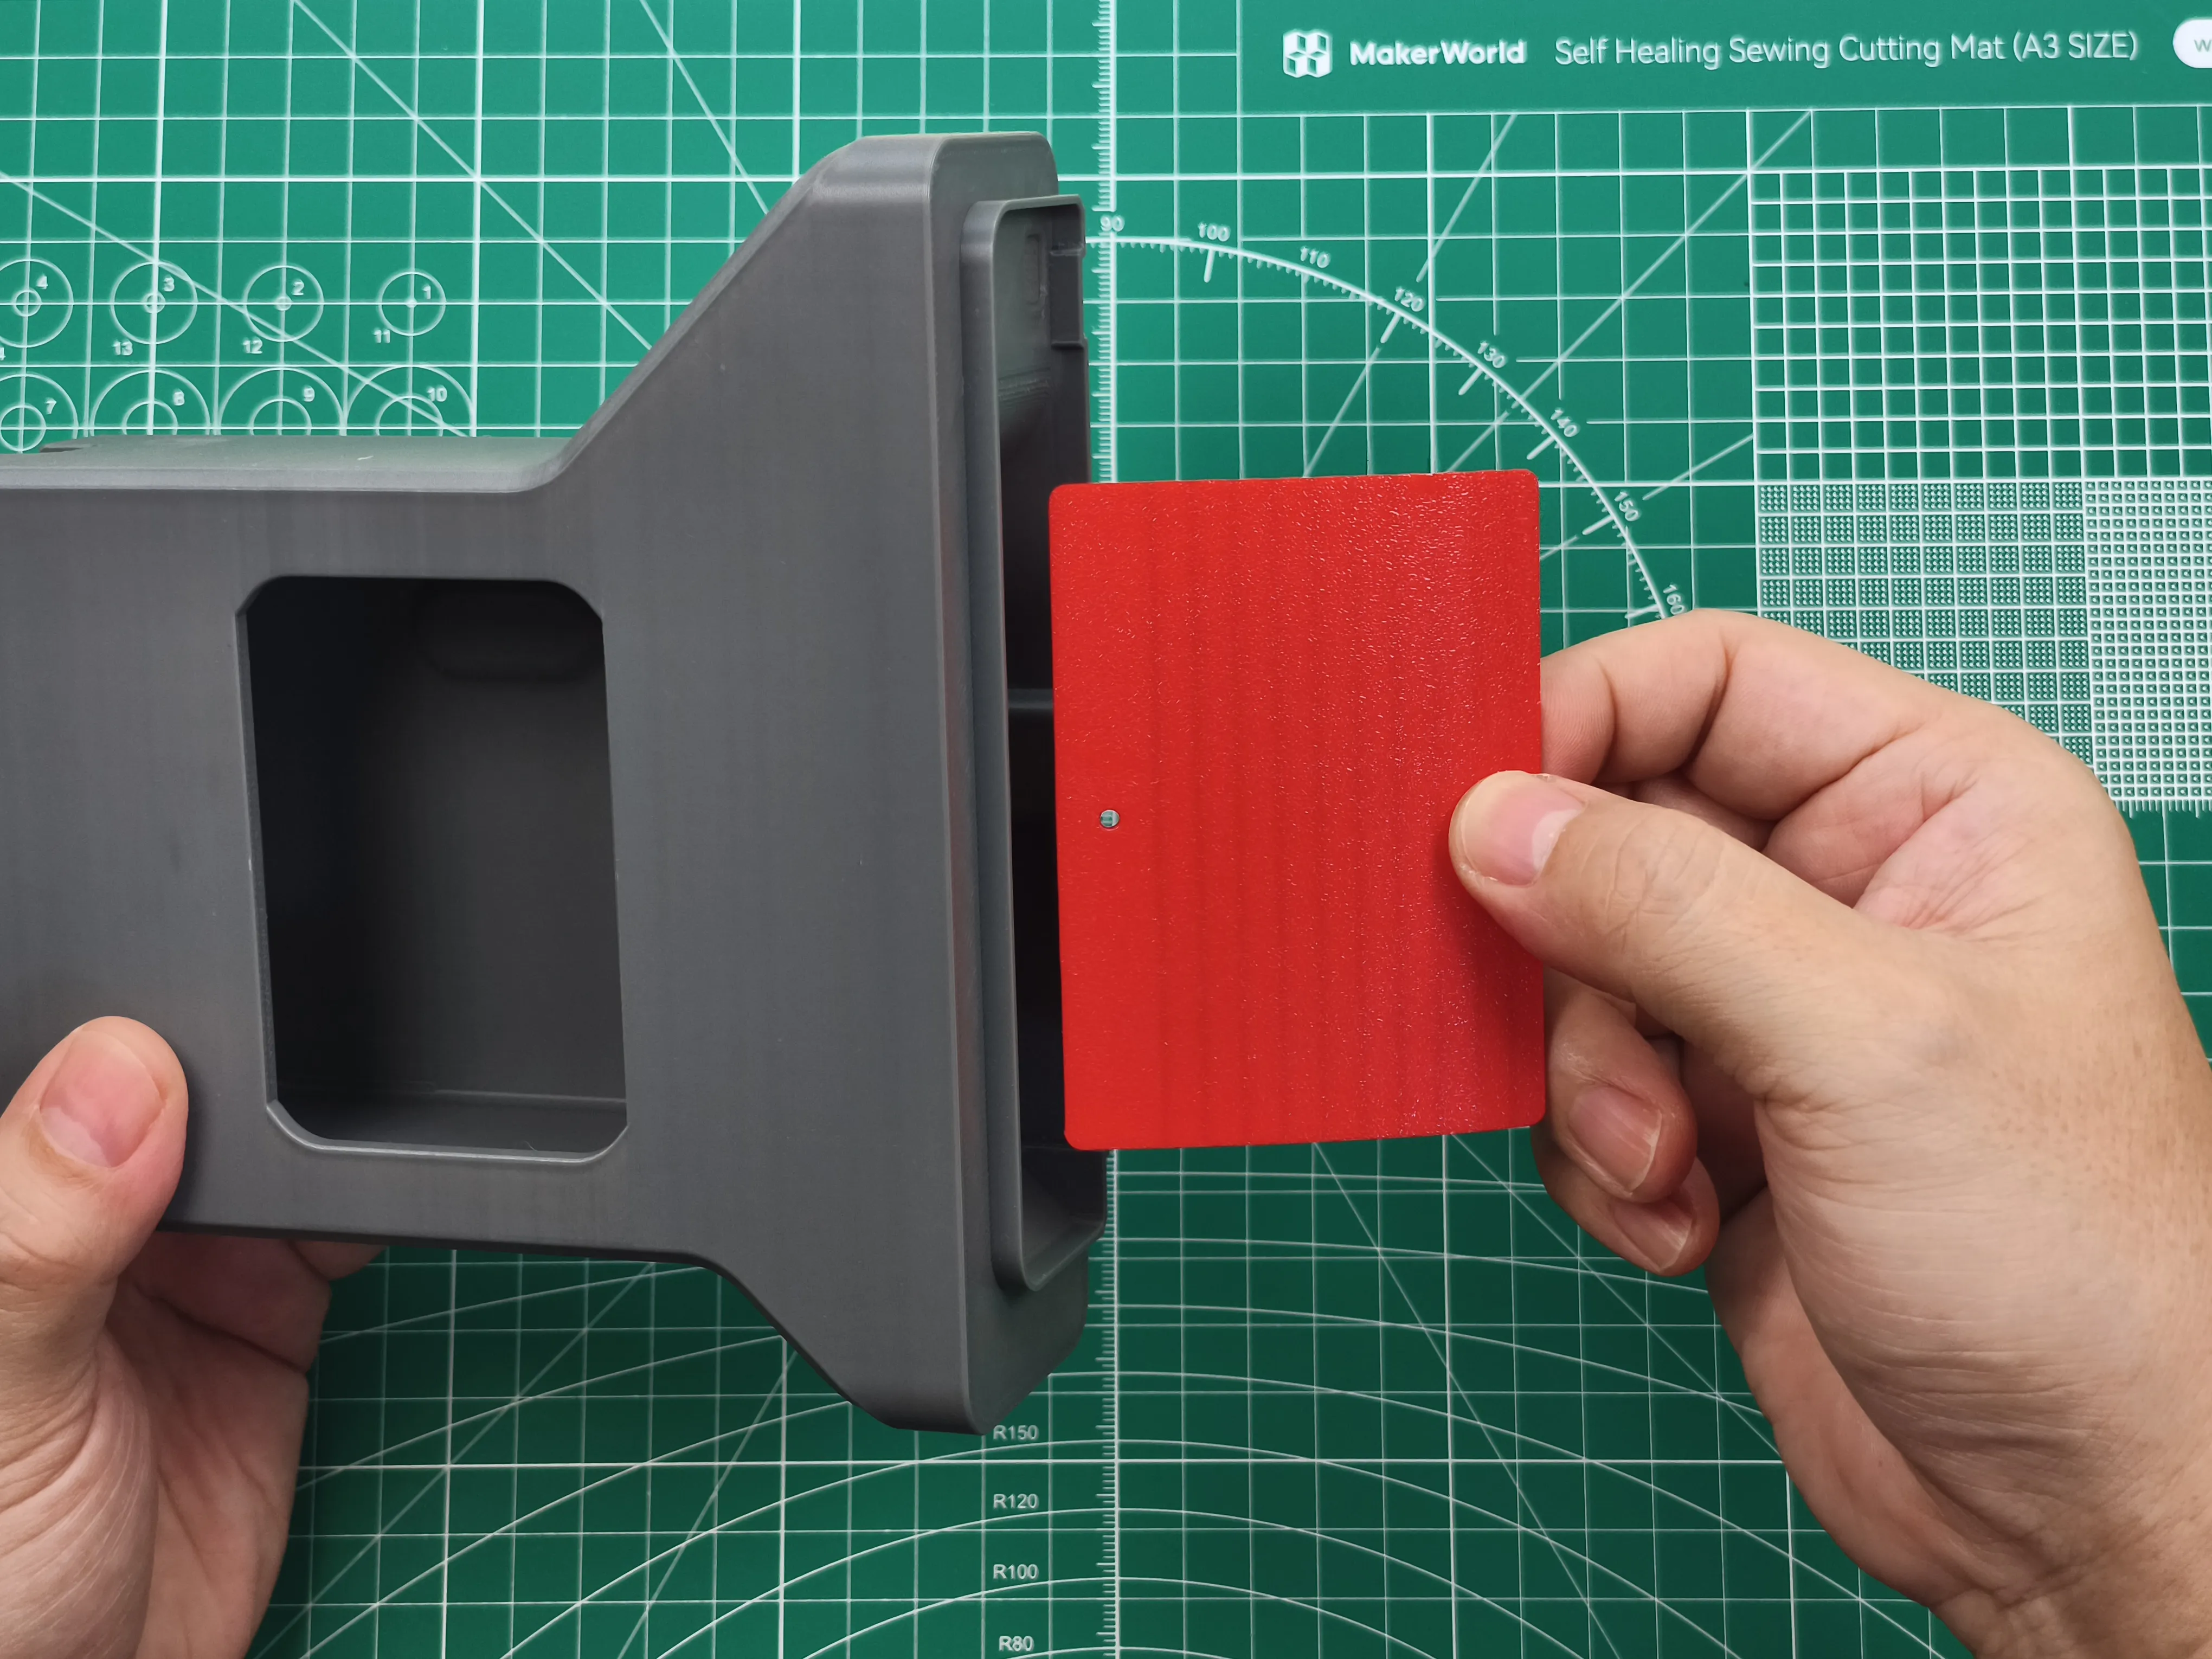
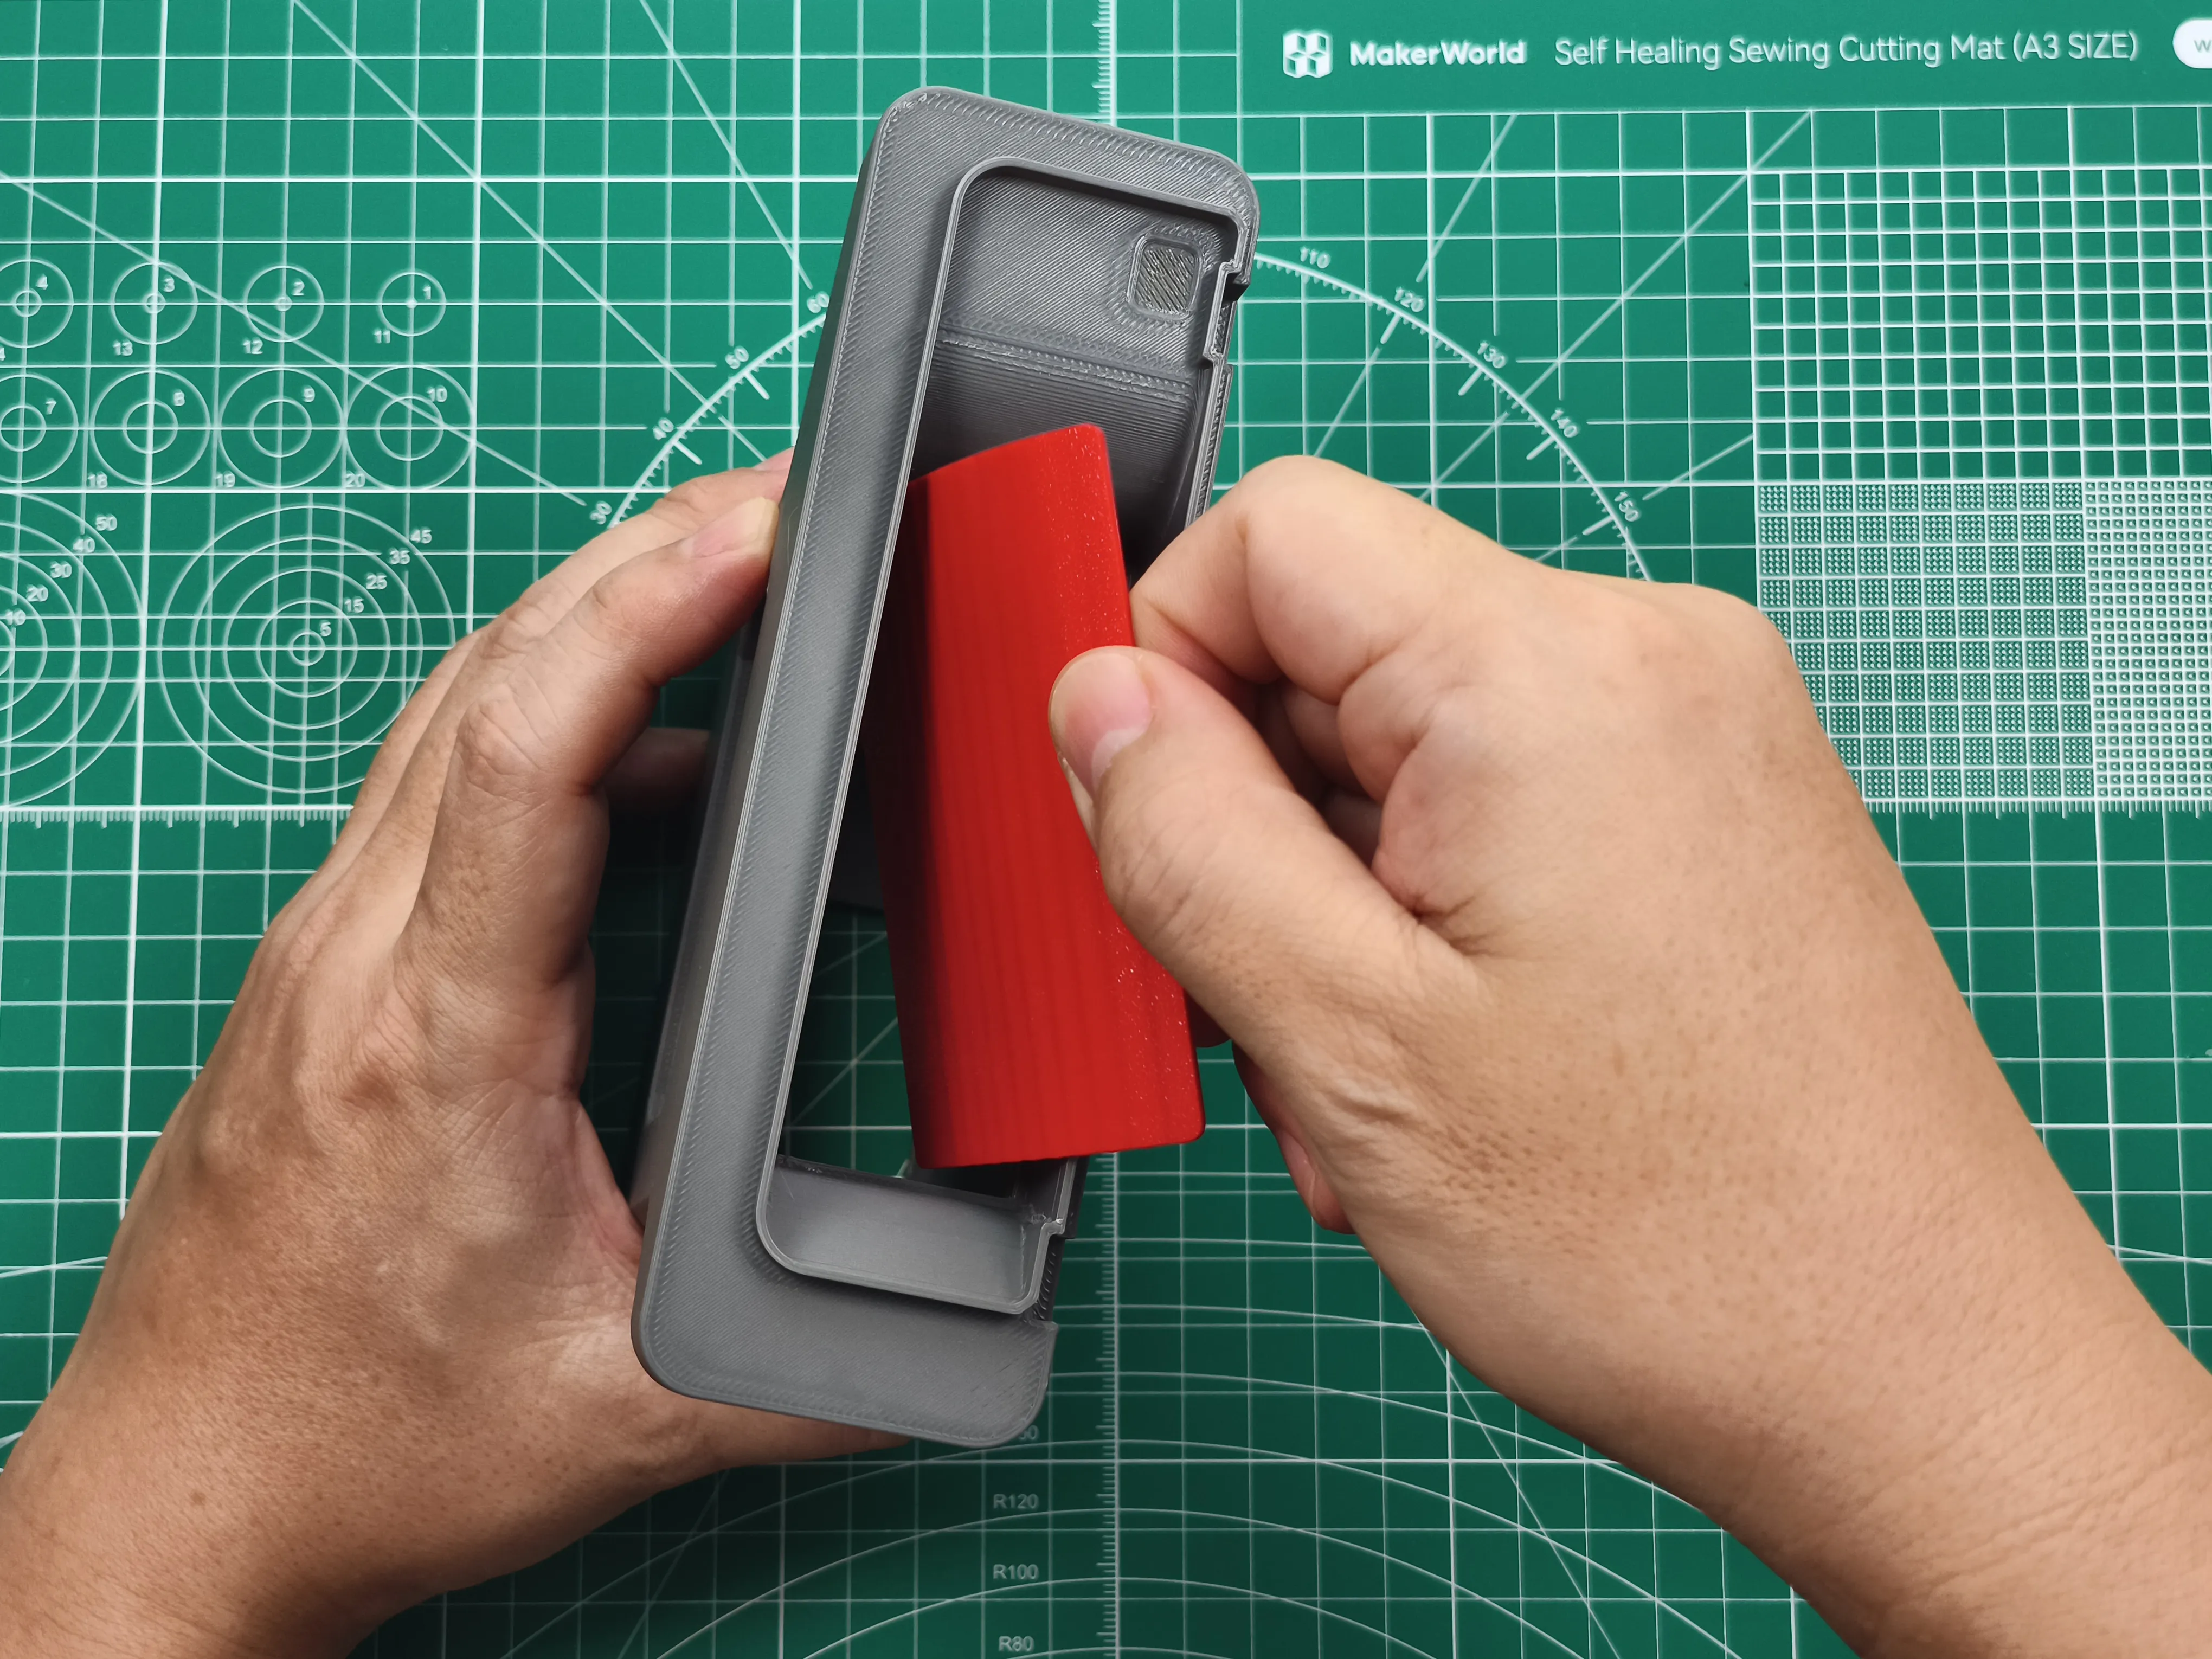
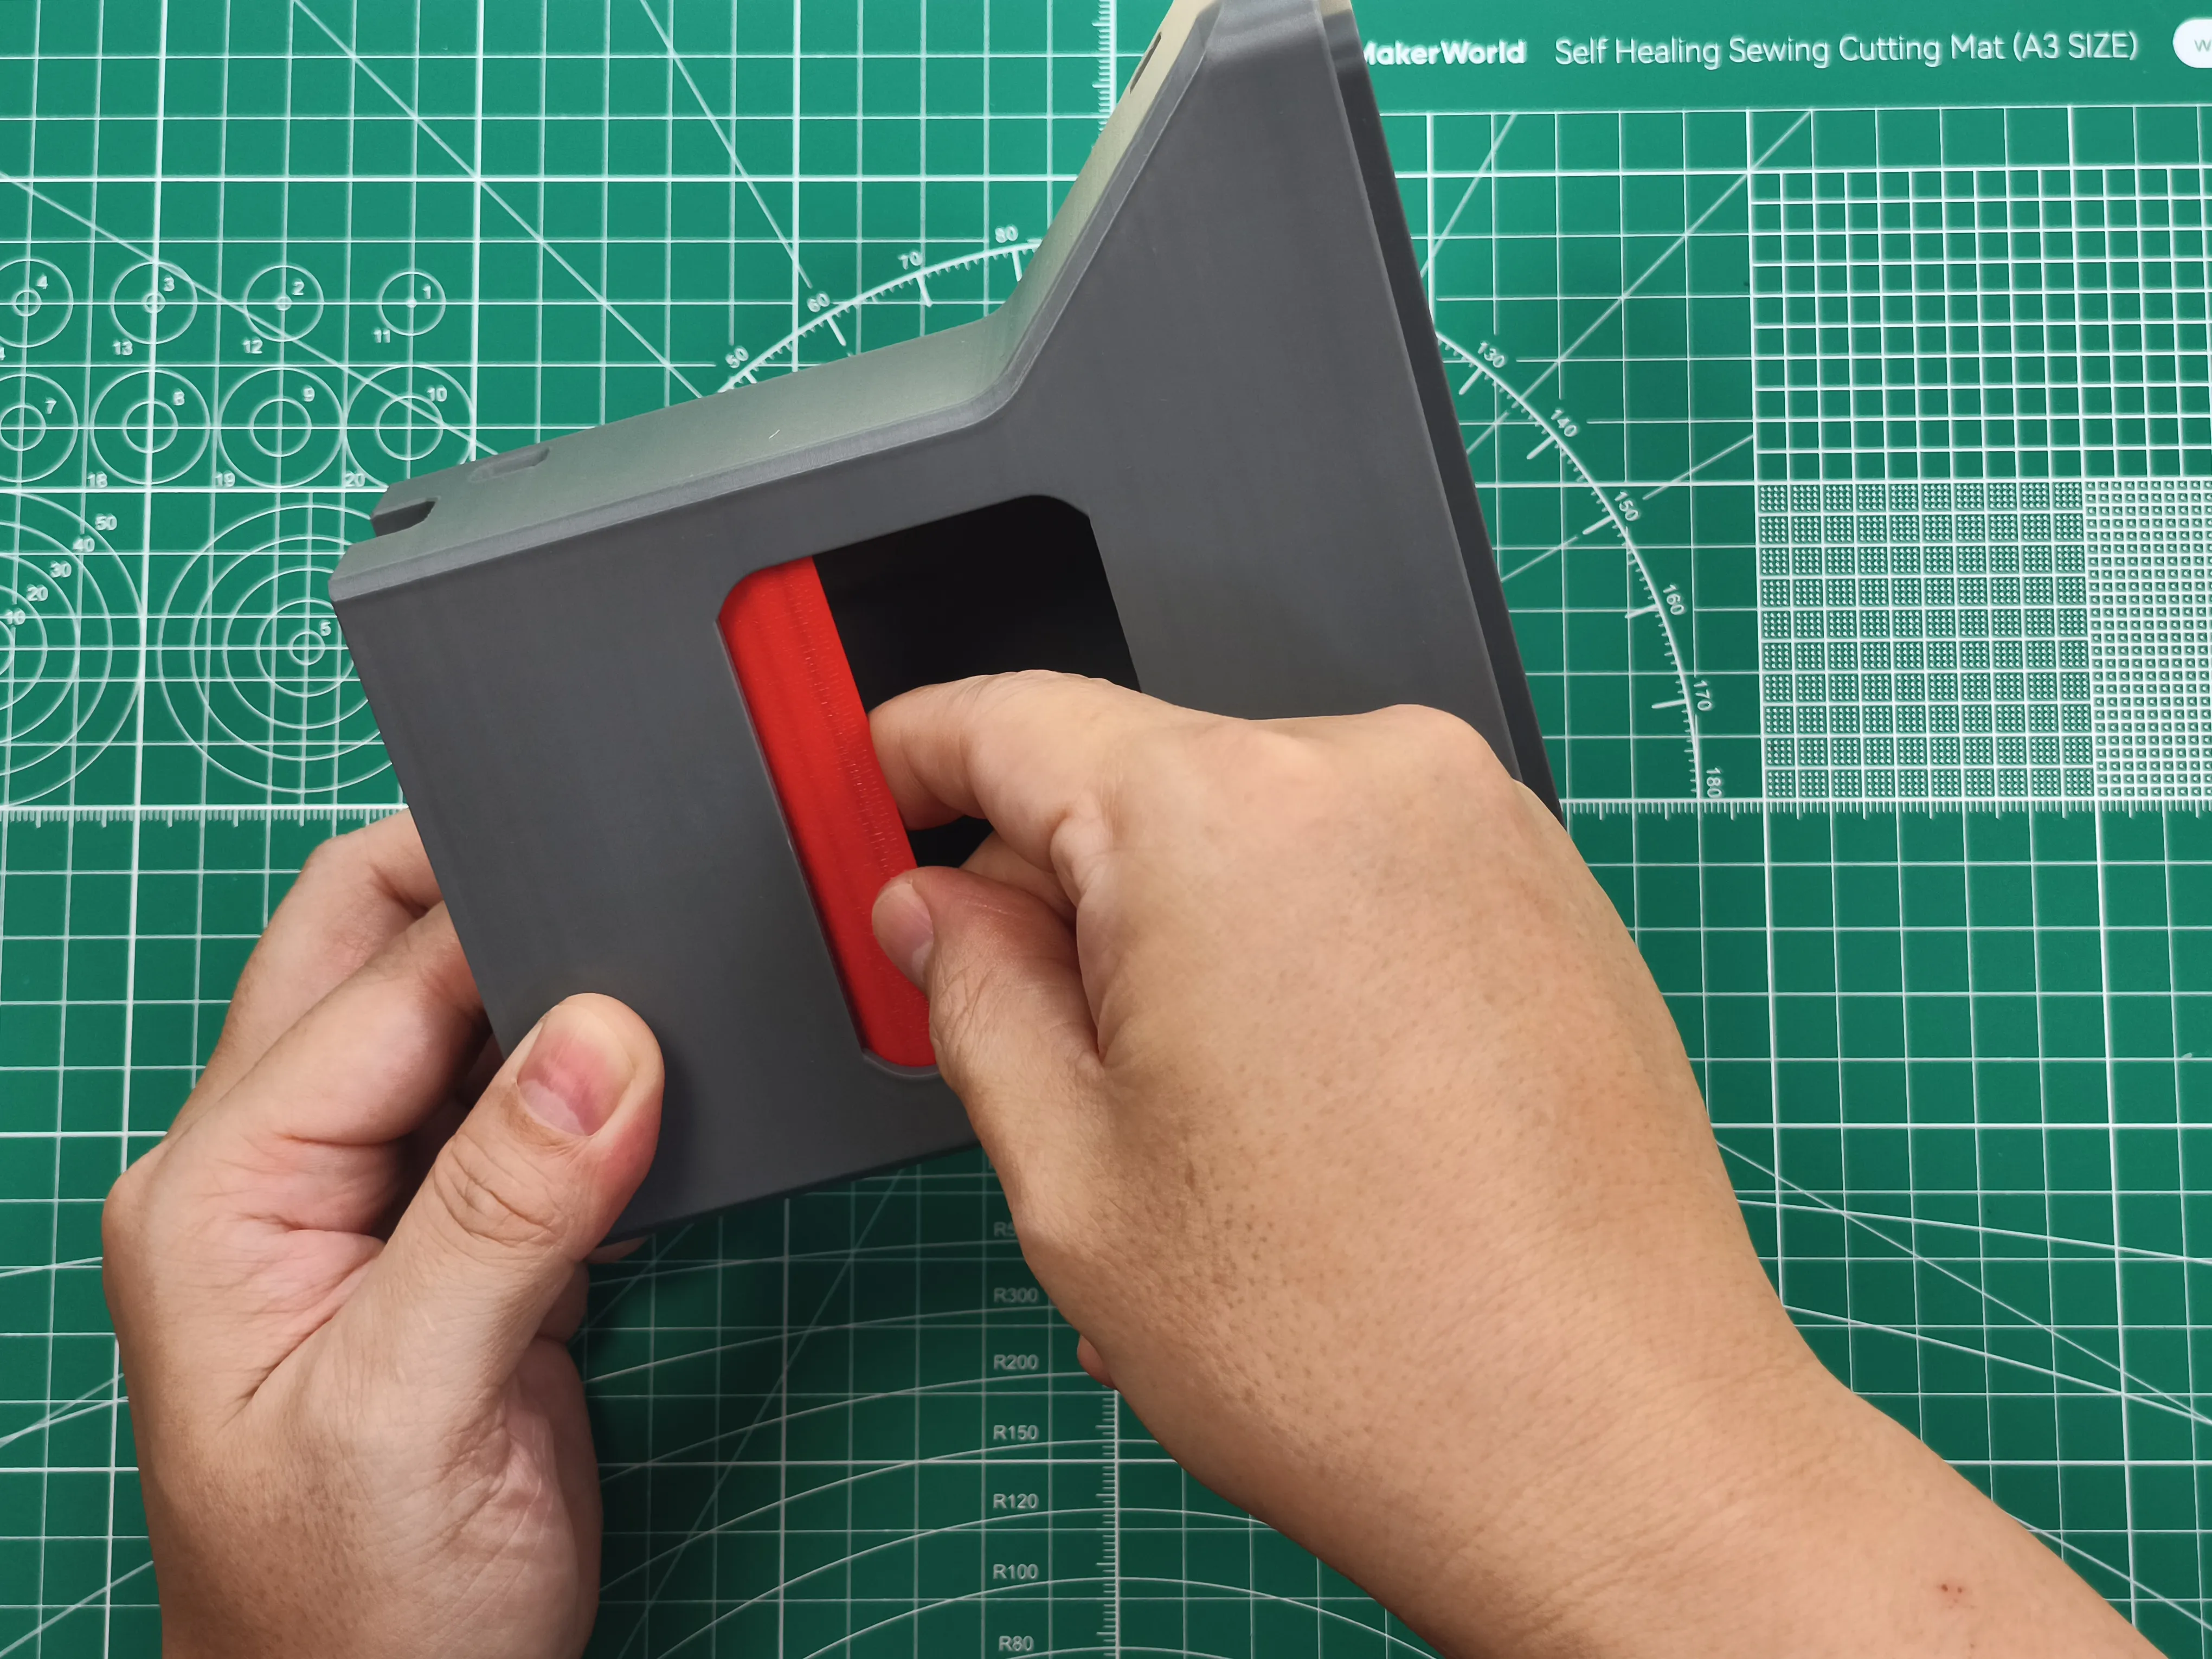
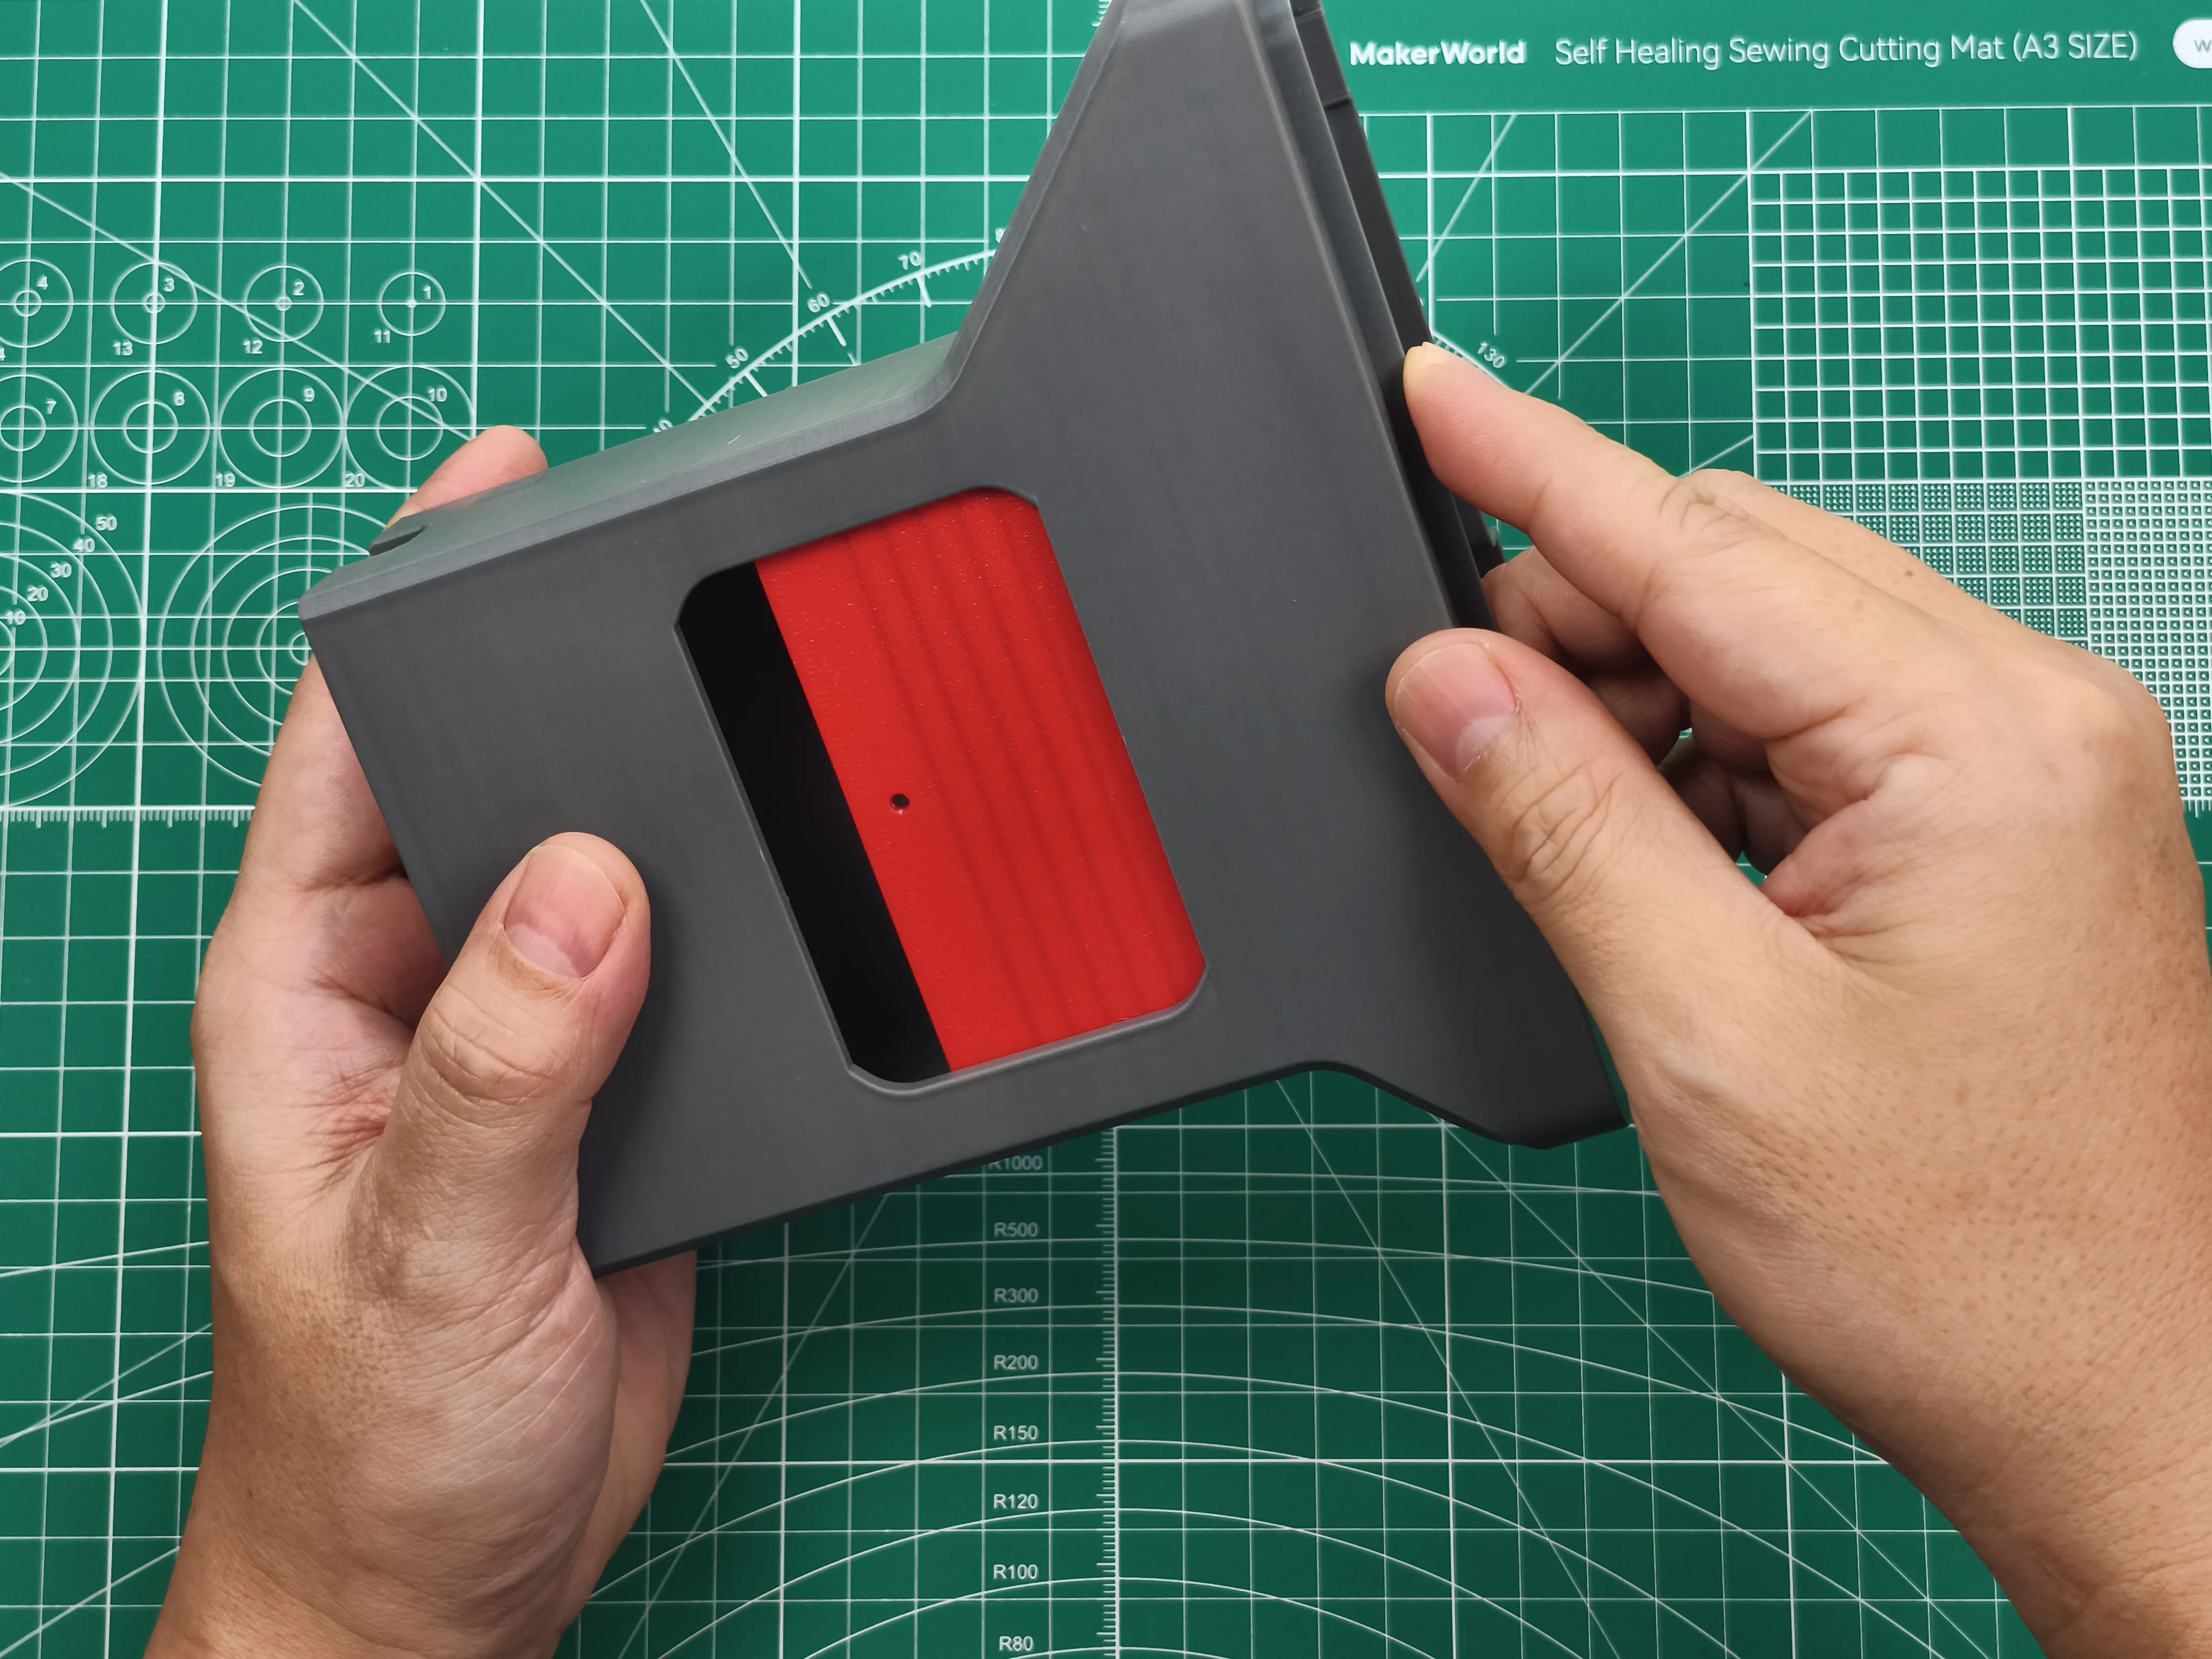
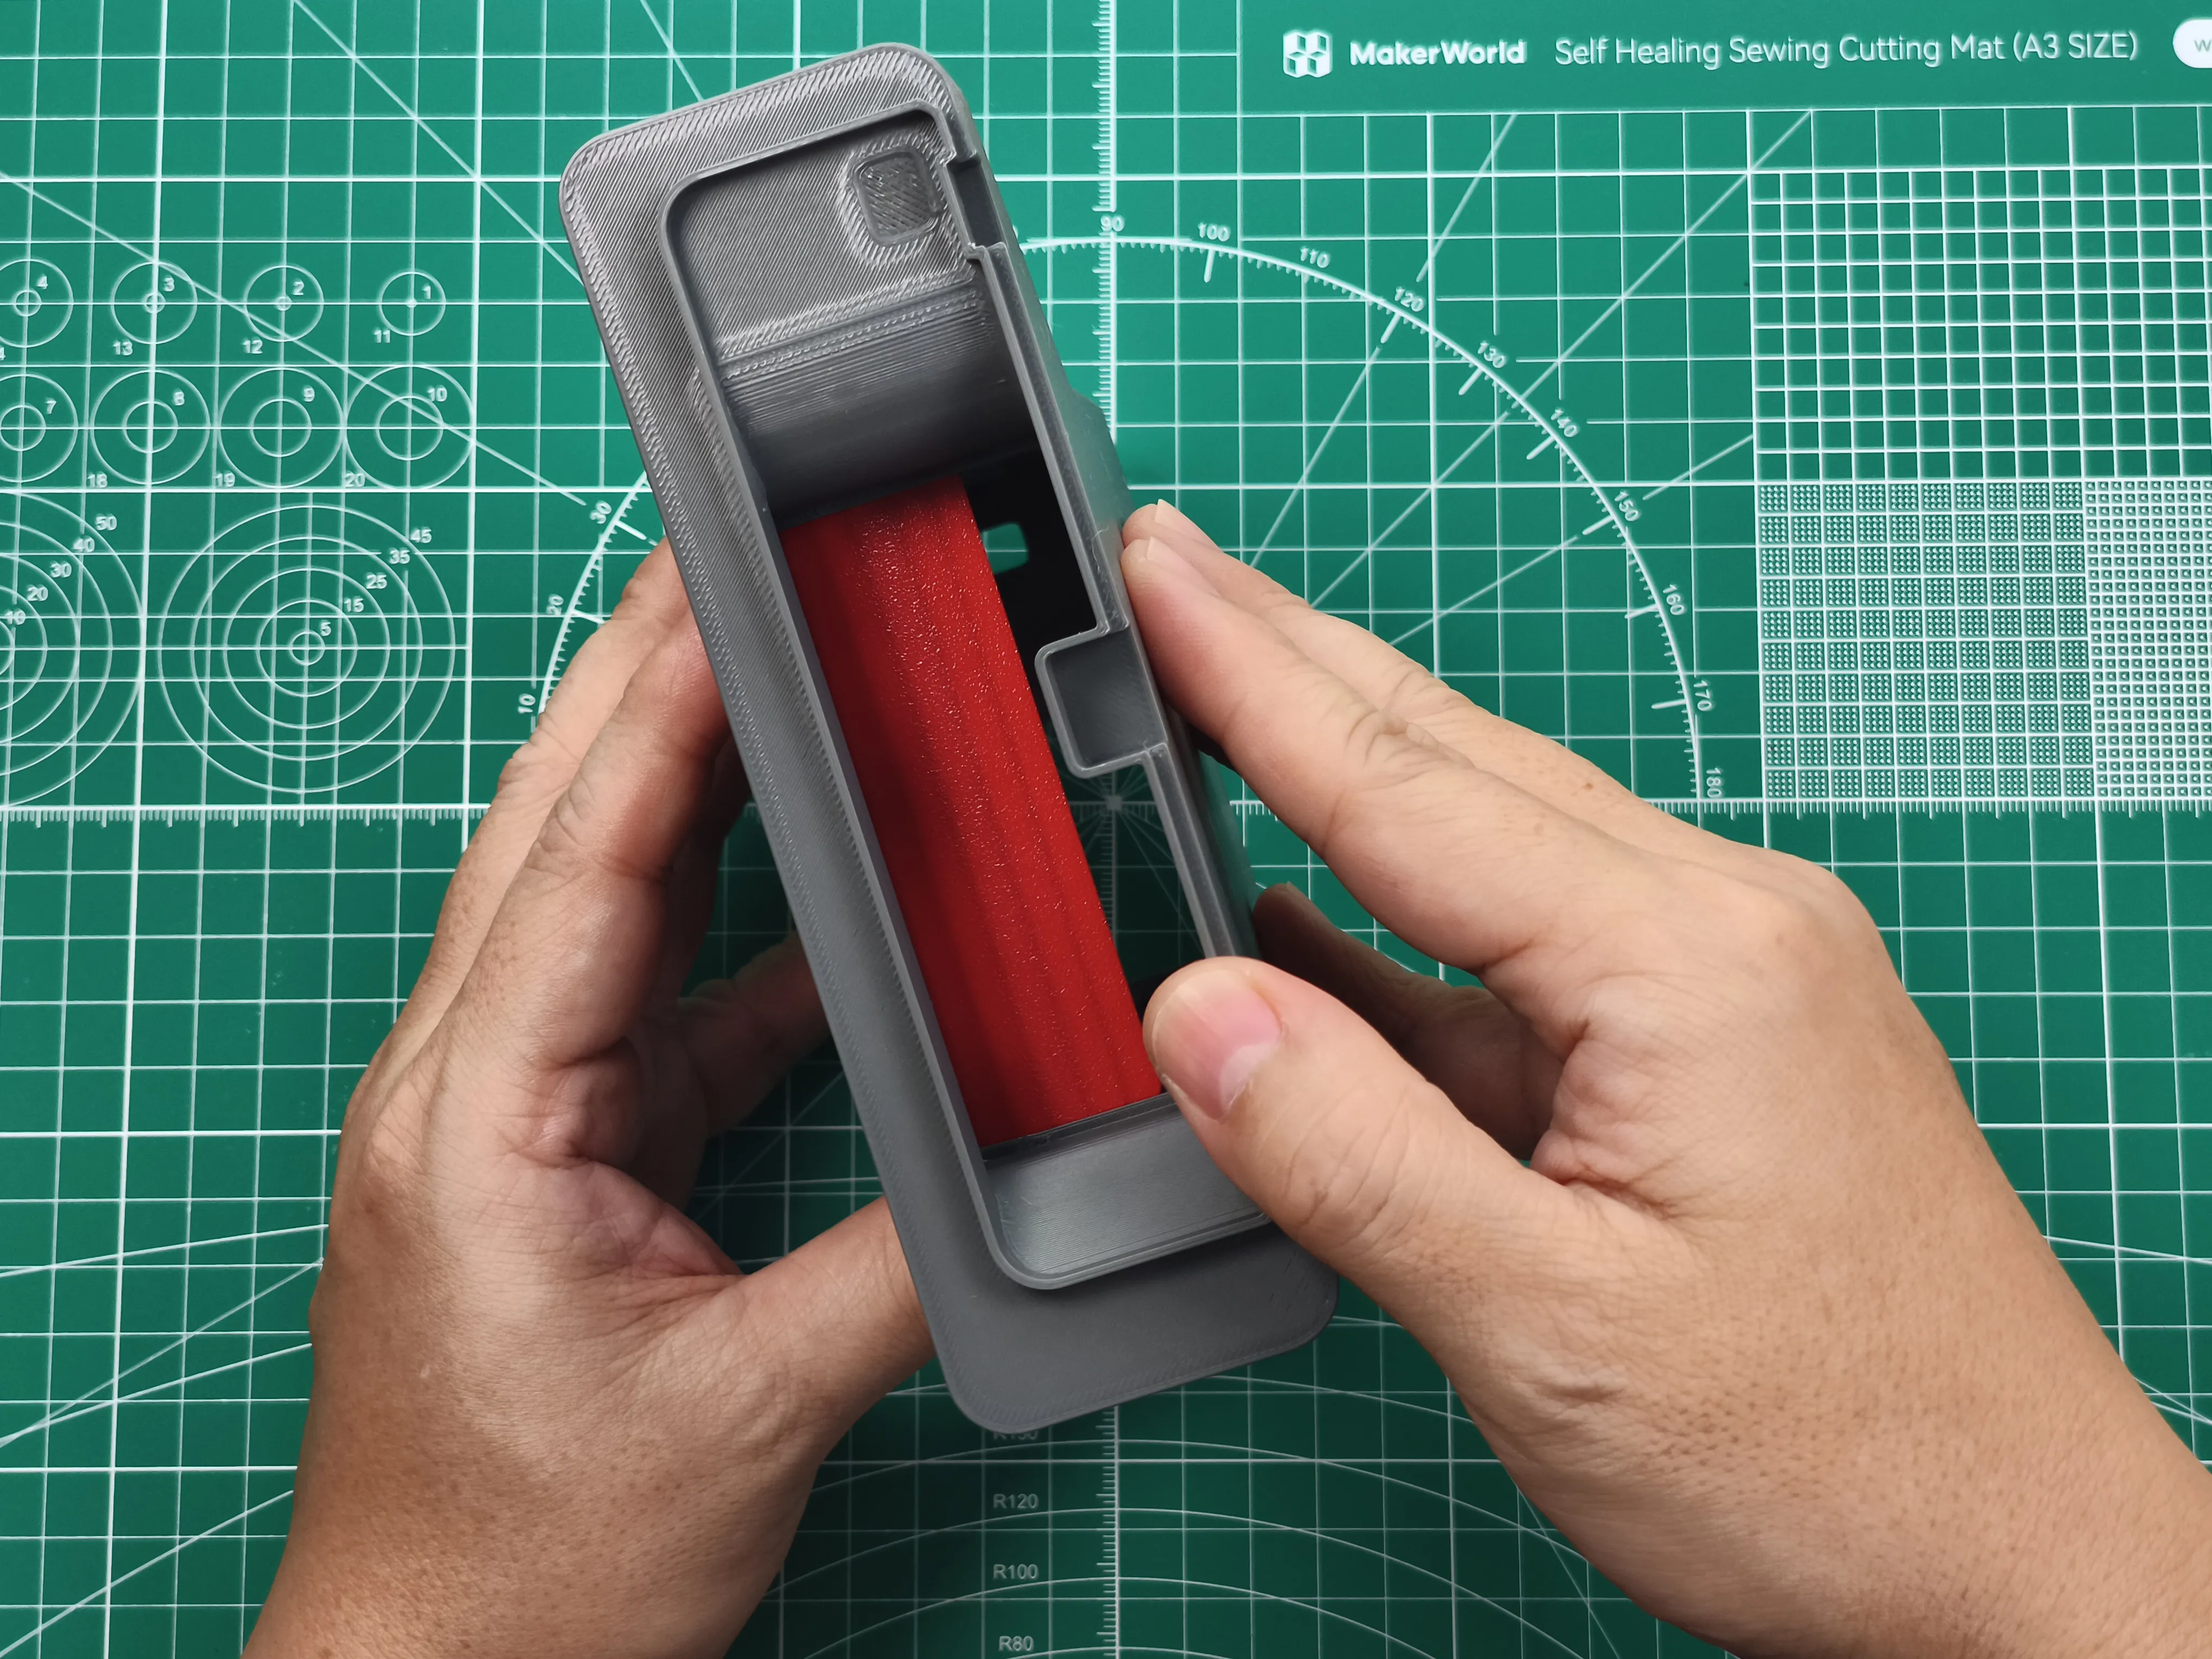
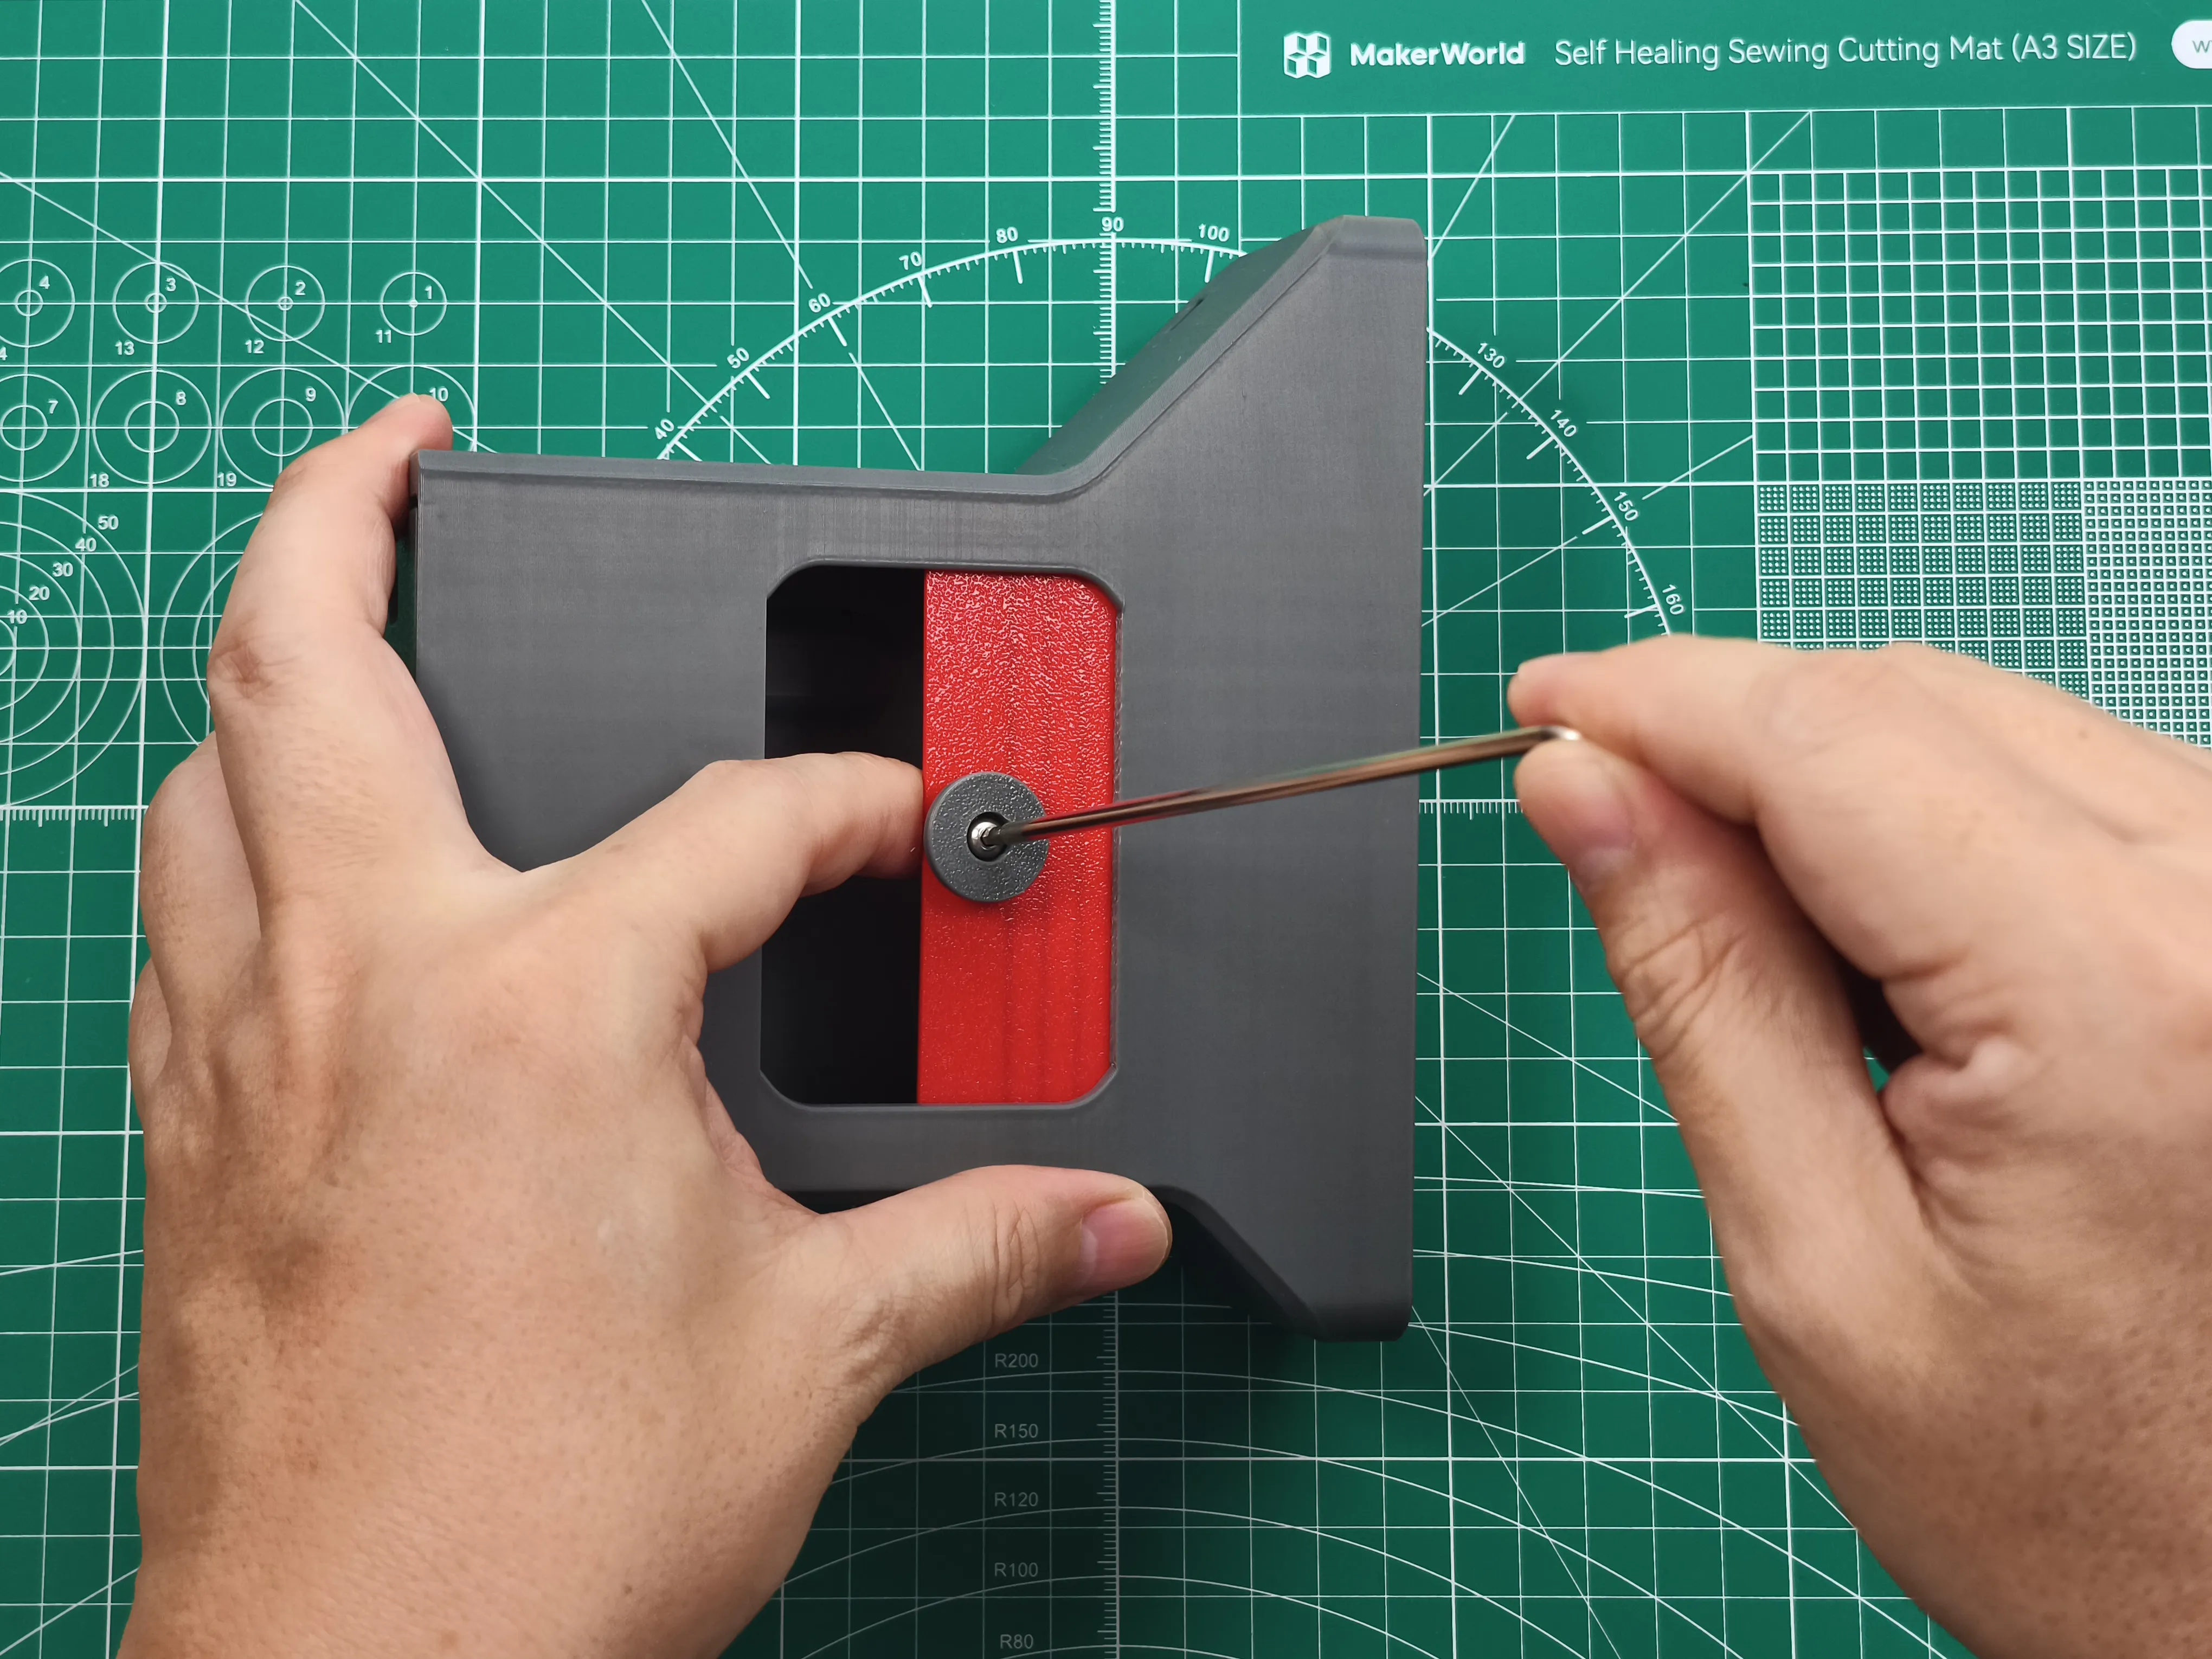
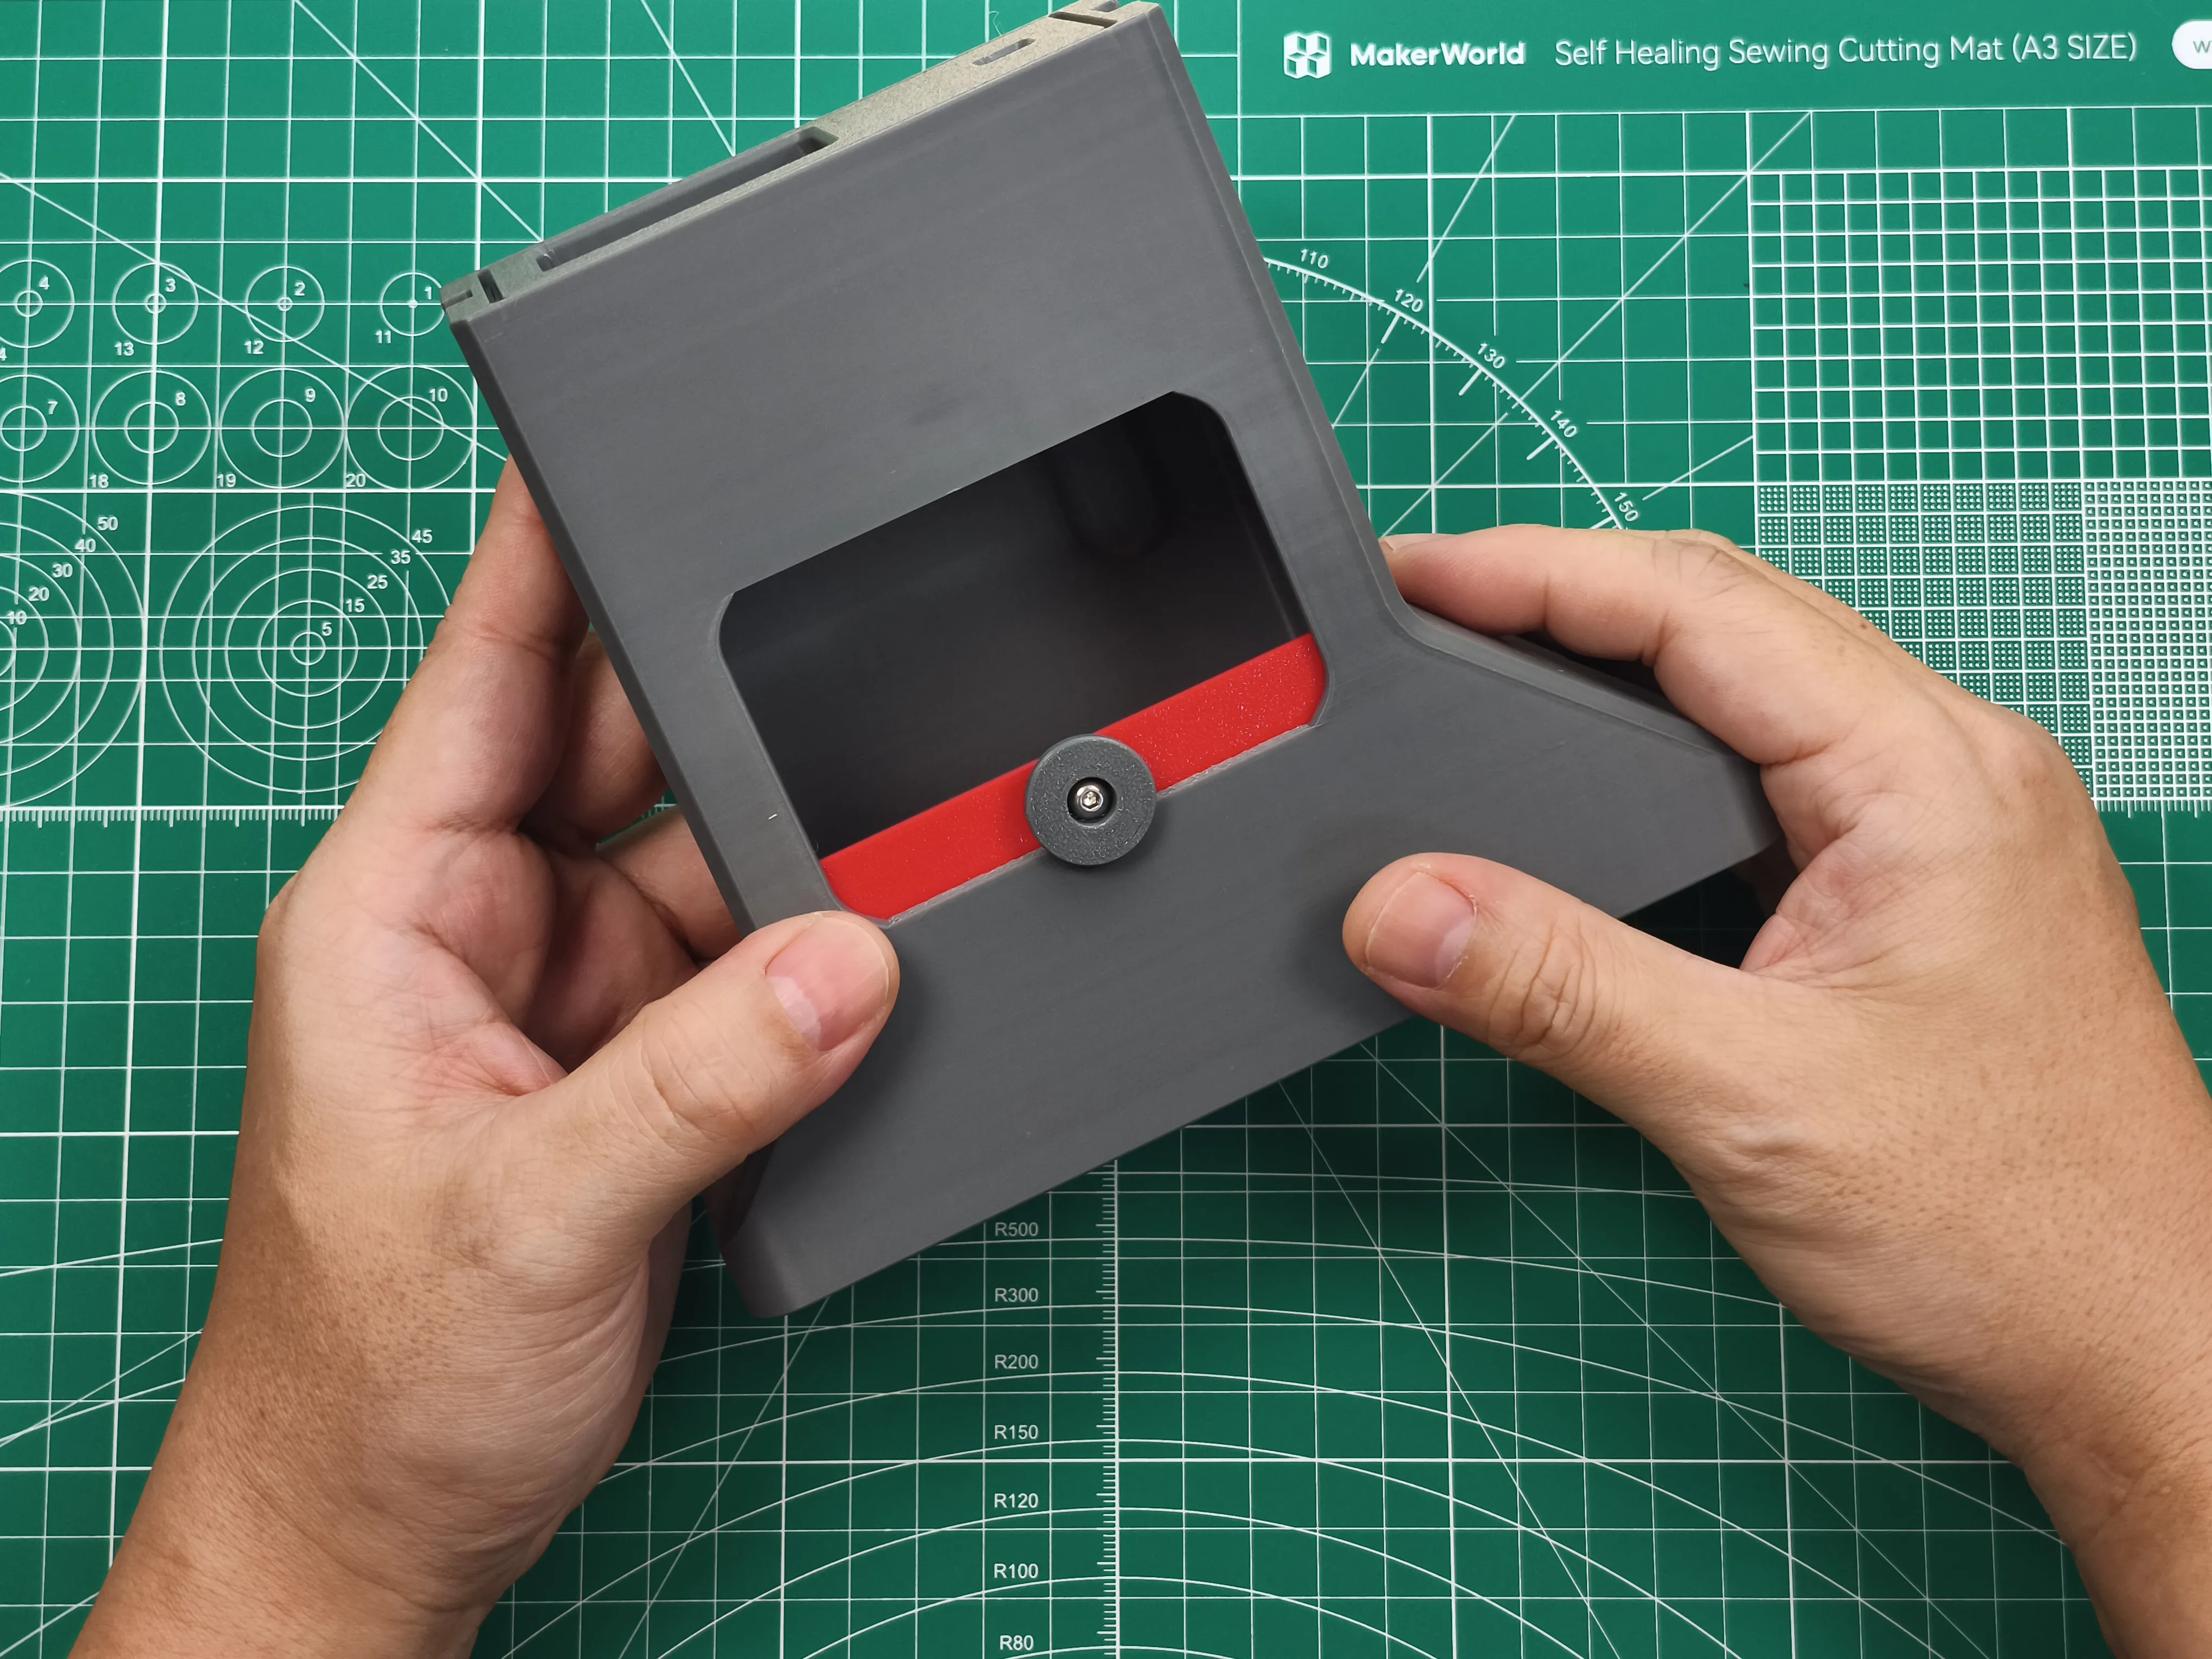
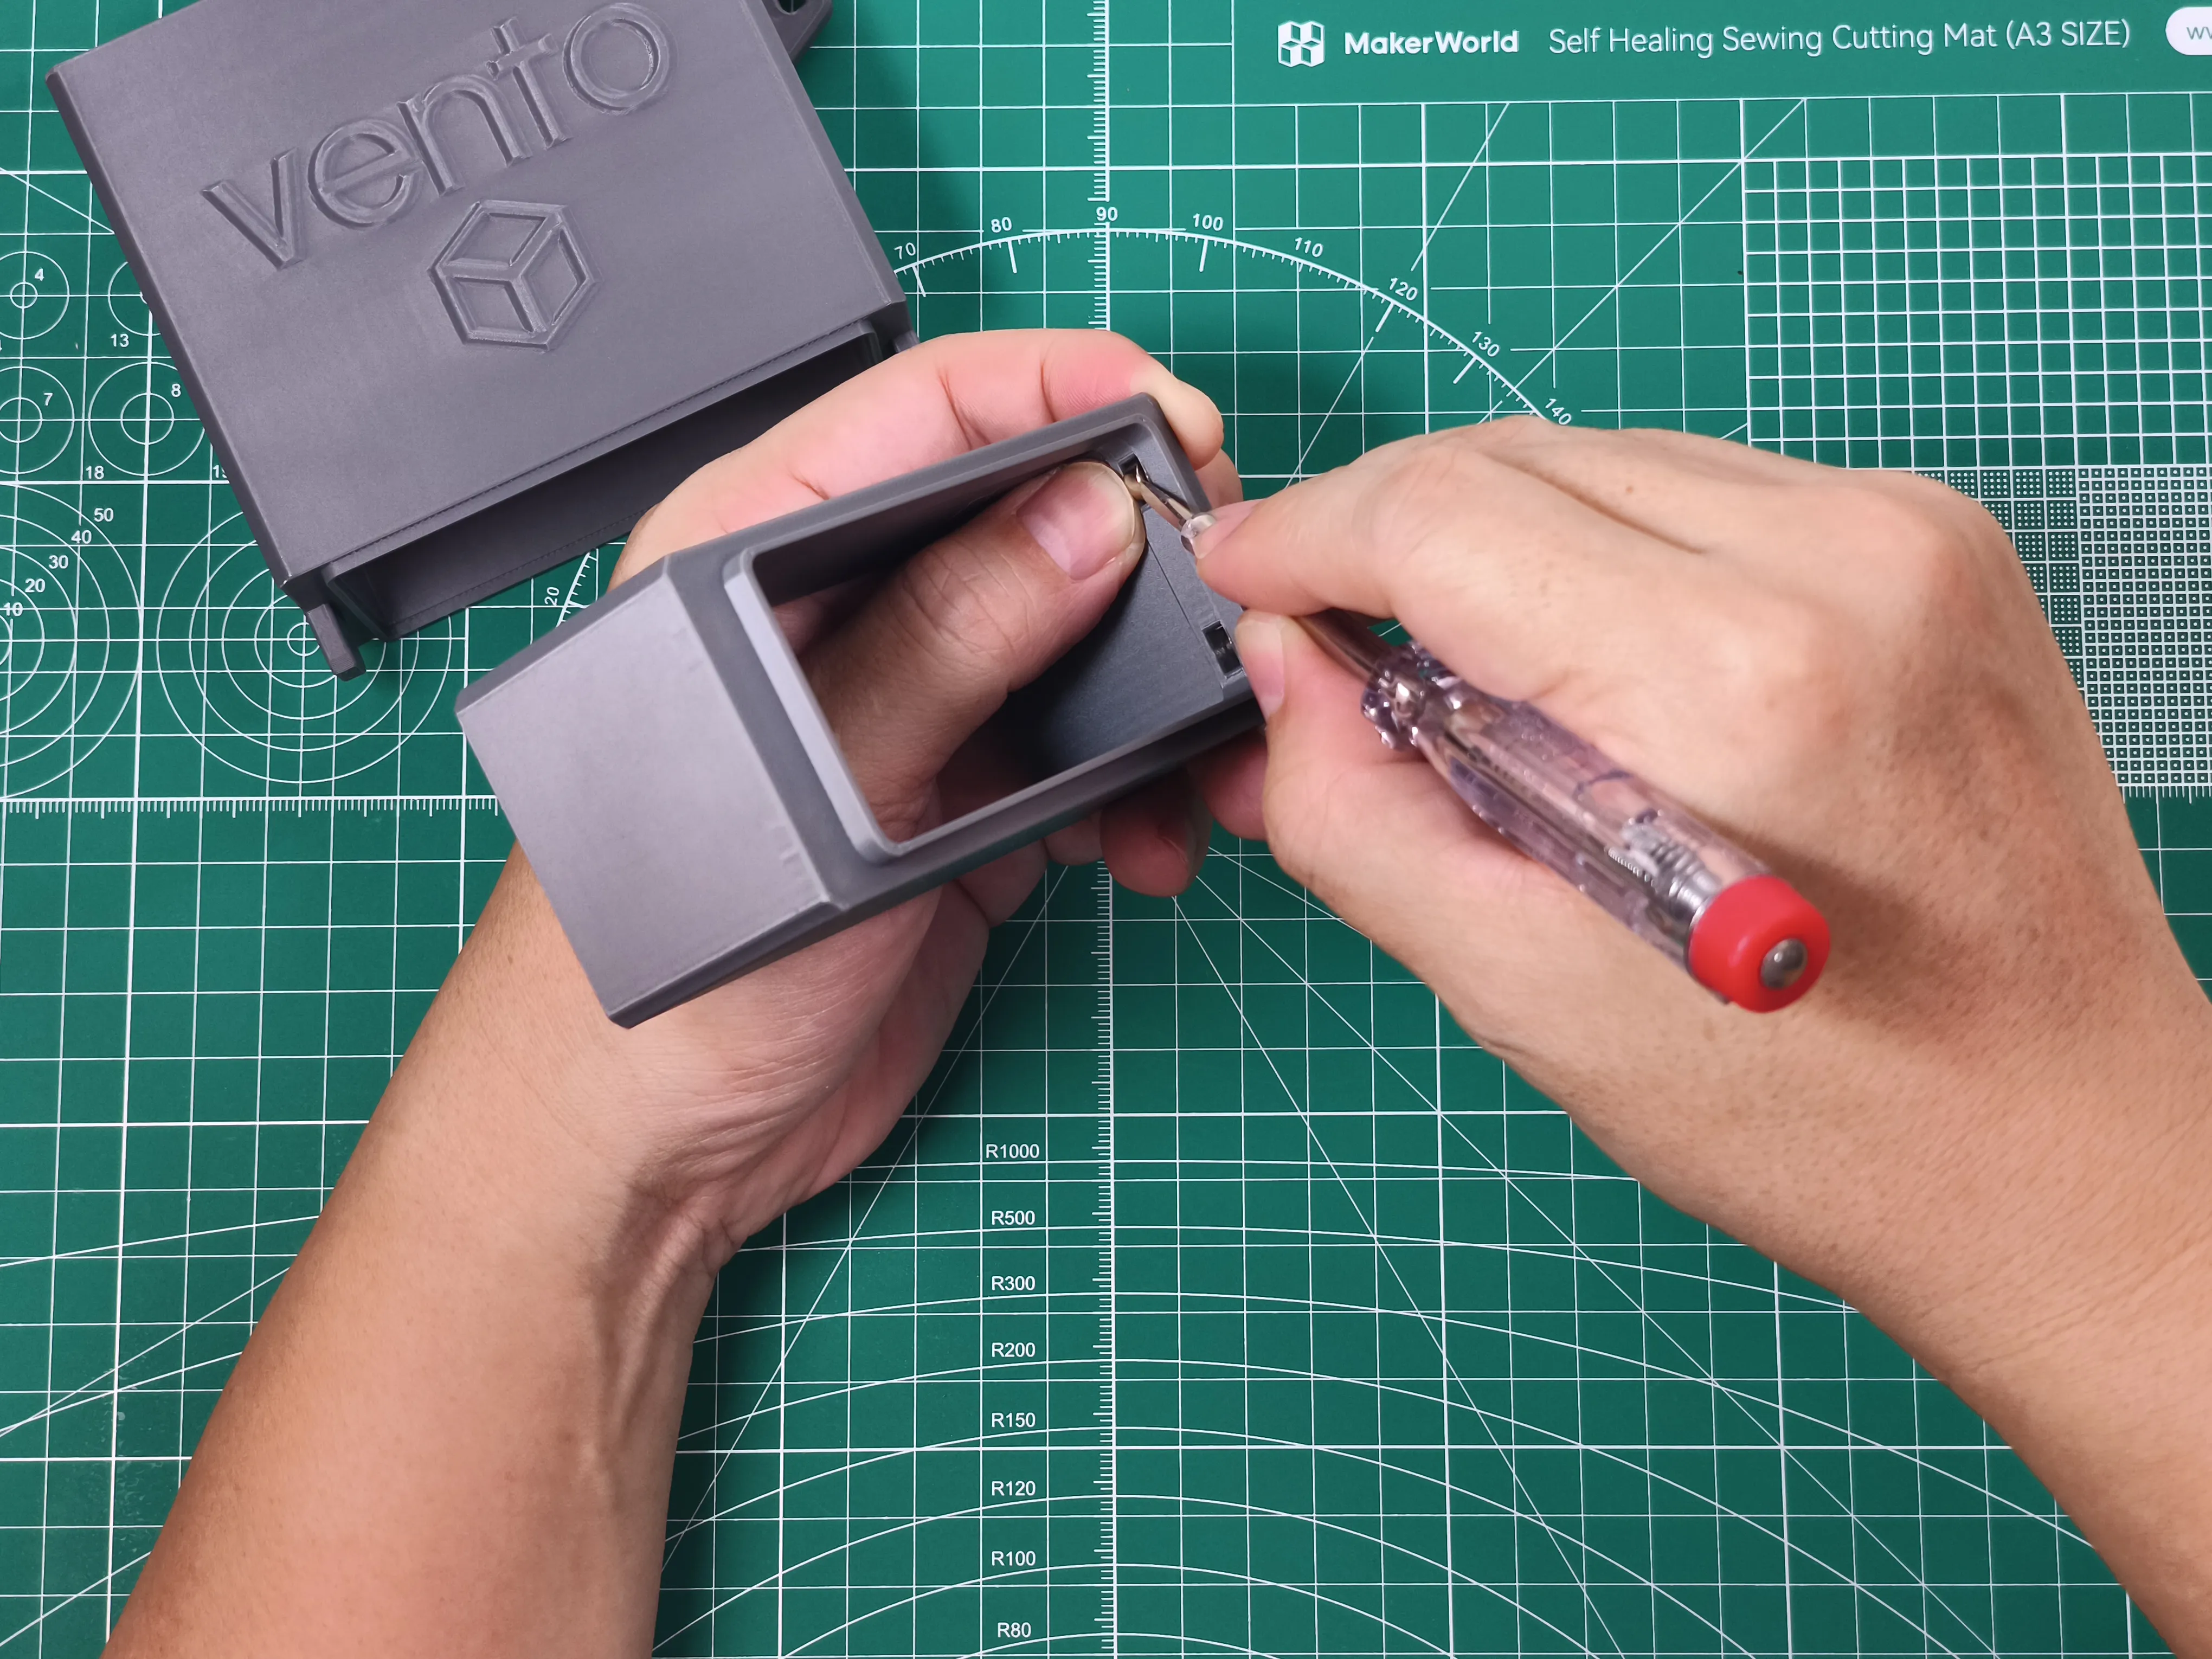
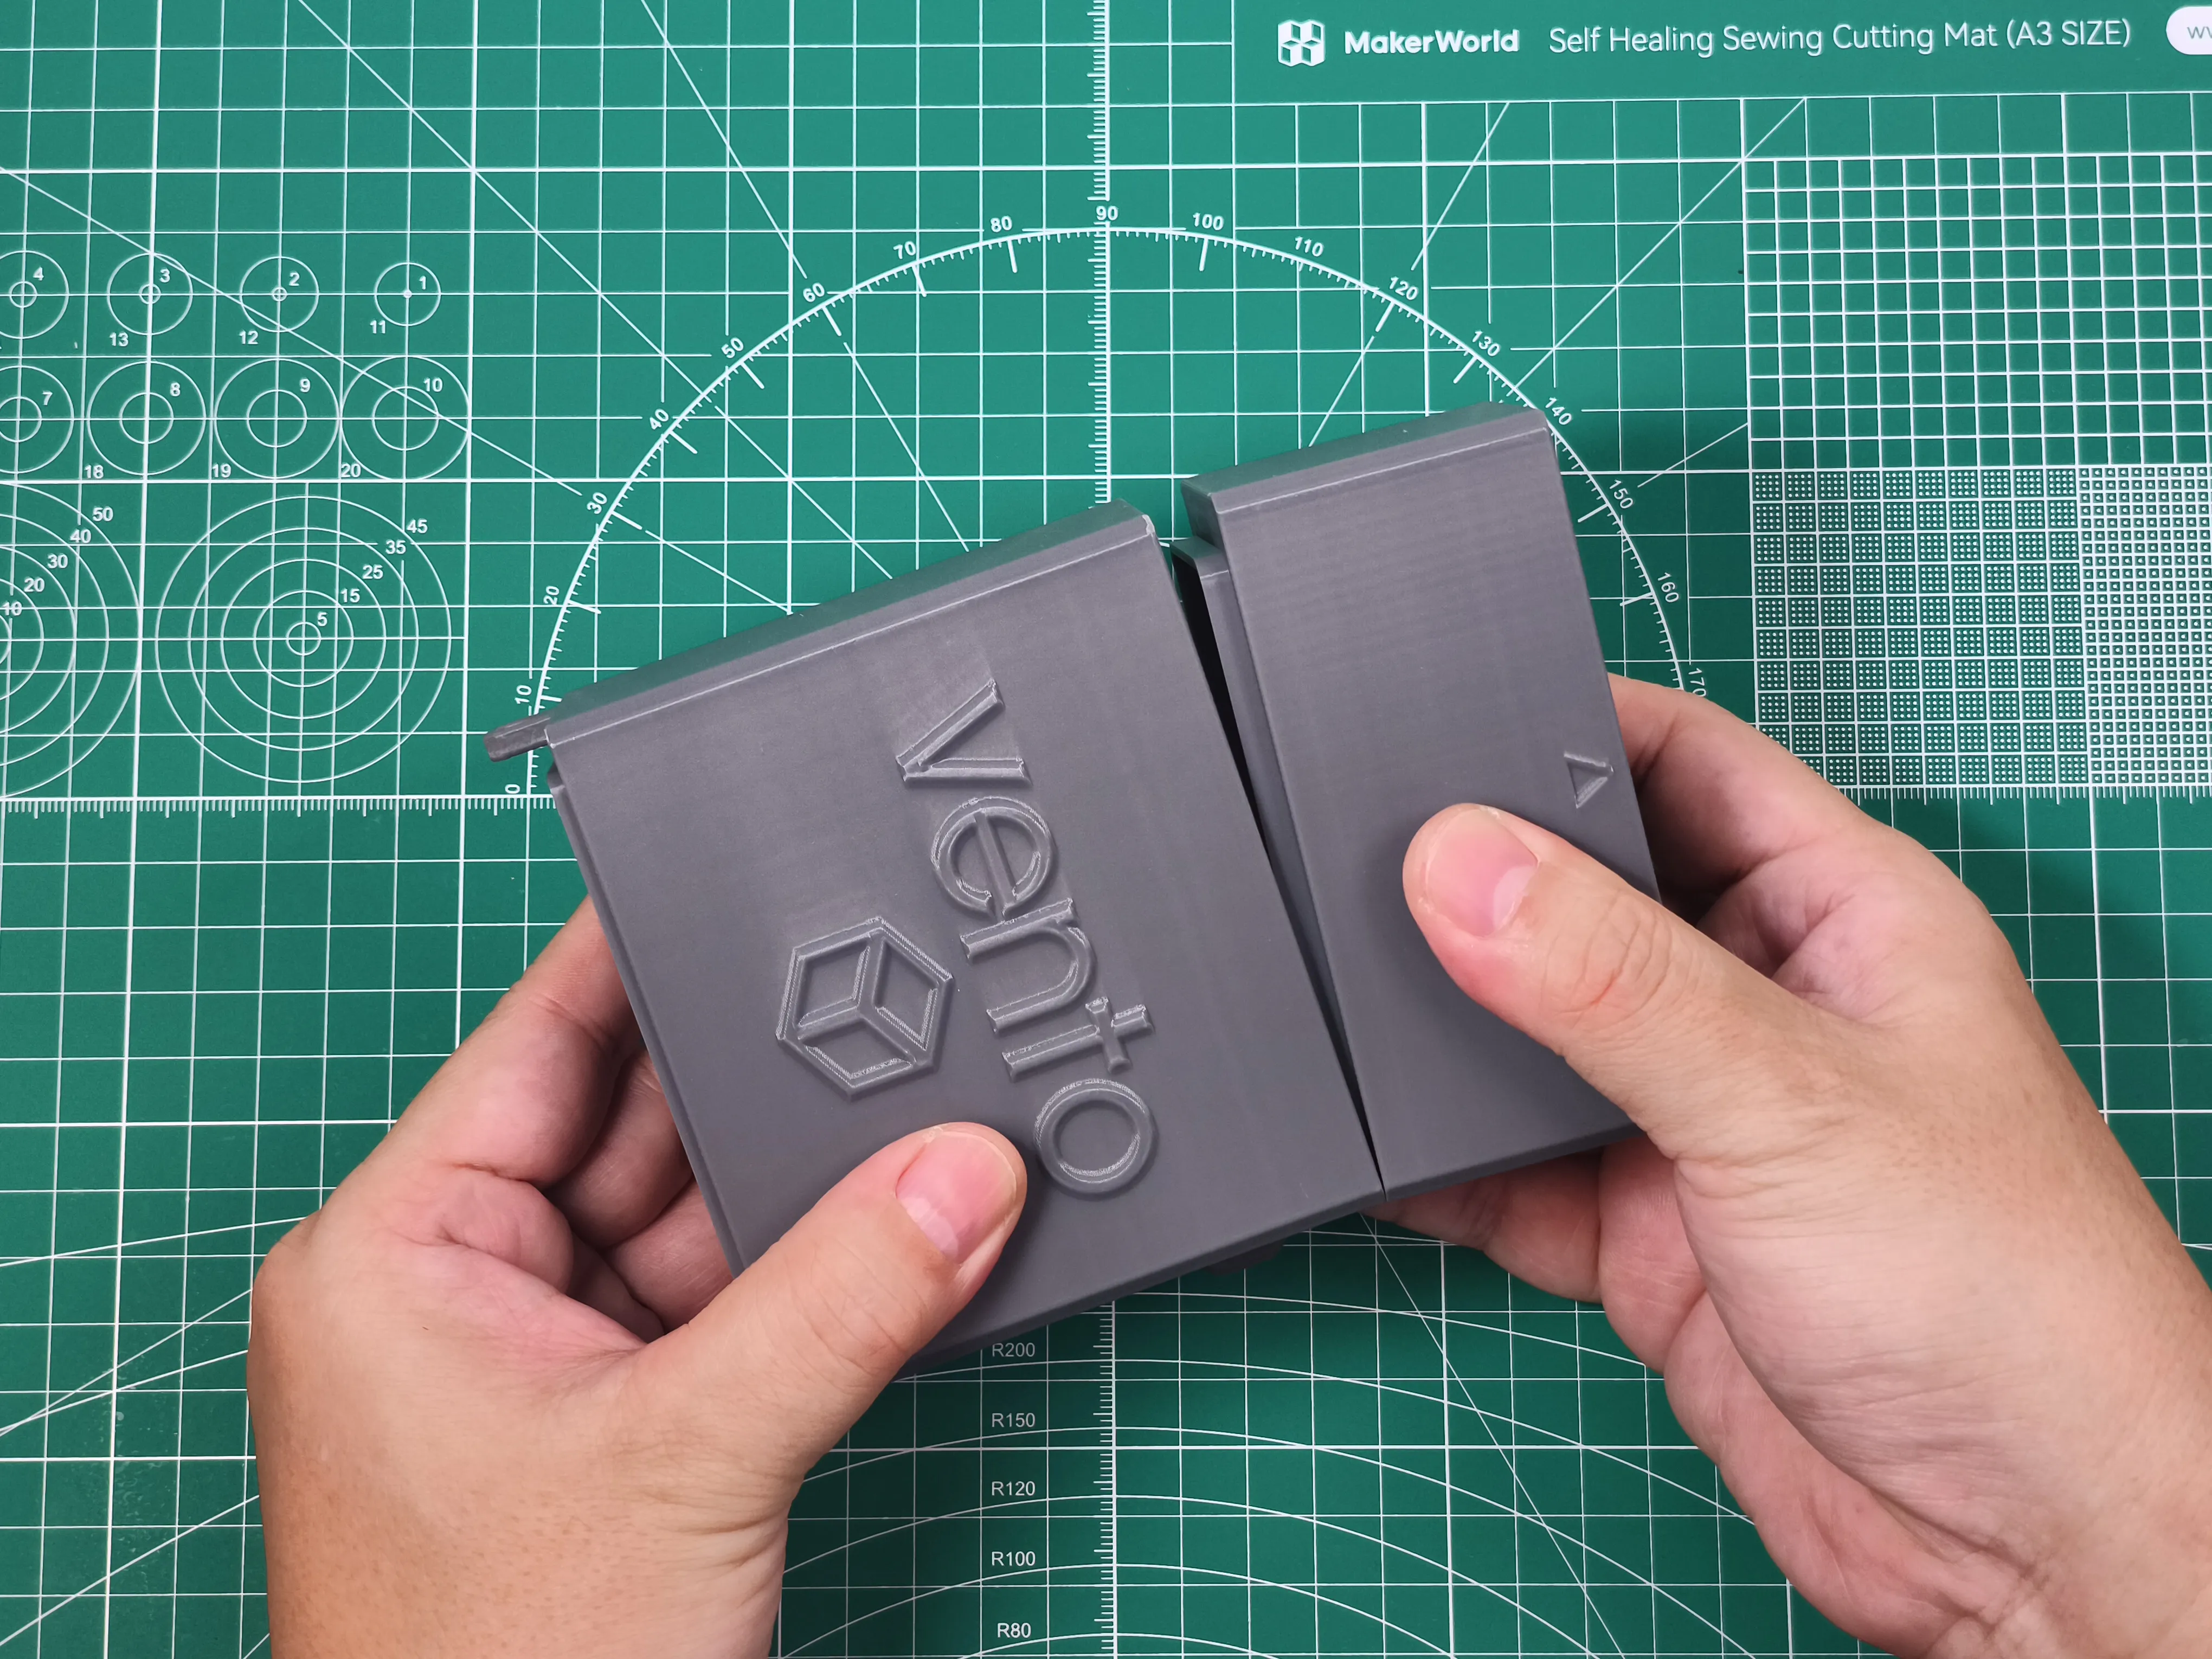
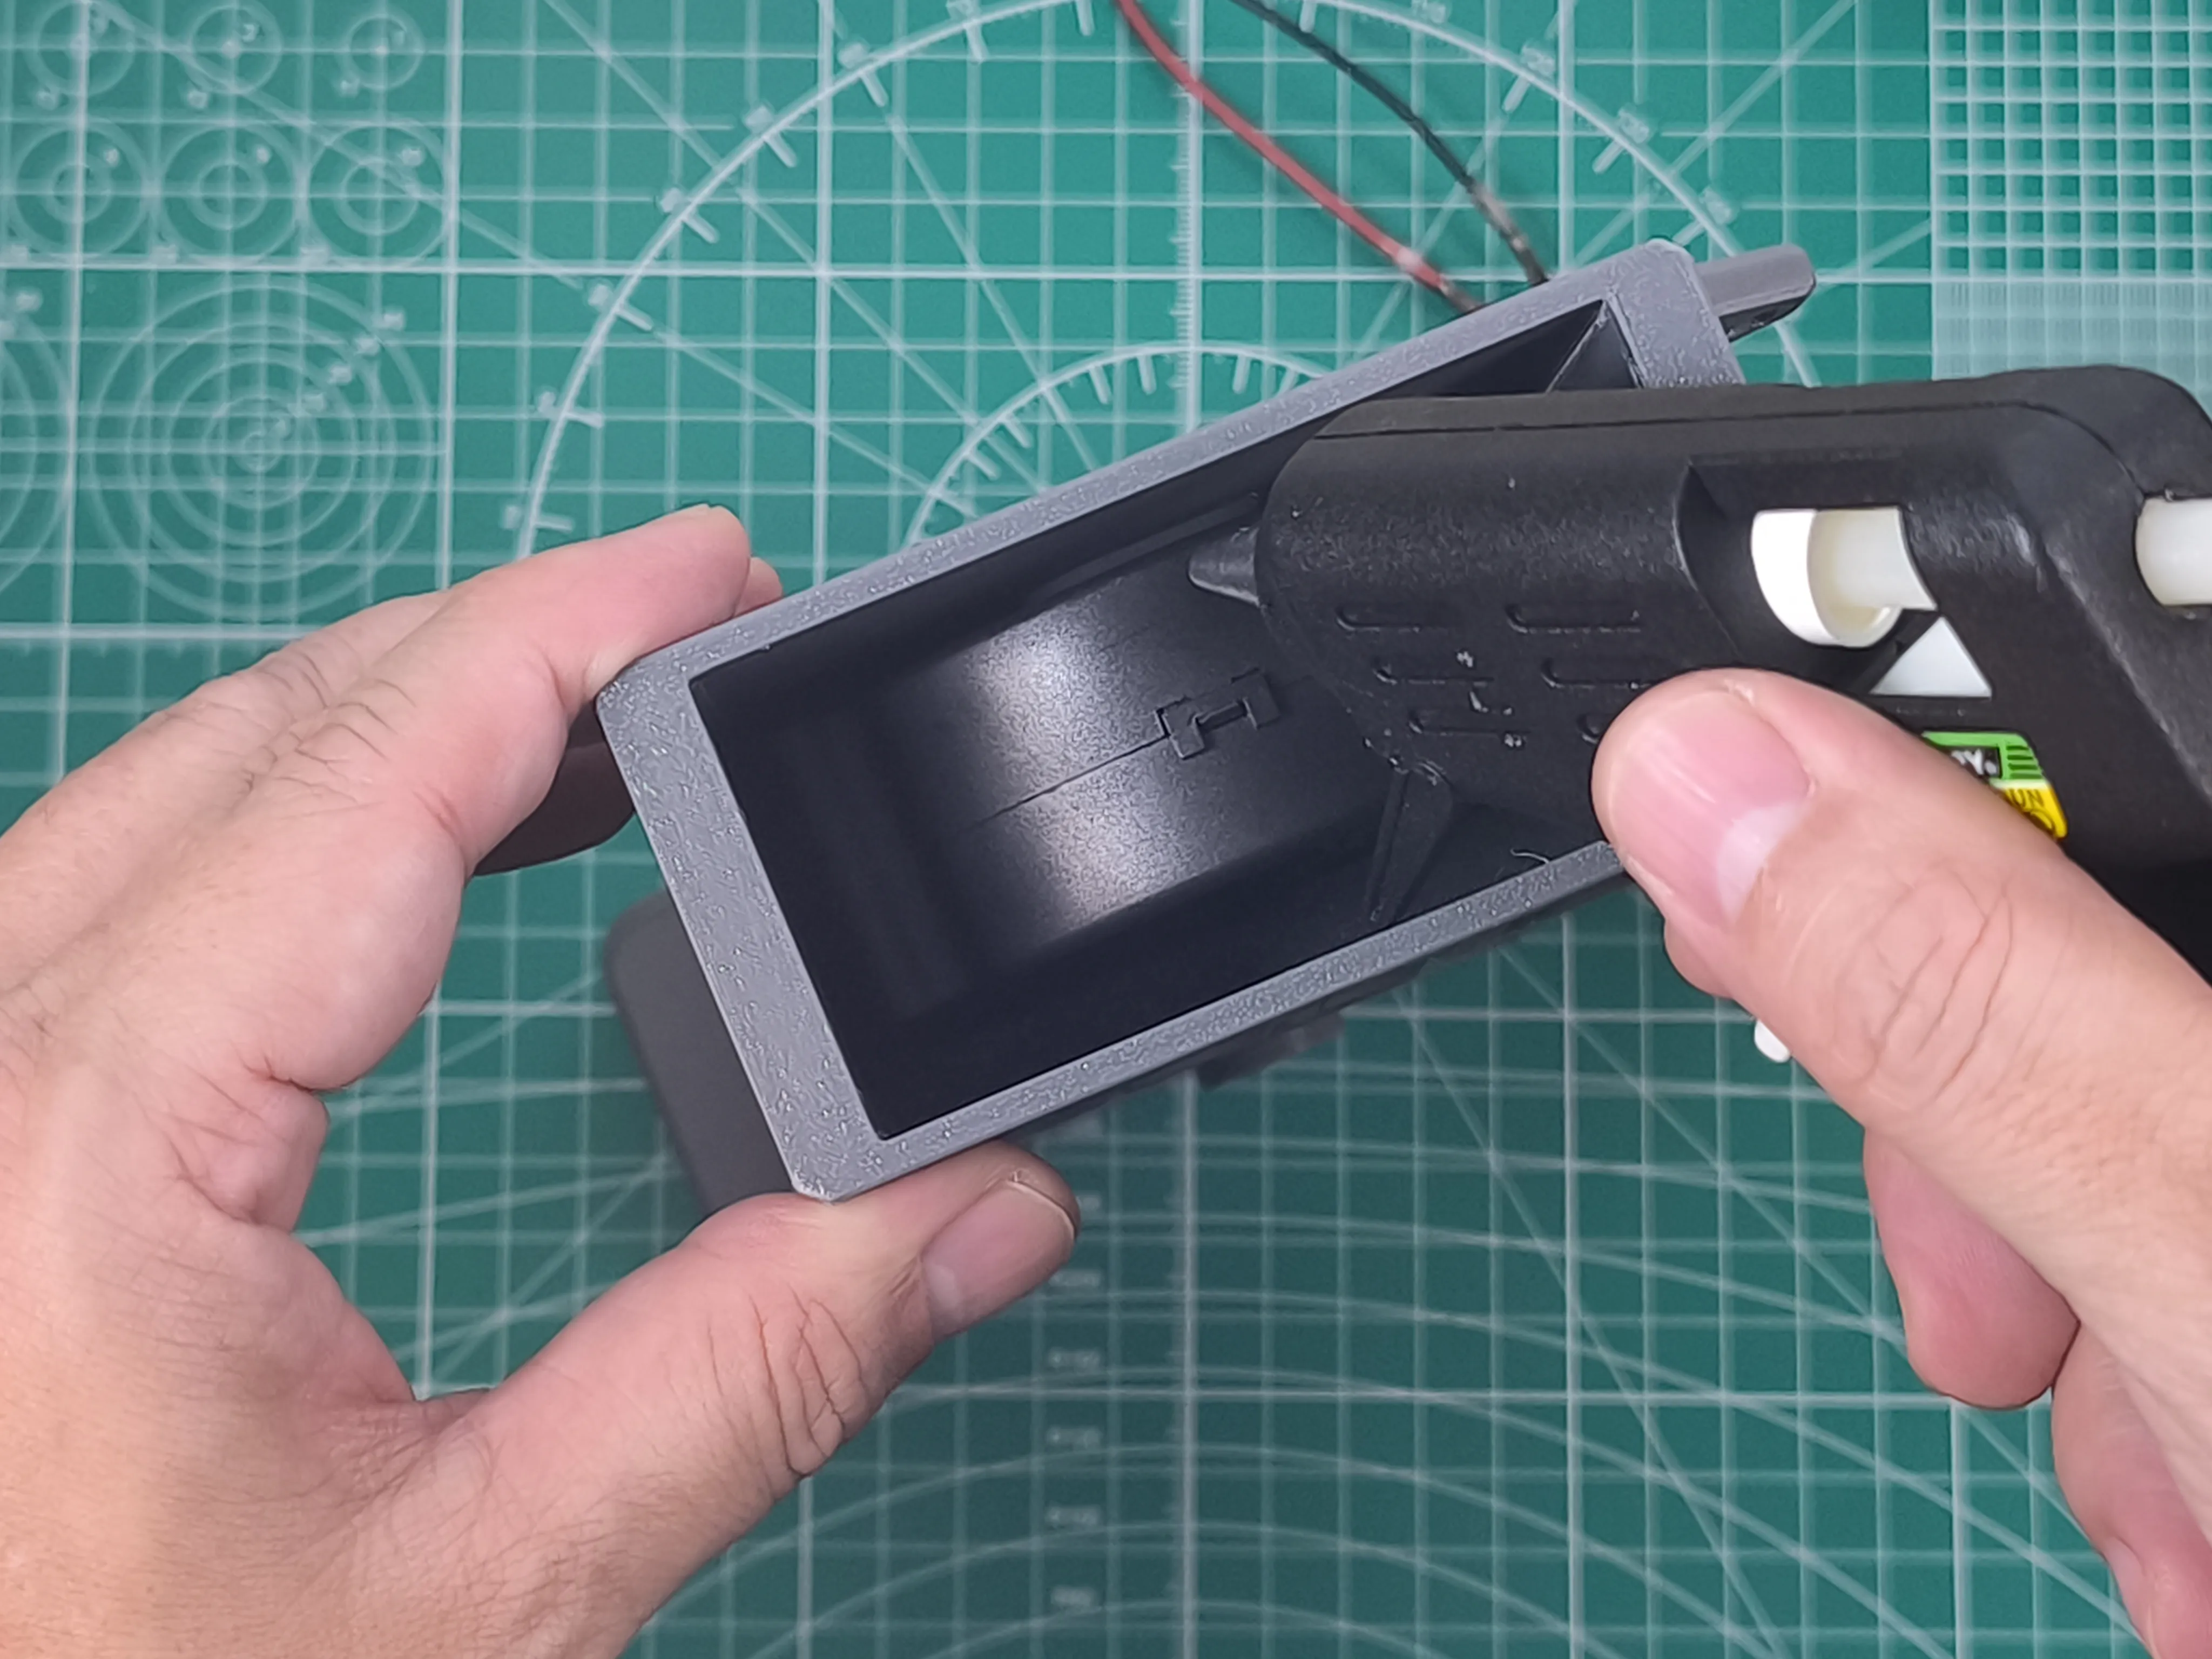
VENTOBOX ASSEMBLY GUIDE (2-Pin Fan Configuration)
 |  |  |
|
|
|
 |  |  |
|
| |
 |  |  |
|
| |
 |  |  |
|
| |
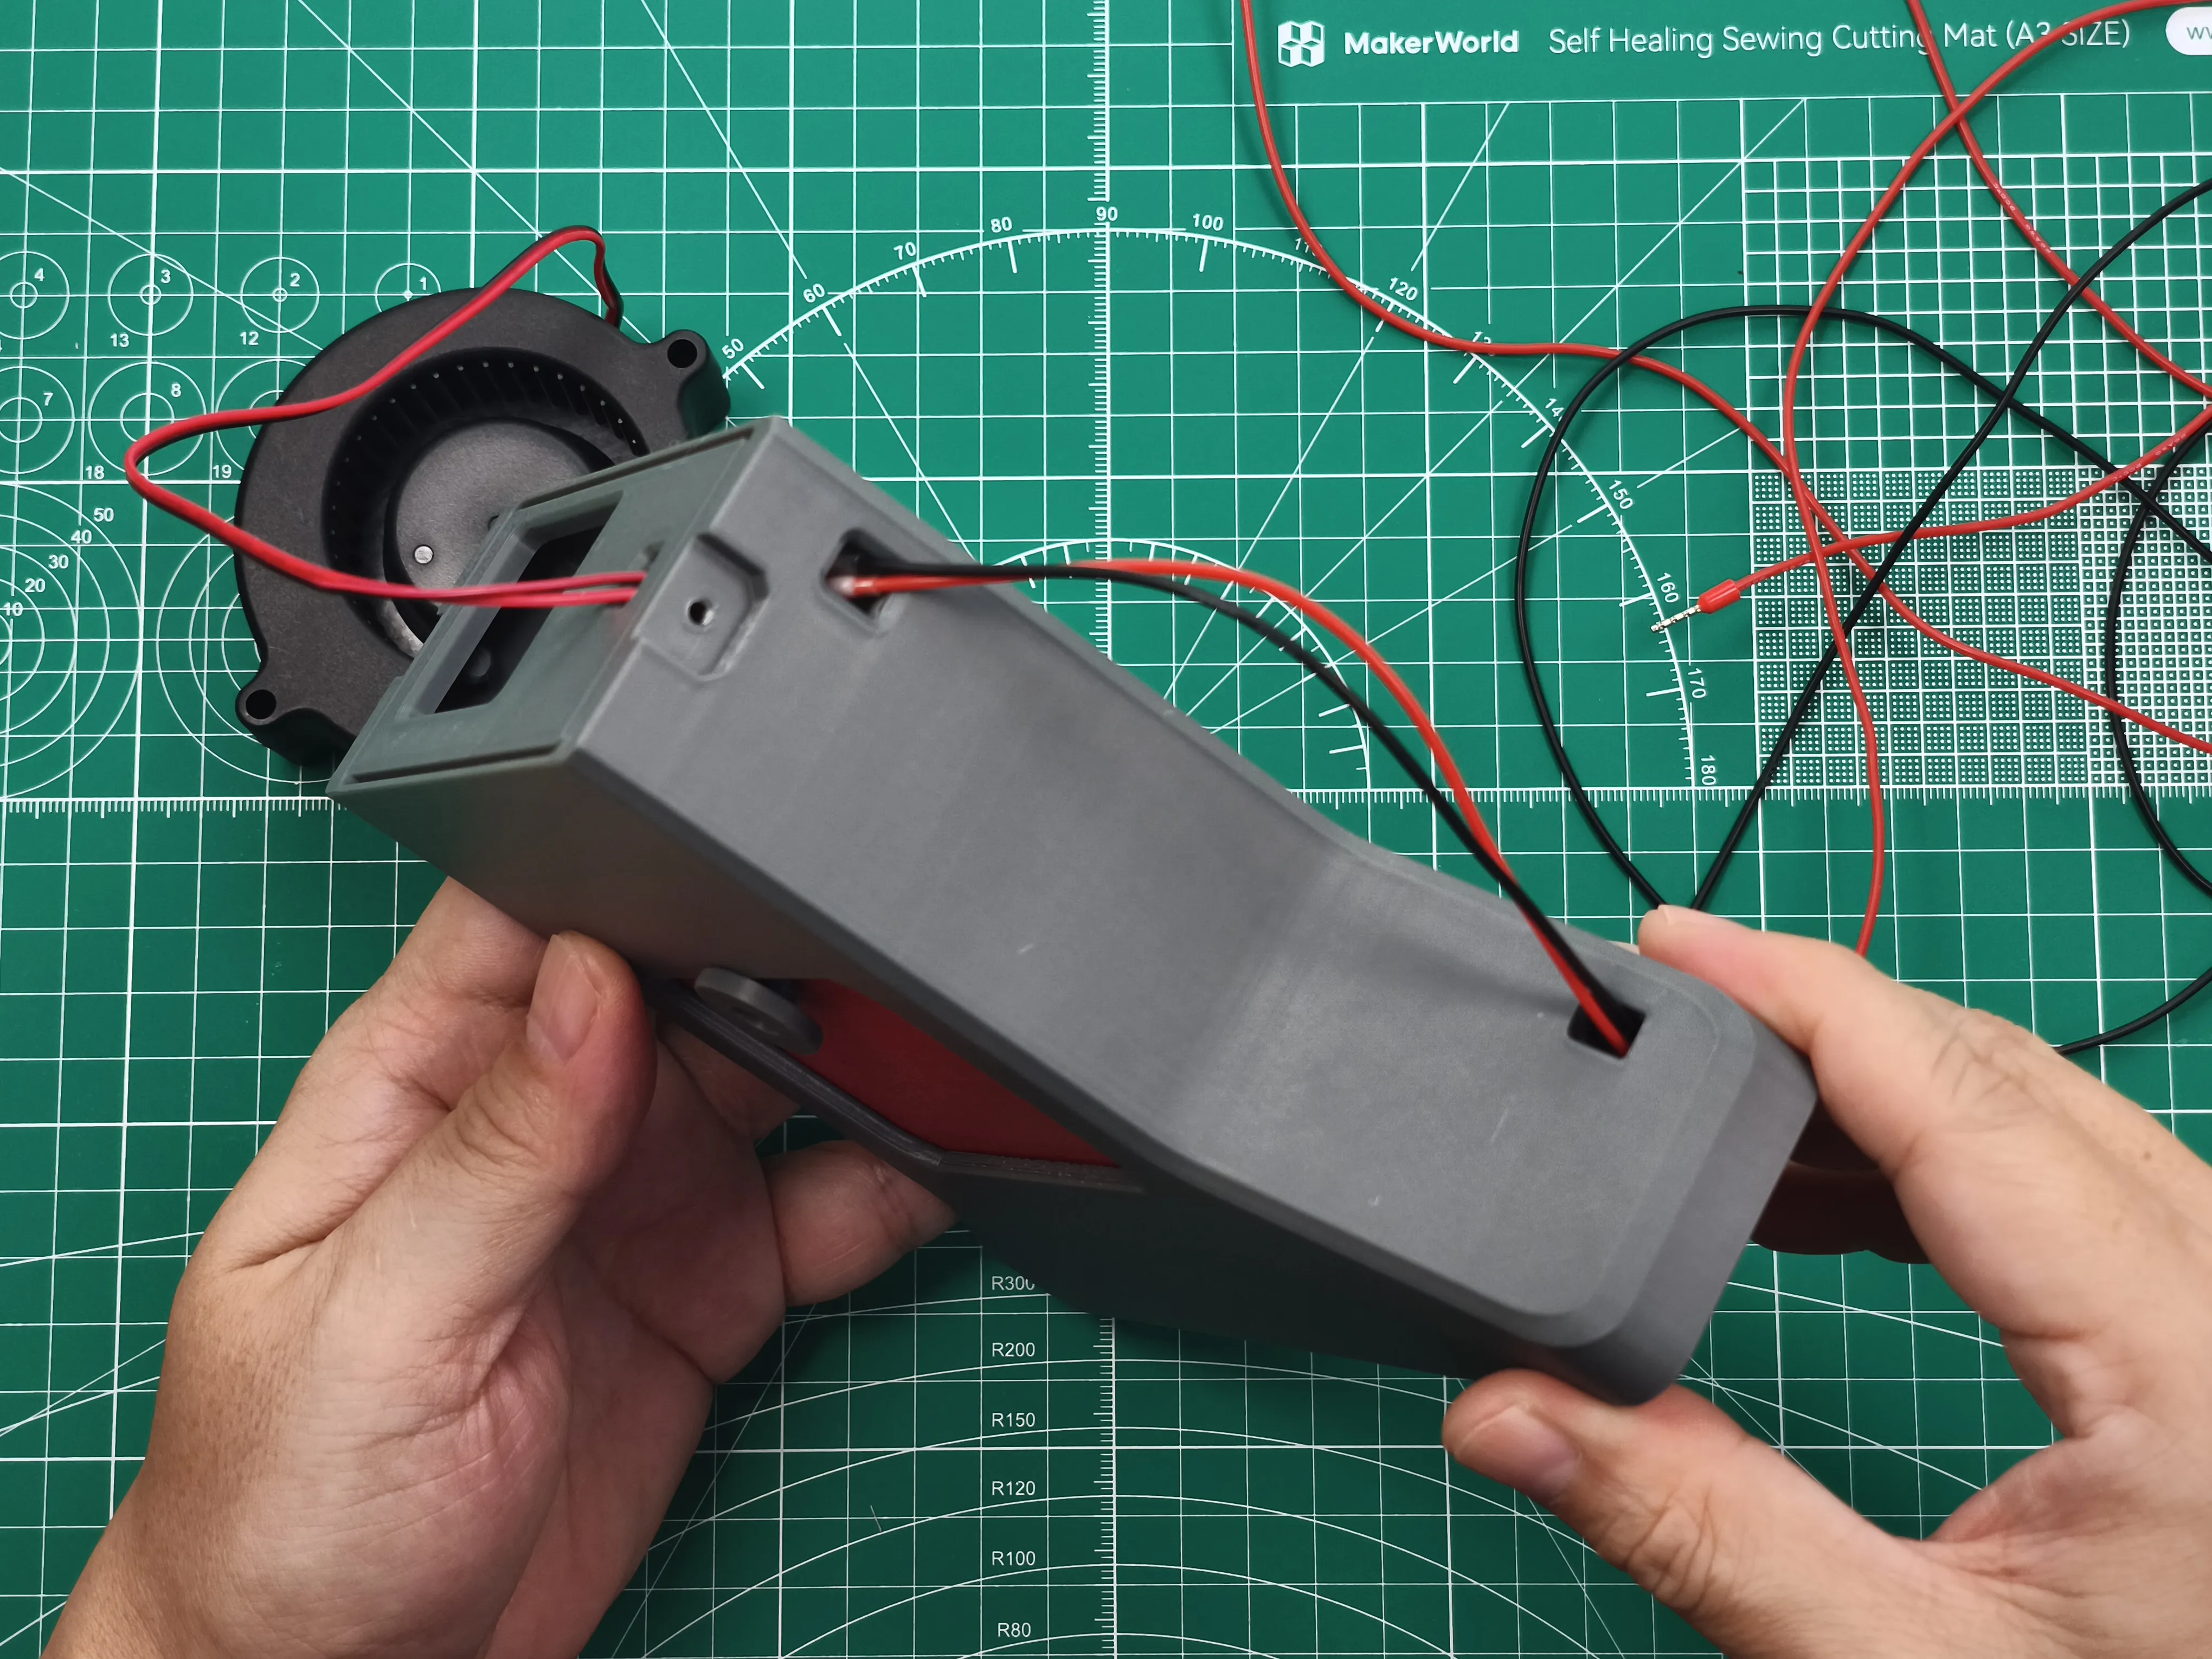 | 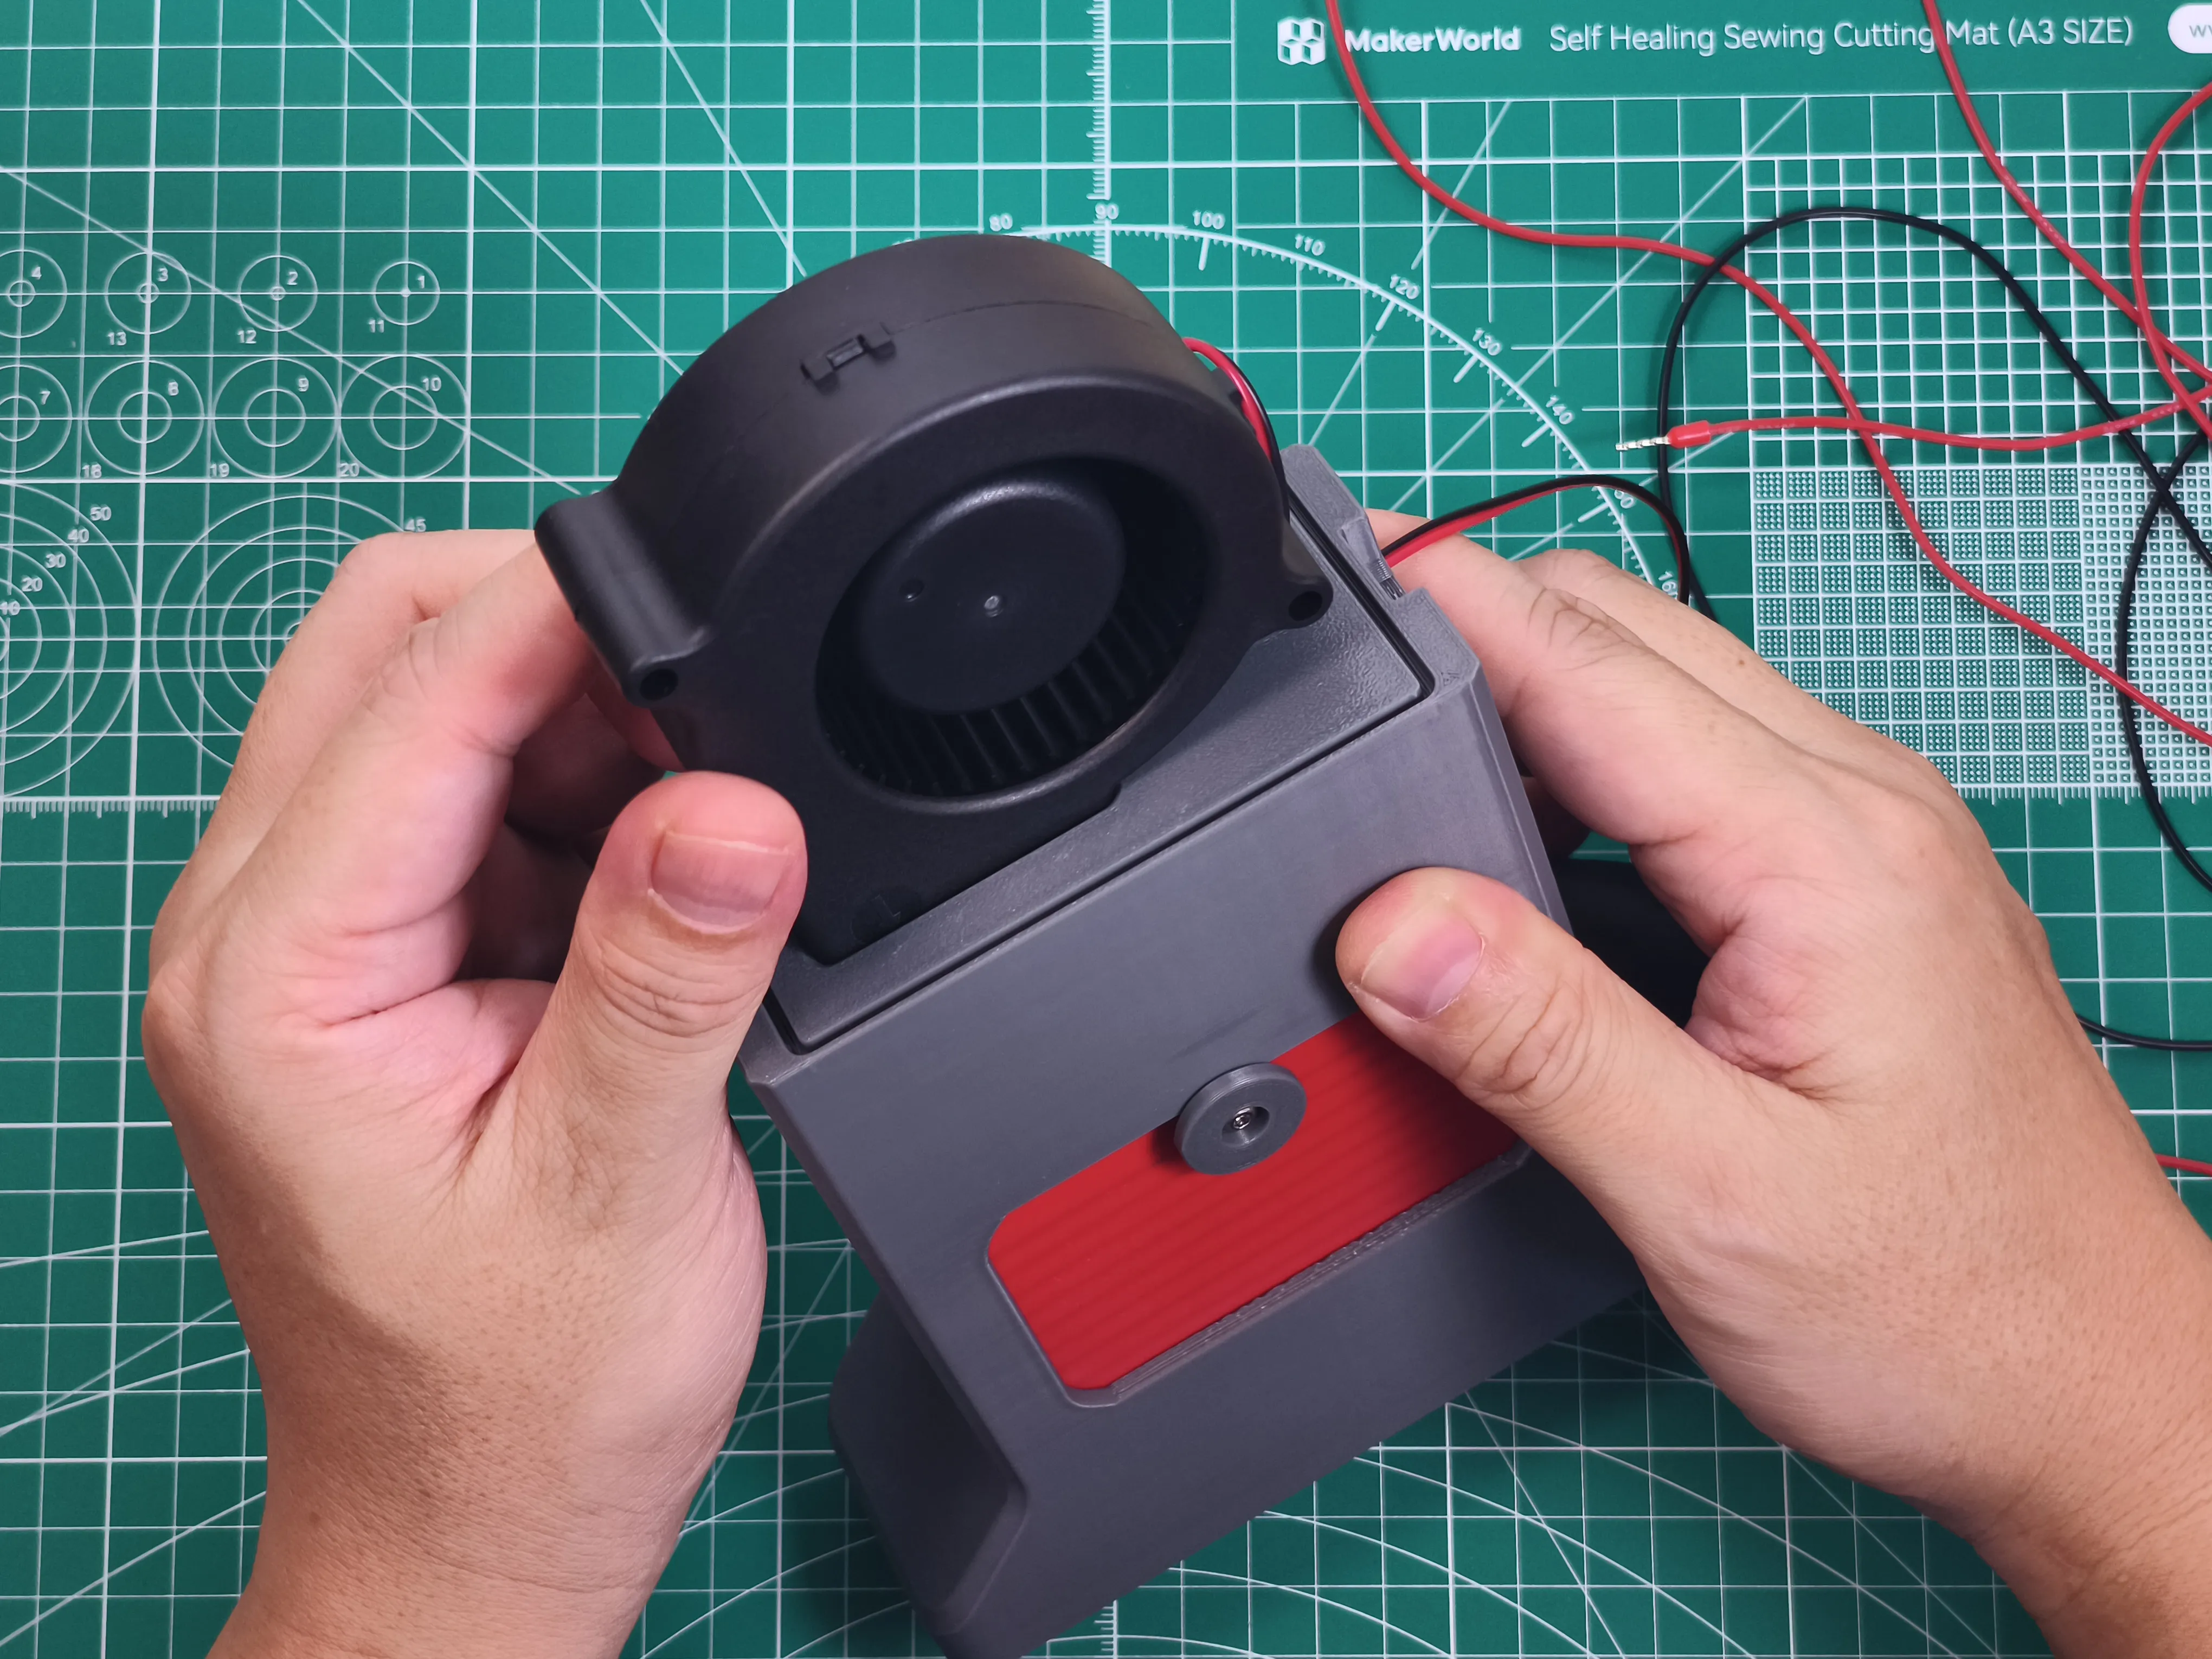 | 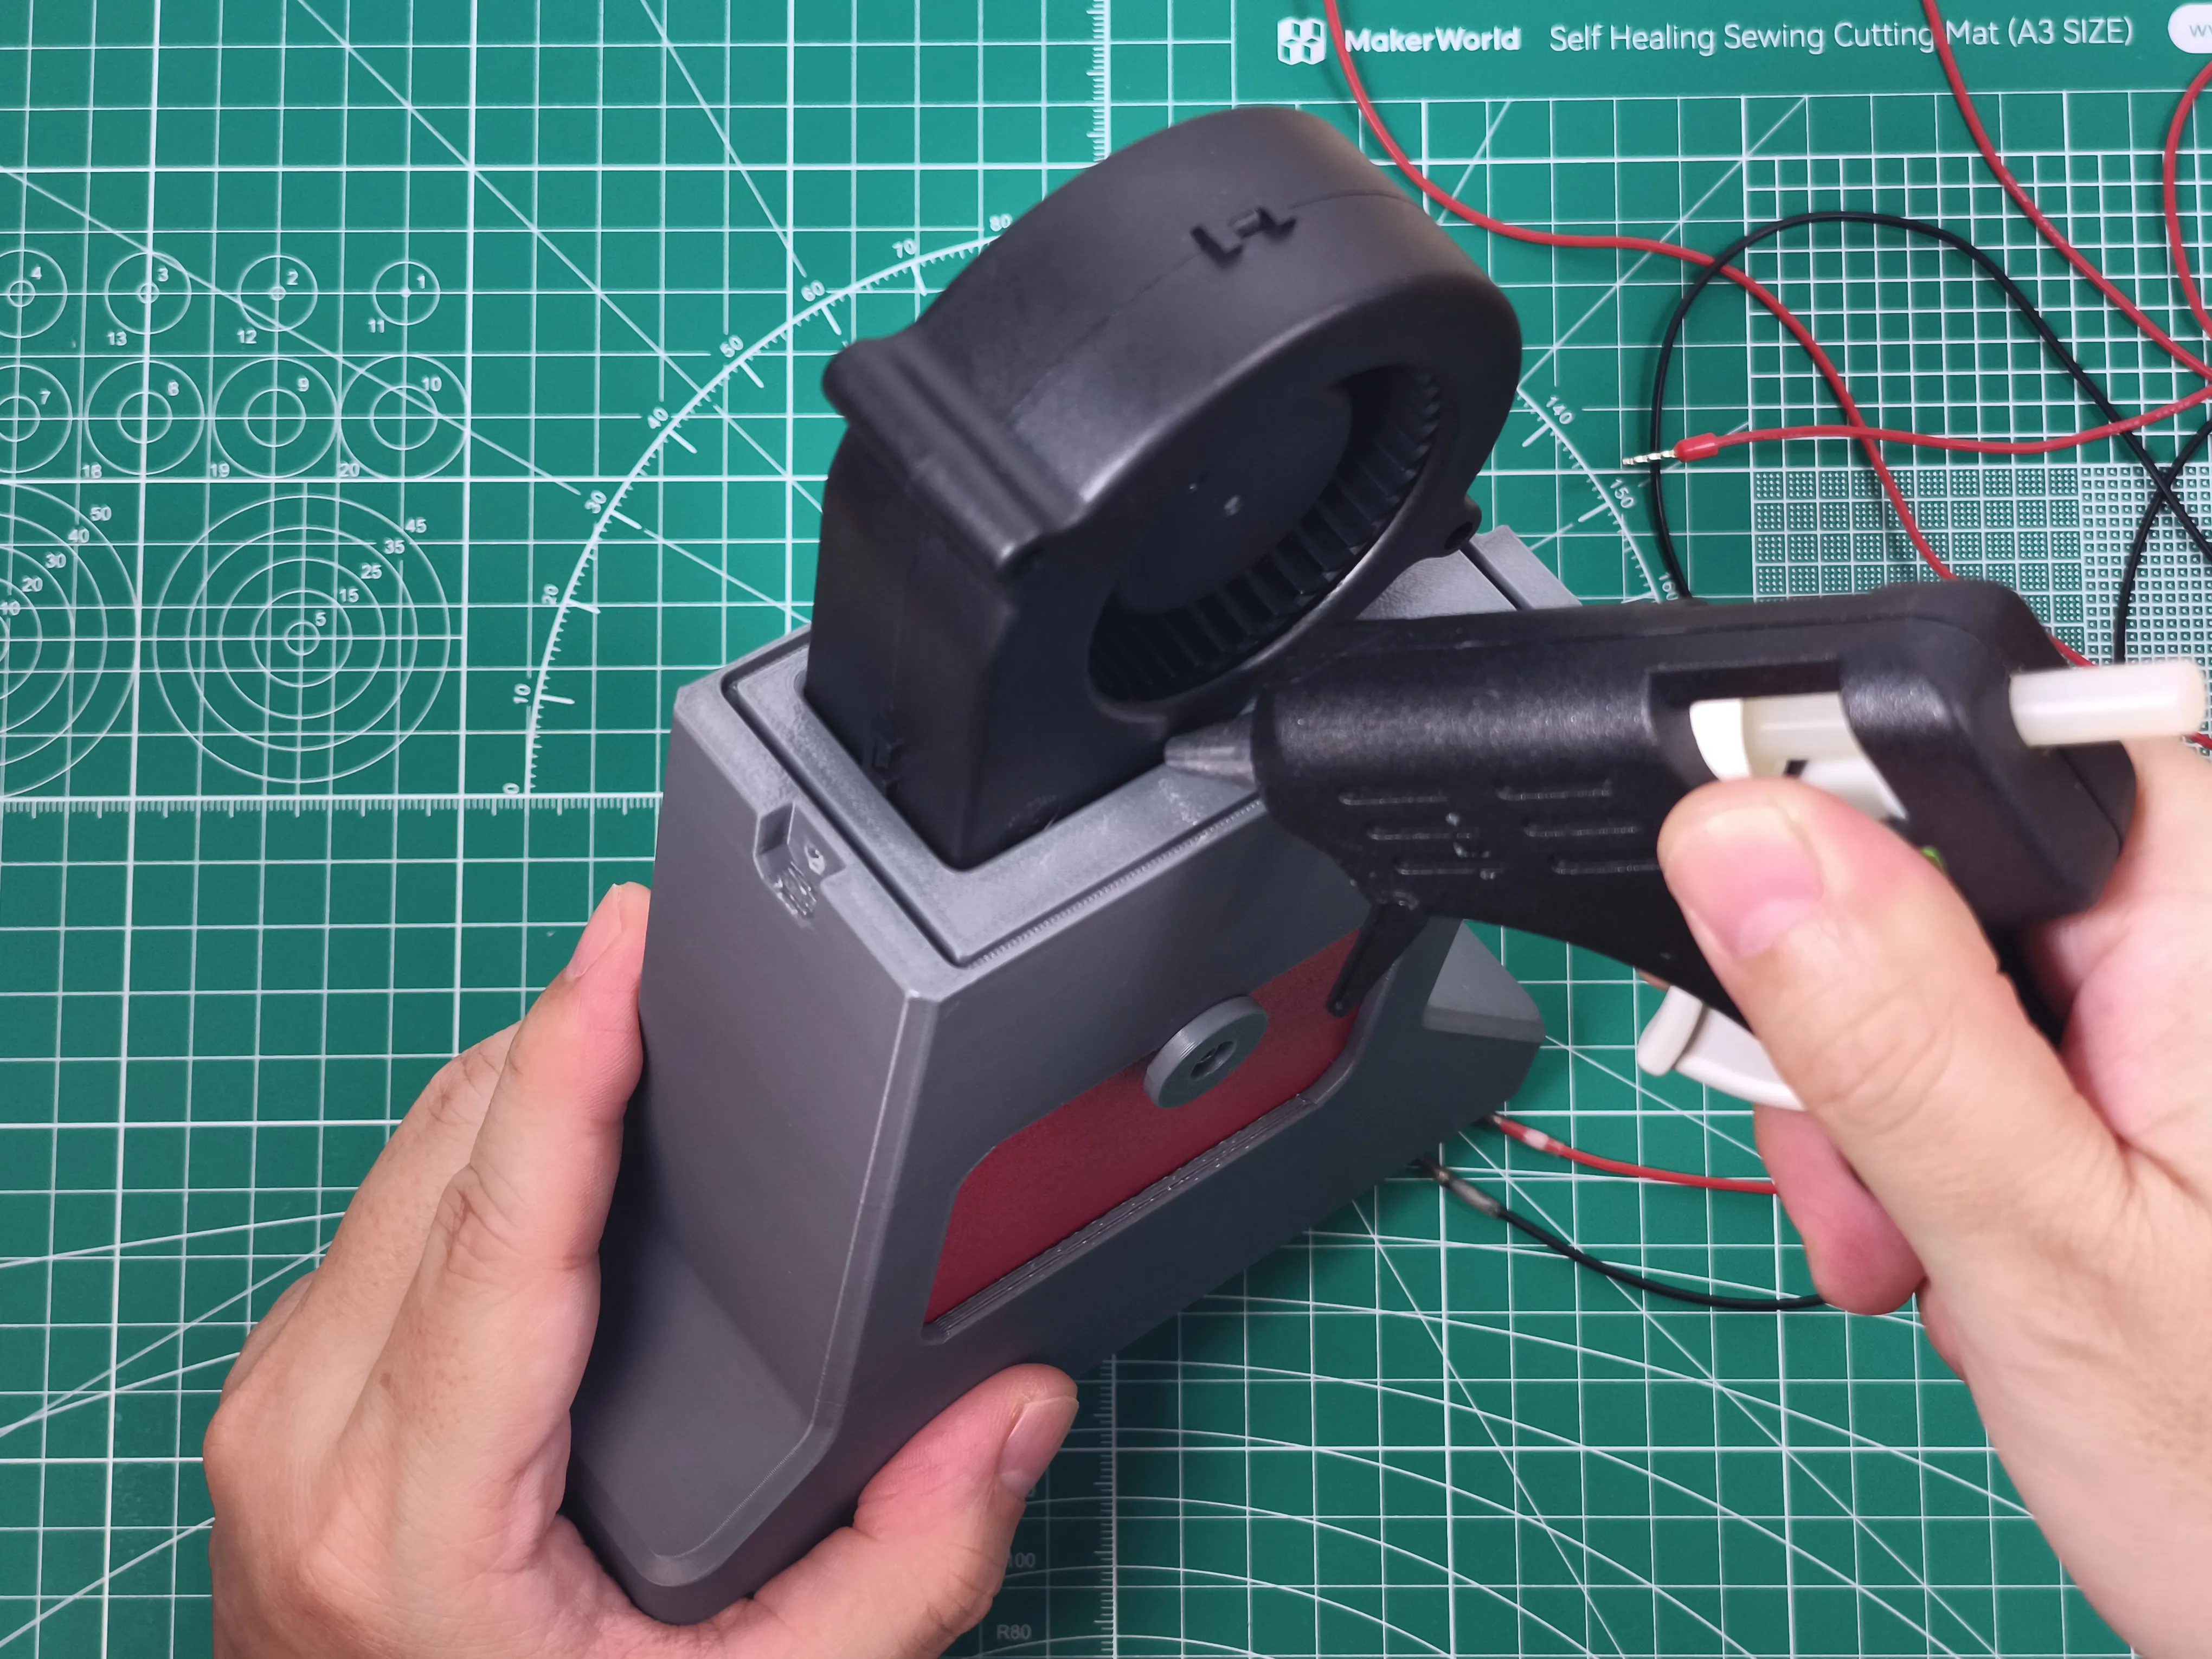 |
|
| |
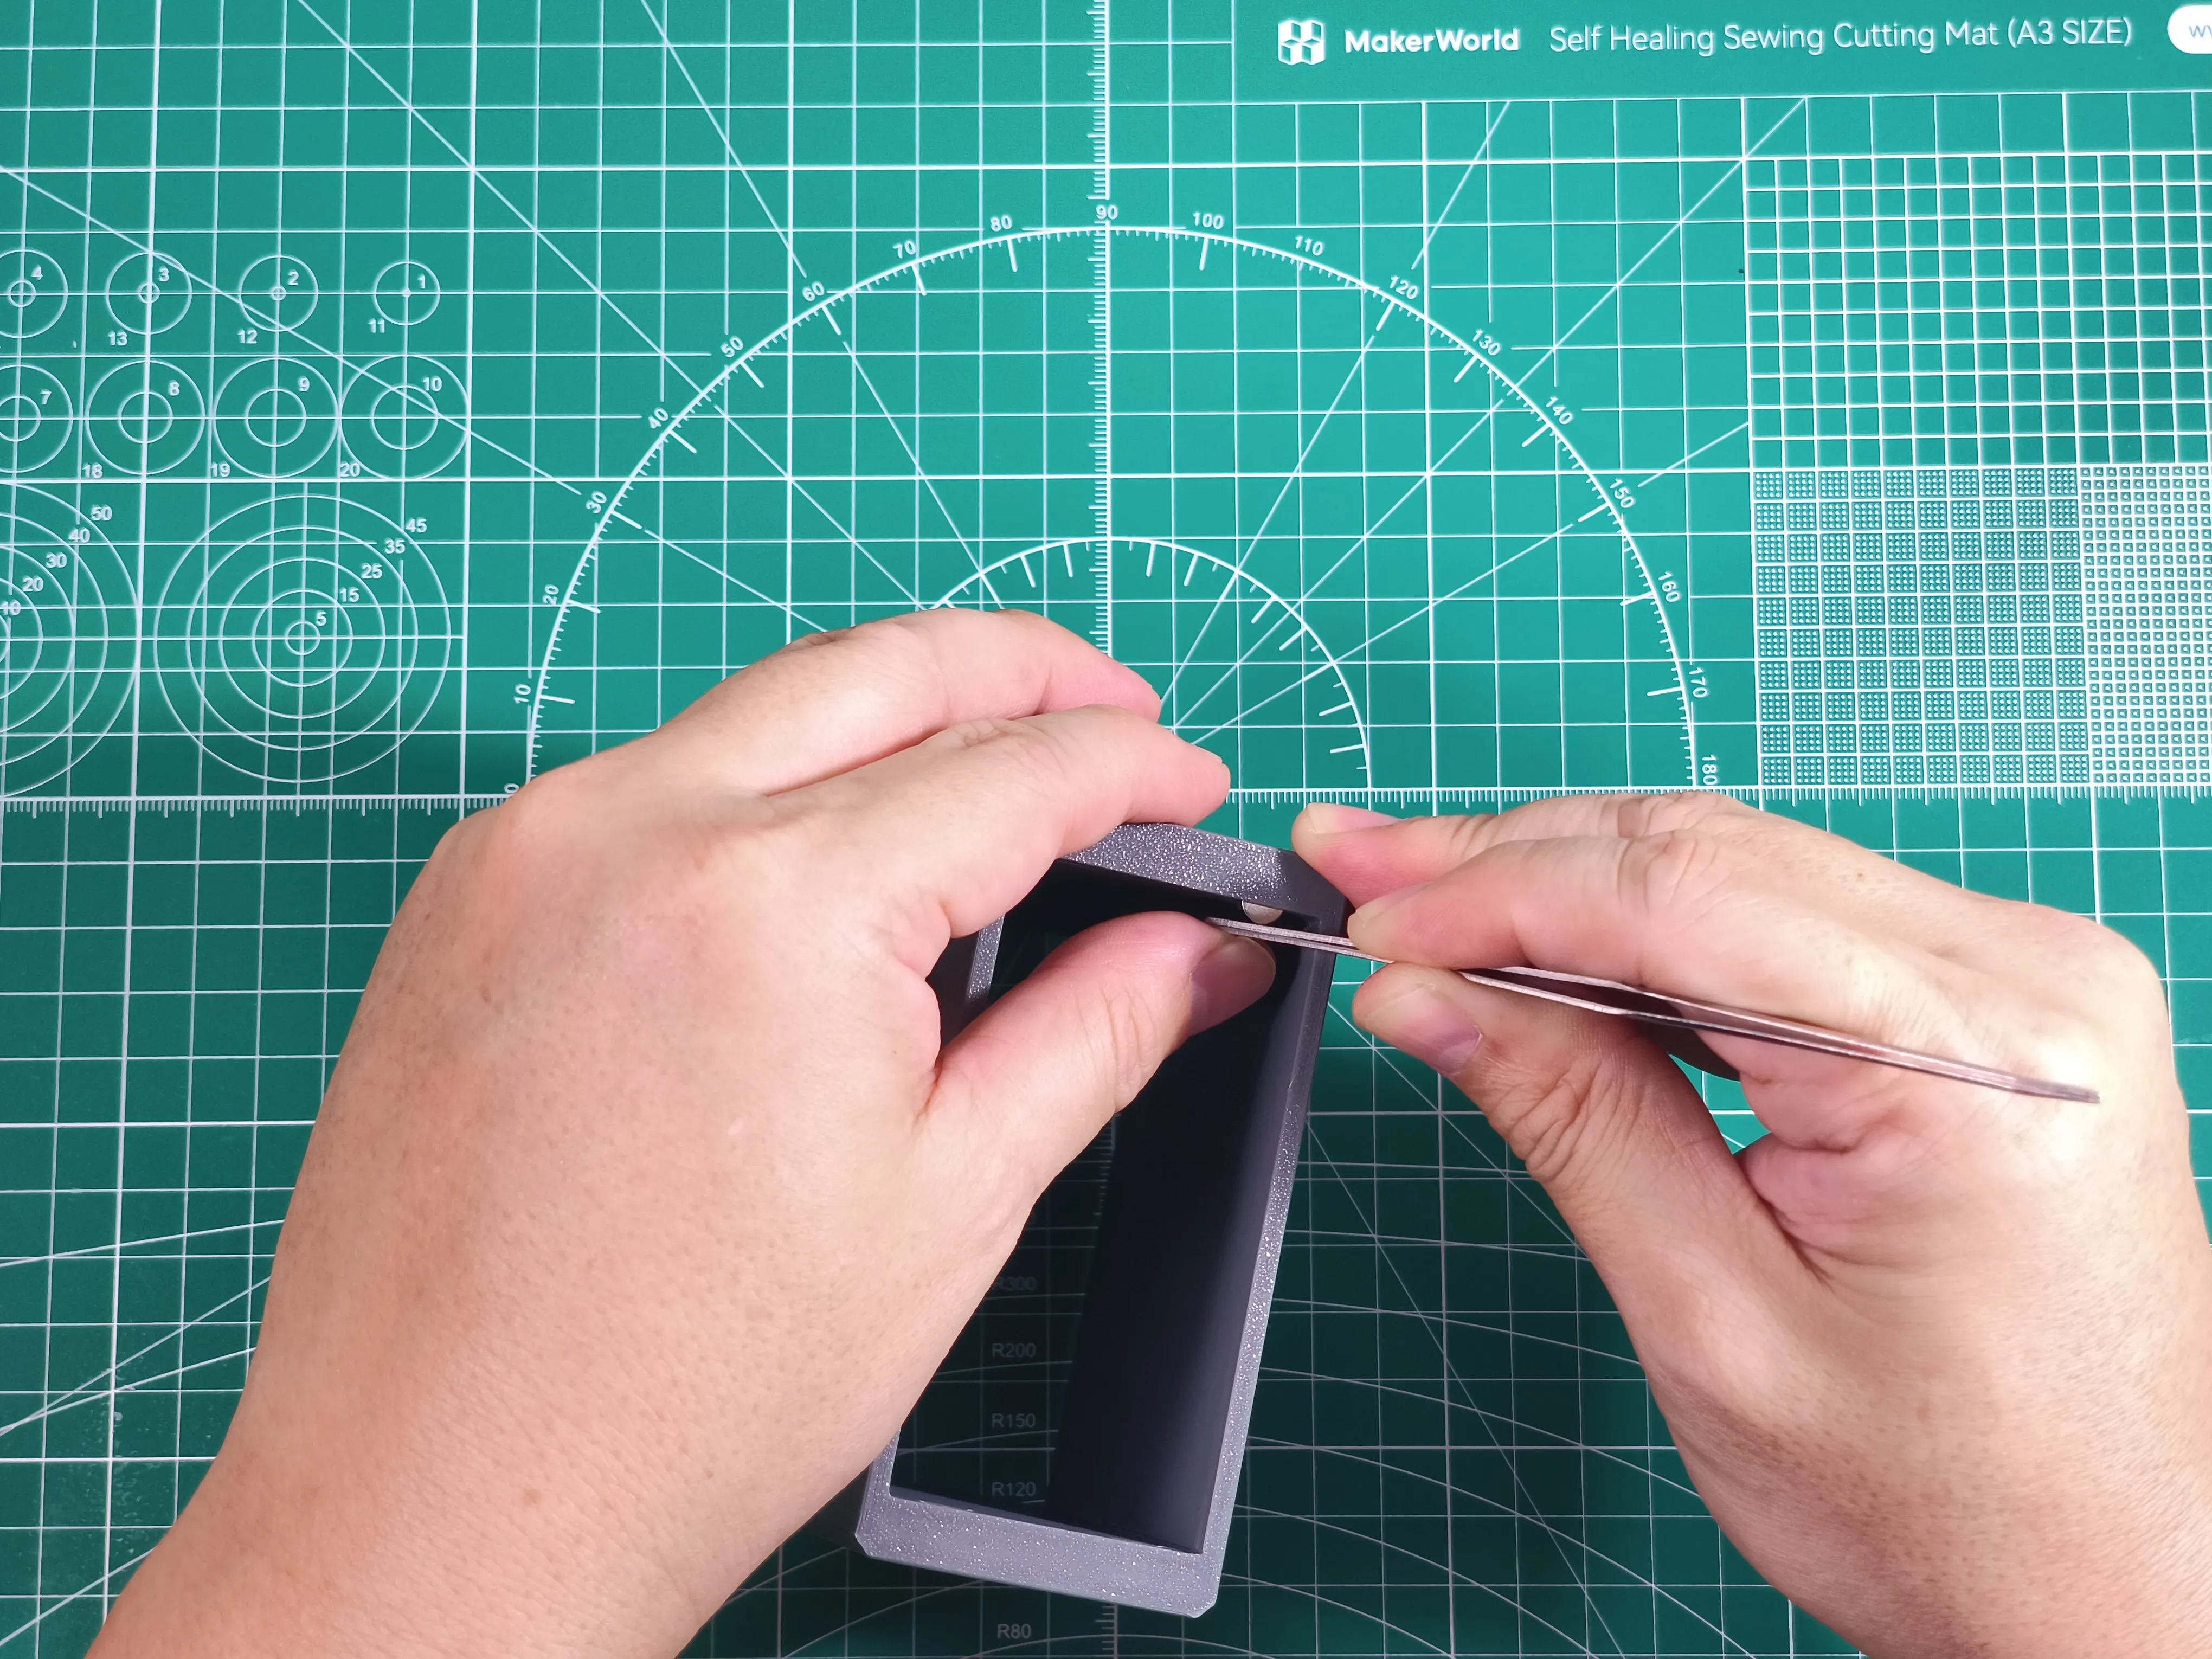 |  |  |
|
| |
 |  | 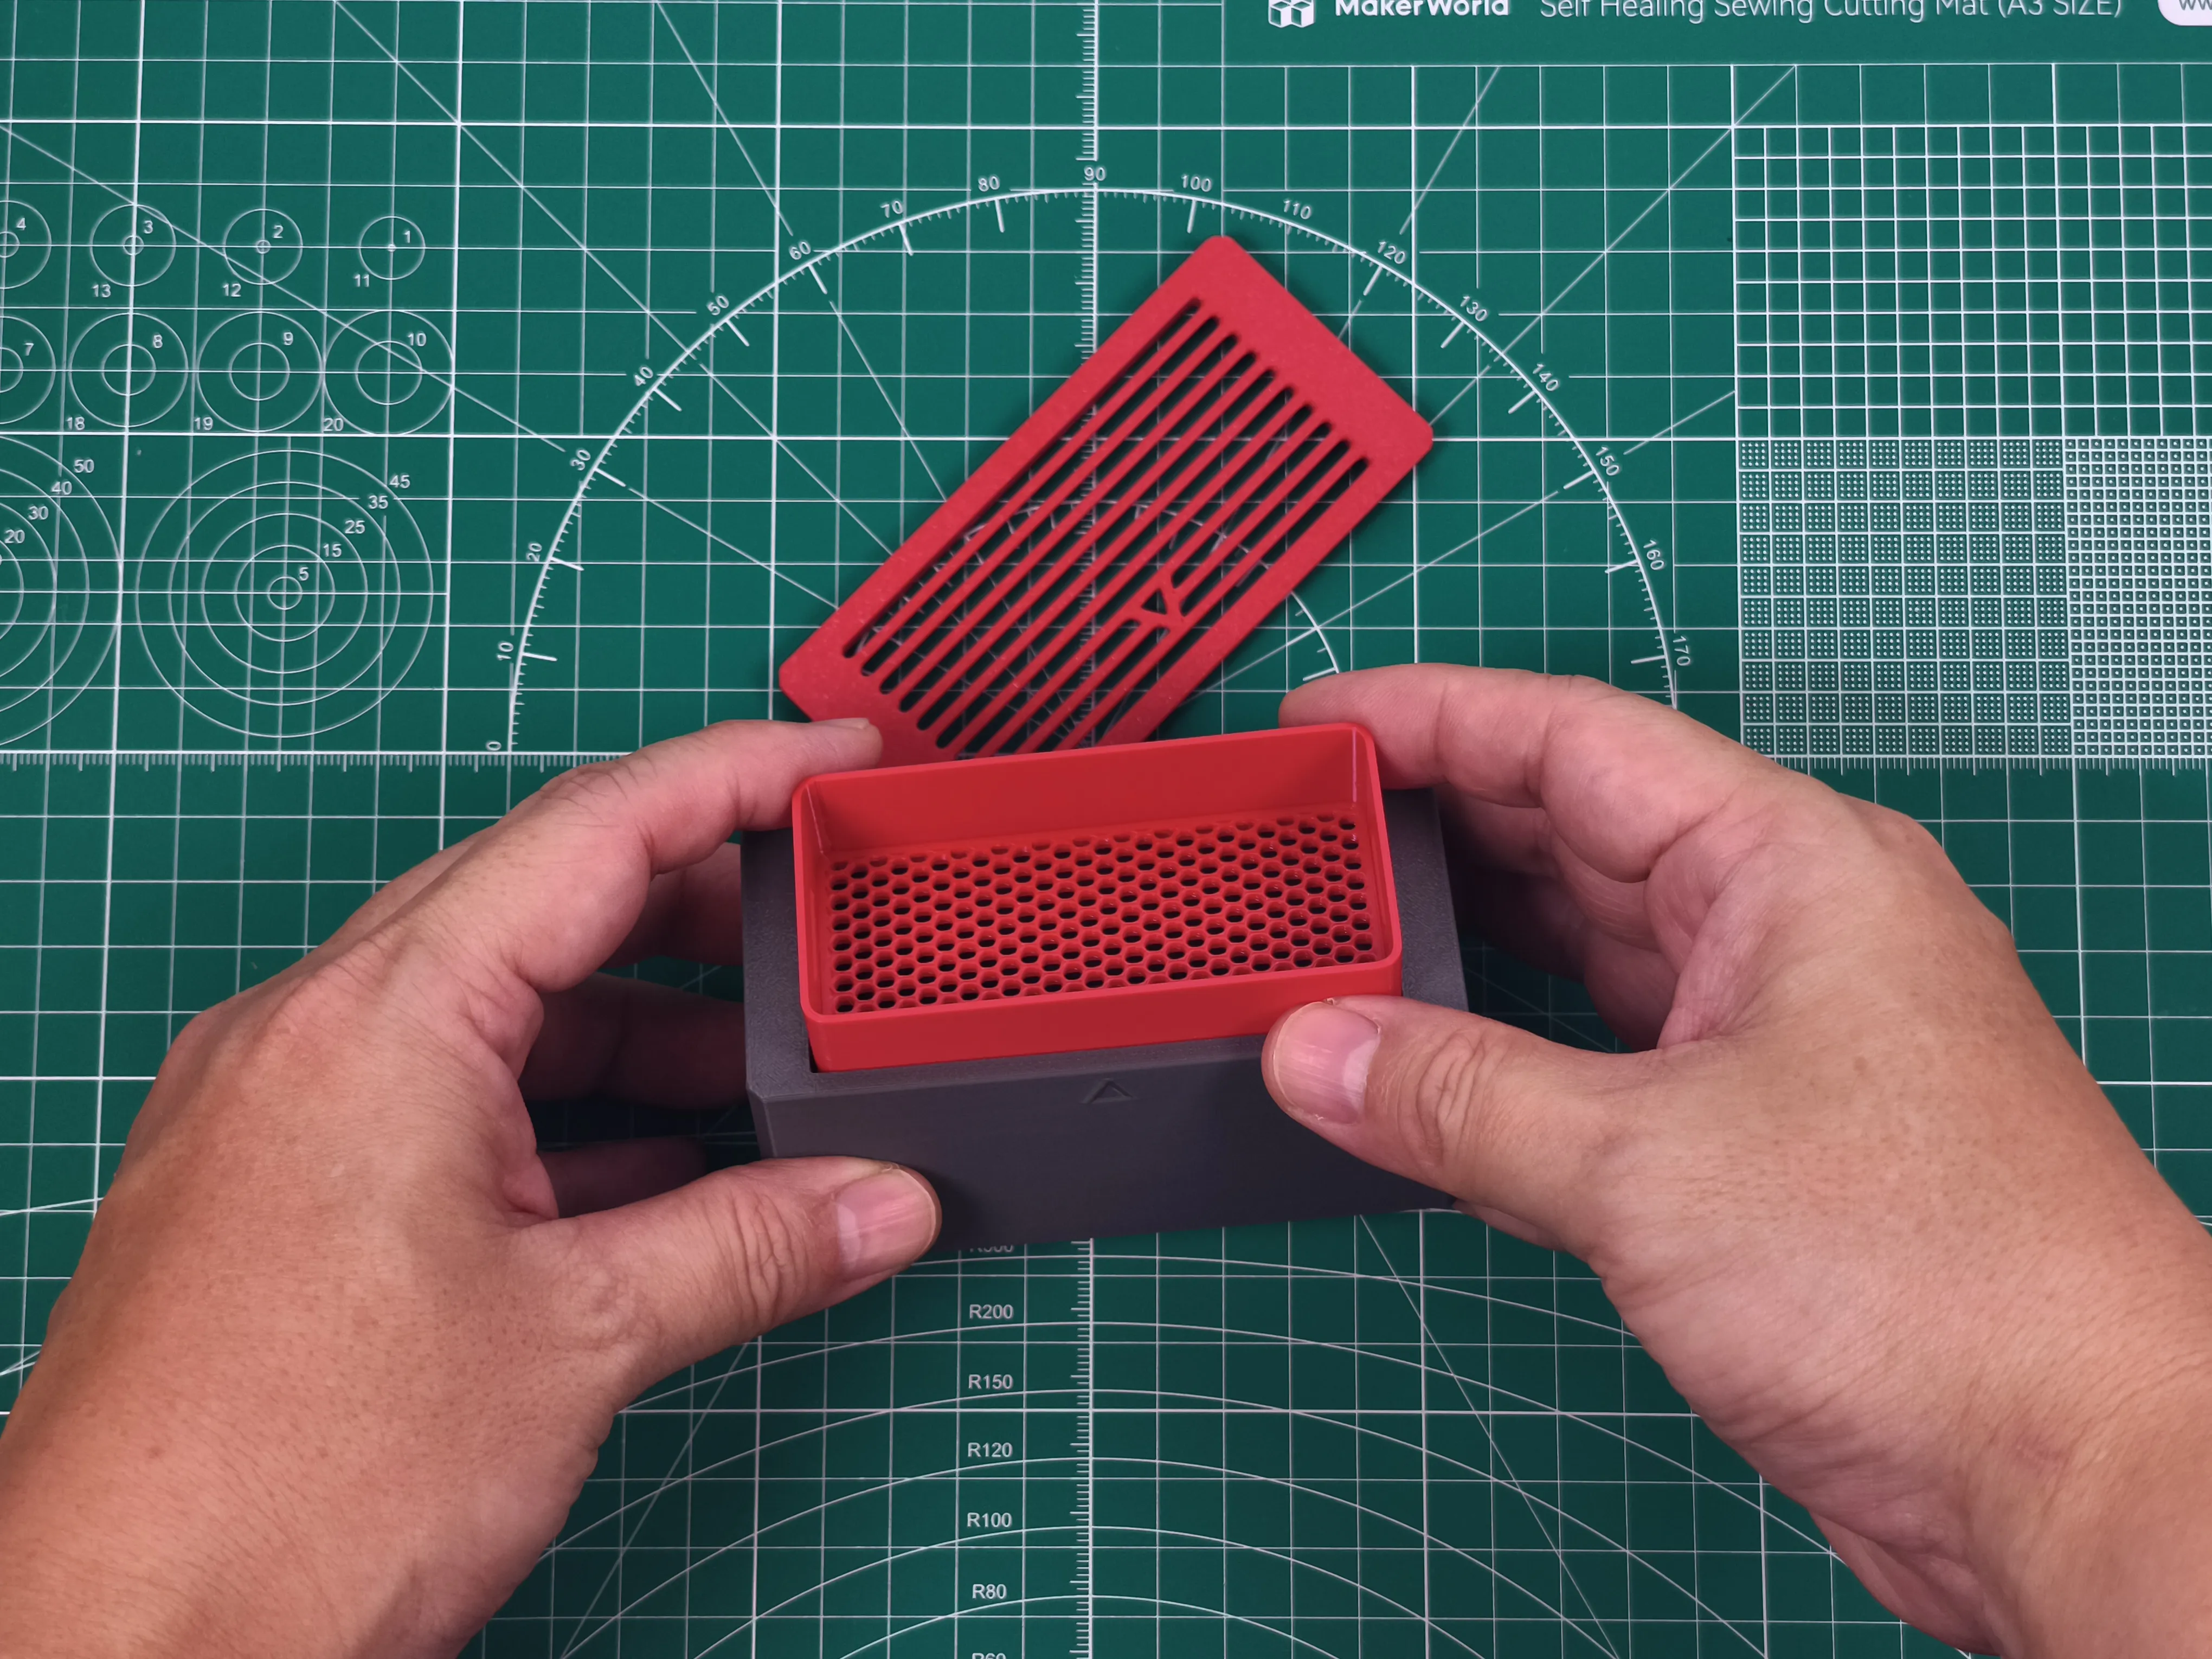 |
|
|
|
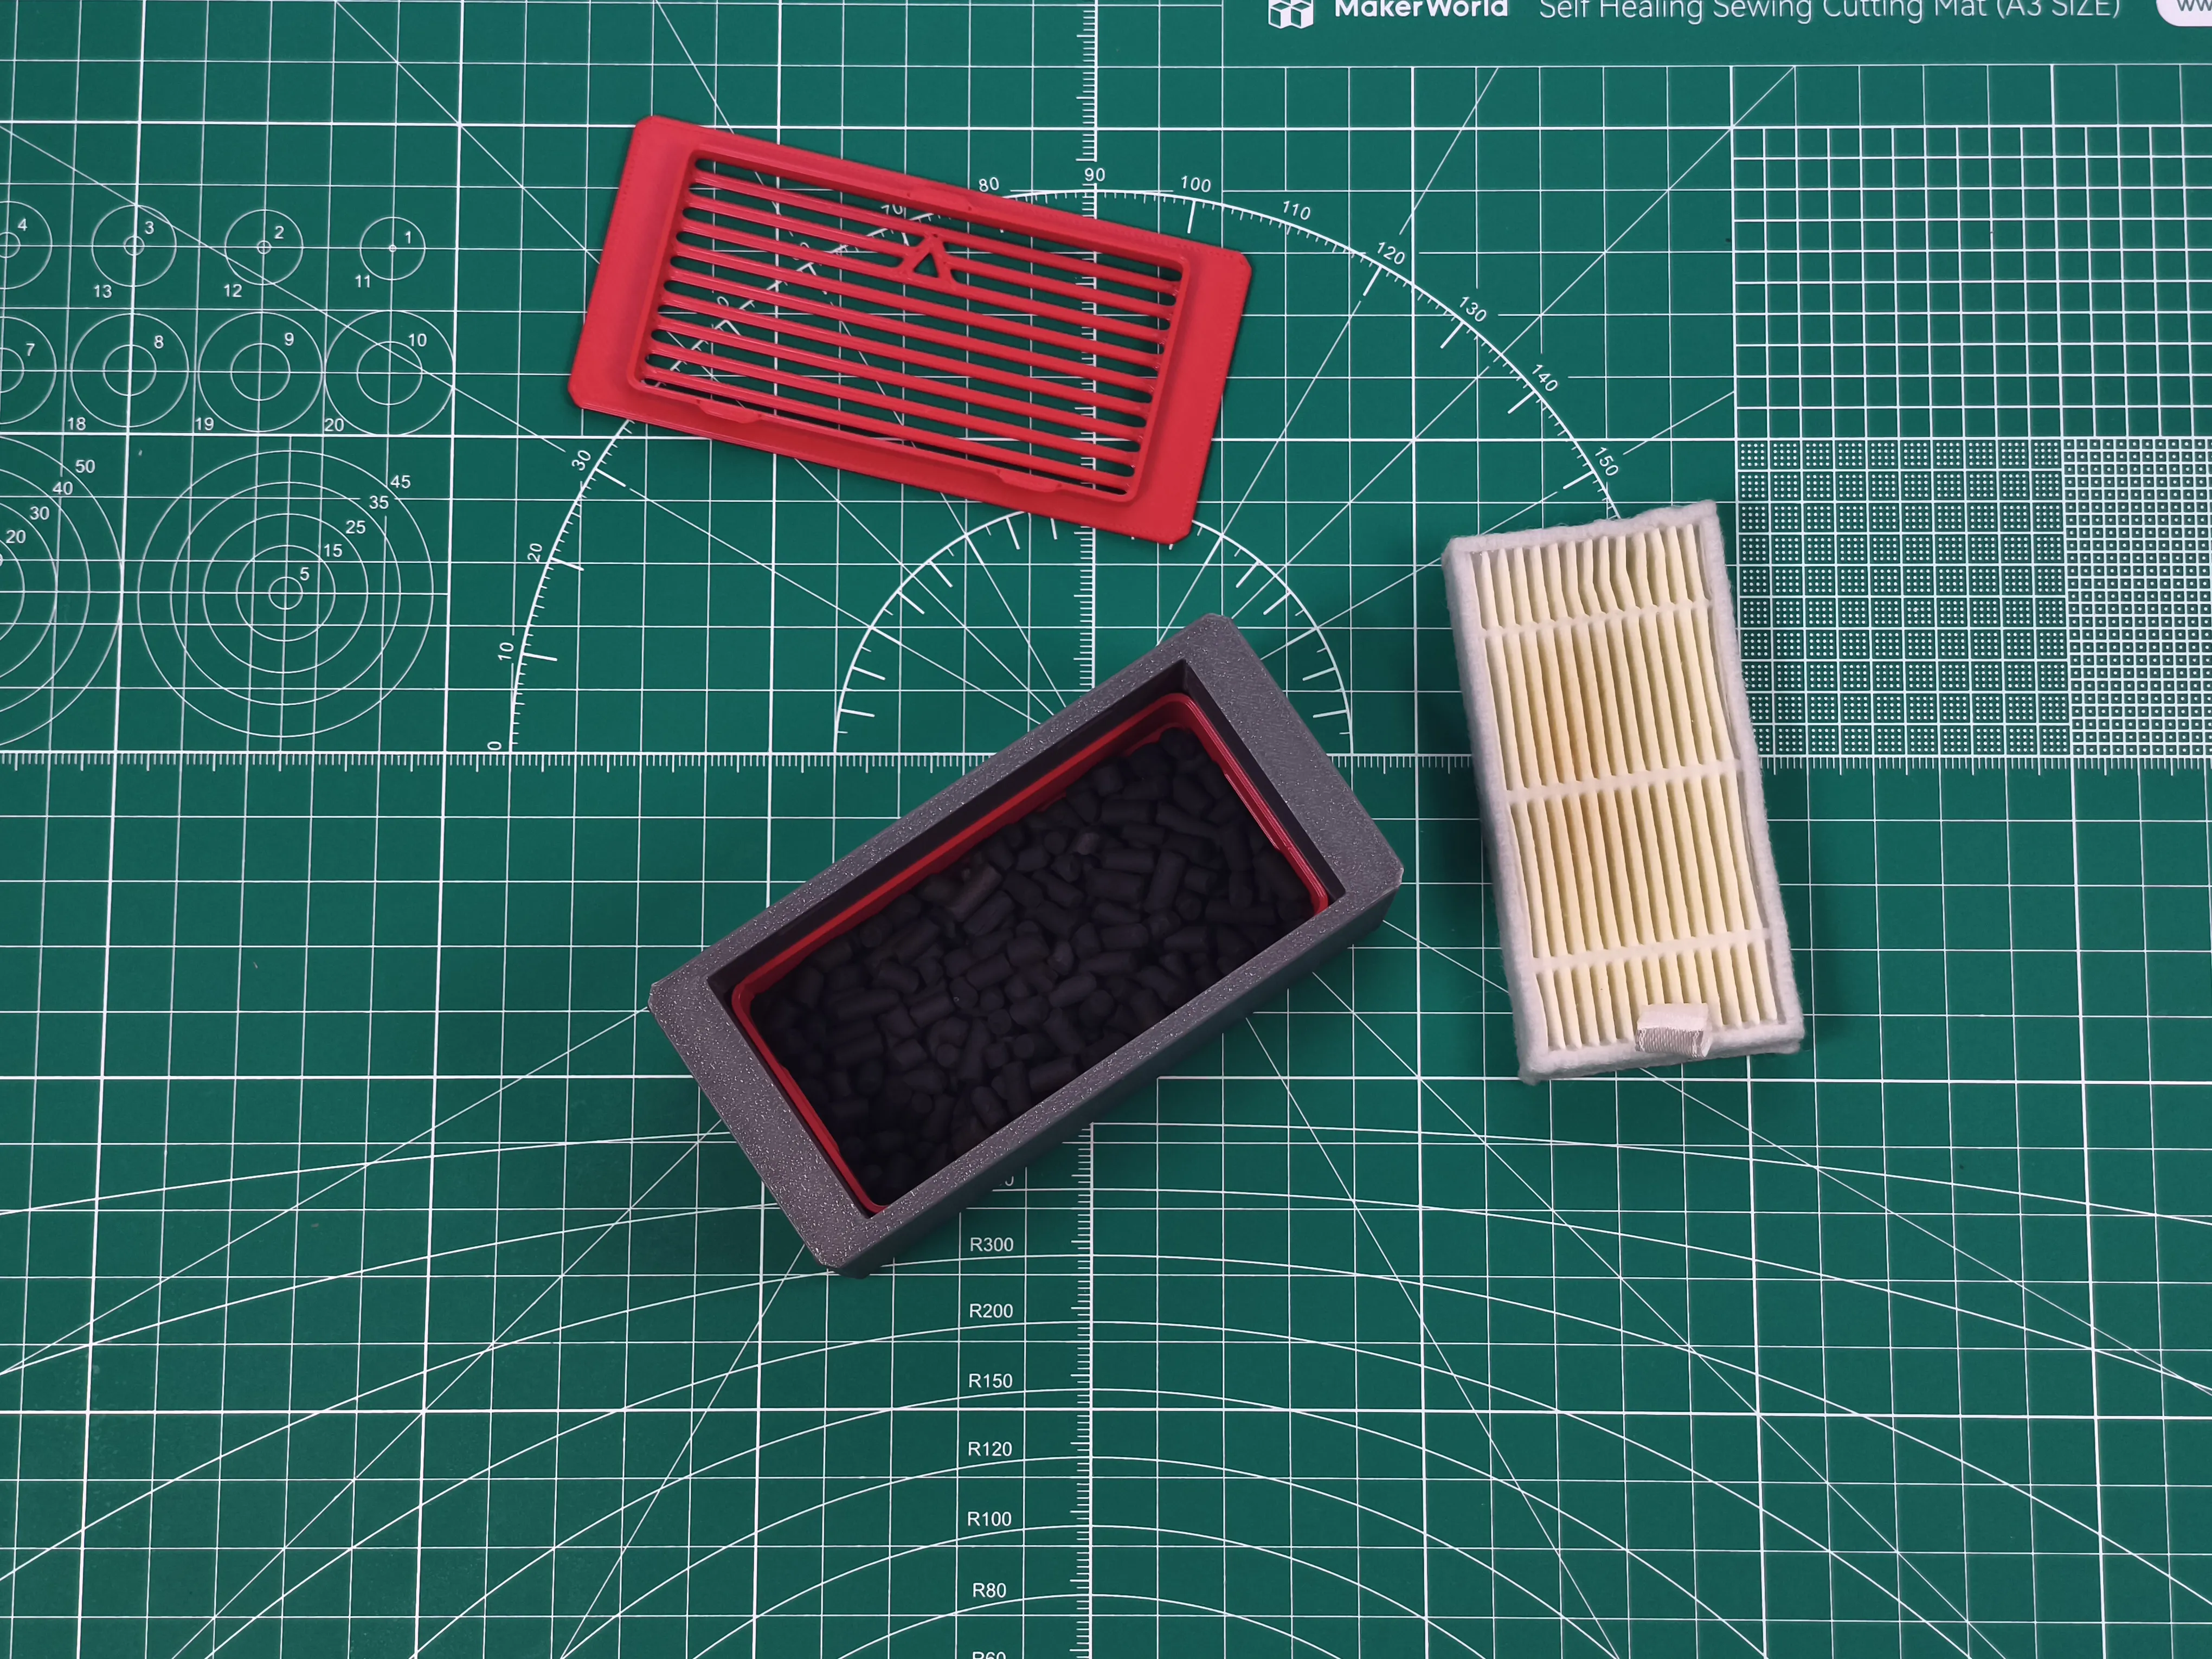 | 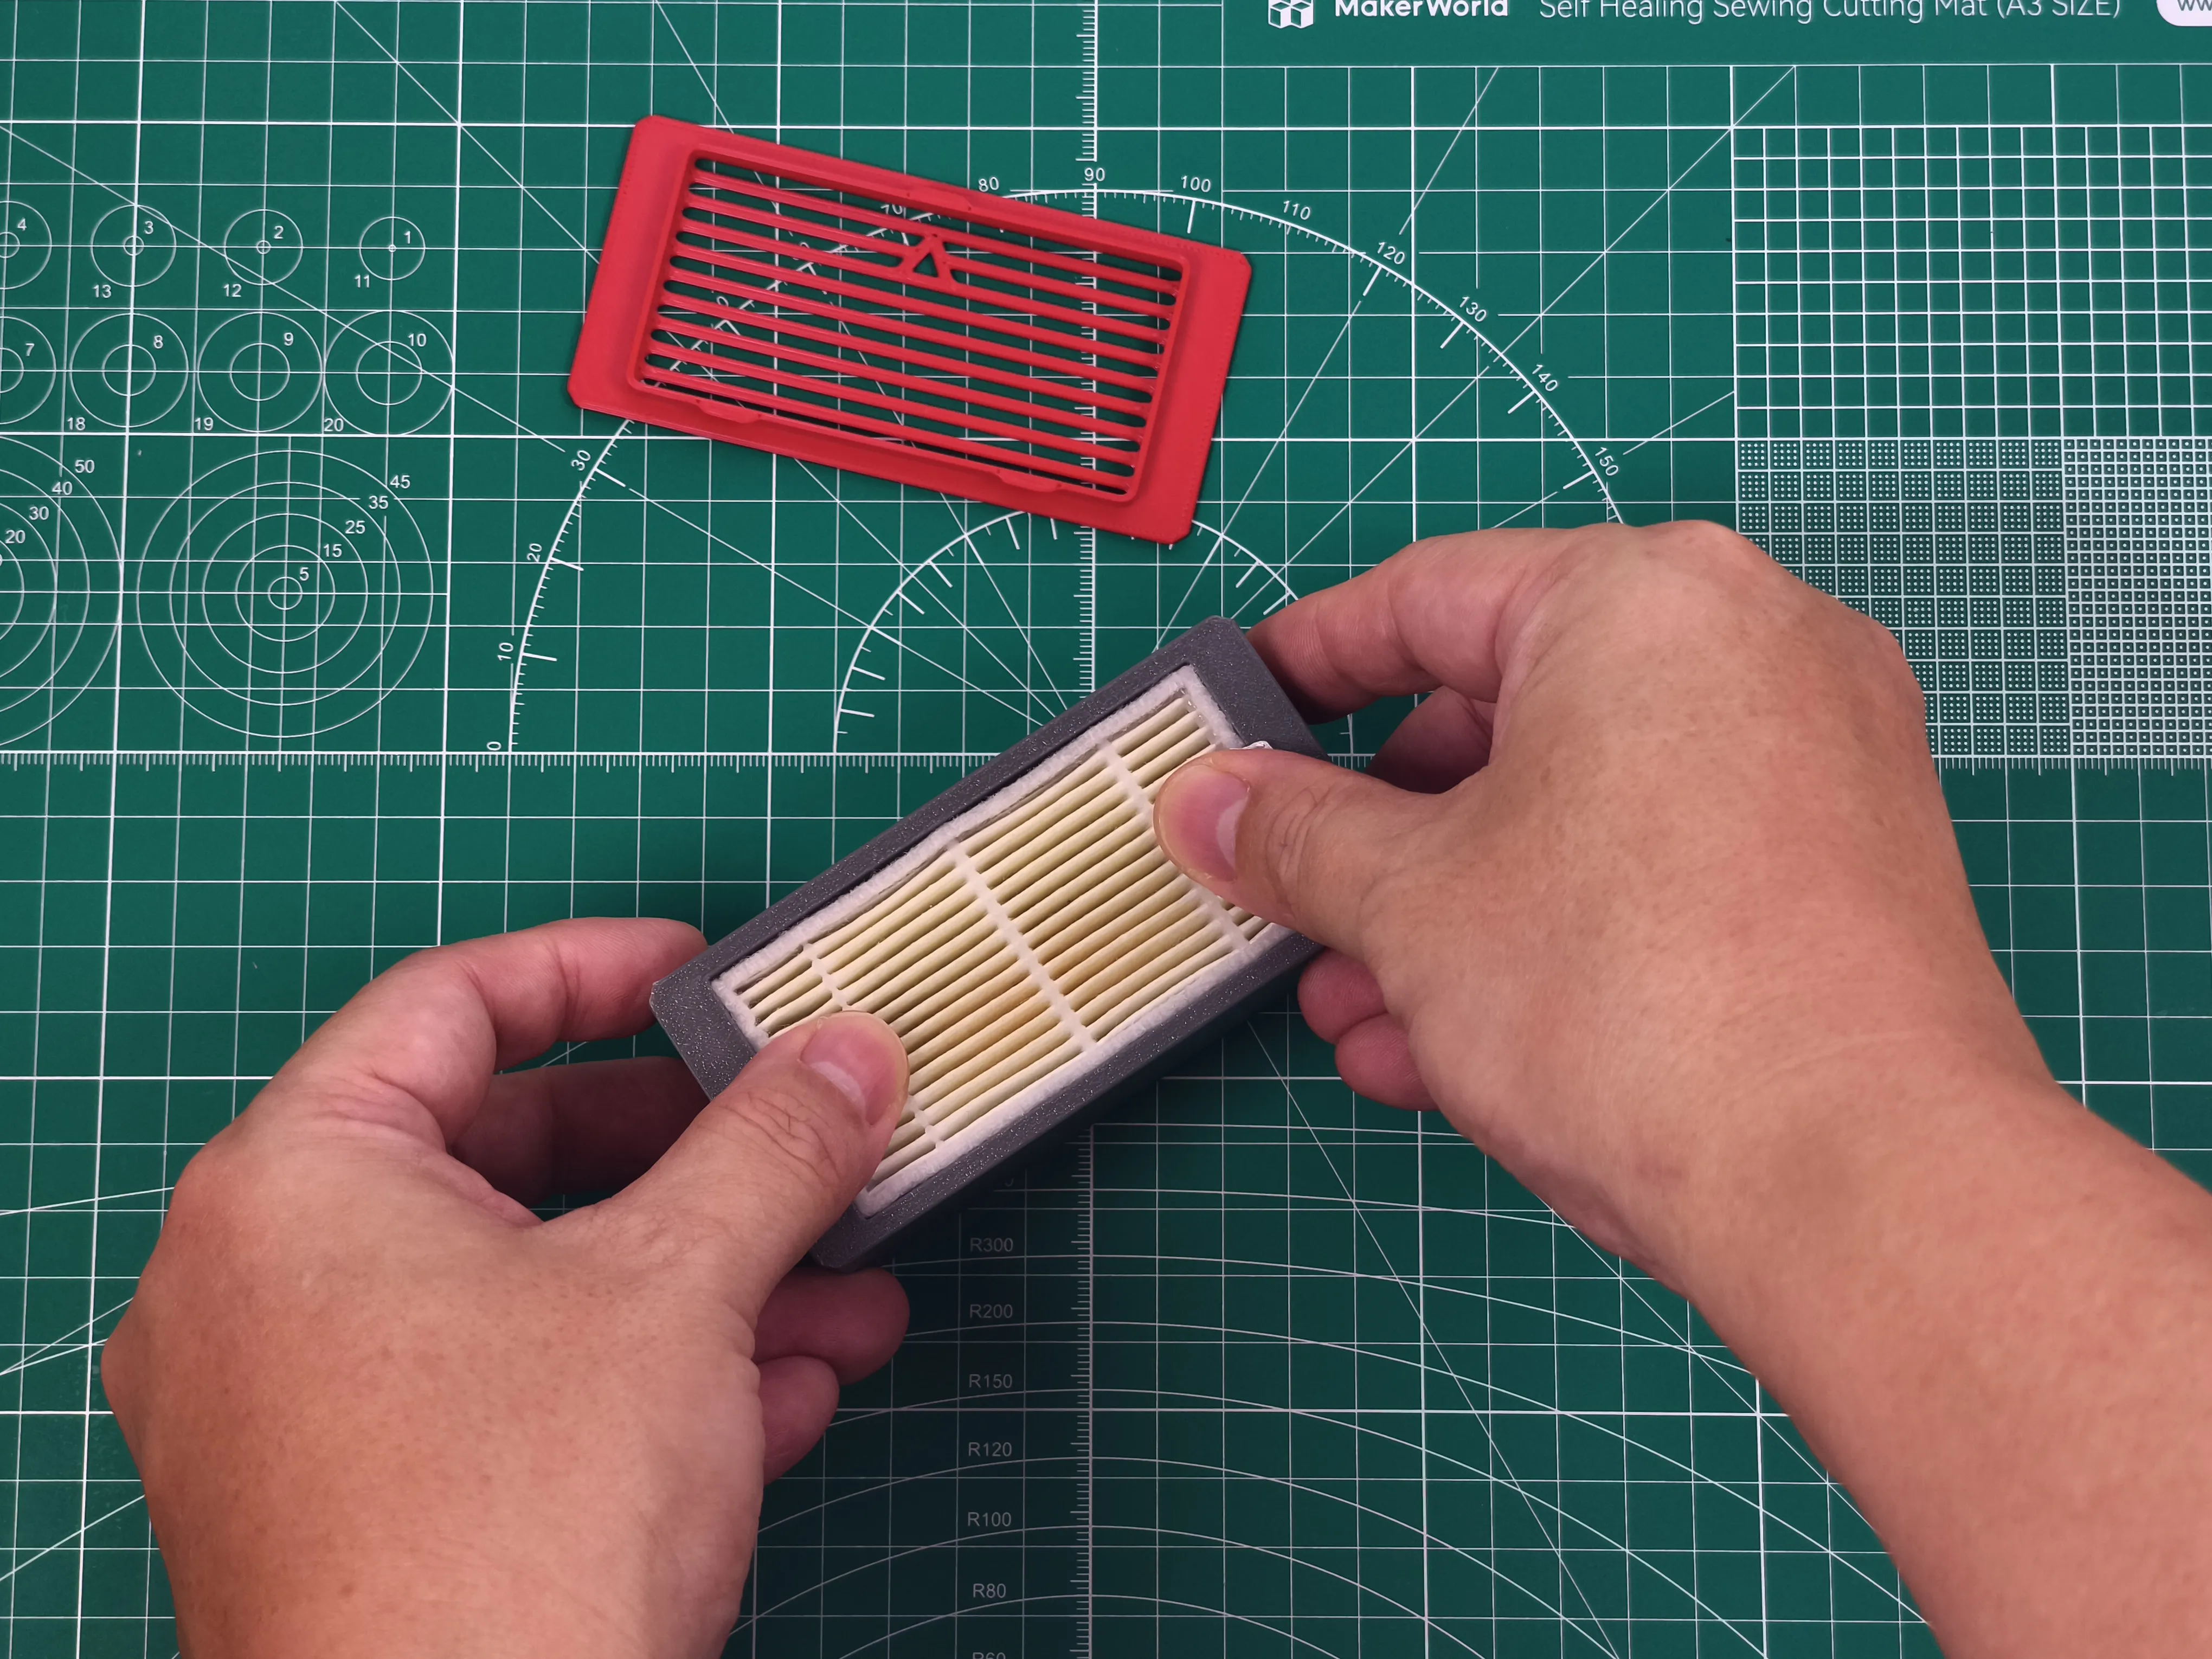 | 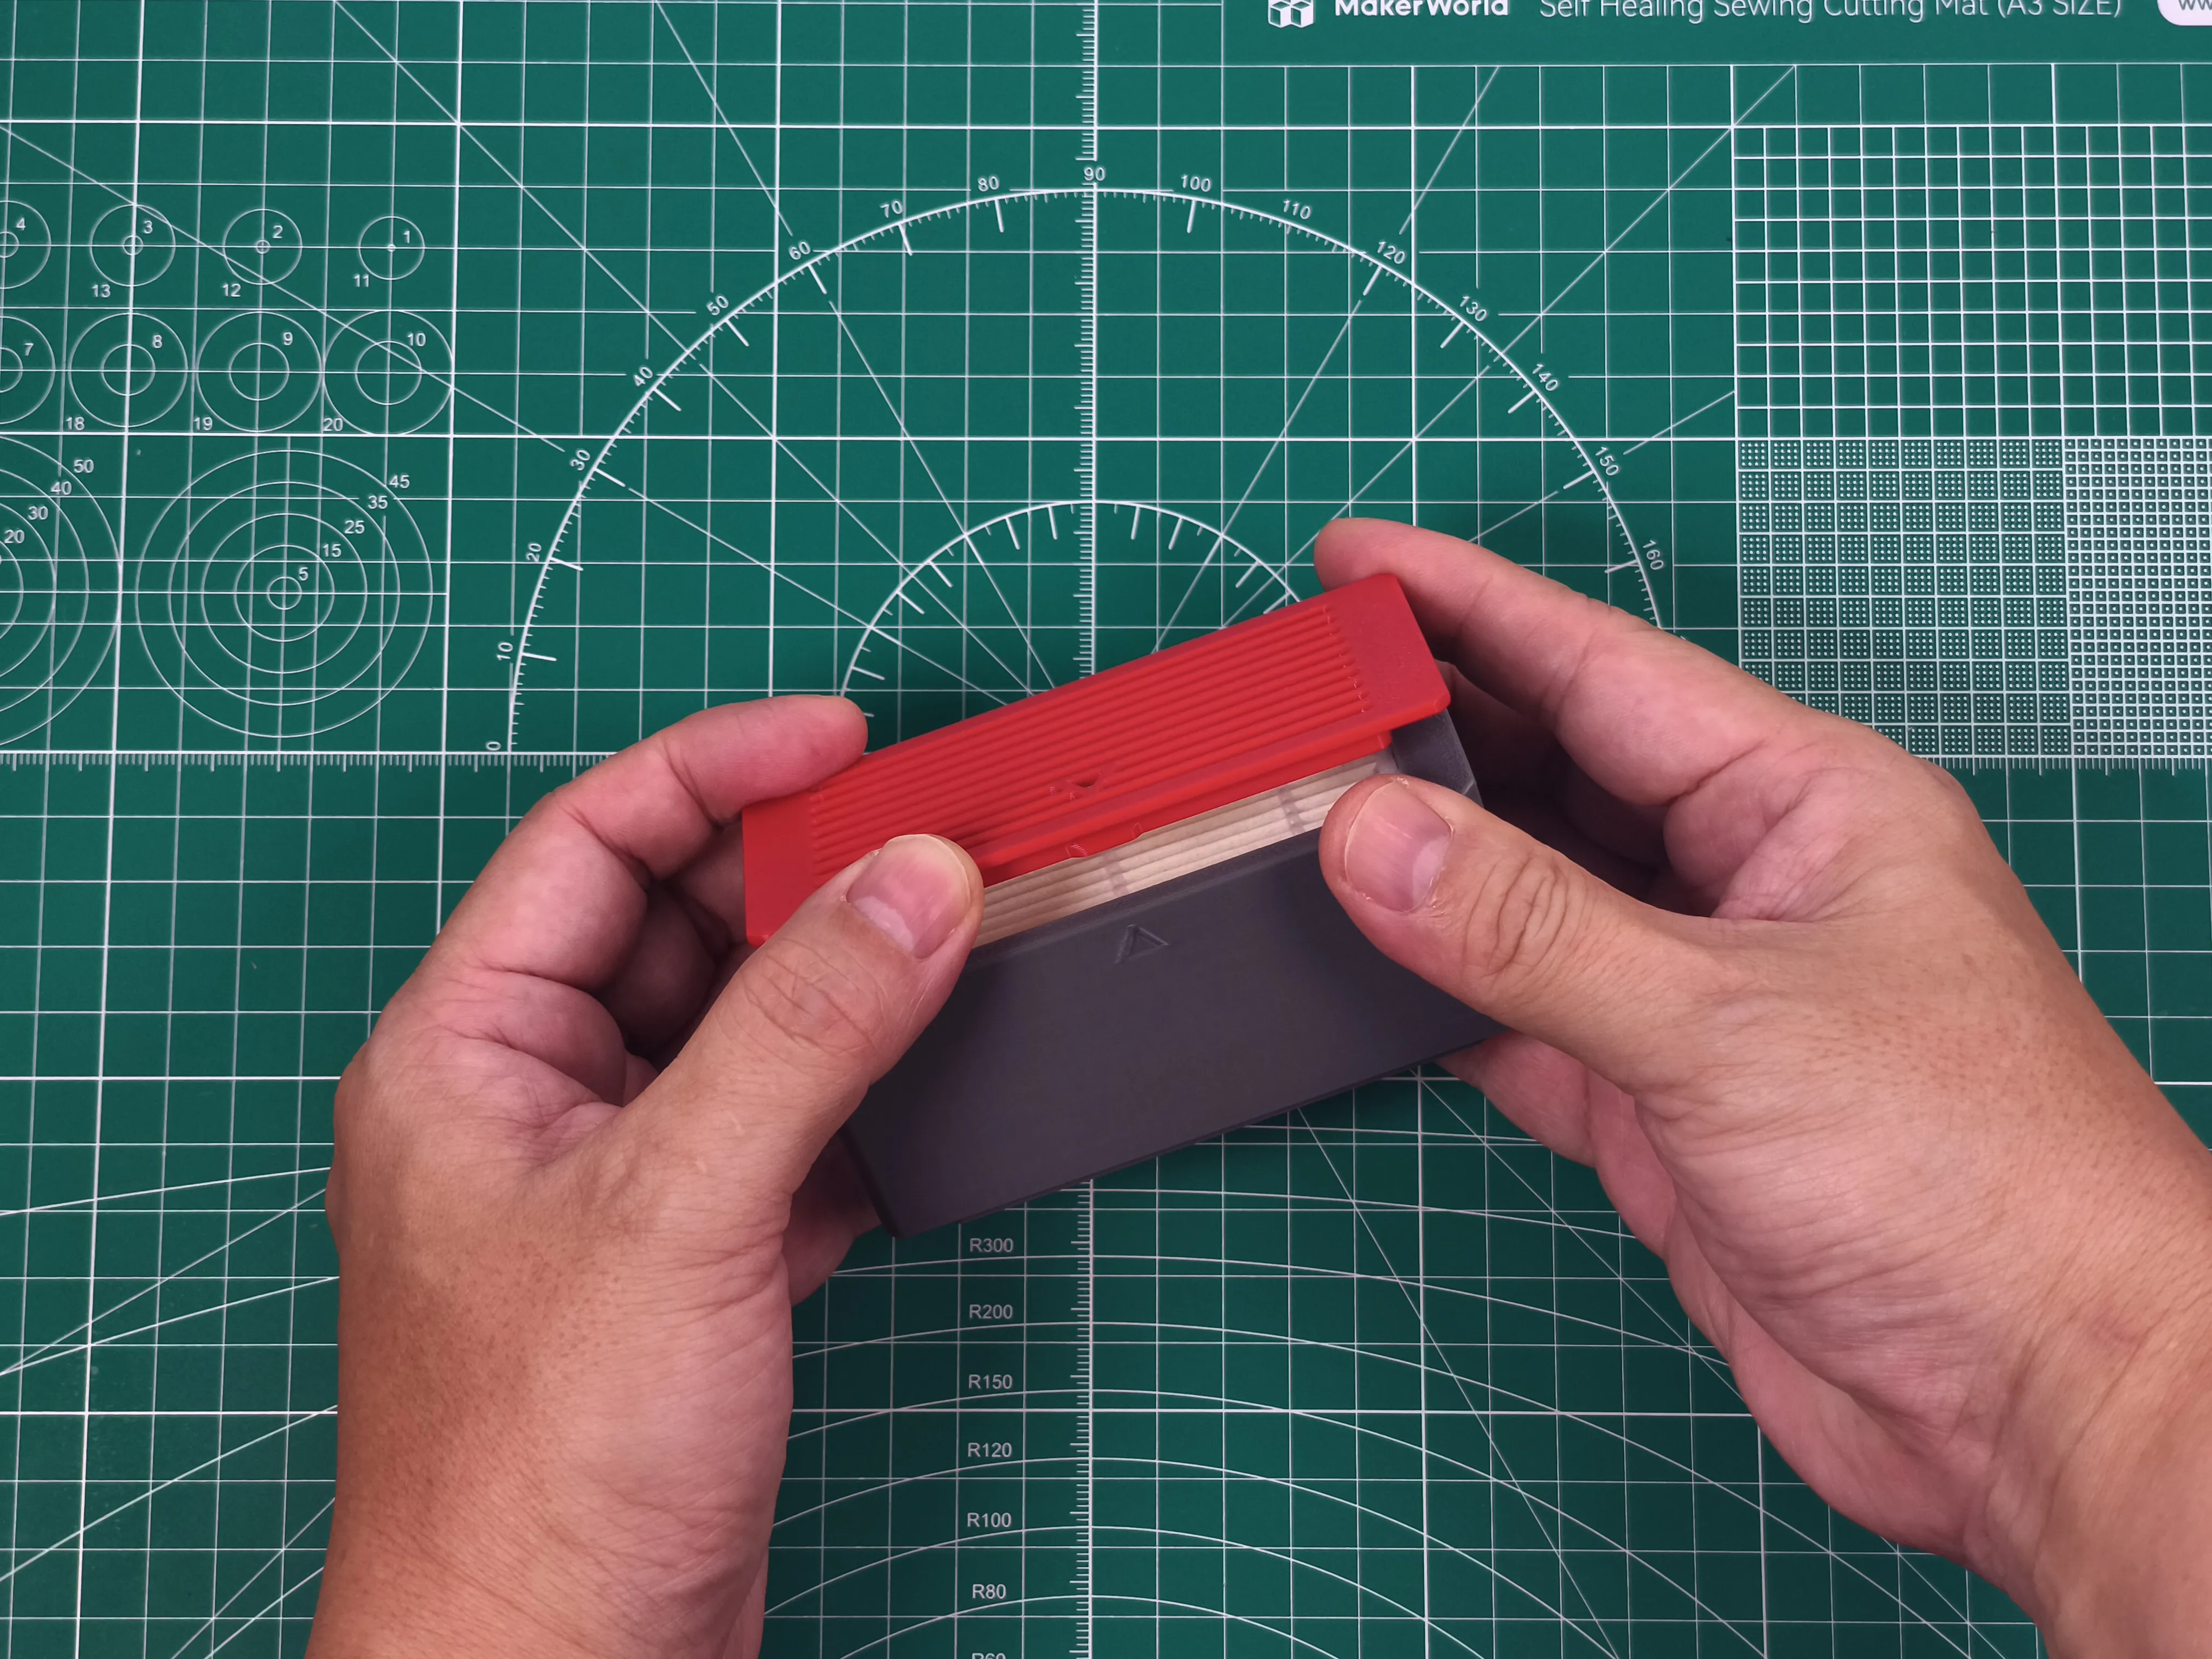 |
|
|
|
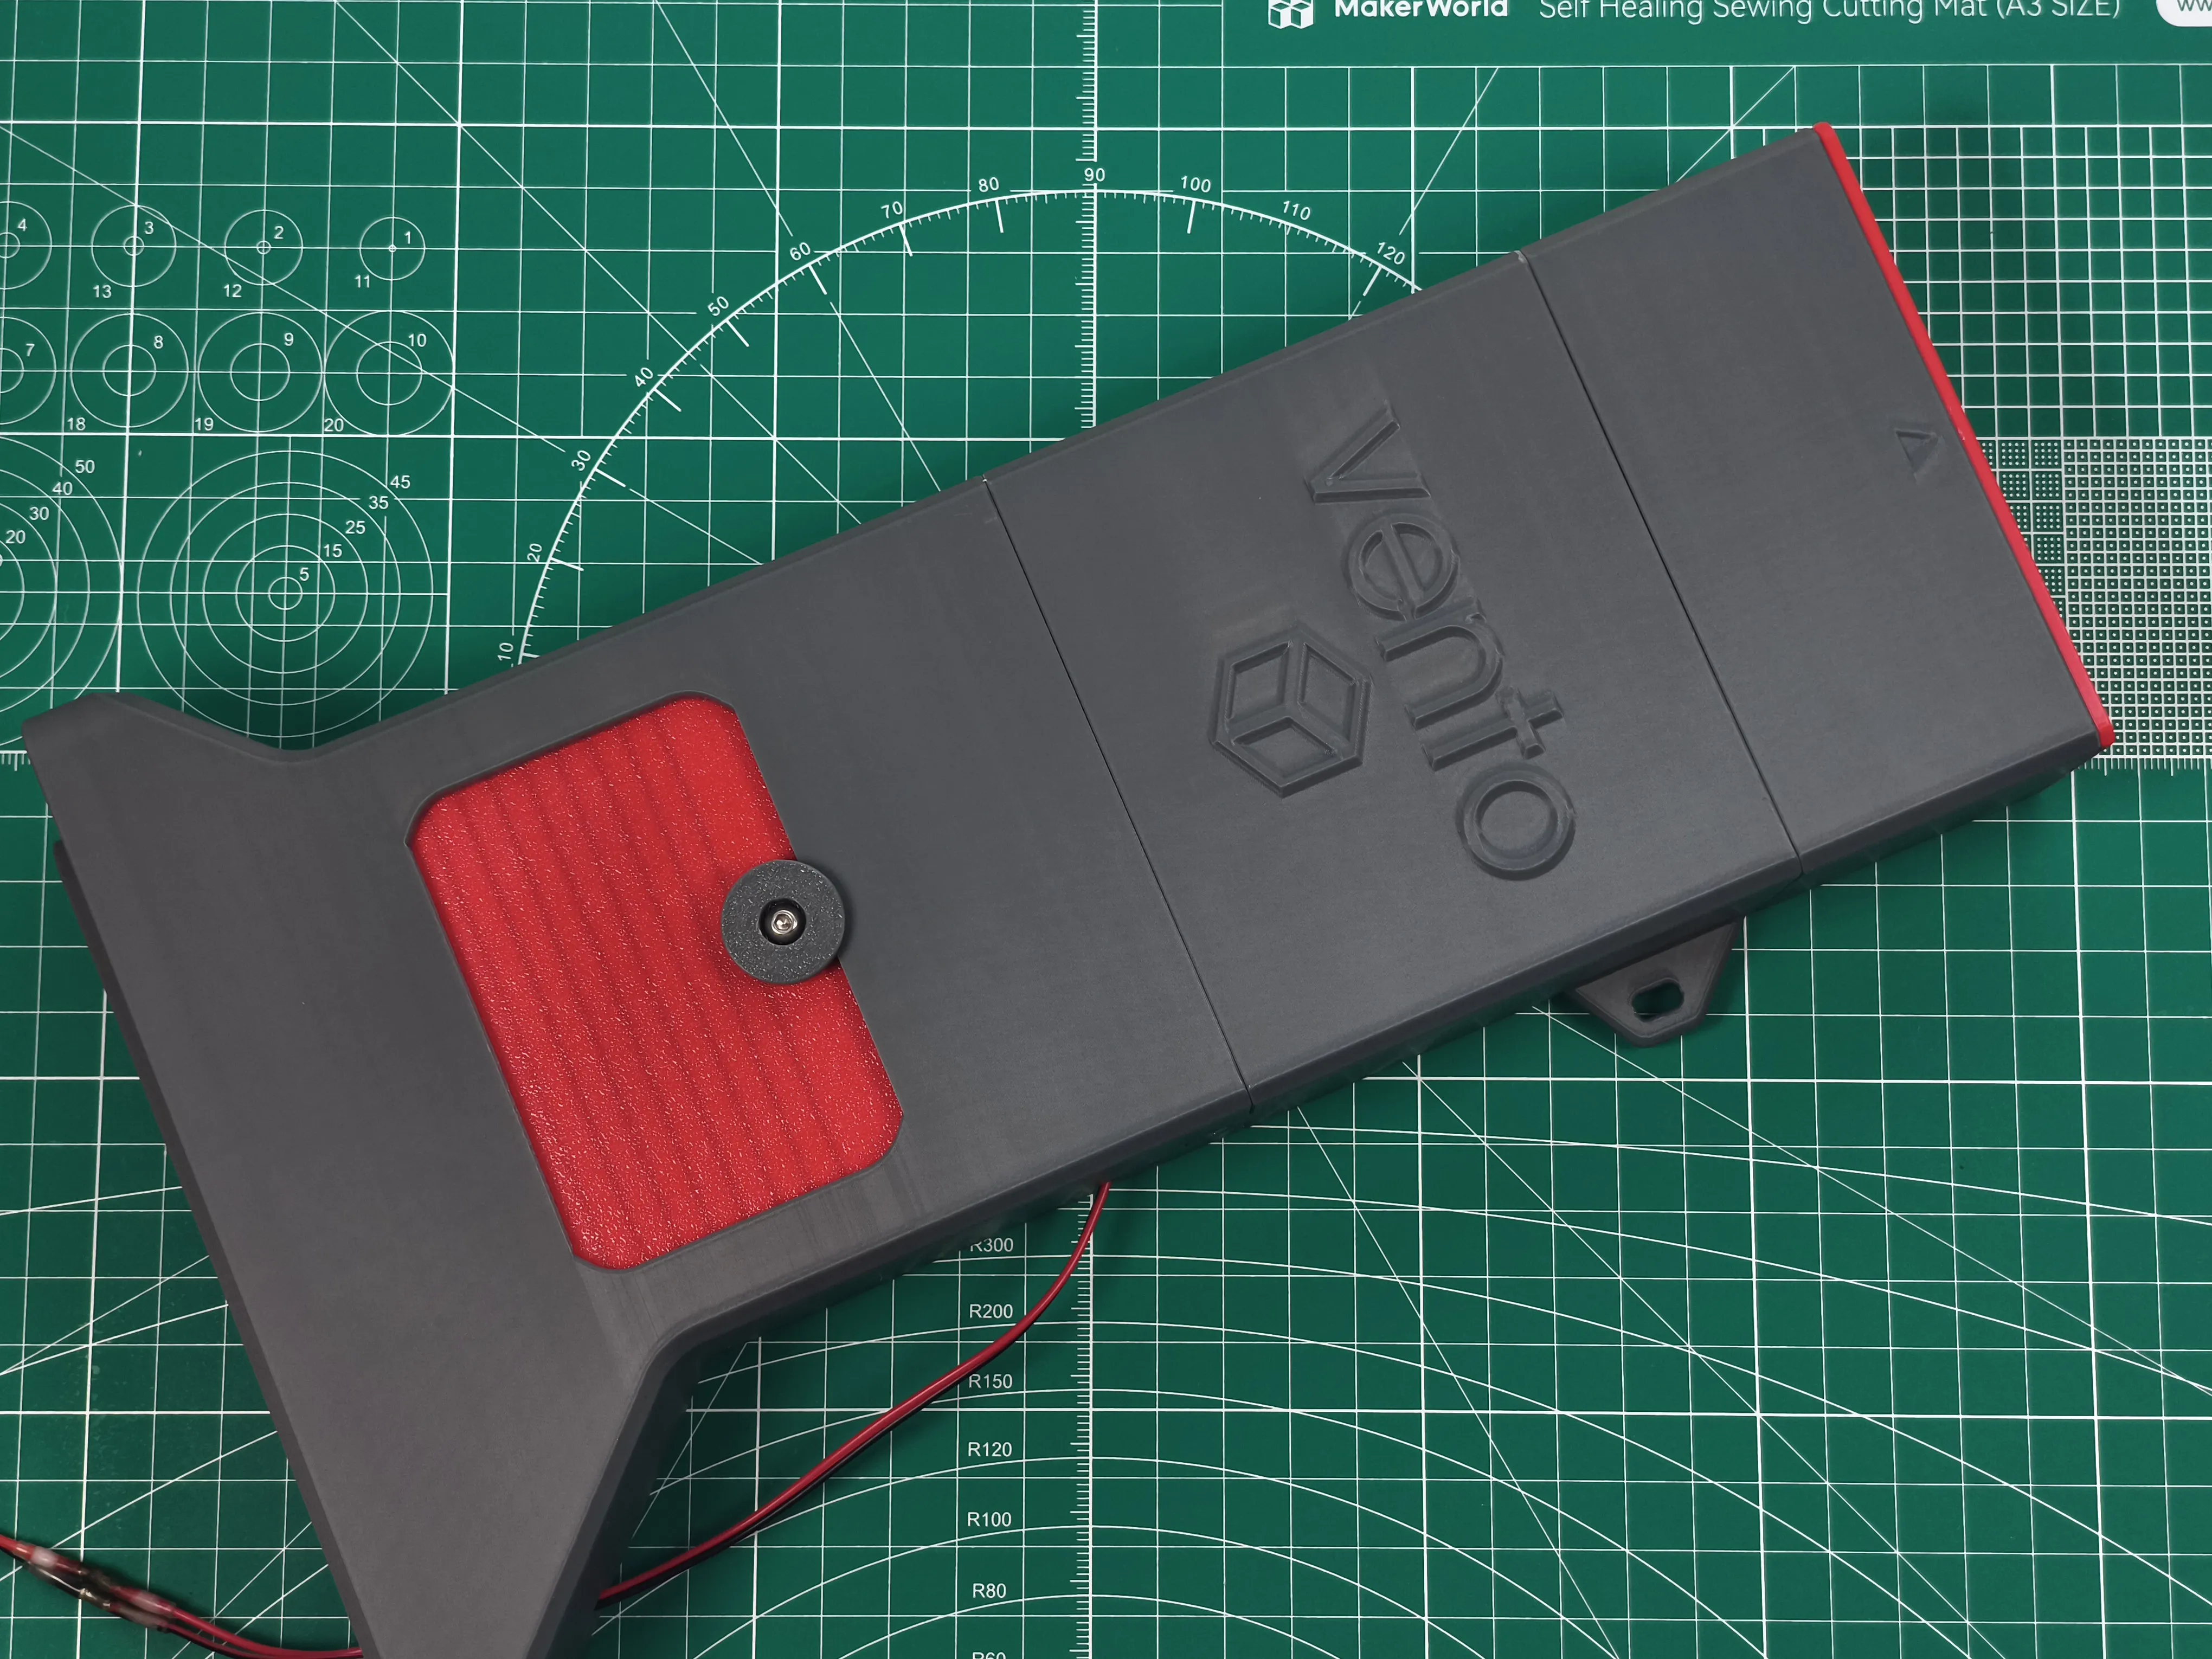 Assembly of ventobox is complete. | ||
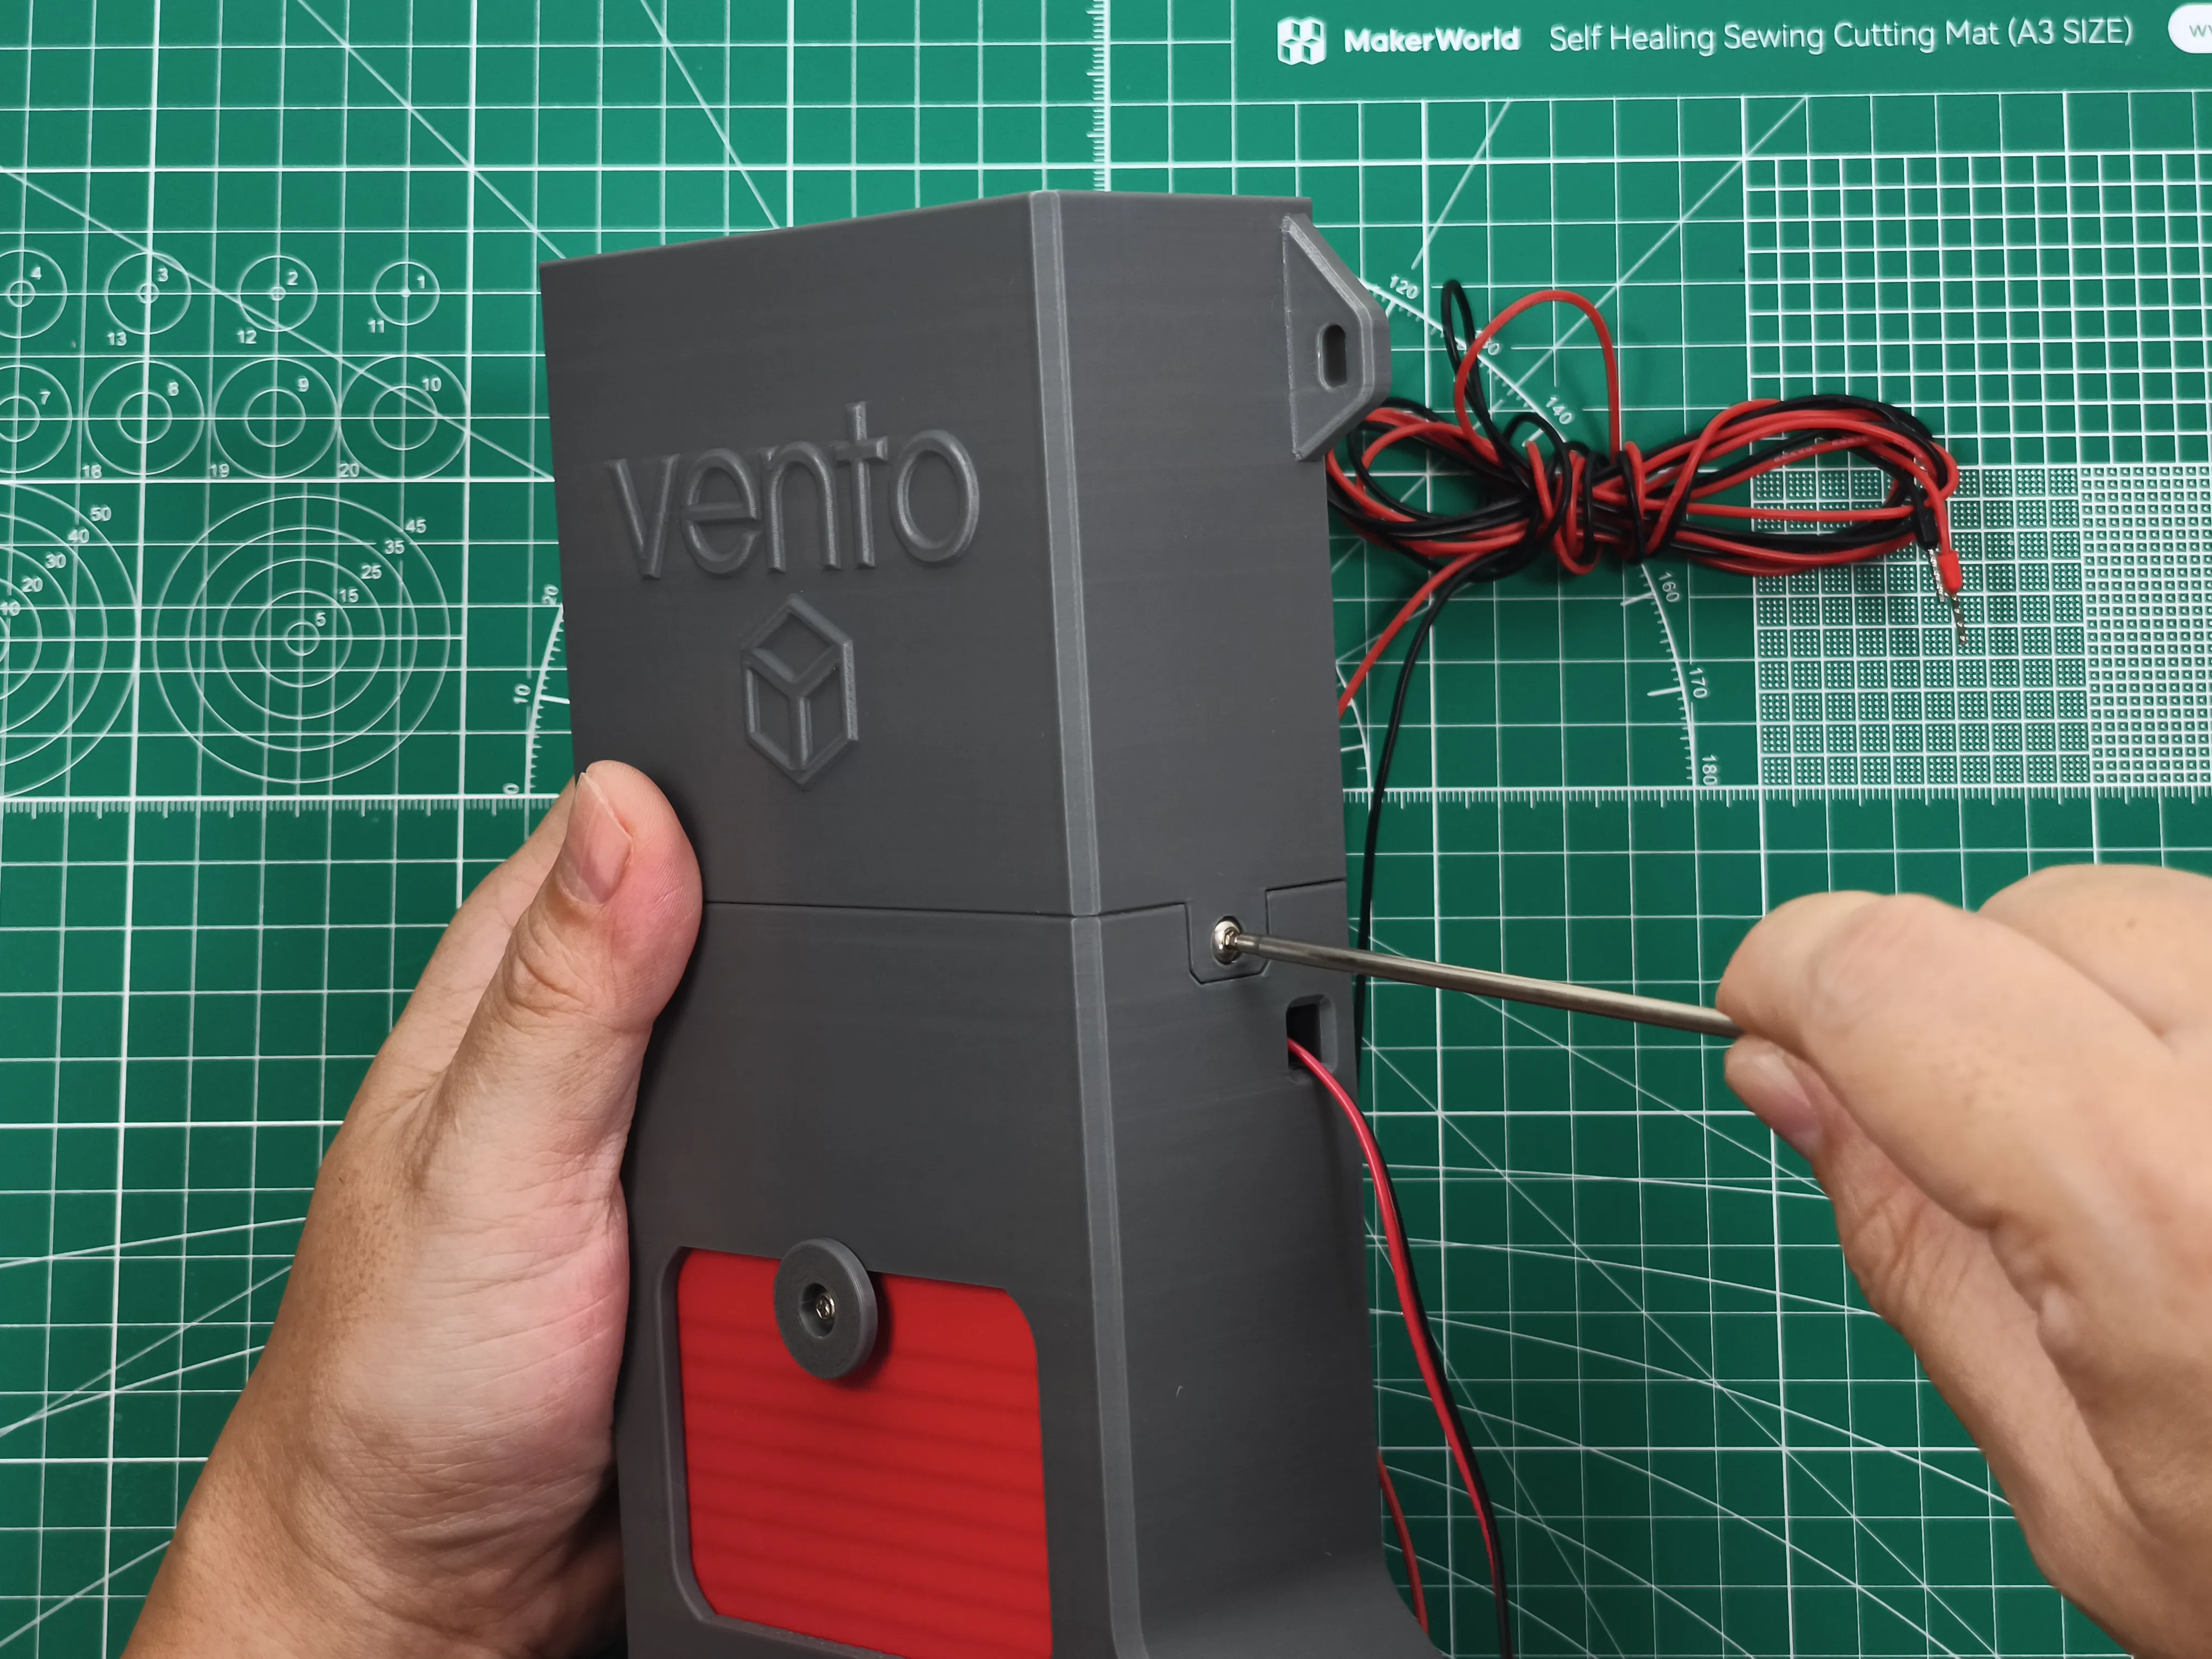
VENTOBOX INSTALLATION GUIDE (2-Pin Fan Configuration)
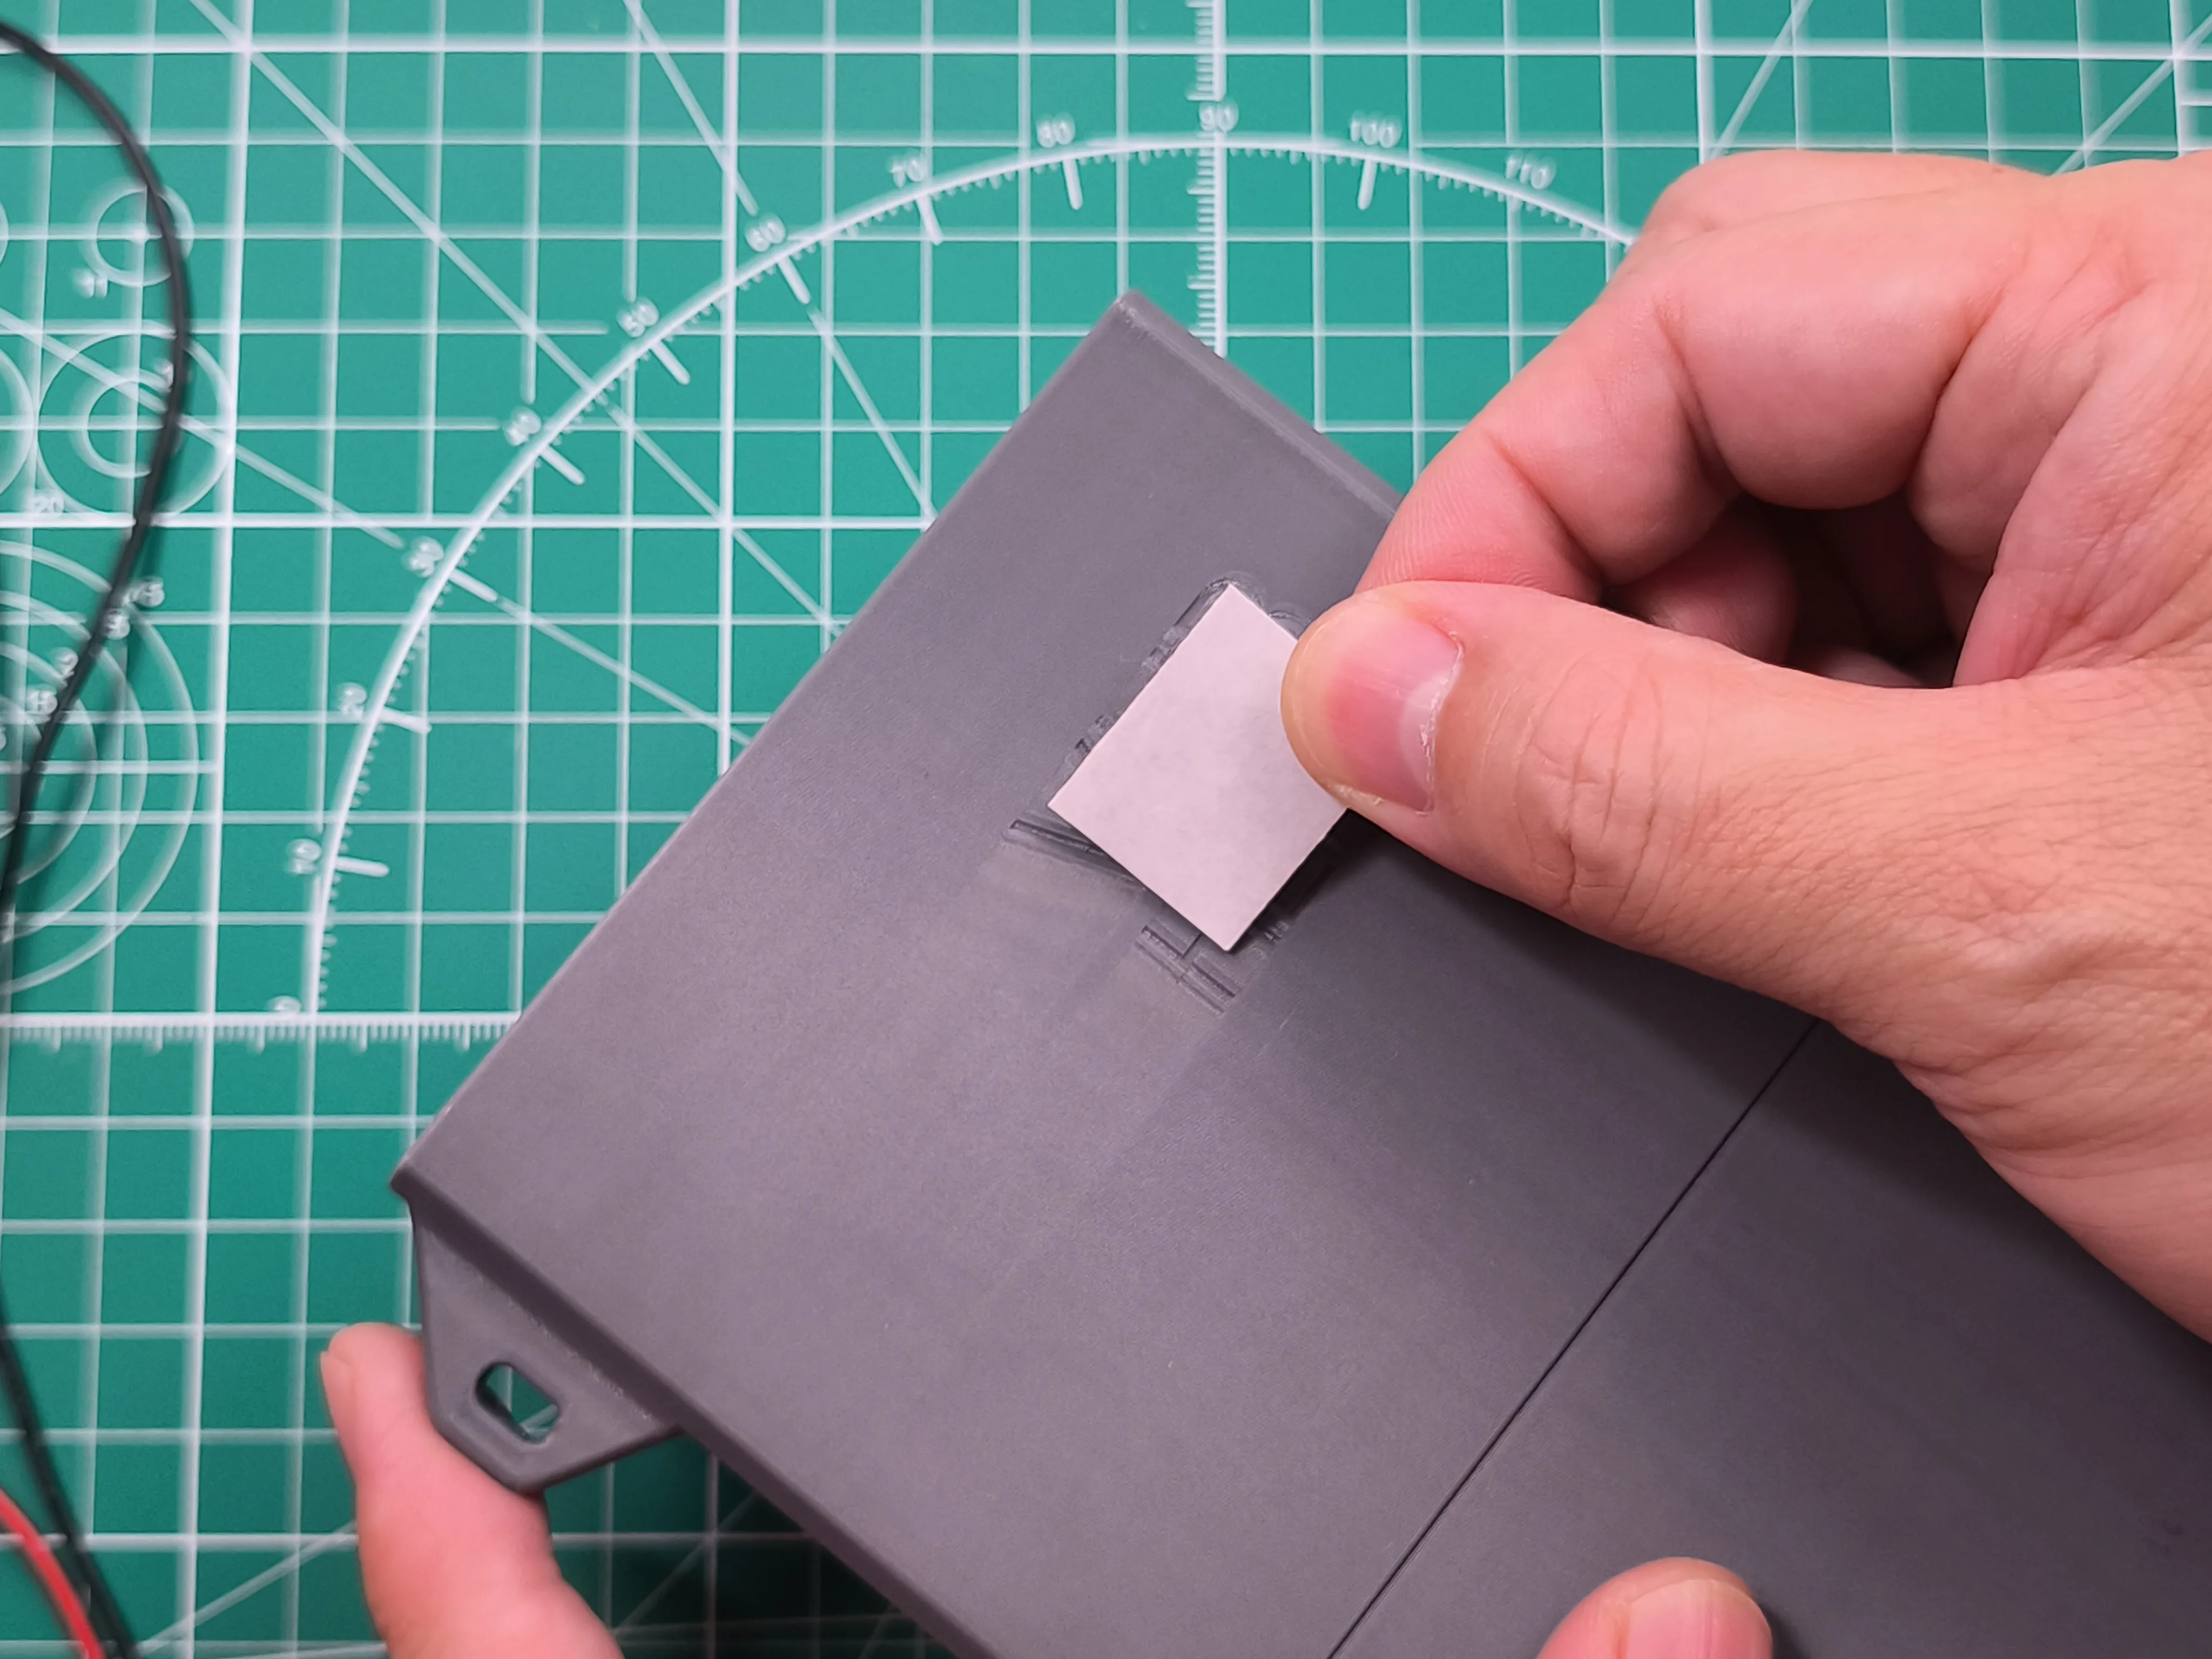 | 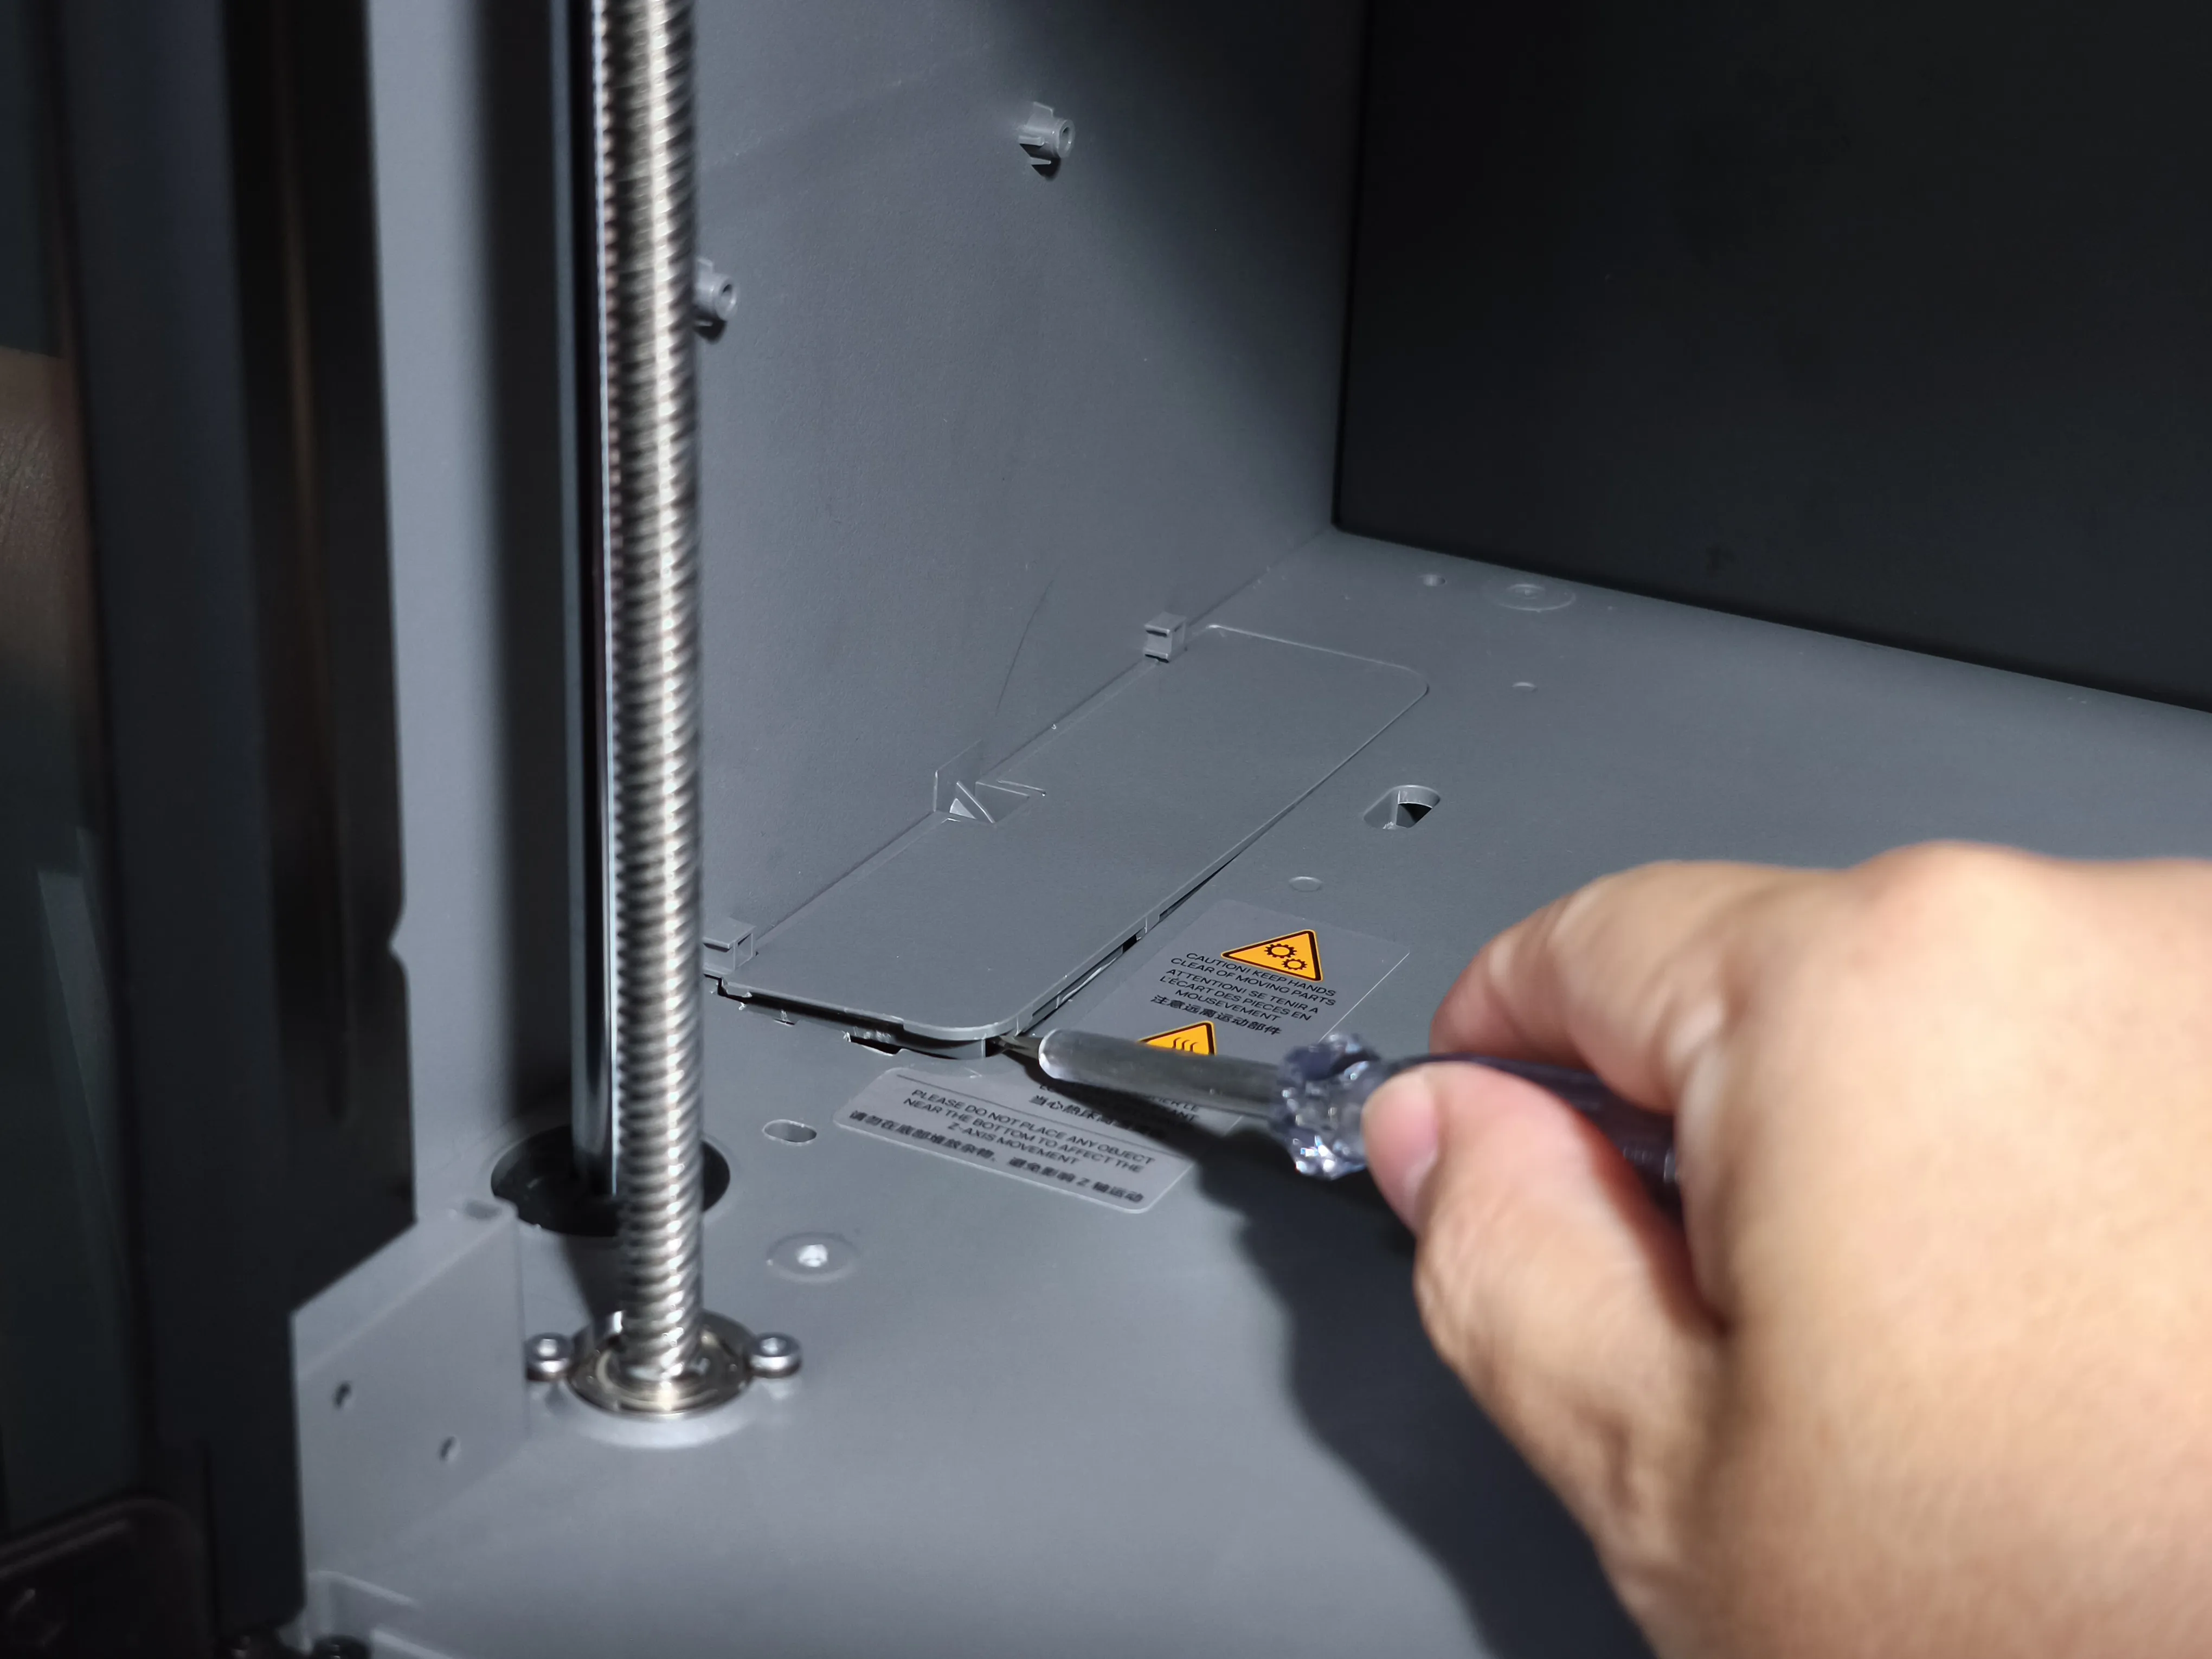 | 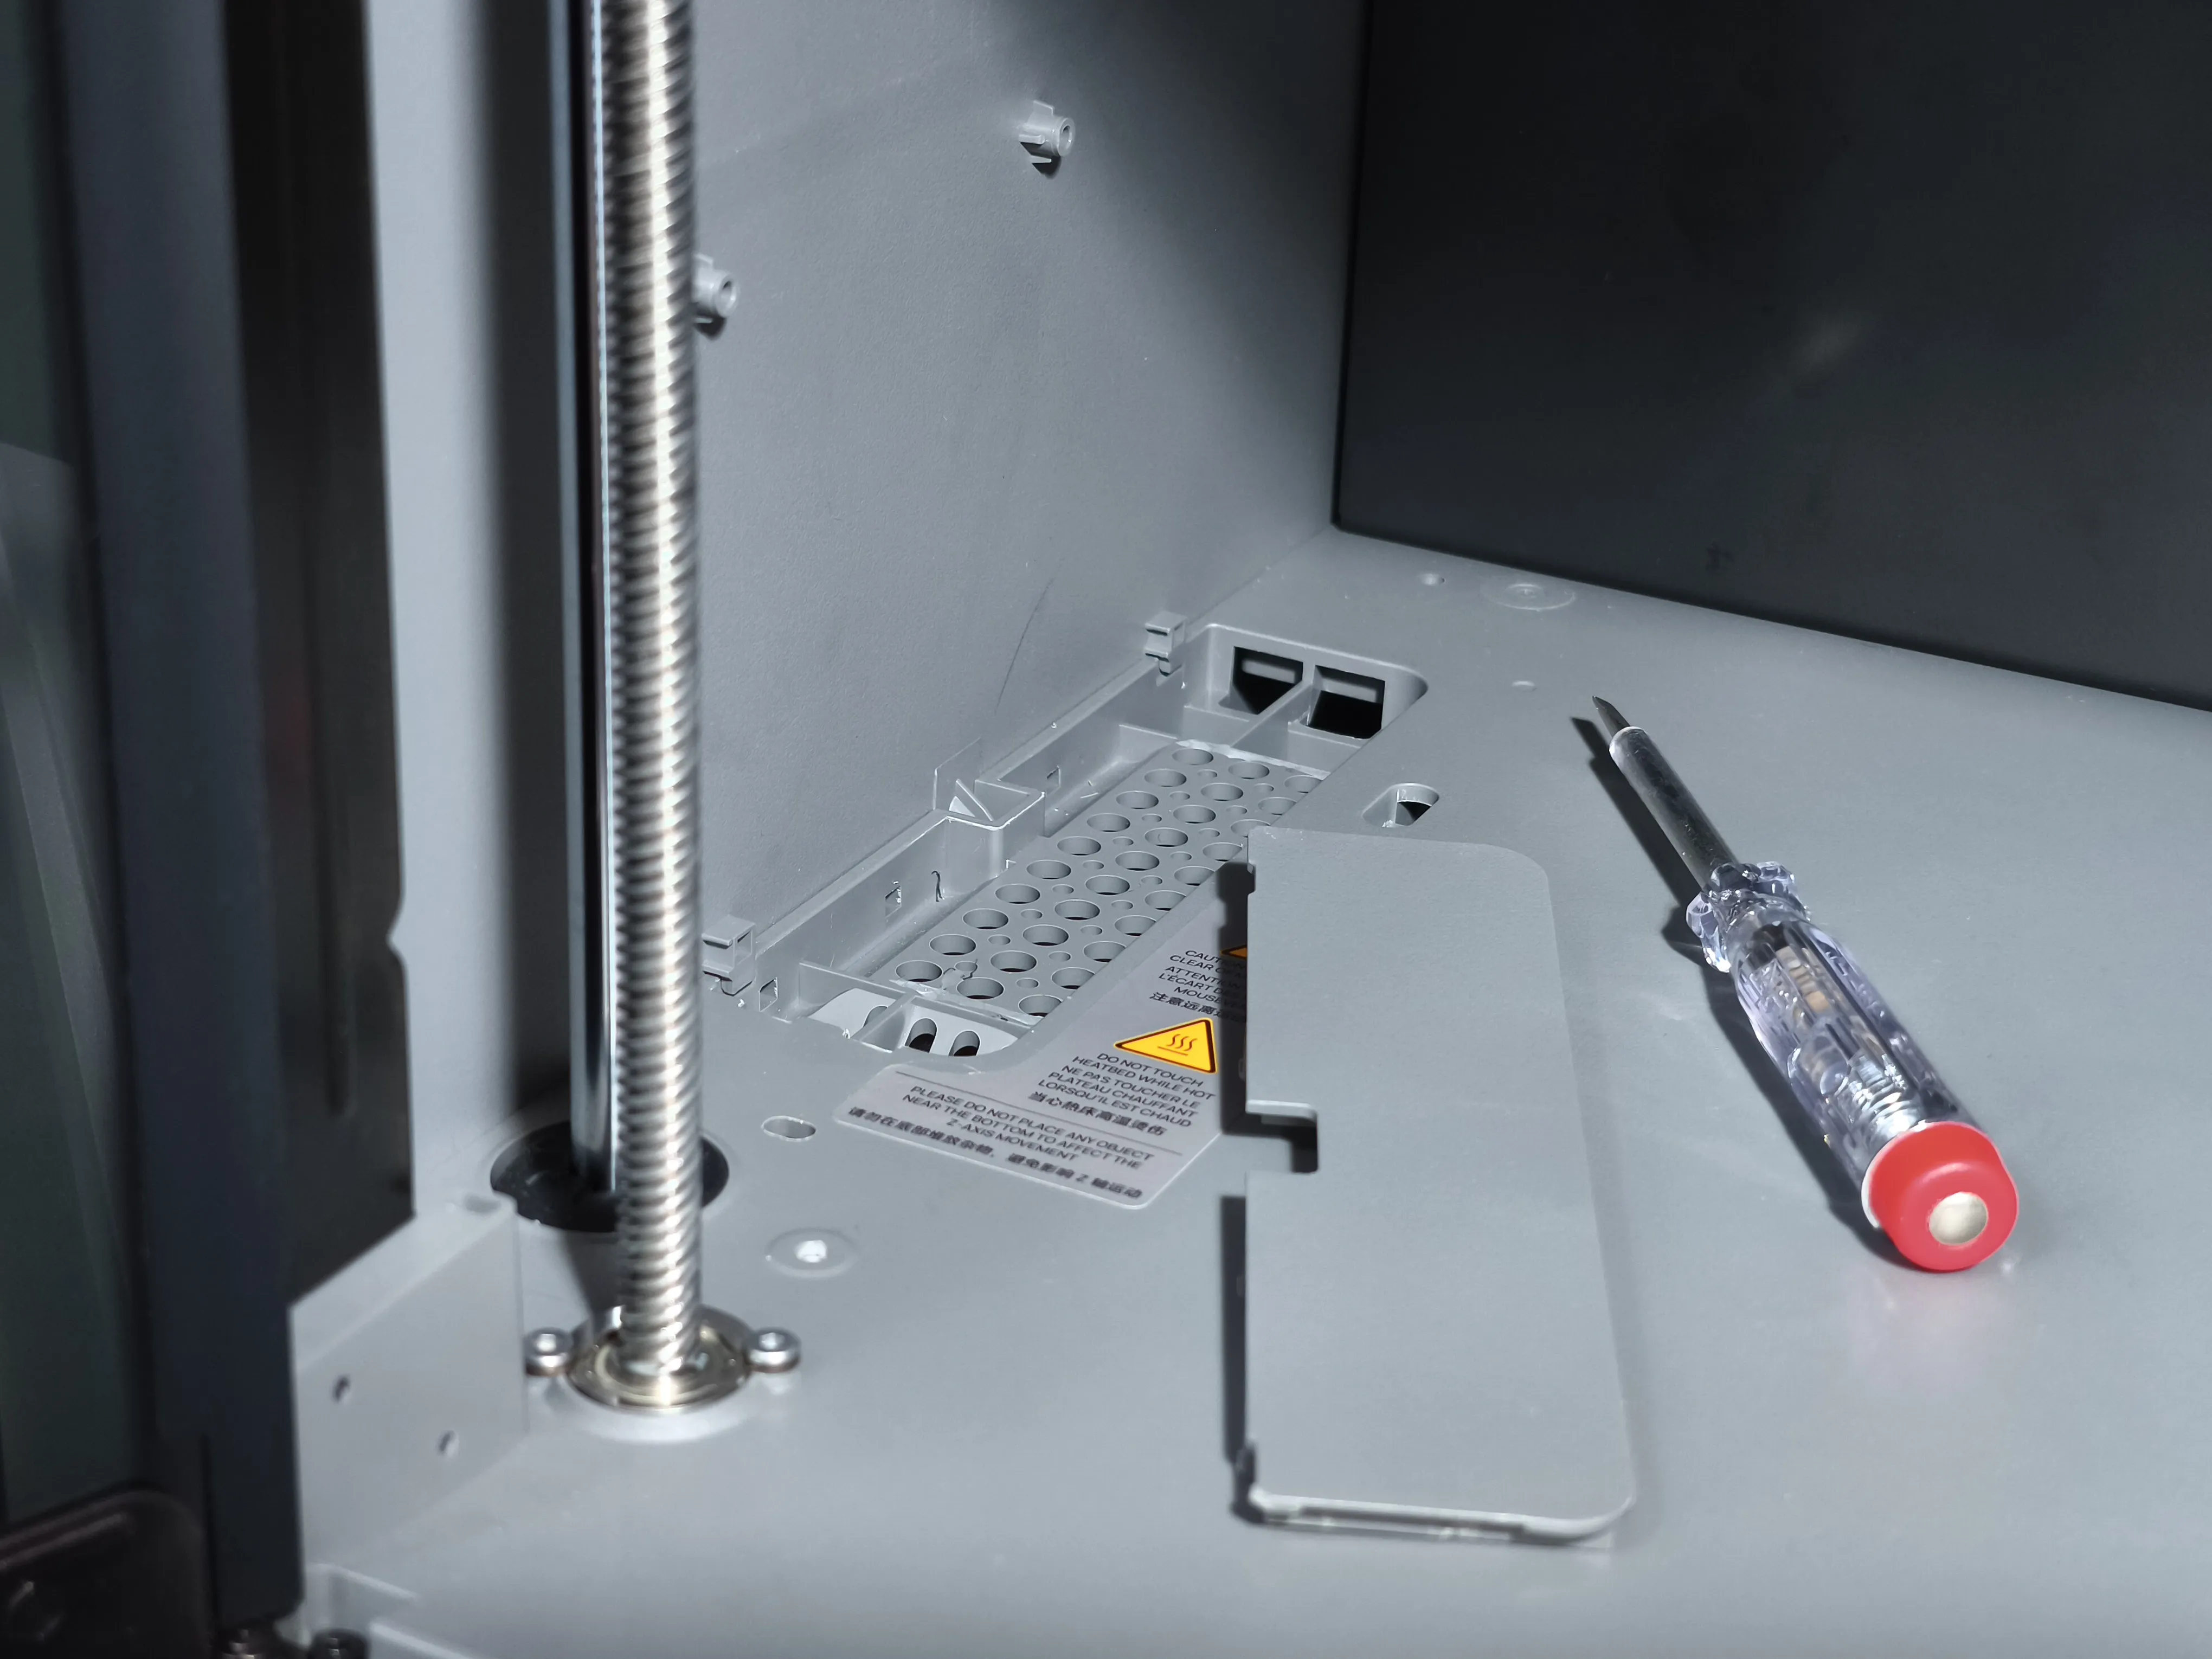 |
|
|
|
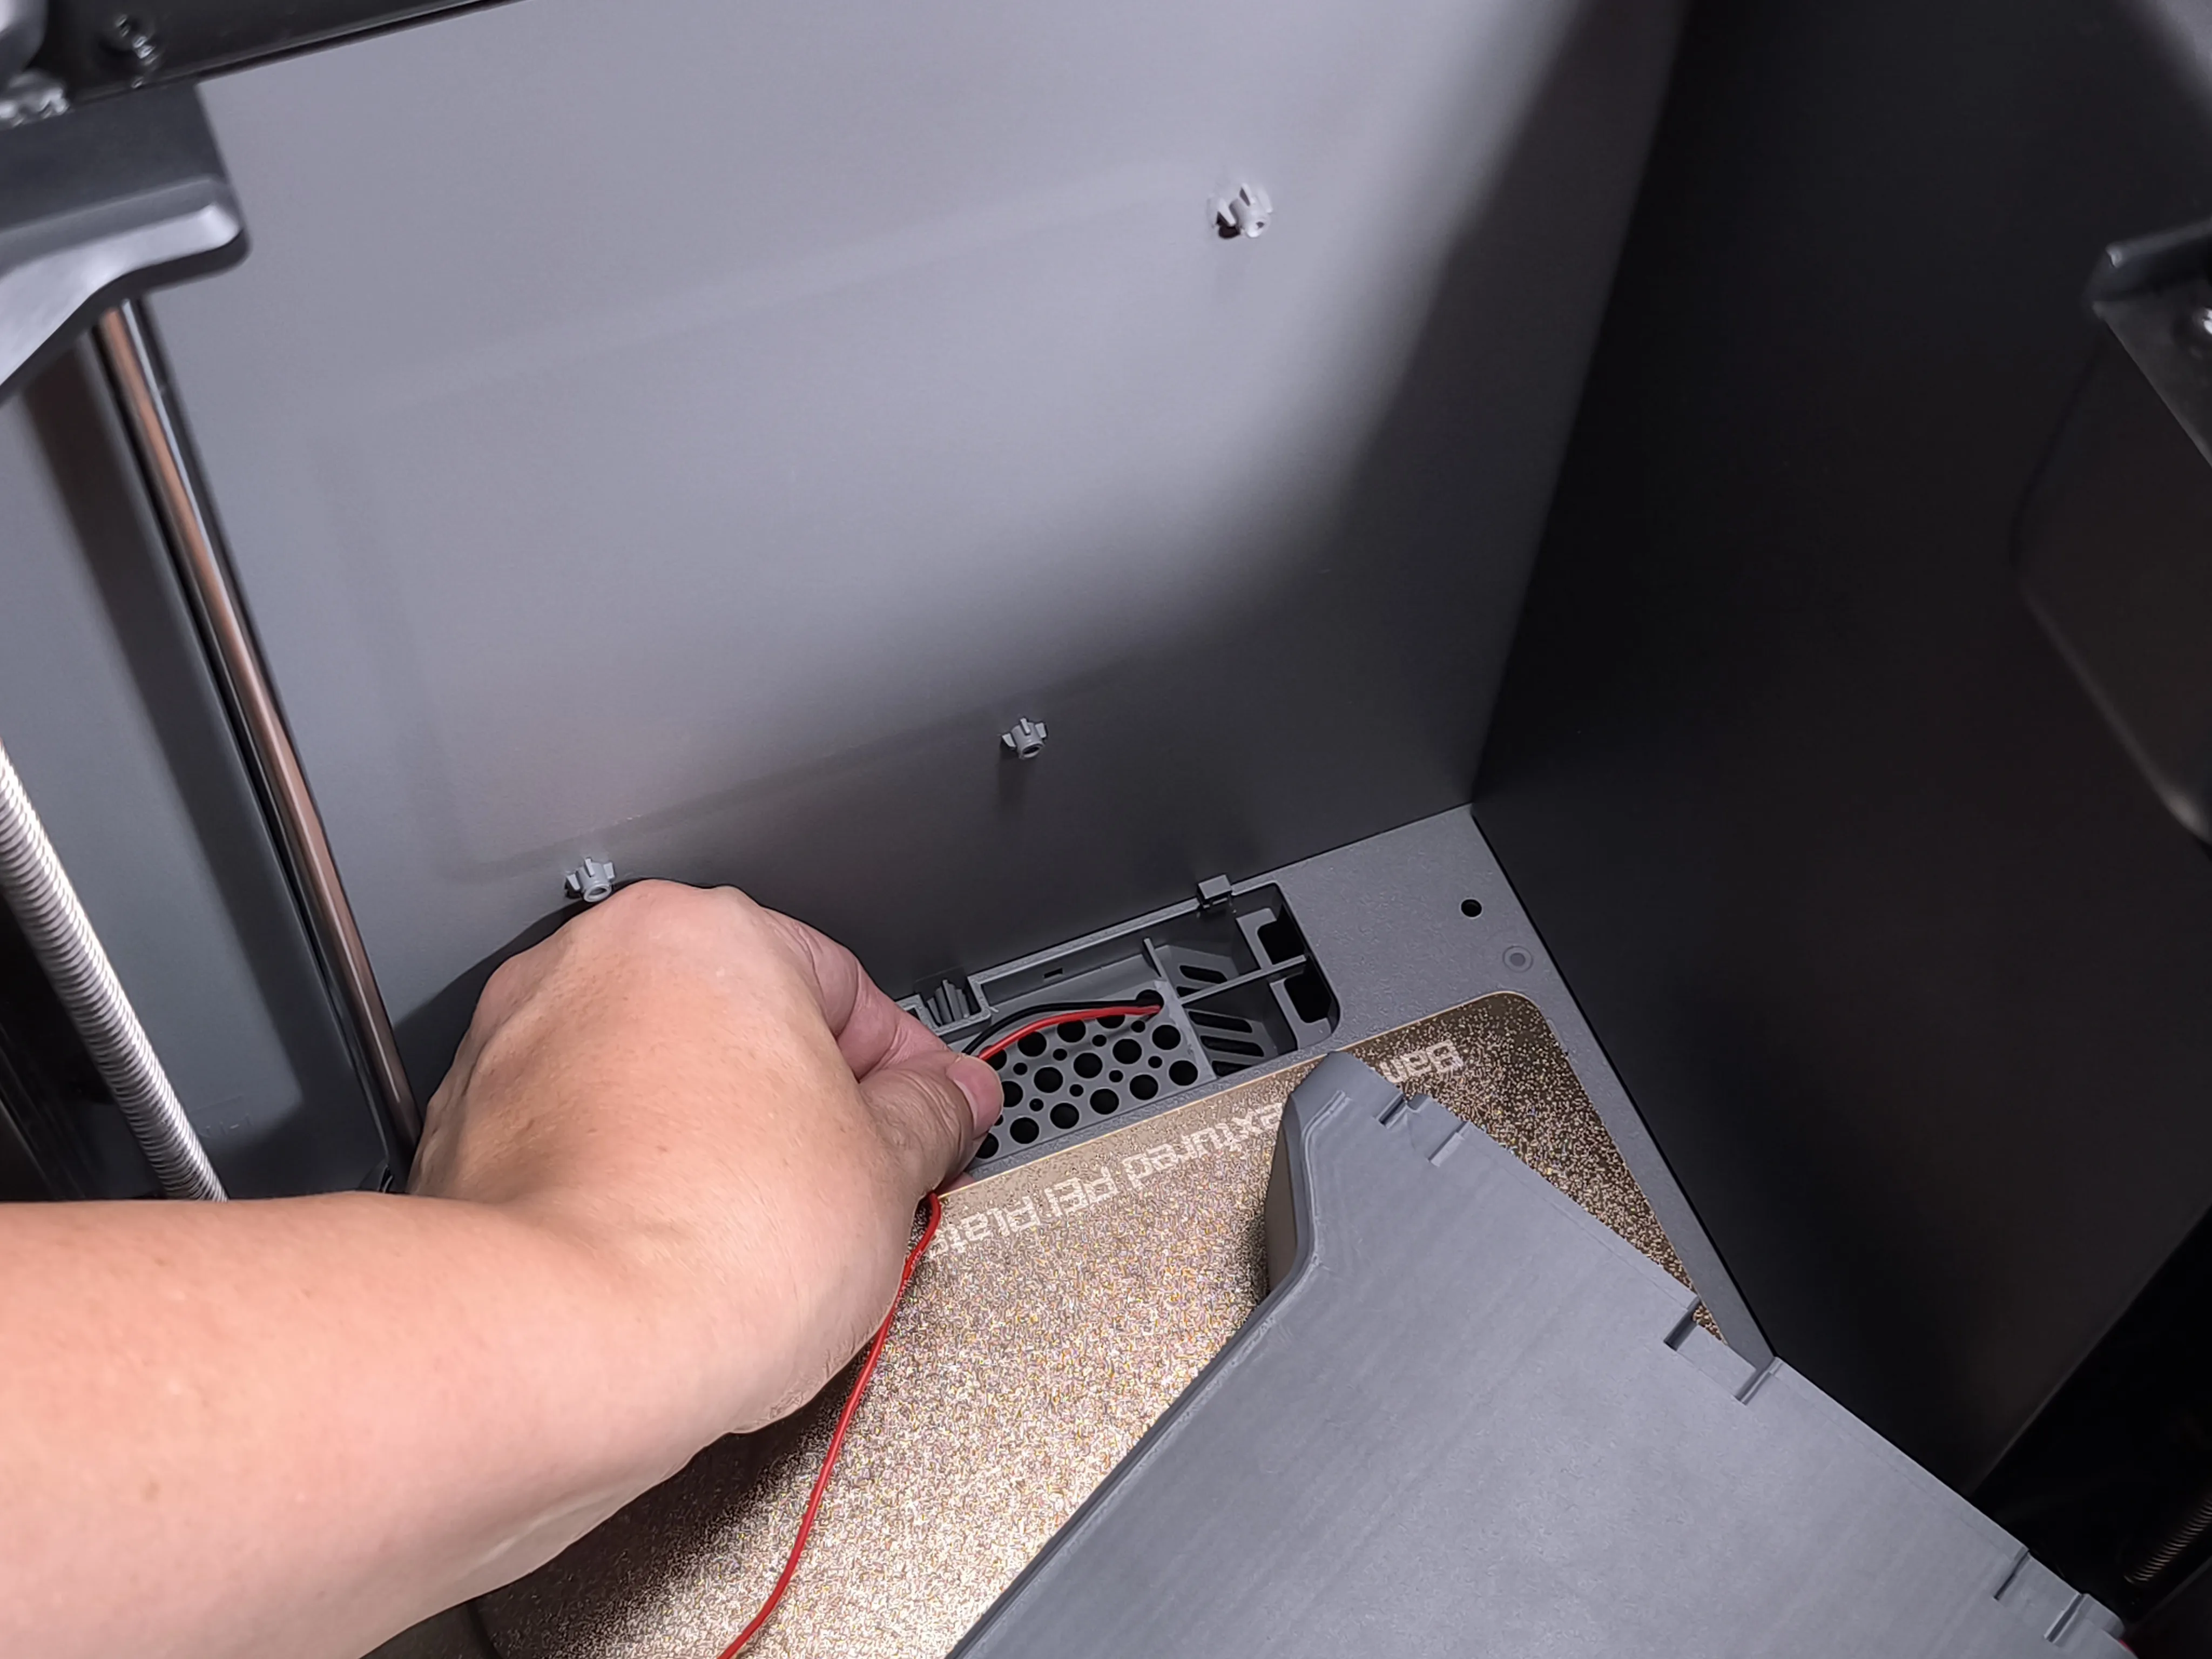 | 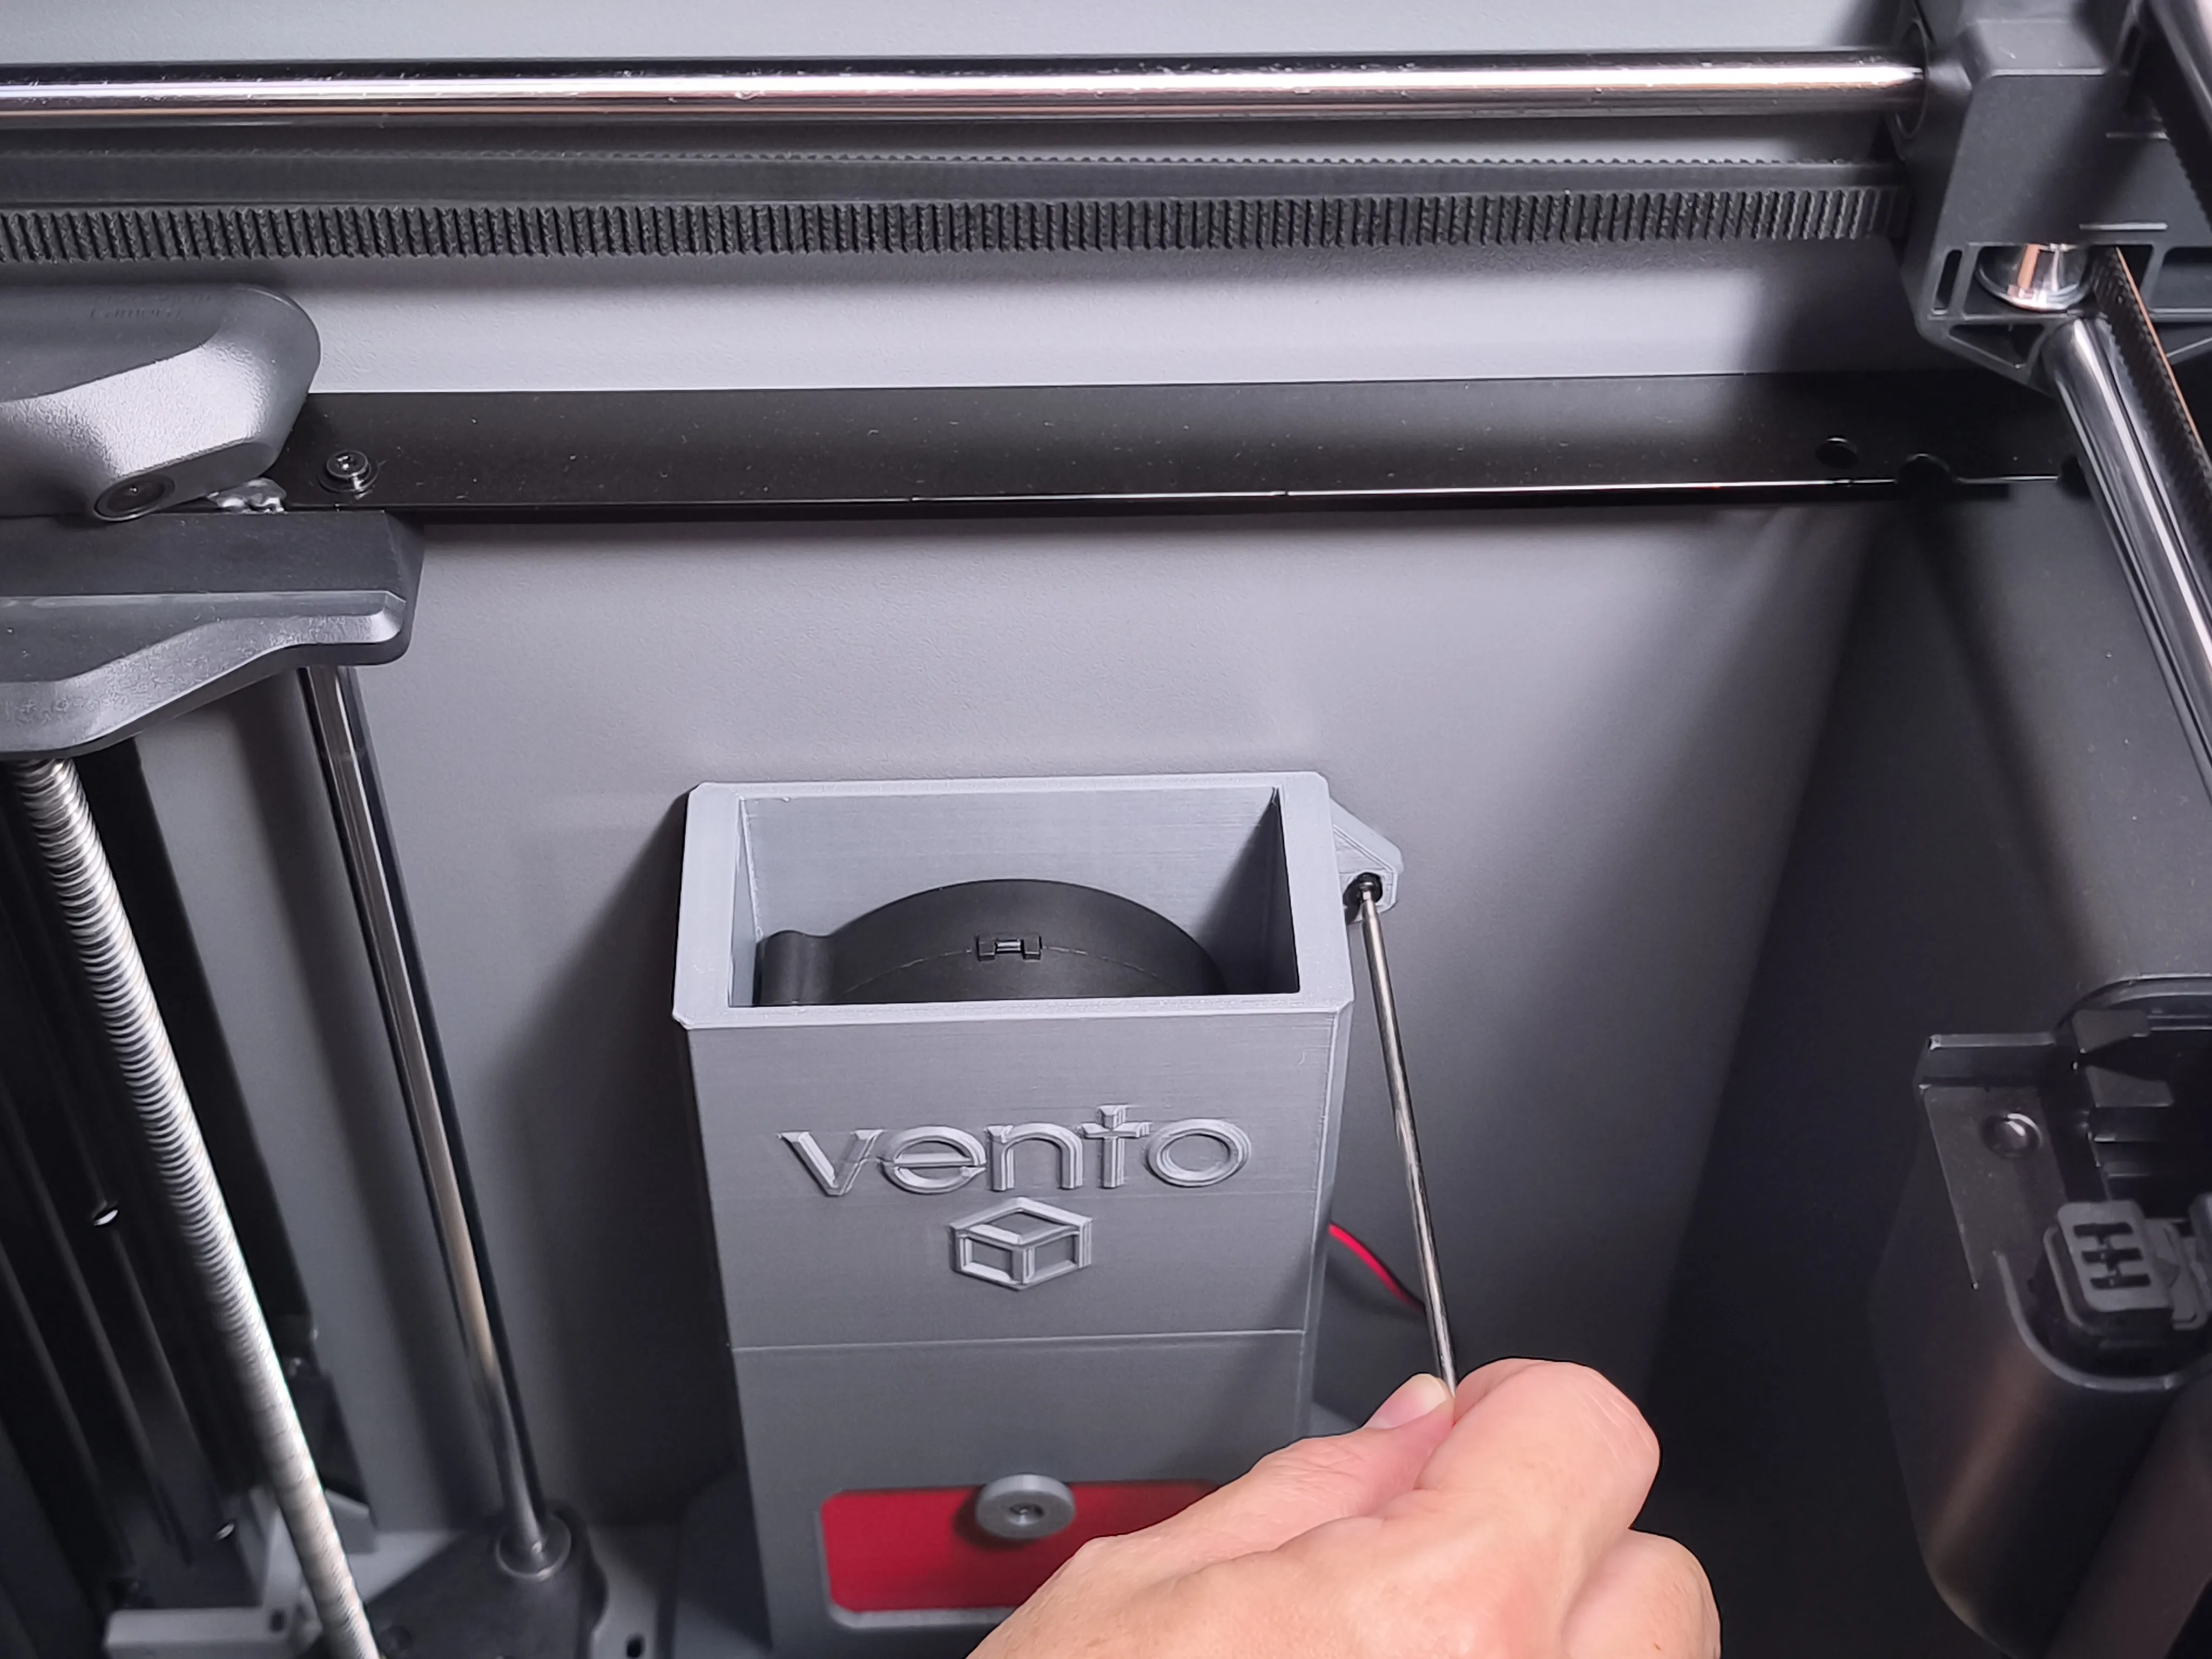 | 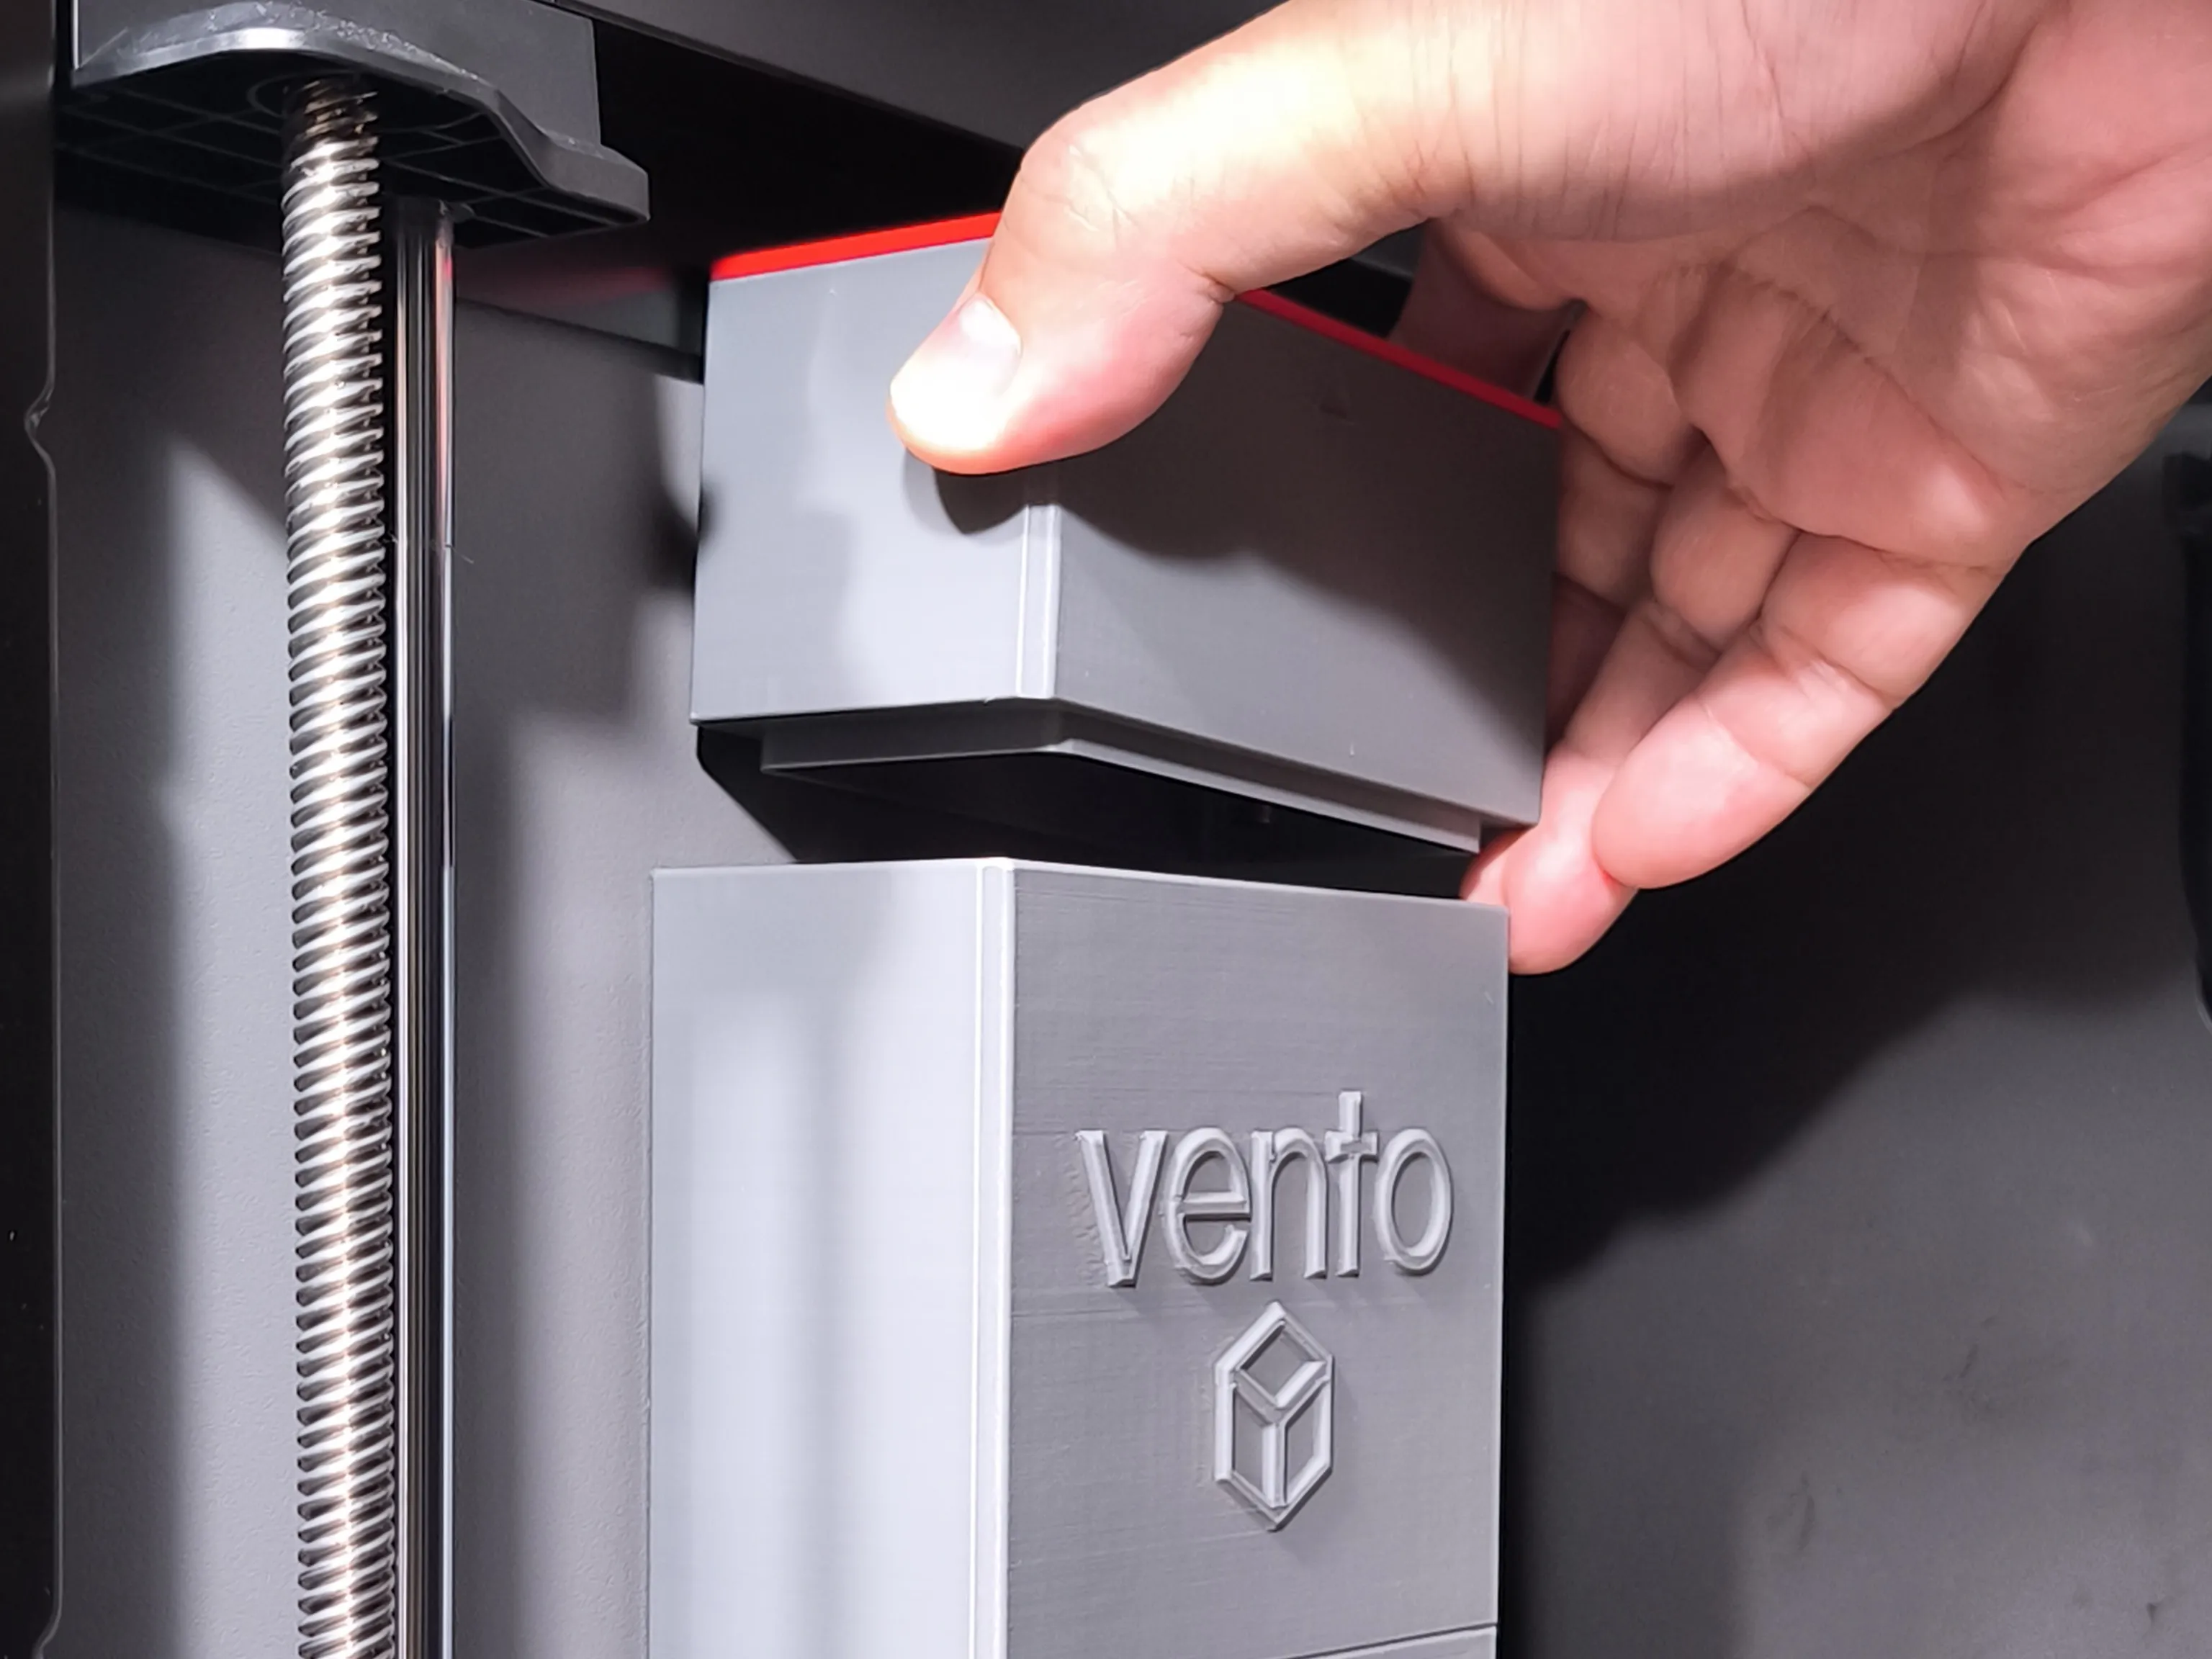 |
|
|
|
| 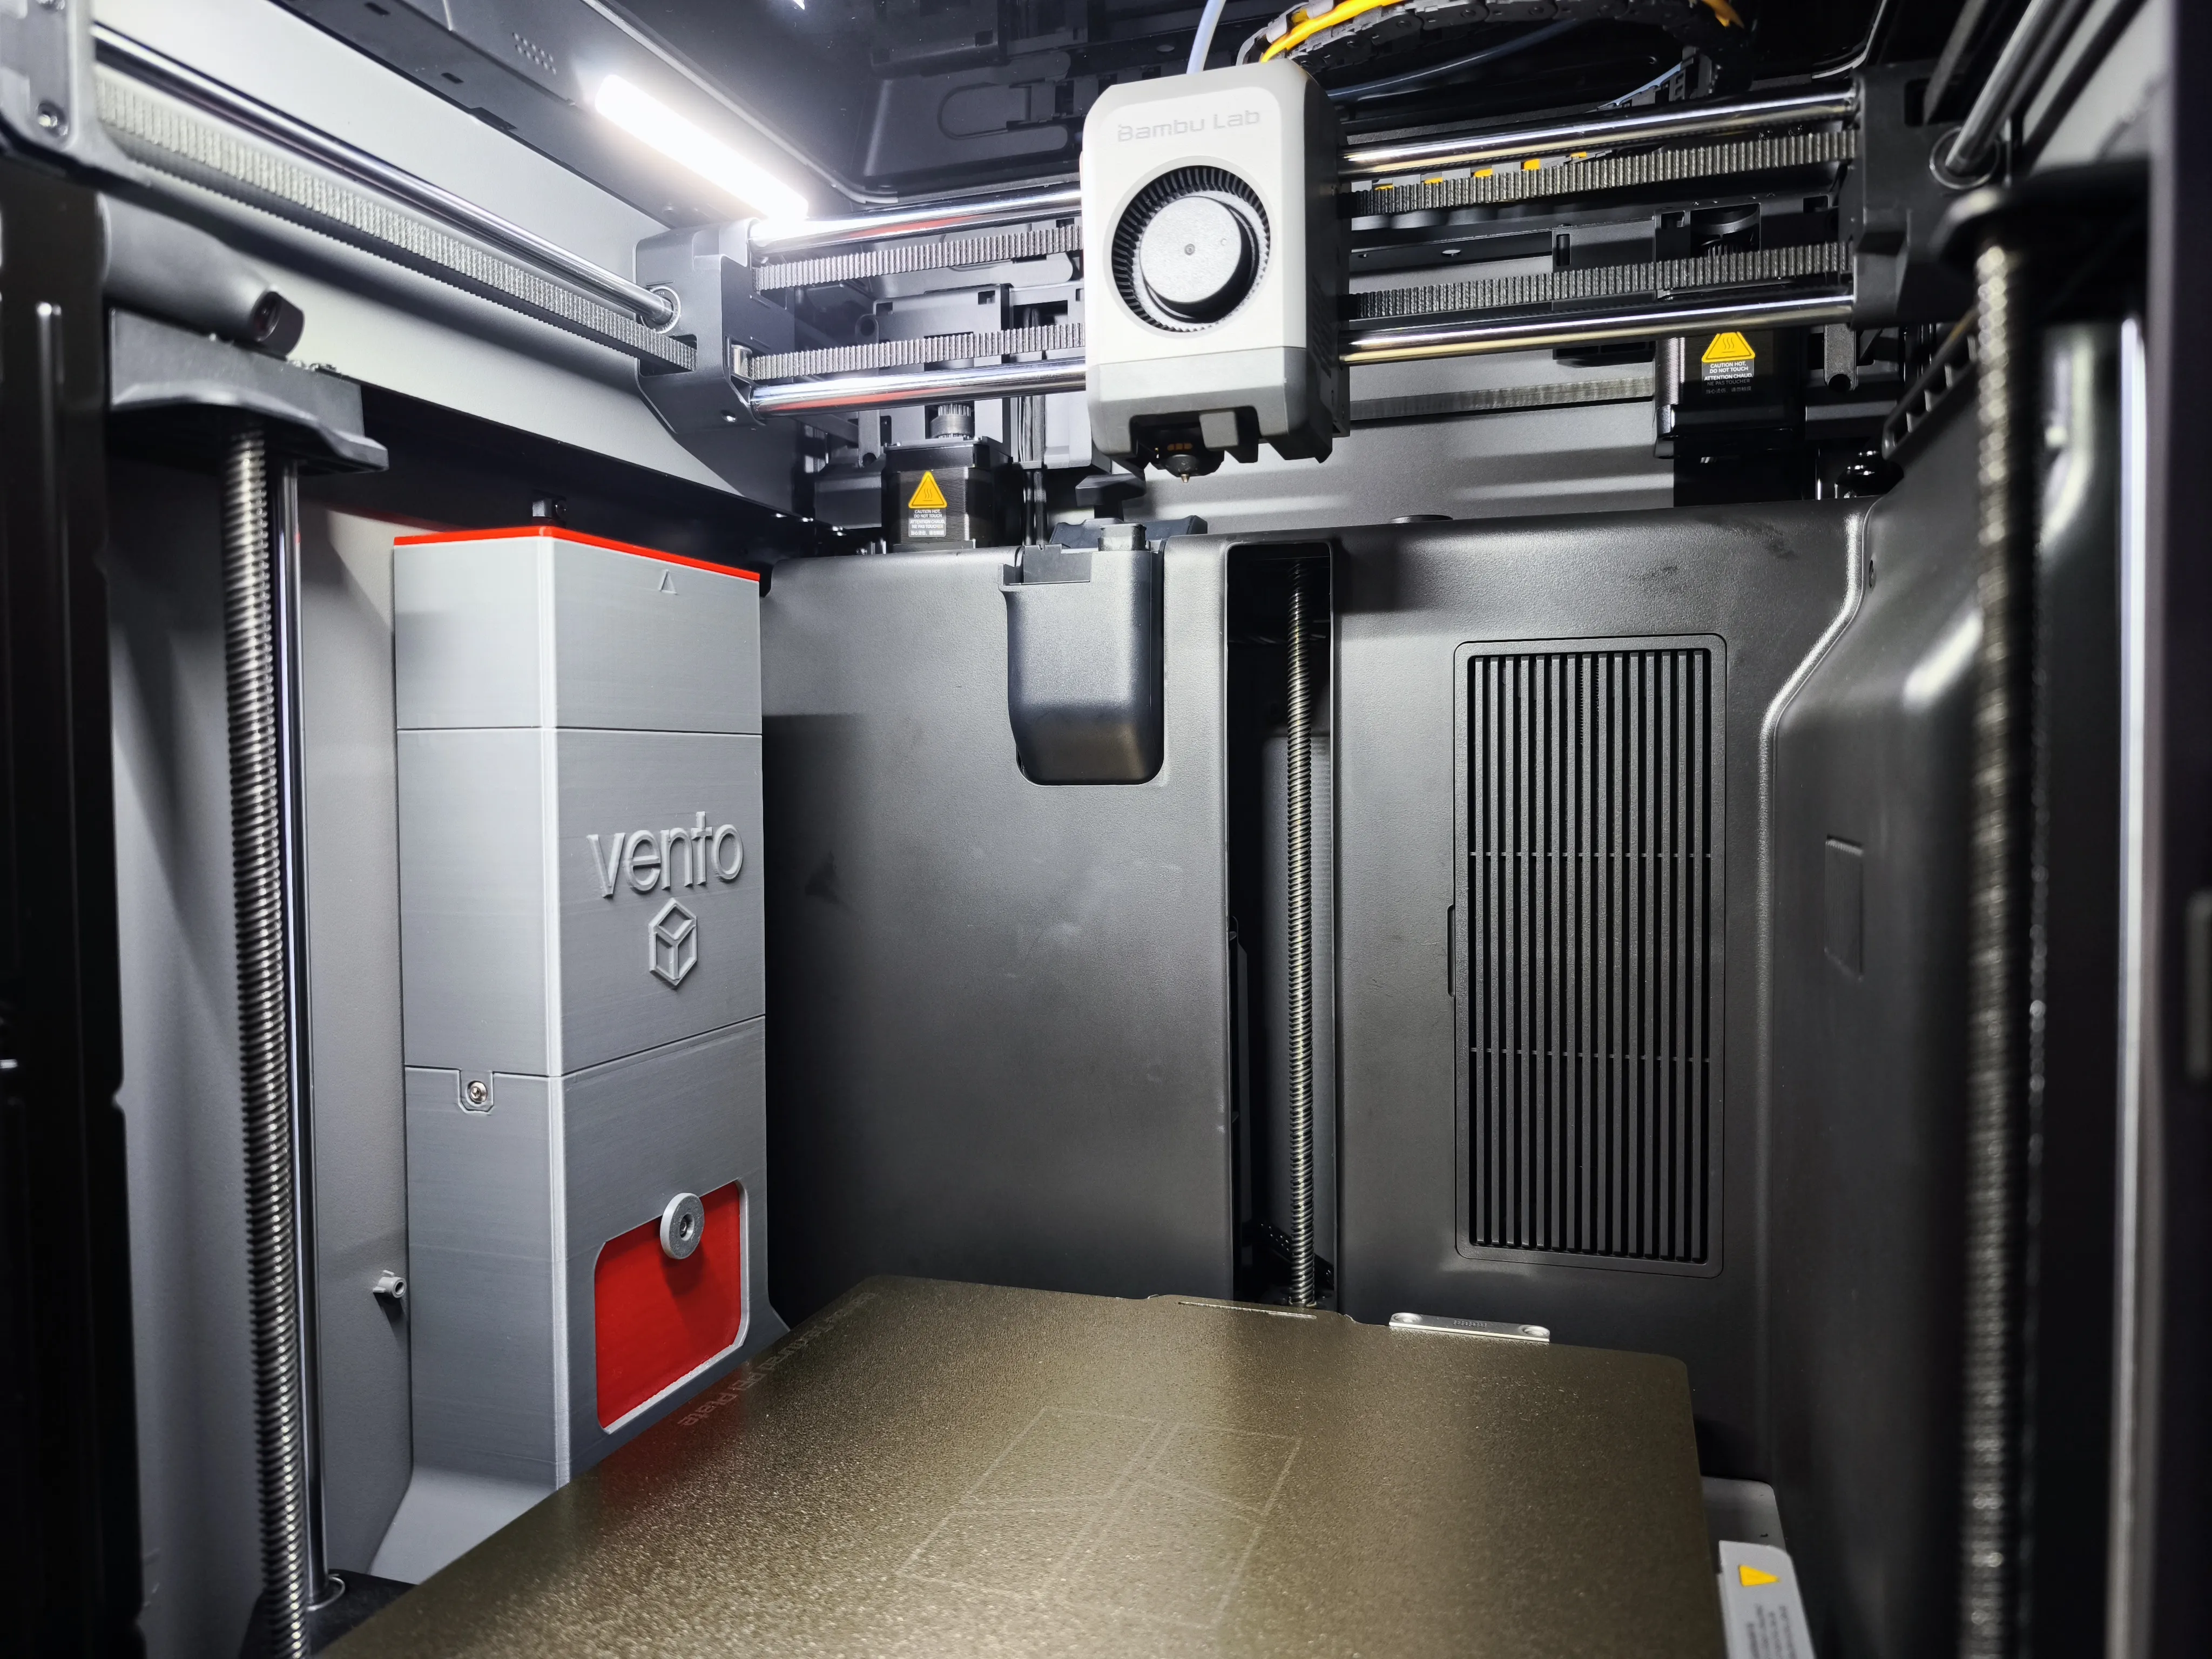 | |
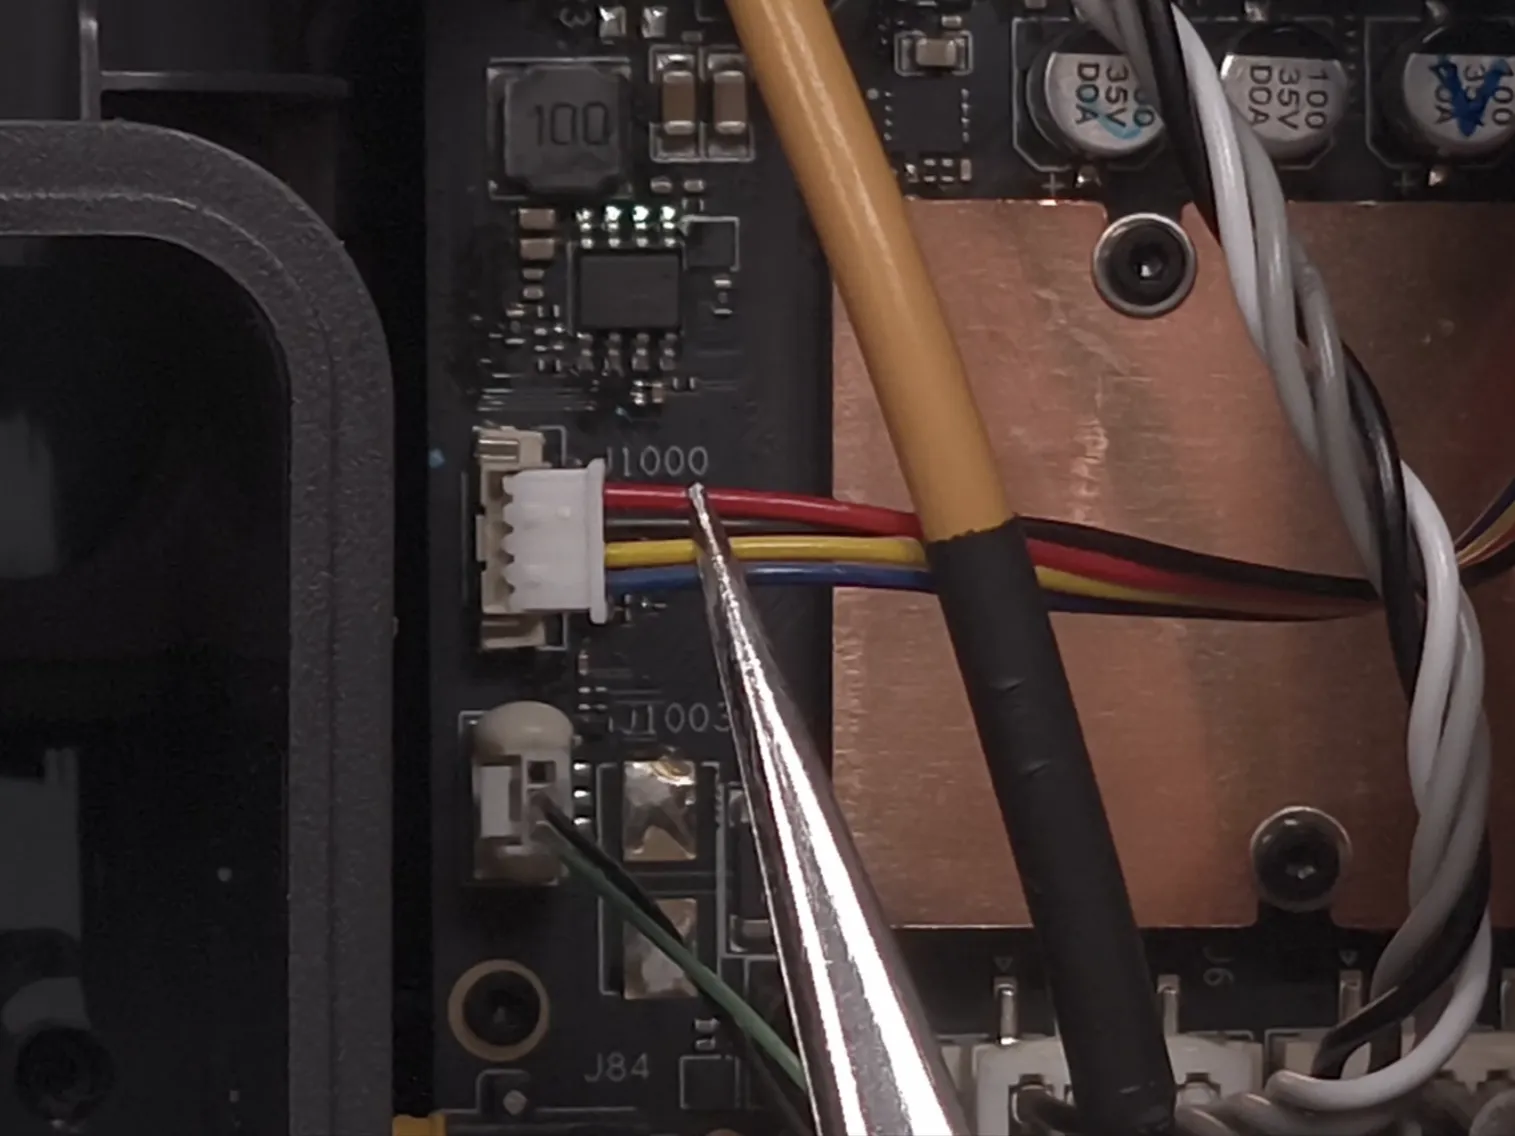
Important Note:
|  |
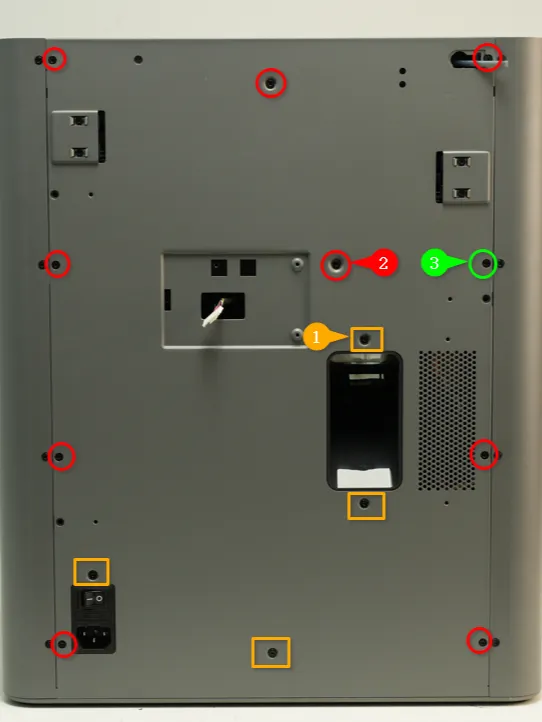
The P2S rear panel has 3 different type of screws. Check out the Bambu wiki on how to remove them properly
|  |
FILTER CHANGE REQUIREMENTS
It is advisable to replace the activated carbon pellets after 150 - 200 hours of print time. The HEPA filter can last longer. You can order the HEPA filter and activated carbon from VTC3D (EU) & Voxelpla (US) web store.
CONCLUSION
To date, my designs are free to download for personal use. There is No Patreon, No Membership, No Clubs and No Subs. If you like my designs and wish to contribute to my coffee addiction and help fund the filaments/materials needed for prototyping, doing any one of the below will be greatly appreciated:
Documentation (1)
License

You shall not share, sub-license, sell, rent, host, transfer, or distribute in any way the digital or 3D printed versions of this object, nor any other derivative work of this object in its digital or physical format (including - but not limited to - remixes of this object, and hosting on other digital platforms). The objects may not be used without permission in any way whatsoever in which you charge money, or collect fees.


Comment & Rating (915)