
Pocket Door Guide
Print Profile(1)

Description
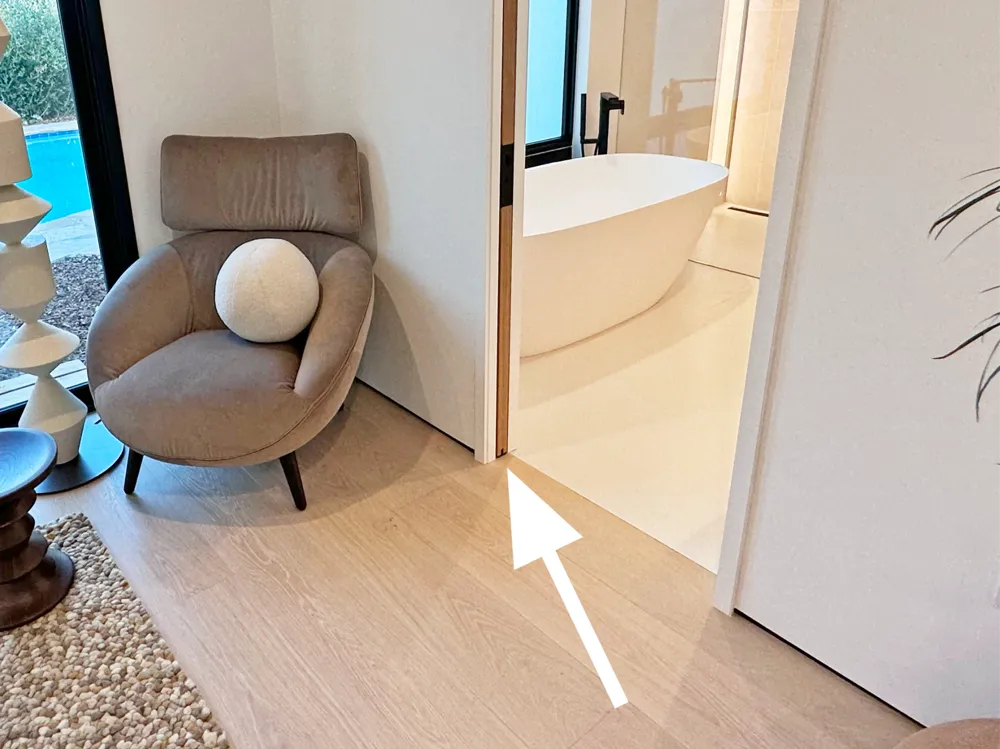
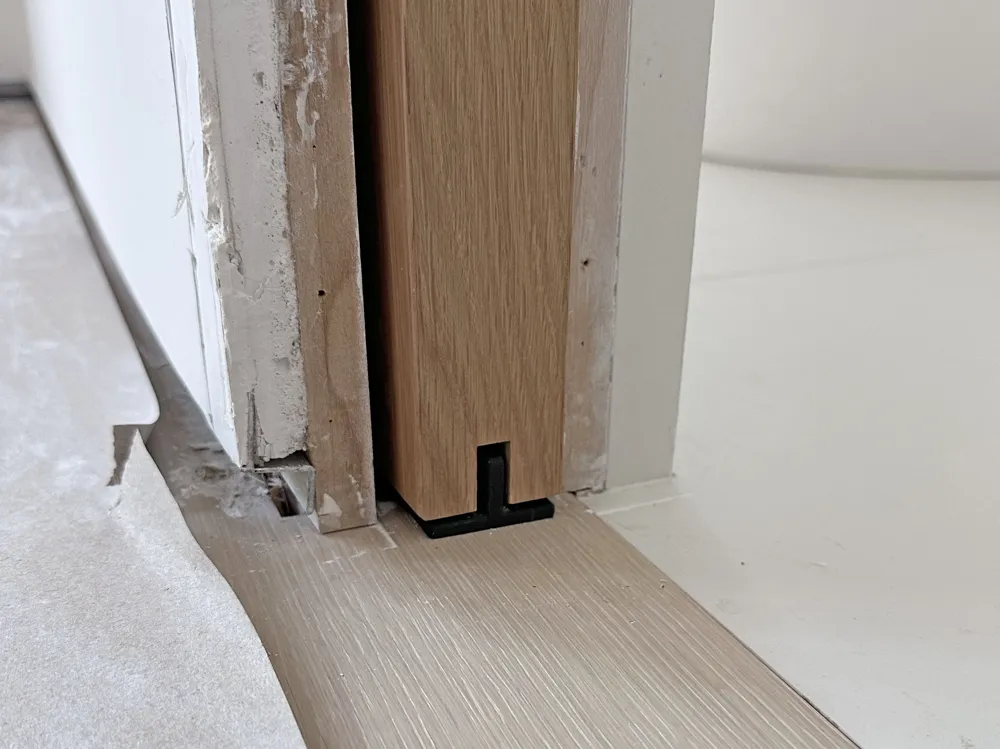
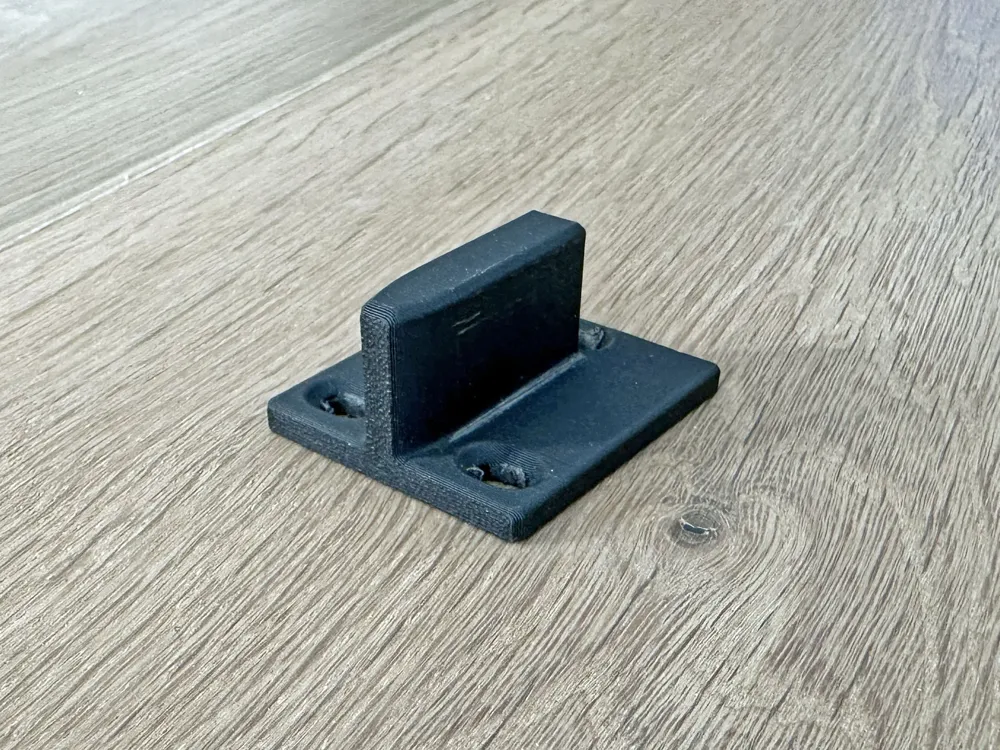
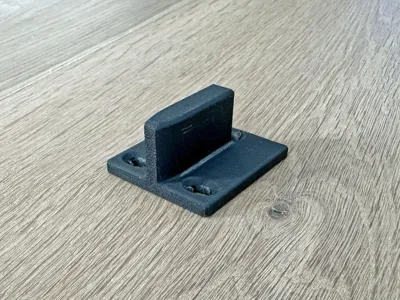
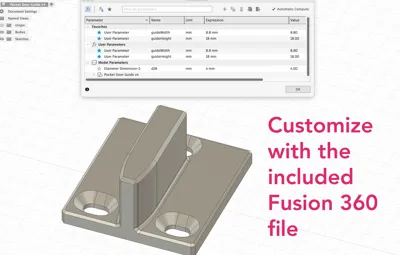
Print your own flush / concealed pocket door guide. This style requires a groove in the bottom of the door, which is easily done with a handheld router + edge guide.
I include 4 sizes (thickness x height), each differing only by the thickness of the guide which relates to width of the groove in your door:
- 8.8mm x 18mm (odd size - this is what I needed. I made the others that are more standard)
- 10mm x 18mm
- 11mm x 18mm
- 12mm x 18mm
I would guess the most common in the US would be a ½" groove in the door paired with a 12mm guide.
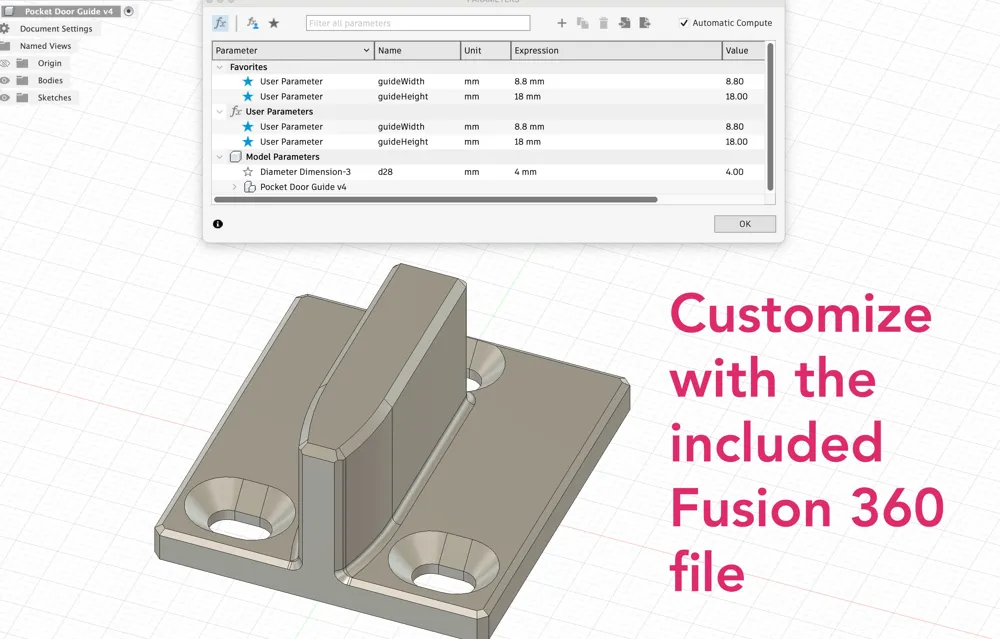
You can customize this yourself. Several ways:
- click the ‘Customize’ button above - you can change the thickness and height only.
- download and modify the included Fusion 360 file - you can change anything you like.
- modify a STEP file - modify the geometry yourself in any modeling program.
Why print this?
Guides like this are commercially available. Print this to save money, save time or you need a custom size.
Why did I design this?
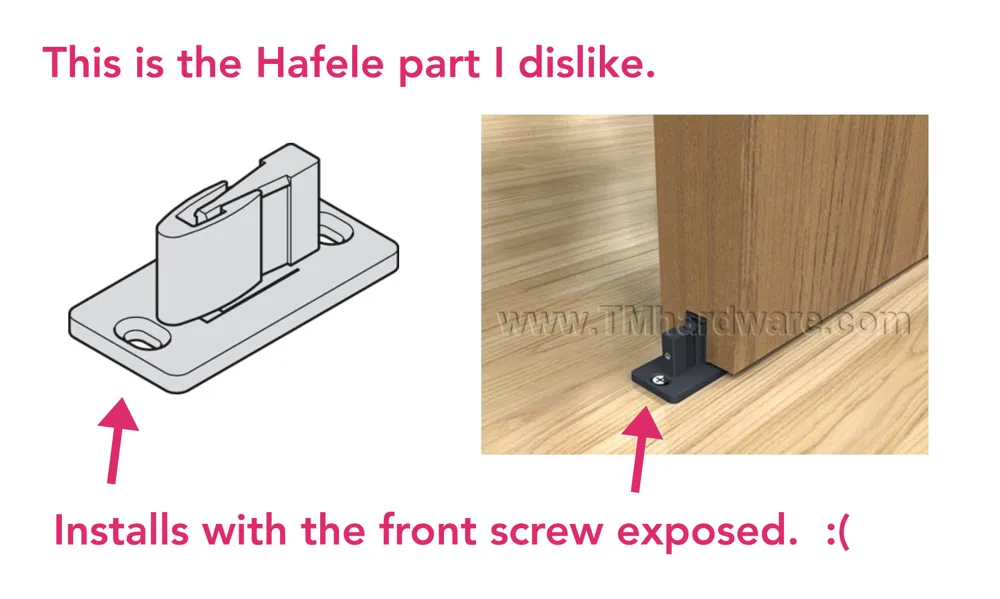
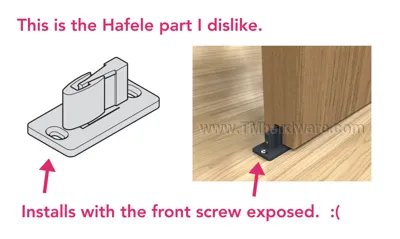
I was helping a friend install pocket doors with Hafele Slido hardware, and was dismayed when I saw the included pocket guide:
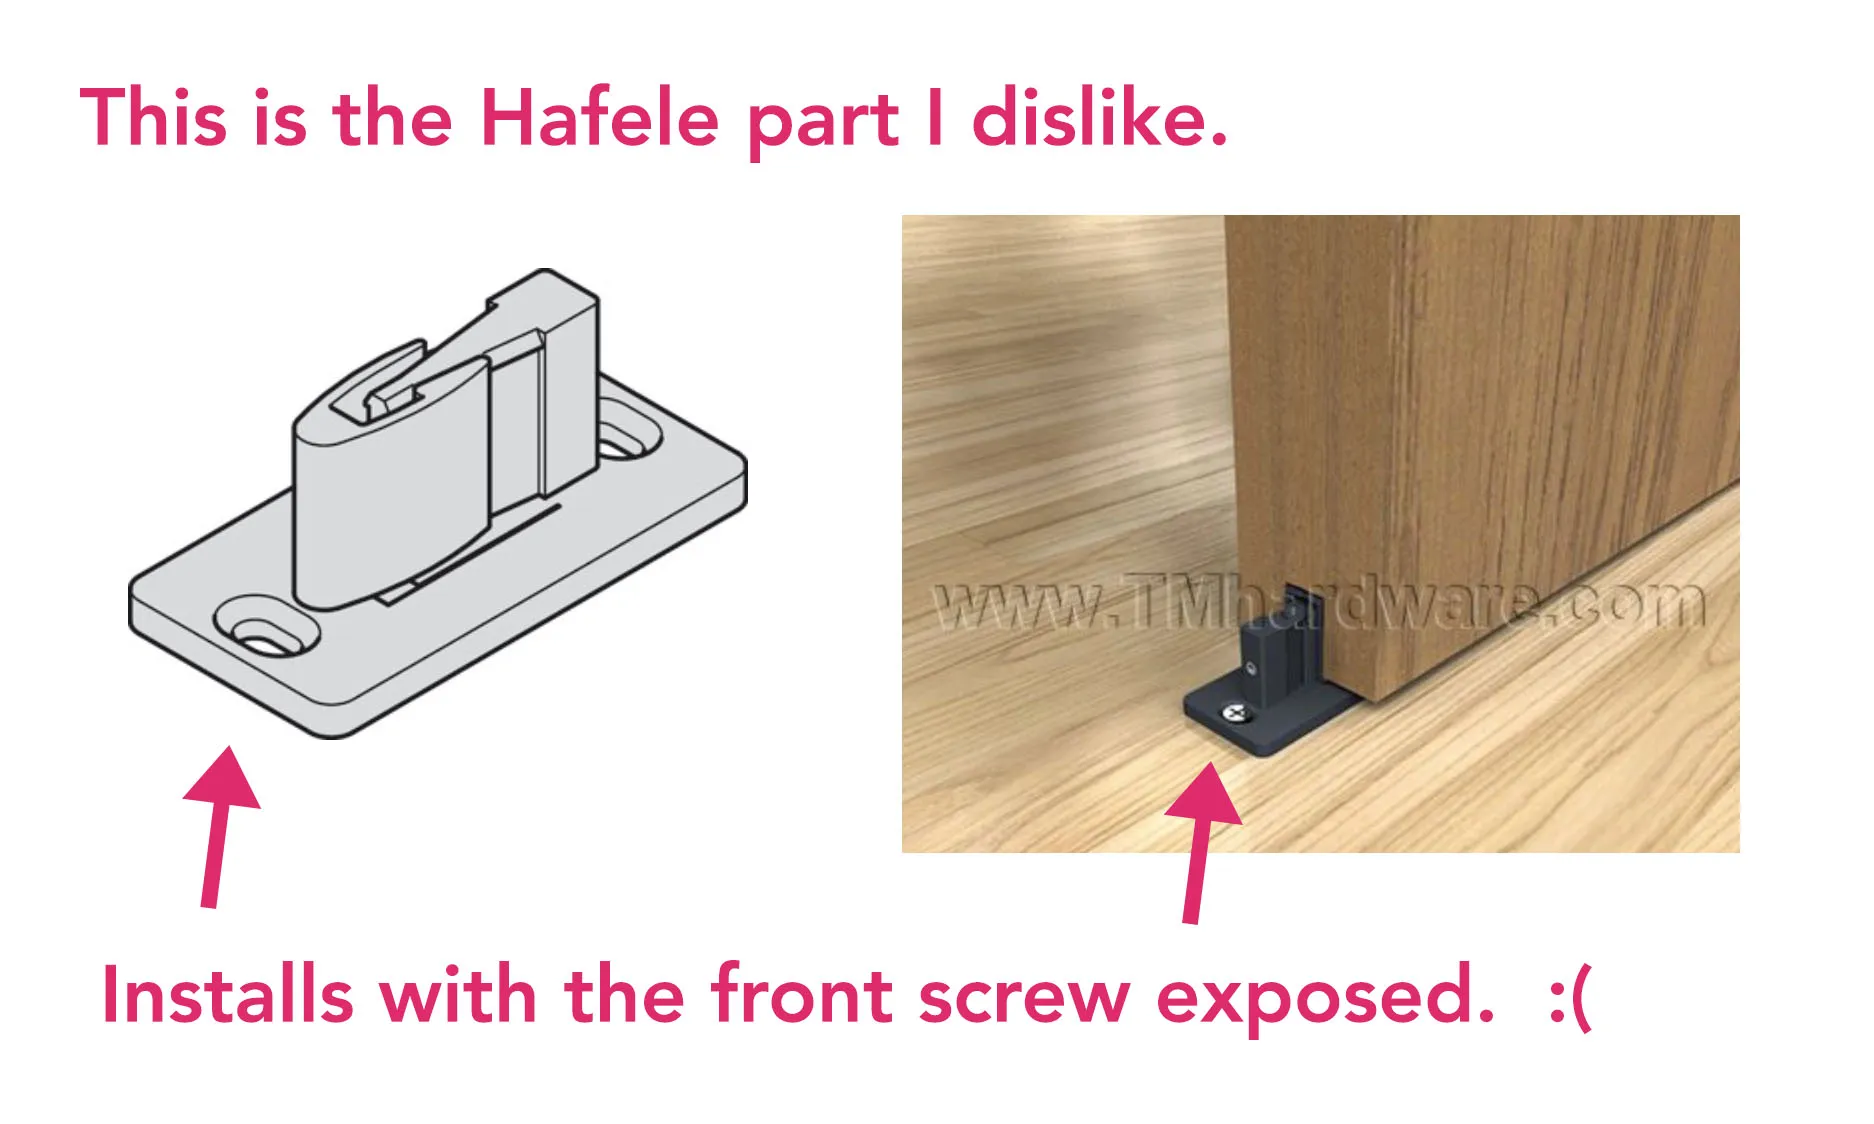
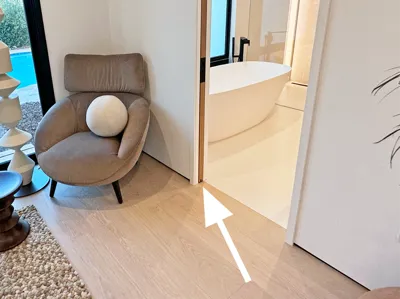
Pocket doors are typically only an inch or so longer than the door opening (once jamb/trim is installed). You need to install the guide right near the front of the door when it is opened. It cannot be recessed very far otherwise when the door is closed it clears the guide and will swing sideways. The only way I could install that Hafele part was to have the front section + screw proud of the opened door. This looks terrible.
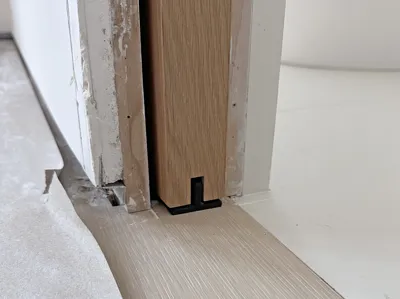
I needed replacements overnight. No time to order something - I modeled and printed 3 of these. They came out great.
Printing tips:
You need a really strong part. This is absolutely achievable with these steps:
- Print with front on the build plate (not on the base) so layer lines support the guide tip laterally.
- Print with maximum wall loops to produce a 100% solid part.
- .. or just copy the settings in the included 3MF file
Bonus tips:
- Print an extra part with the guide tip removed (do this in your slicer) to use as a template for the screw holes - that way the tip isn't in your way when marking or drilling.
- Use a self centering drill bit to make the pilot holes.
- You can completely conceal the guide by leaving some of the door material on the front (¼" or so) and recessing the guide into the track. This makes tolerances really tight .. you may need to add some material on the back of the door to ensure the guide makes enough contact when the door is closed.
License



Comment & Rating (1)