
Print Profile(5)


Bill of Materials

Description
Boost Me (for free)
Thank you for all the boosts! As a start in MakerWorld, I would like to receive a boost as thanks for my work :) It took quite a bit of time. Thank you very much!
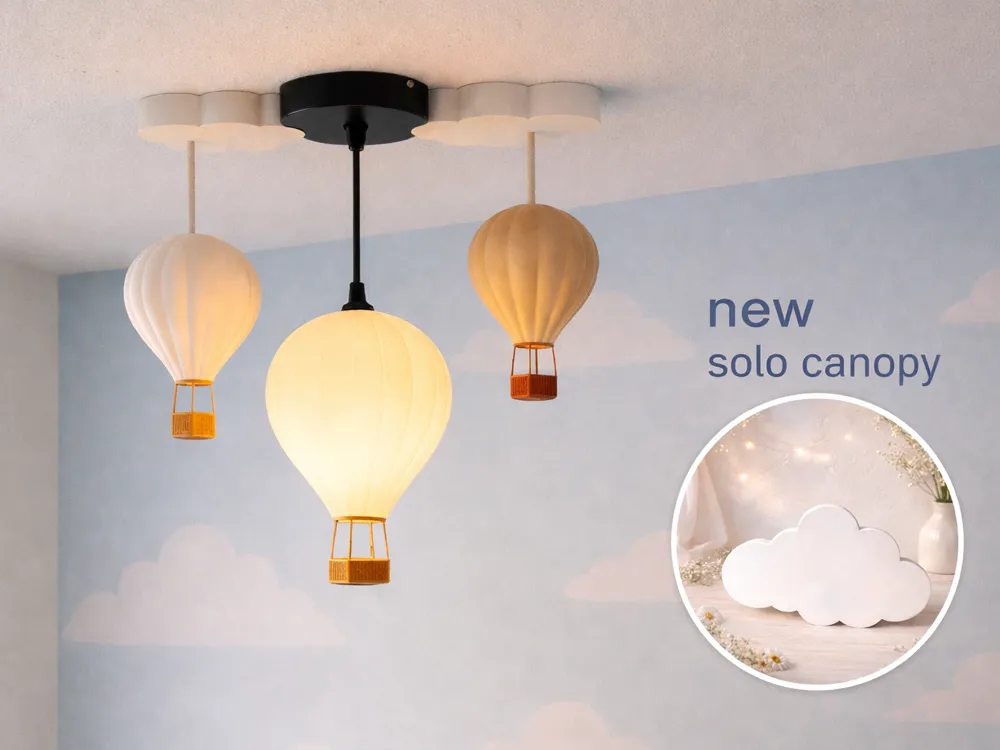
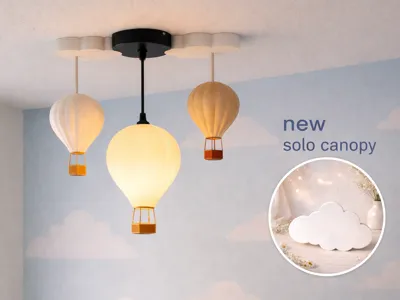
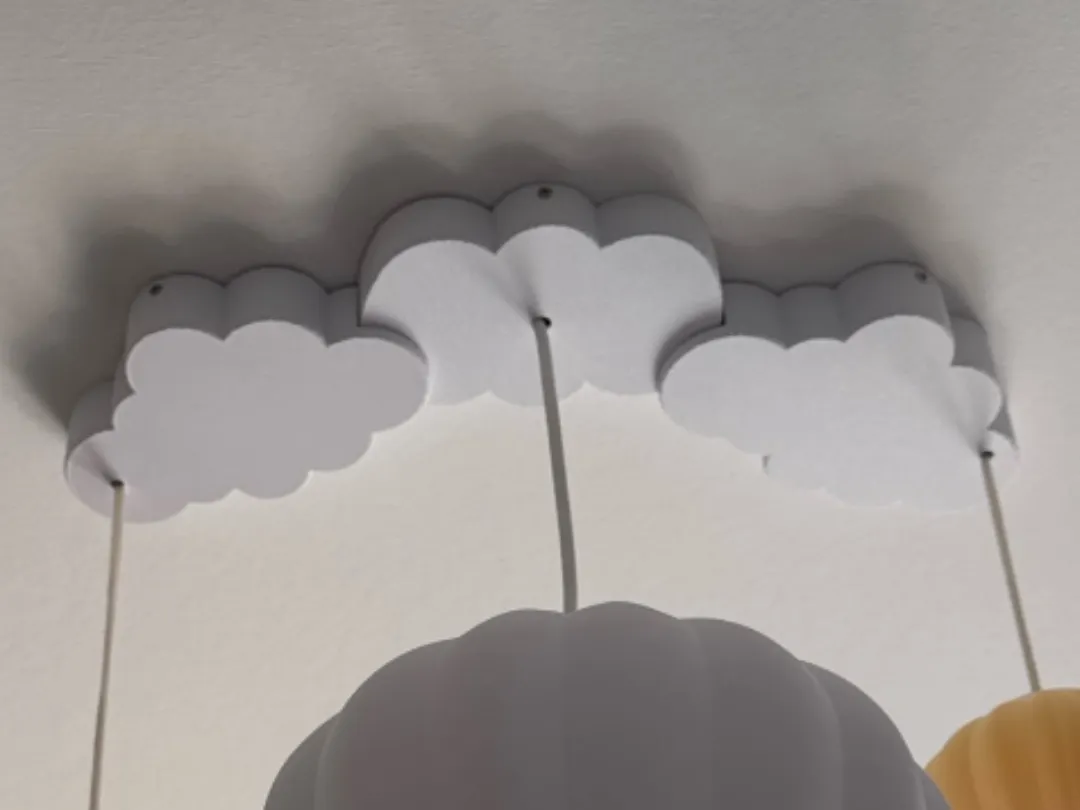
A piece of heaven for the nursery!
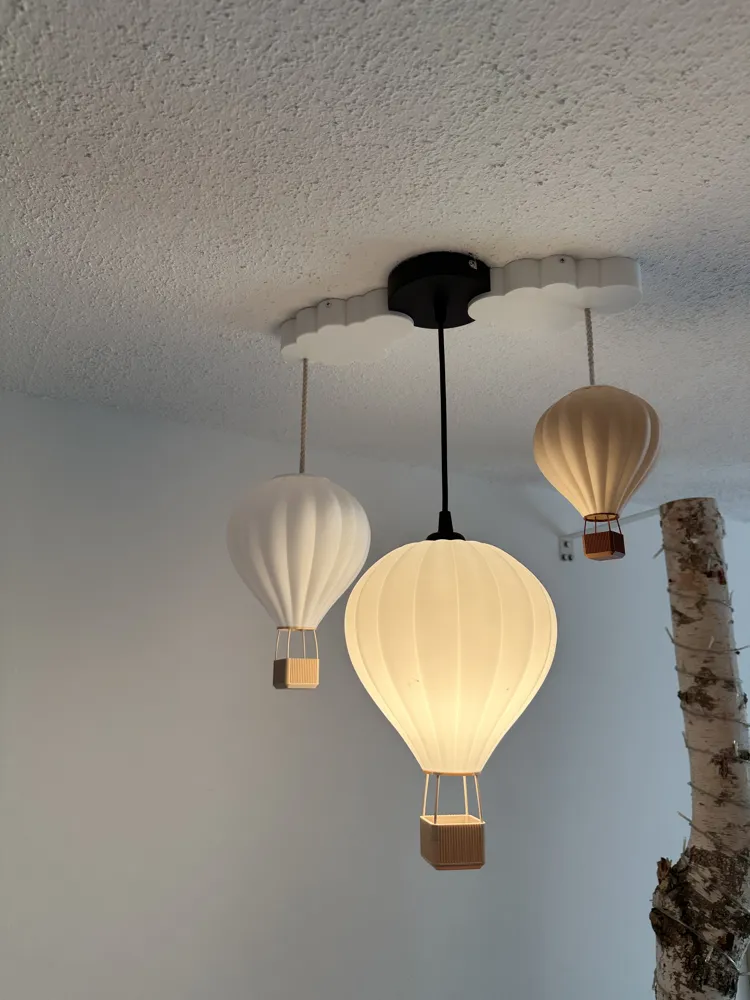
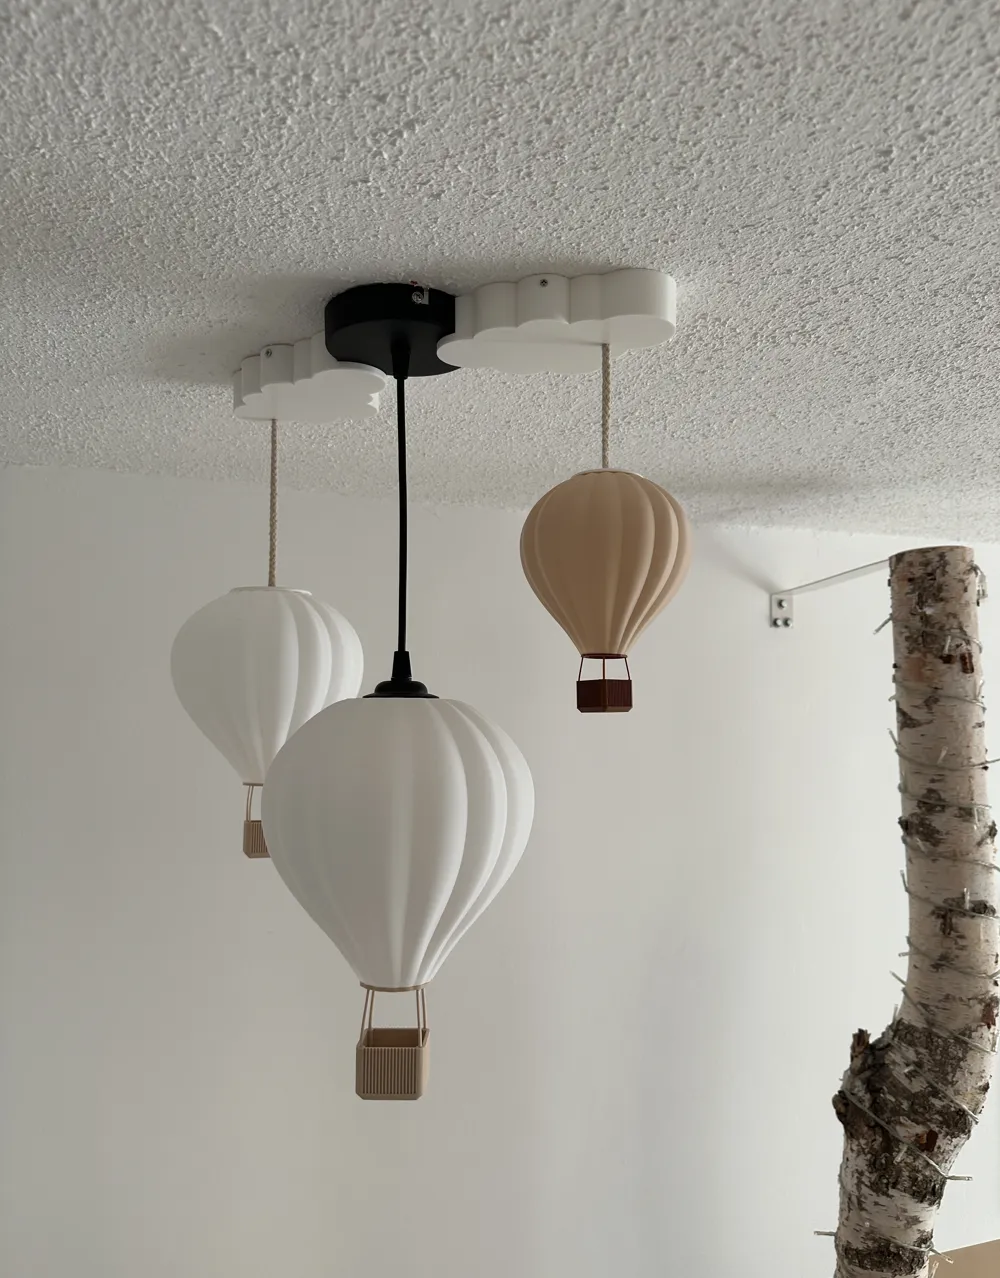
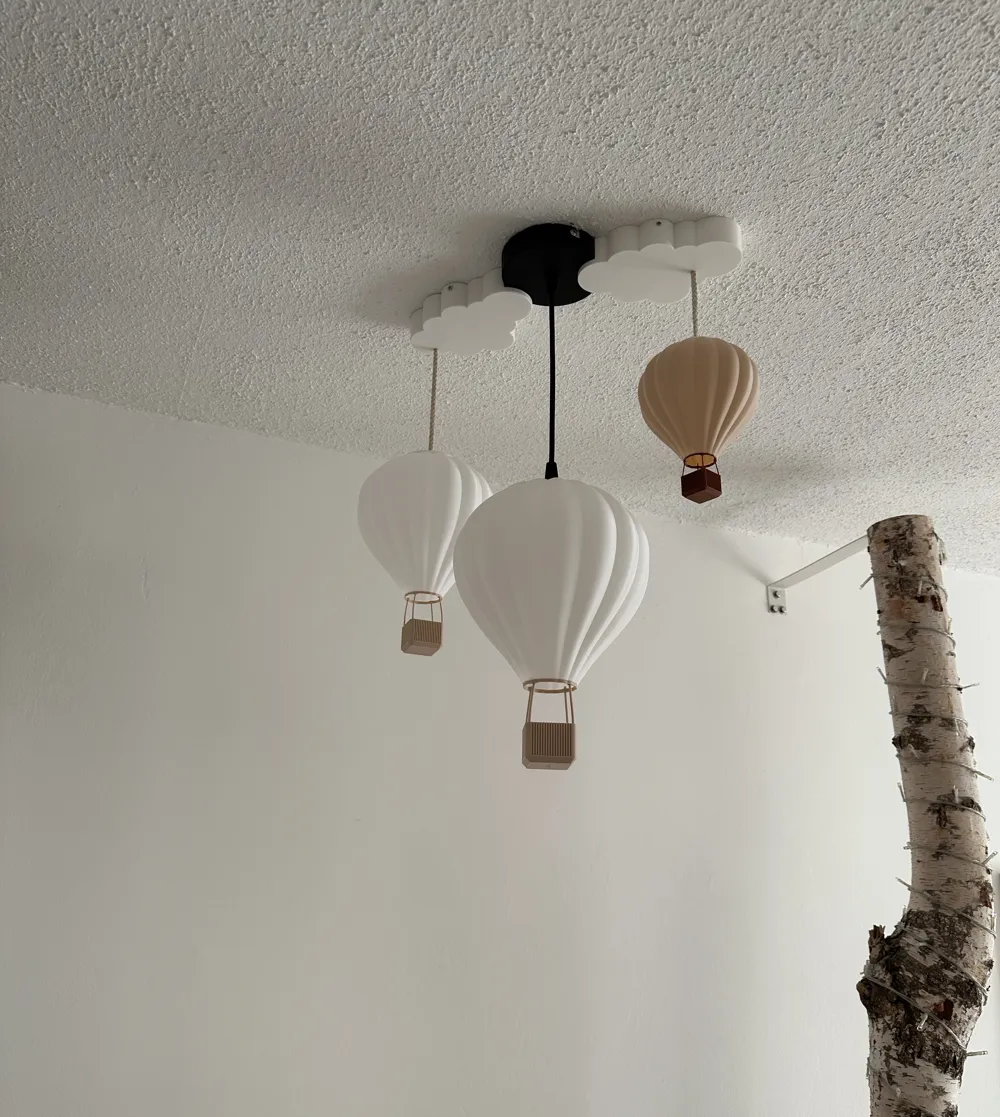
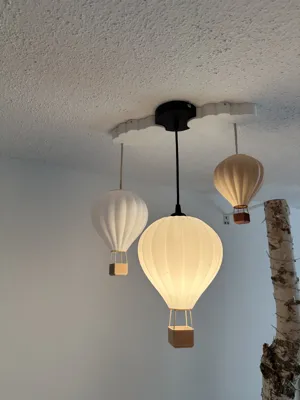
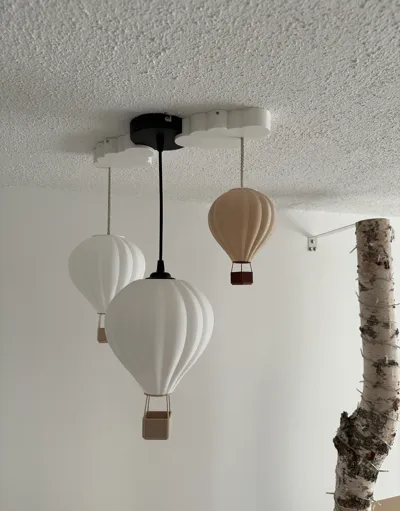
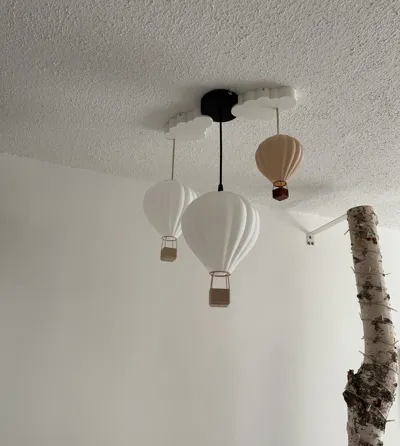
The 2D cloud cover is the perfect addition to beautify a boring lamp canopy! Ideal for children's rooms, nurseries, or creative spaces. The cloud has a 6mm drill diameter, which can be enlarged with any drill for different ropes.
The recess for the canopy measures: Ø110 and has a height of 25mm
The cloud cover itself measures approximately: 180x110x31mm and can be screwed on from the outside with two 3x12mm (or larger) screws. Alternatively, an M3 hex nut can be glued into the cloud bracket, and the cloud canopy can be screwed on with M3 screws.
The hot air balloons (120%, 100%, 75% models) that are attached to my cloud can be found here:
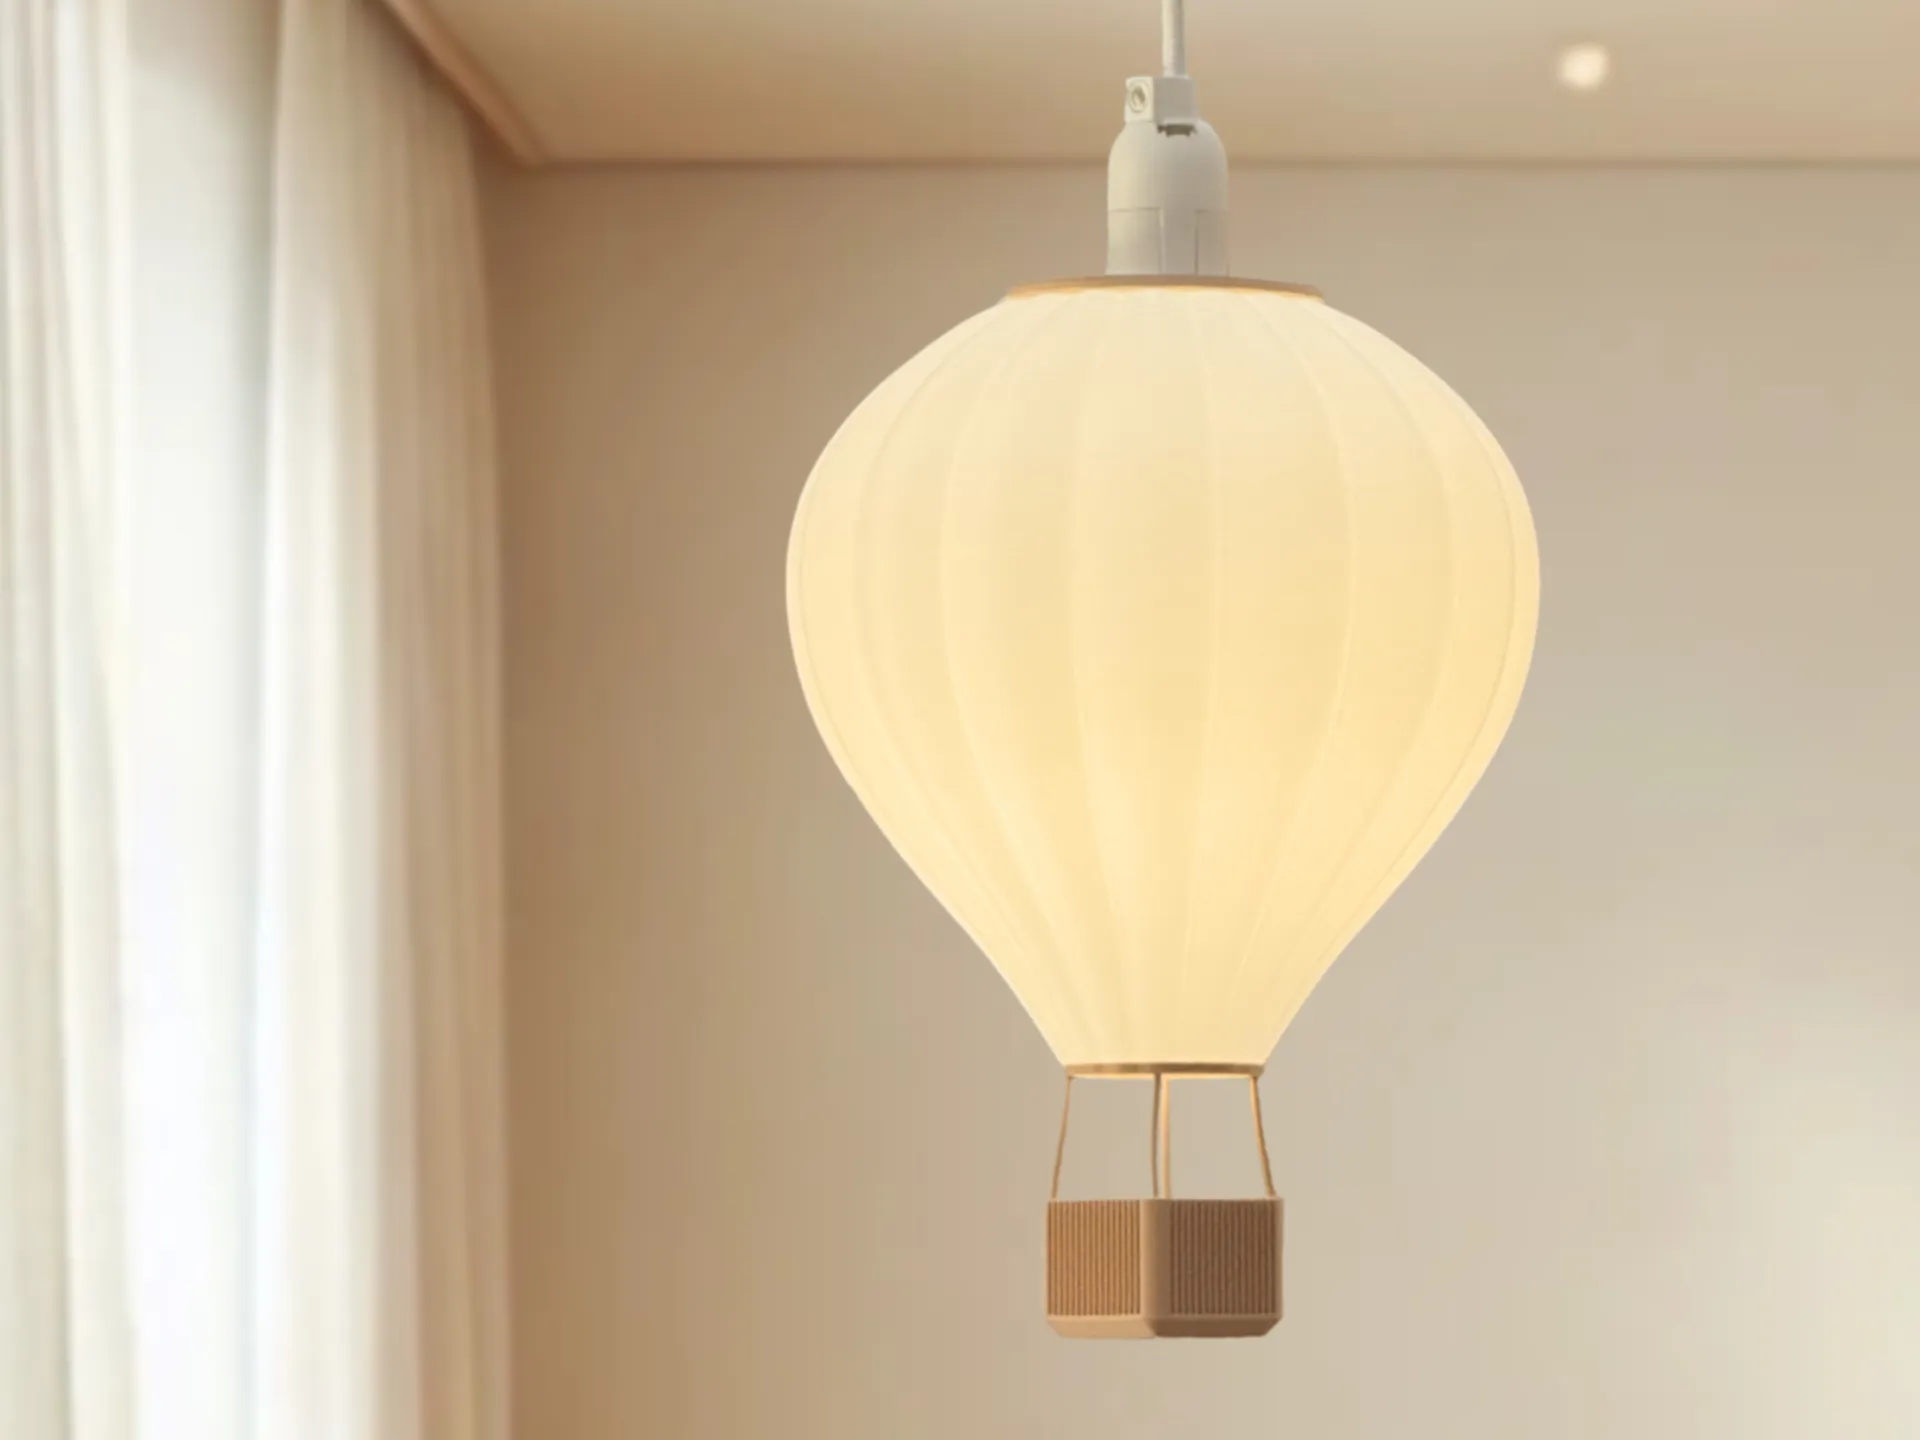
You will need 1x lamp canopy right and 1x lamp canopy left, plus 2x cloud brackets. For a bit more style, I have also added the fuzzy models :)
If your own cover or canopy doesn't fit, someone from the community has designed a cloud:
Feel free to leave a boost for me! It took longer to design than expected :D
Assembly instructions:
First, stick double-sided adhesive tape to the back of the bracket.
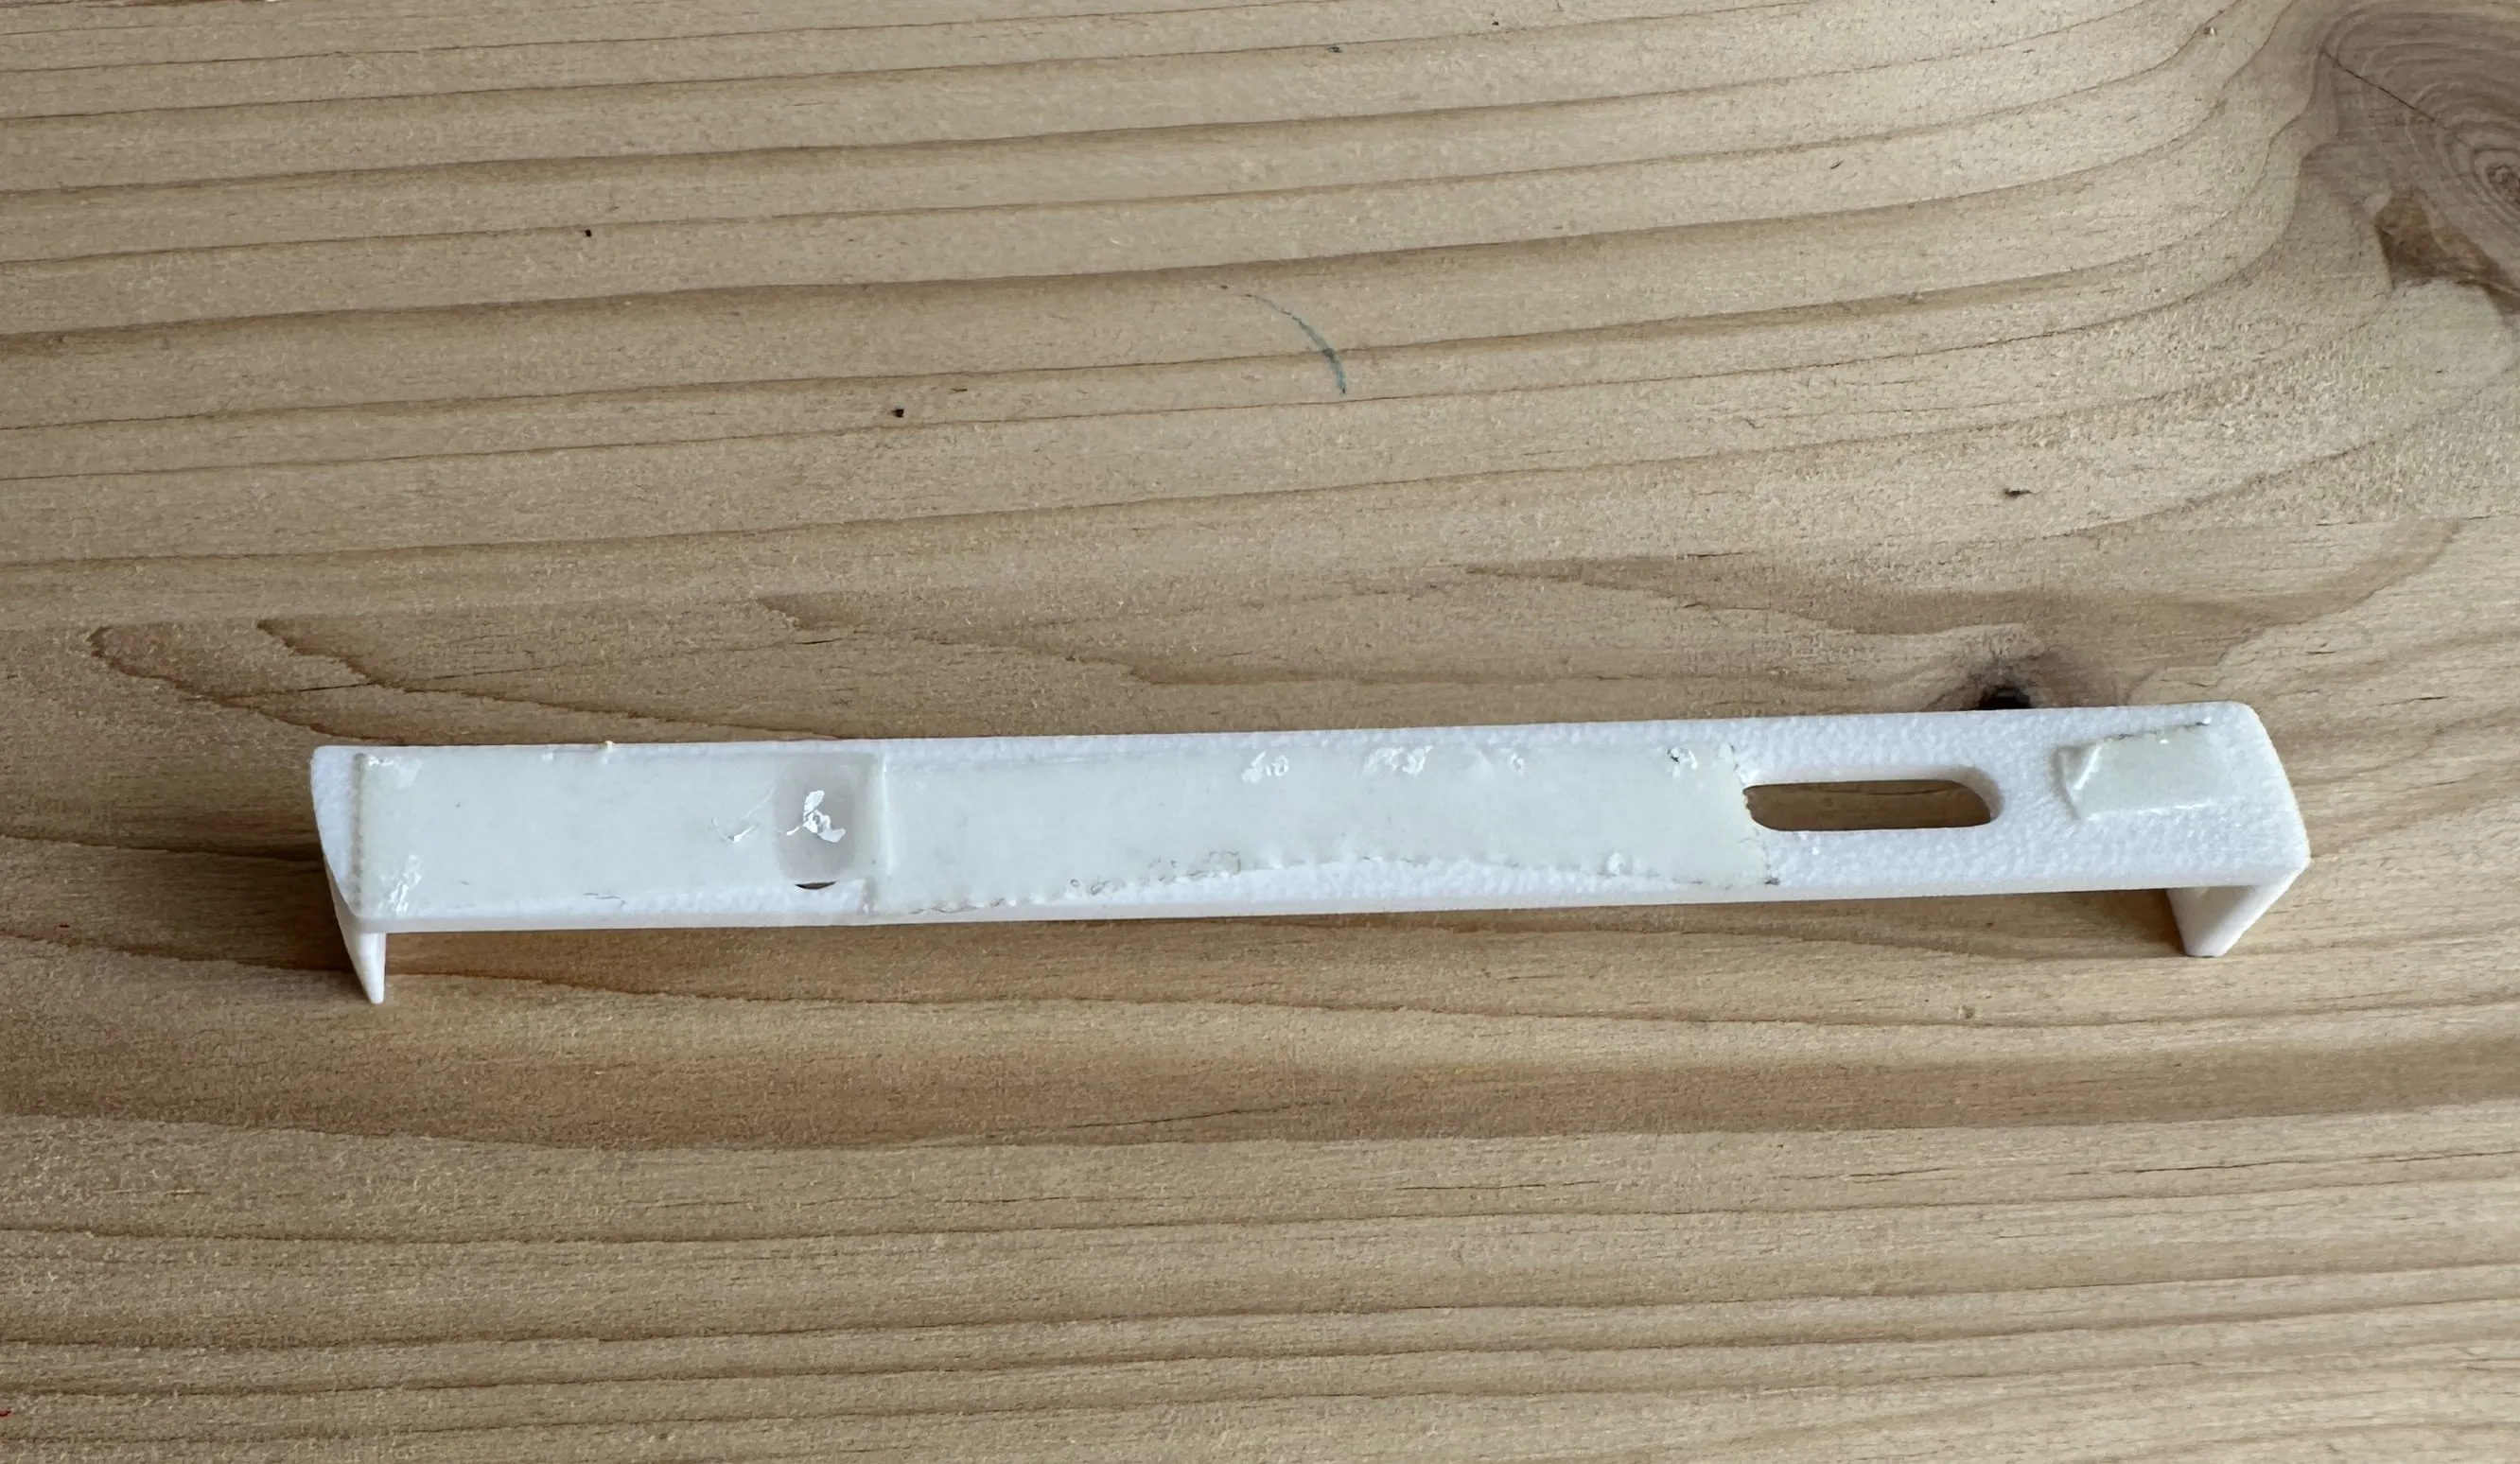
Next, fix the bracket to the canopy with two screws (Note: Only lightly, so it stays in position!
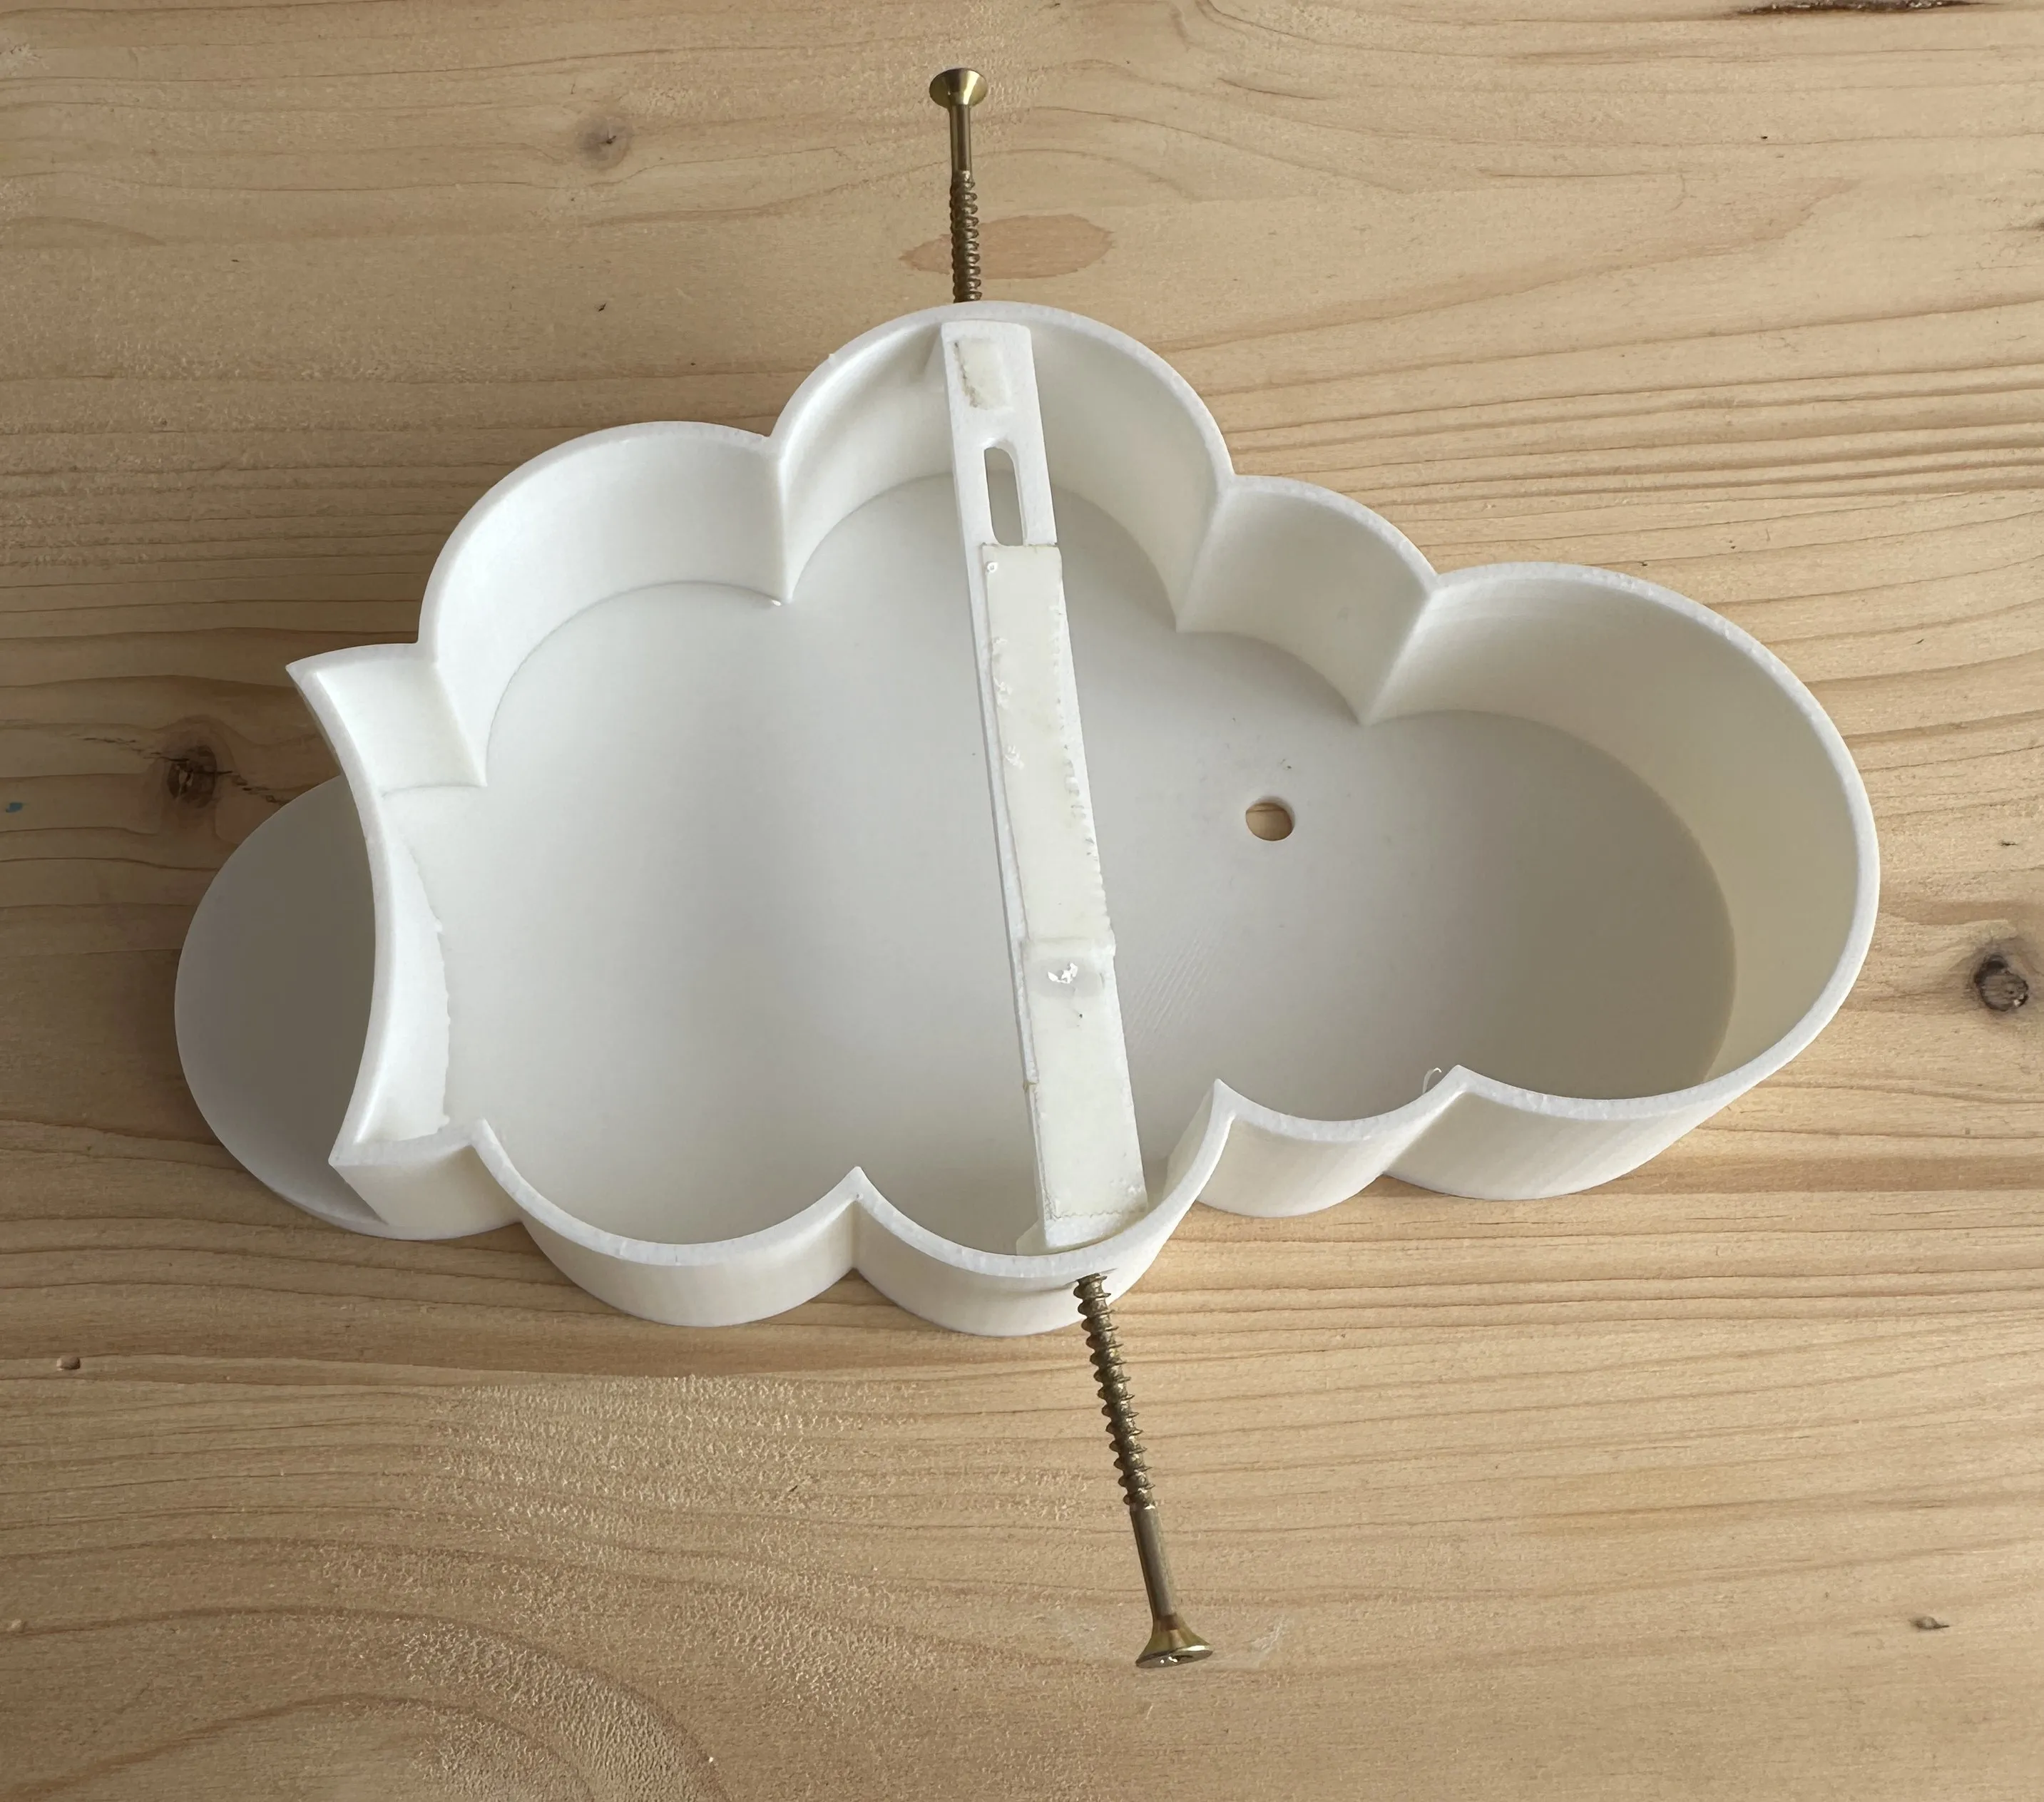
Press the entire assembly firmly against the ceiling!
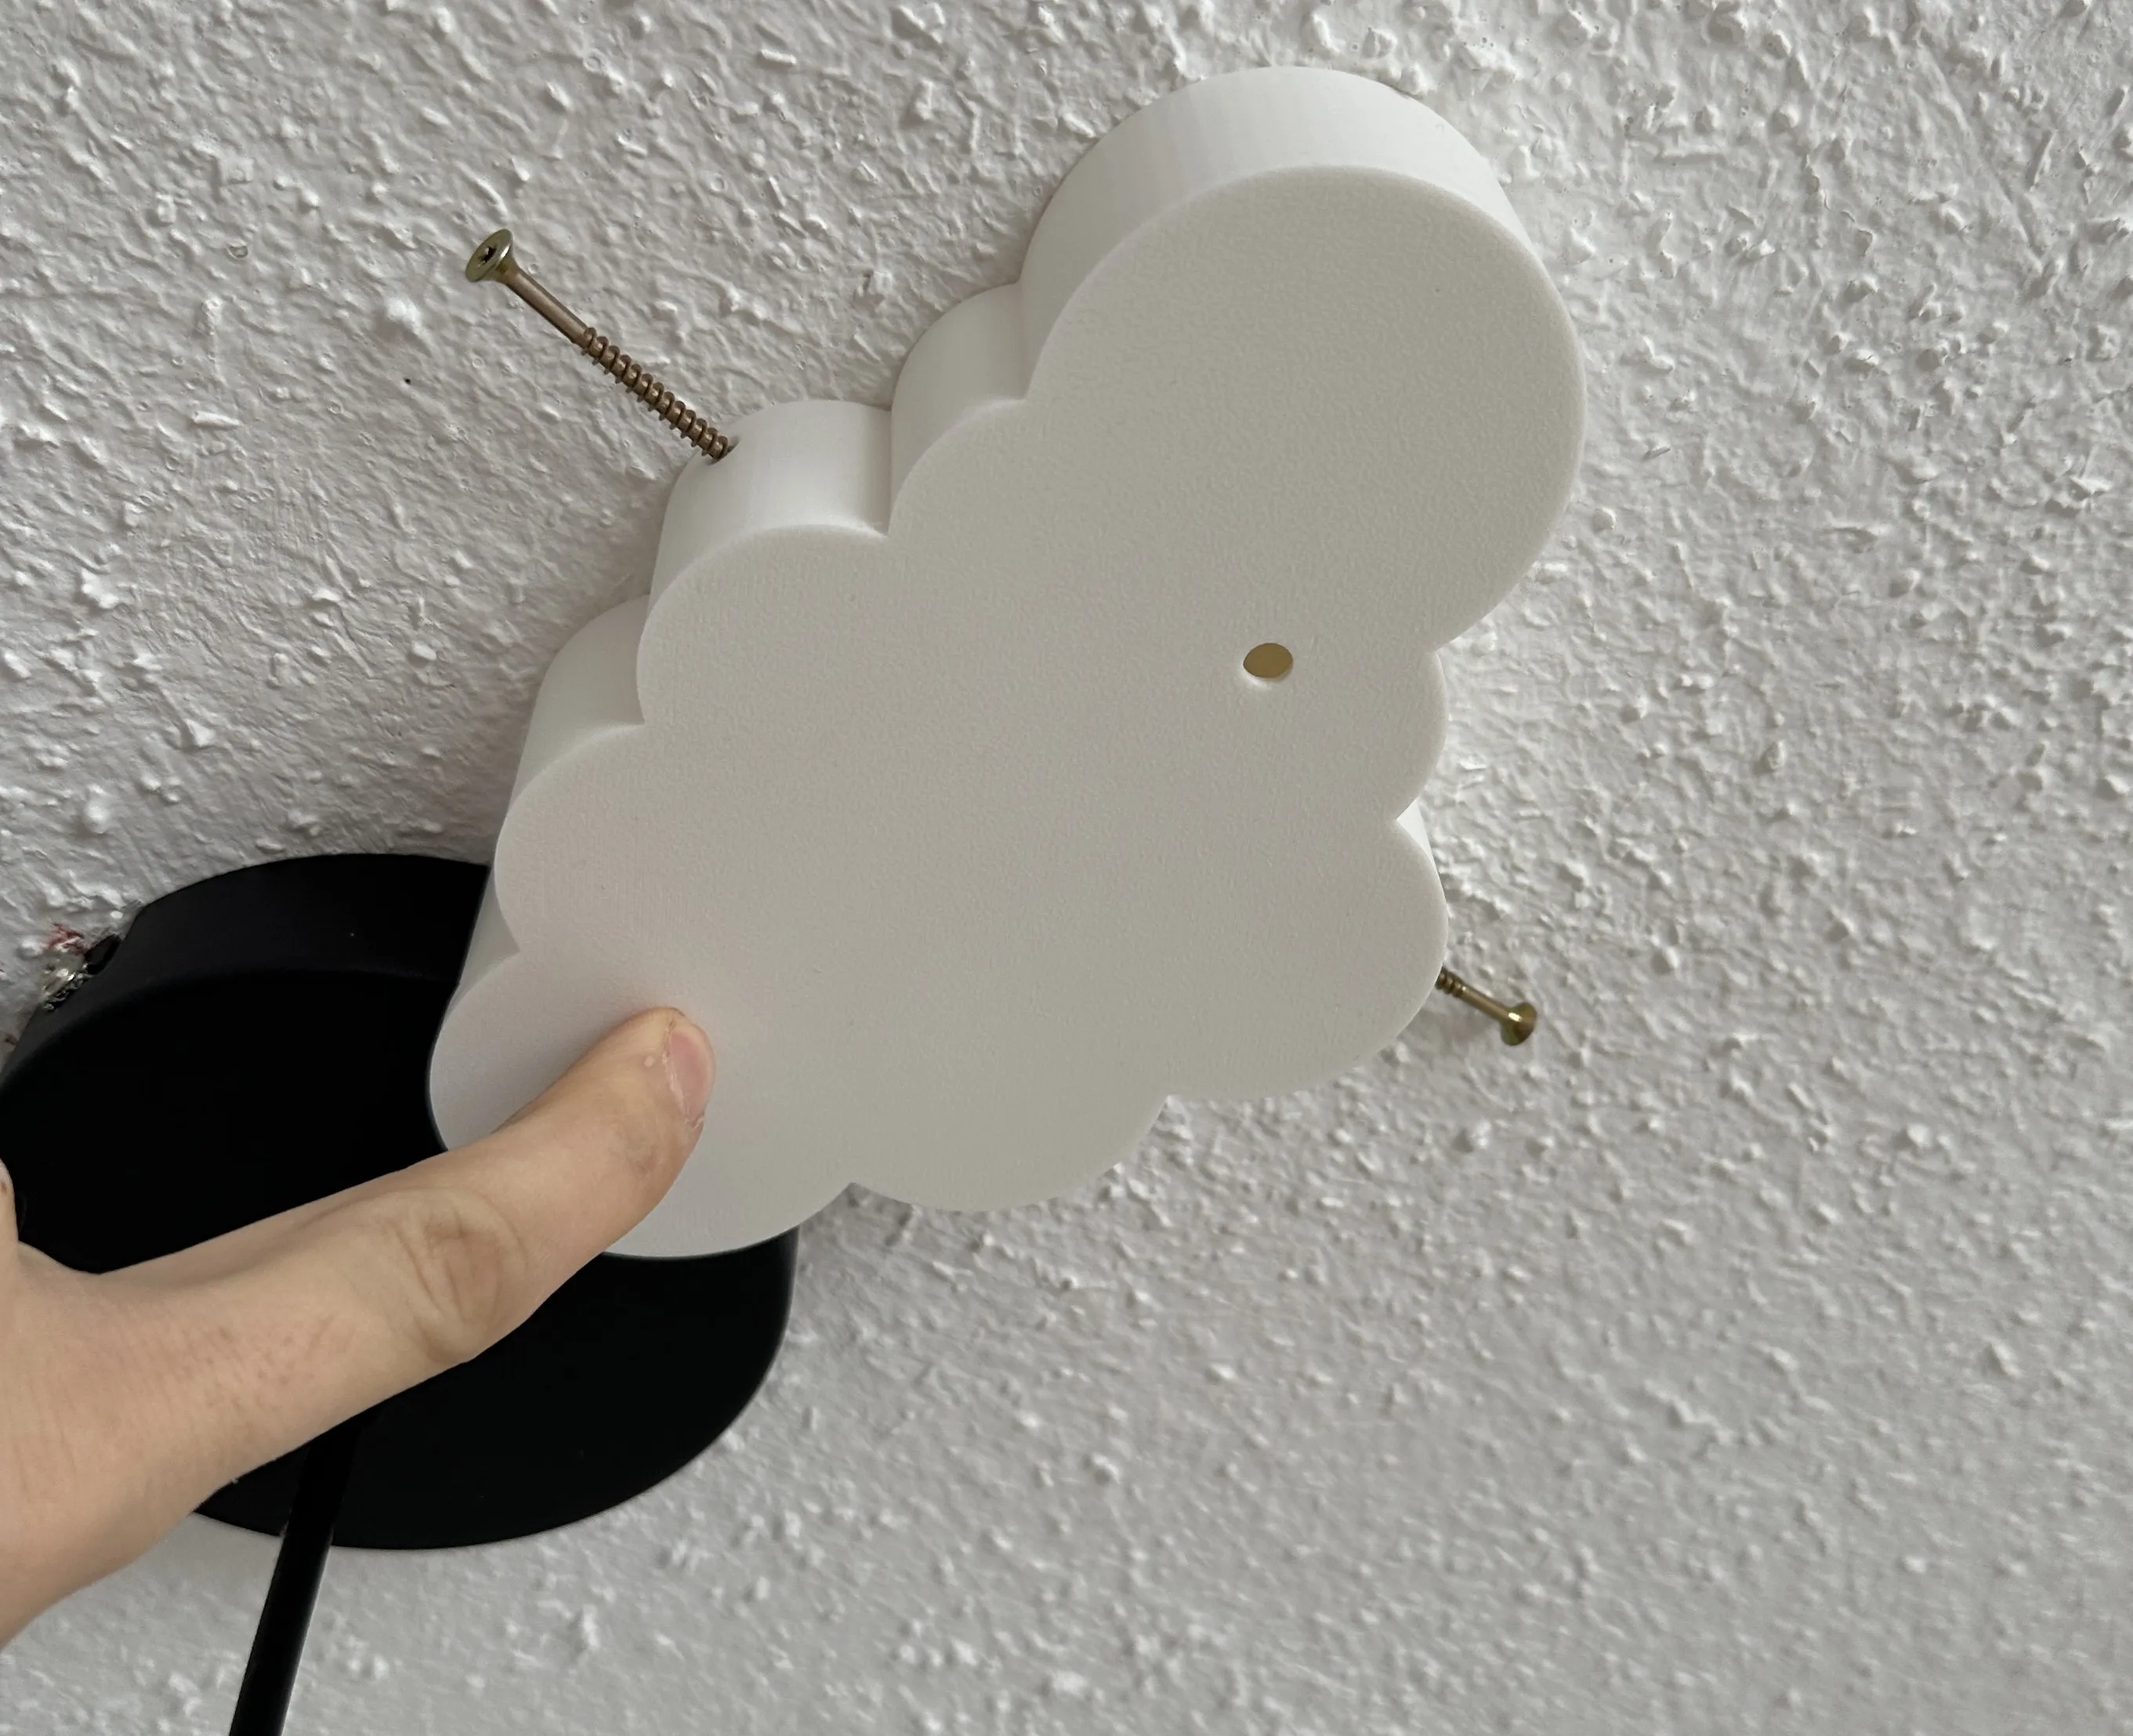
Loosen the screws and hope that the bracket is glued securely. It took me several attempts on the second try! I'm already thinking about how to solve it better.
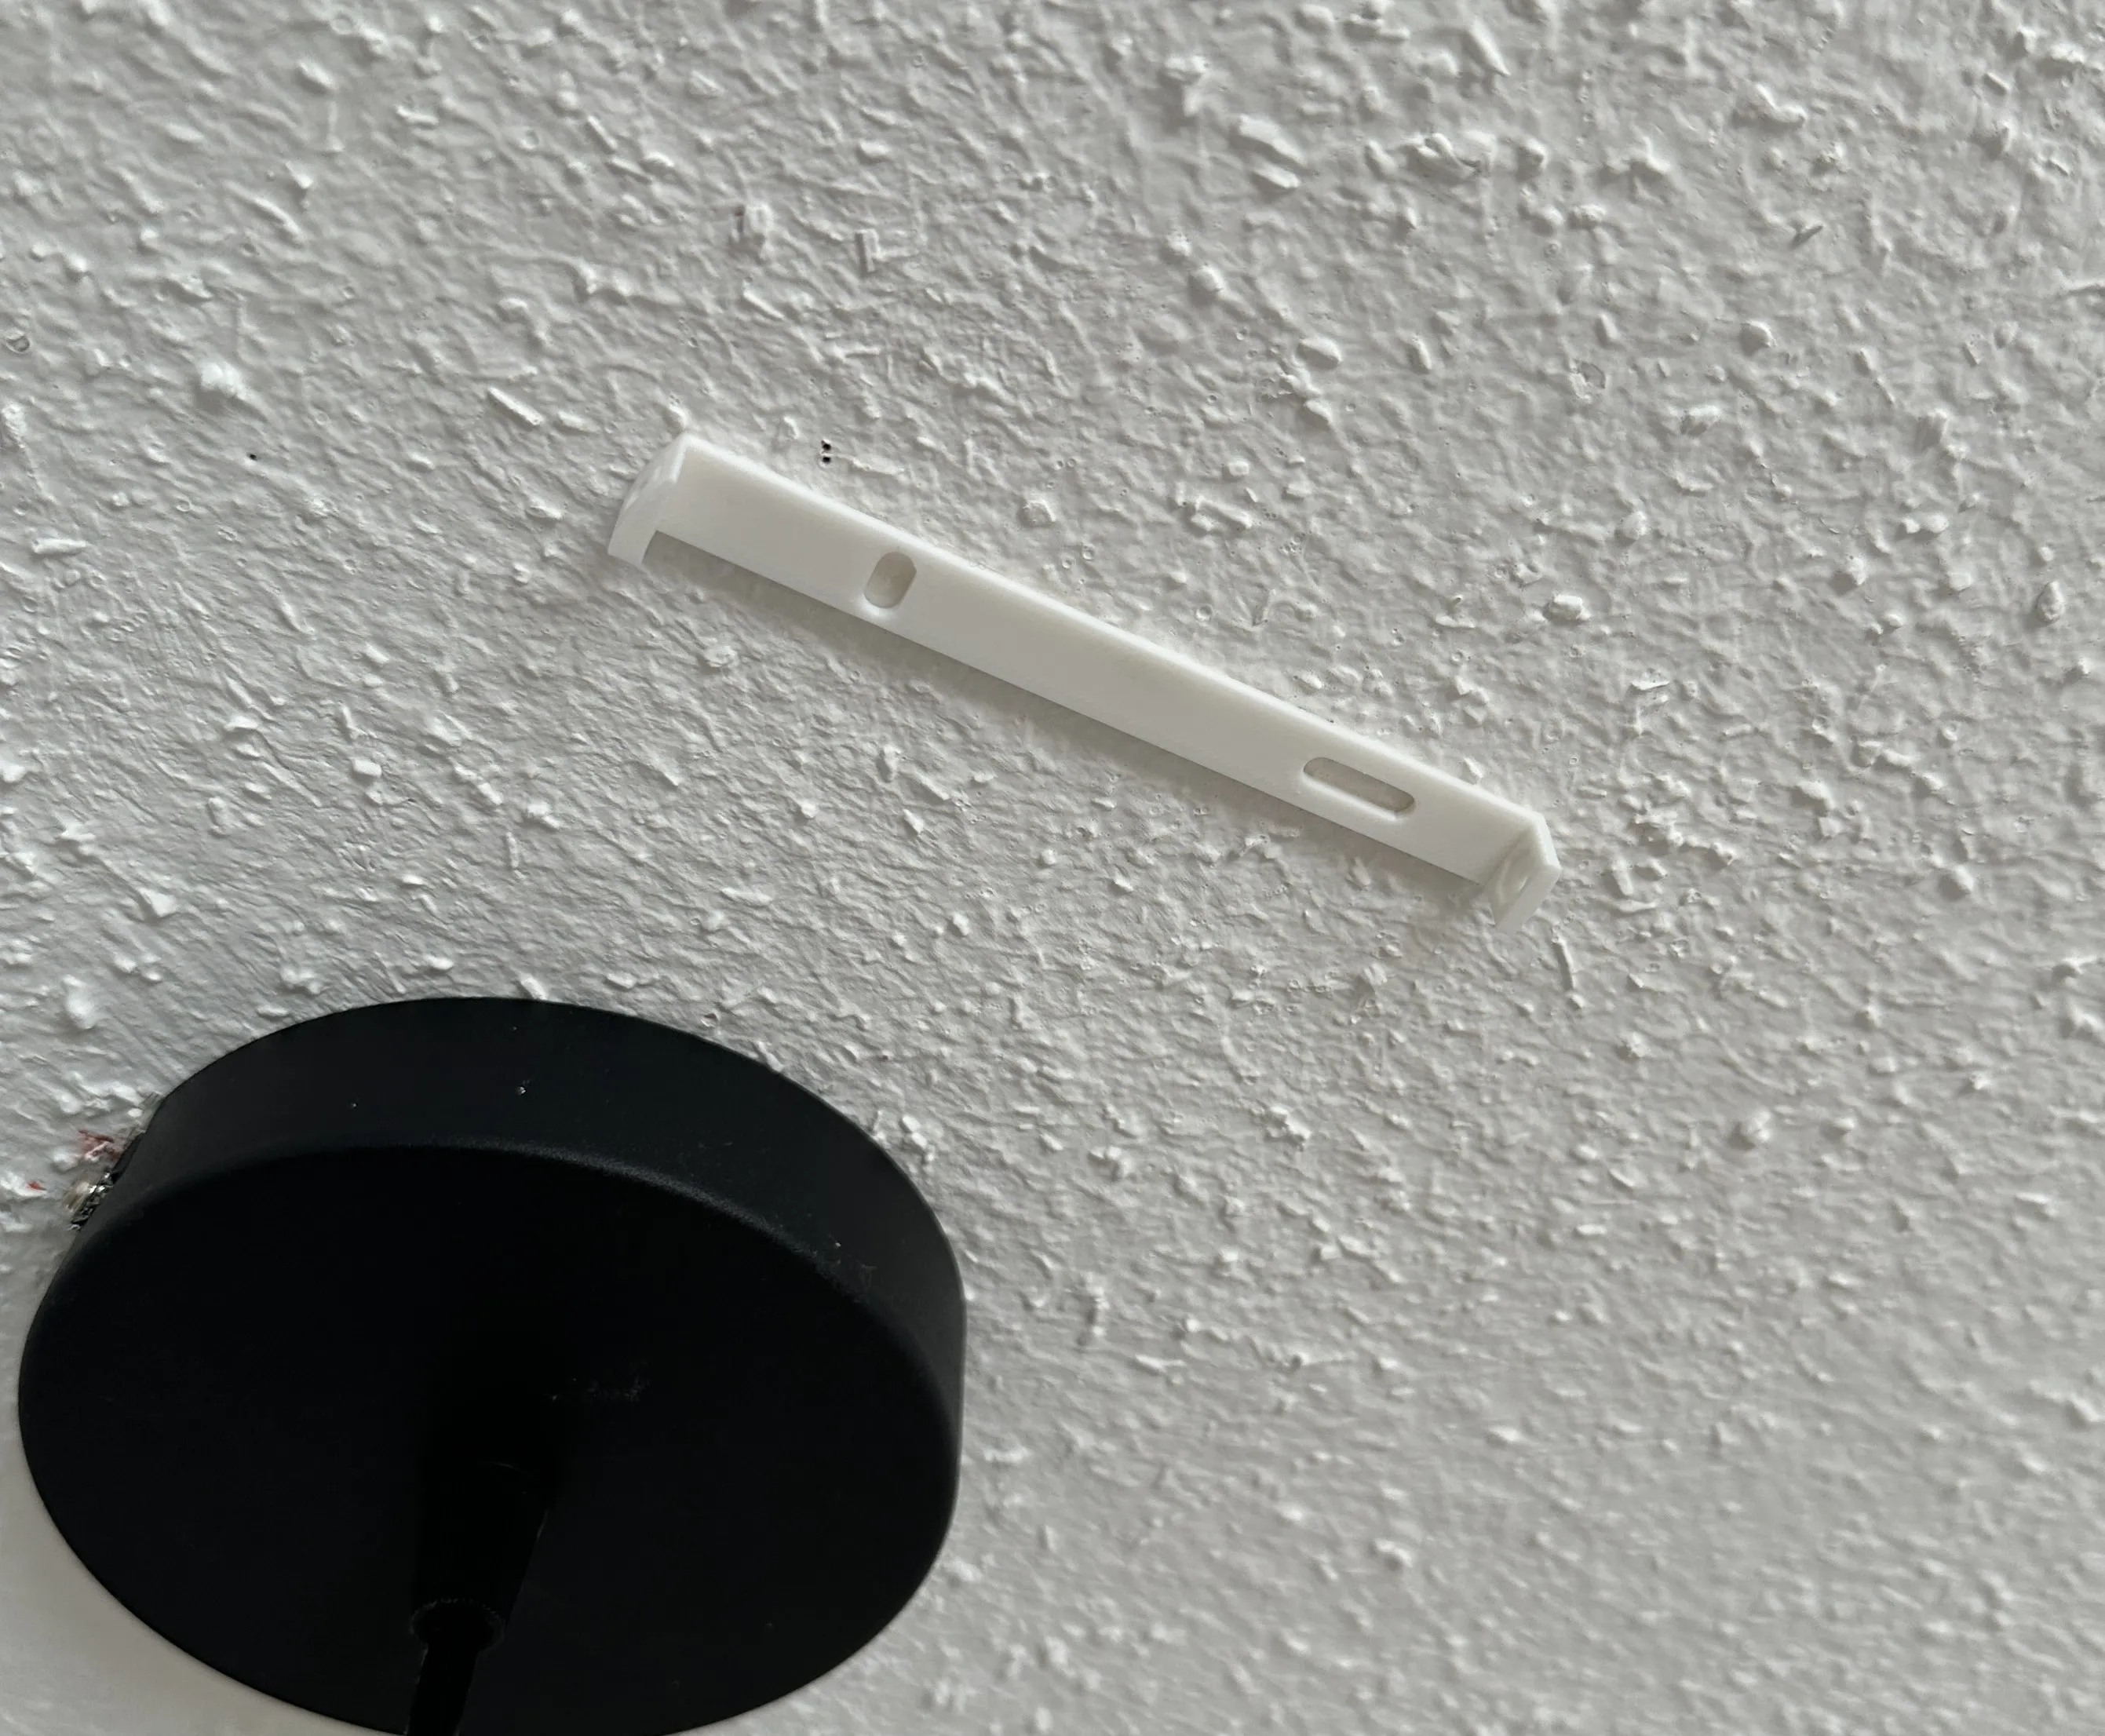
Mark the drilling position through the elongated holes, then drill and fix with screws. I used 4x30mm pan head screws.
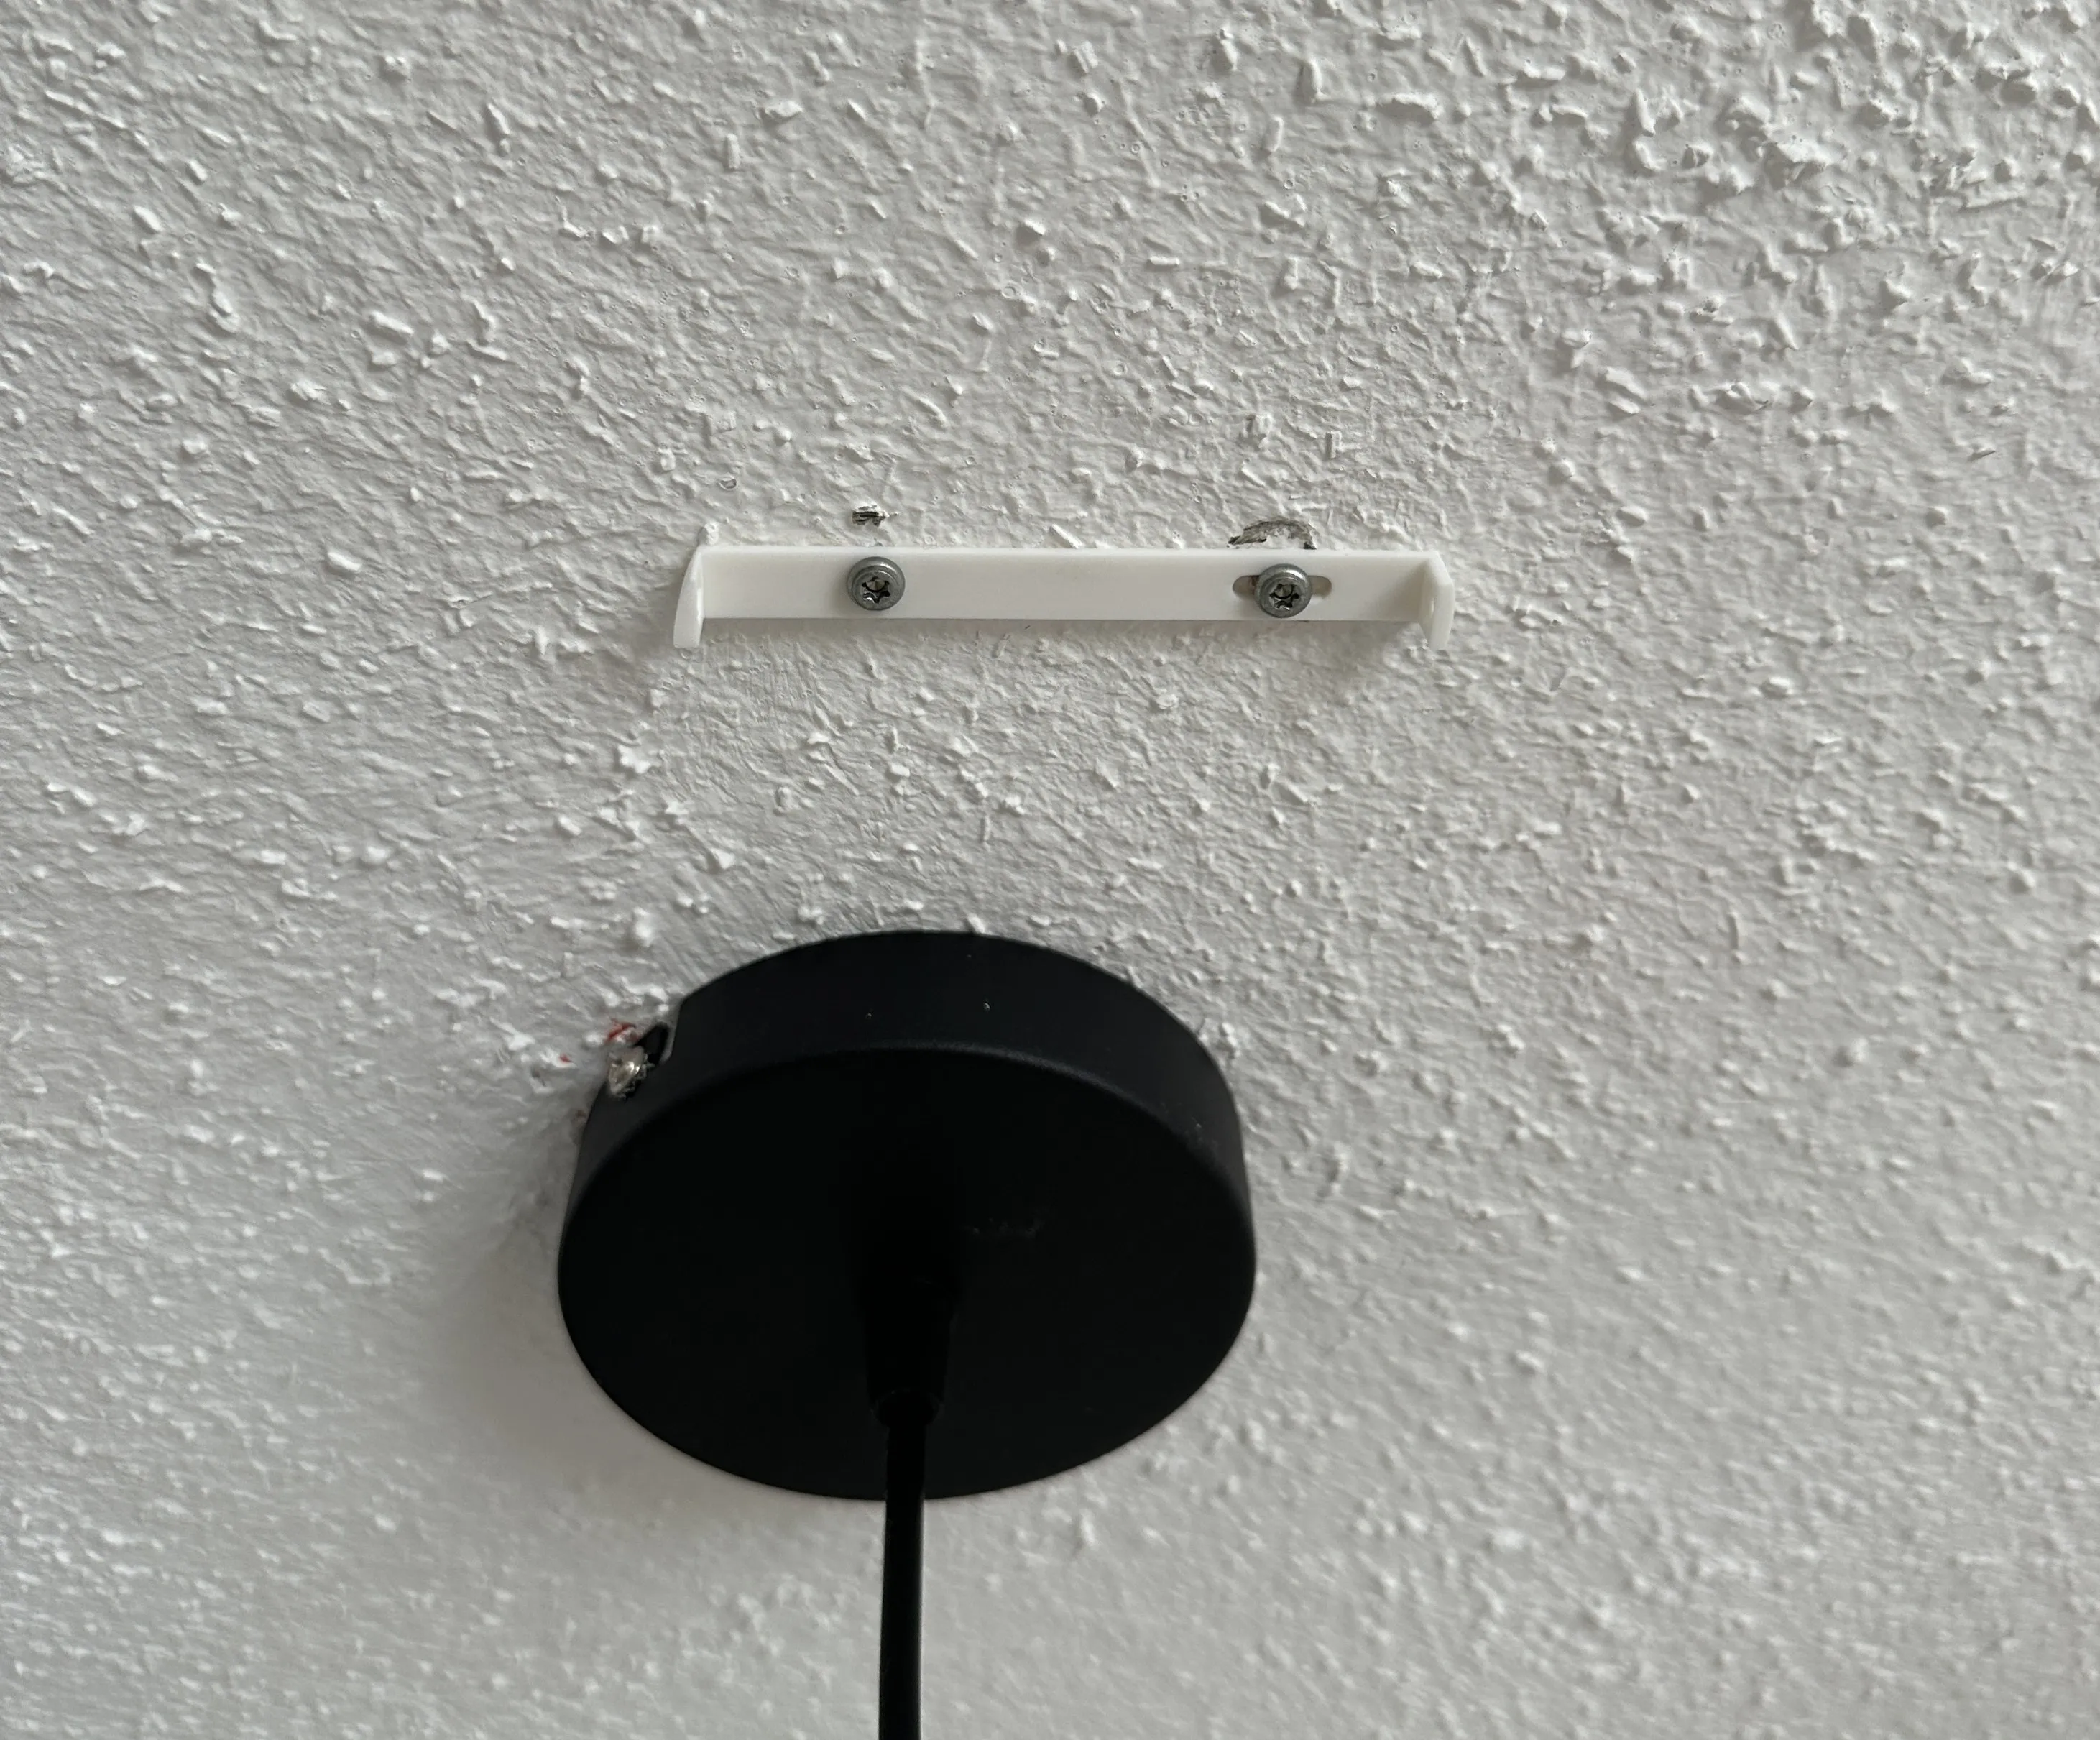
Attach the object that is to hang from the canopy and, in the final step, tighten the canopy to the bracket from the outside with two screws. Alternatively, use an M3 screw as described above.
License

You shall not share, sub-license, sell, rent, host, transfer, or distribute in any way the digital or 3D printed versions of this object, nor any other derivative work of this object in its digital or physical format (including - but not limited to - remixes of this object, and hosting on other digital platforms). The objects may not be used without permission in any way whatsoever in which you charge money, or collect fees.


Comment & Rating (53)