
Catapult Card


Print Profile(2)
![0.2mm layer, 6 walls, 25% infill [PLA/Cool Plate]](https://makerworld.bblmw.com/makerworld/model/USe7c48156d96ec7/design/2023-12-05_6309fd6541781.jpg?x-oss-process=image%2Fresize%2Cw_100%2Fformat%2Cwebp)

Description
Hello printer! This card has the necessary parts to build a mini catapult.
Assembly:
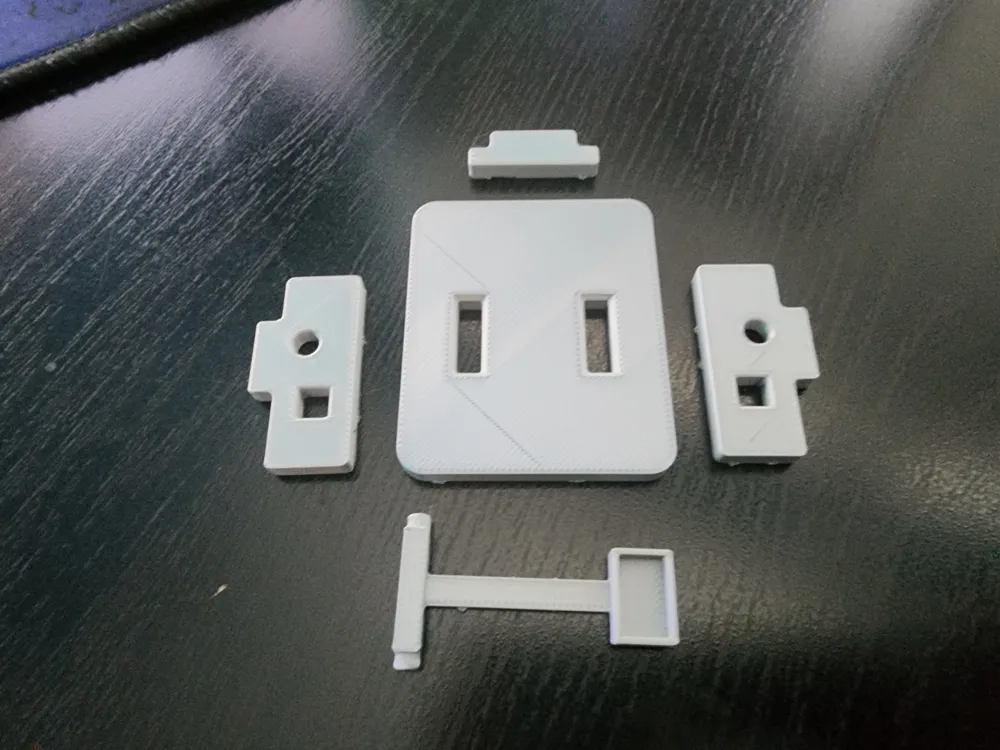
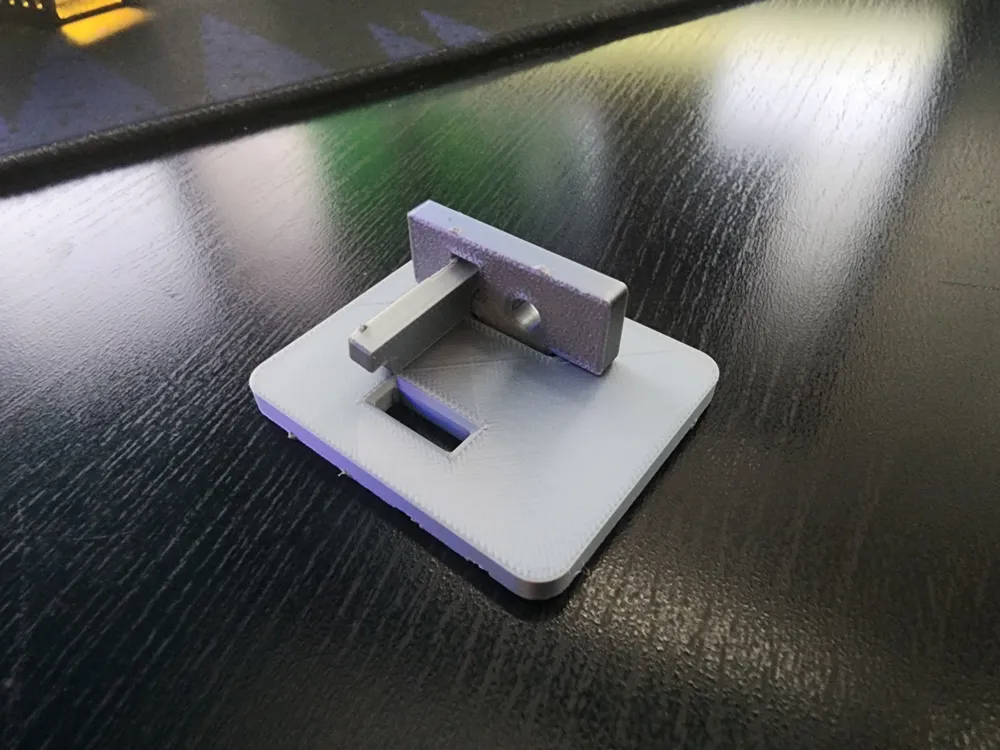
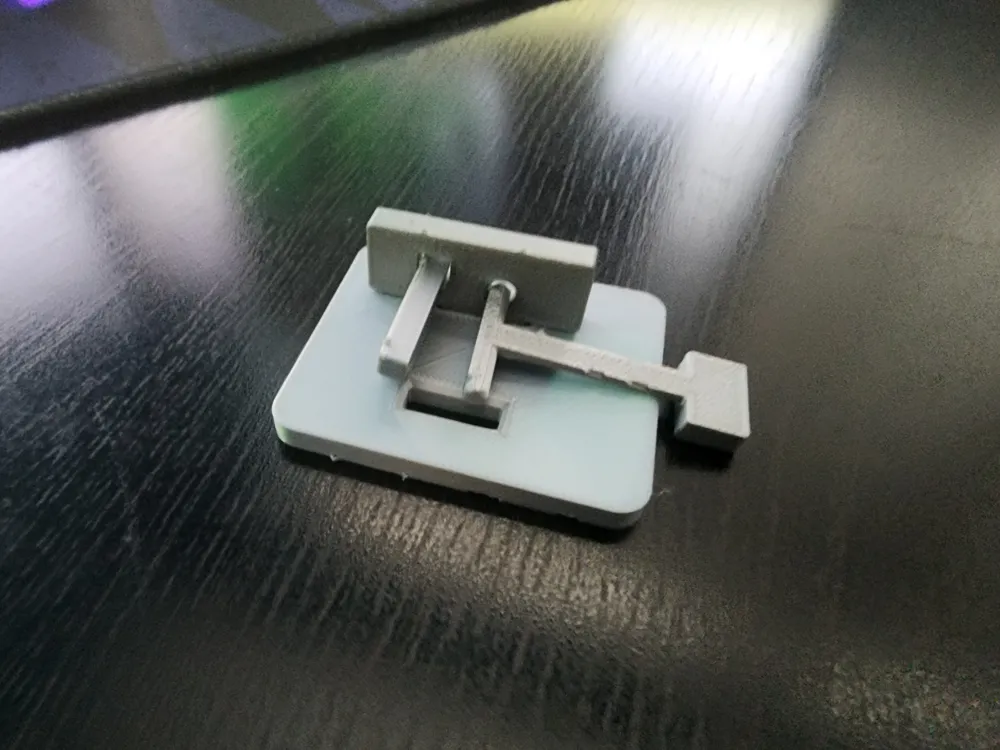
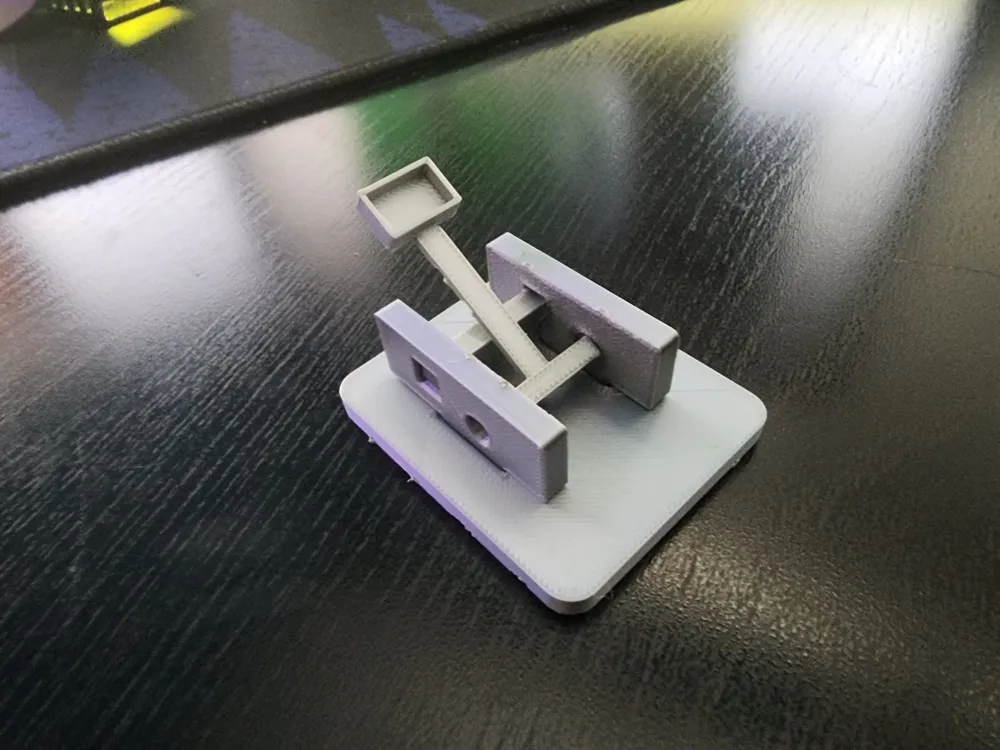
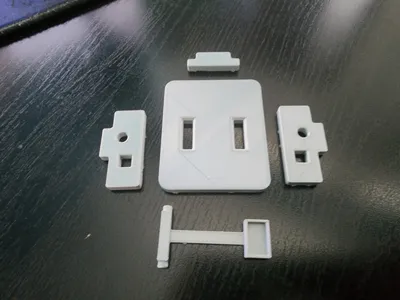
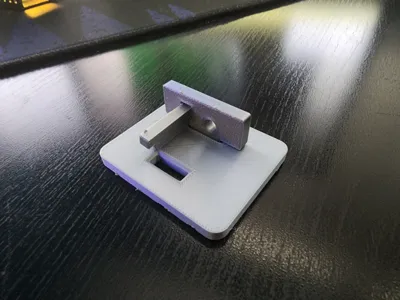
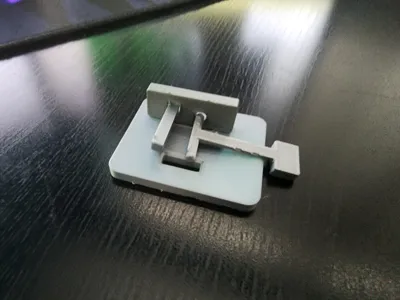
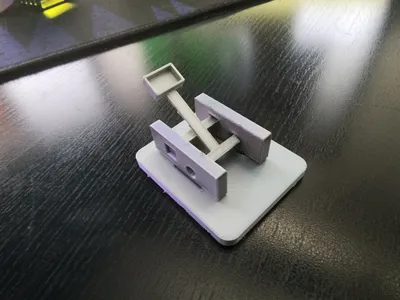
The assembly is fairly simple, and can be found in the images attached, but there are 5 major parts. There are the base, the two sides, the bridge, and the catapult arm. The catapult arm is meant to bend against the bridge (see pictures), so when it is let go it snaps forward. The model also includes 3 balls to be used as projectiles. Before the catapult is assembled, the various pieces are held to the frame by these small tabs.
Main print instructions:
At the normal scaling, these tabs are about 2 layers thick and fairly easy to take off (twist and pull). If you scale it up, your slicer may make them too thick, or even worse, give them infill. If your printer is accurate with small prints, I see no reason that you cant scale it down.
Infill: Doesn't matter
Speed: The speed at which you get the best prints, however I suggest you lower it for better settings. (I printed it at 50% on my Bambu Lab P1P)
Layer height: 0.2
Brim/skirt: no
Support: no (for minimal post processing)
If you have a build plate that naturally unsticks the print when it cools (like normal Bambu Lab plates), then let the plate fully cool. You don't want the tabs to be pulled off when taking it off the plate, so this part is crucial.
How to shoot:
Put two fingers at the back of the base, a ball in the basket, and pull back. Release to shoot.
Please like the model and upload a make if you like the model!
License



Comment & Rating (13)