Full Calibration Guide


Print Profile(0)
Bill of Materials
- Schublehre (Digital) x 1:
Description
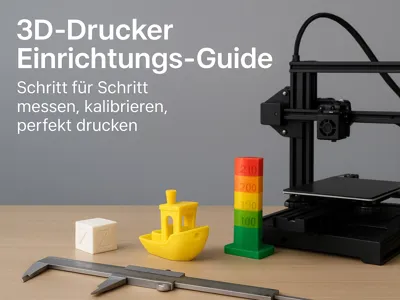
Welcome to your 3D Printer Starter Guide!
This guide will walk you step-by-step through setting up and calibrating your new 3D printer – inspired by Mpoxde's popular YouTube guide.
Here you will find all essential print files, plus specific instructions for measuring and optimizing.
⸻
⚙️ Workflow Overview
1️⃣ Basic Calibration – First Leveling & Extrusion Check
2️⃣ Fine-tuning – Adjust Flow, Temperature, Retract
3️⃣ Quality Test – Benchy & Co. for Control
⸻
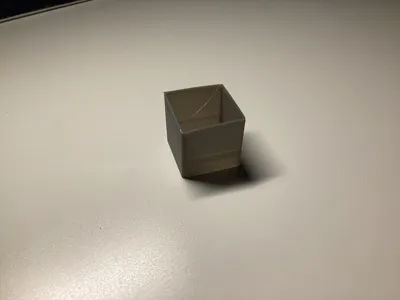
🧱 1. Calibration Cube – Check Dimensional Accuracy
🔹 Measurement:
• Measure all three walls with a caliper (X, Y, Z) (only on the upper part)
• Target Value: 0.4mm
Tolerance: If you measure e.g. 0.46 mm or 0.35 mm, you can calculate 0.4*100/the measured value and enter the result under Flow in the Slicer
⸻
🛠️ 3. Bed Level Test – Adjust Print Bed
Choose the correct file for your build volume from the Z-Off set folder
• Observe the first layer:
• Too flat → Nozzle too close to the bed
• Too loose → Nozzle too far from the bed
• Adjust via your menu or manual leveling
🔹 Tip: An ideal first layer is smooth and even, without gaps. Measure the squares; if they are 0.25mm instead of 0.2mm, you can go down another 0.5 mm
⸻
⛵ 4. 3DBenchy – Quality Control
🔹 File: Benchy Bambu PLA Basic Shared by Bambu Lab MakerWorld: Download free 3D models
• Stringing or messy layers → Increase retraction
• Overhangs drooping → Optimize cooling
• Messy outer surface → Slightly adjust flow or temp
⸻
🧩 5. Overhang Test
🔹 File: overhang test by ilikeapples12 MakerWorld: Download free 3D models
🔹 Procedure:
• Print the model with 0.2 mm layer height
• Observe up to what angle (e.g., 45°, 60°) the model remains clean
🔹 Tip:
• If there are problems from 45° onwards → Increase cooling or reduce print speed
⸻
🧠 Final Tip
🔸 Repeat flow test once after each new filament
🔸 Note down values – this way you always have your perfect setup ready
⸻
📹 Credits:
Setup & structure inspired by the setup video from Mpoxde on YouTube.
⸻
⭐ Did the guide help you?
Leave a like and share it with new 3D printing fans – every perfect cube helps a maker more!
Comment & Rating (0)