
Stackable Vertical Spool storage
Print Profile(1)

Bill of Materials



Description
As everyone else in this 3d printing hobby/business, we face the same issue “Storage”. I was no exception of course! :)
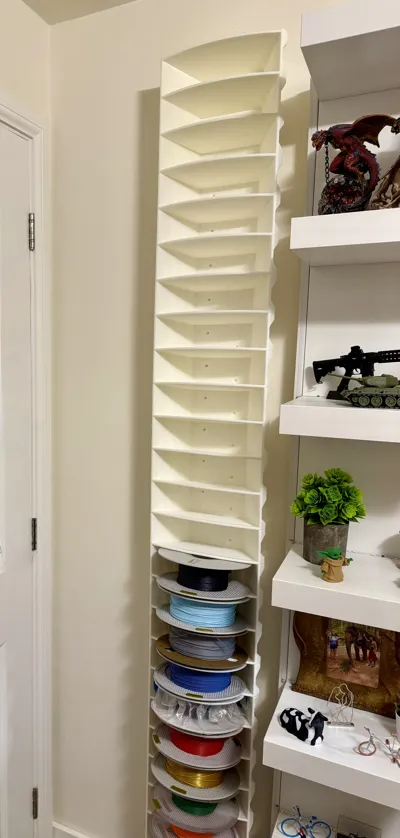
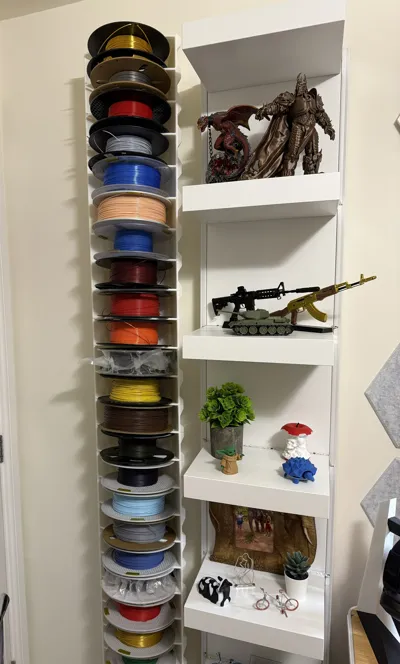
I have a small room ("mancave") dedicated to my hobbies and I'm trying to fit everything needed (and maybe not needed) inside, filament storage being one of the most frequent struggles I encounter. I tried to use every bit of space to store filament but still not enough! Then, in a moment of inspiration, I've spotted an unused space behind the door and it sparked an amazing idea.
I quickly went online to look for a trustable vertical spool storage, clearly someone had the same need, but no such luck.
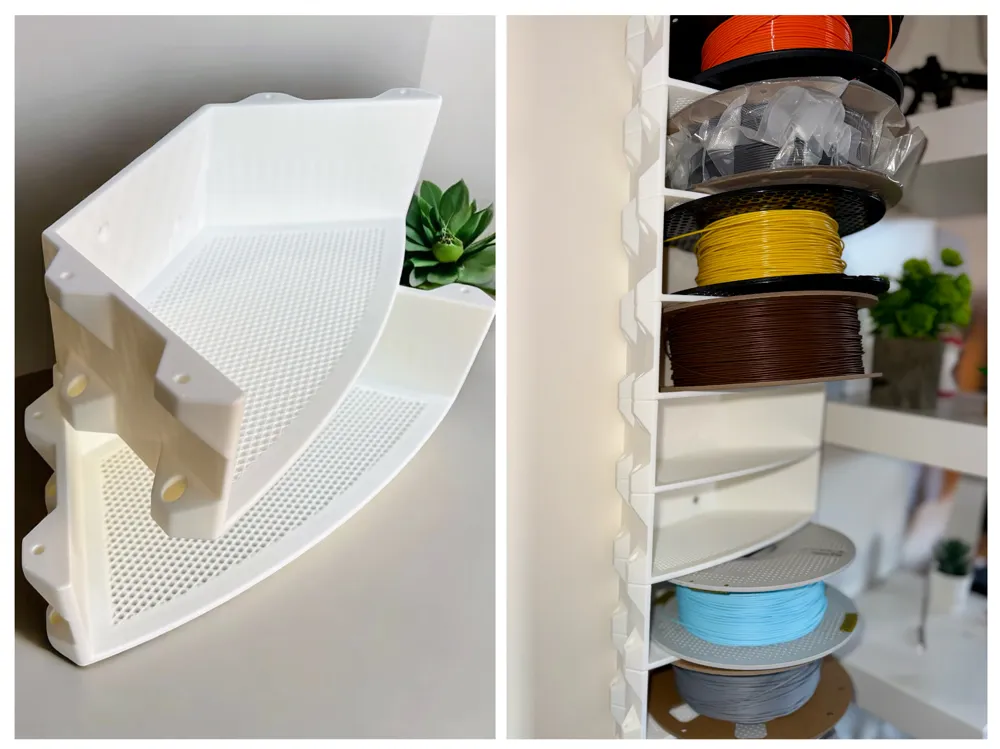
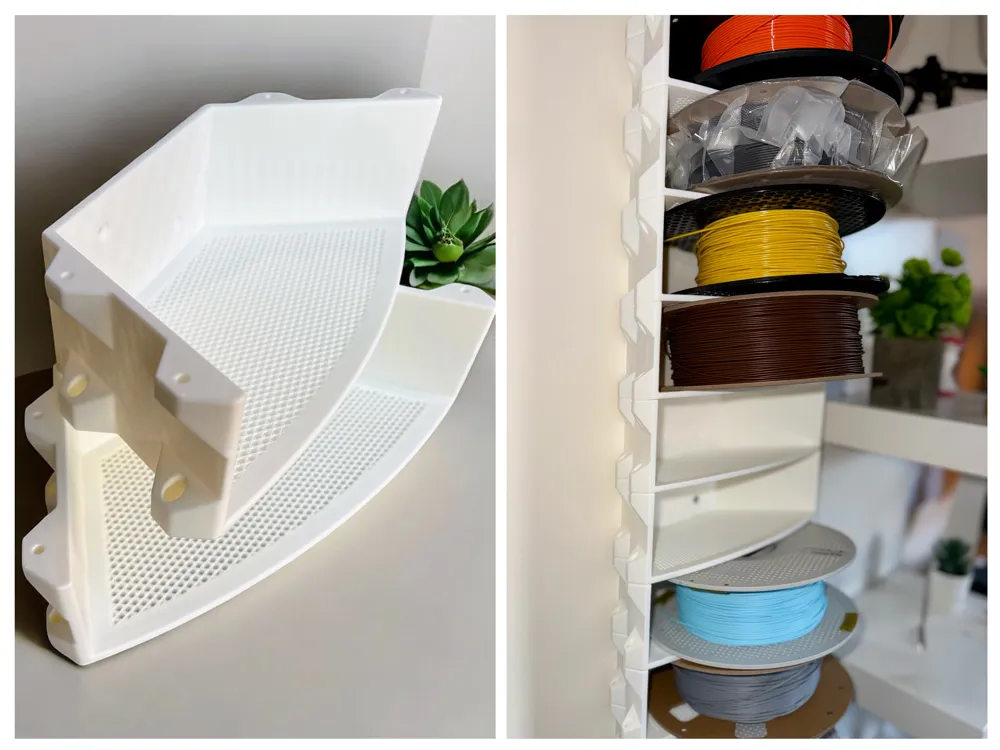
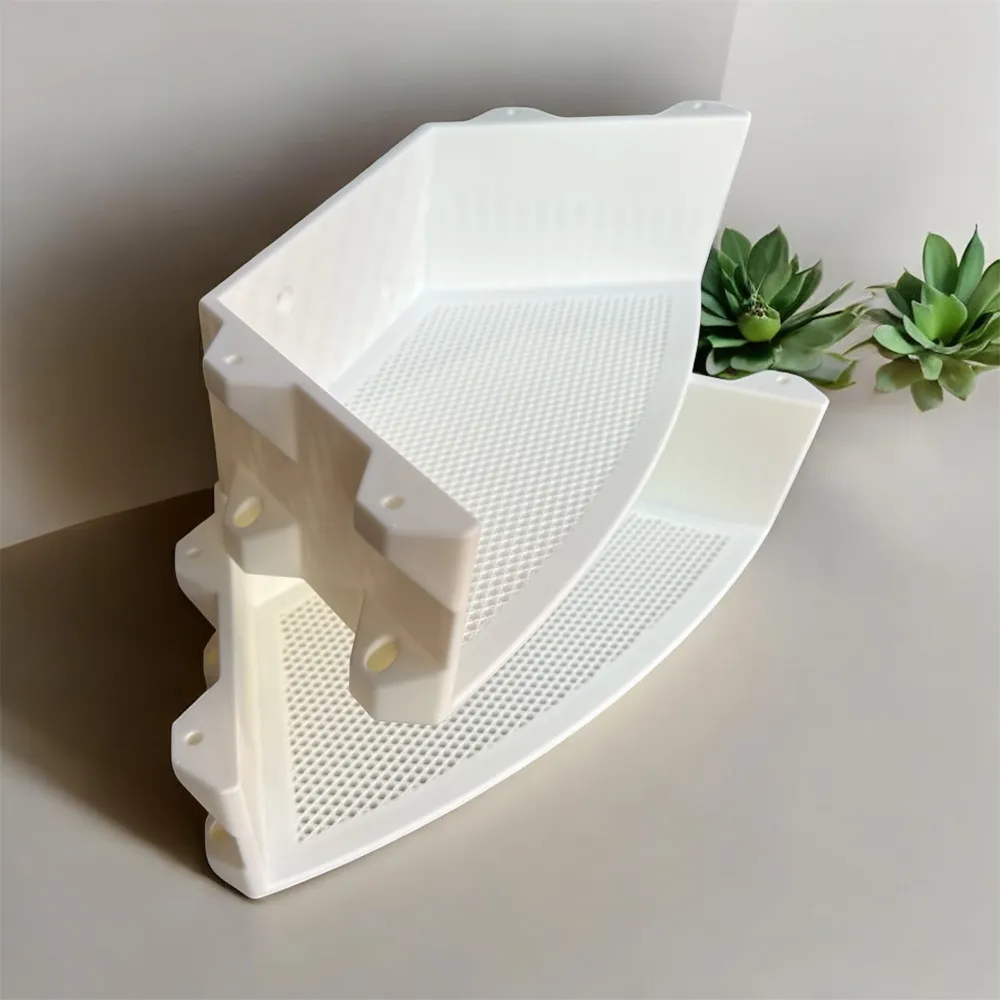
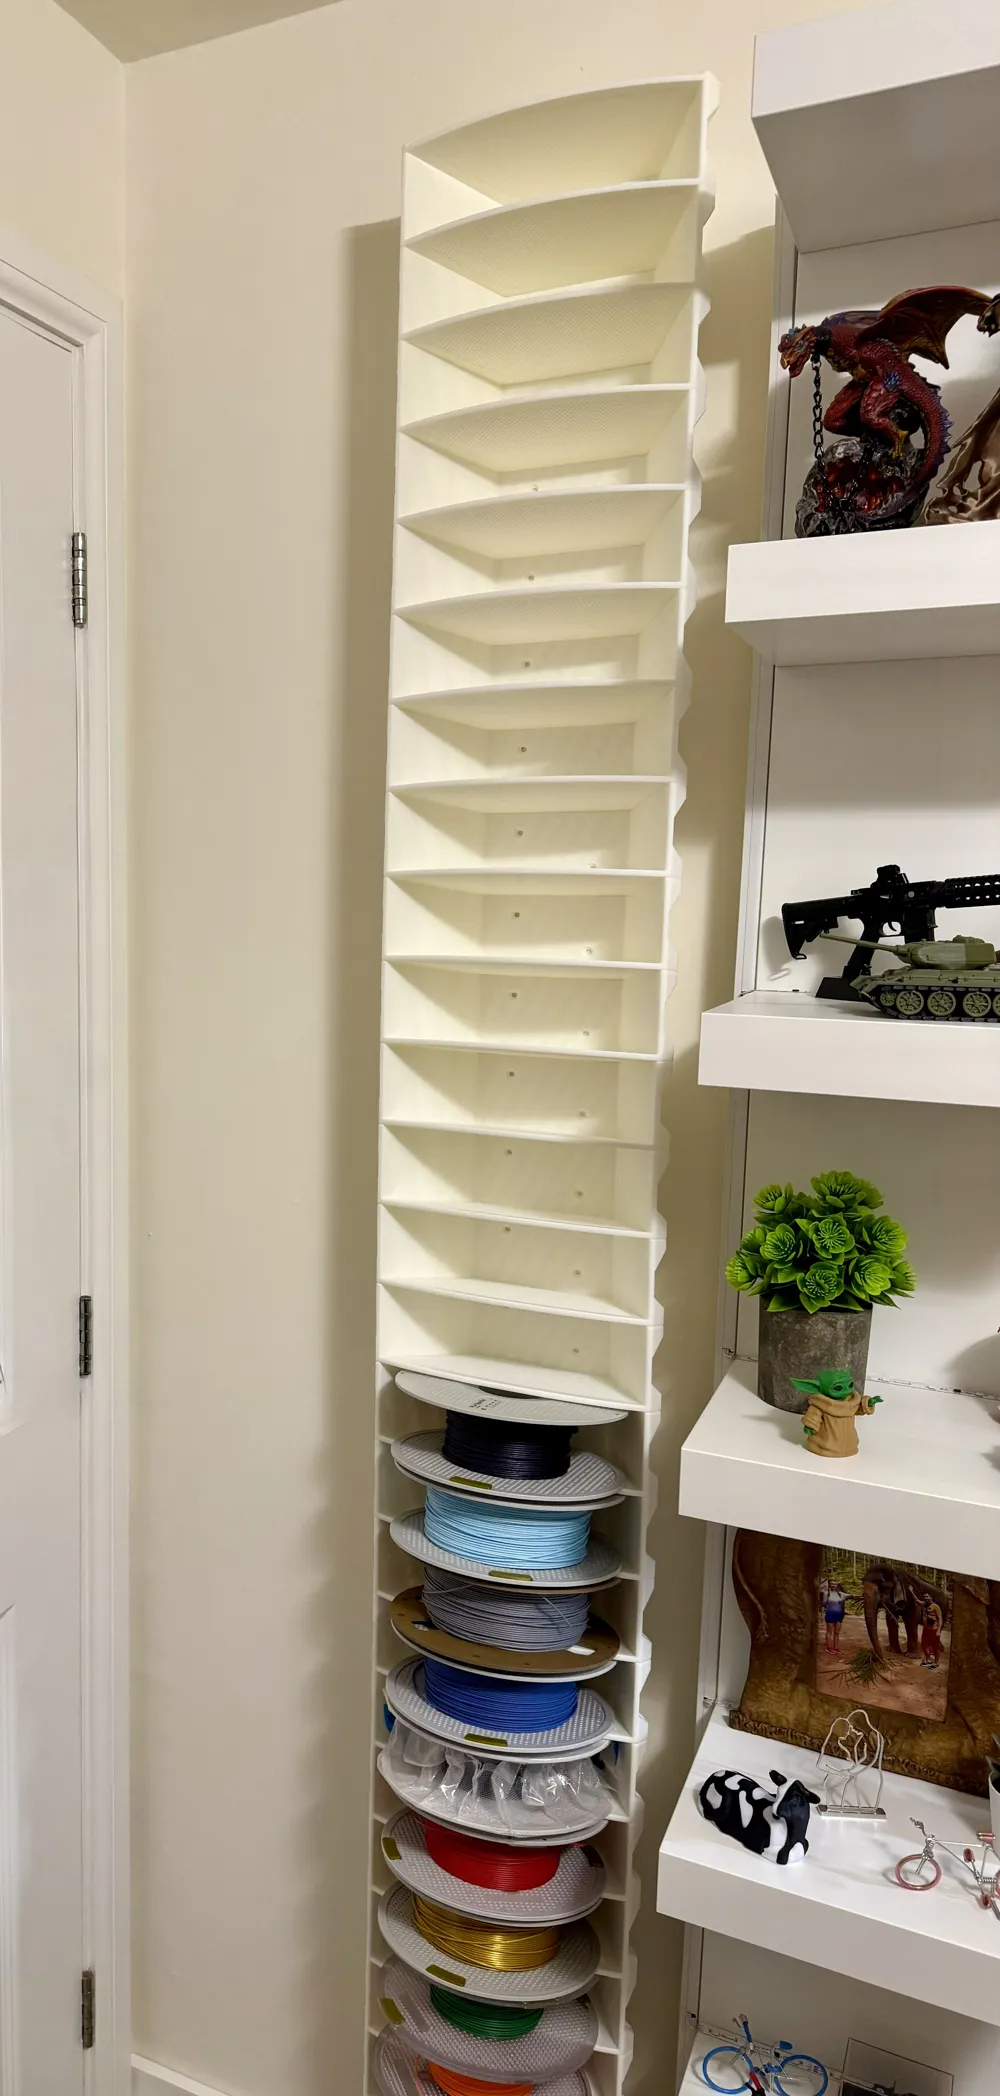
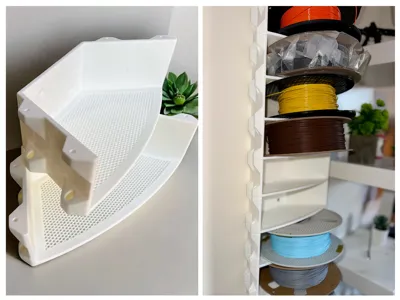
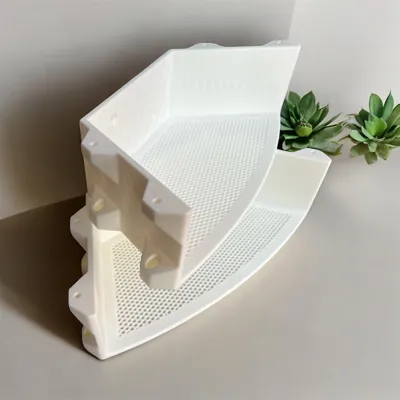
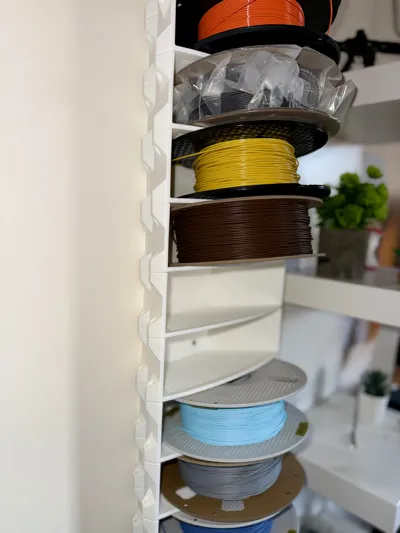
So it became my top priority to design some kind of vertical storage to make use of that dead space. After a few trials and errors I've came up with this design which proved sturdy and reliable.
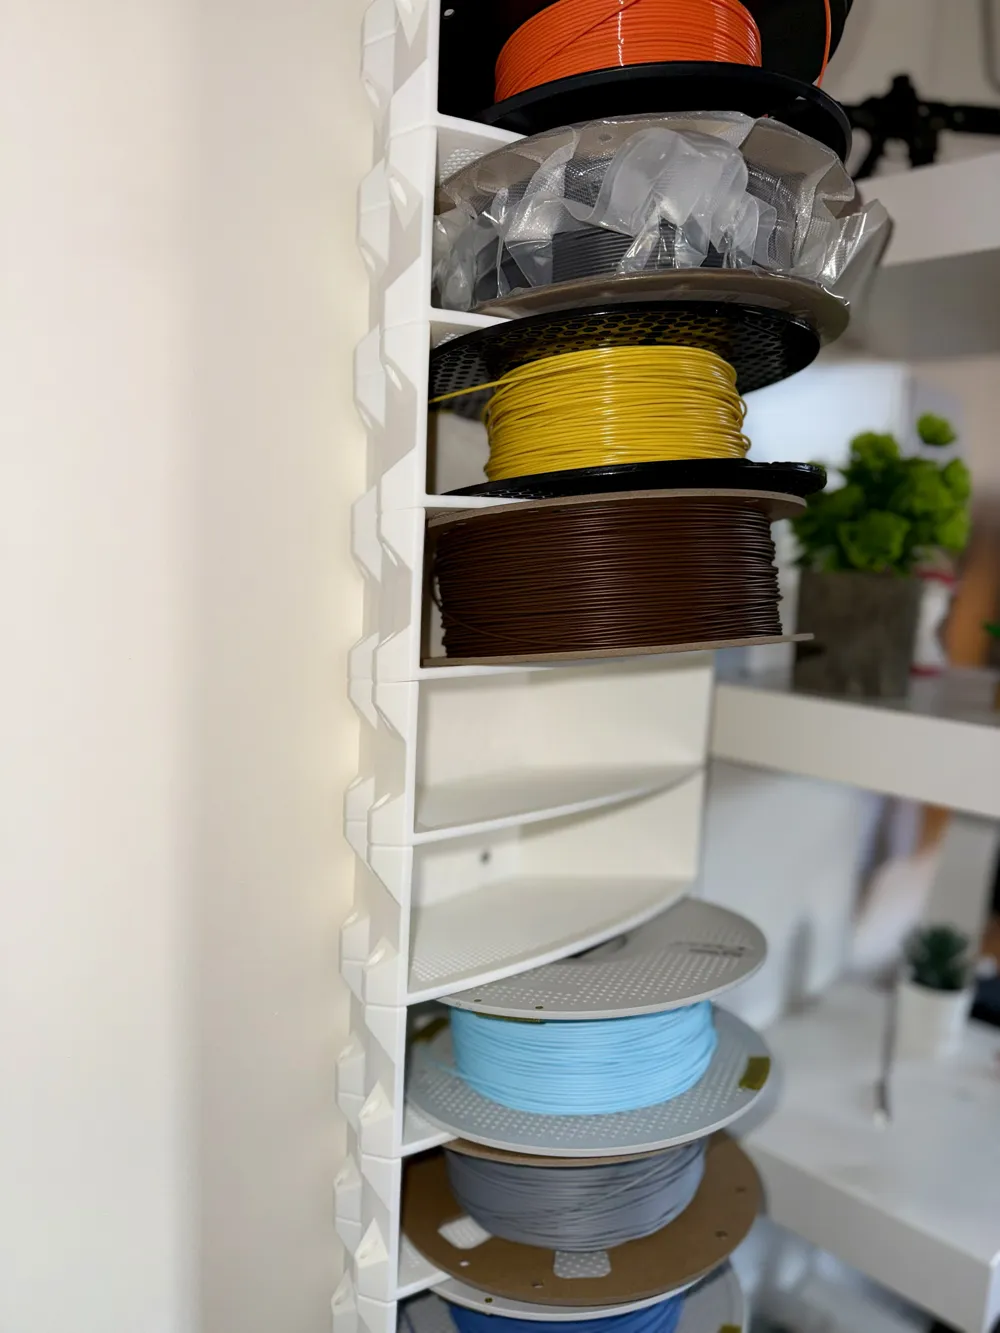
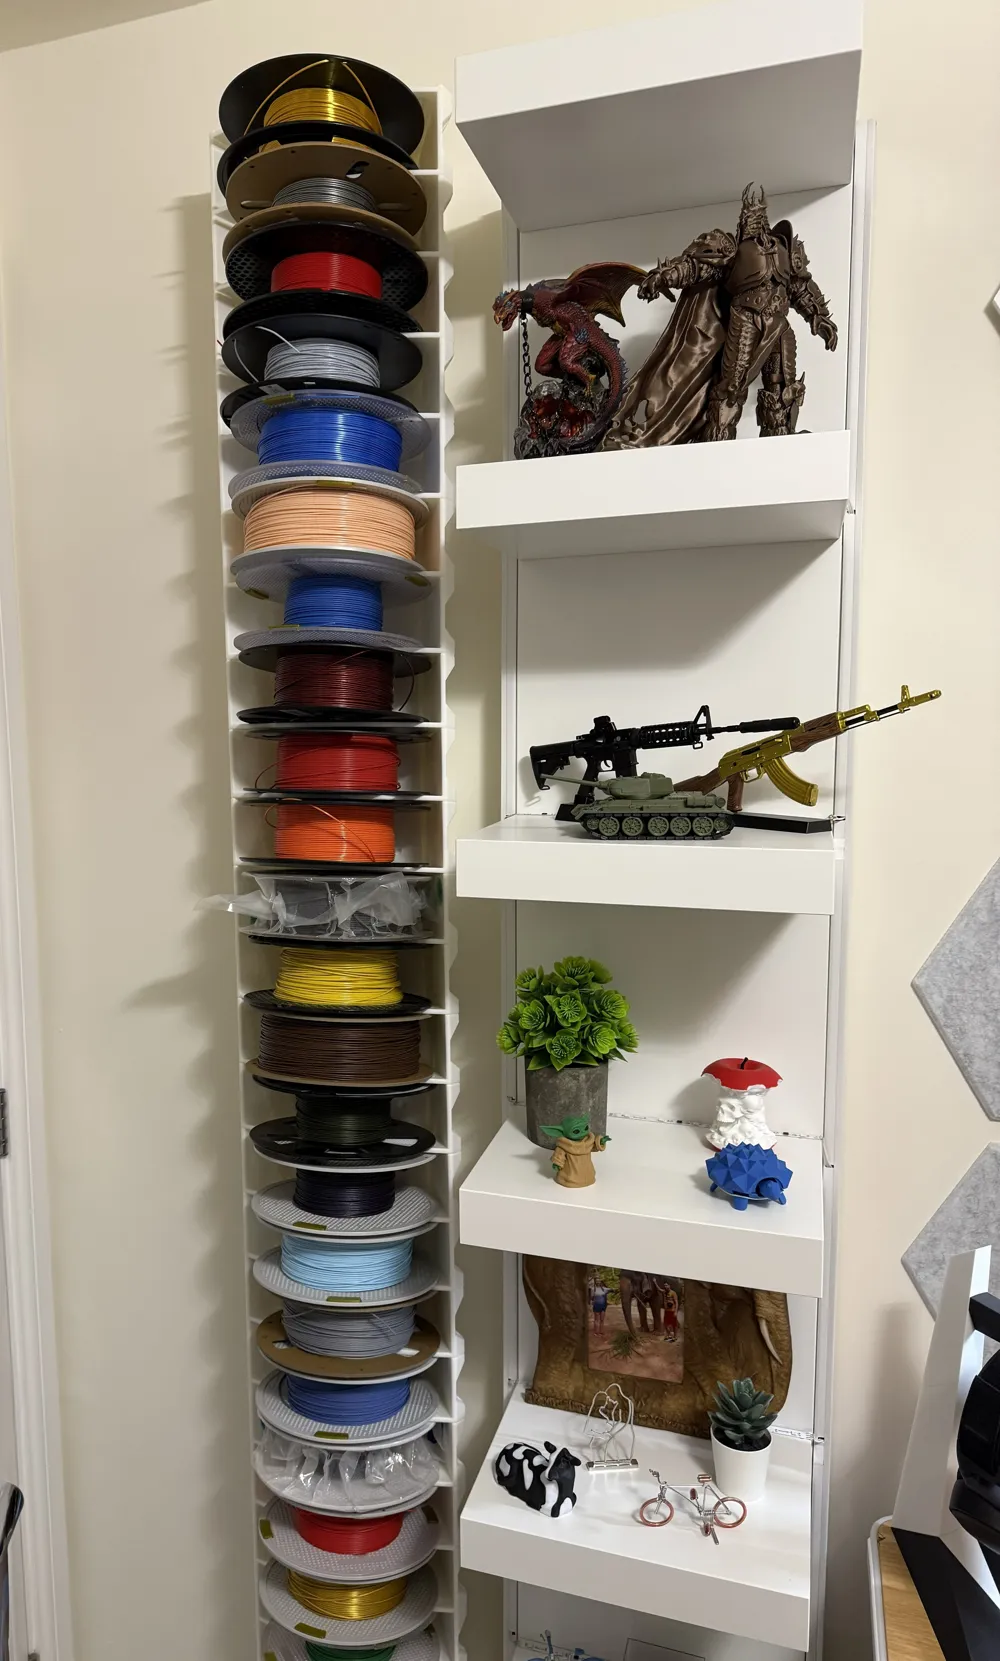
The one i put together has 26 trays, which equates of 1.95m tall and to fix it to my dry wall I've used 6 wall screws/plugs, two near the bottom, two in the middle and two at the top. This is not going anywhere now! :)
In the next rows I'll put together some details about the hardware required and some step by step instructions to make your own.
Hardware Required :
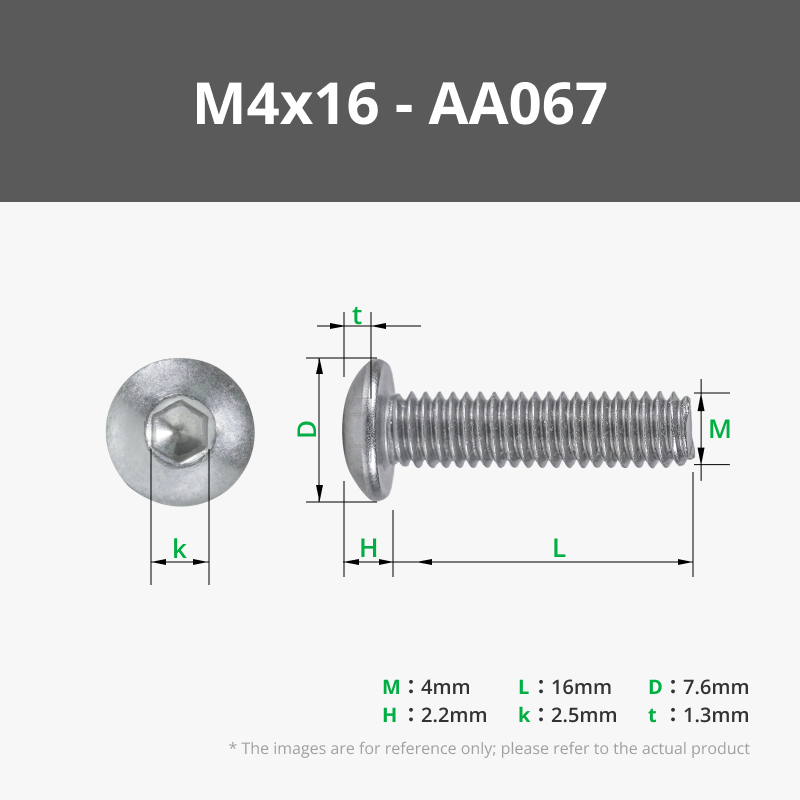
- 4 * M4 x 16mm cup head/button head/ball head hex screws per tray + 4 additional ones for the lid (you can find them on eBay cheap and in bigger quantities )
- 1 additional M4 x 25mm screw to slide the nuts in their slots easier
- 4 * M4 nuts (eBay)
- wall plugs ( I've used Ø6 x 36mm for dry wall)
- wall screws (I've used Ø4.5 x 50mm)
- drill.
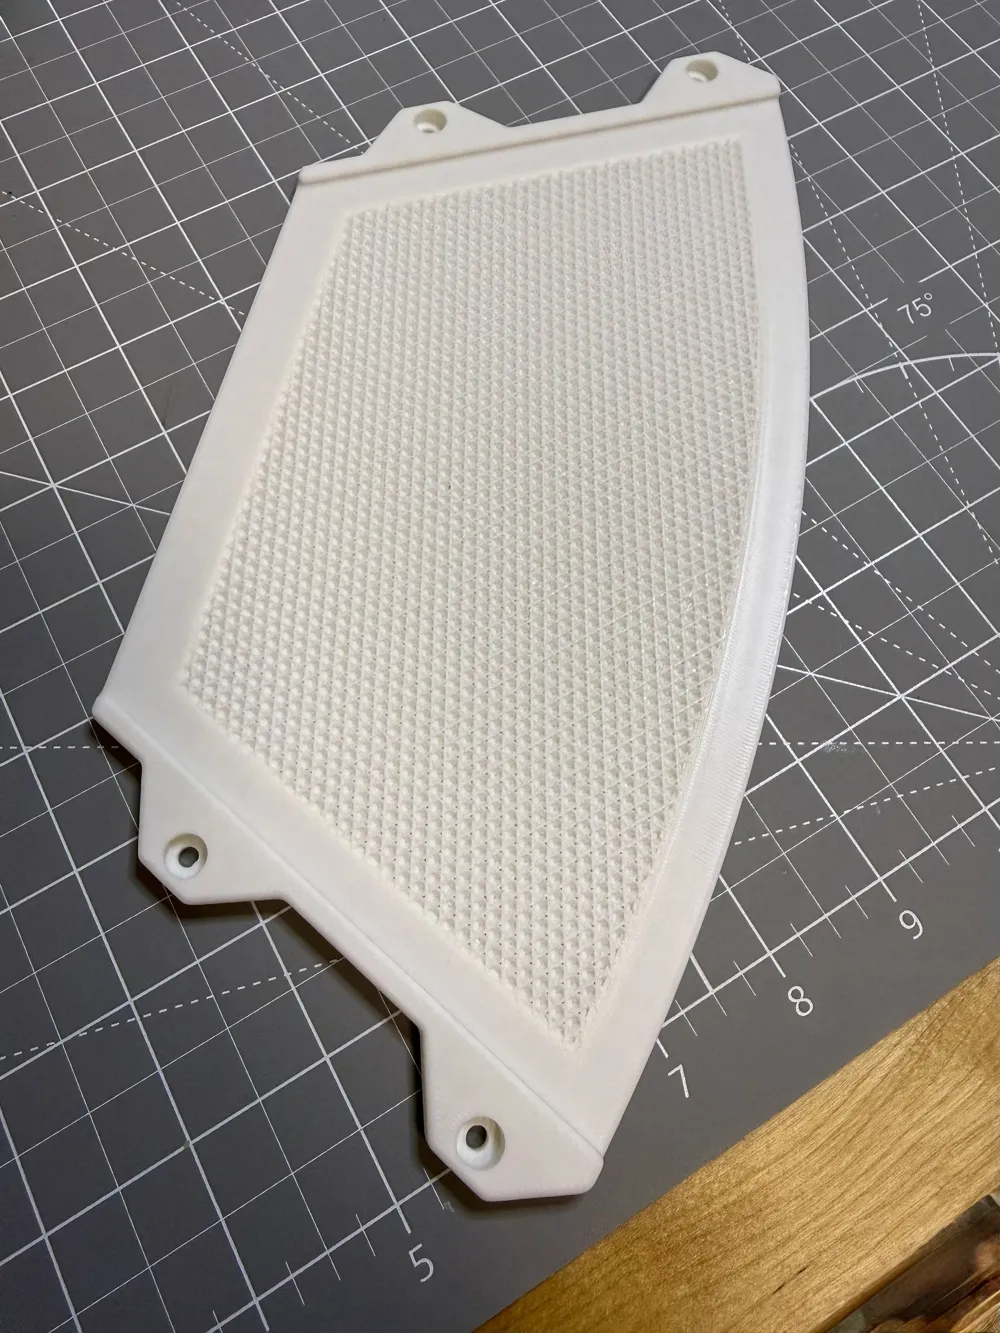
Once you finished printing your first tray, you can start to add the nuts in their slots using the M4 x 25mm screw to easy slide in place.
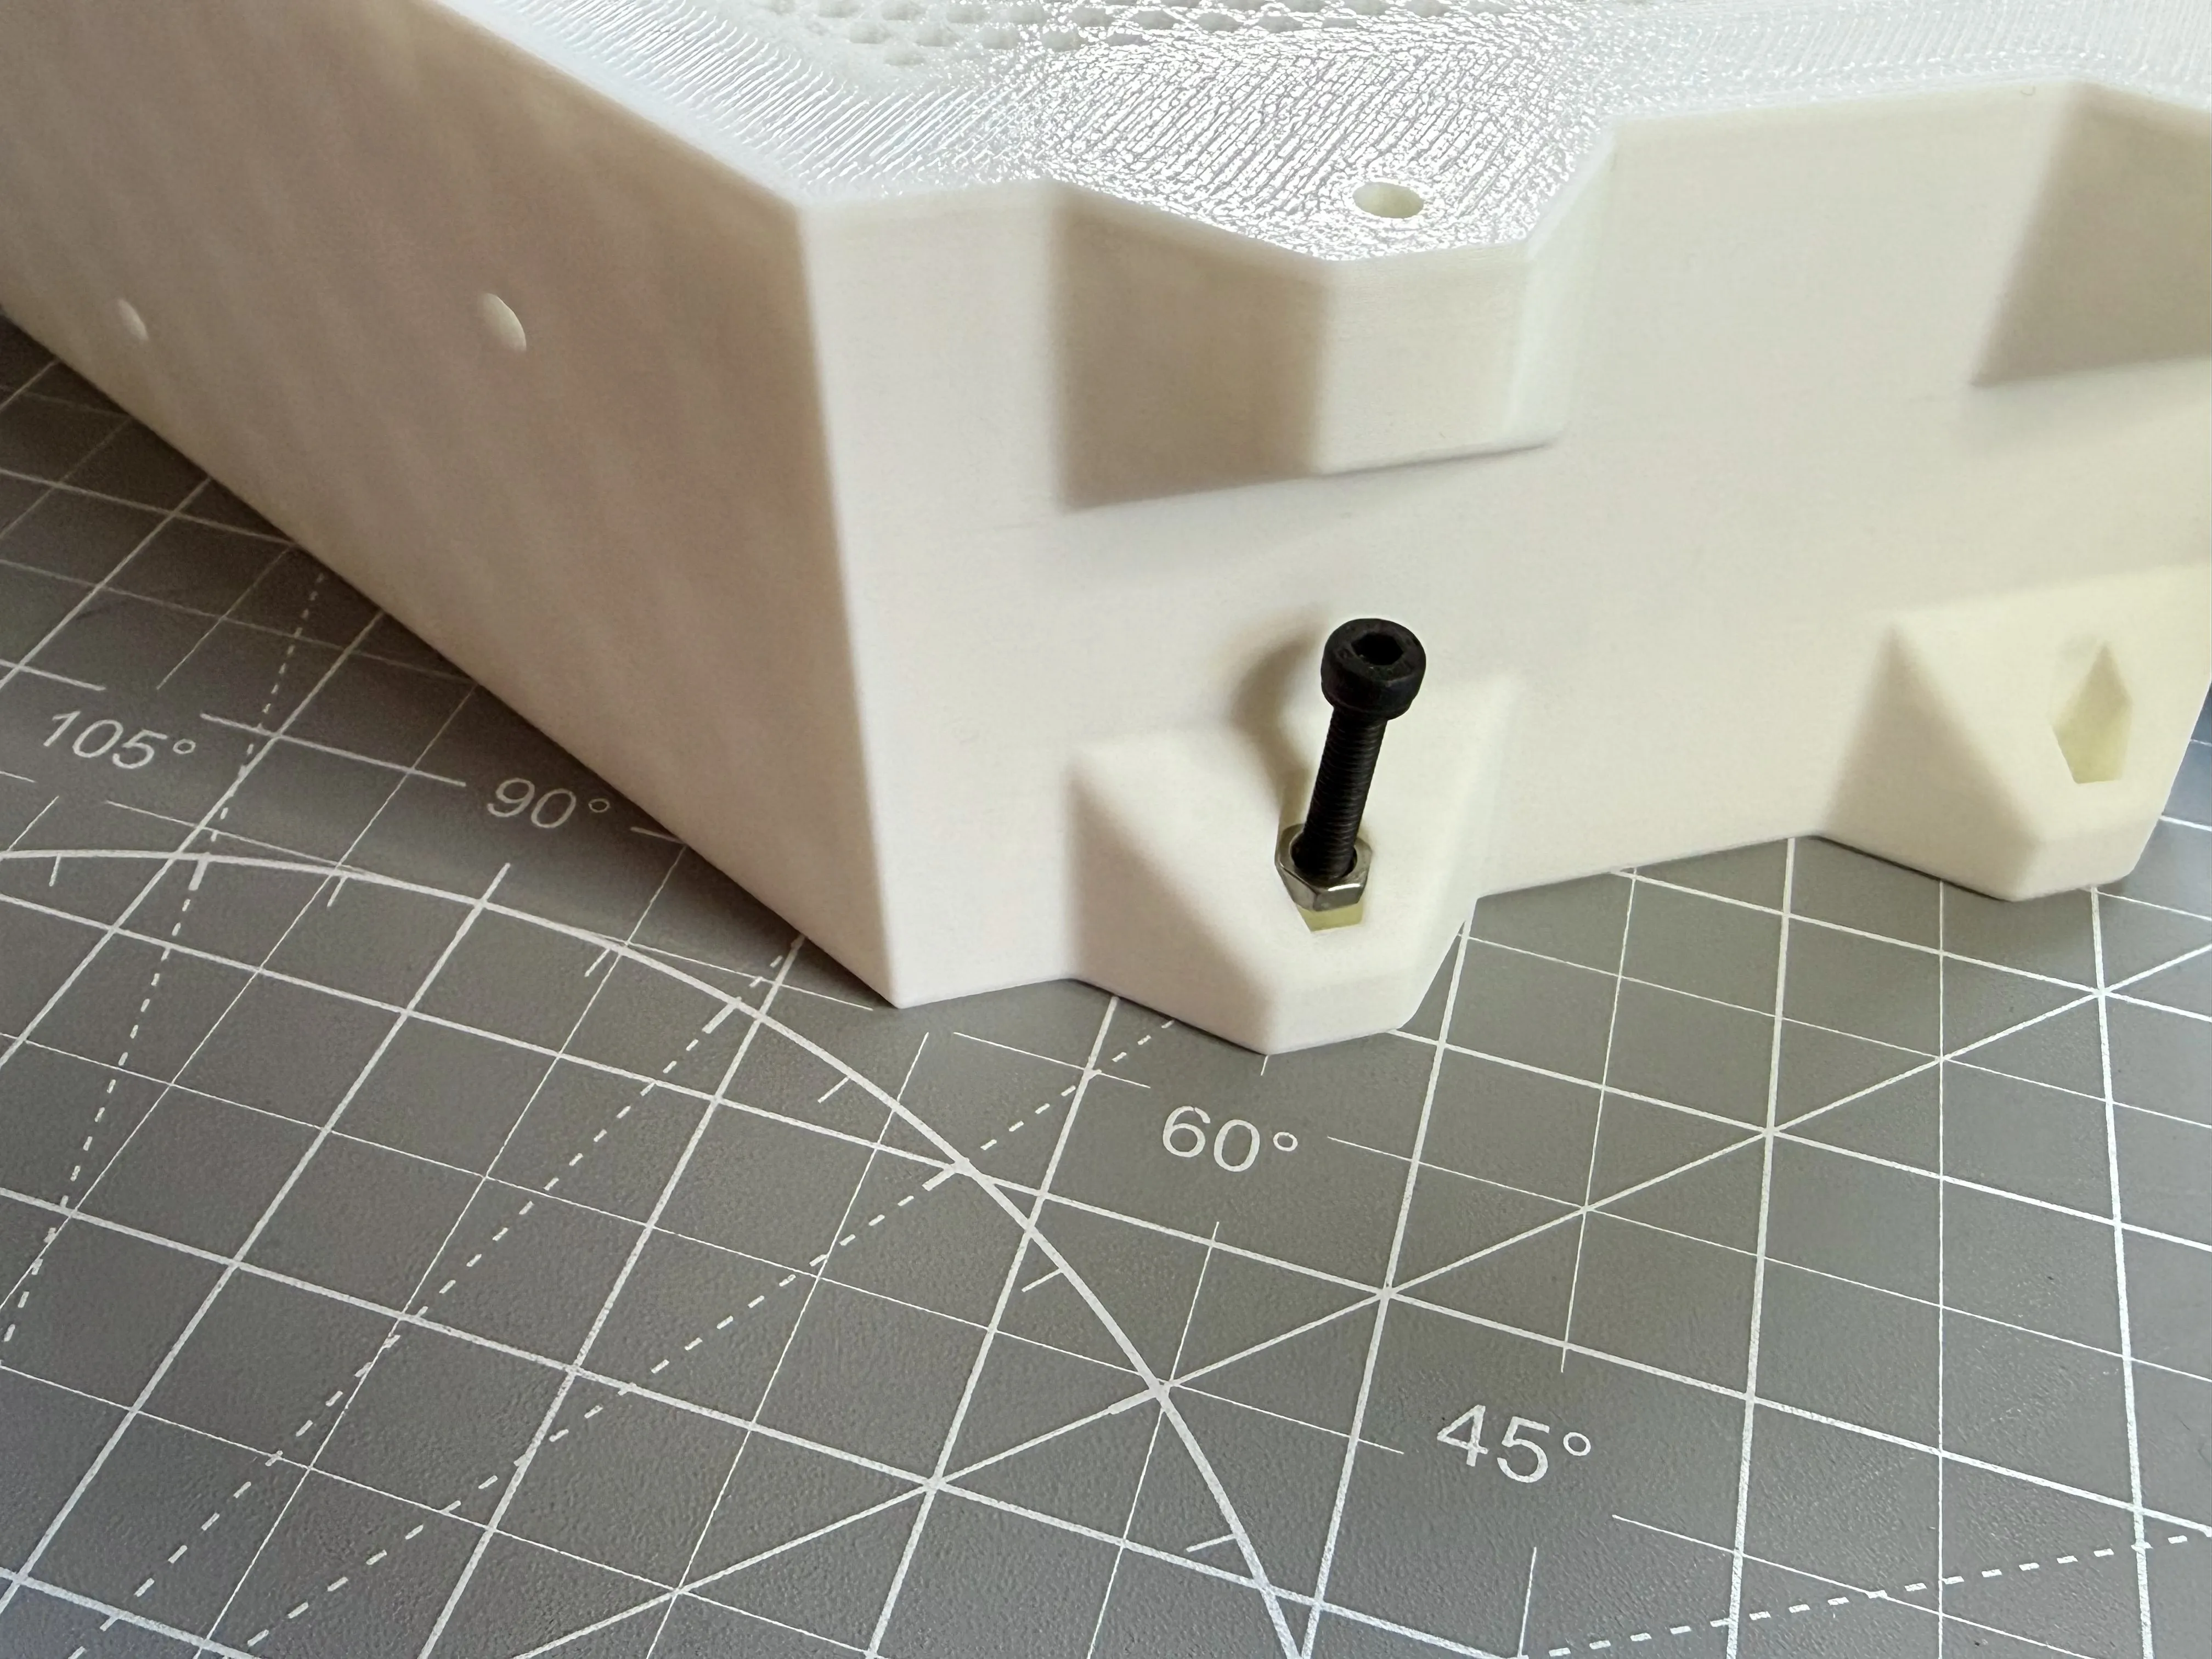
Push the nut fully in place and centre the screw. This will make sure the nut is already aligned and ready for the next tray screw .
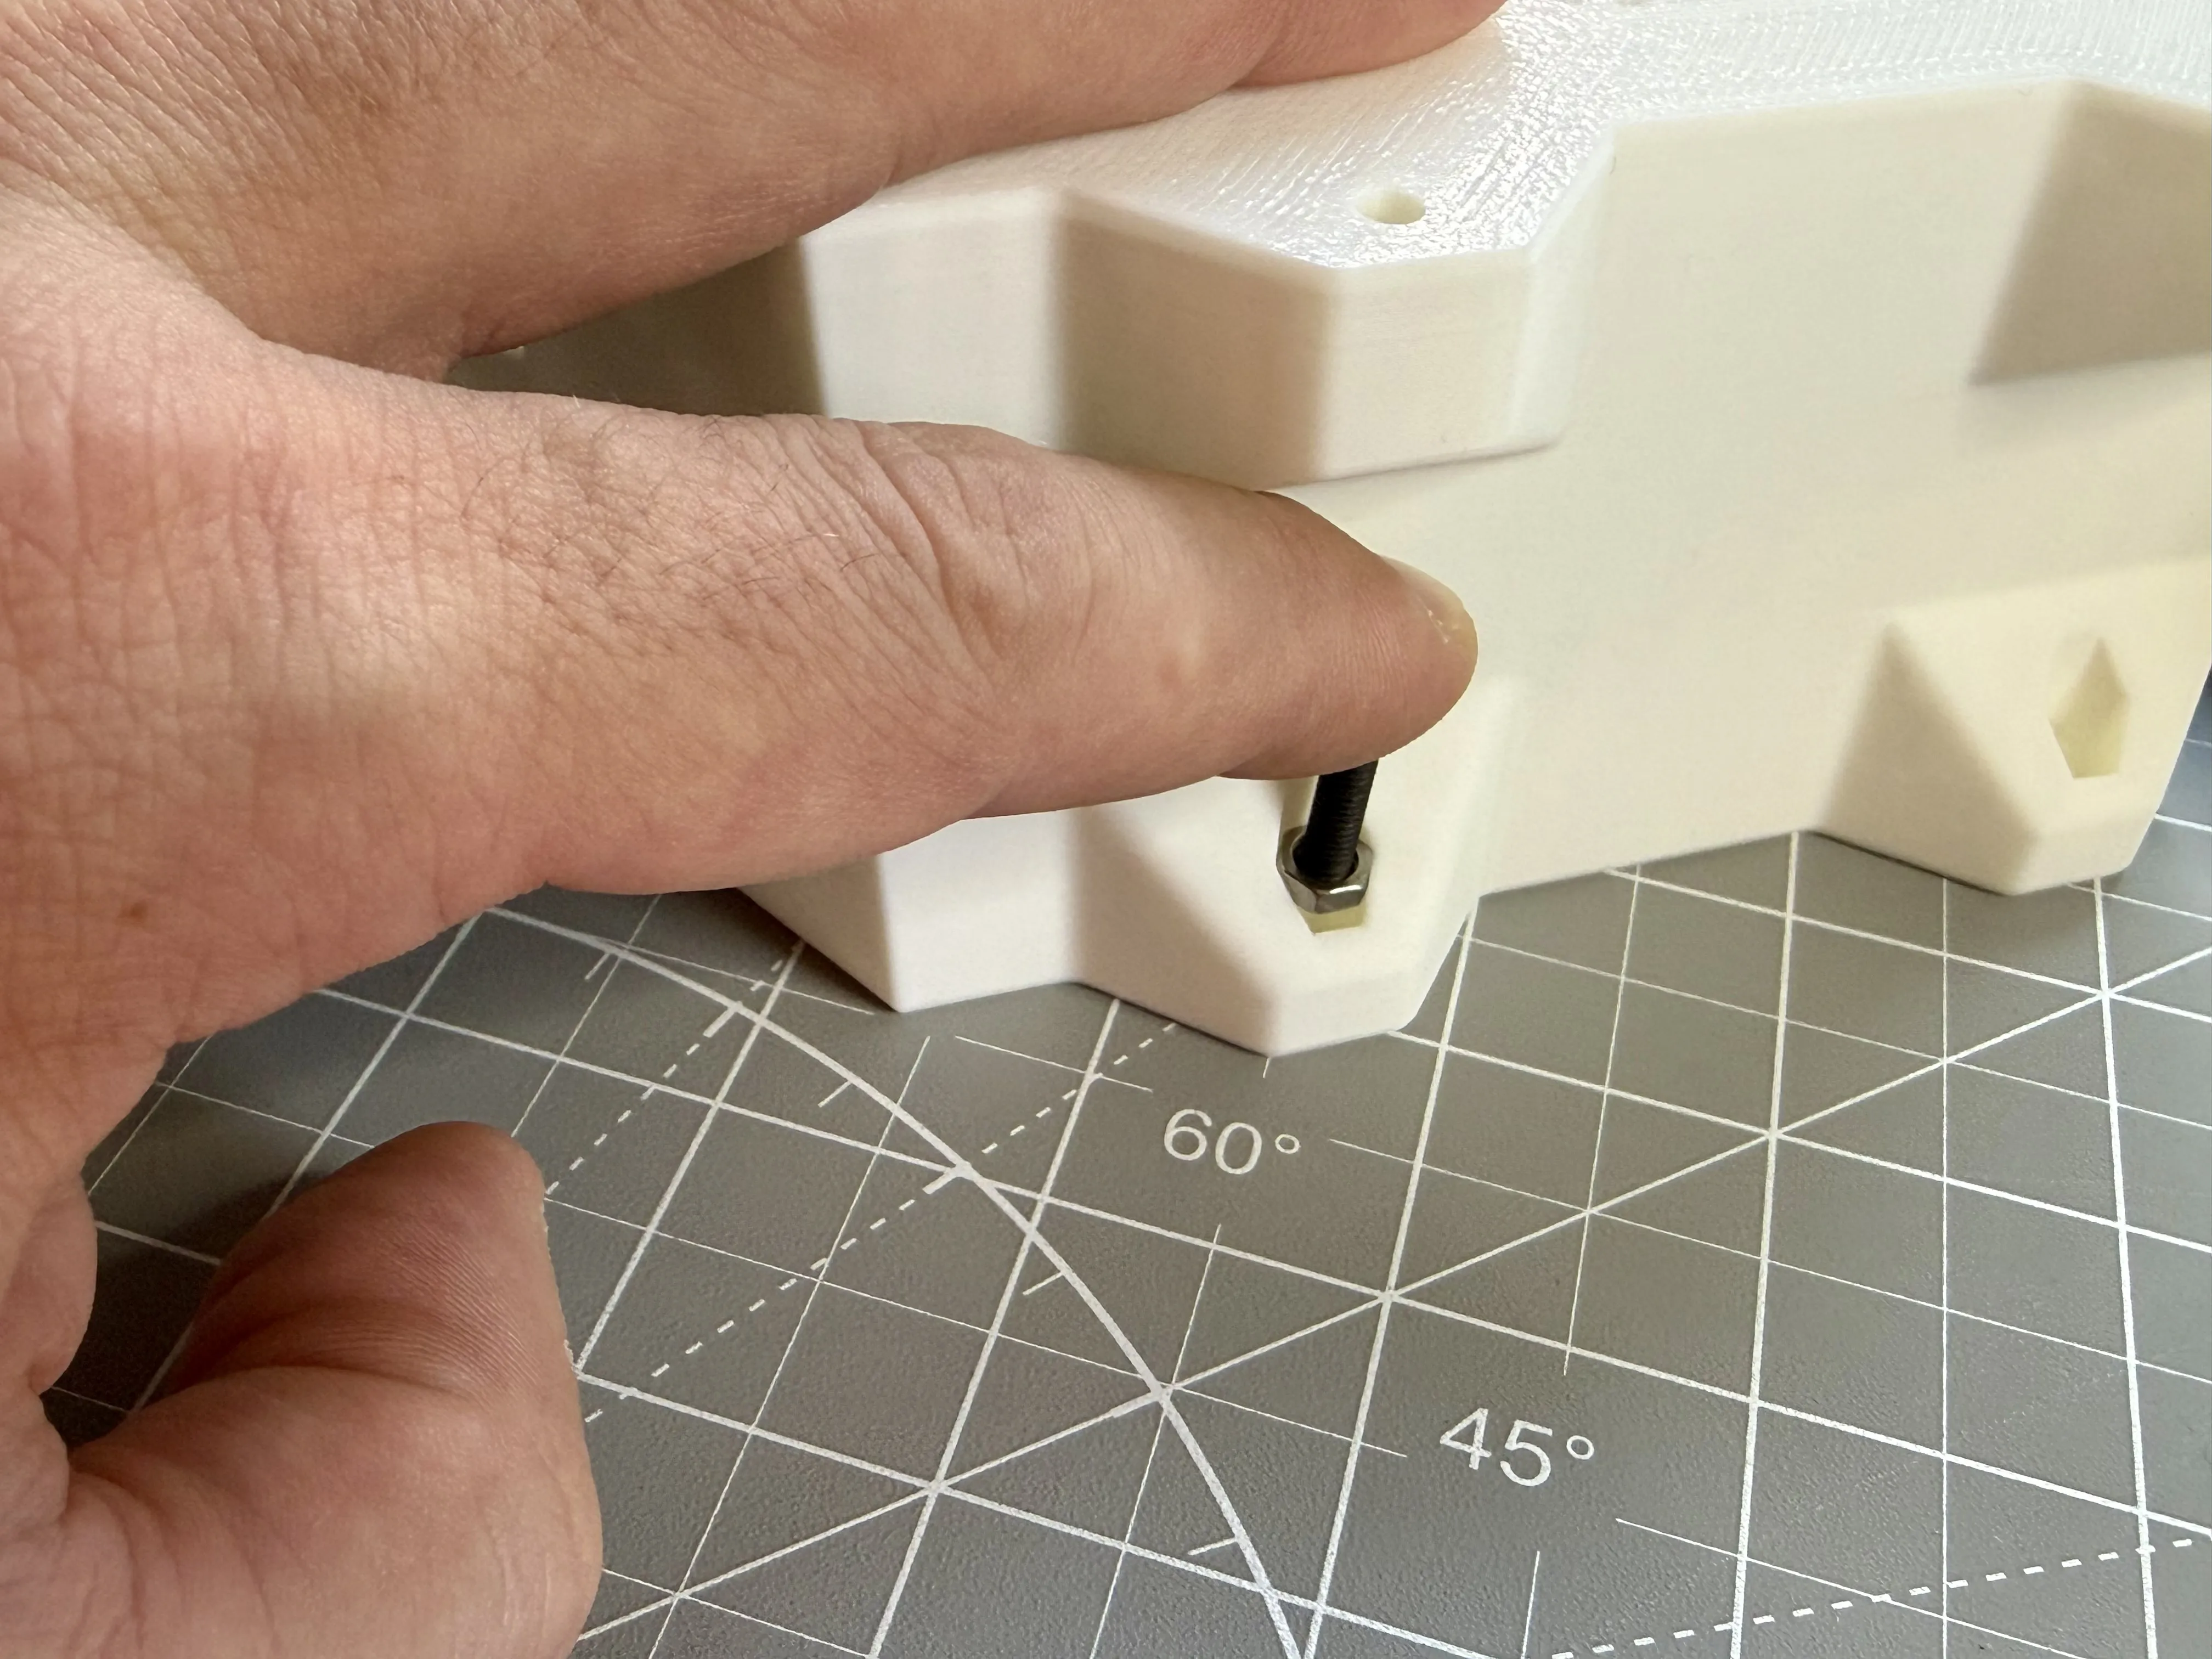
It should look like this when done.
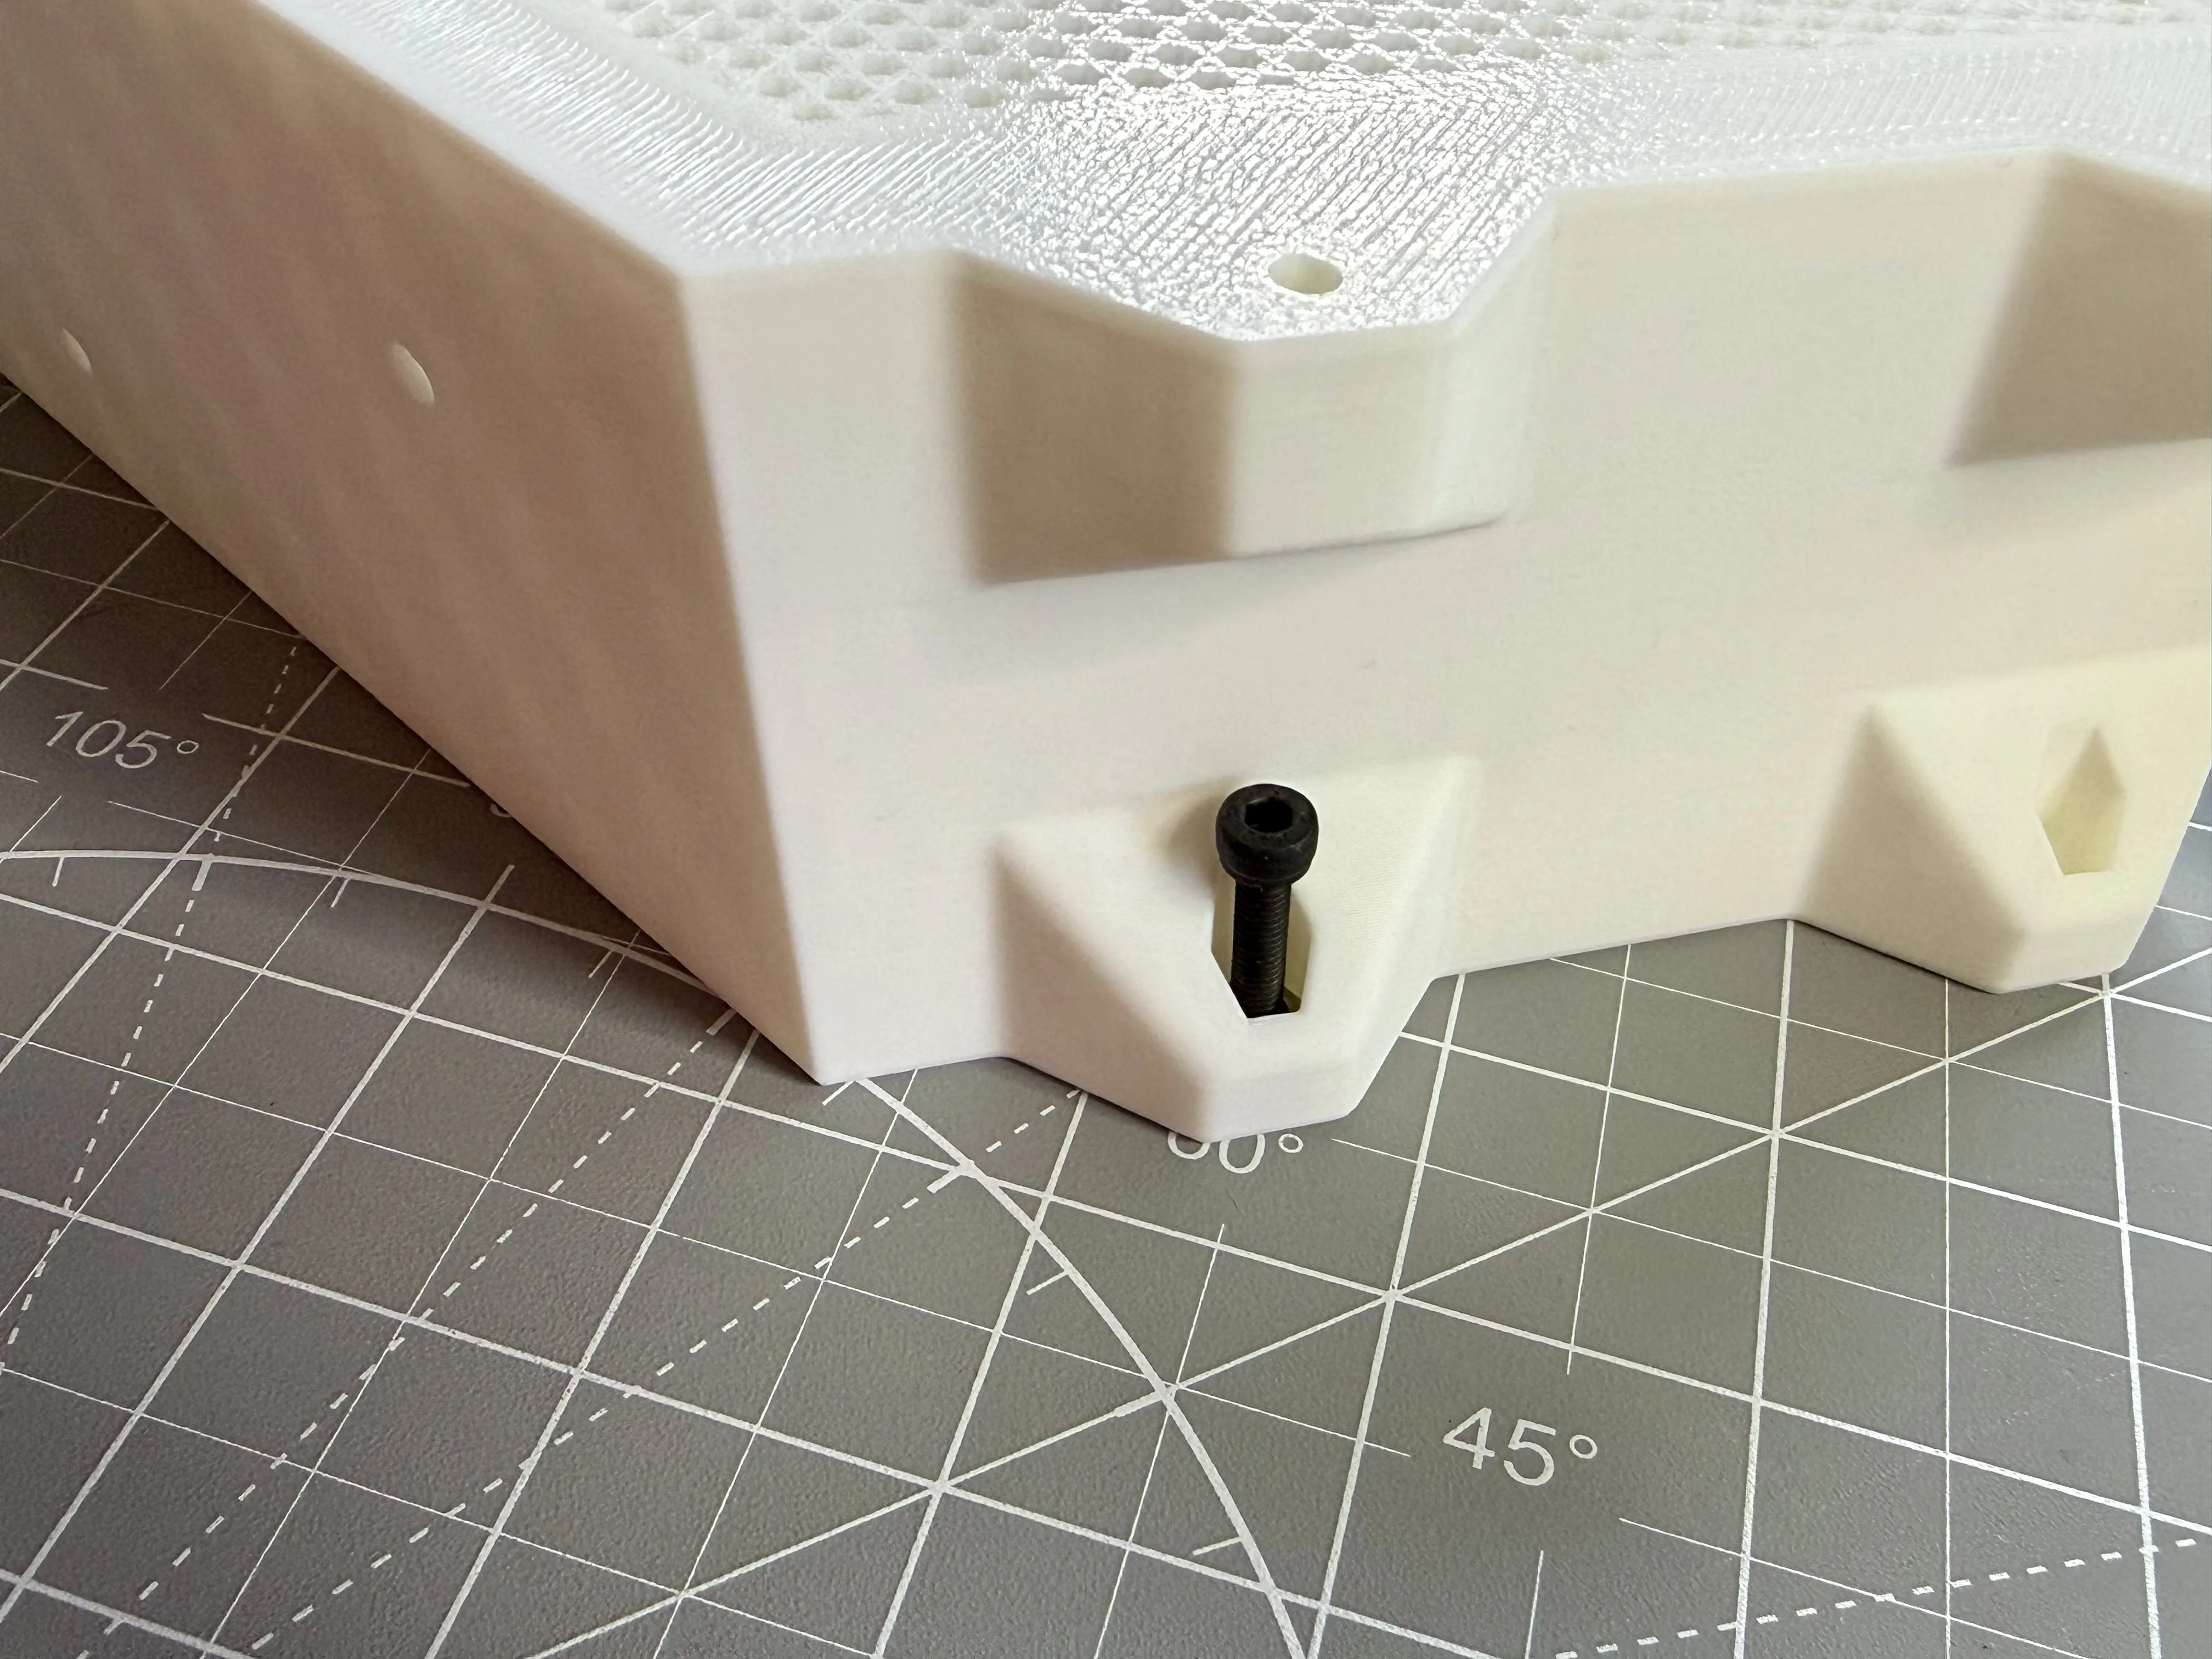
Follow those steps another three times to completely add all the nuts to the first tray.
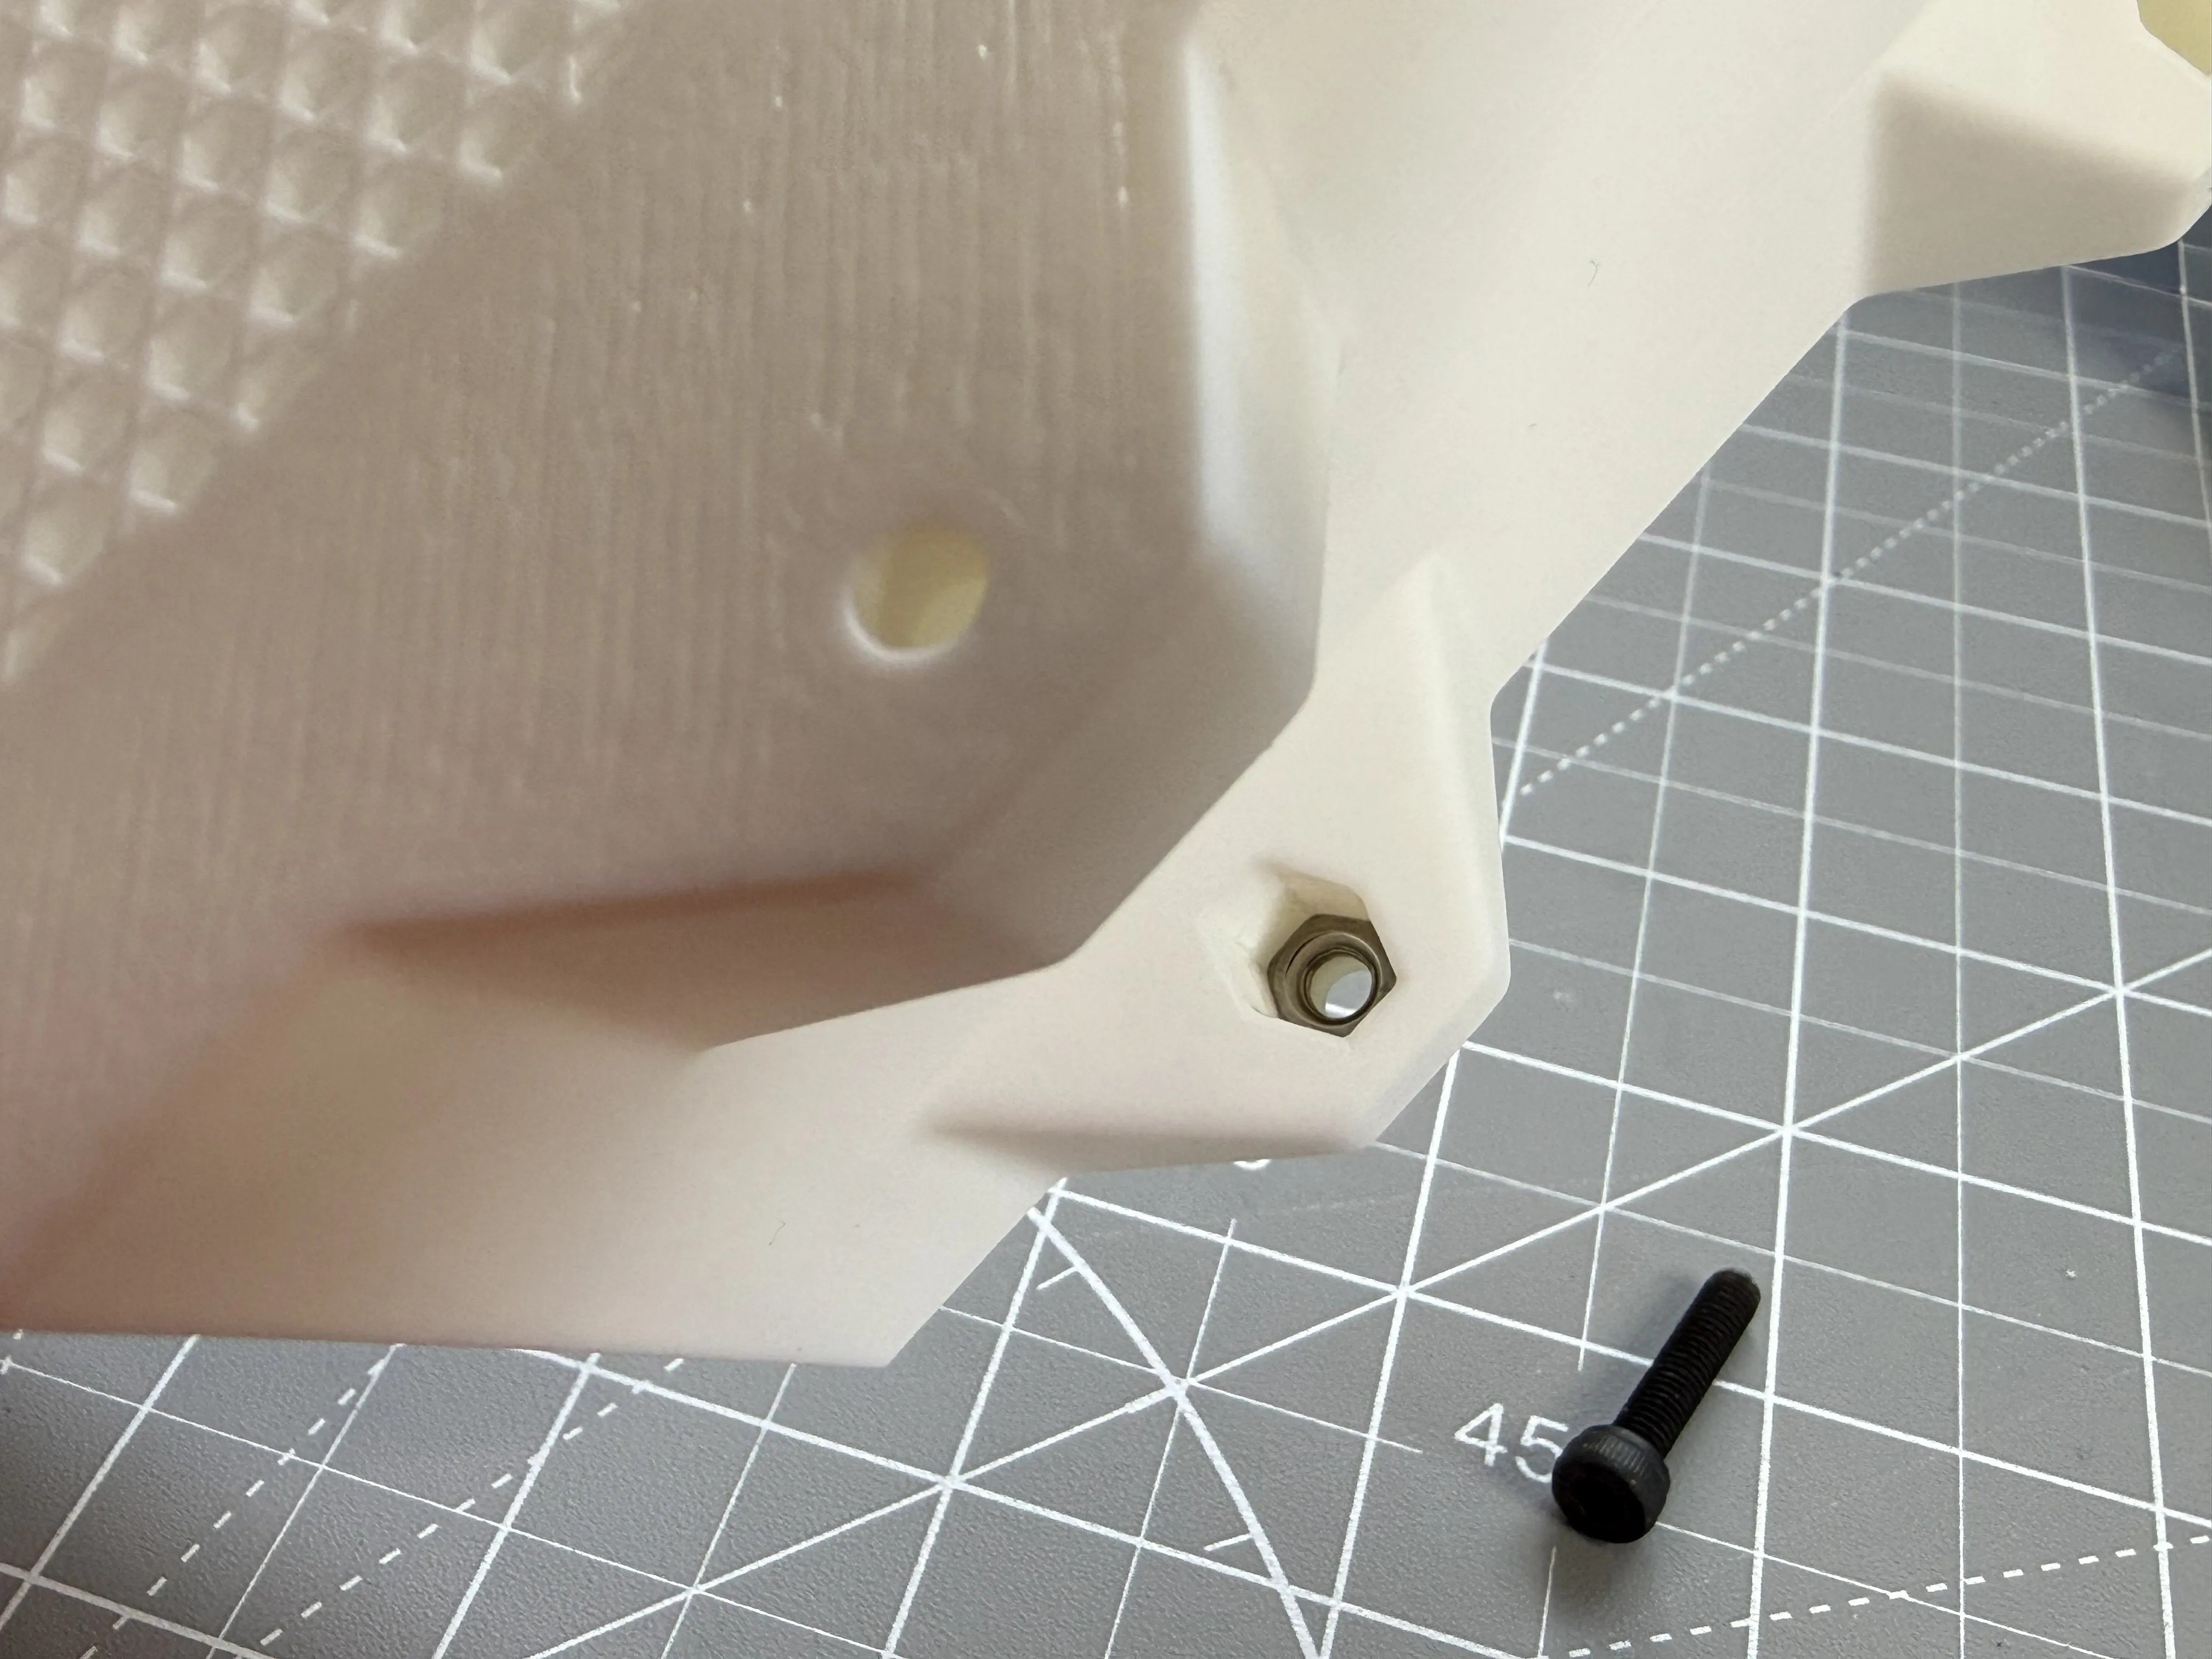
You can now add the next tray and bolt it on top of the first one using the M4 x 16mm screws.
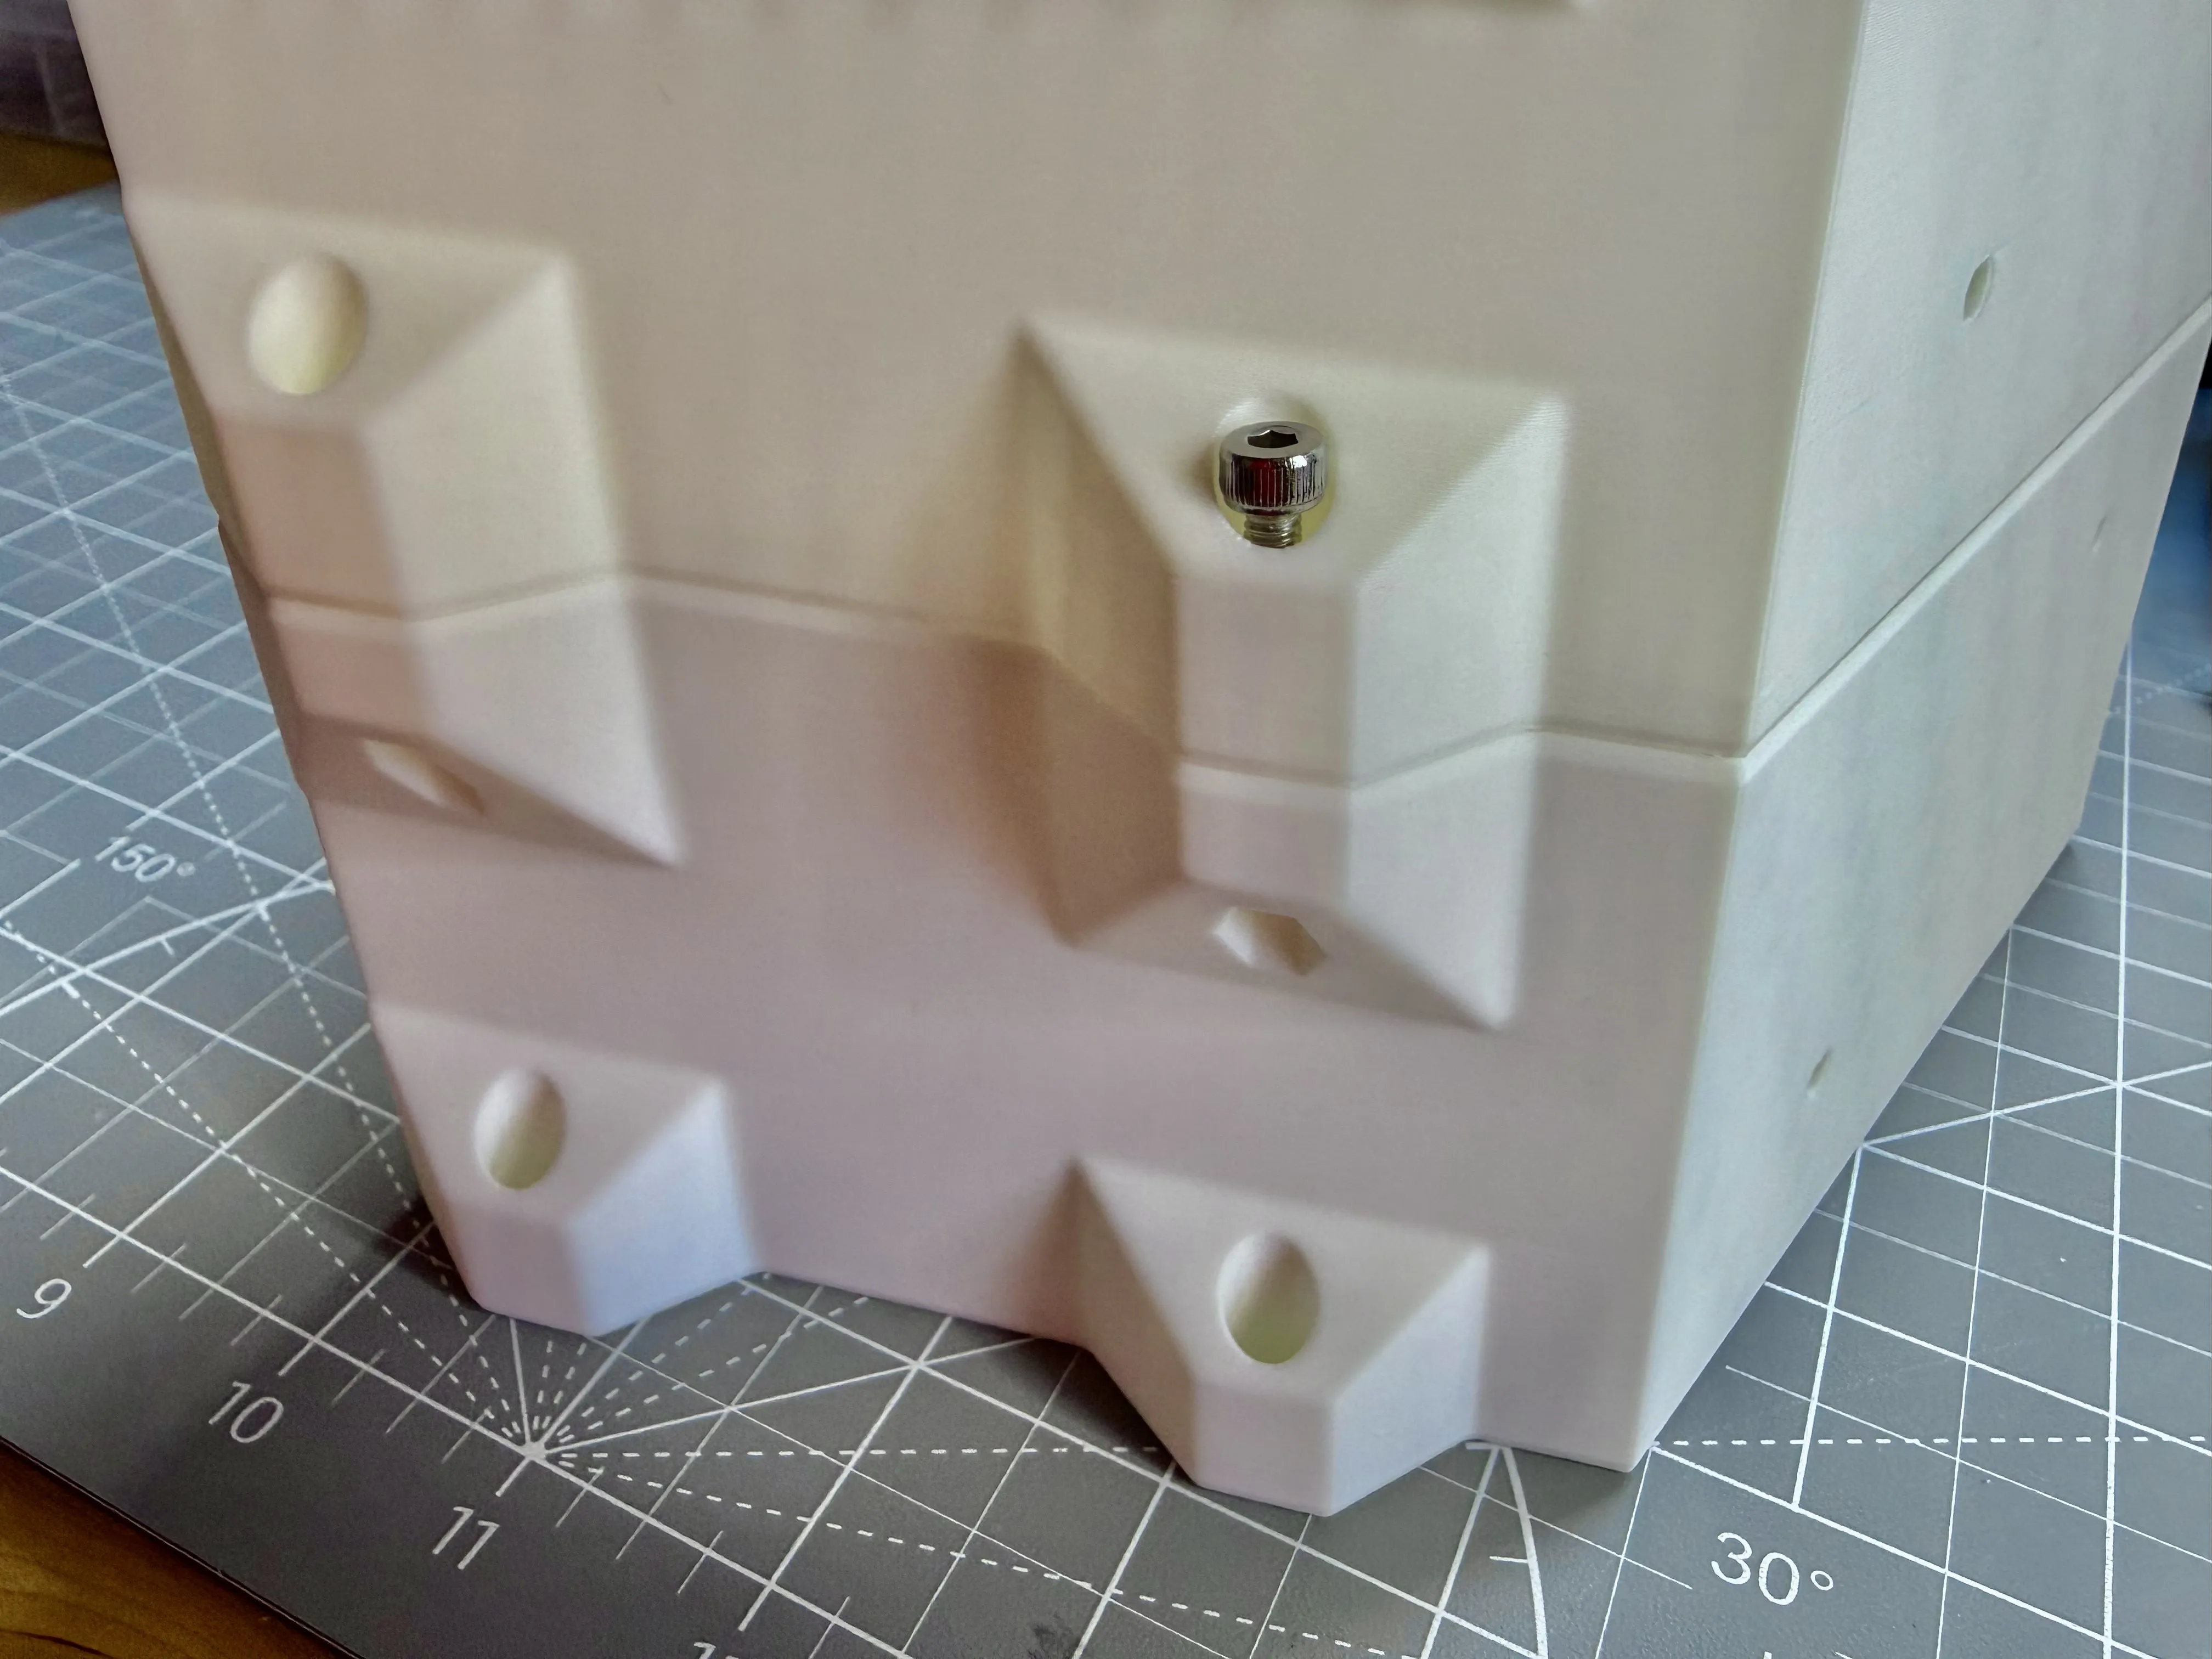
Tight them down in a cross pattern using normal force. The tool needed for this job will be a ball end Allen key if you've already inserted the nuts on your second tray or normal hex screw driver, through the nut slots of the actual tray if the nuts are not in place yet. Try not to overtight them!
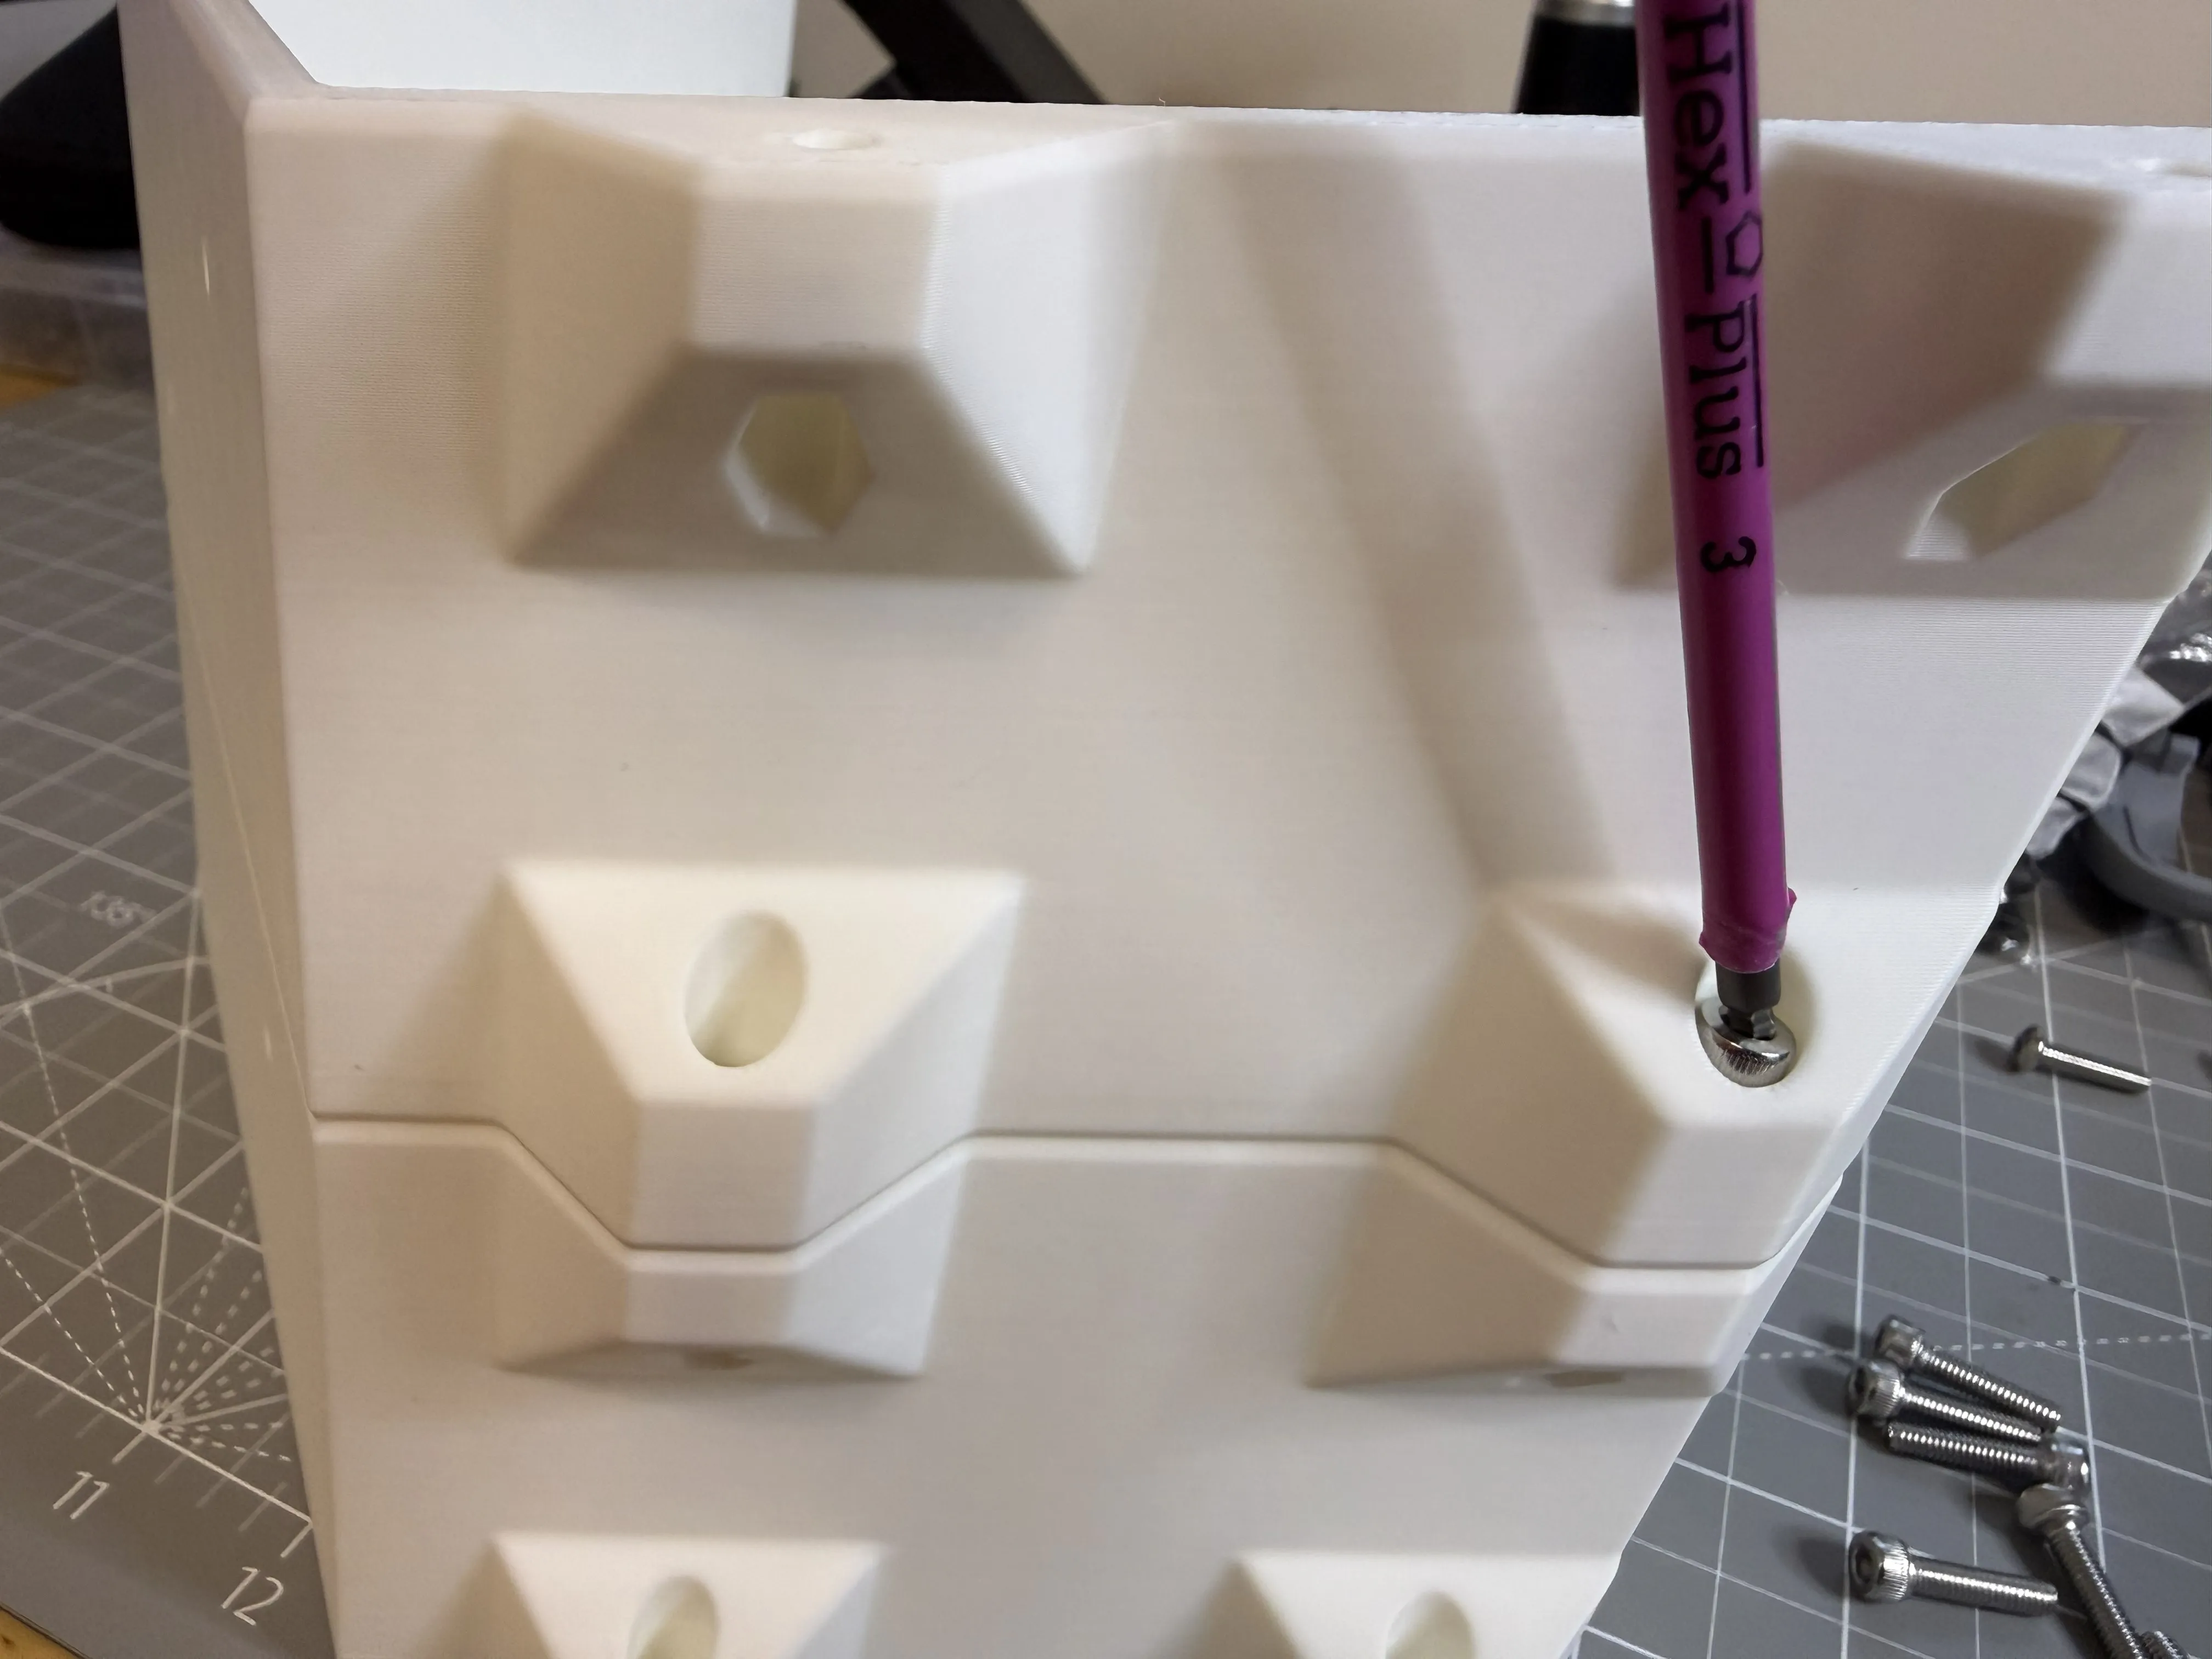
- Repeat this steps as needed
- When you got to your desired hight or number of trays mount the lid on top.
Next step is to add it to the wall. Using a spirit level and a marker/pen, put the stacked trays against the wall. Adjust it until the spirit level says it's perfectly straight and mark the holes.
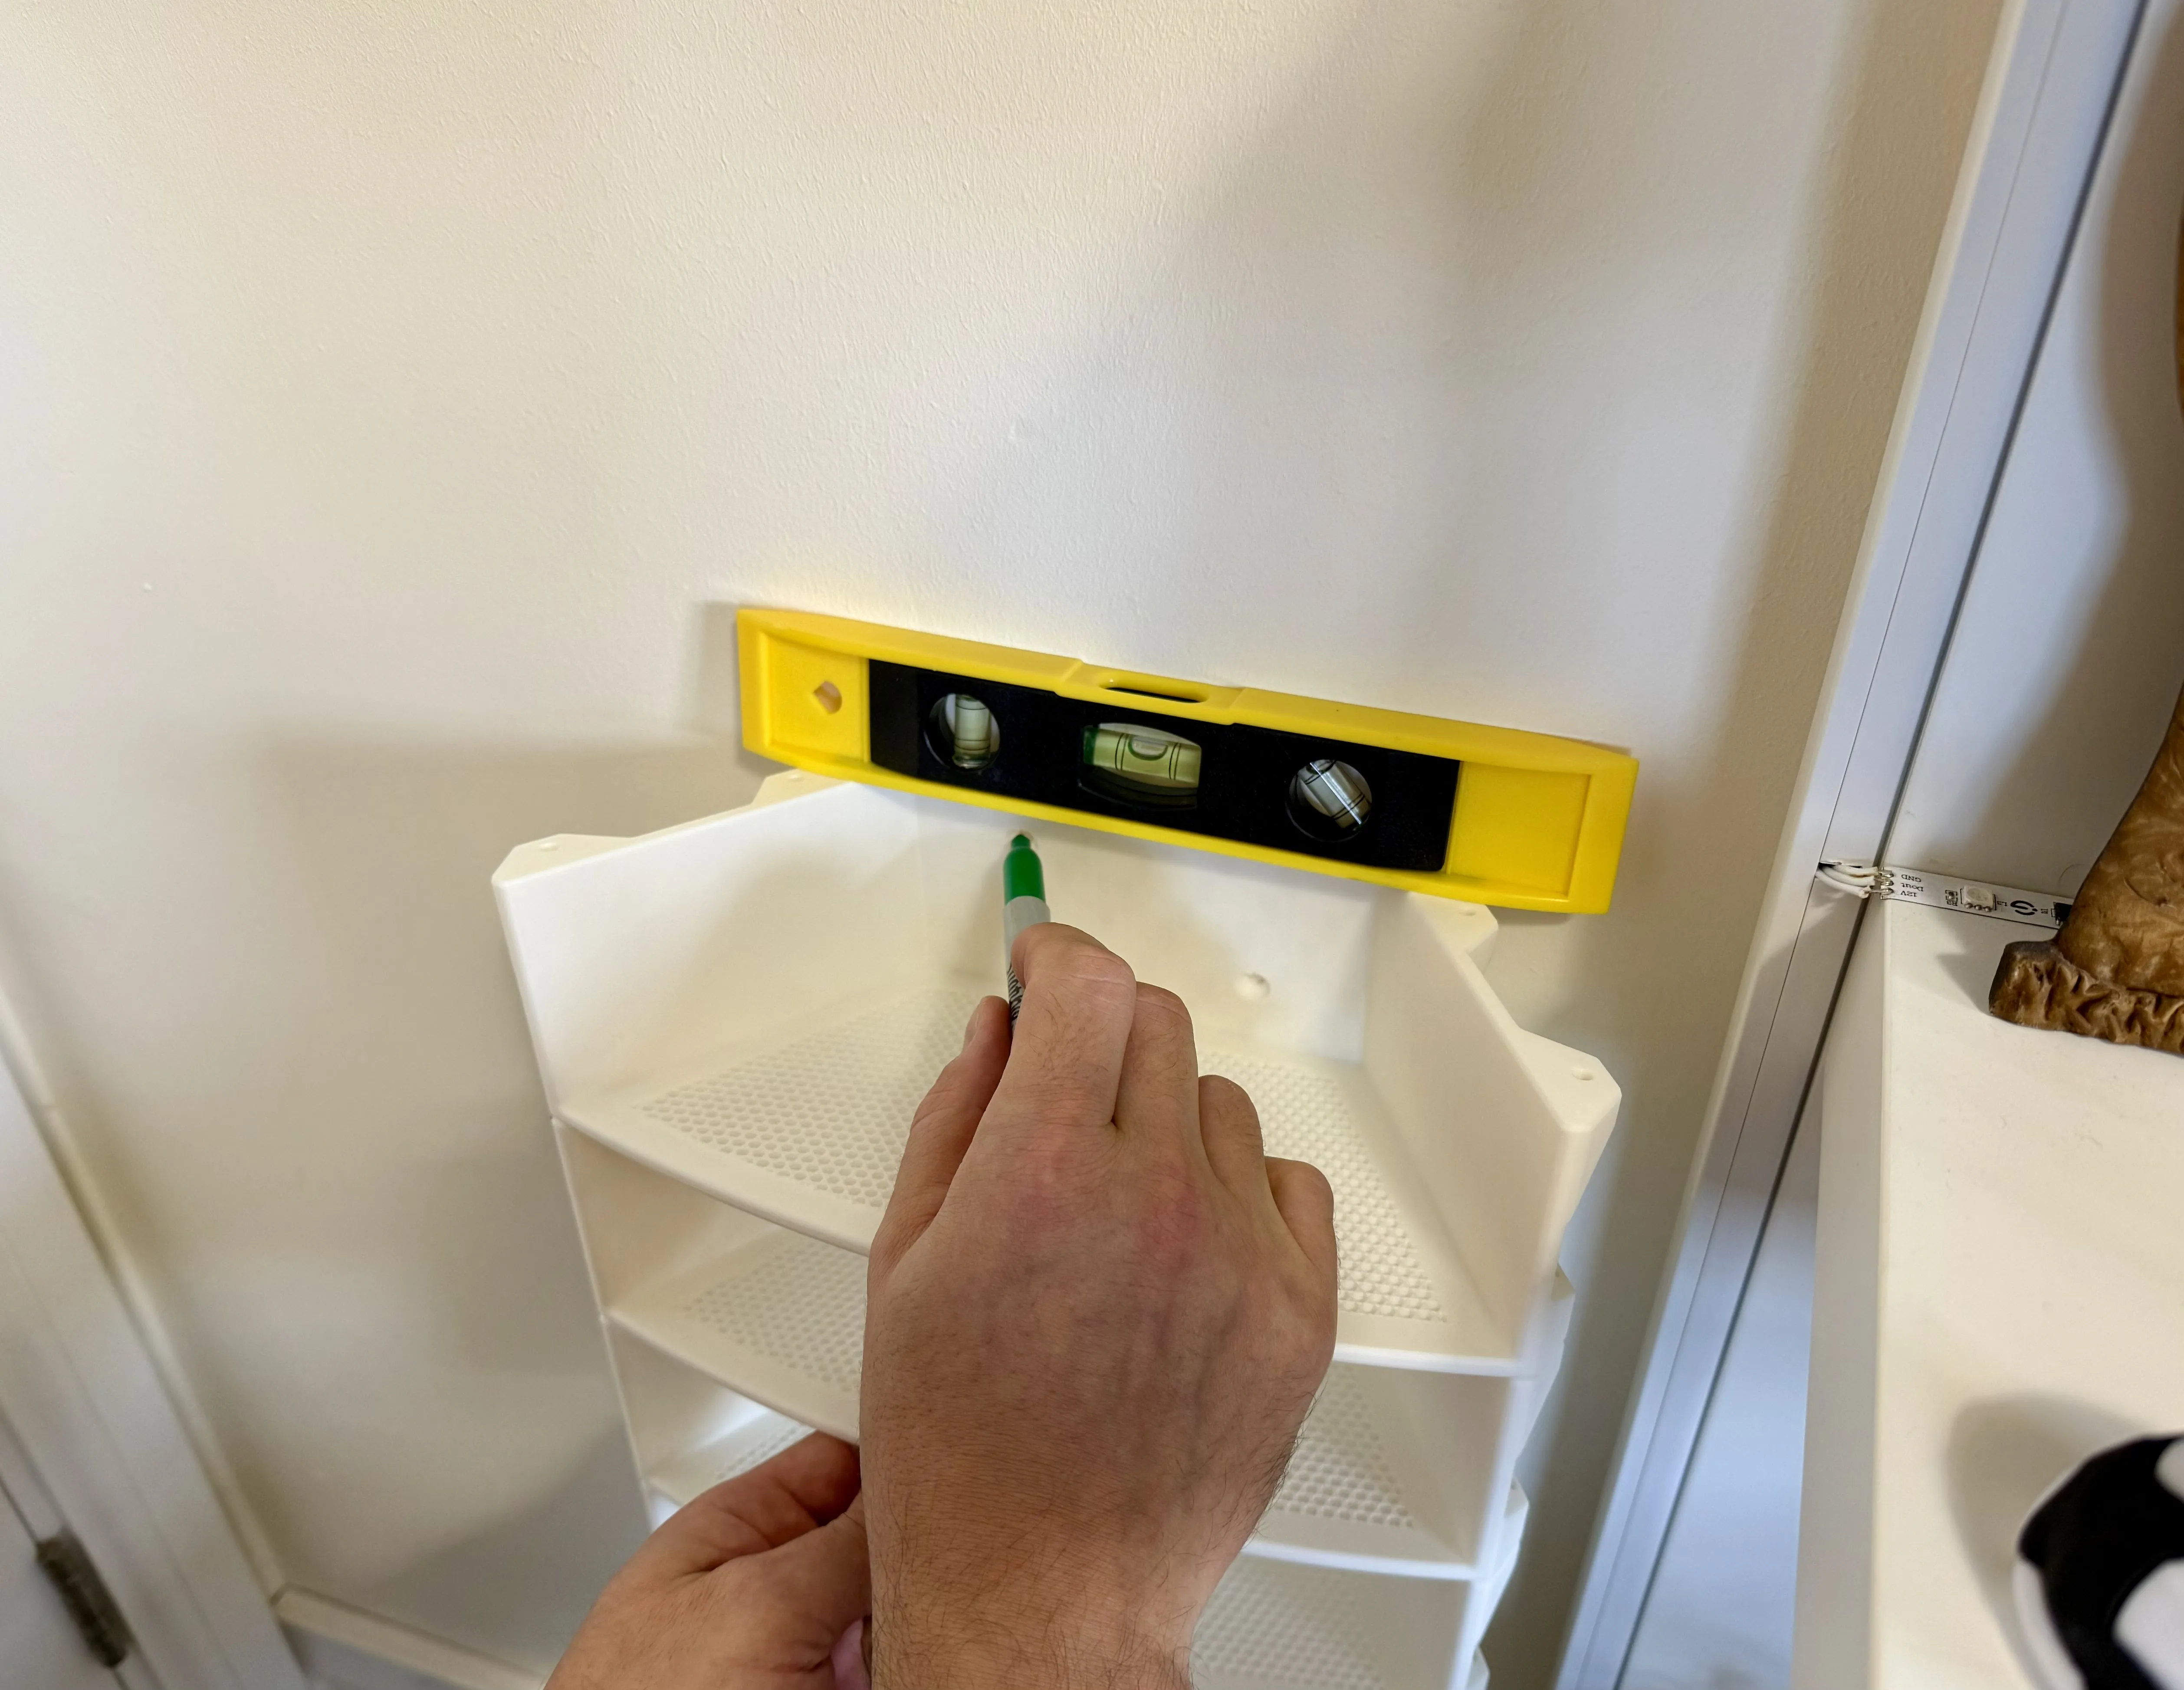
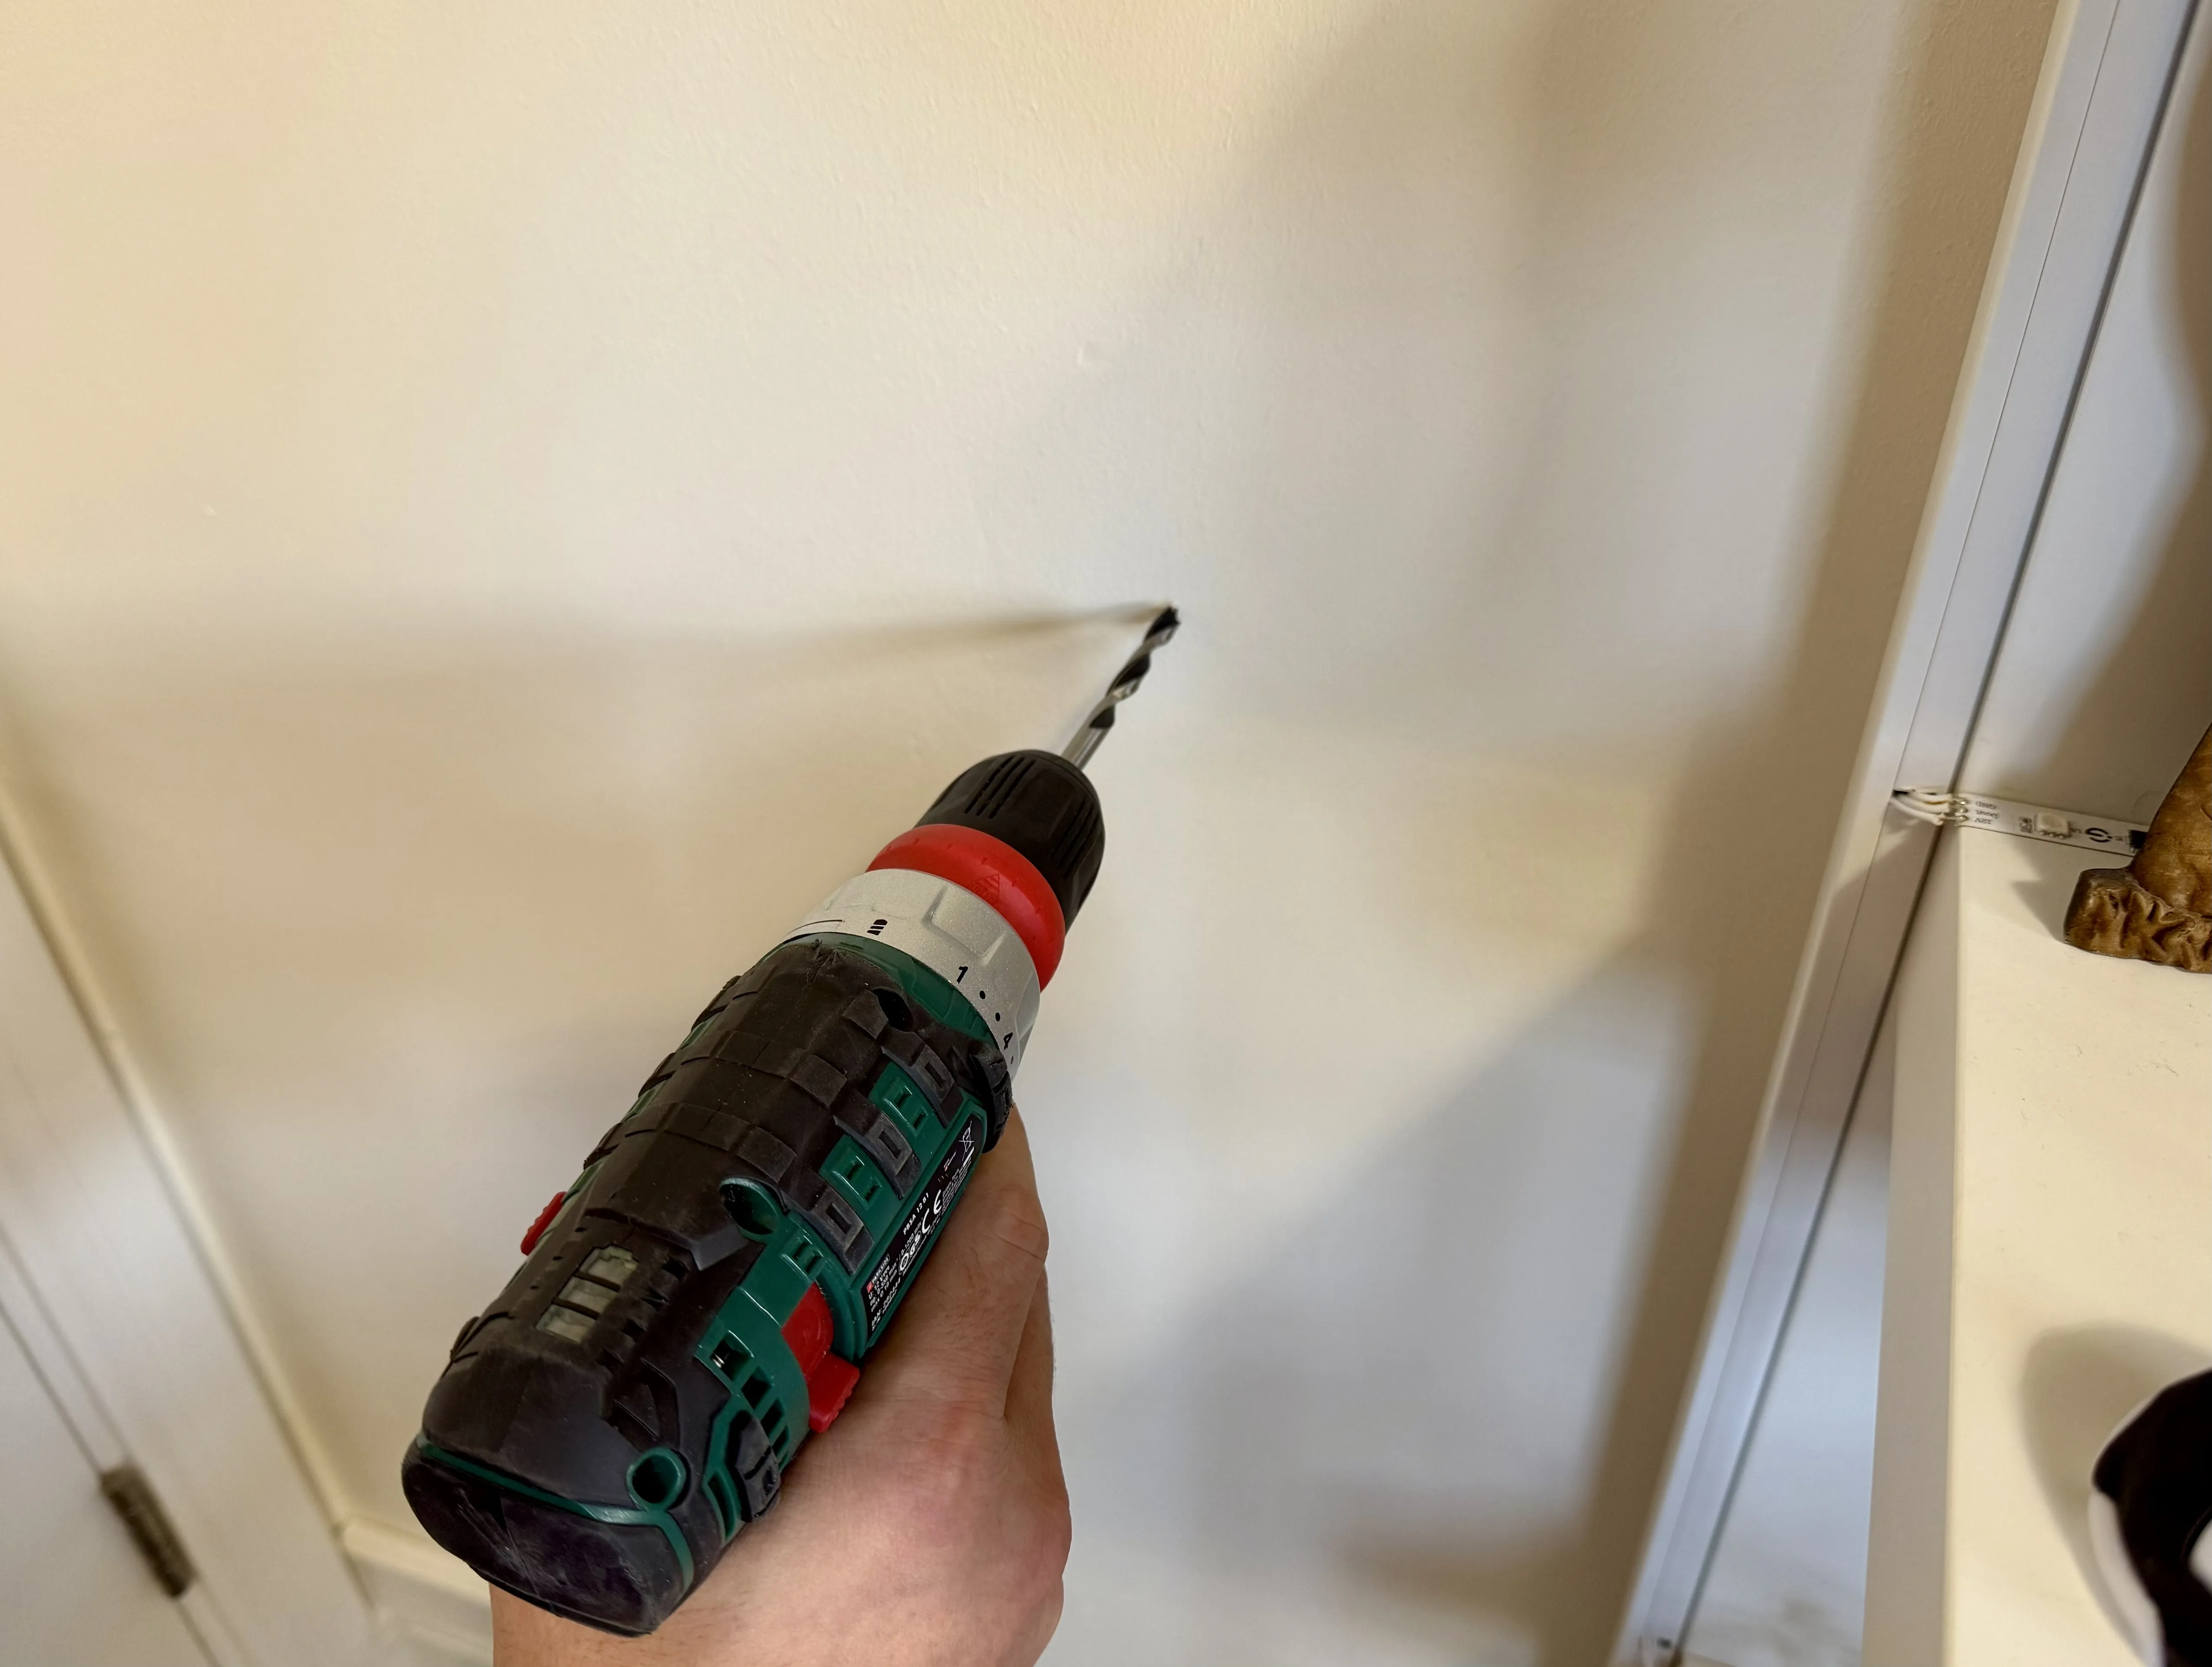
Drill the holes for the wall plugs.
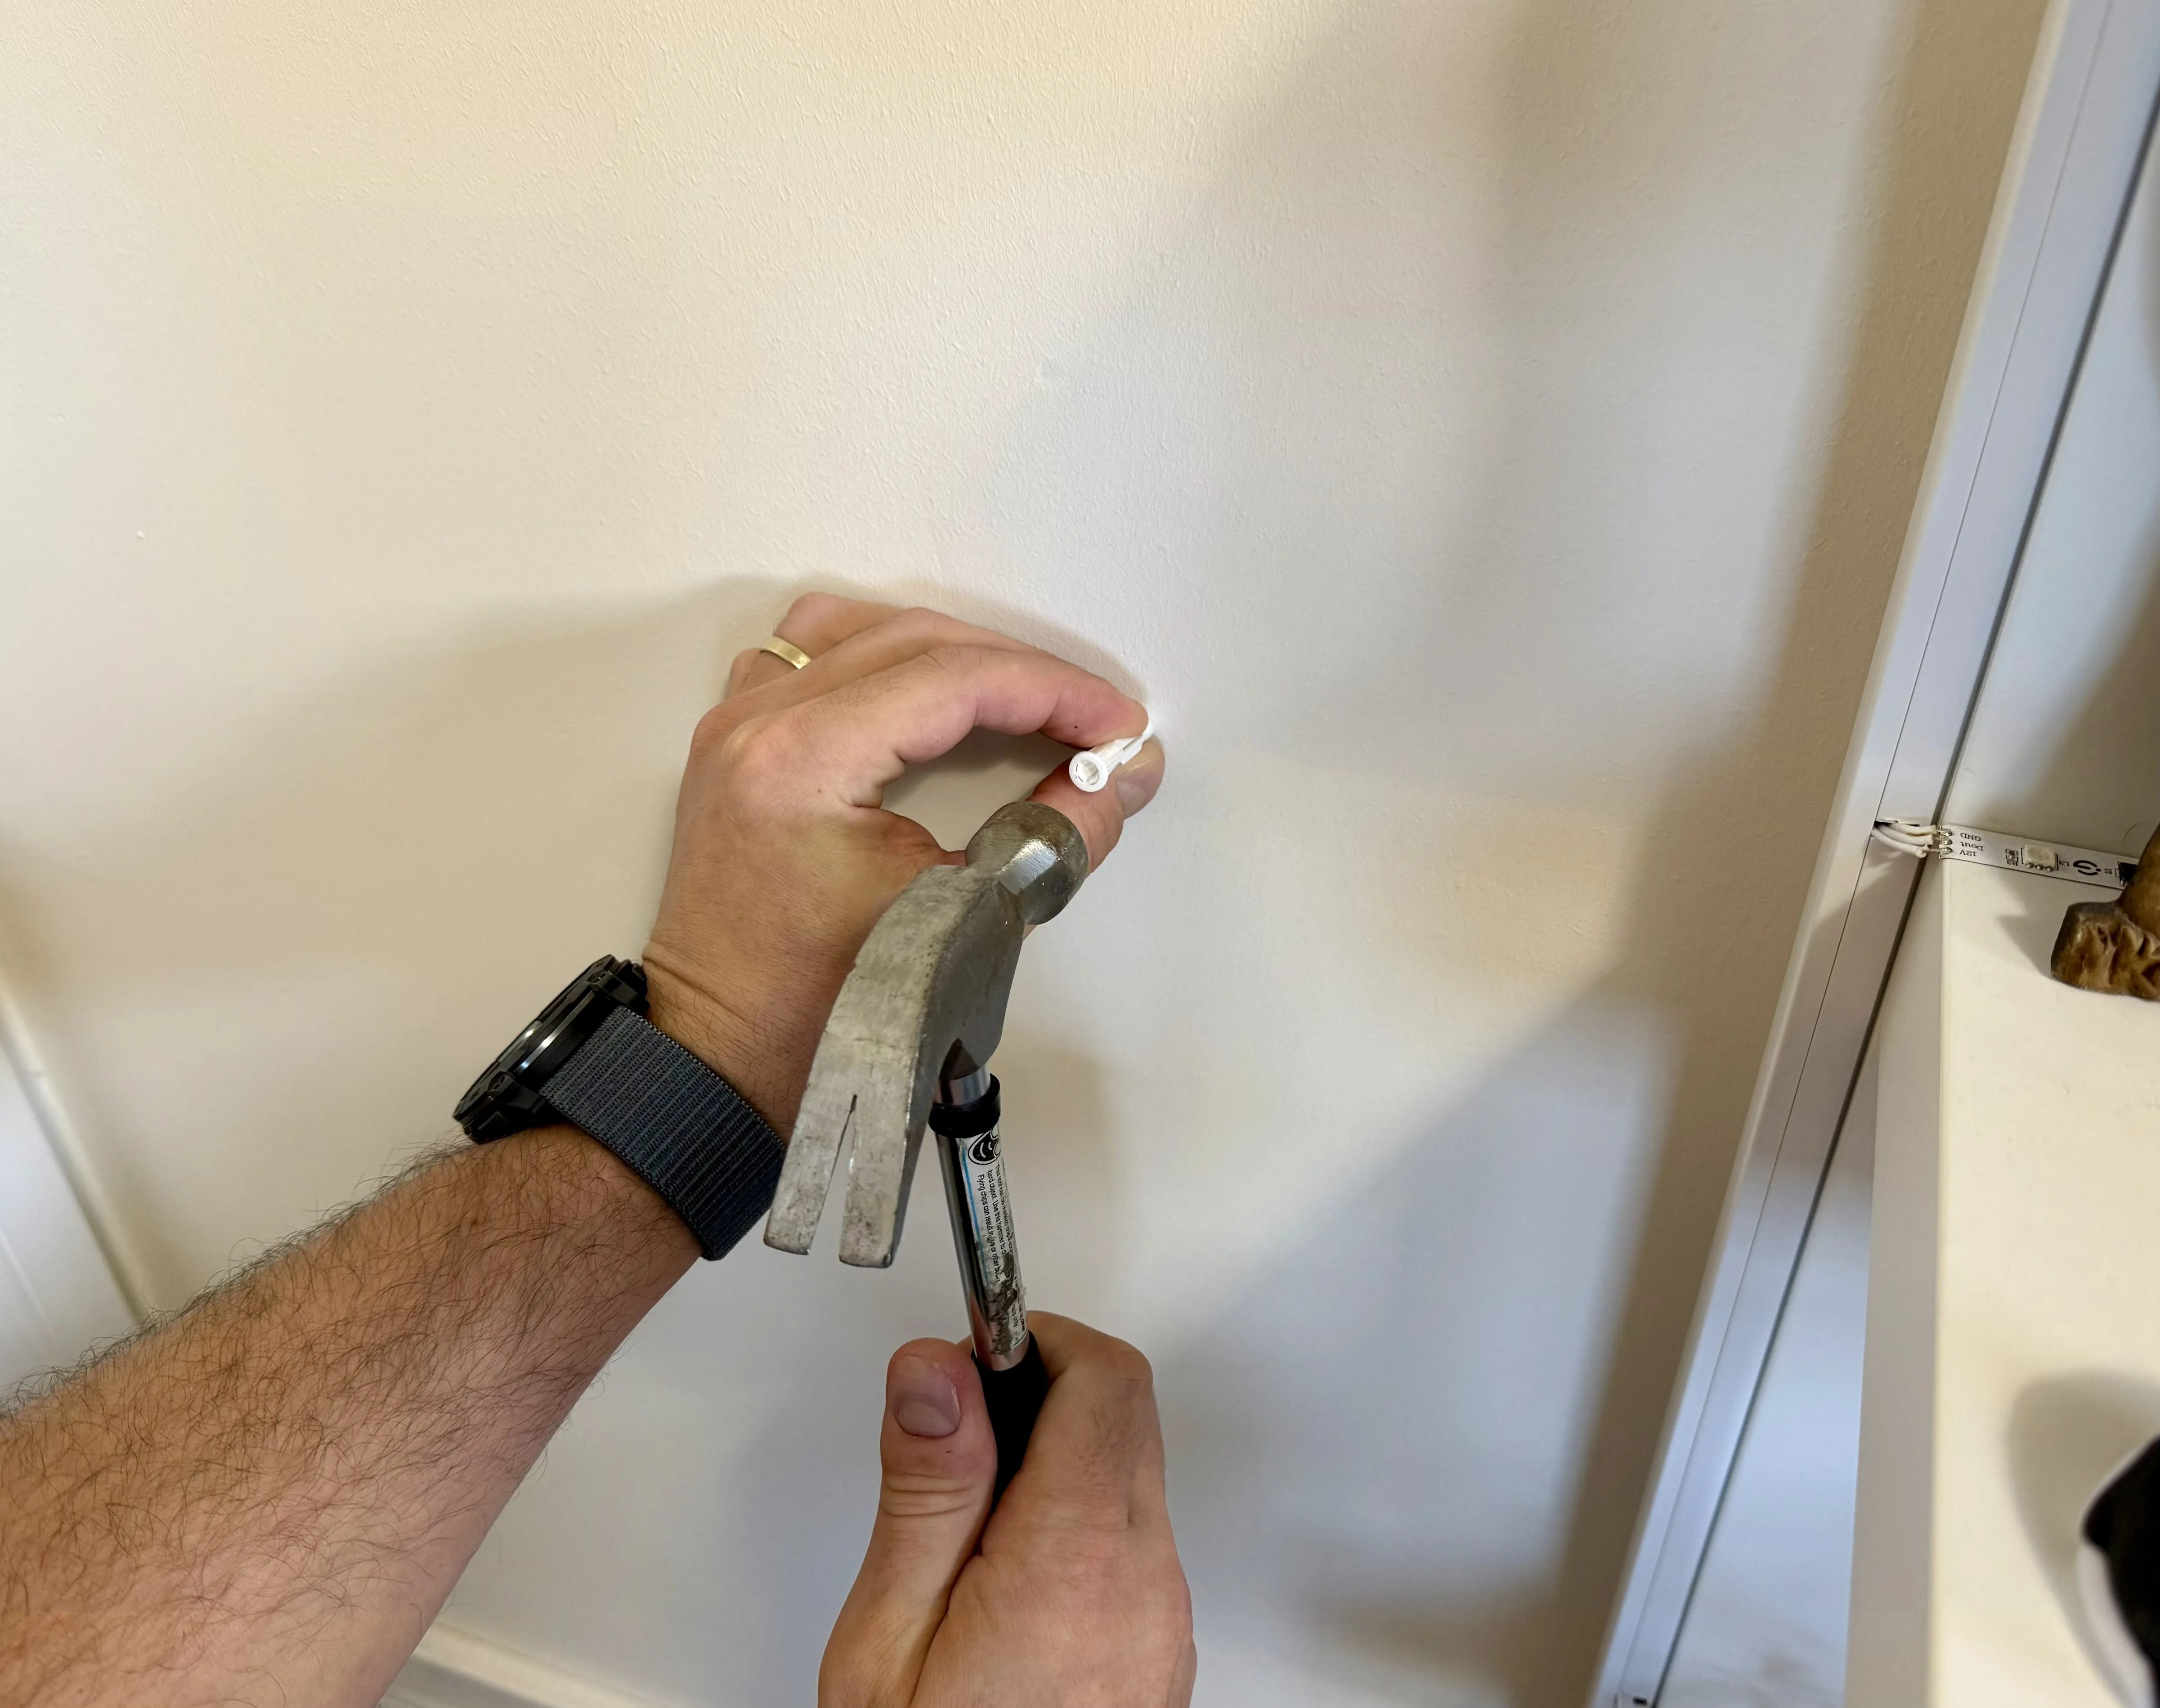
Mount the wall plugs.
With the help of a friend / girlfriend / wife / mistress / daughter / step daughter / son / step son / neighbour, hold the storage tower against the wall and tight the wall screws.
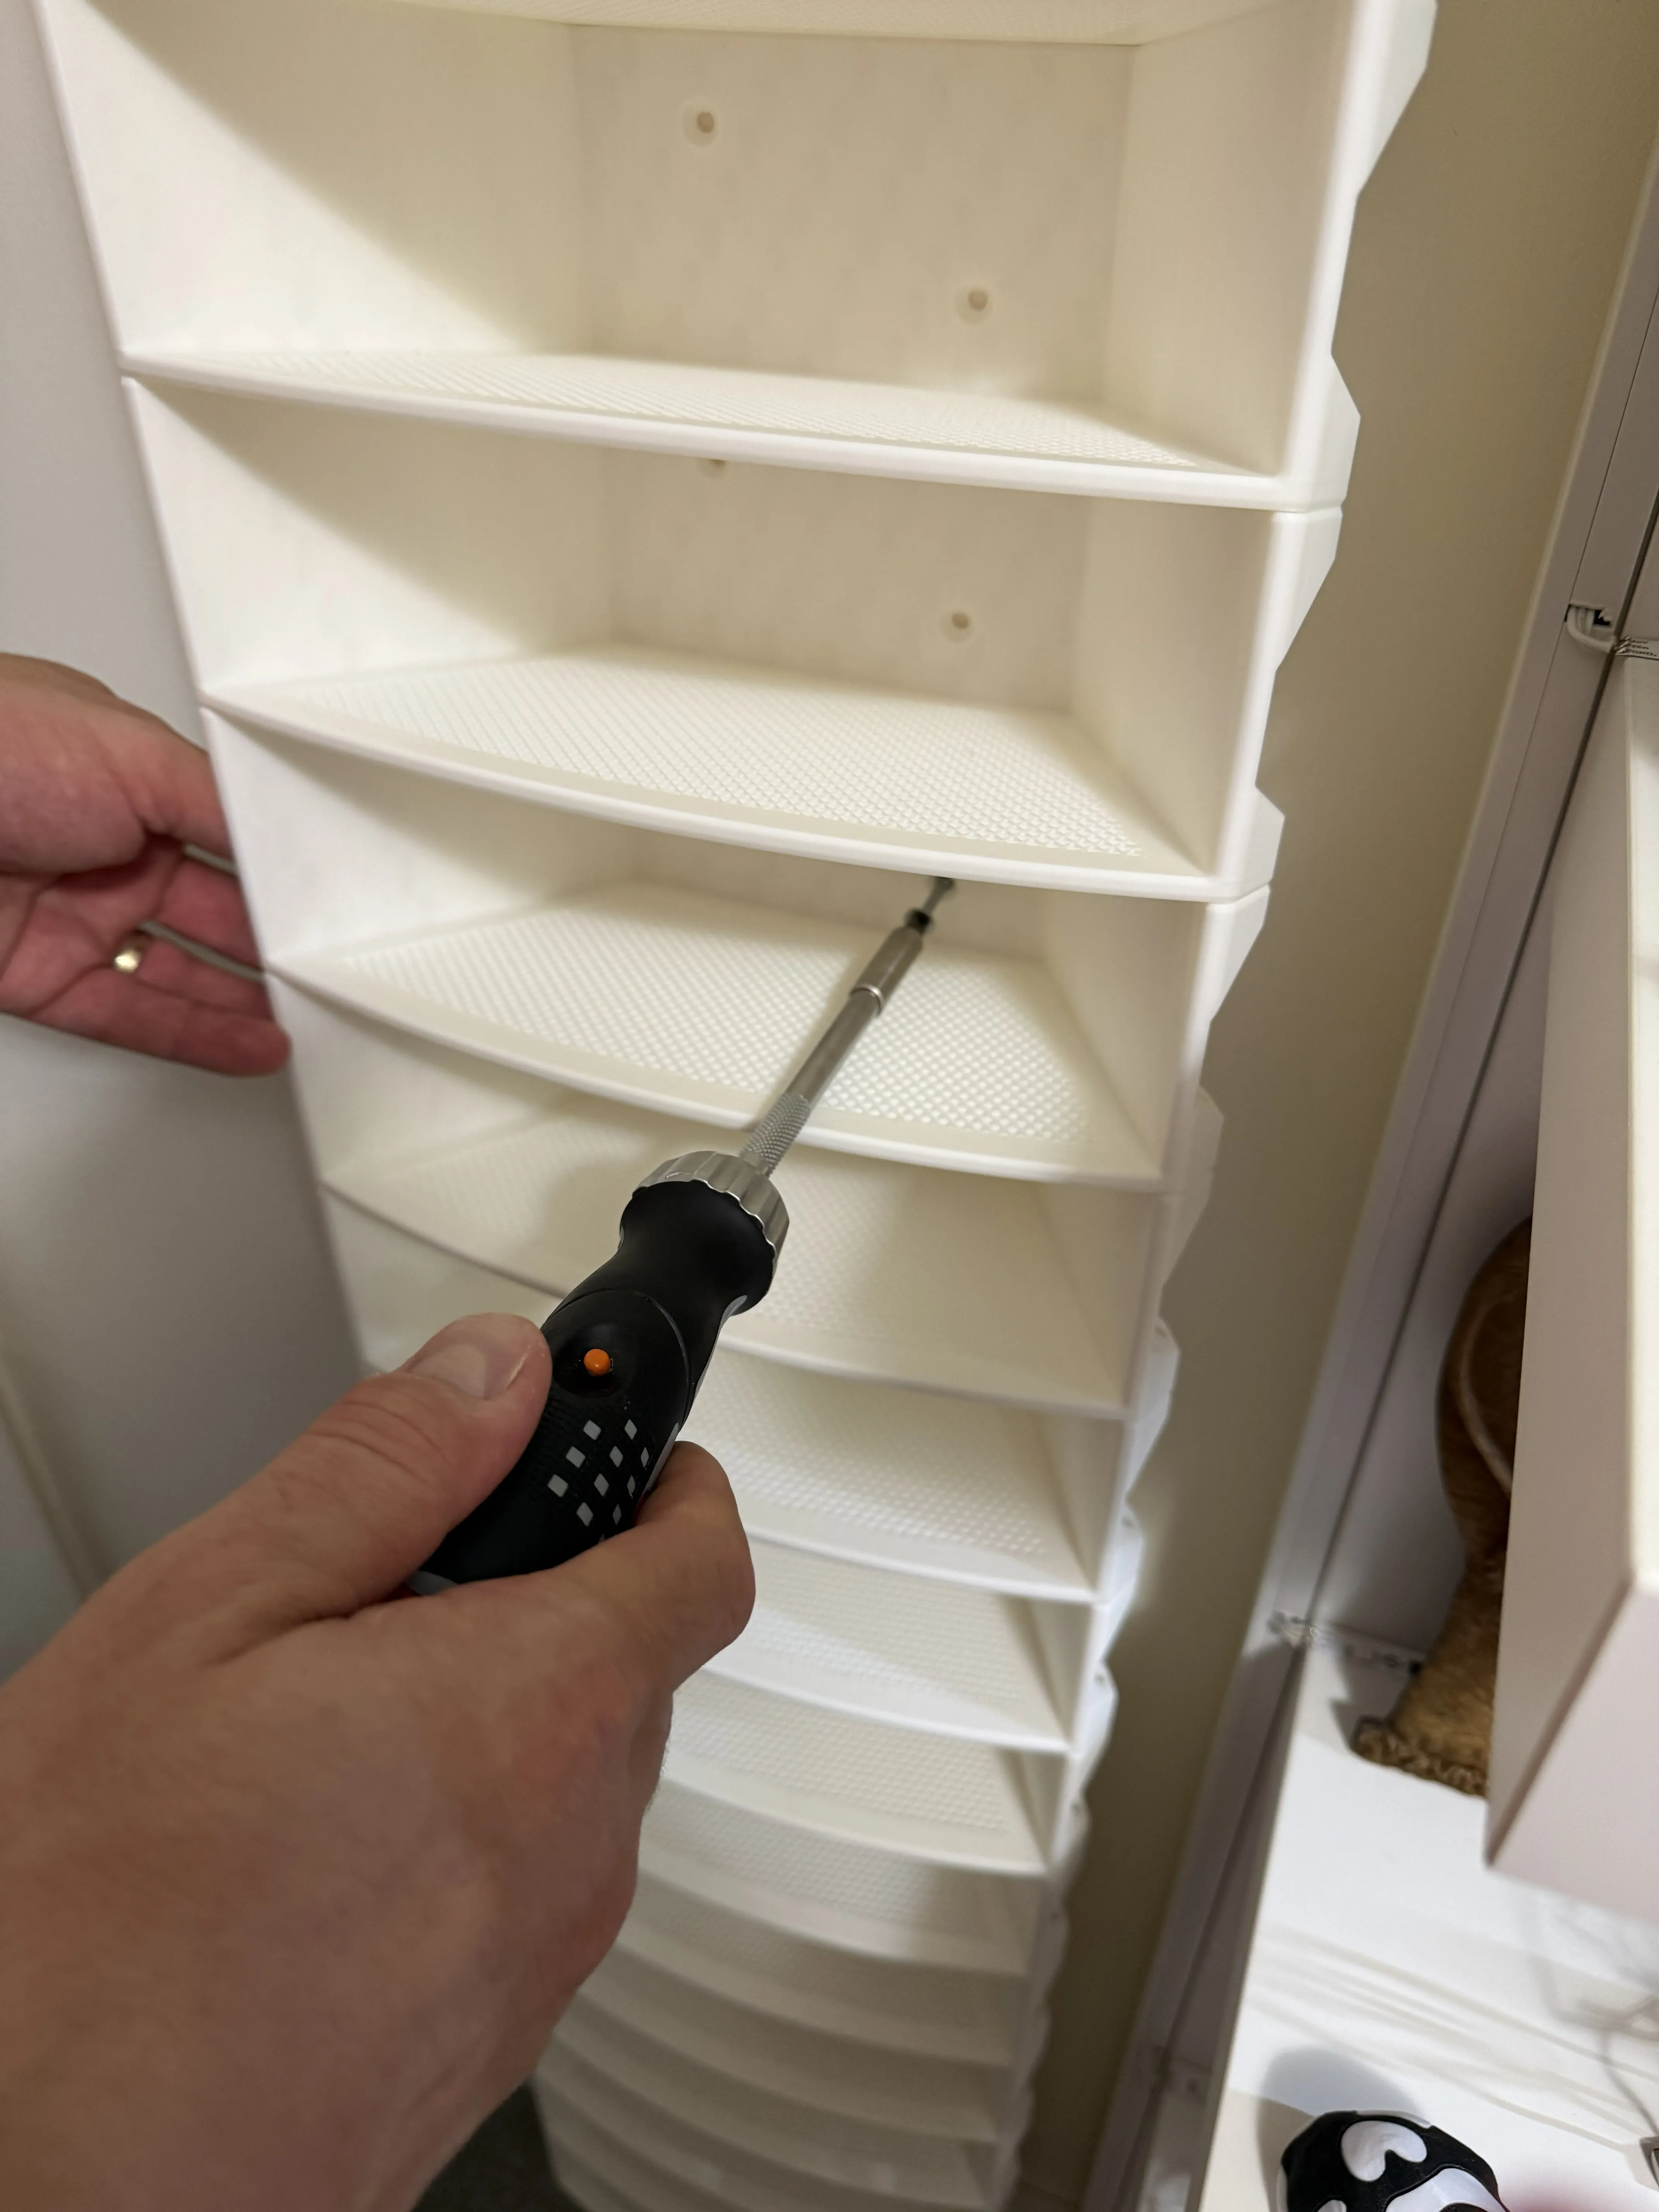
- Now that you have your storage fixed to the wall, with the support of previous step helper/helpers it's time to add the spools.
You are all done. Enjoy!
Boost Me (for free)
If you are happy with my work, consider boosting as it will keep me motivated to update and create more designs! It's a lot of trial and error involved in the process of getting a near perfectly working part.
Thank you very much for your support!
License

You shall not share, sub-license, sell, rent, host, transfer, or distribute in any way the digital or 3D printed versions of this object, nor any other derivative work of this object in its digital or physical format (including - but not limited to - remixes of this object, and hosting on other digital platforms). The objects may not be used without permission in any way whatsoever in which you charge money, or collect fees.


Comment & Rating (0)