


Print Profile(2)


Bill of Materials


Description
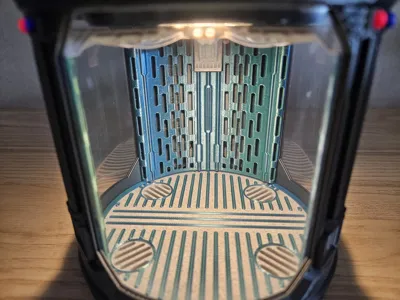
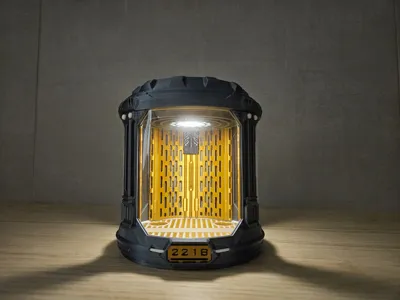
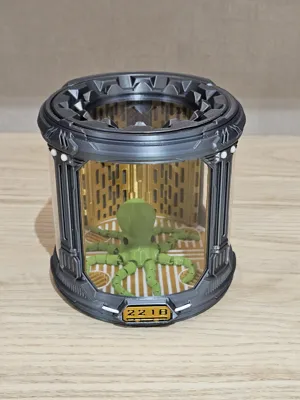
This is a modular, customisable sci-fi display container.
It's perfect for holding small models, such as alien creatures or artefacts, and for protecting and displaying small potted plants.
All parts can be printed separately and changed at any time, allowing for colour variations without AMS. Assembly is easy and very satisfying (no glue is required).
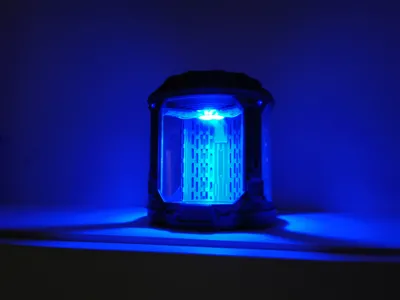
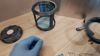
You can choose from three types of cap: a simple cap with a window; one that holds a remote-controlled RGB light; and another that holds a temperature/humidity sensor (perfect for the planter version).
It is recommended to print the planter plate and pot in PETG for water and chemical resistance.
[Don't be put off by how complicated it is and the extra hardware required! The standard version (consisting of the main part, top ring, standard plate, standard cap, one wall type, wall panels, LEDs and sign) does not require any additional parts and is very easy to print and assemble. This standard version takes approximately 10 hours and 200 g of filament.]
Boost Me (for free)
Give this model a Boost if you like it or find the design fascinating! Your support would be greatly appreciated.
Printing:
- Most parts can be printed with 0.20mm-Standard, while LEDs require 16mm-High Quality.
- There are pauses at specific layer heights for the basic plate object (layer 35 with 0.2mm layer height) and the sign object (layer 6 with 0.2mm layer height), enabling you to change filaments before resuming the print. This results in more contrasting and complex colouring and text accents.
- Print the planter parts (plate and pot) in PETG for optimal water/environment resistance.
Customising:
There are versions for the inner walls, so you can choose the one that best suits your style and choice of material.
For the LED lamp version, I created a 'waveguide pack' that uses transparent filaments to channel light into the LEDs, causing them to glow in their own colour.
You can also insert a filament into the lower part of the main body to further decorate the capsule. This filament can be connected to the waveguide object to channel light too, but effectiveness is still being tested.
The sign at the lower front can also be changed and customised by editing the engraved text in the slicer software.
(I plan to add more wall designs in the future and experiment with the capabilities of transparent filaments in waveguides.)
You can also choose to use the planter plate and pot that matches the design, to place a little plant inside the containment capsule!
Assembly:
A video (https://youtu.be/uiPr_L16tsQ) showing how to assemble all the parts with the lamp and waveguide version. (If the waveguide object is not being used, the 'wall panel' objects should be put in its place.)
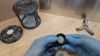
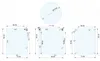
To improve the visuals, add glass walls to the capsule by cutting out pieces of transparent sheet to the size and shape shown in the image below, then carefully insert them into the three walls and the standard cap.

The GIFs below show the assembly of the caps and the disassembly of the waveguides.


Documentation (4)

License
You shall not share, sub-license, sell, rent, host, transfer, or distribute in any way the digital or 3D printed versions of this object, nor any other derivative work of this object in its digital or physical format (including - but not limited to - remixes of this object, and hosting on other digital platforms). The objects may not be used without permission in any way whatsoever in which you charge money, or collect fees.
Comment & Rating (34)