
Direct Lamp Light Diffuser
Print Profile(1)

Description
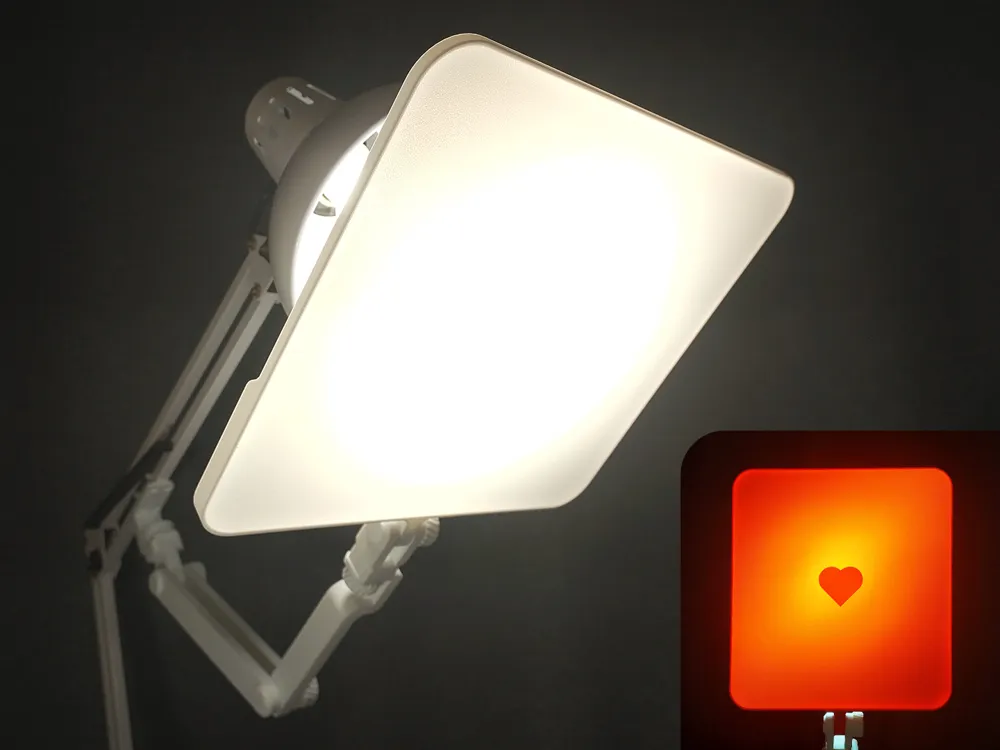
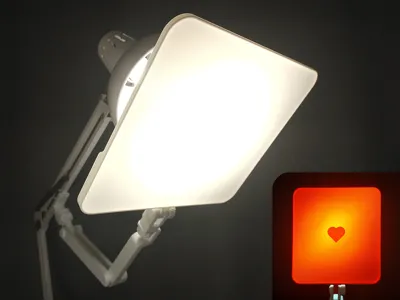
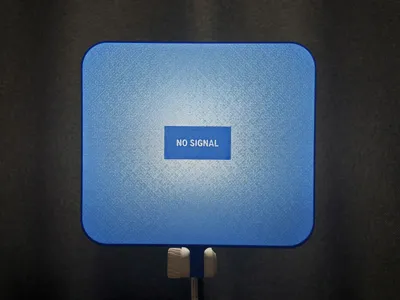
A thin layer of plastic blocks some direct light and diffuses what is passing through. Unlike ordinary shades, this diffuser covers only a small part of the light, almost not reducing the overall power of the light source.
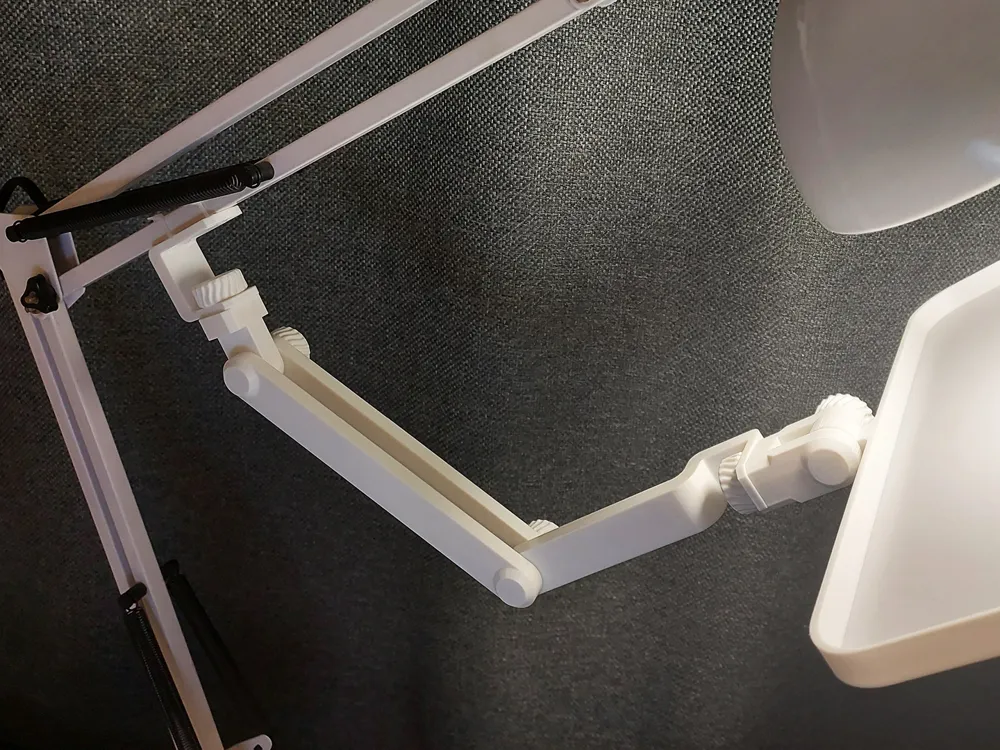
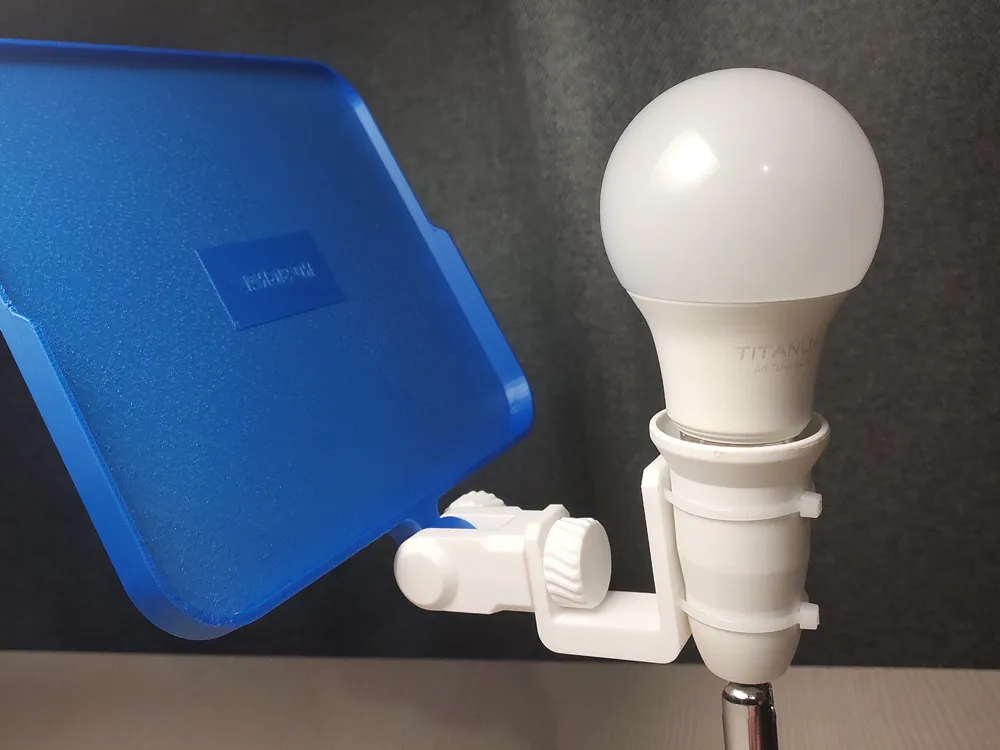
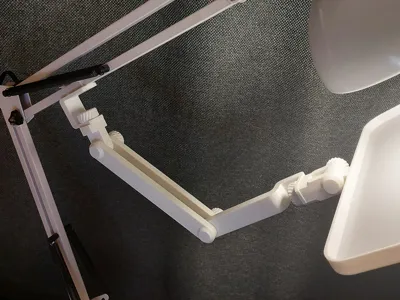
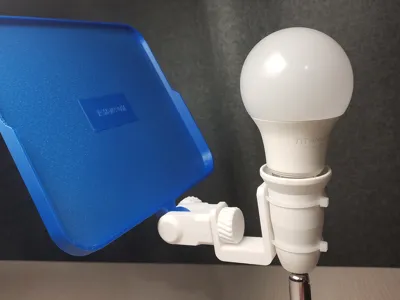
The device has a mechanical arm mount that lets you attach it near the light source at a variable distance and angle. The arm also enables you to regulate the distance between the screen and the light source, resulting in different light values and shadow smoothing.
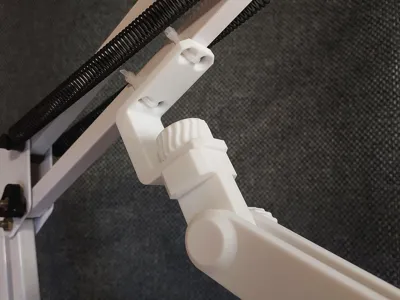
The arm mechanism uses bolts to fixate a position. Unscrew a bolt to change a joint angle. Screw it again to lock it back. With the proper regulation of bolts, the screen position can be freely regulated without additional actions.
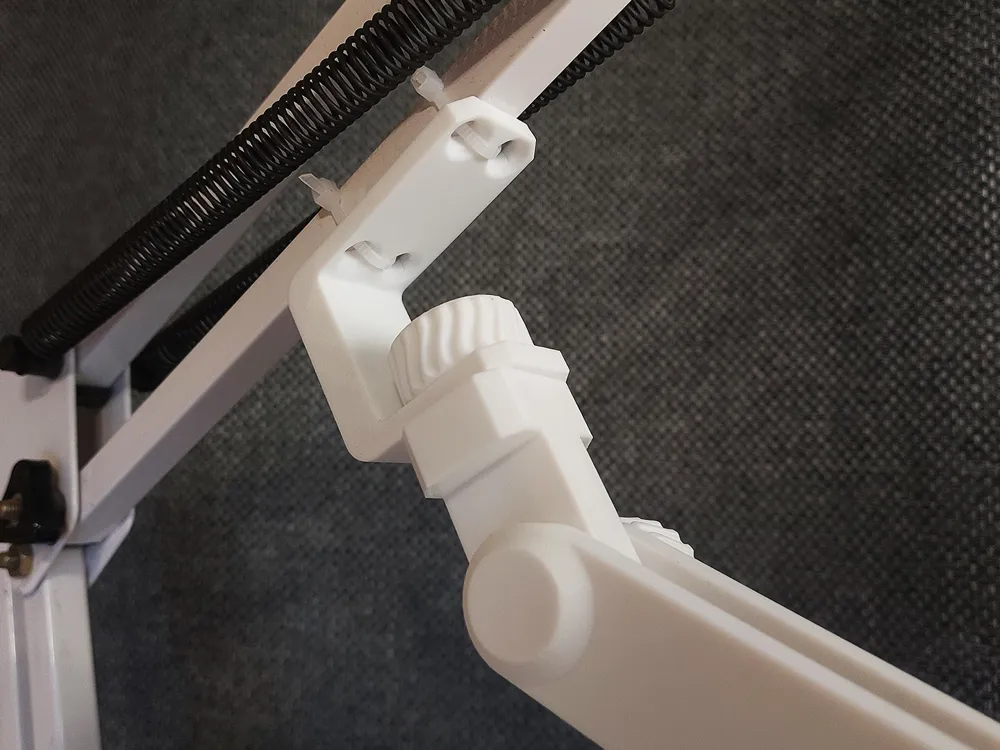
The diffuser can be mounted on shafts, pipes, rails, and other structures. As shown in the photos, two cable ties connect the mount to a structure. A thin rope or wire can replace cable ties. Alternatively, the mount can be attached to a flat surface using screws.
The screen has many options:
- There are three sizes for different needs and print areas.
- Screens can be printed in various colors, adding a different hue to the light source.
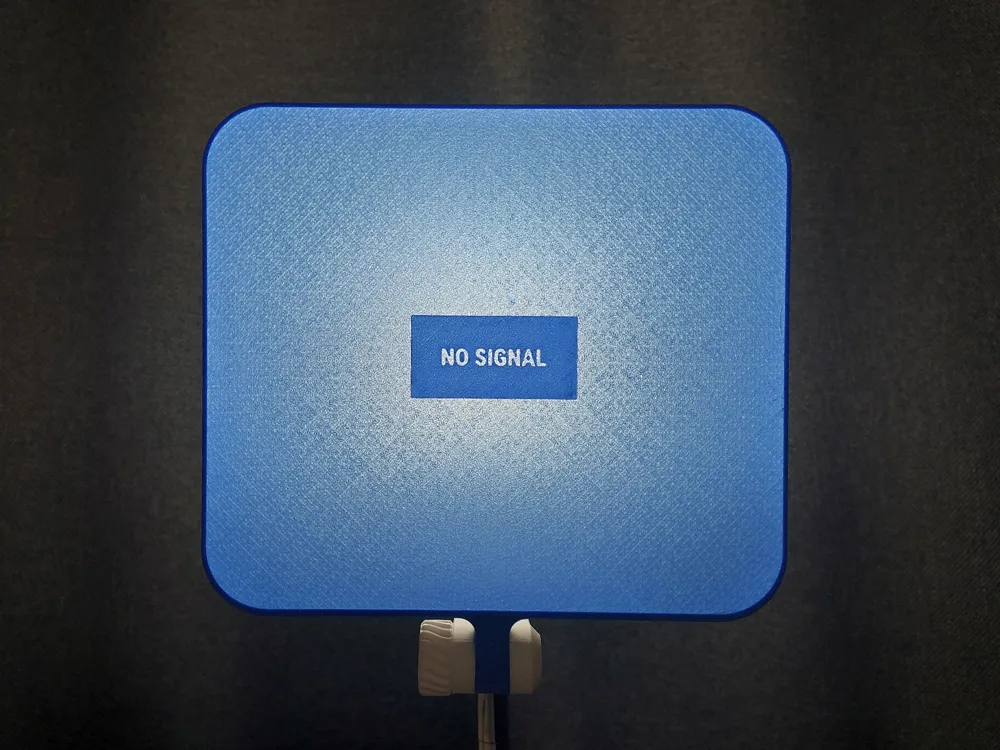
- Screens can be printed with various bottom surface patterns to achieve different reflection results and surface look.
- Two decorative options are available. I will be thankful for remixing more of such!
- You can draw an image on the screen surface in your slicer to print the screen in multicolor.
Assembly instruction:
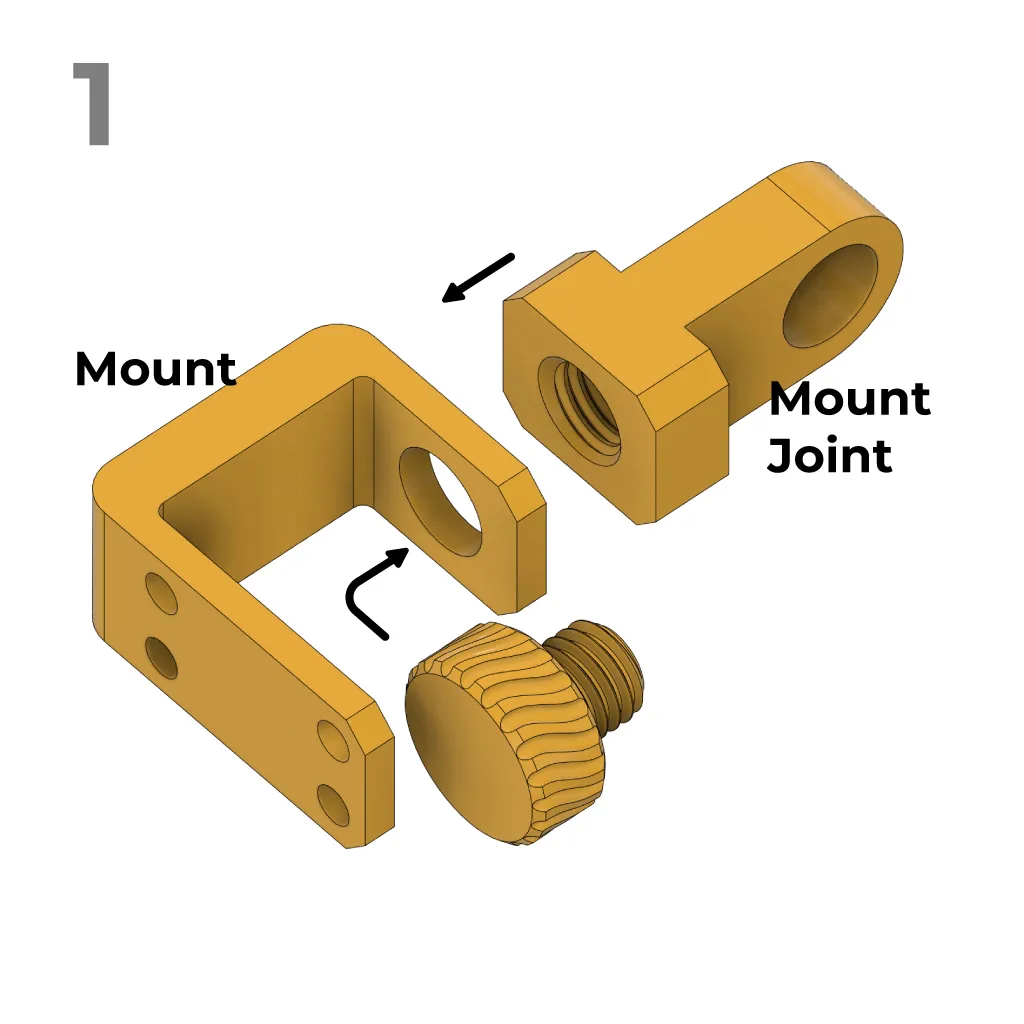
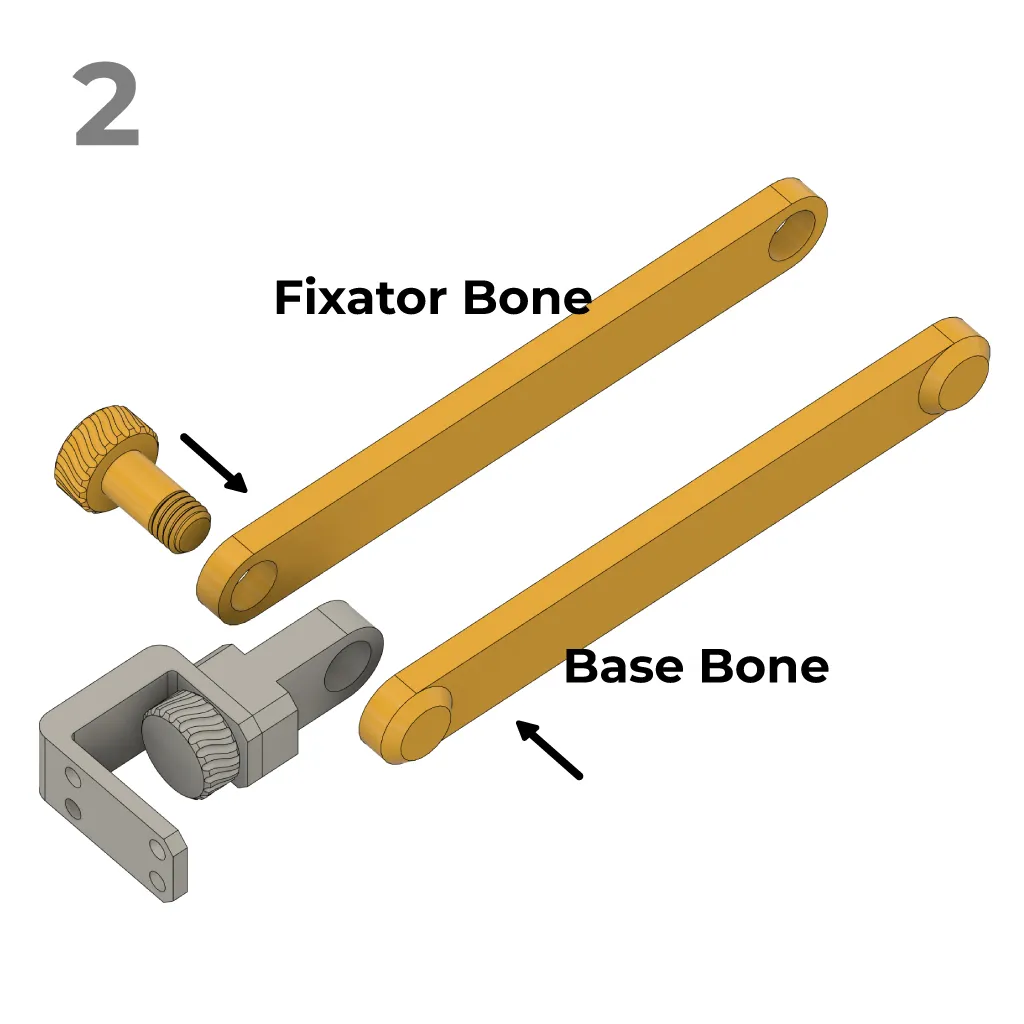
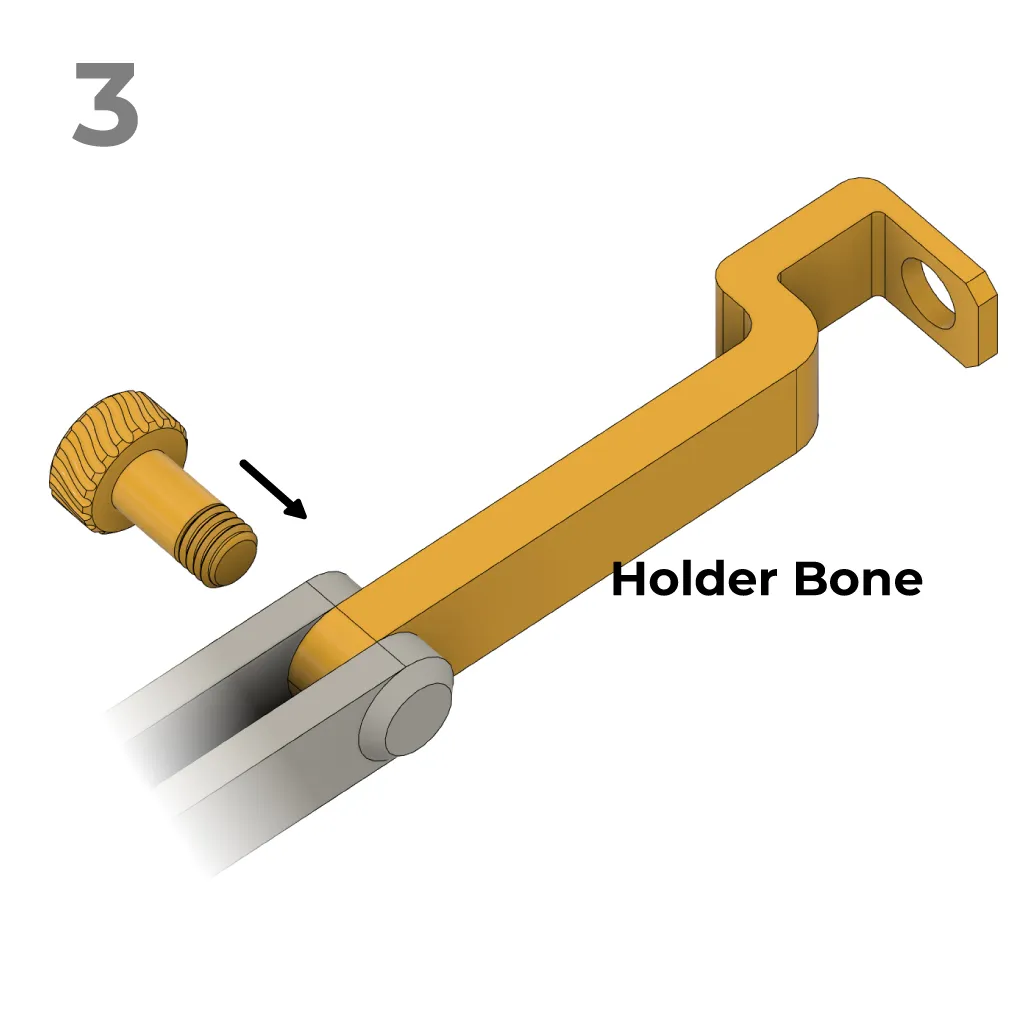
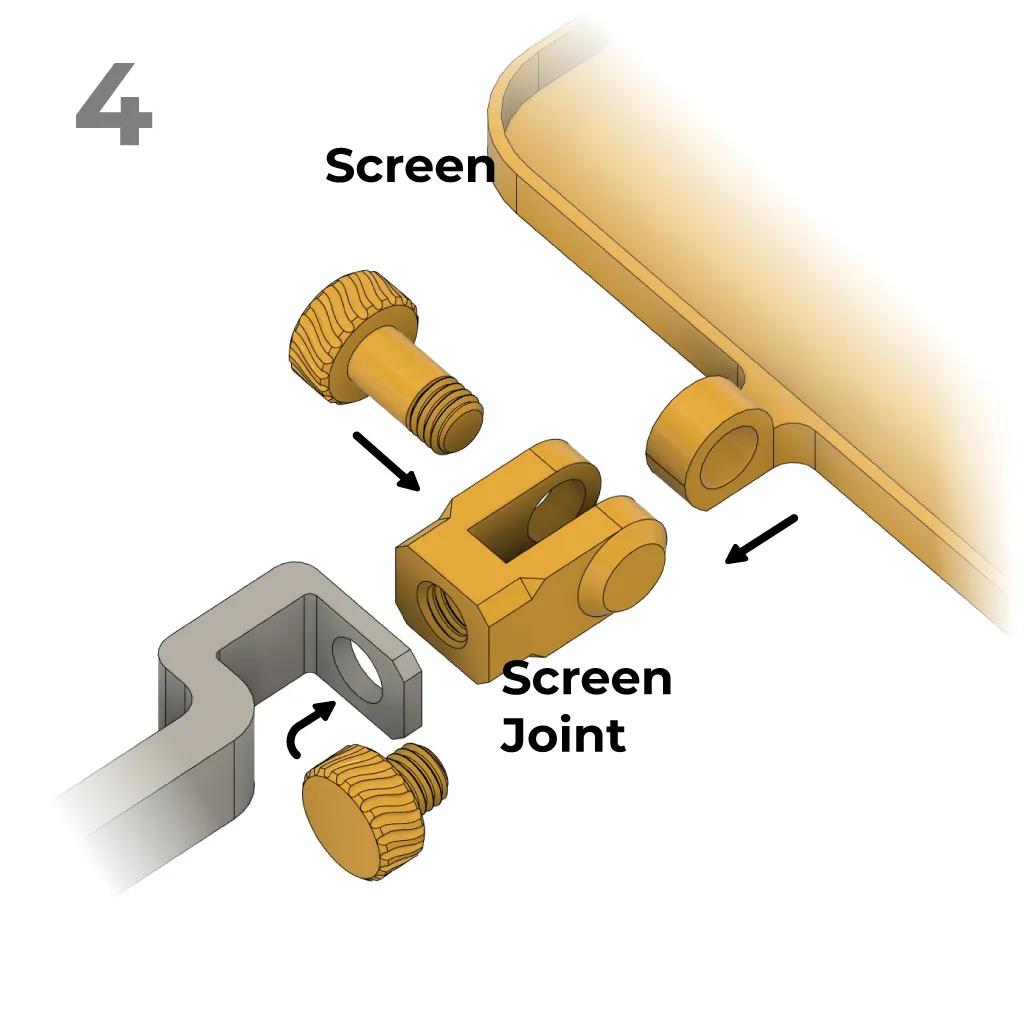
The arm can be simplified if you don't need such angle and distance regulation freedom. There are two options:
- Connect the screen joint directly to the mount. See the example in the photos.
- Print two screen joints. Use the second to connect the holder bone directly to the mount. It will remove the base and the fixator bones from construction, resulting in a single arm segment.
Print bolts with 100% Infil. Print the screen using the 0.2 mm first layer height. Fine bed calibration is recommended to print the screen in high quality. No supports. It works well in regular PLA, but PETG is better for the arm durability.
License



Comment & Rating (7)