Dog Intelligence Toy


Print Profile(1)

Description
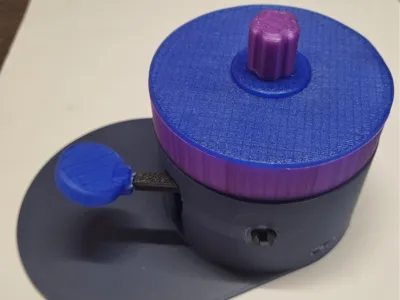
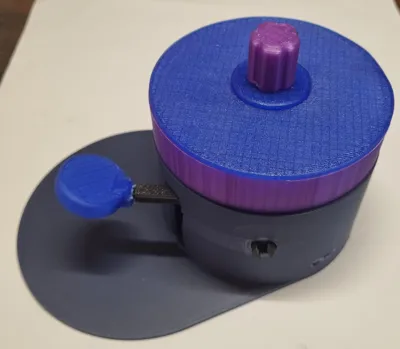
Dog Intelligence Toy
The toy is "loaded" with dry dog food
The dog must understand that it has to press the button with its paw or nose A gear mechanism rotates the magazine until the next chamber is positioned over the dispensing chute The food falls down and in front of the animal's nose: Reward
The idea for the design comes from my Candy Dispenser:
https://makerworld.com/de/models/693584-candy-dispenser-nutella-m-m-spender-bigger
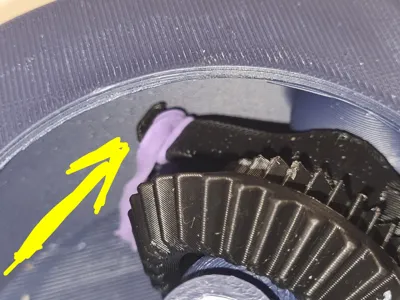
To ensure the magazine rotates in only one direction, I installed a pawl This is spring-loaded For the spring, I disassembled an inexpensive ballpoint pen and used its spring after halving it
For resetting the button / lever, I have provided a household rubber band This can be easily threaded through the hole of the designated part and then screwed into the bottom of the housing
Assembly:
I carefully re-cut the threads with taps so they would work well However, one should not cut TOO generously so that the threads do not wear out
(M10 and M5 and M3)
First, screw the pawl to the lever This can be generously trimmed if necessary so that it runs smoothly and doesn't rub anywhere The recess is generous enough for a short M3 screw to be attached to/in the end of the spring
Then insert the lever into the housing from above and guide the threaded end out through the recess
The prepared holder for the "reset rubber band" can now be fixed in the bottom of the housing with an M3 screw
Now is the right time to wrap the rubber loop once (or multiple times) around the lever's hook
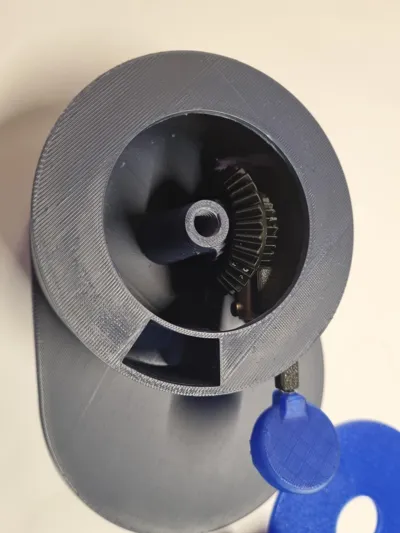
Threading the gear with the two gear rings is a bit fiddly but doable without force Once it has properly slid over the horizontal guide on the central vertical axis, the lever arm can be brought into the correct position so that the axle of the primary gear / the lever can be inserted and screwed in from the outside
The rest is so simple that I won't describe it in detail...
The lever must be very easy to press down (and, once the gear is fixed) slide back over the detents with an audible "Click, Click"... (Is the rubber band still on the lever?)
Connect the segment disc with the output gear, place it, and position the large lid
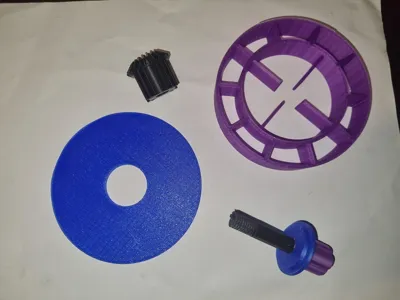
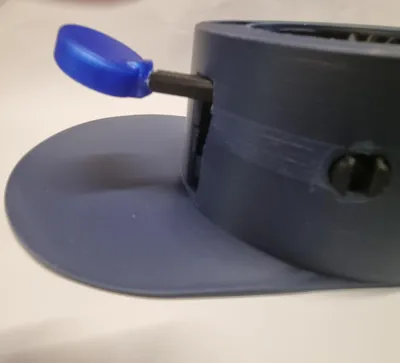
Long Fixing Screw:
My blue PLA filament is obviously not dimensionally accurate when printing... I had to almost completely grind down the multi-spline profile before the small plate could be pushed over the axle…
The violet cap, however, could be inextricably joined with the axle using blunt force...
(Attention:
Do not print axles or similar vertically, as they will otherwise break very quickly due to the layered structure of 3D printing.
Therefore, always print horizontally and re-cut threads...!)
Insert the fully assembled long fixing screw from above and screw it in - done
Remaining work:
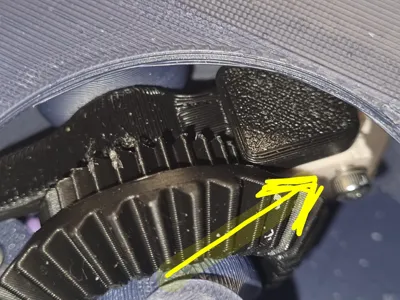
Since there is only one pawl in this version of the design, the friction adjusted by the long vertical screw must be sufficient for the pawl to slide over the gear when the lever is released - so do not tighten it too loosely or too tightly...
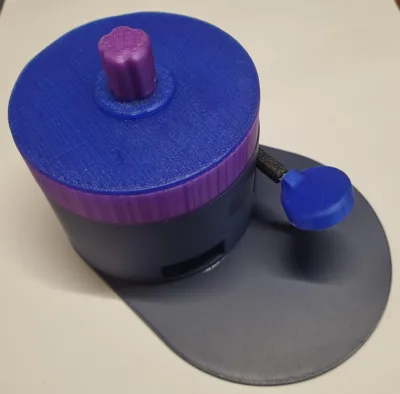
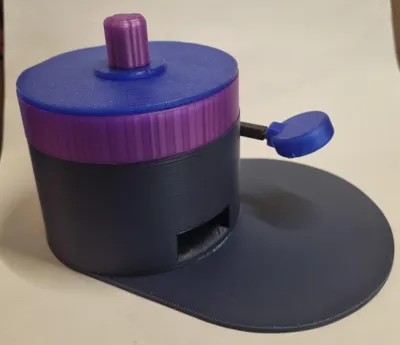
Different sized plates can be mounted to the thread of the operating lever - depending on the dog's preference... :-)
Good luck and have fun with your super dog!
Pictures, comments, or even criticism are always welcome!
Comment & Rating (1)