
Bench PSU case for ATX PSU - Accessory Drawer
Print Profile(1)

Description
Description
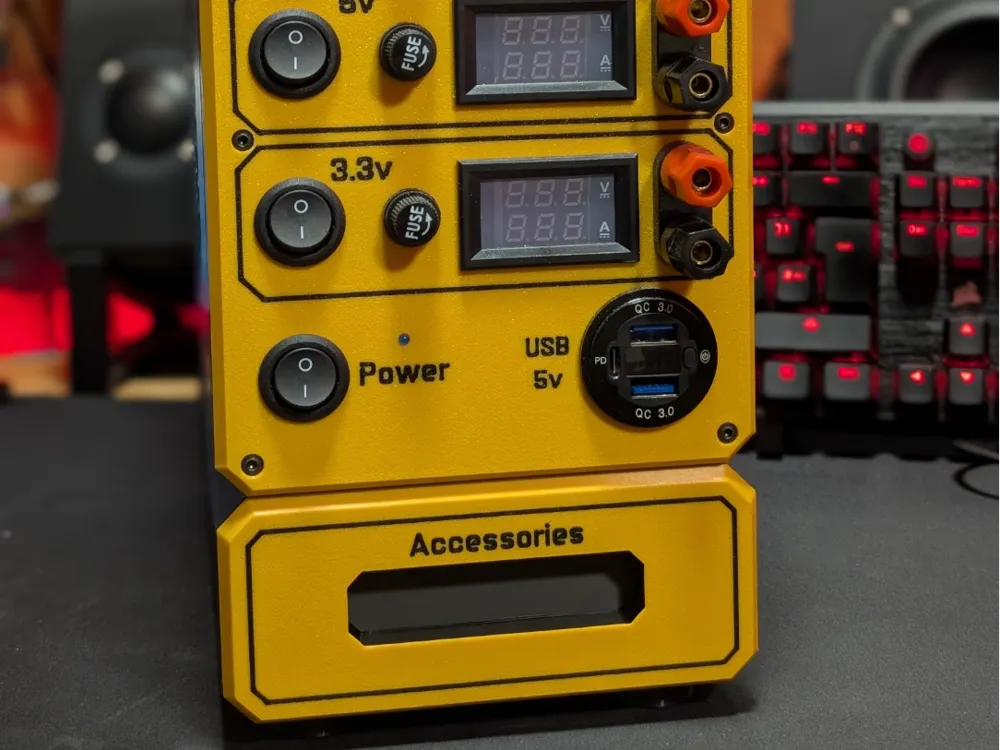
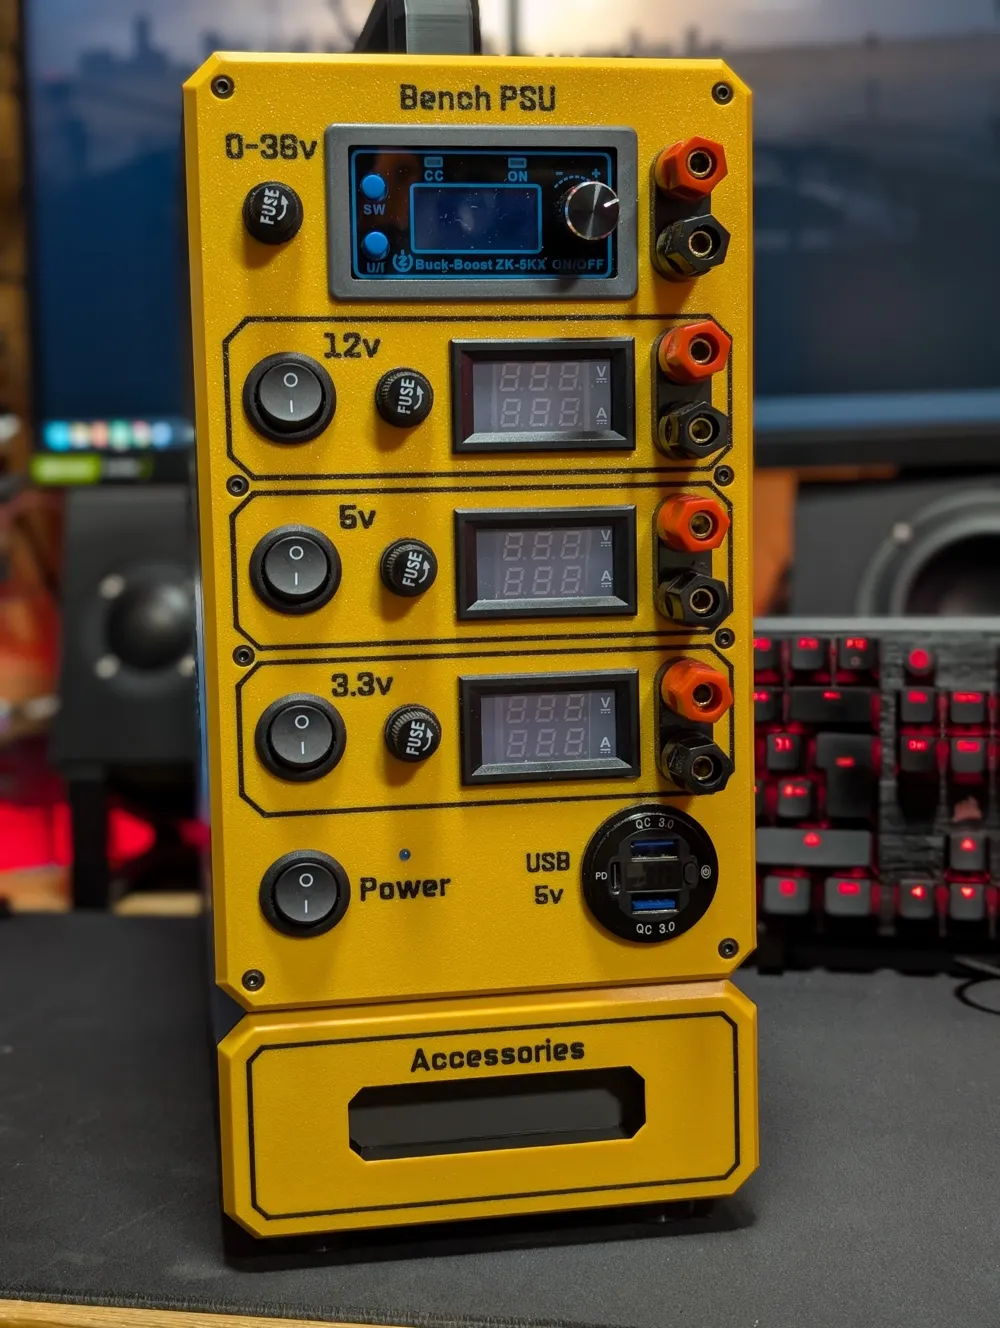
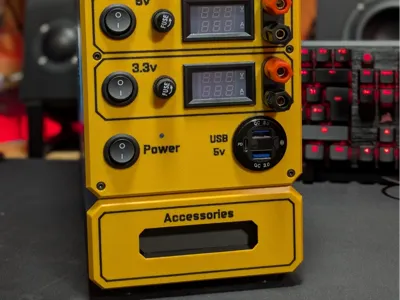
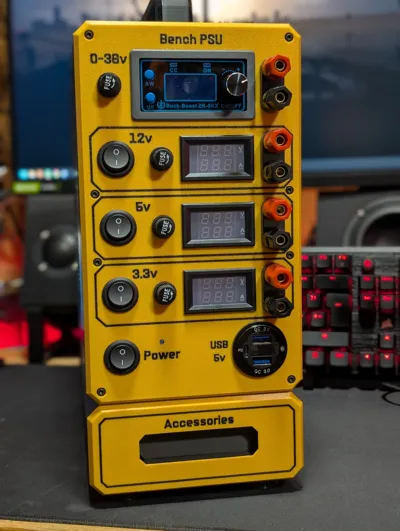
A storage solution to go with my Bench PSU case for ATX power supply…
Bench PSU case for ATX power supply here > https://makerworld.com/en/models/728274
Bench PSU Handle modification here > https://makerworld.com/en/models/742886
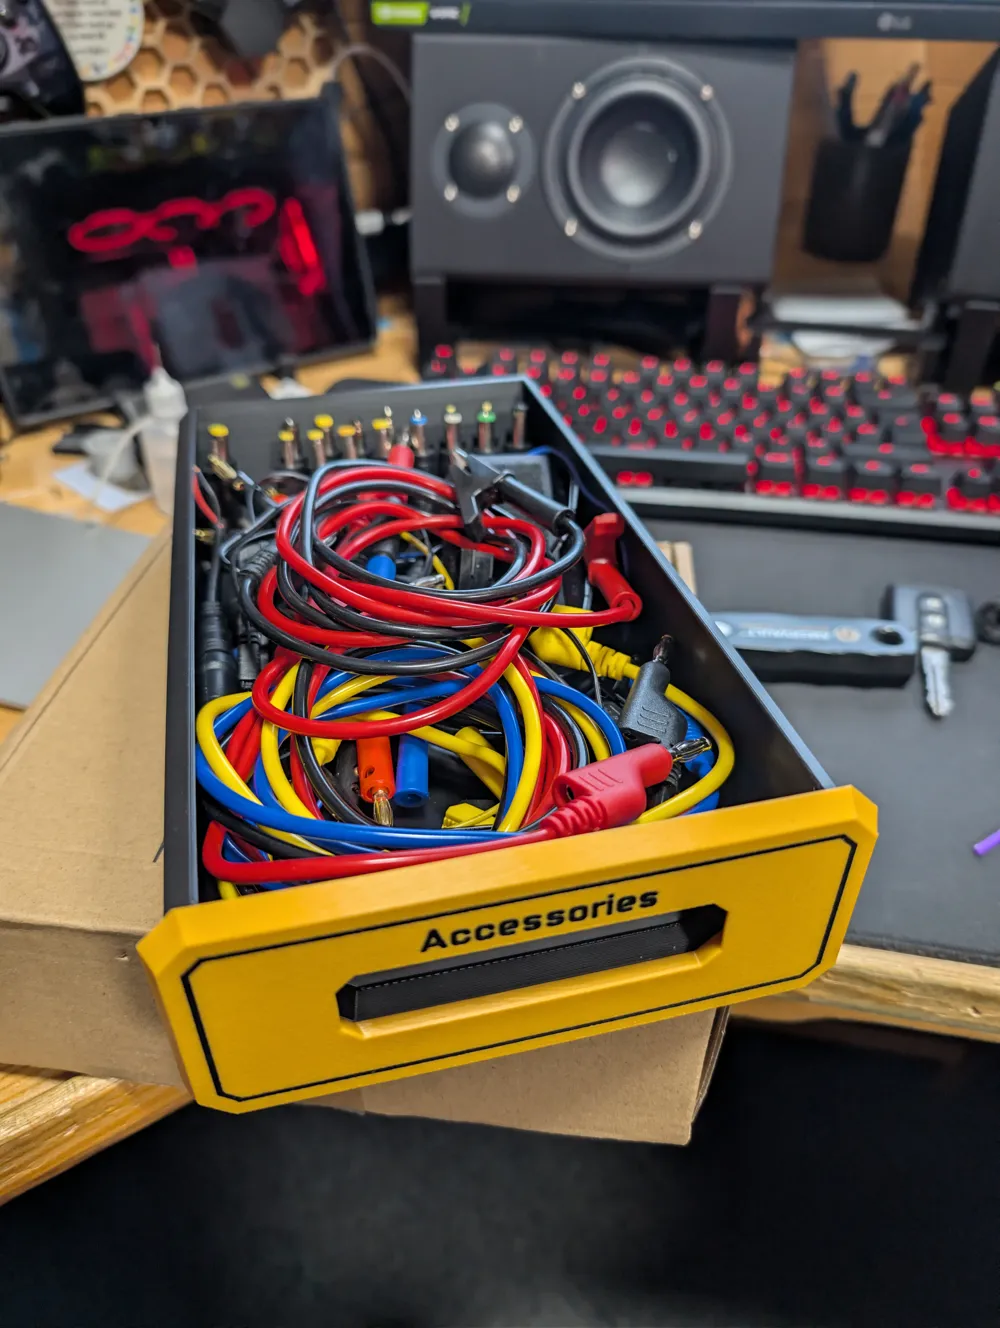
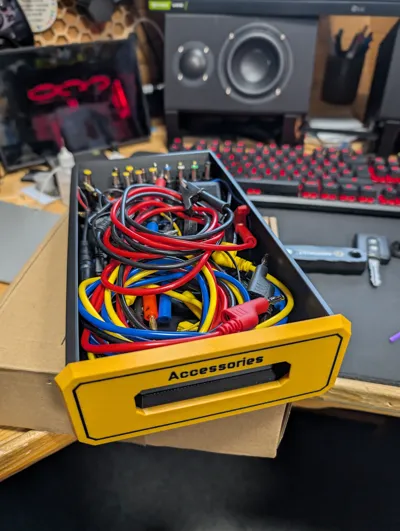
I needed somewhere to store the leads and adaptors I use with my Bench PSU so designed this to attach to the bottom of the case to keep everything together…
Additional hardware:
Button head machine screws….
4 x M3x8 for the rear panel
4 x M3x6 for attaching the front panel
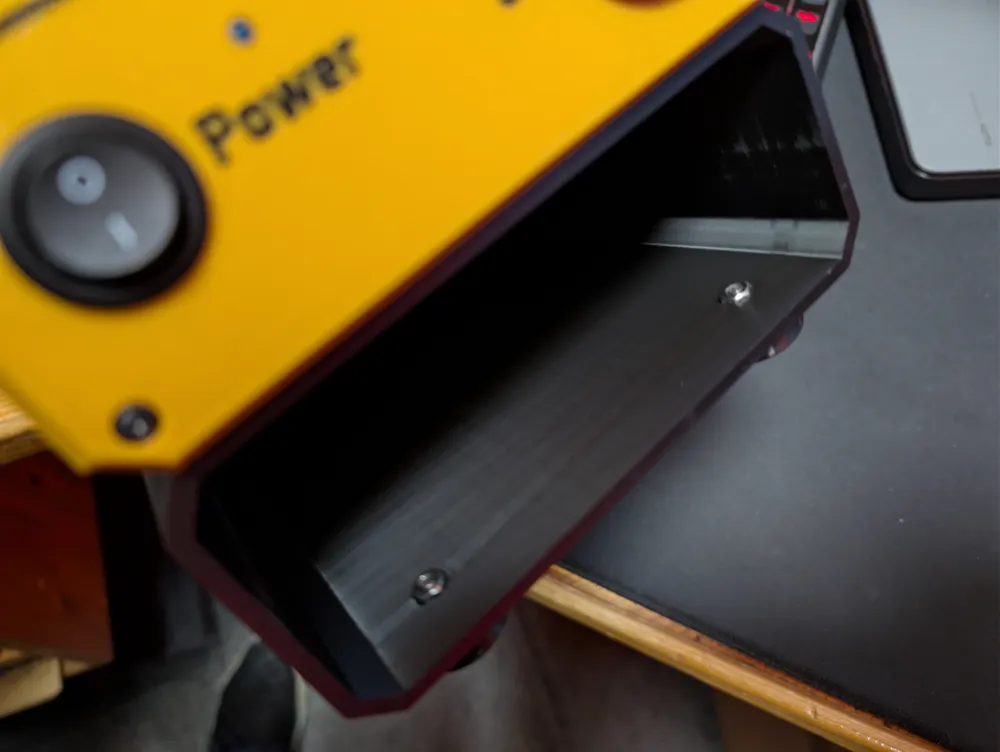
4 x M4x12 and 4 x M4 nuts to secure the drawer shell to the bottom of the PSU case (reuse the bolts for the feet)
4 x M4x10 and 4 x M4 nuts to reattach the feet to the bottom of the drawer shell
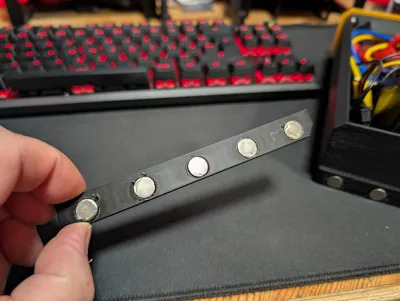
2 x M3x10 to secure the magnet clasp
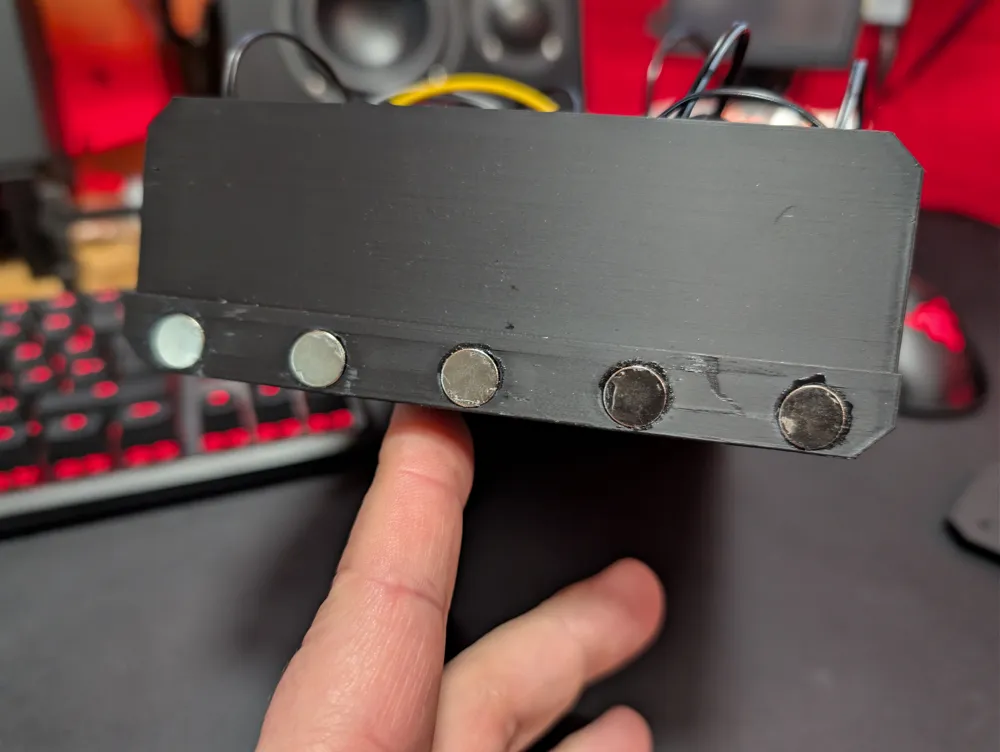
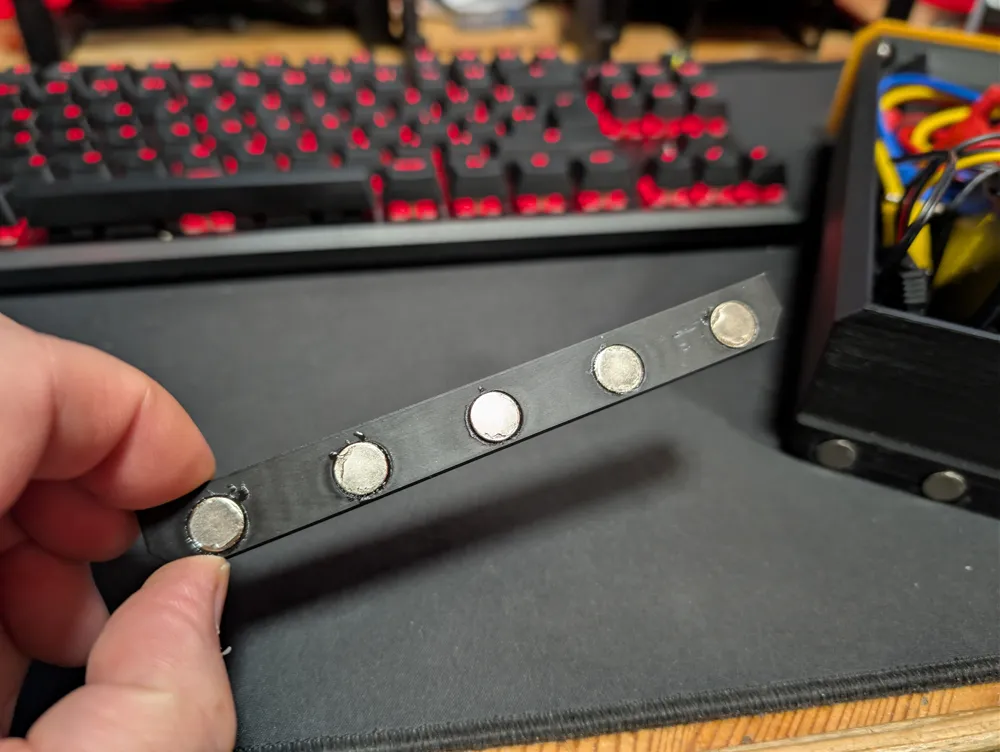
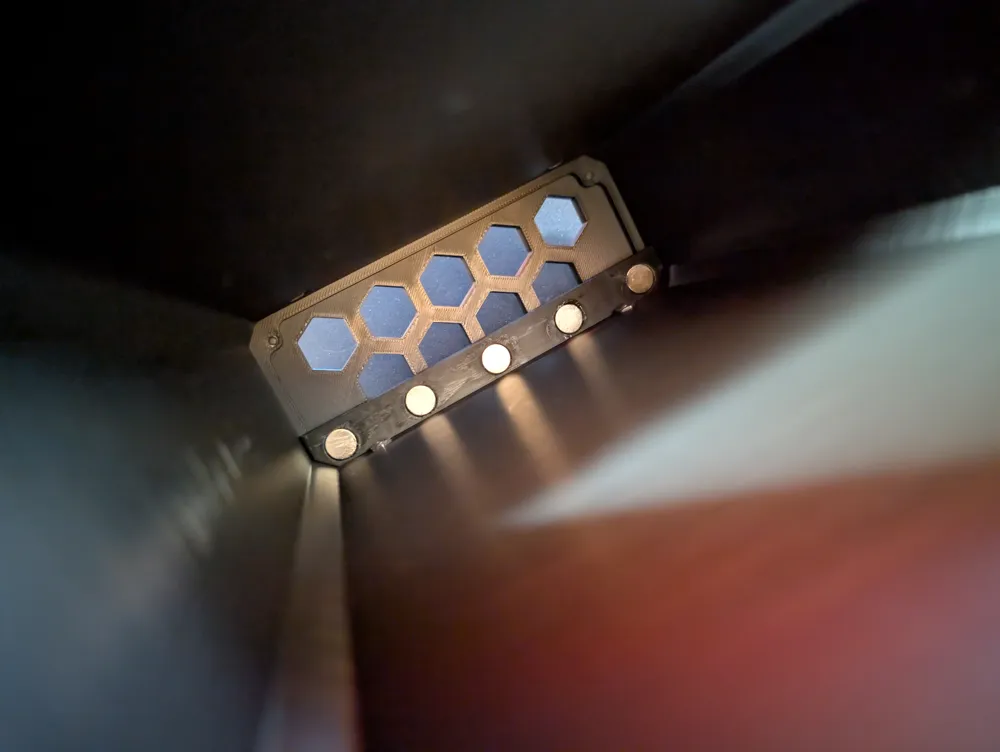
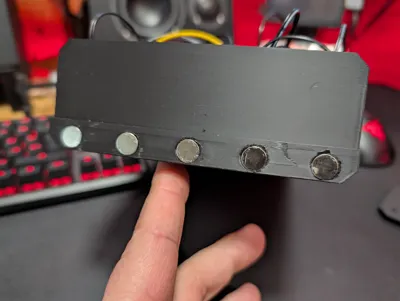
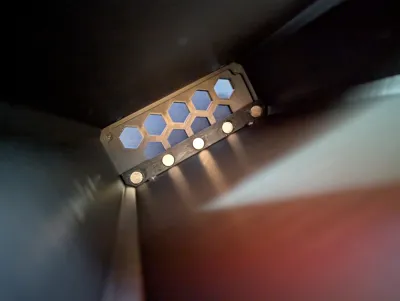
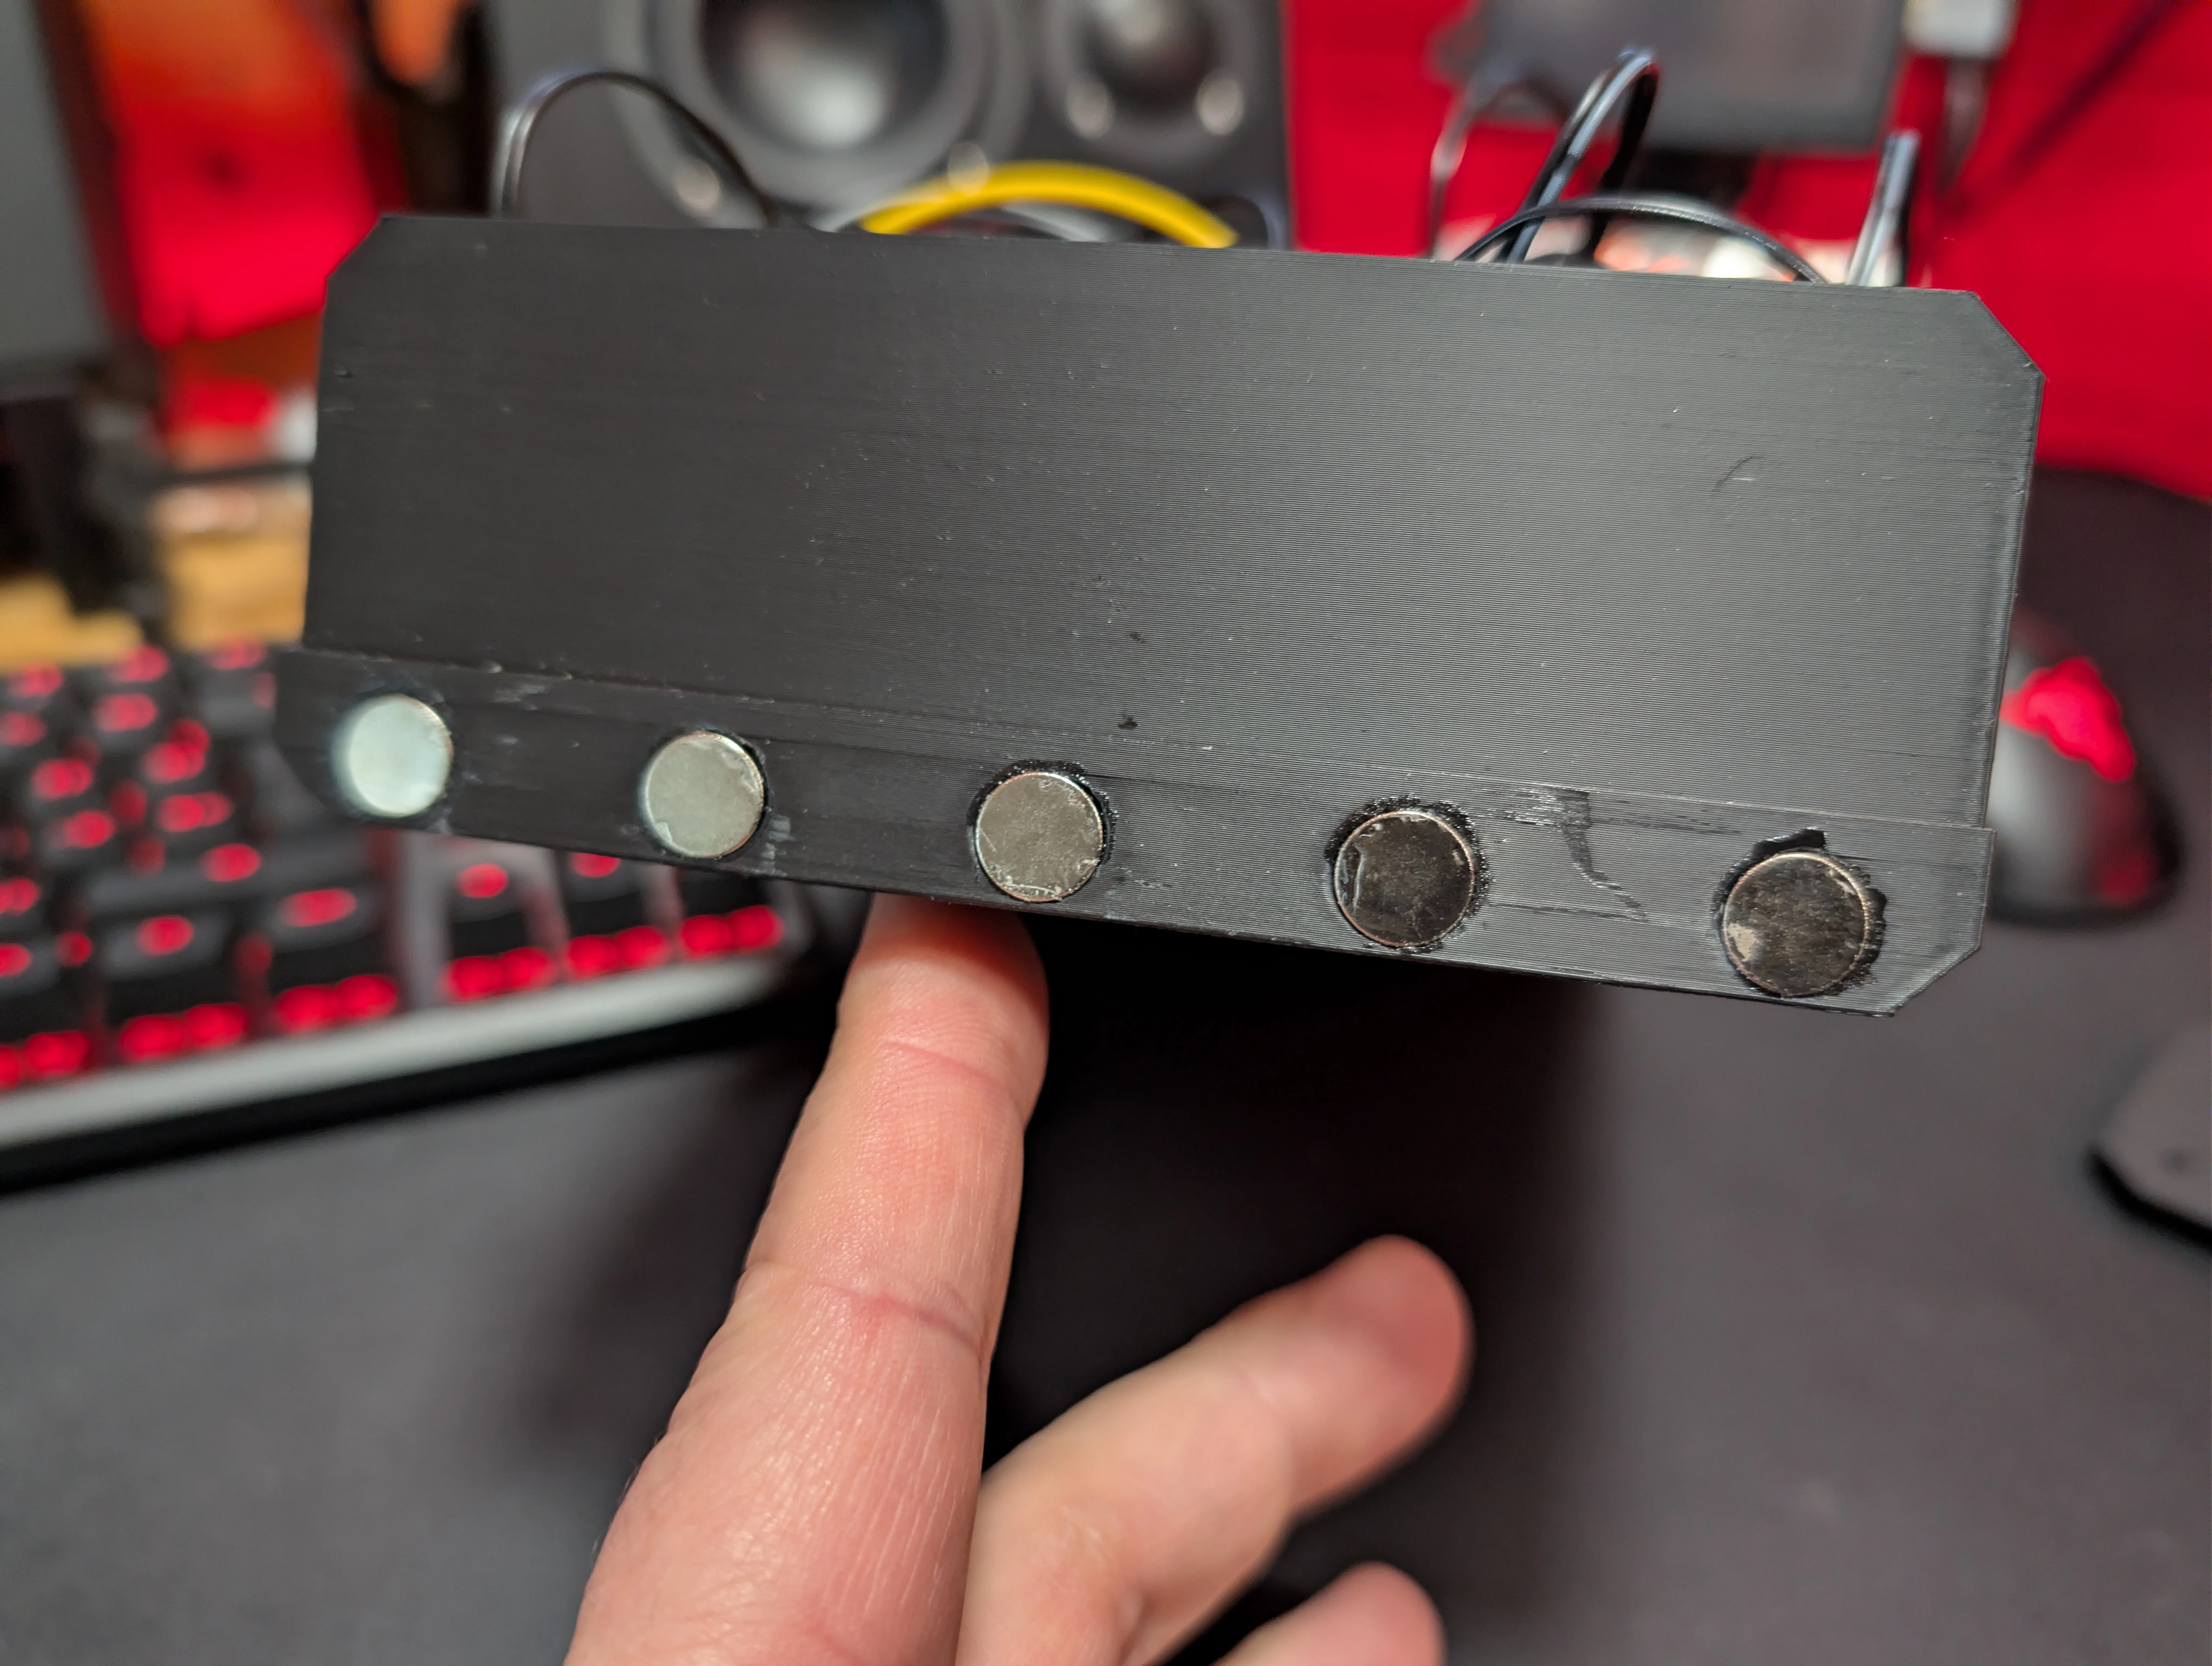
Up to 10 x 10mm x 2mm neodymium magnets… 5 are used in each the drawer and magnet clasp parts to hold the drawer closed… you can start with 2 each side as 5 each side is a pretty strong grip and tune it to how many you feel comfortable with…
I went for the full 10 as I carry my PSU about and didn't want the drawer to slide out easily.
Printing:
I used eSun PLA+ HS and Bambu Labs PLA Basic… you can of course use whatever material you prefer..
For the ‘yellow’ I used eSun PLA+ Dark Yellow (marked as ‘Gold’ on the reel), for the black its Bambu Labs PLA Basic in ‘black’ :)
You can of course go into the ‘objects’ and choose your own colour combos for the print
I have included a plain front panel as well as the one marked ‘Accessories’ in case you prefer plain or you want to try adding your own text
The font I used is called “BF_Modernista Bold” if you want to keep to the PSU aesthetic….
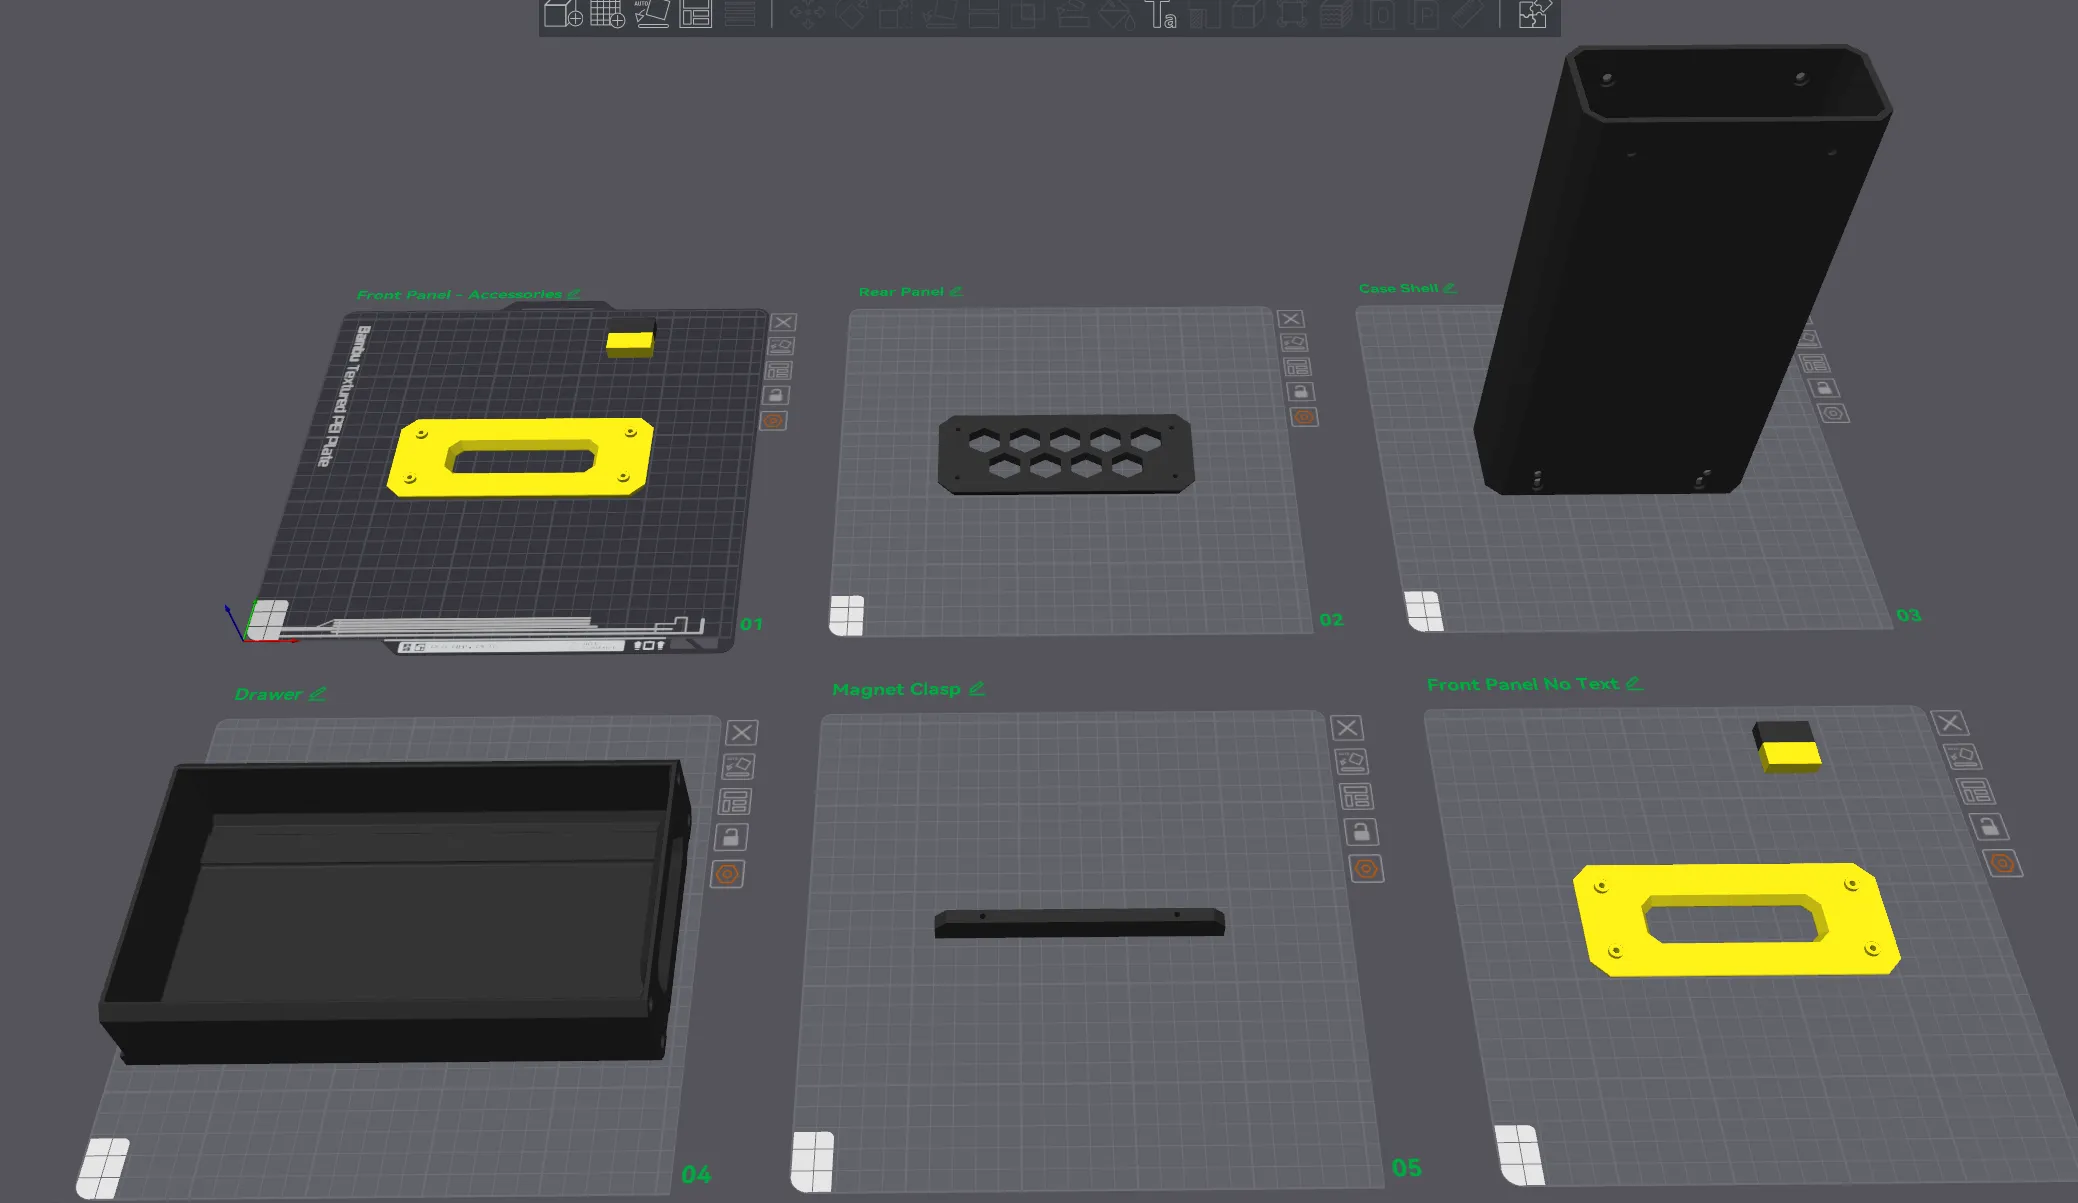
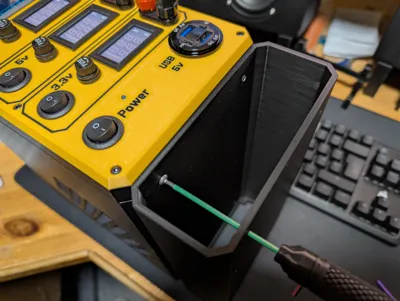
Assembly is straight forward… the front panel locates to the drawer (should be obvious) and is secured using the 4 x M3x6 bolts… take care not to over tighten as you are screwing straight into the printed part
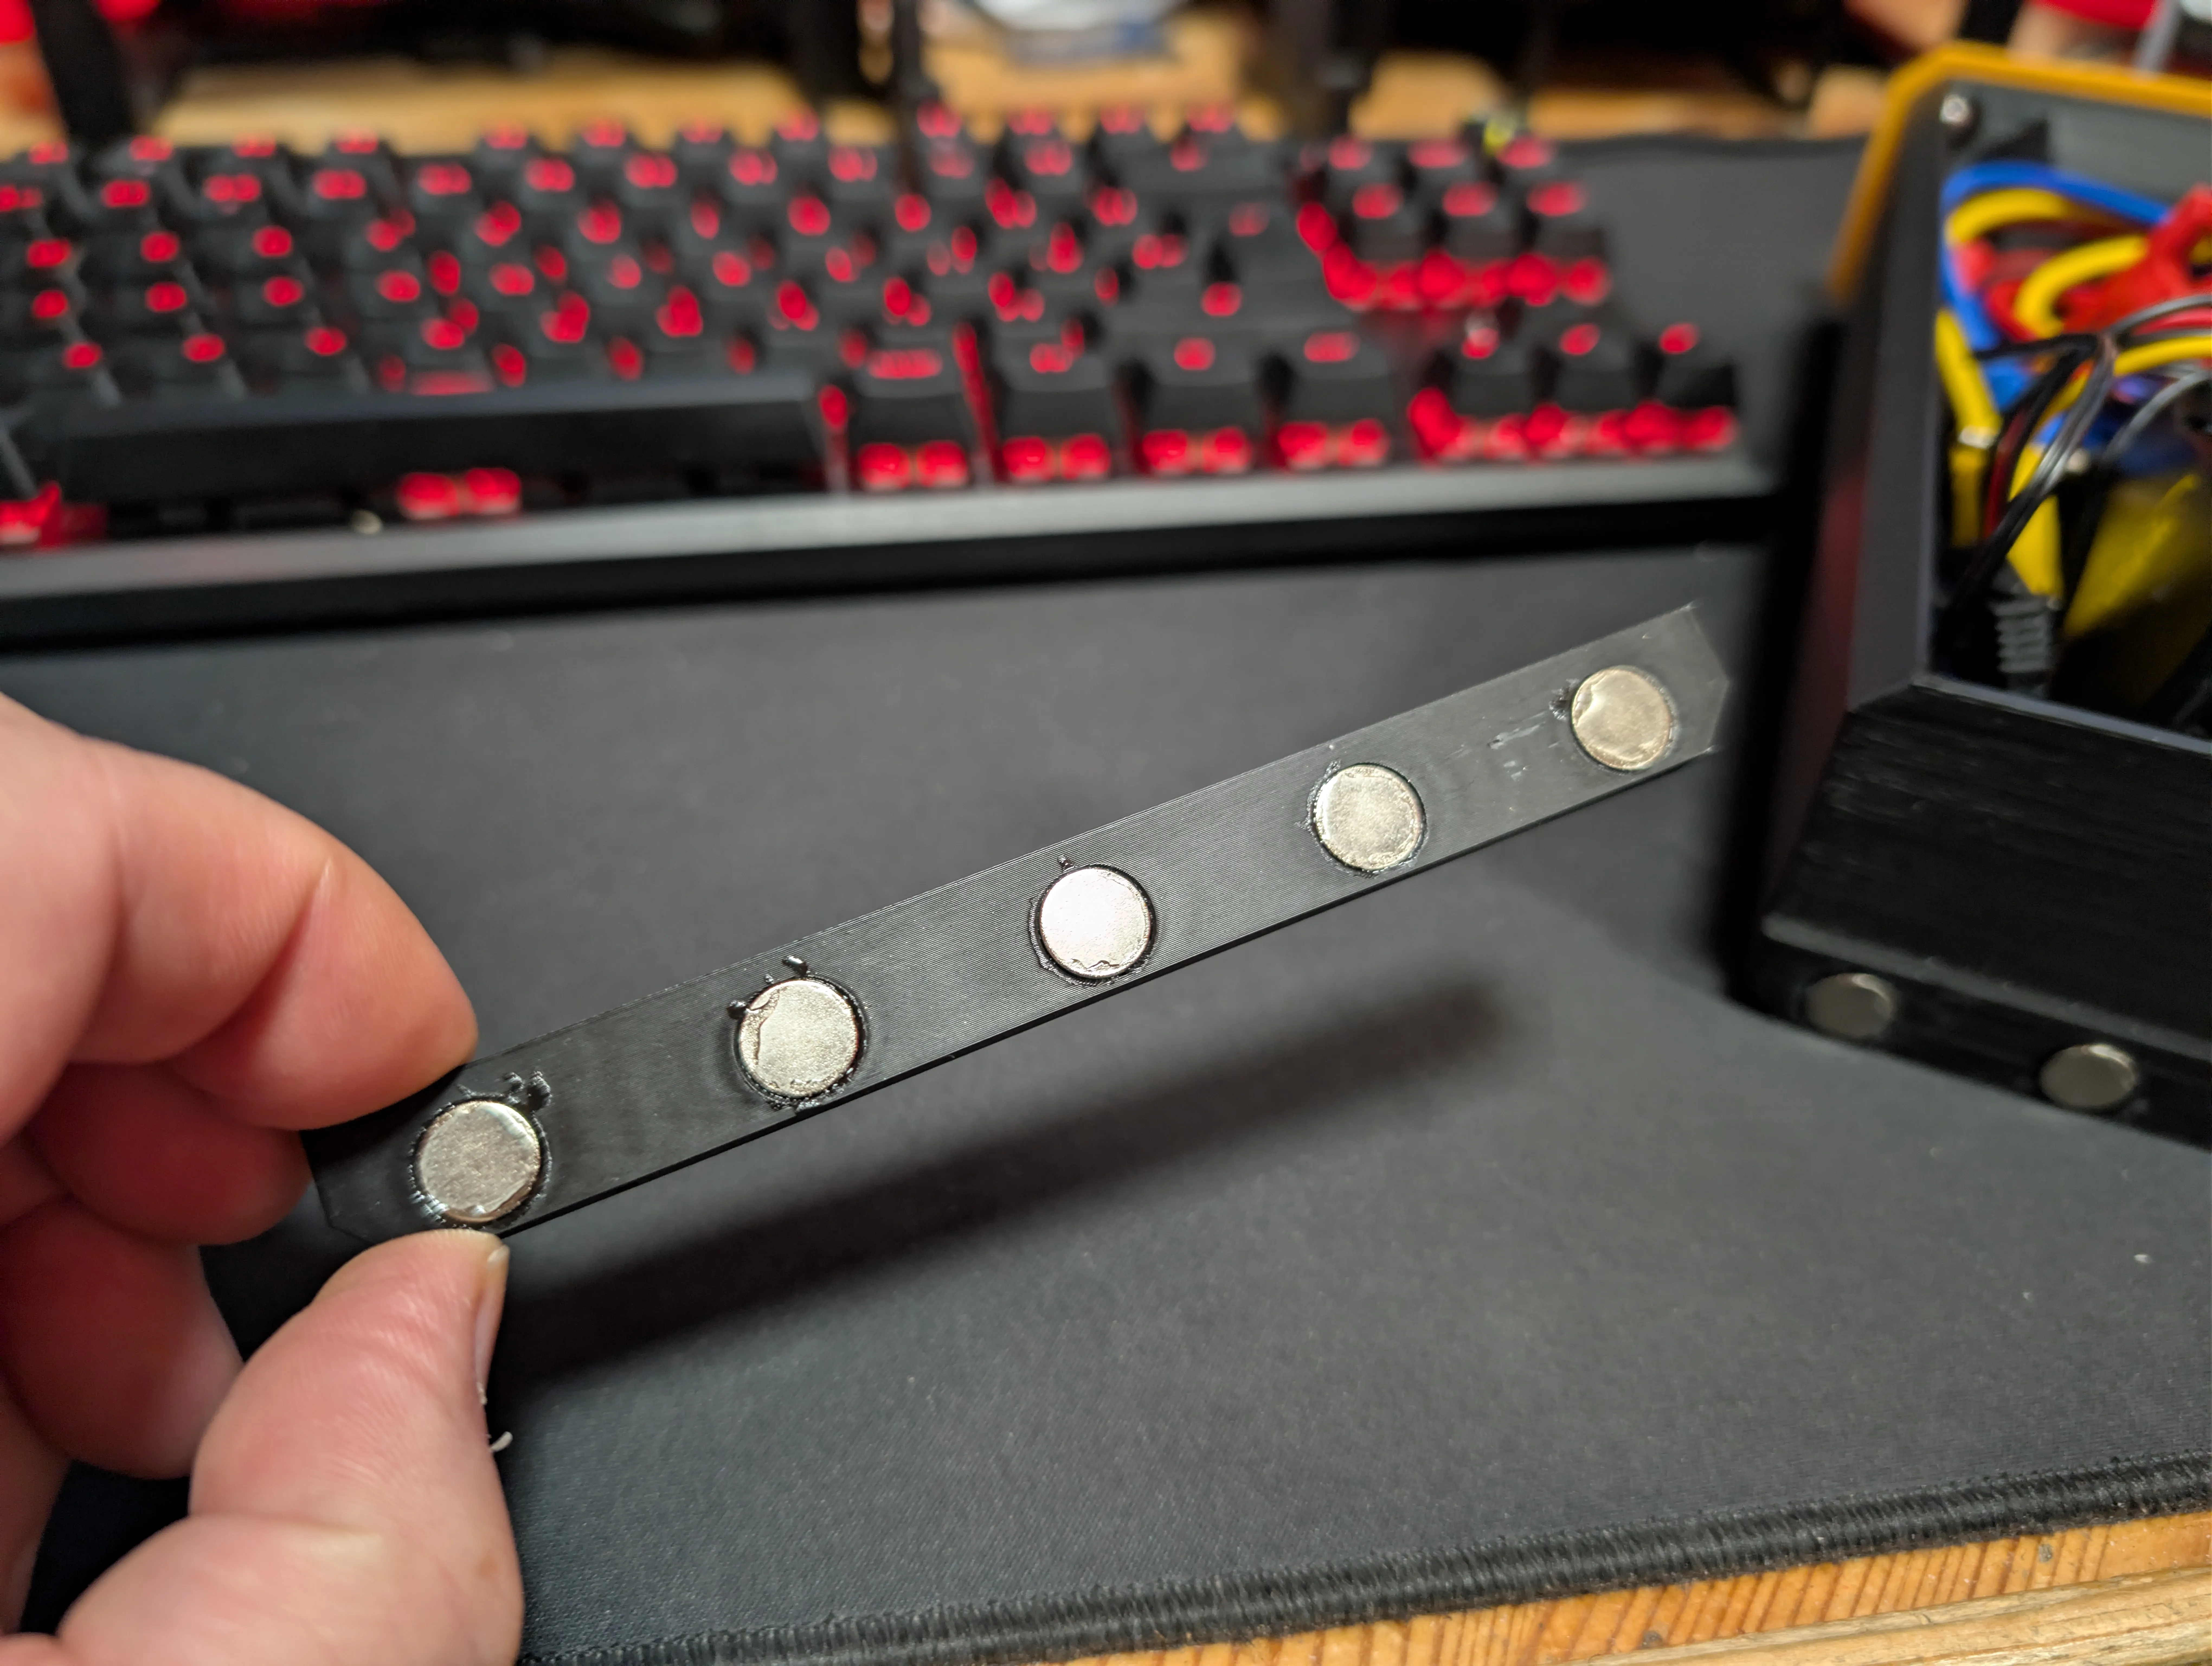
Next fit the 10mmx2mm magnets to the back of the drawer and magnet clasp… I used a drop of super glue to help keep them in as they are a friction fit but not enough to stop them being pulled out
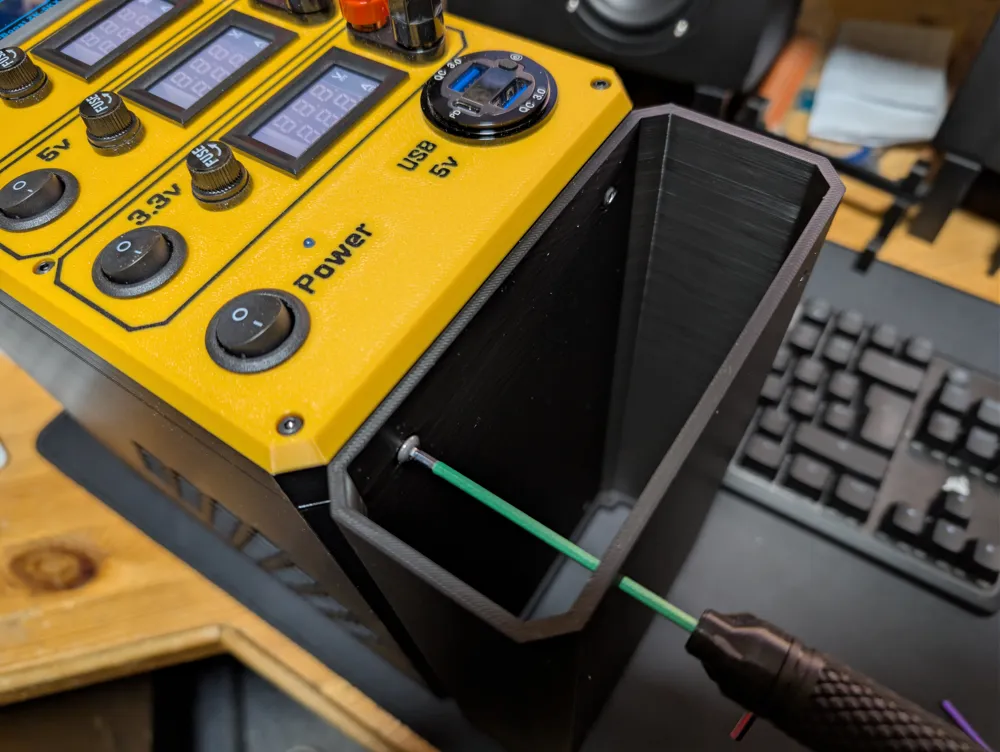
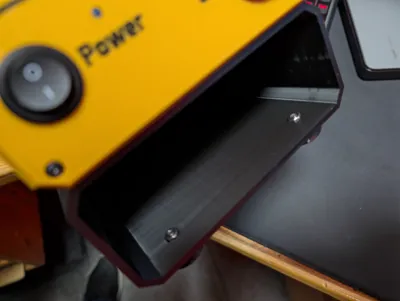
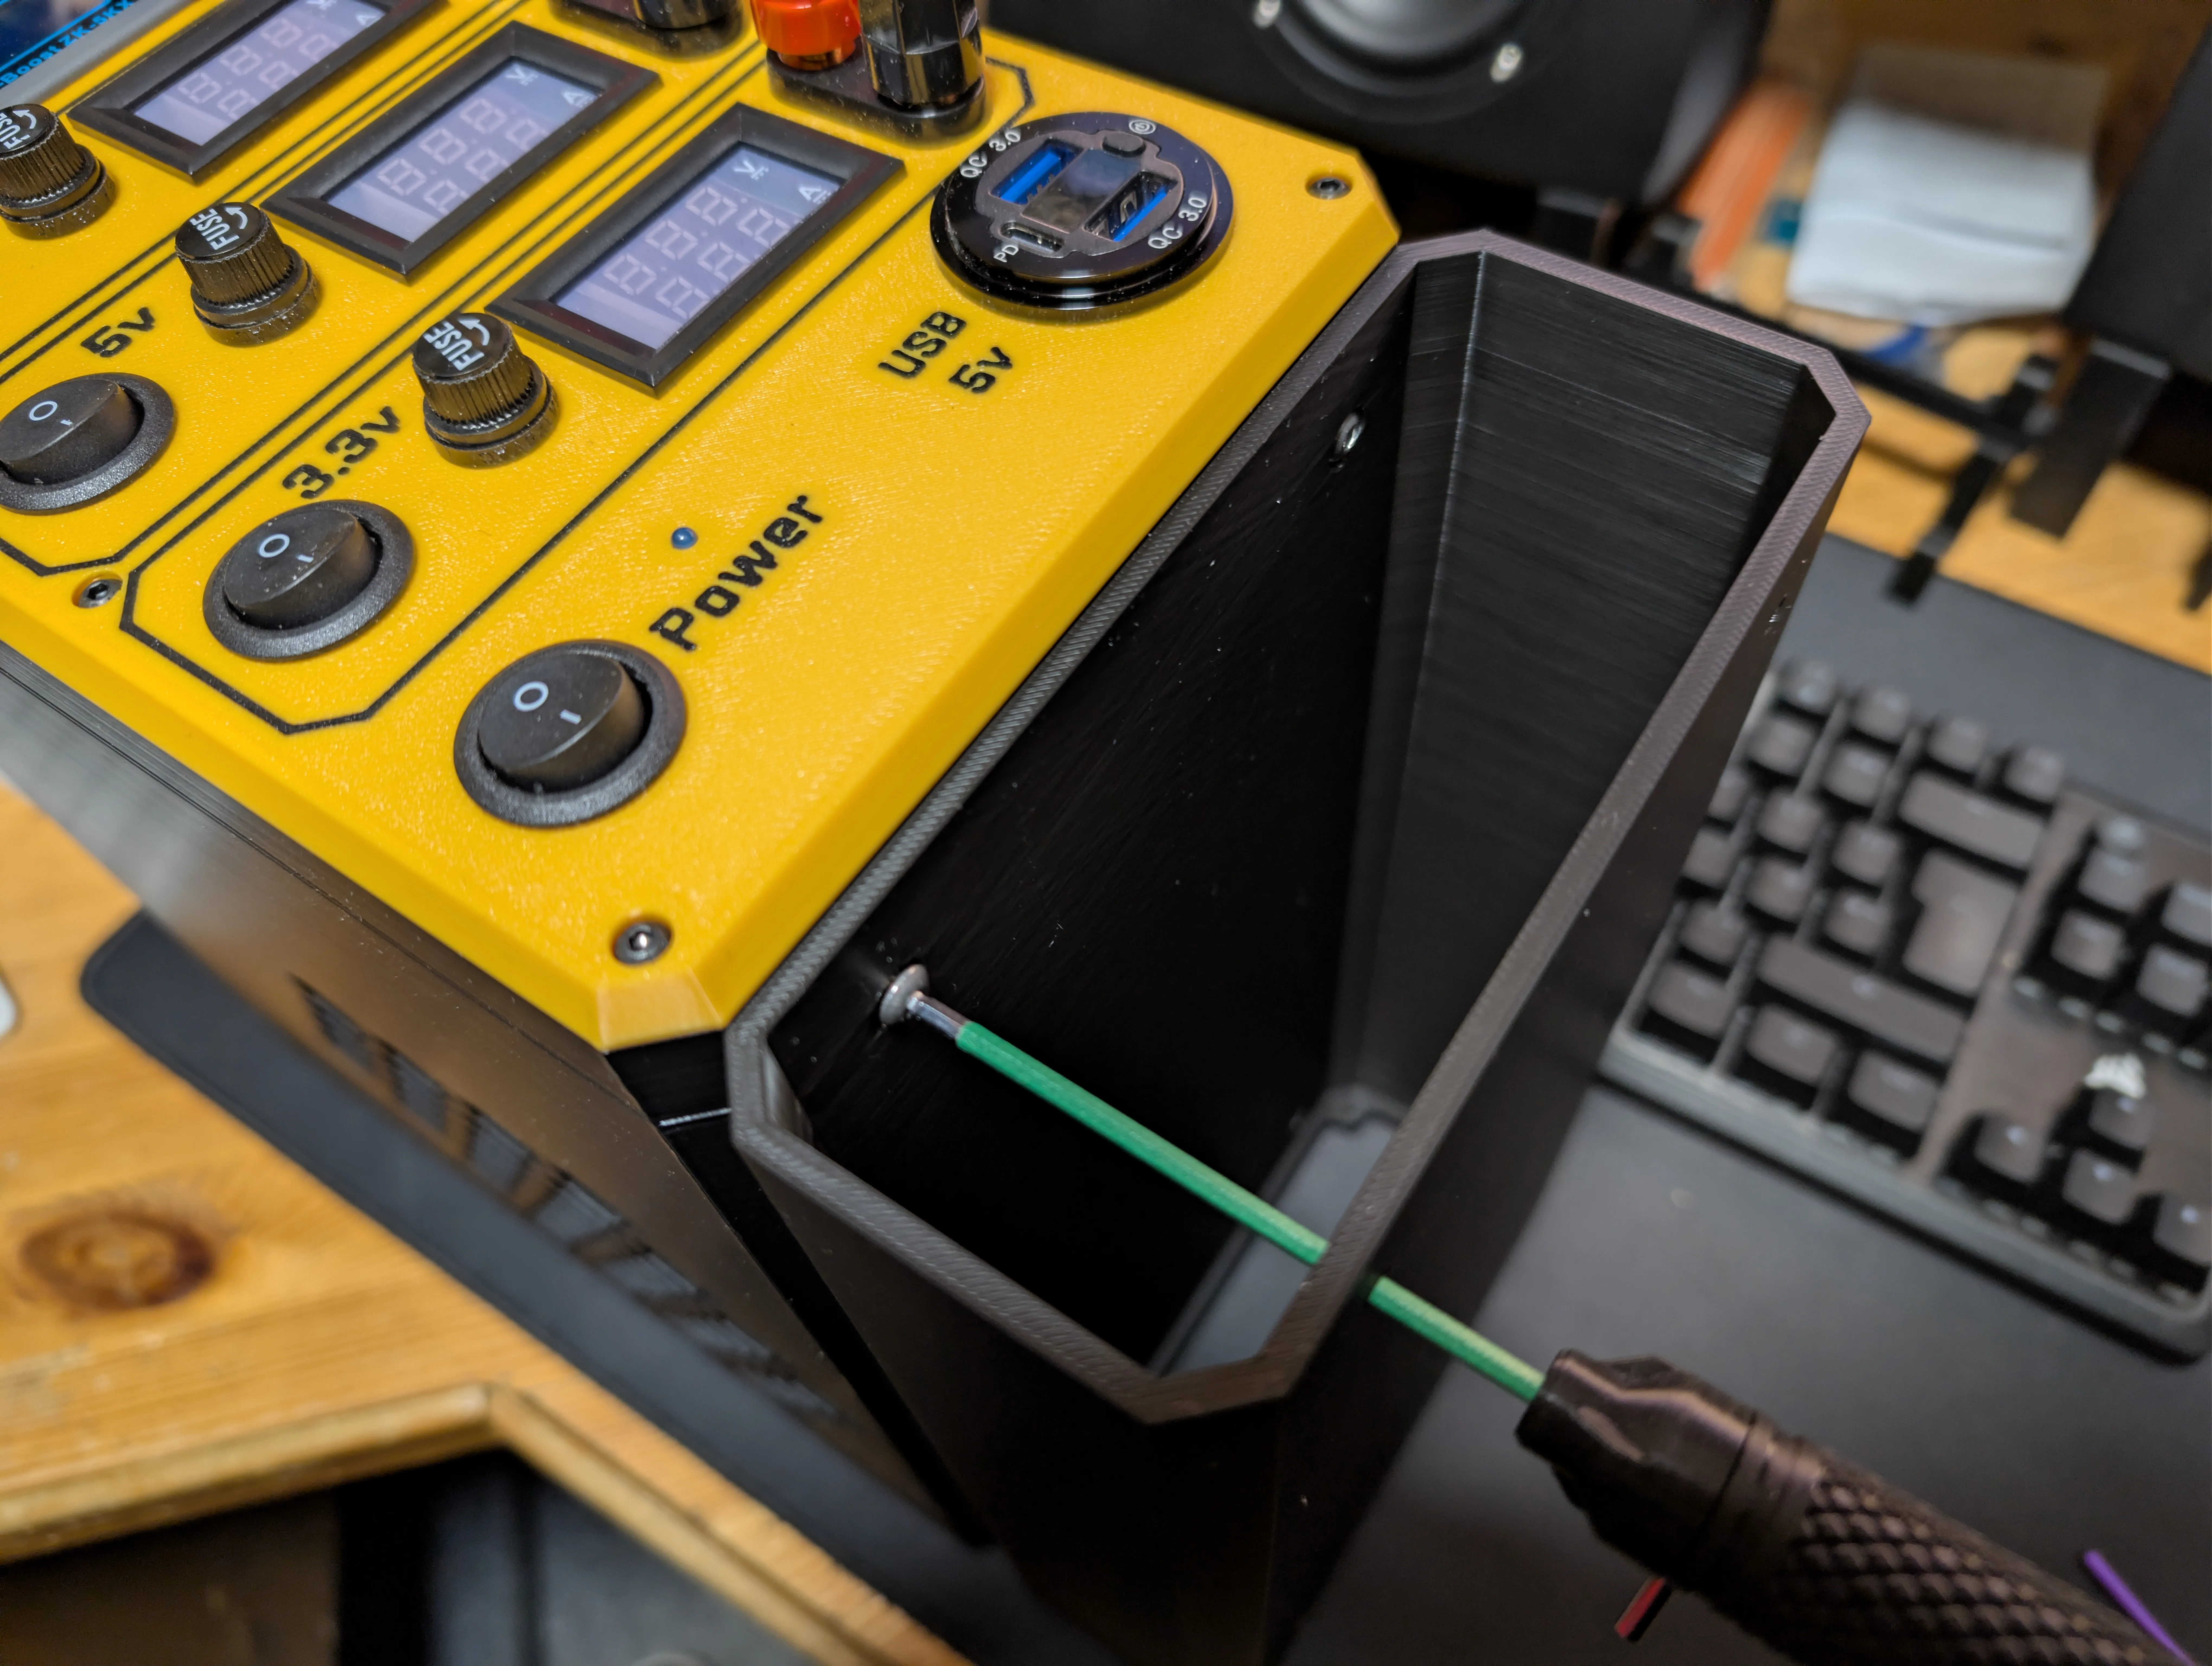
Remove the feet from the Bench PSU case taking care to leave the nuts captive otherwise you will need to take the PSU front/rear panels off to re-seat them… screw the drawer shell to the bottom of the PSU case feeding the allen key through the bottom holes…
Insert the M4 nuts for the feet (they will be a little proud but the drawer takes this into account) securing the front feet only at this time…
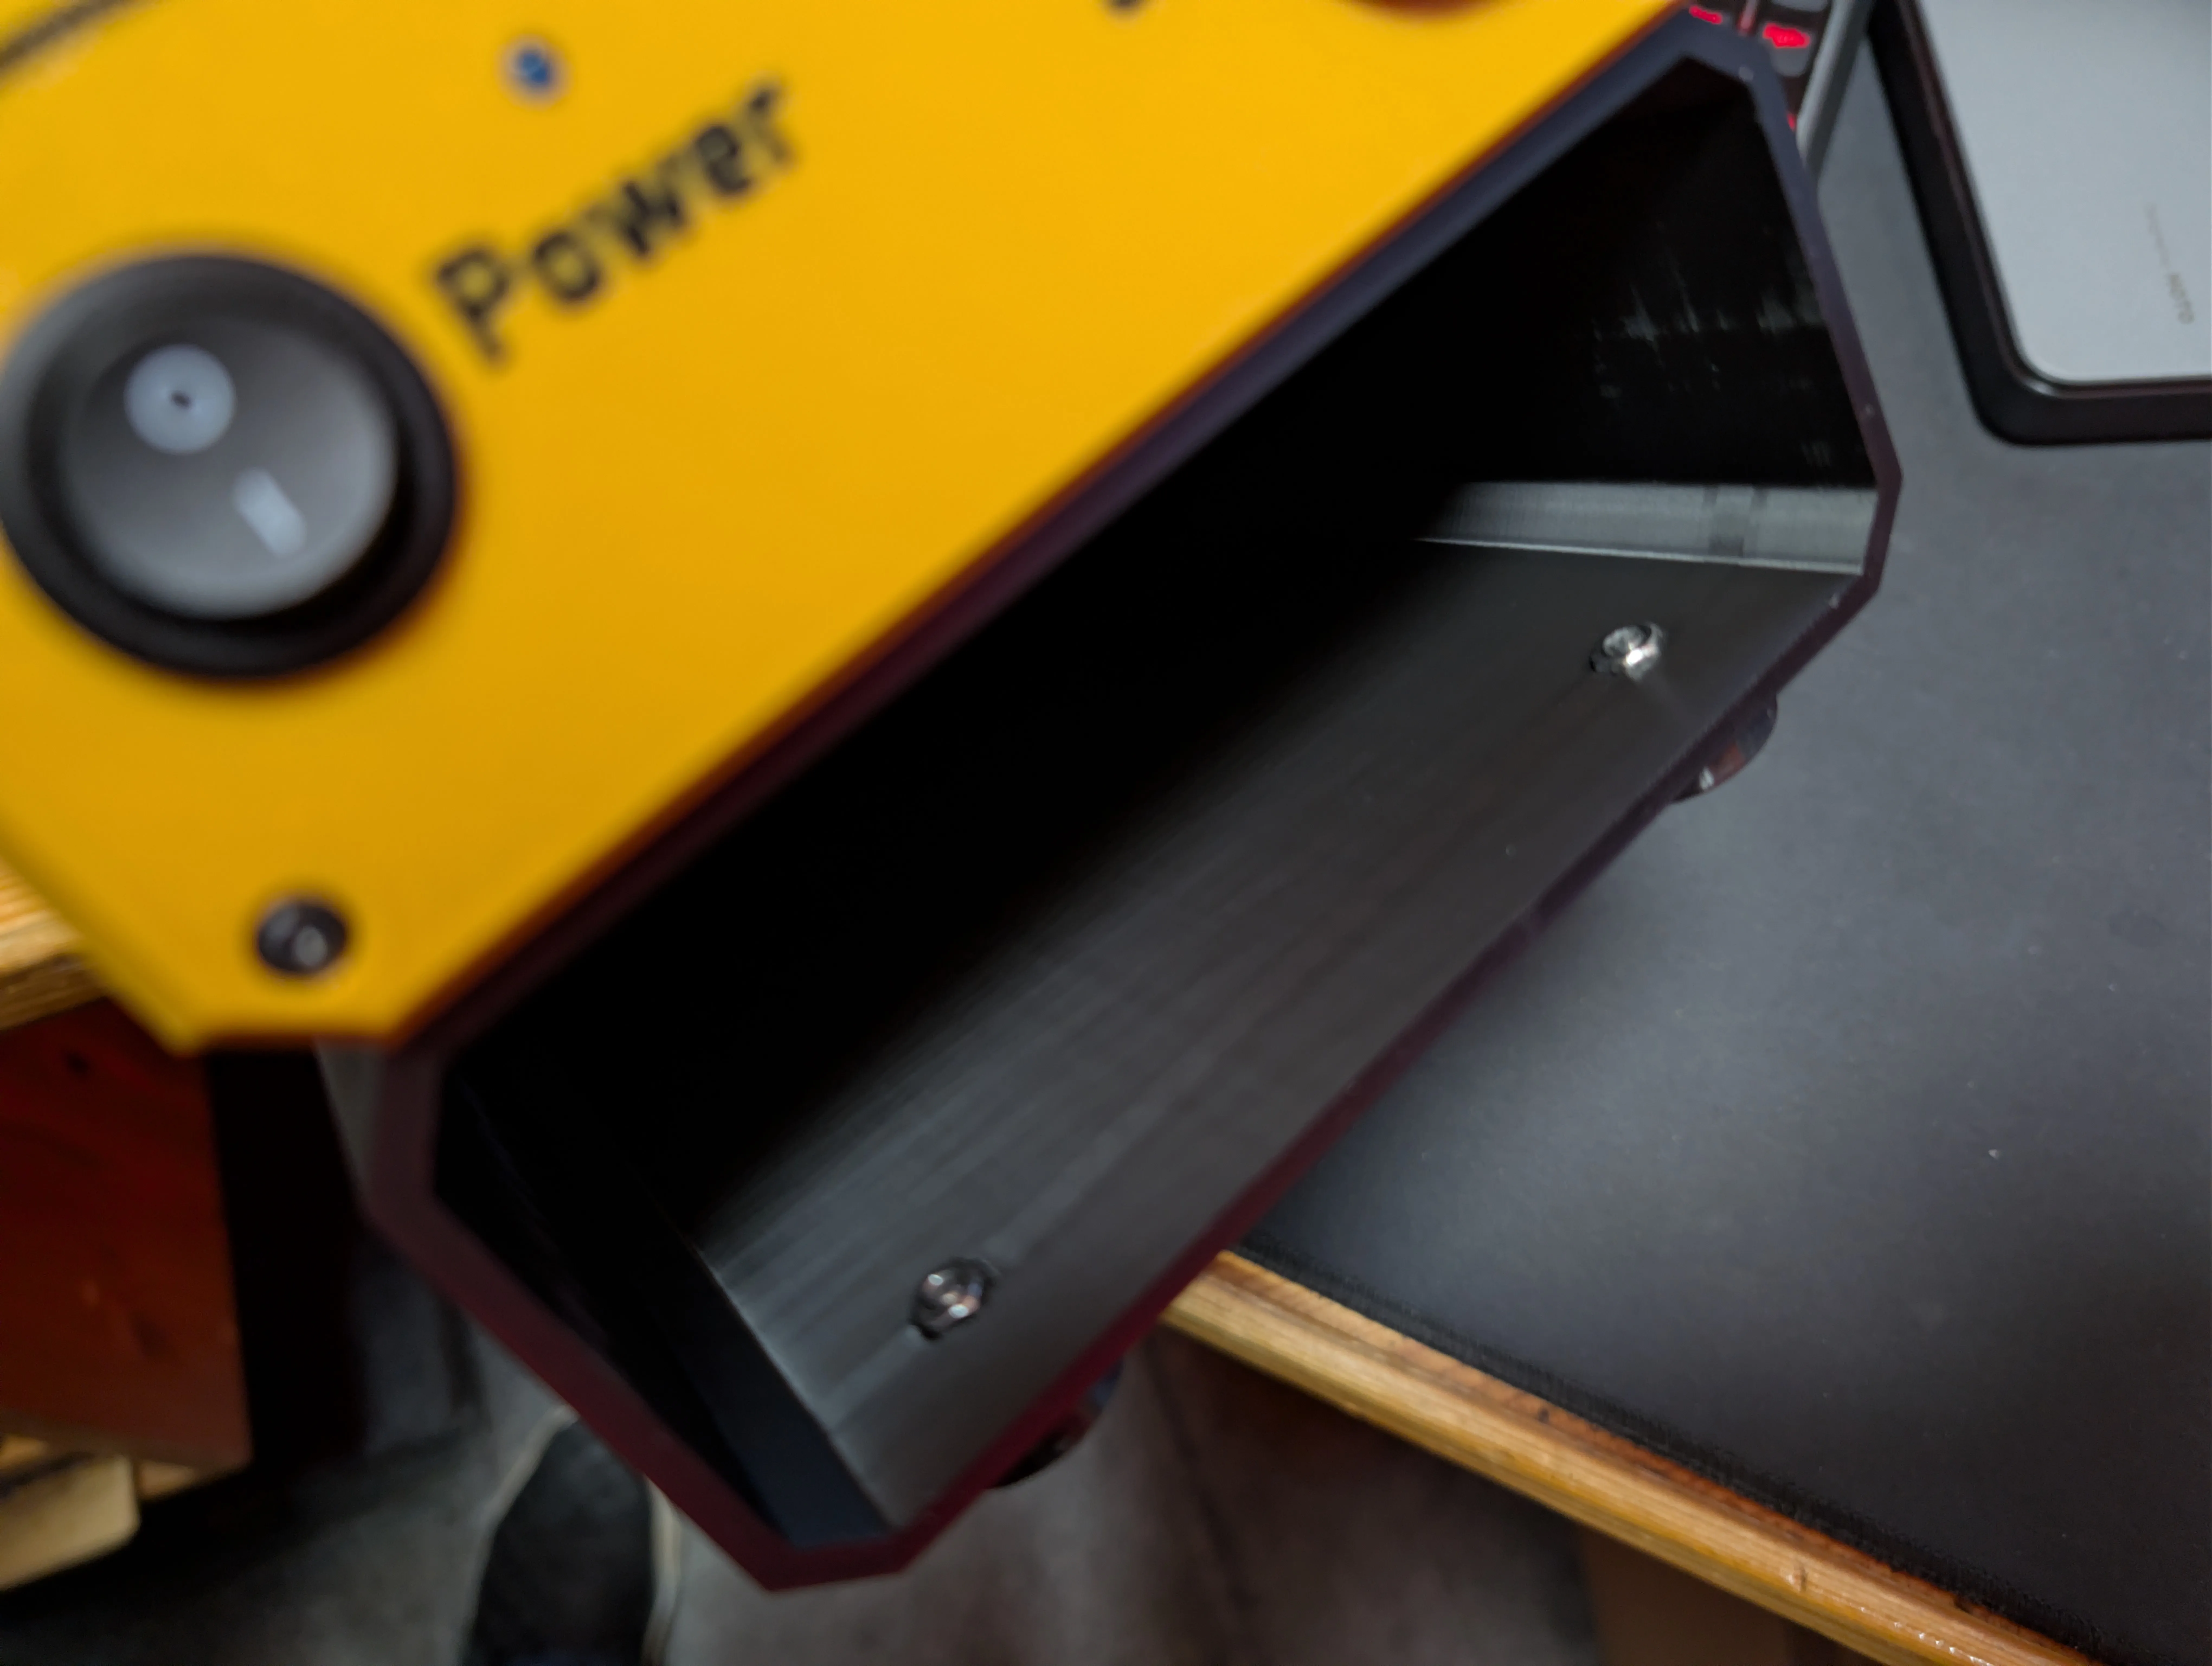
Once the glue has dried from fitting the magnets, from the rear of the drawer shell fit the magnet clasp part…
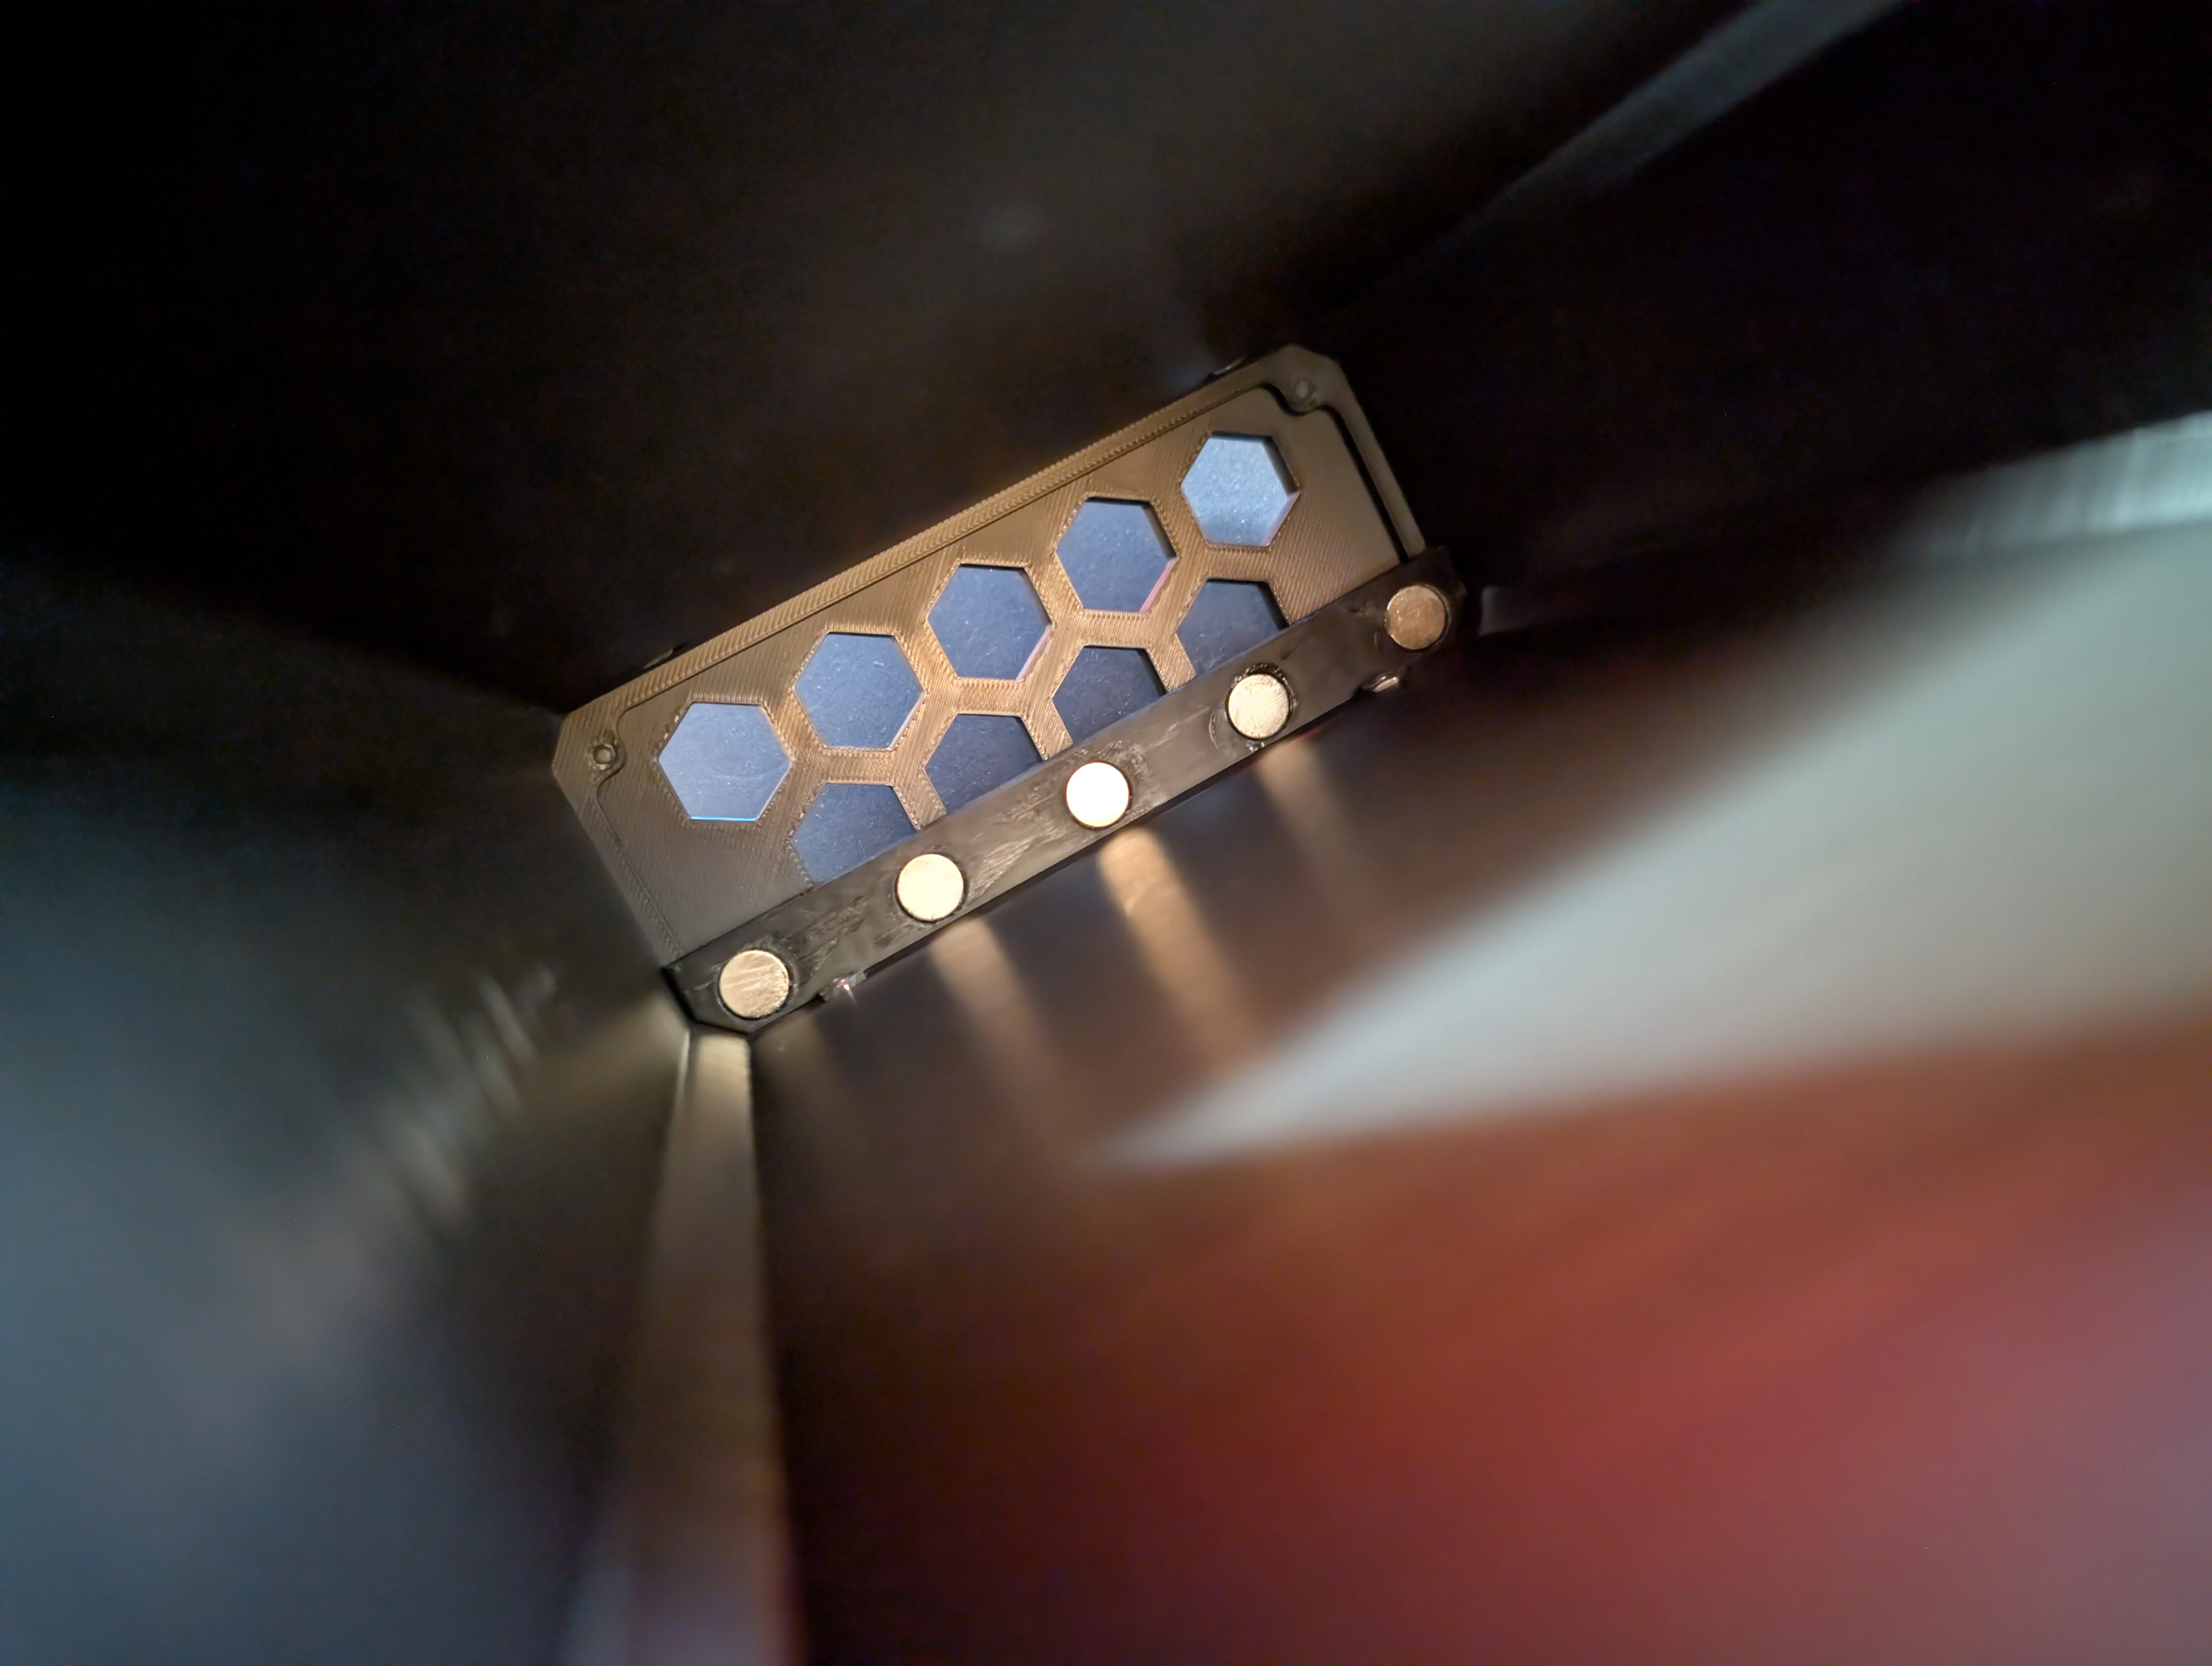
Use the 2 x M3x10 bolts in the slotted holes underneath the shell to secure it but leave it only tight enough that it can slide a bit in the slots…
Next slide the drawer into the shell all the way so its fully “closed”… and then tighten up the 2 x M3x10 bolts to finally secure the magnet clasp… this is to allow for dimensional tolerances from printing and magnet fitting and ensure that the magnets are fully engaged before tightening up.
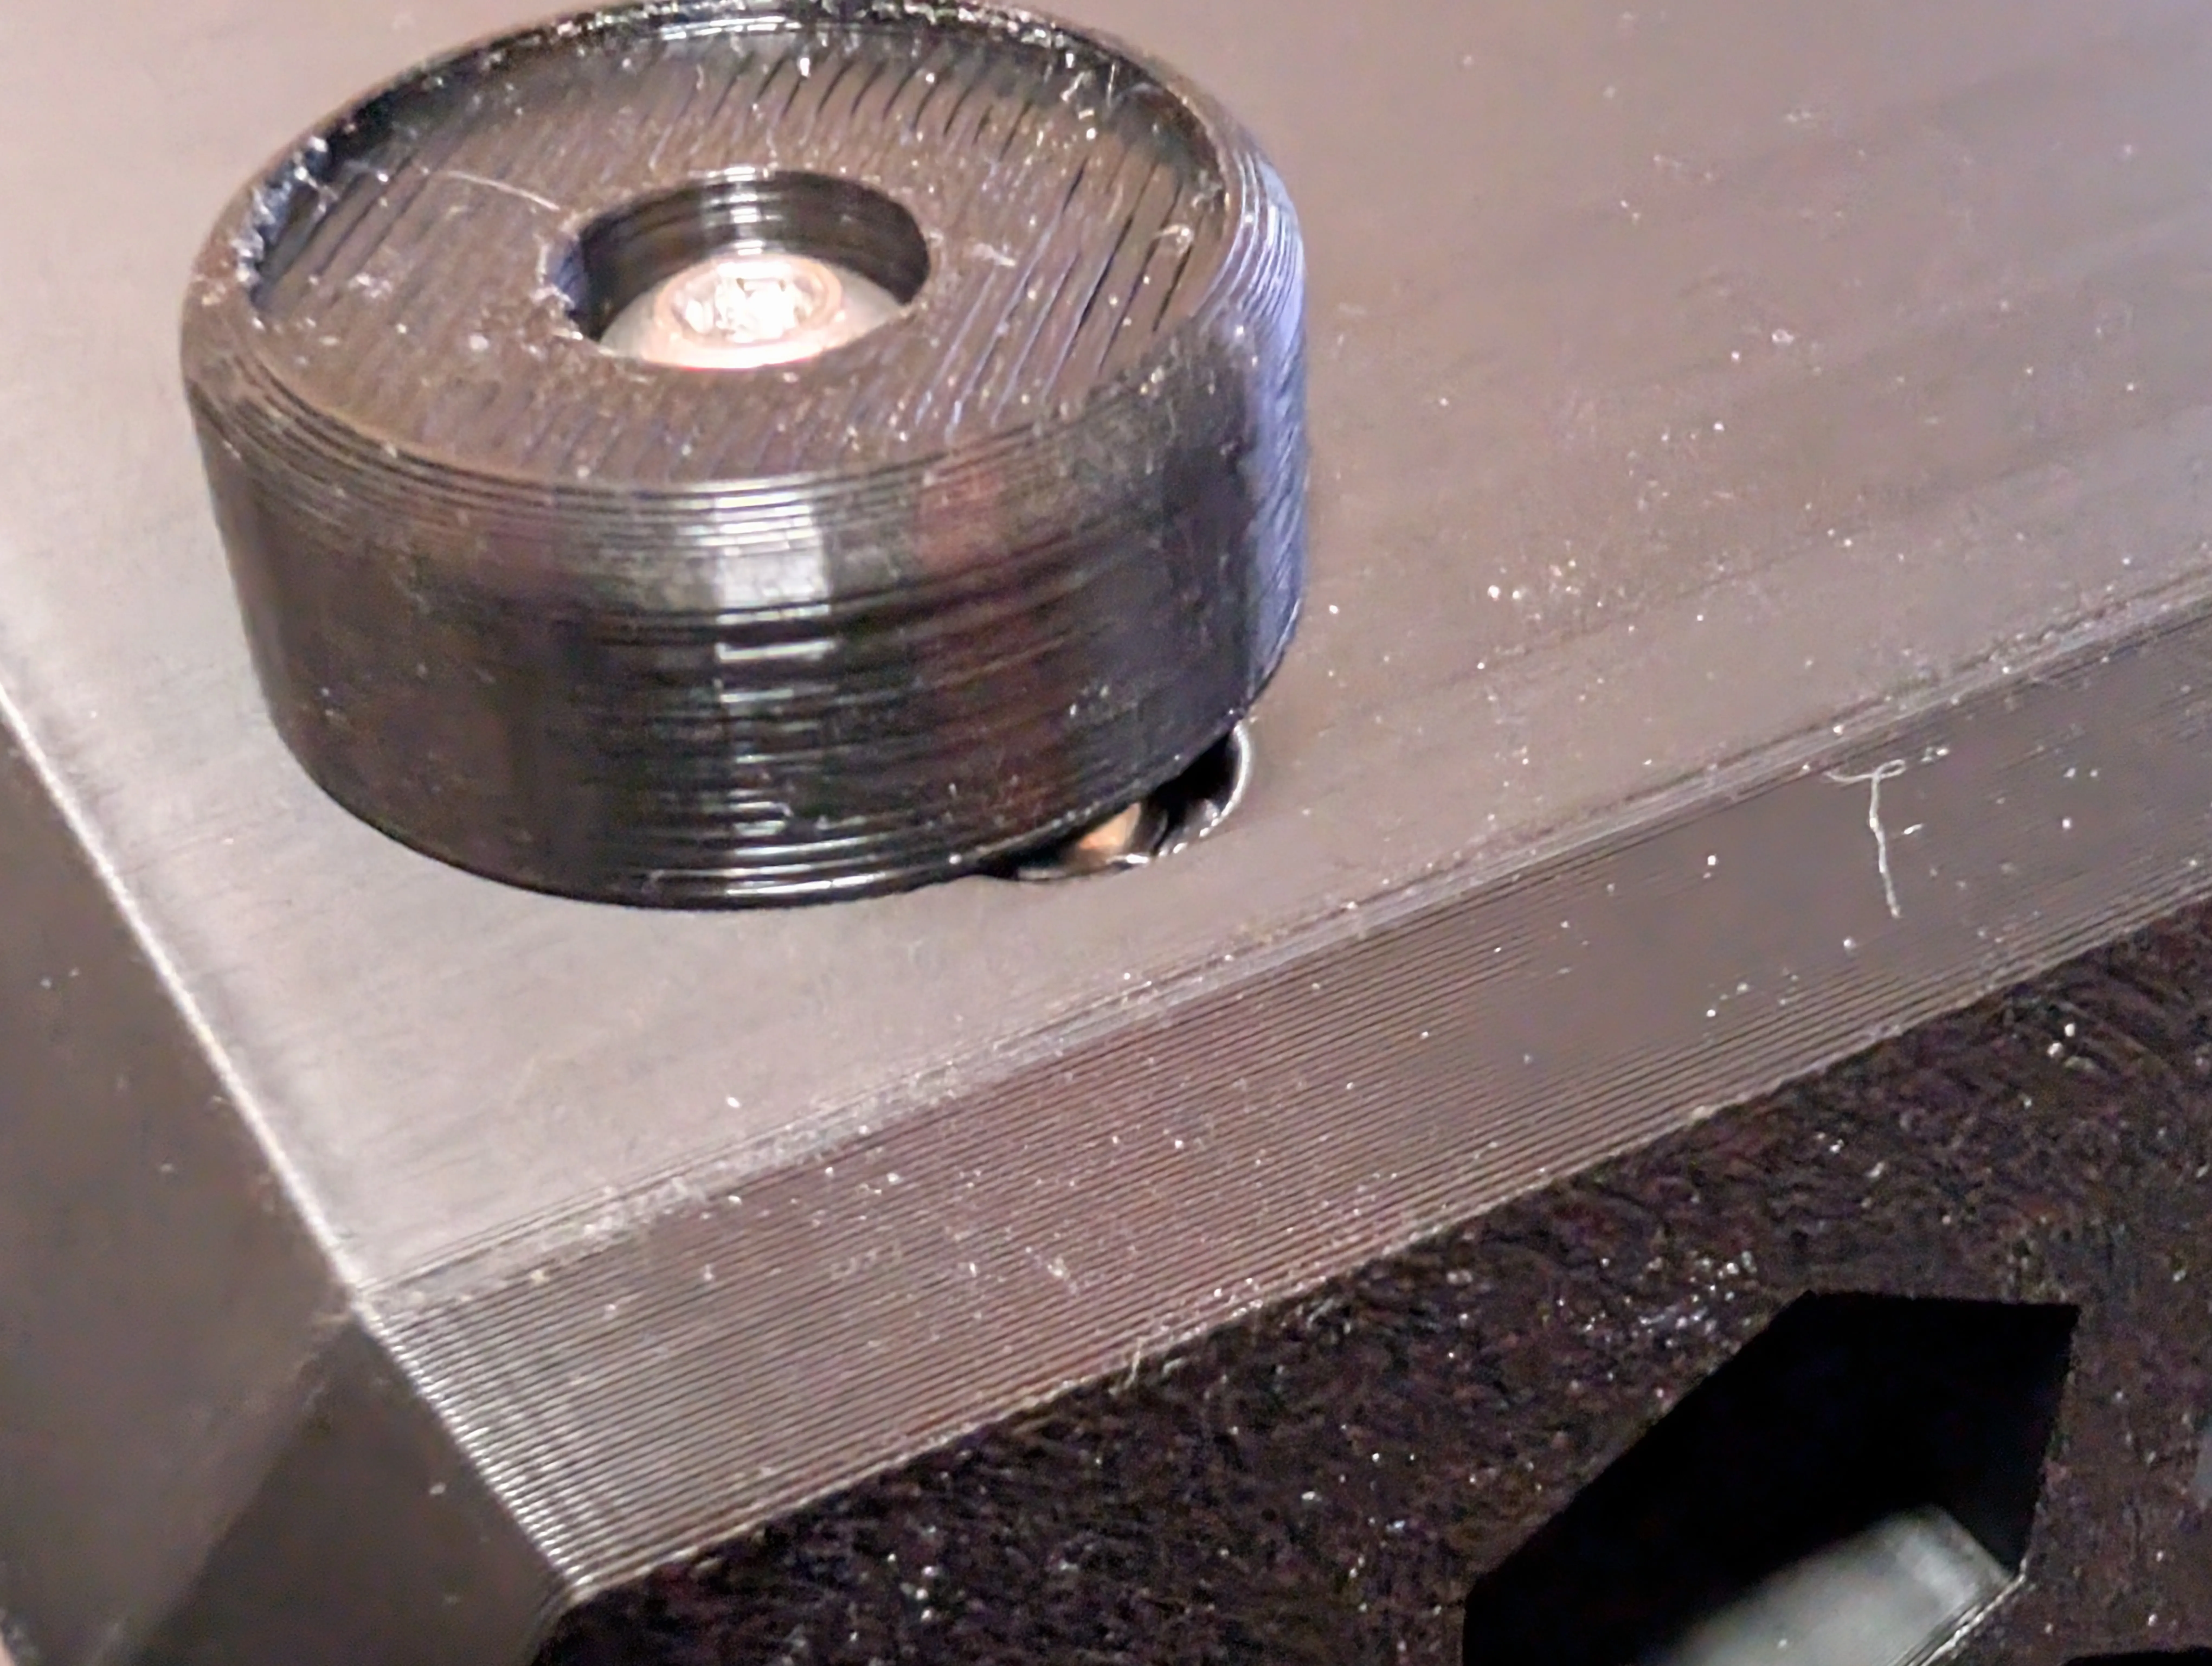
You can then fit the rear feet… these need to be done after the magnet clasp as the feet cover the slotted holes
And then all thats left is to fill the drawer with whatever you need
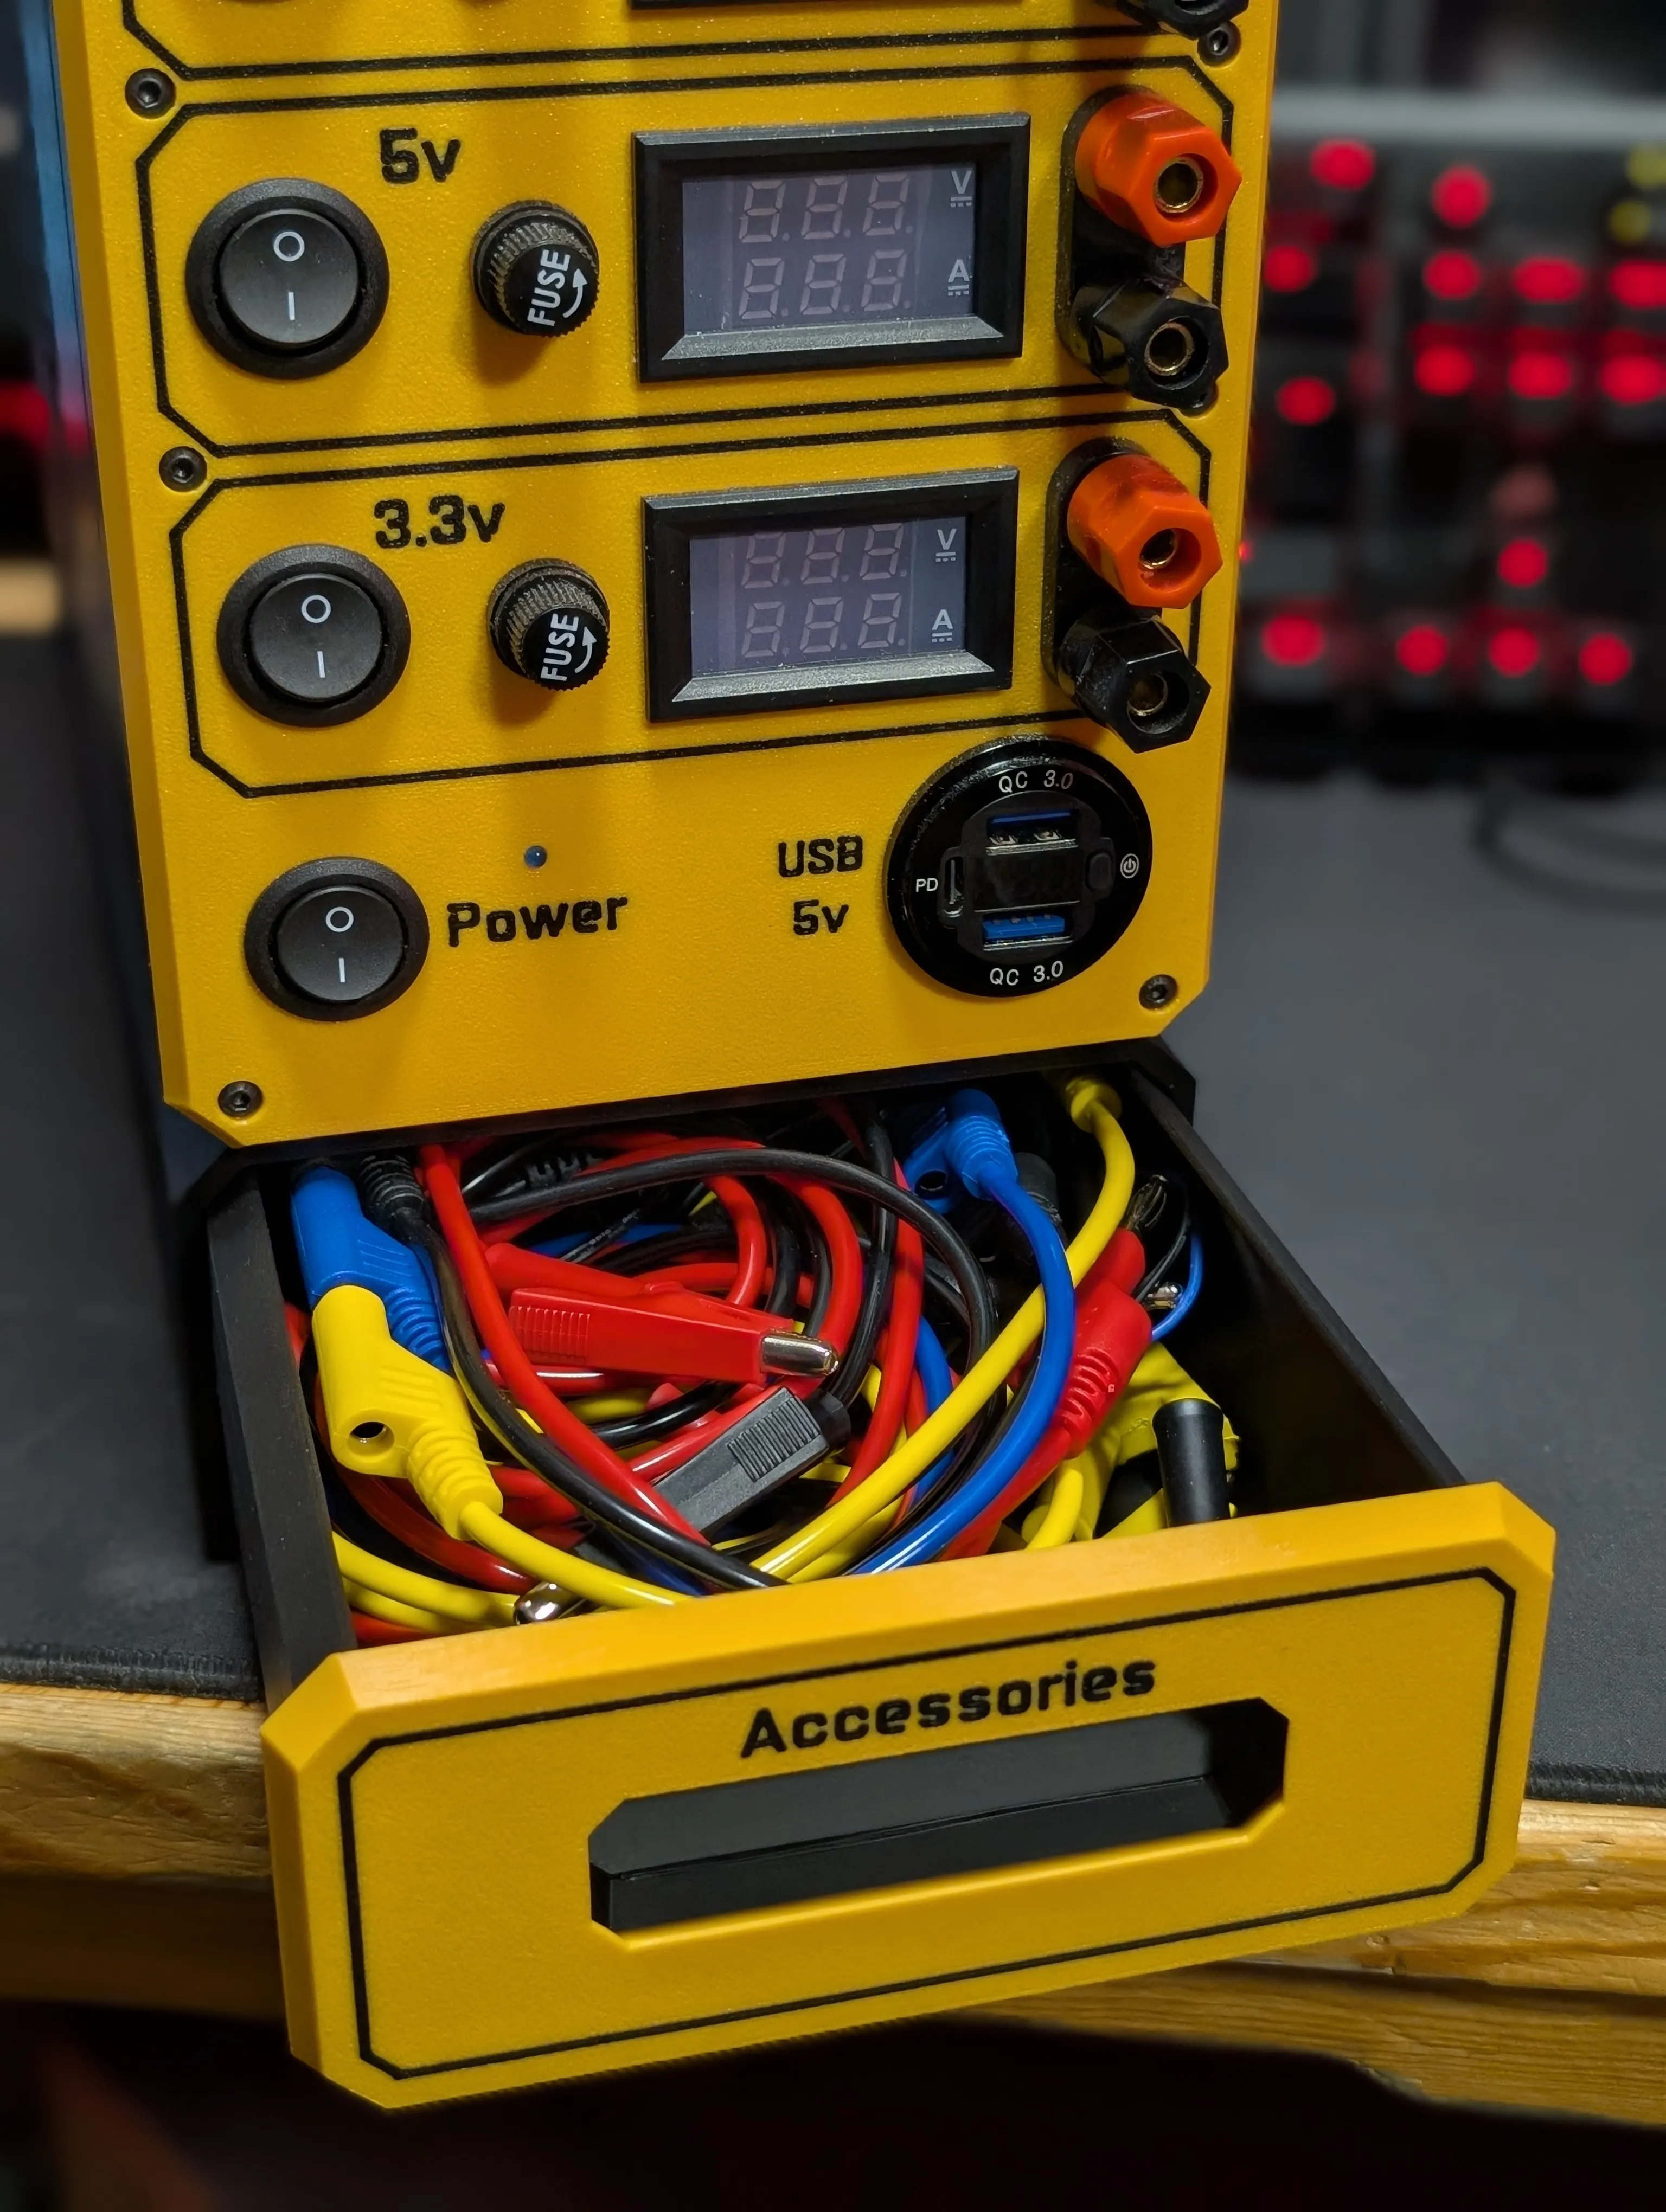
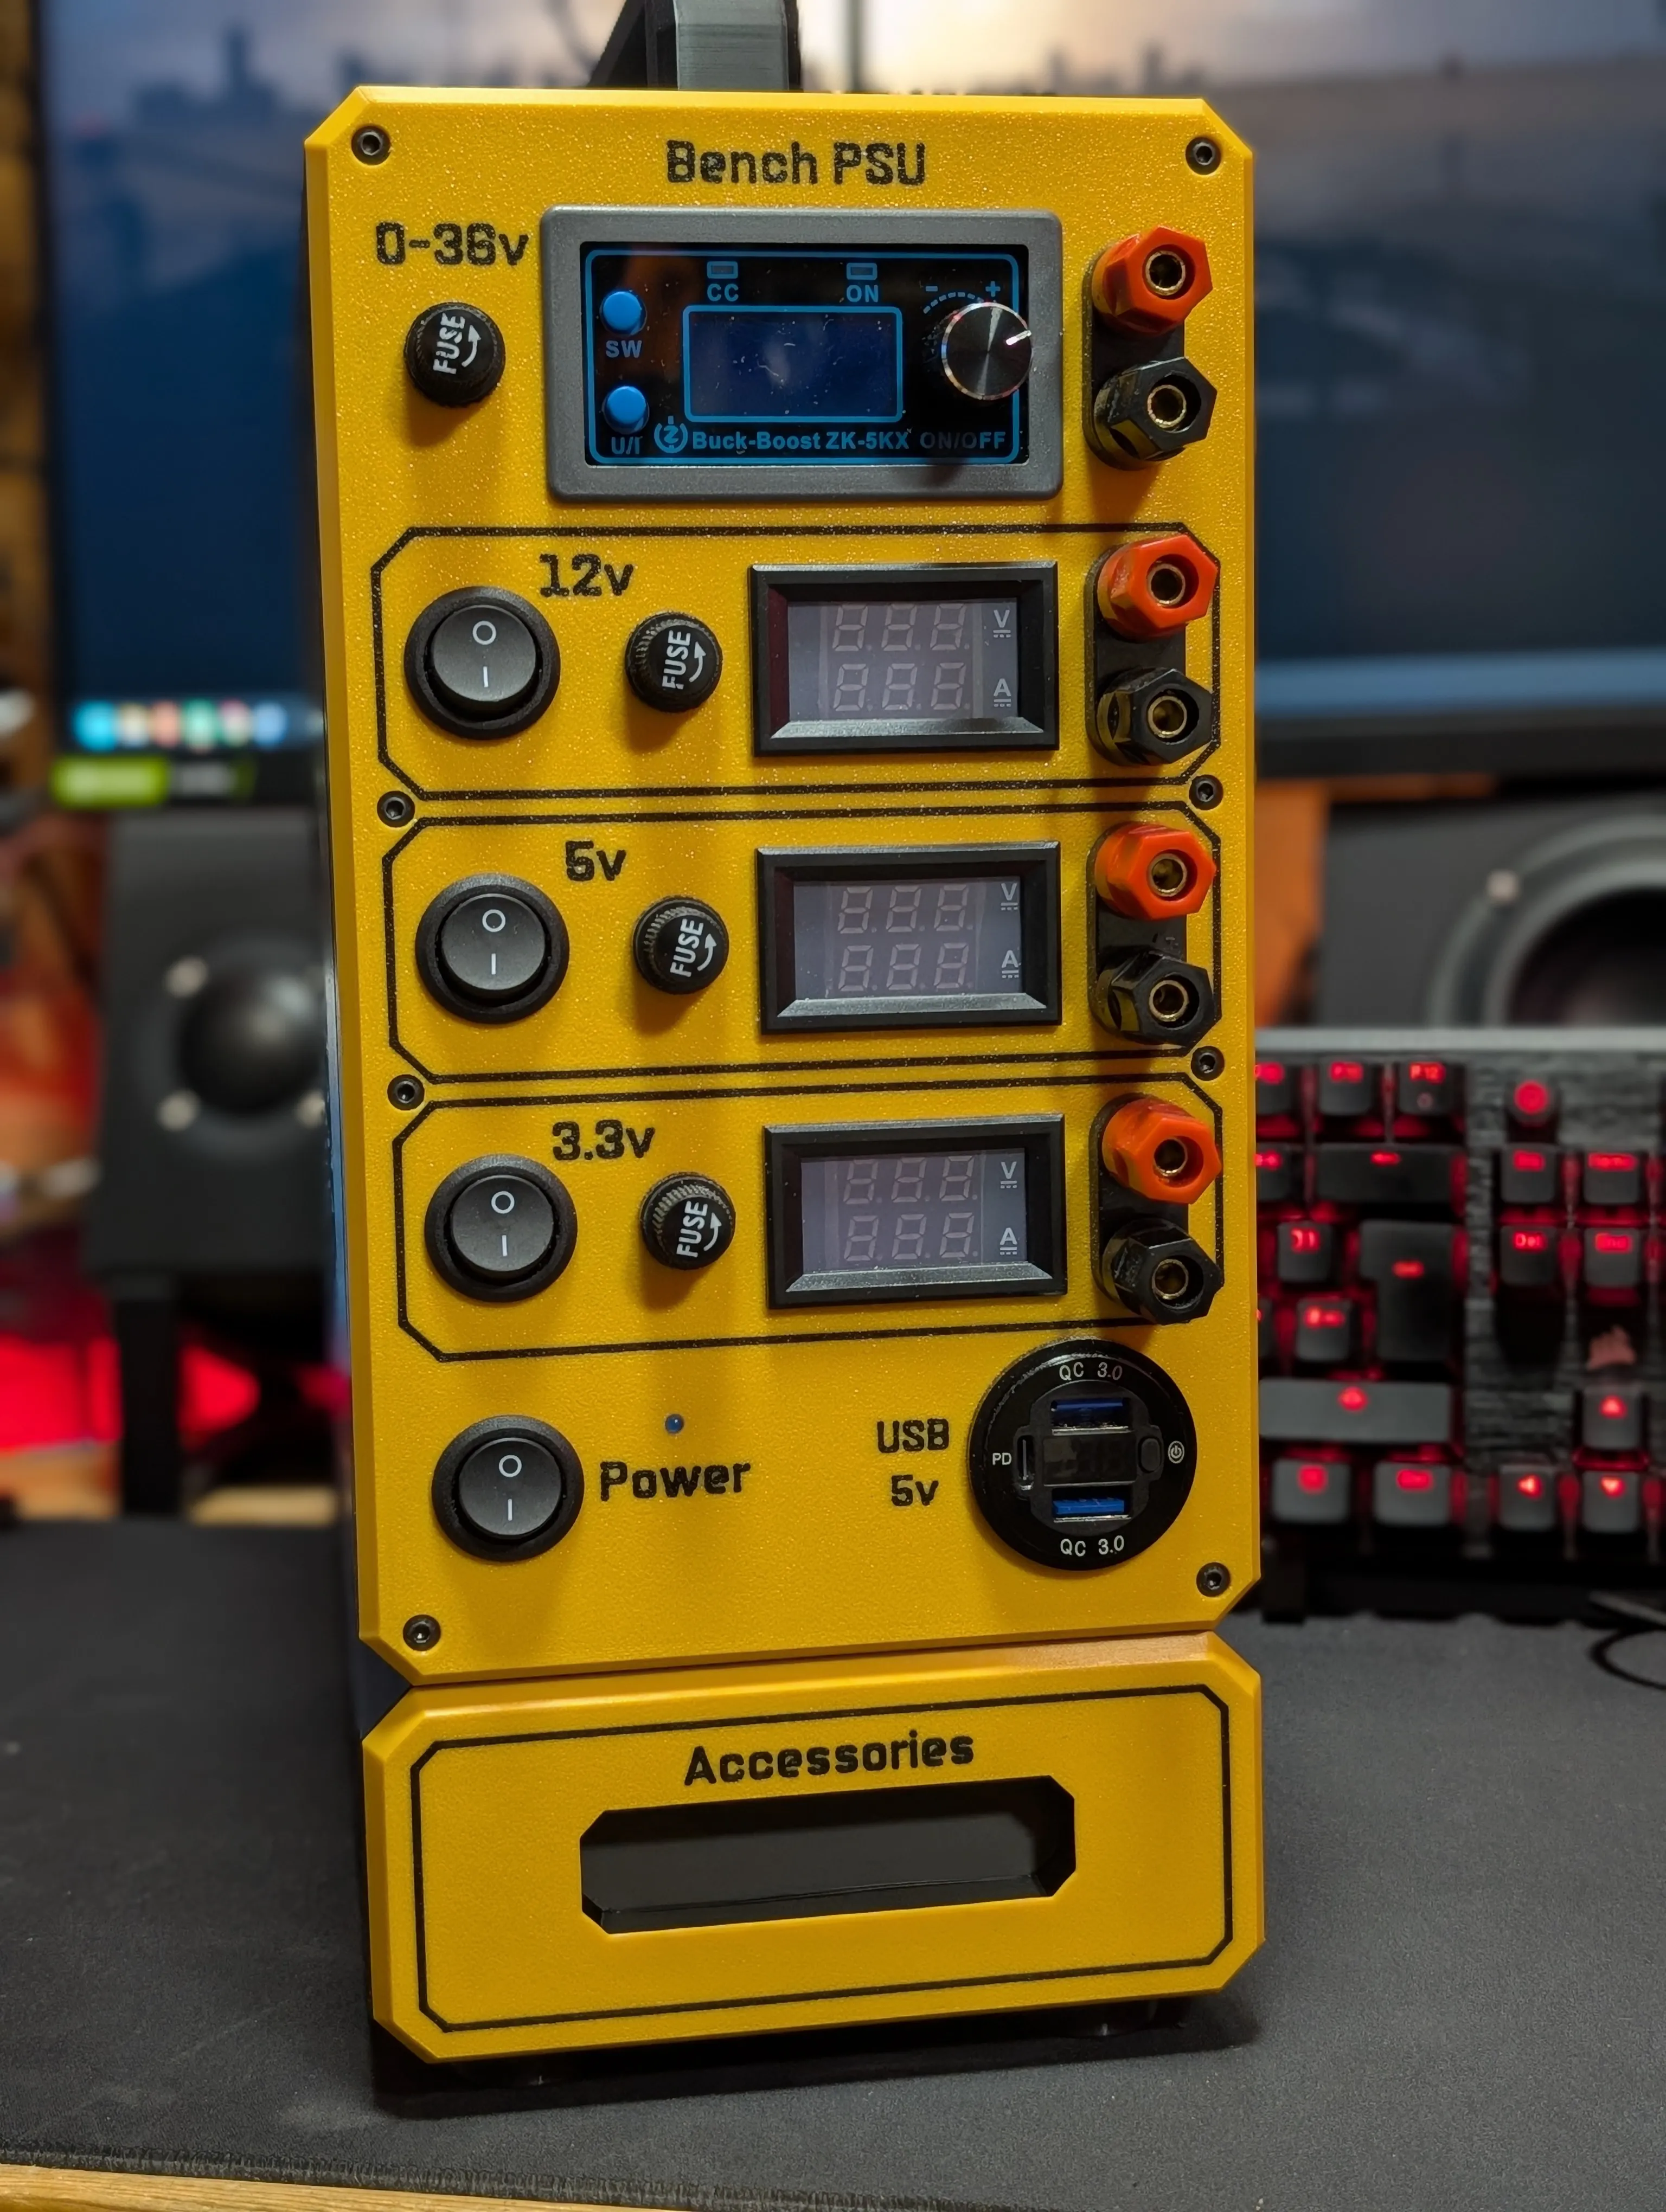
You can of course print more than one and stack them under each other or create a standalone stack that compliments your bench PSU
Boost Me (for free)
If you really like this print please feel free to boost me... thanks :)
License

You shall not share, sub-license, sell, rent, host, transfer, or distribute in any way the digital or 3D printed versions of this object, nor any other derivative work of this object in its digital or physical format (including - but not limited to - remixes of this object, and hosting on other digital platforms). The objects may not be used without permission in any way whatsoever in which you charge money, or collect fees.


Comment & Rating (2)