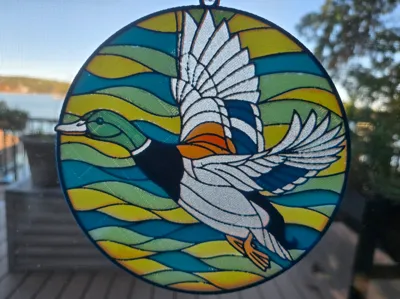
Mallard Drake in Stained-glass Style


Print Profile(1)

Description
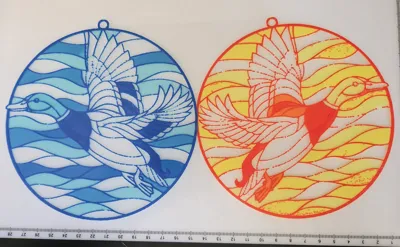
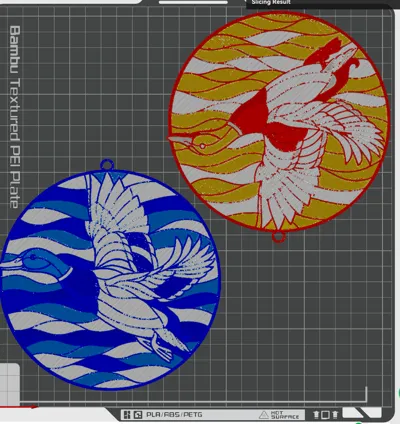
This Mallard stained-glass styled window art is the result of a request. There are two parts to it, a blue/teal part and a red/yellow part, but both parts are sized to fit on one plate. The parts are configured as split-by-color, so layer swaps are configured by object, not by layer. Though the models use a total of six filaments and assume the use of an AMS, it is possible to do this with just one AMS unit by swapping out the blue and teal for the yellow and red after the blue is finished and before the white is done. The two parts are printed mirrored on the X-axis to allow the parts to be mated and glued flat side to flat side.
One of the two models can be moved to second plate if the available printer has a bed smaller than 256 mm by 256 mm or if not choosing to hot swap the extra filaments with one four slot device.
If not using an automatic material handling device, models need to be on separate plates and pauses would need to be applied at the appropriate layers to allow for filament swaps (see the bottom of this description).
Teal/Blue Filaments:
PETG GeeeTech Transparent Transmission Distance: 100
PETG Polylite Teal Transmission Distance: 0.9
PETG Kaaber Blue Transmission Distance: 3.3
White/Yellow/Red Filaments
PETG GeeeTech Transparent Transmission Distance: 100
PETG Overture White Transmission Distance: 18
PETG Wellshow Yellow Transmission Distance: 5.2
PETG Kaaber Red Transmission Distance: 6.5
Feel free to substitute filaments that have similar colors and TD values. I use PETG for heat resistance, but PLA can be substituted for all of these, if no extreme sun exposure can be guaranteed.
These models are very thin, use caution when getting them off the build plate. With PETG on a standard BambuLab textured PEI plate be sure to cool the plate completely and/or use some glue stick as a release agent to ease removal from the build plate.
Instructions for manual swap pause locations on separate plates.
Swap Instructions (Teal/Blue - lower left):
Start with Transparent
At layer #2 (0.24mm) swap to Teal
At layer #5 (0.48mm) swap to Blue for the rest.
Swap Instructions (White\Red\Yellow - upper right):
Start with Transparent
At layer #2 (0.24mm) swap to White
At layer #4 (0.4mm) swap to Yellow
At layer #7 (0.64mm) swap to Red for the rest.
Comment & Rating (1)