

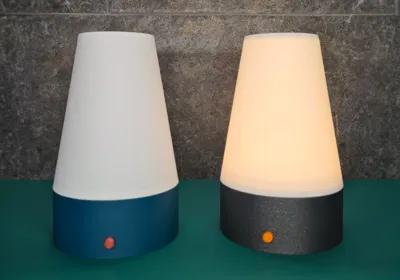
Print Profile(2)

Bill of Materials

Description
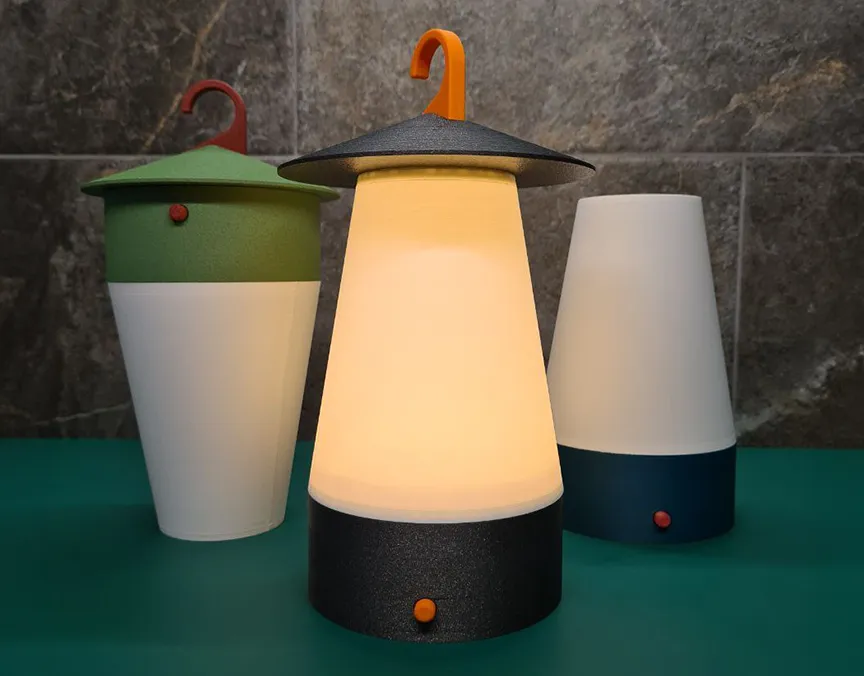
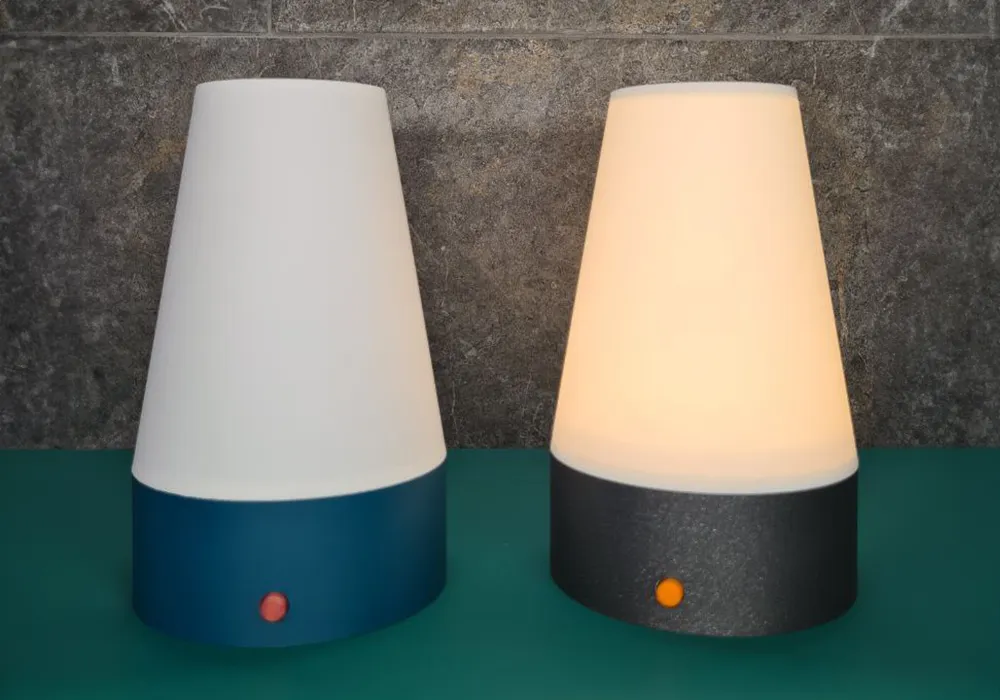
Light up your world with freedom!
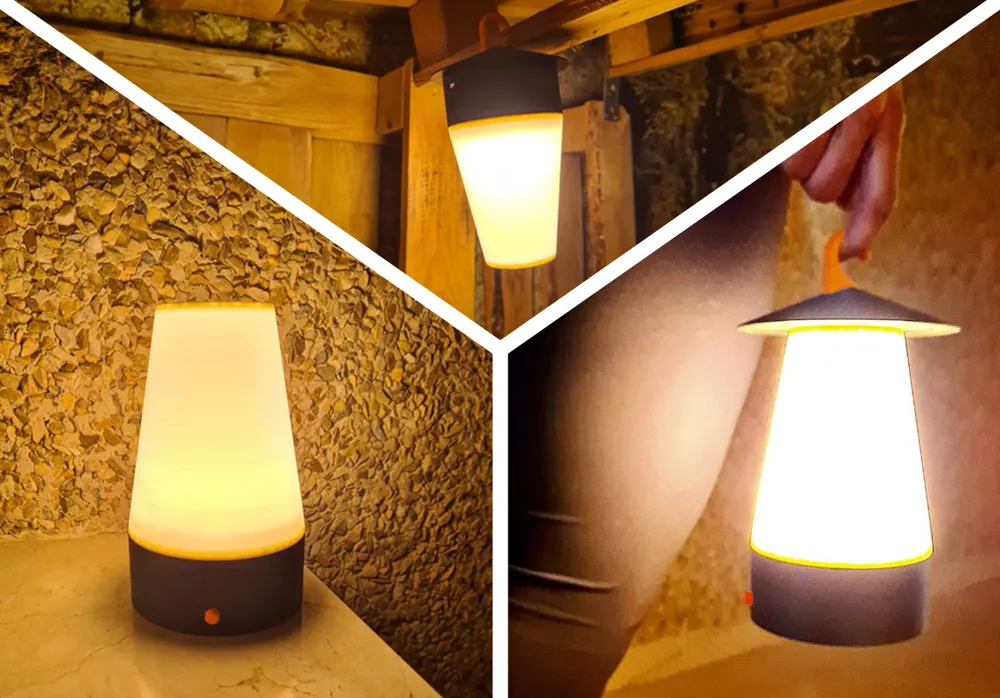
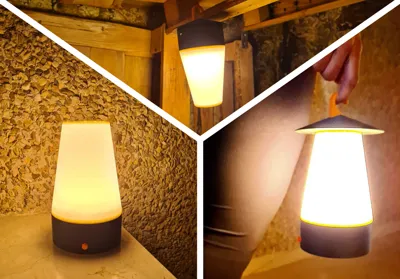
Take light wherever you go with the new portable lamp, a versatile tool that offers you powerful and flexible lighting both indoors and outdoors.
Forget about cables and plugs thanks to its long-lasting rechargeable battery. Enjoy many Hours of uninterrupted light on a single charge, perfect for camping, picnics, reading nights in the garden or any outdoor activity.
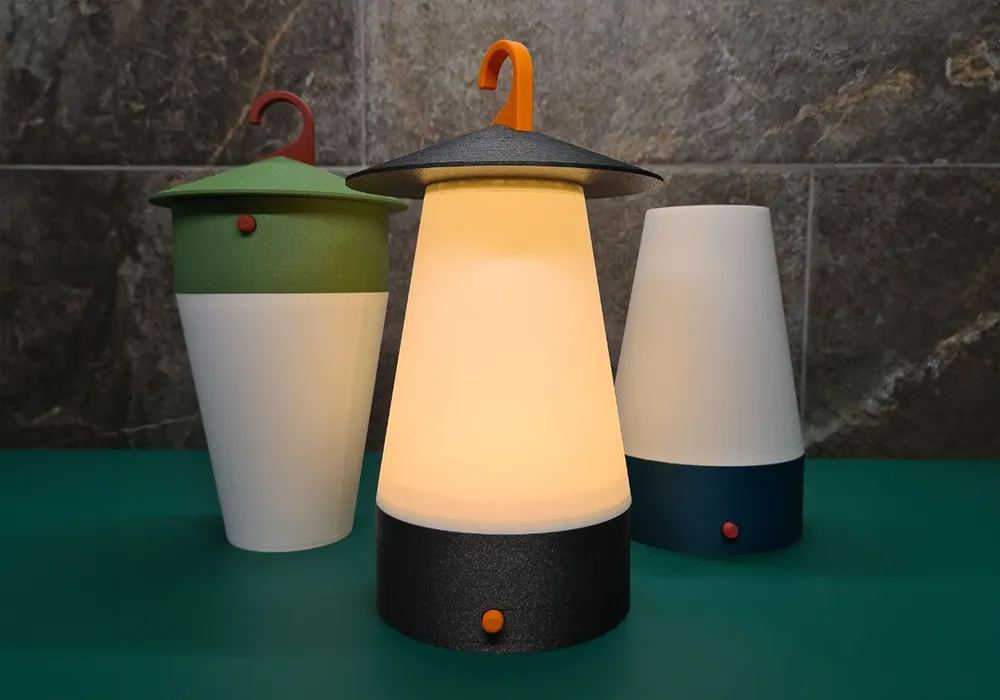
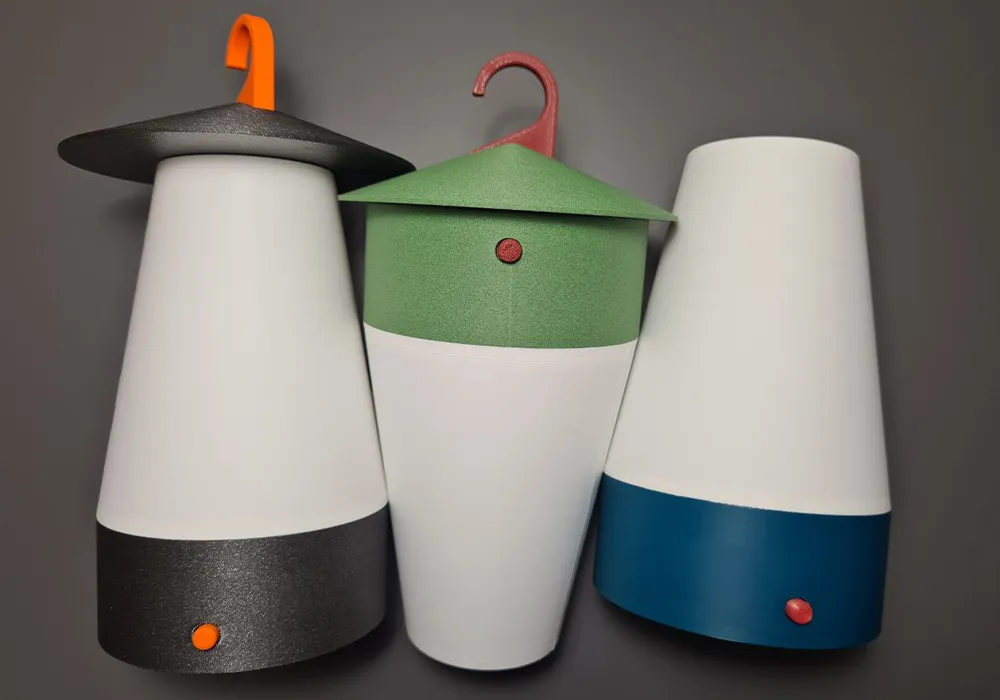
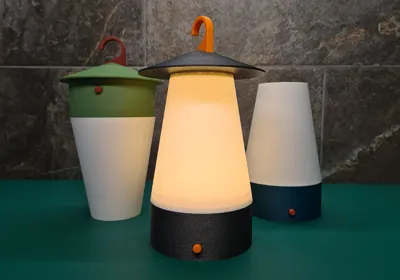
Its compact and lightweight design makes it easy to carry and place anywhere, and with the customization options you can create your perfect lamp.
CUSTOMIZABLE MODEL
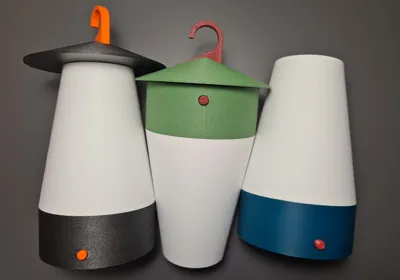
You can create your own model by printing the dome or the base with or without the adapter, to place the hook that allows you to place it in countless places.
BOM
To build this wonderful lamp you only need:
- 1x 18650 Battery
- 1x USB-C 4056 Lithium Battery Charger
- 2x Wago 221-412
- 1x Battery Holder (If you know how to solder the battery, you can do without it. Use the printed holder)
- 1x LED Lamp 001
- 7x M3x8 Screws
And for the hook model you need additionally
- 2x M3x8 Screws
- 1x M3x15 Screw
How to assemble?
First of all, cut the cable of the LED kit 001, leaving 10-12cm of wire on each side. Strip the wires leaving red and black wire on each side.
NOTE
If you do not want to cut the cable of your LED001, you will need a USB-A power adapter.
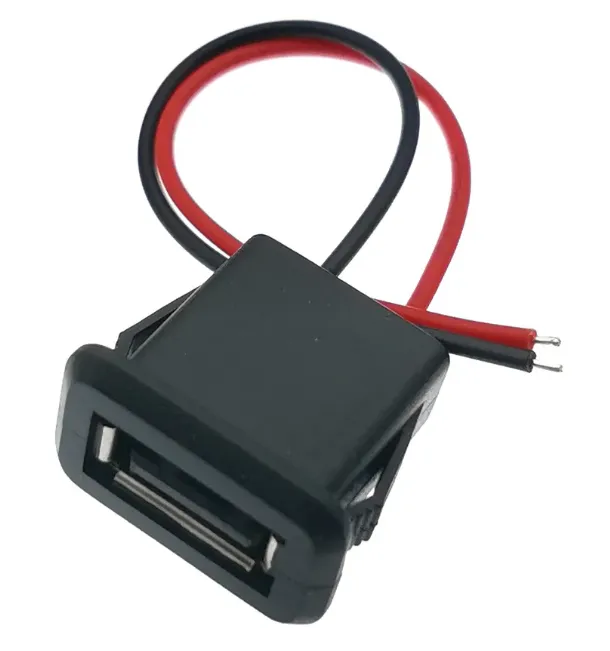
Weld one of the sides to the USB-C board, the red wire to the + and the black wire to the -. Next weld the battery holder placing the red cable to the + and the black cable to the -.
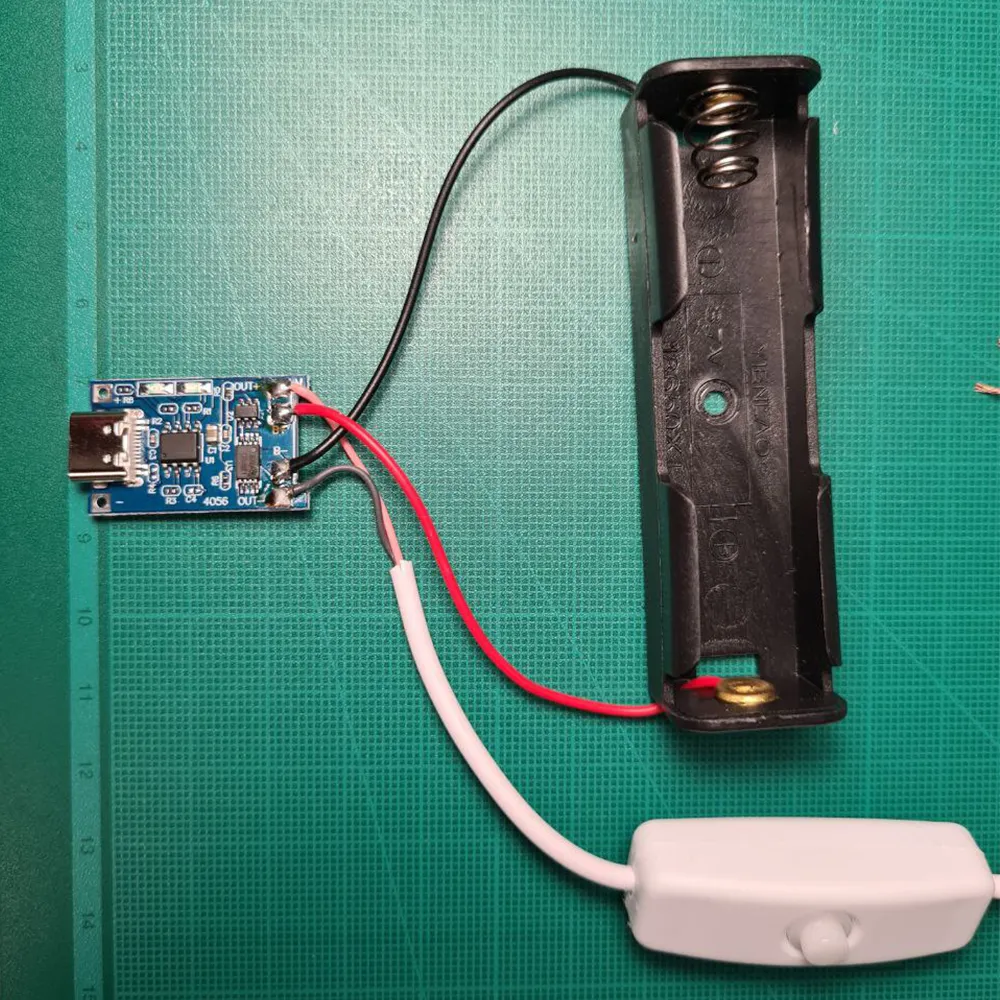
**Note**
Not recommended if you have no soldering experience.
If you have chosen to print the battery holder, you must solder a red wire from the + of the battery to the + of the board and a black wire from the - of the battery to the - of the board.
Once we finished soldering we can proceed to mount the lamp.
STEP 1
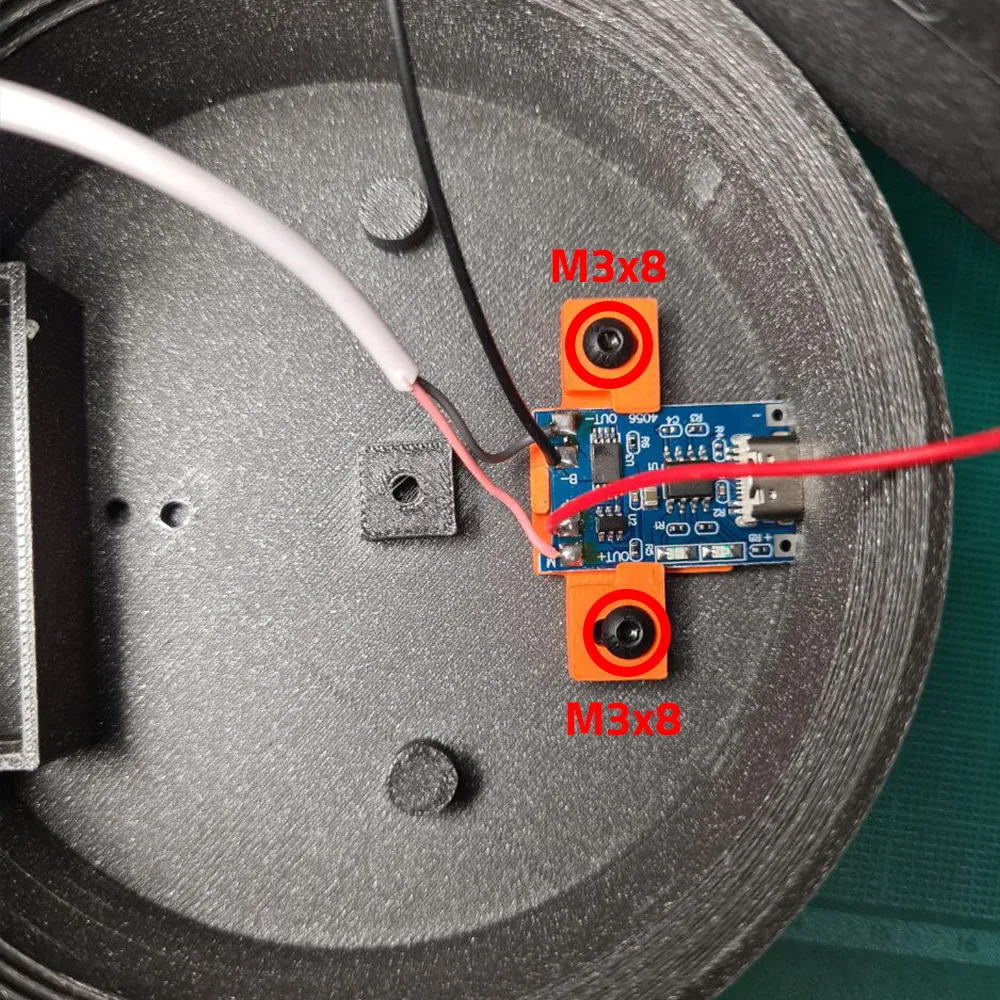
Place the USB-C board in its plate holder with 2 M3x8 screws
STEP 2
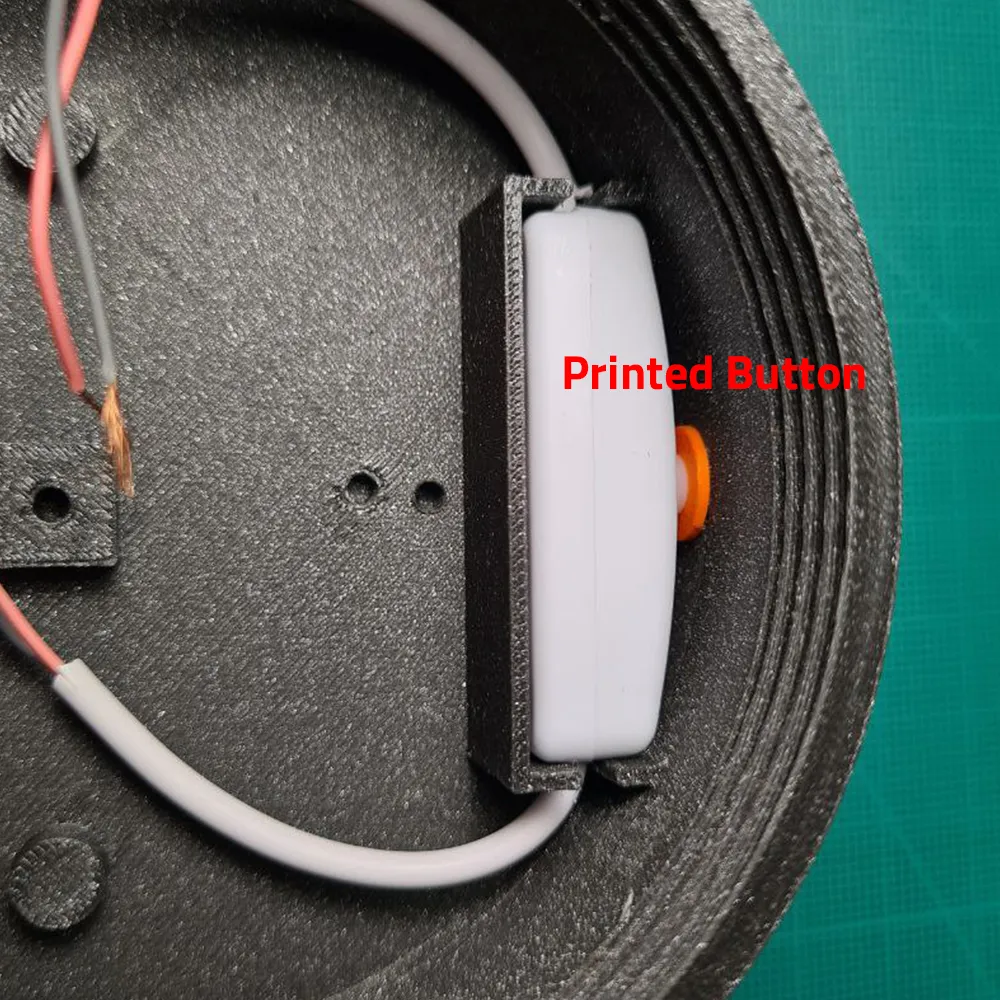
Place the printed button in its place and then fit the switch
STEP 3
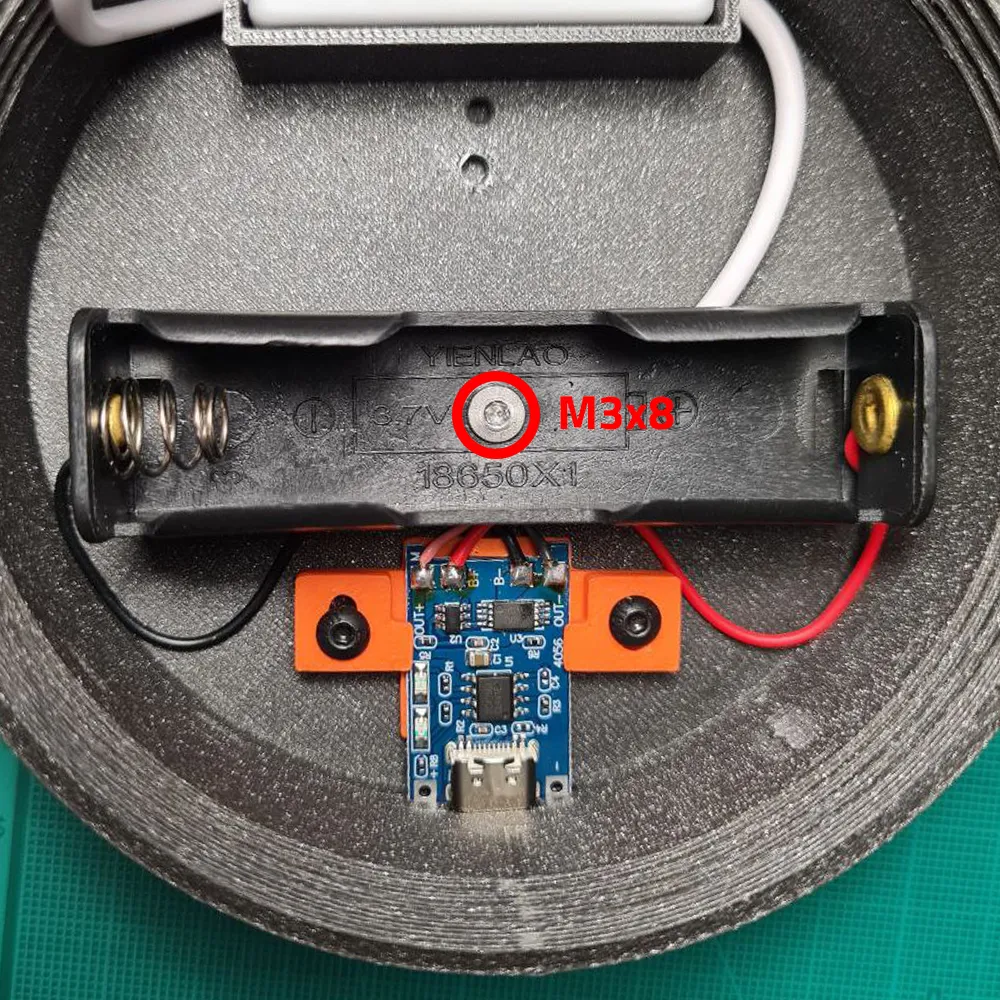
Place the battery holder in the center with a M3x8 screw organizing the cables at the bottom
STEP 4
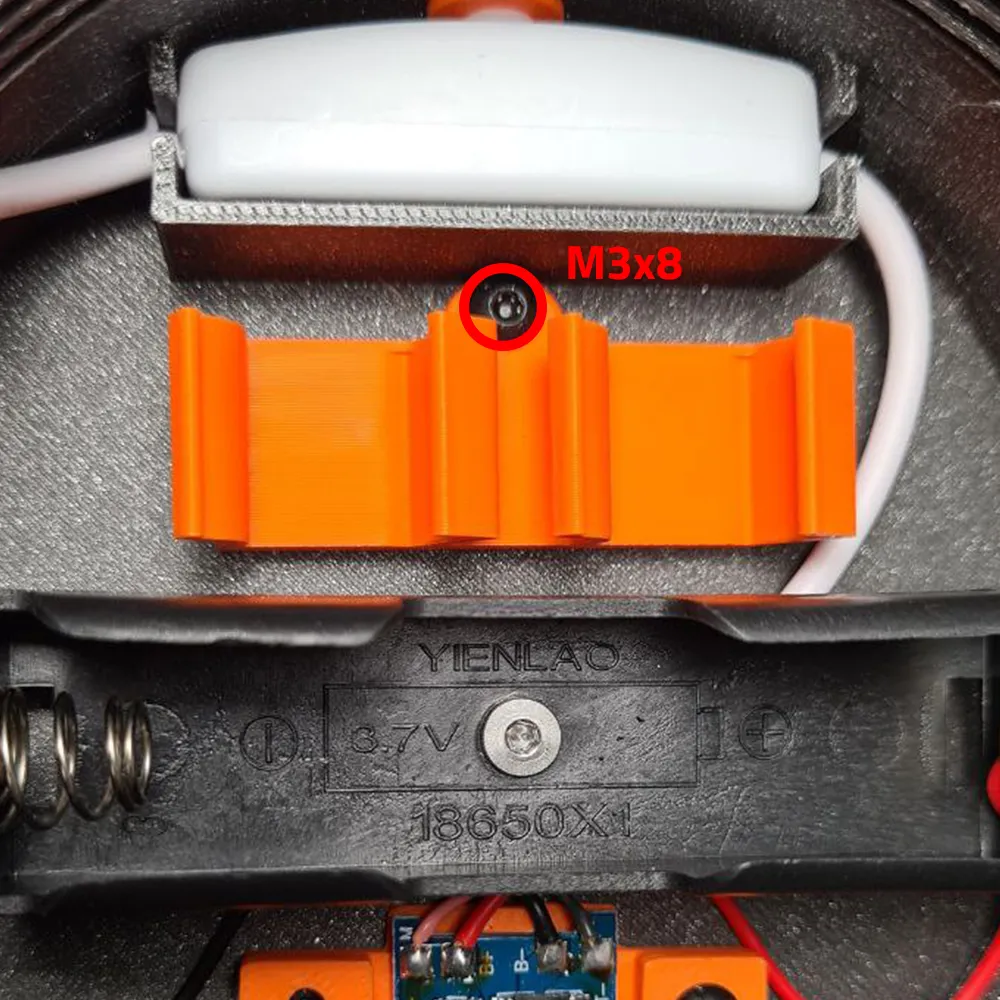
Put the Wago holder in place with 1 M3x8 screw and place the wago in its holder
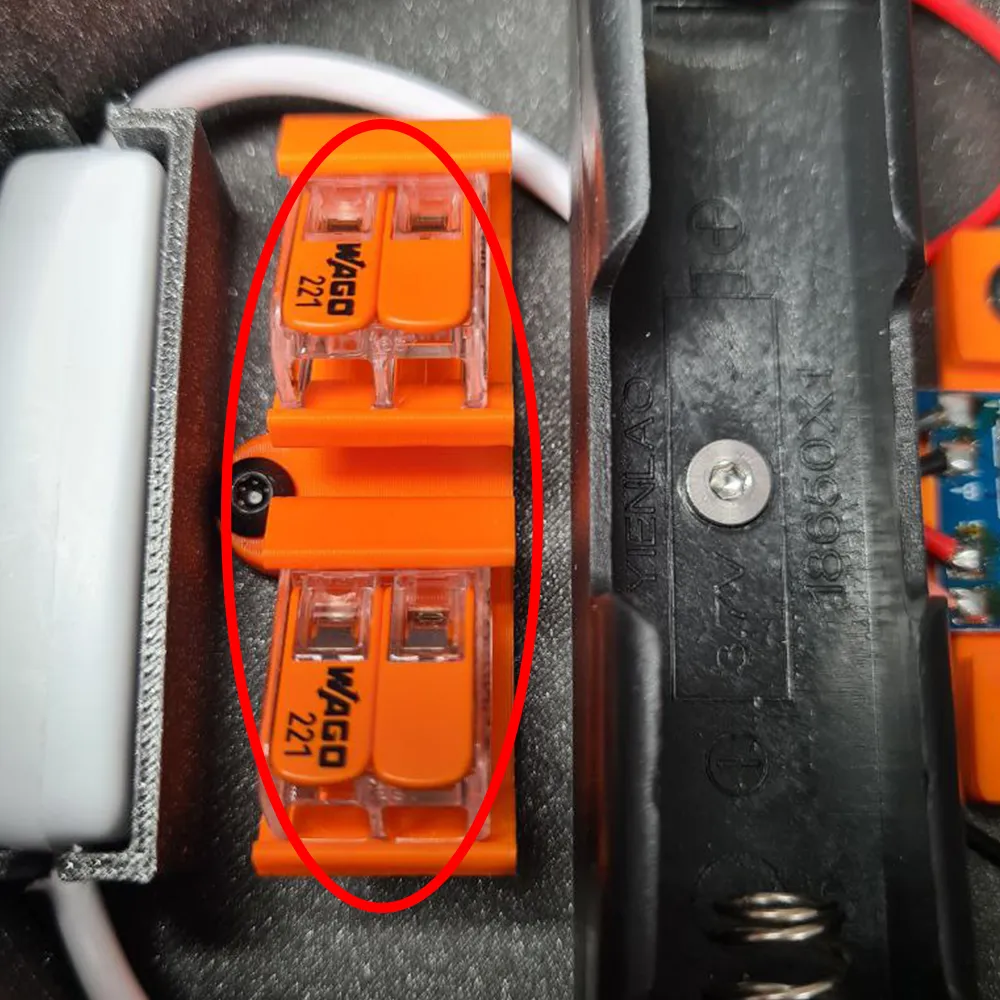
STEP 5
Connect the wires from the other end of the switch, 1 wire to each Wago and then you can put the battery in its holder
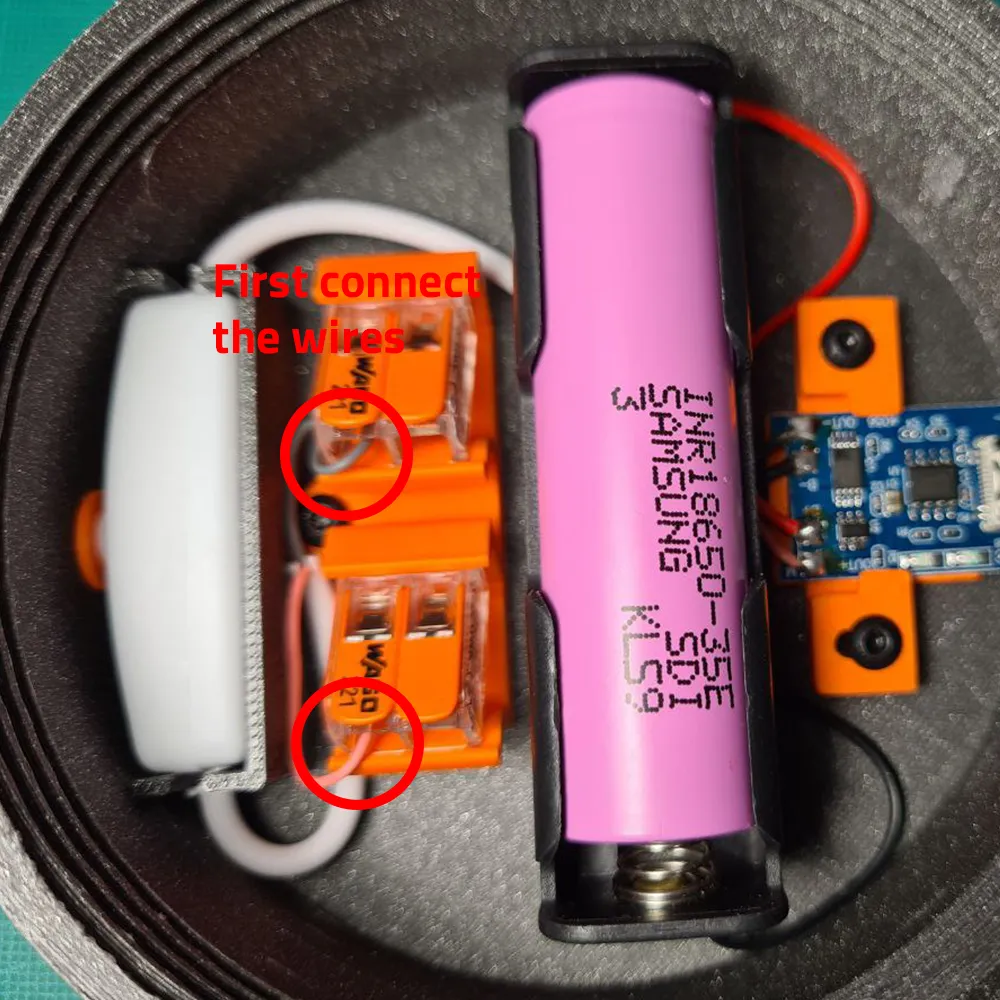
STEP 6
Put the LED001 in the intermediate ring and connect the wires to the wago connector. The red wire to the red wire and the black wire to the black wire.
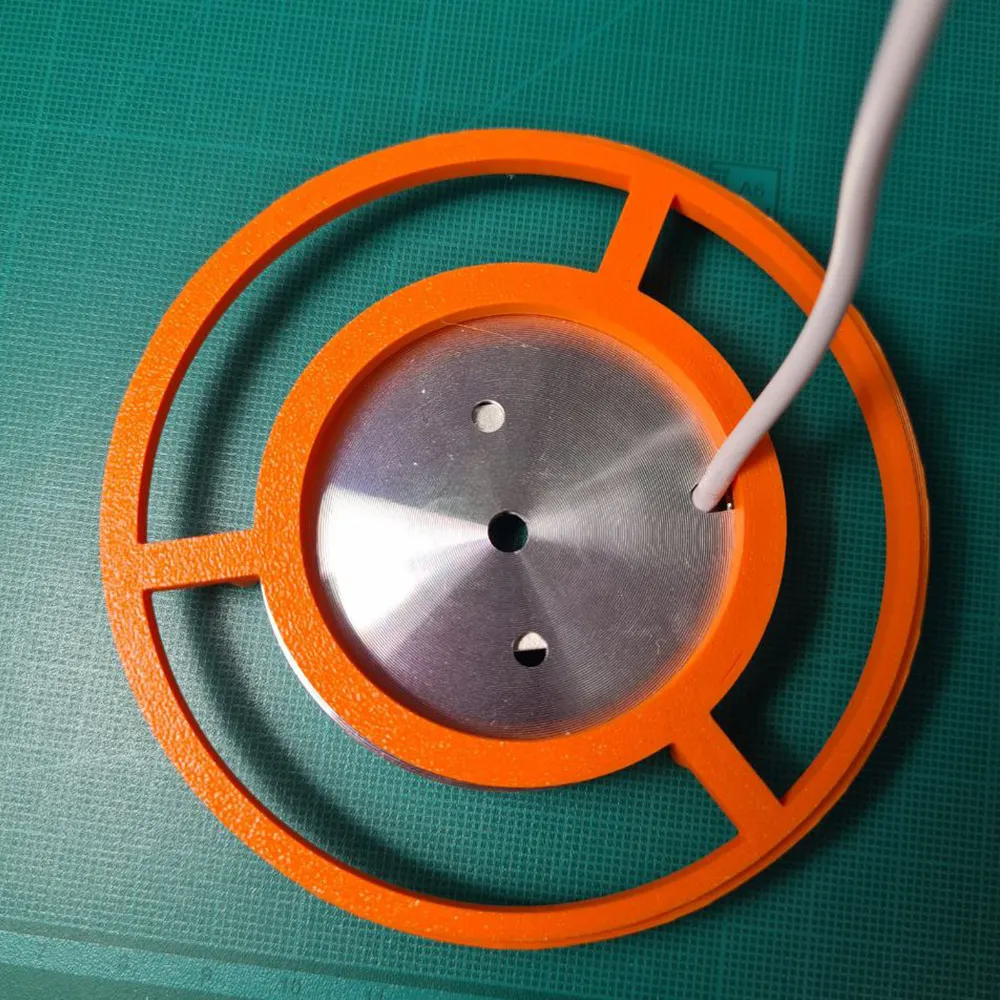
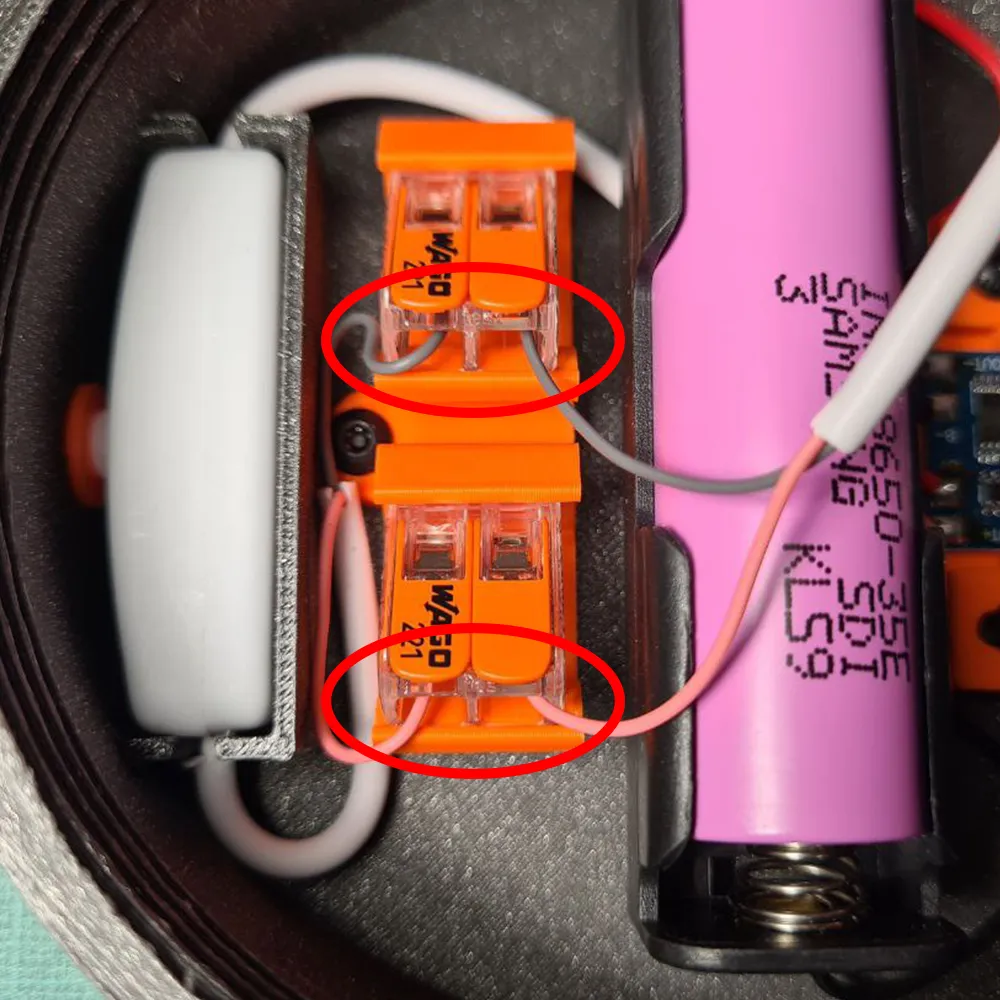
STEP 7
Screw the intermediate ring and place the LED001 in the center organizing the cable at the bottom.
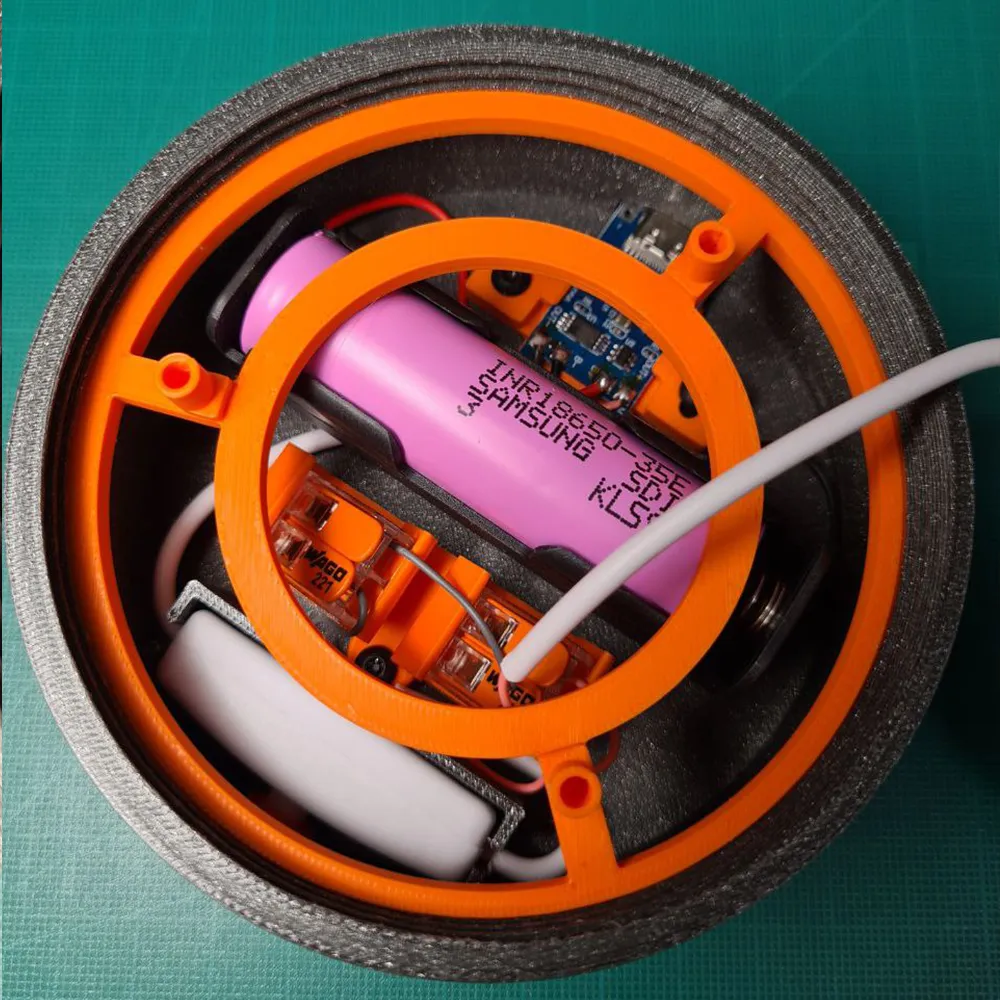
STEP 8
Screw with 3 M3x8 screws the light holder to the intermediate ring to hold the LED 001 kit in its place now you can try if it works.
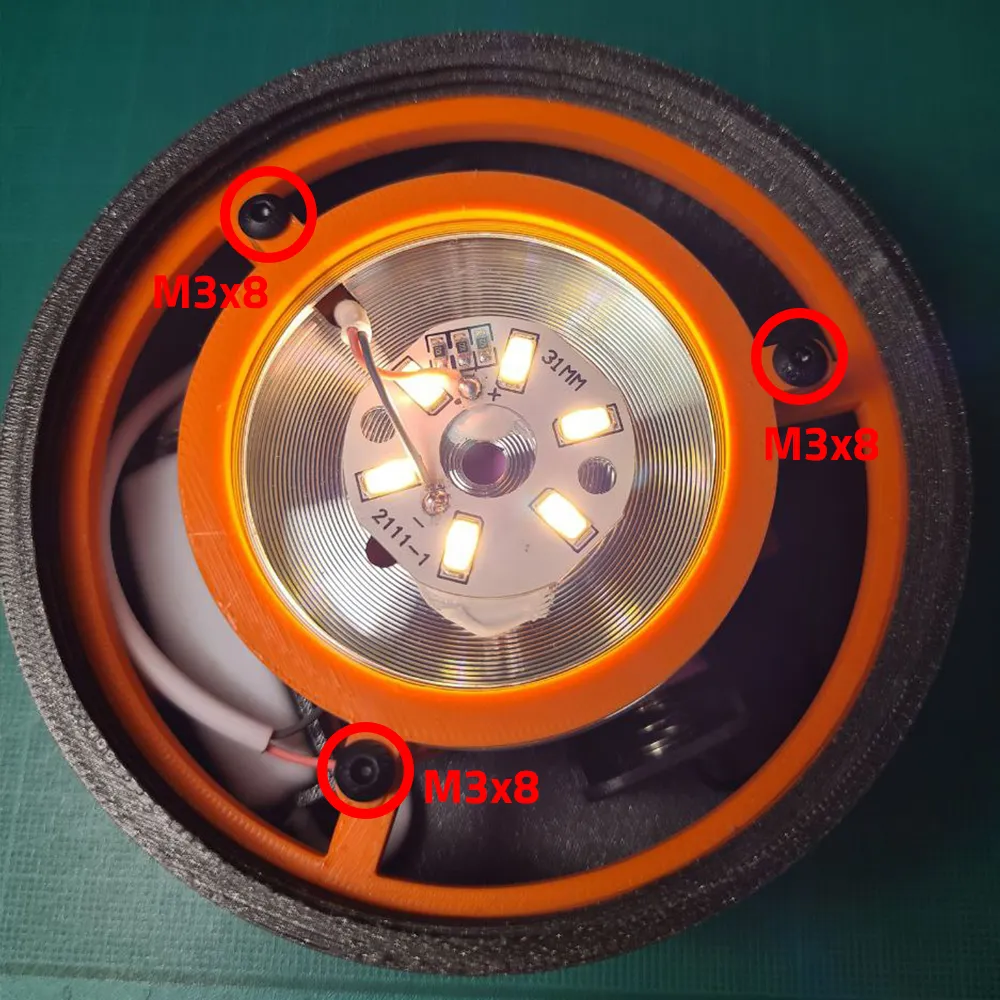
STEP 9
Screw the dome in place and that's all, enjoy :D
HOOK STEP
If you want the model with hook, you have to put 2 M3x8 screws in the upper part with the threaded adaptor
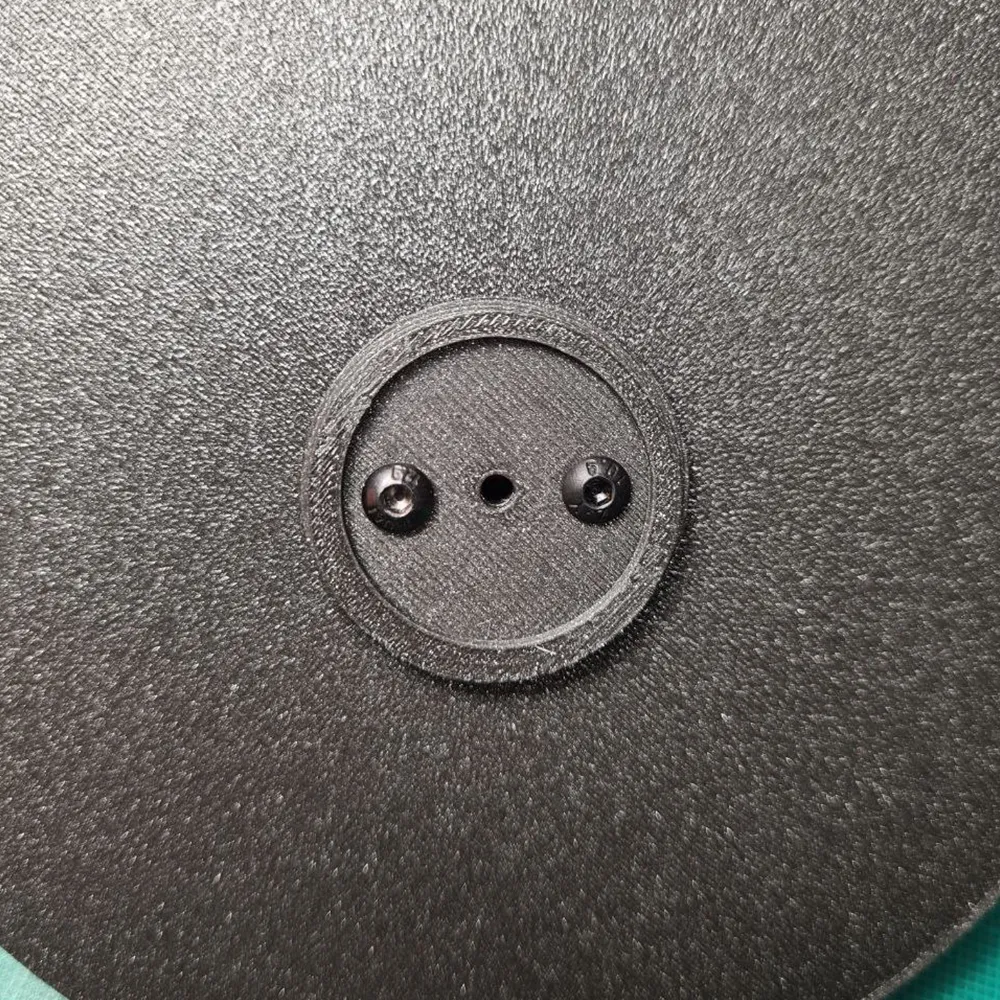
License

You shall not share, sub-license, sell, rent, host, transfer, or distribute in any way the digital or 3D printed versions of this object, nor any other derivative work of this object in its digital or physical format (including - but not limited to - remixes of this object, and hosting on other digital platforms). The objects may not be used without permission in any way whatsoever in which you charge money, or collect fees.


Comment & Rating (23)