
LaserCut Skull Bow Tie Wooden Halloween Accessory
Print Profile(1)

Description
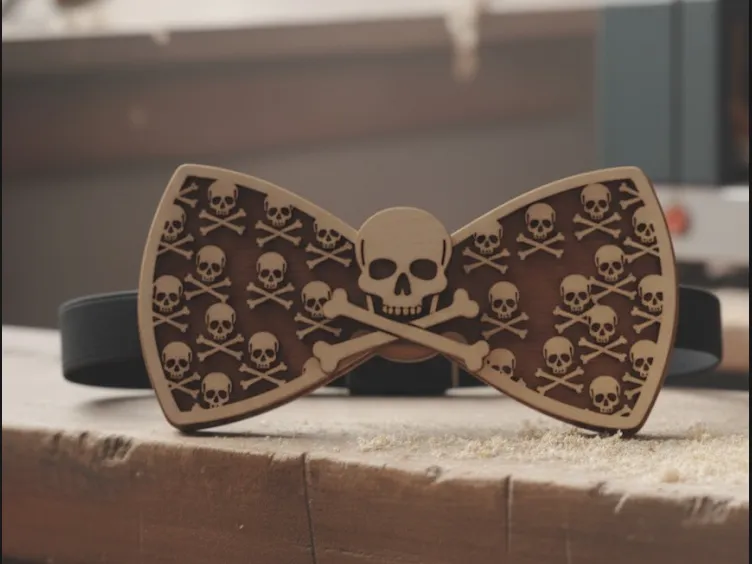
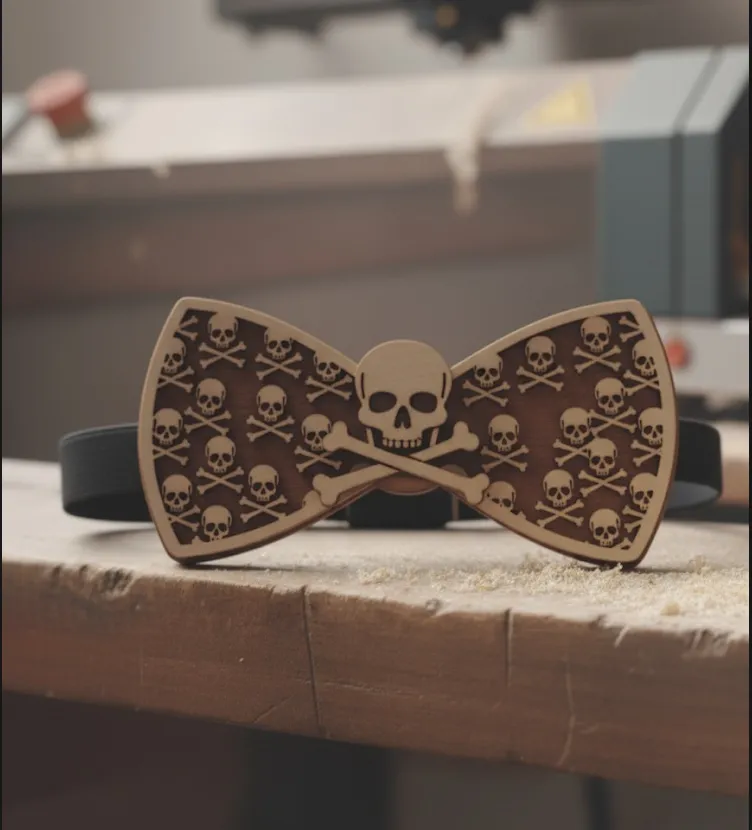
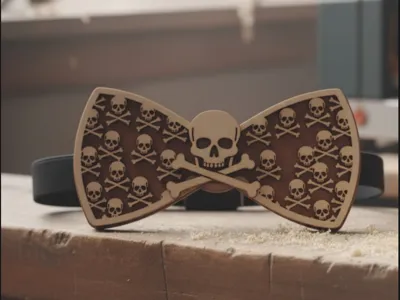
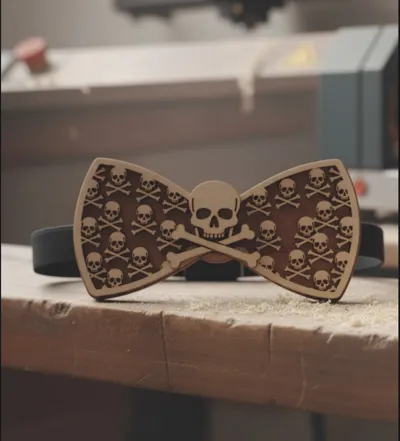
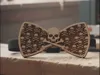
Stand out this Halloween with this laser-cut skull bow tie! 💀
Crafted from wood or acrylic, it combines elegant design with a spooky touch — perfect for Halloween parties, cosplay, or themed events.
The detailed skull and crossbones pattern makes it a unique accessory that’s both lightweight and durable. You can personalize it with different materials or paint finishes for your perfect Halloween look.
Ideal for makers, DIY lovers, and anyone who wants to bring a creative and eerie twist to their outfit this season. 🎃
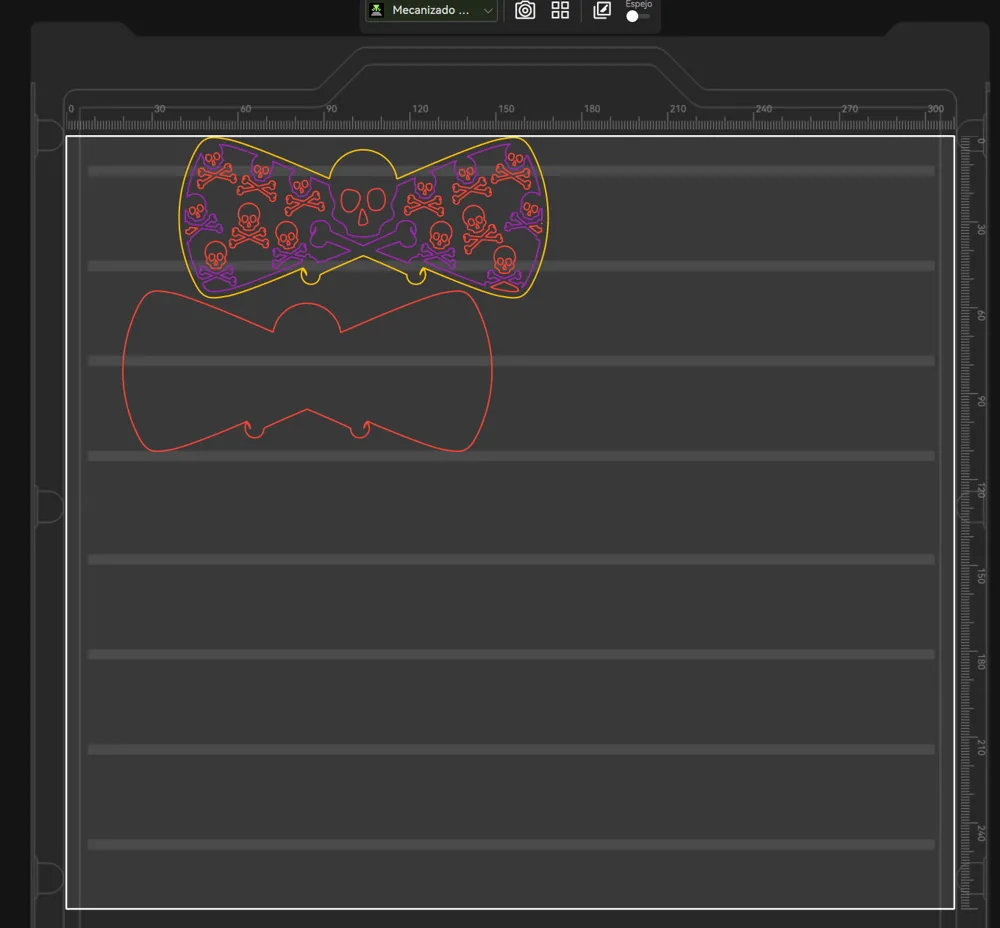
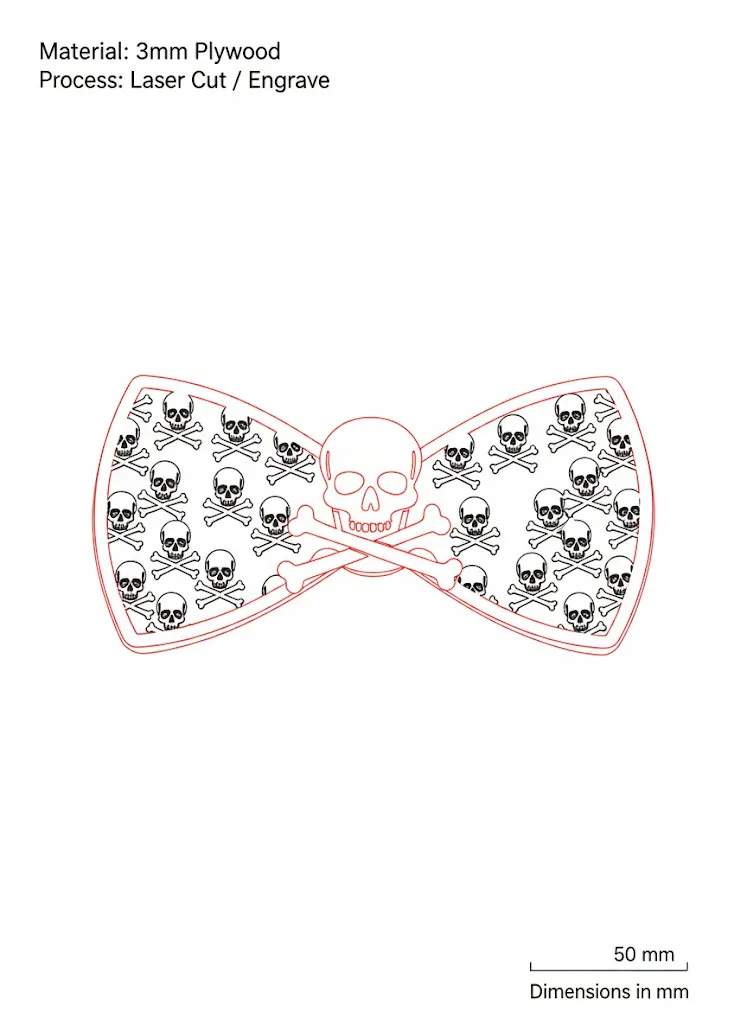
This laser-cut bow tie is designed to be made with two different wood tones — one lighter and one darker — to create a striking contrast and highlight the skull pattern.
🪵 Materials Needed
- 2 sheets of wood (light and dark tones)
- Wood glue or strong adhesive
- Hot glue gun
- Elastic ribbon
- Tweezers (optional, for handling small skull pieces)
🧰 Assembly Steps
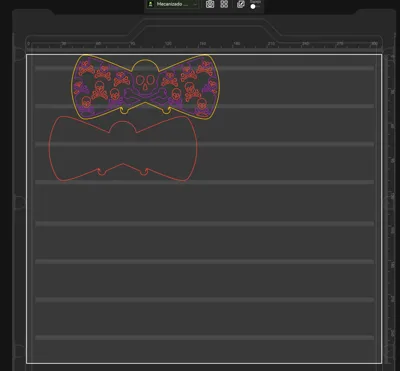
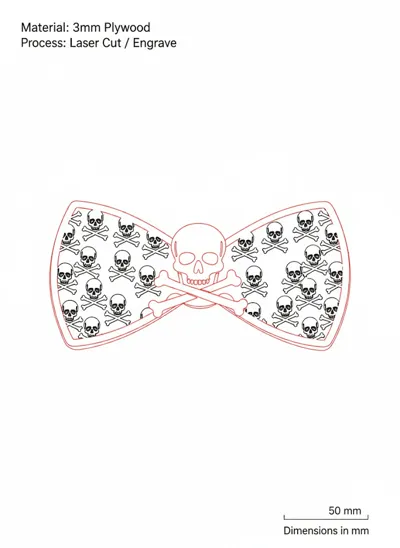
- Cut the parts:
Use your laser cutter to cut the design on both wood sheets. The lighter wood will be used for the skull layer, and the darker wood will serve as the base. - Glue the main layers:
Apply a thin layer of wood glue and carefully stick the light wood layer over the dark base. Make sure everything aligns properly before pressing it down. - Attach the small skulls:
Using tweezers or your fingers, glue each loose skull piece one by one into their designated spots. This step gives the bow tie its detailed 3D look. - Add the elastic strap:
Cut a piece of elastic ribbon that fits comfortably around your neck.
Use hot glue to attach the ends of the elastic to the back of the bow tie, leaving enough space to thread or adjust the band. - Let it dry and wear it!
Once all glue is dry, your spooky and stylish Halloween skull bow tie is ready to wear! 🎃
License

You shall not share, sub-license, sell, rent, host, transfer, or distribute in any way the digital or 3D printed versions of this object, nor any other derivative work of this object in its digital or physical format (including - but not limited to - remixes of this object, and hosting on other digital platforms). The objects may not be used without permission in any way whatsoever in which you charge money, or collect fees.


Comment & Rating (1)