
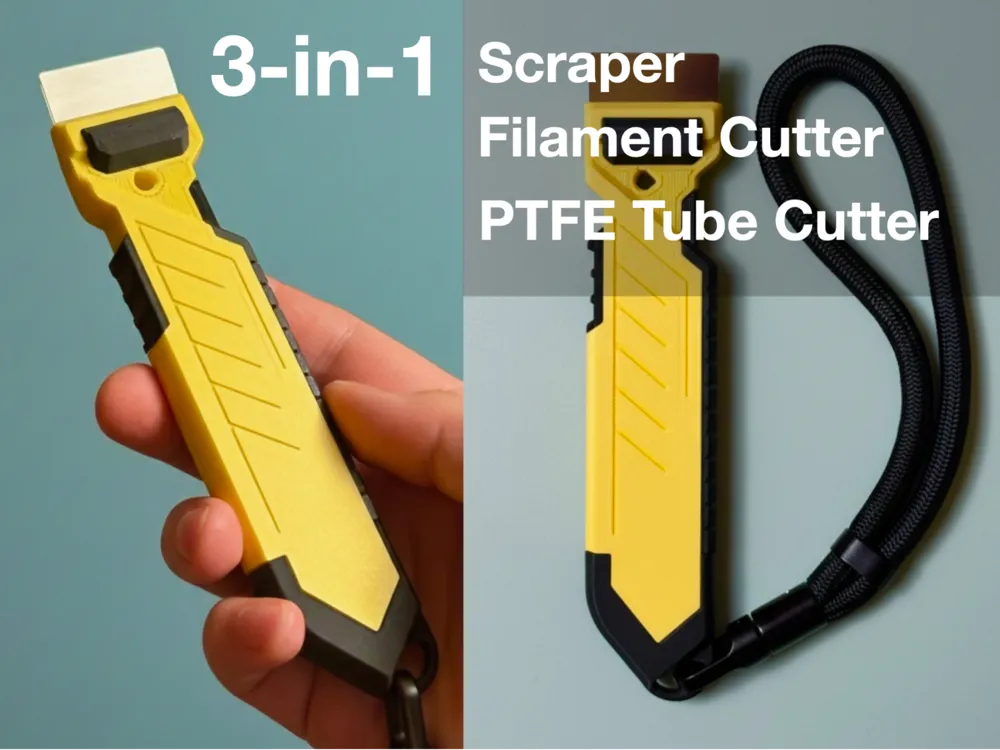
3-in-1 Bed Scraper and Filament & PTFE Cutter
Print Profile(3)


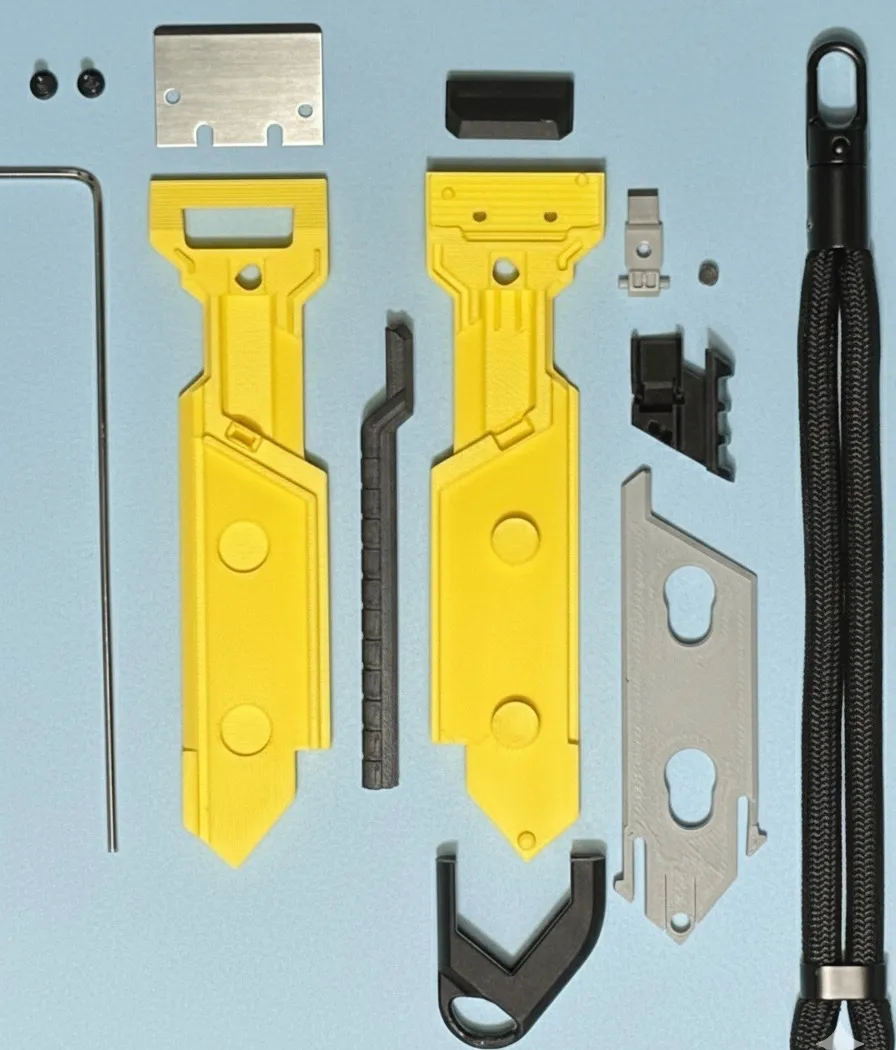
Bill of Materials


Description
Description
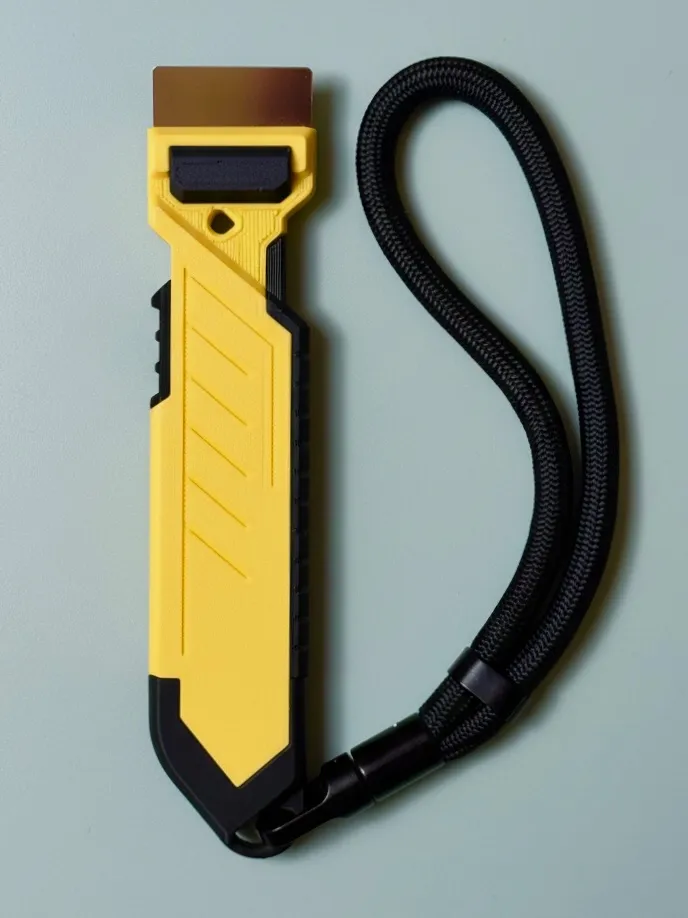
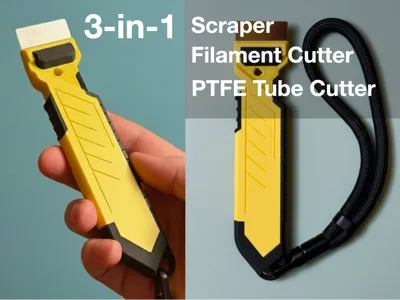
All the necessary tools you need by your printer - all in one! A version without a filament cutter is also available in the print profiles.
Boost Me (for free)
Please consider leaving a boost to support release of free high quality models
FEATURES
- Bed scraper - blade at an optimal angle for safe bed cleaning and part separating
- Filament cutter - actuated with a slider - cuts at 90deg and angled
- PTFE tube cutter - cut tubing straight and clean
- Rugged tool inspired design that is also safe and comfortable to use
- Dual/multi-color design without AMS
- Easy to print an assemble - no glue needed
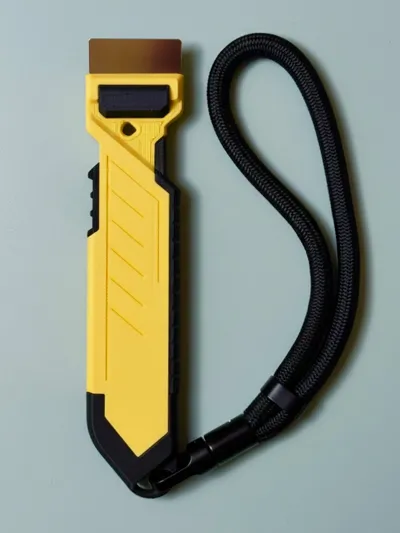
- Hole for attaching a lanyard or for hanging on the wall
- A version without filament cutter is also available
WHAT IS NEEDED?
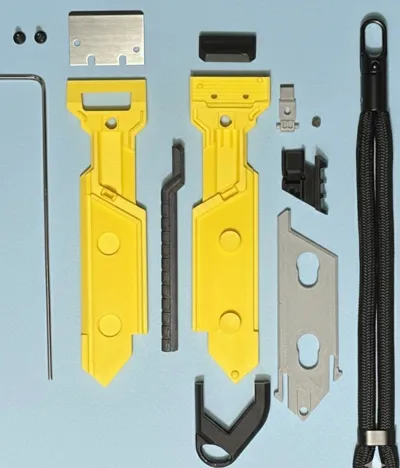
All the necessary items for assembling the scraper without a cutter come with a printer. Full Bill of Materials with links is in the dedicated BoM section. The scraper can also be updated with cutter parts later.
Note about some parts:
- 2x D4x2 round magnets (same size that comes with Maker's Beginner Kit and CyberBrick Kits)
- 1x Replacement Filament Cutter (A1/P1/X1/H2S model only - H2D cutters will not work, I don't know about P2 cutter yet)
- 2x BT2.6x8 self tapping screws (come with a printer together with a scraper blade)
HOW TO USE IT?
Scraper - Hold the scraper flat on the bed as shown. Don't use corners of the blade or lift the scraper upright or it will dig into the bed. Always use caution for your and your bed's safety.
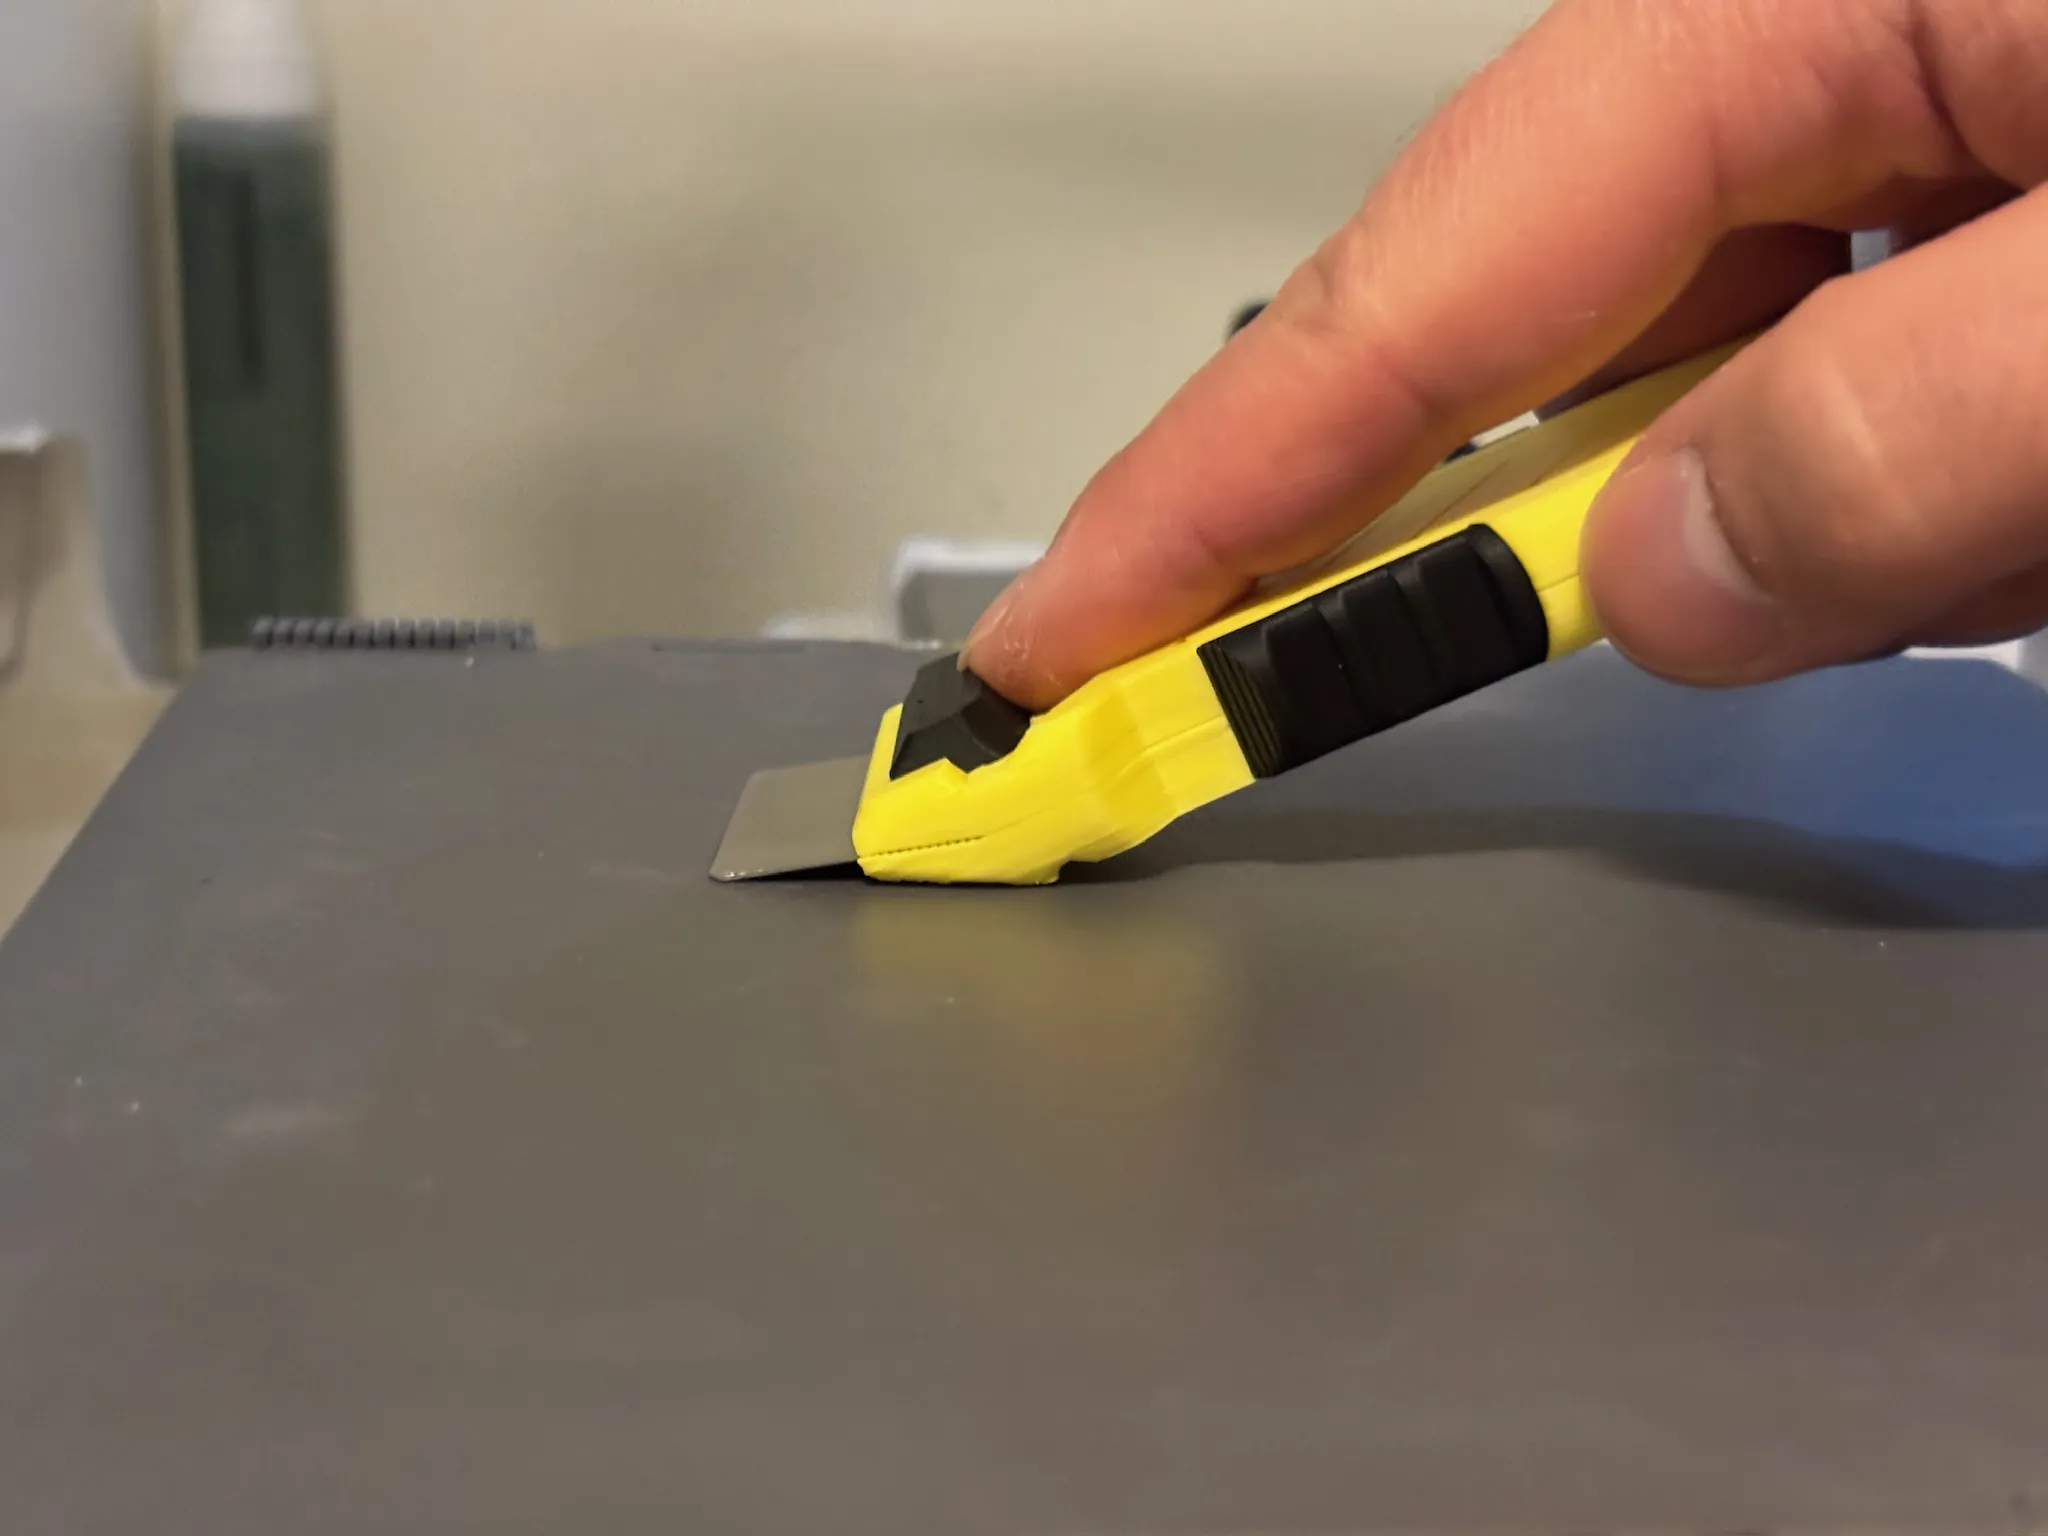
Cutter - Hold the scraper firmly and actuate the cutter with your thumb. Most filaments can be cut with the aid of wiggling and tugging the filament while applying pressure. For those who wish a more effortless way of cutting, I recommend a lever actuated filament cutter such as this one: Pro Cutter for Filament and PTFE Tubing
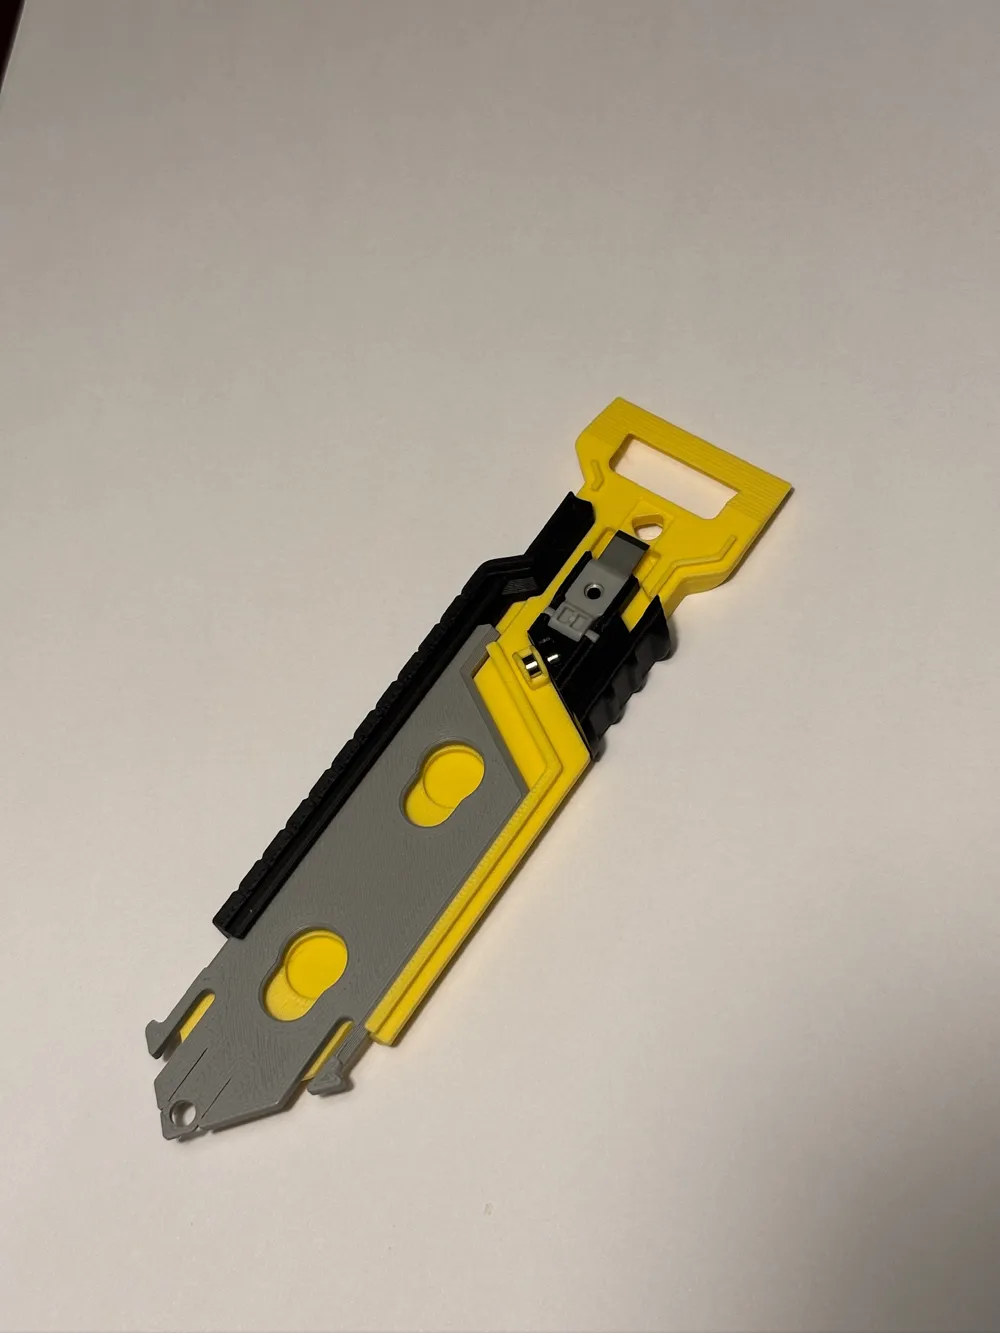
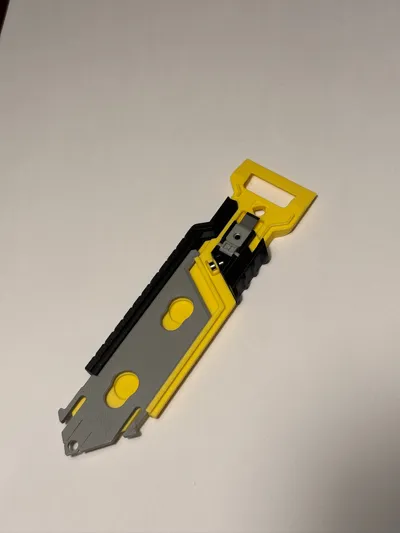
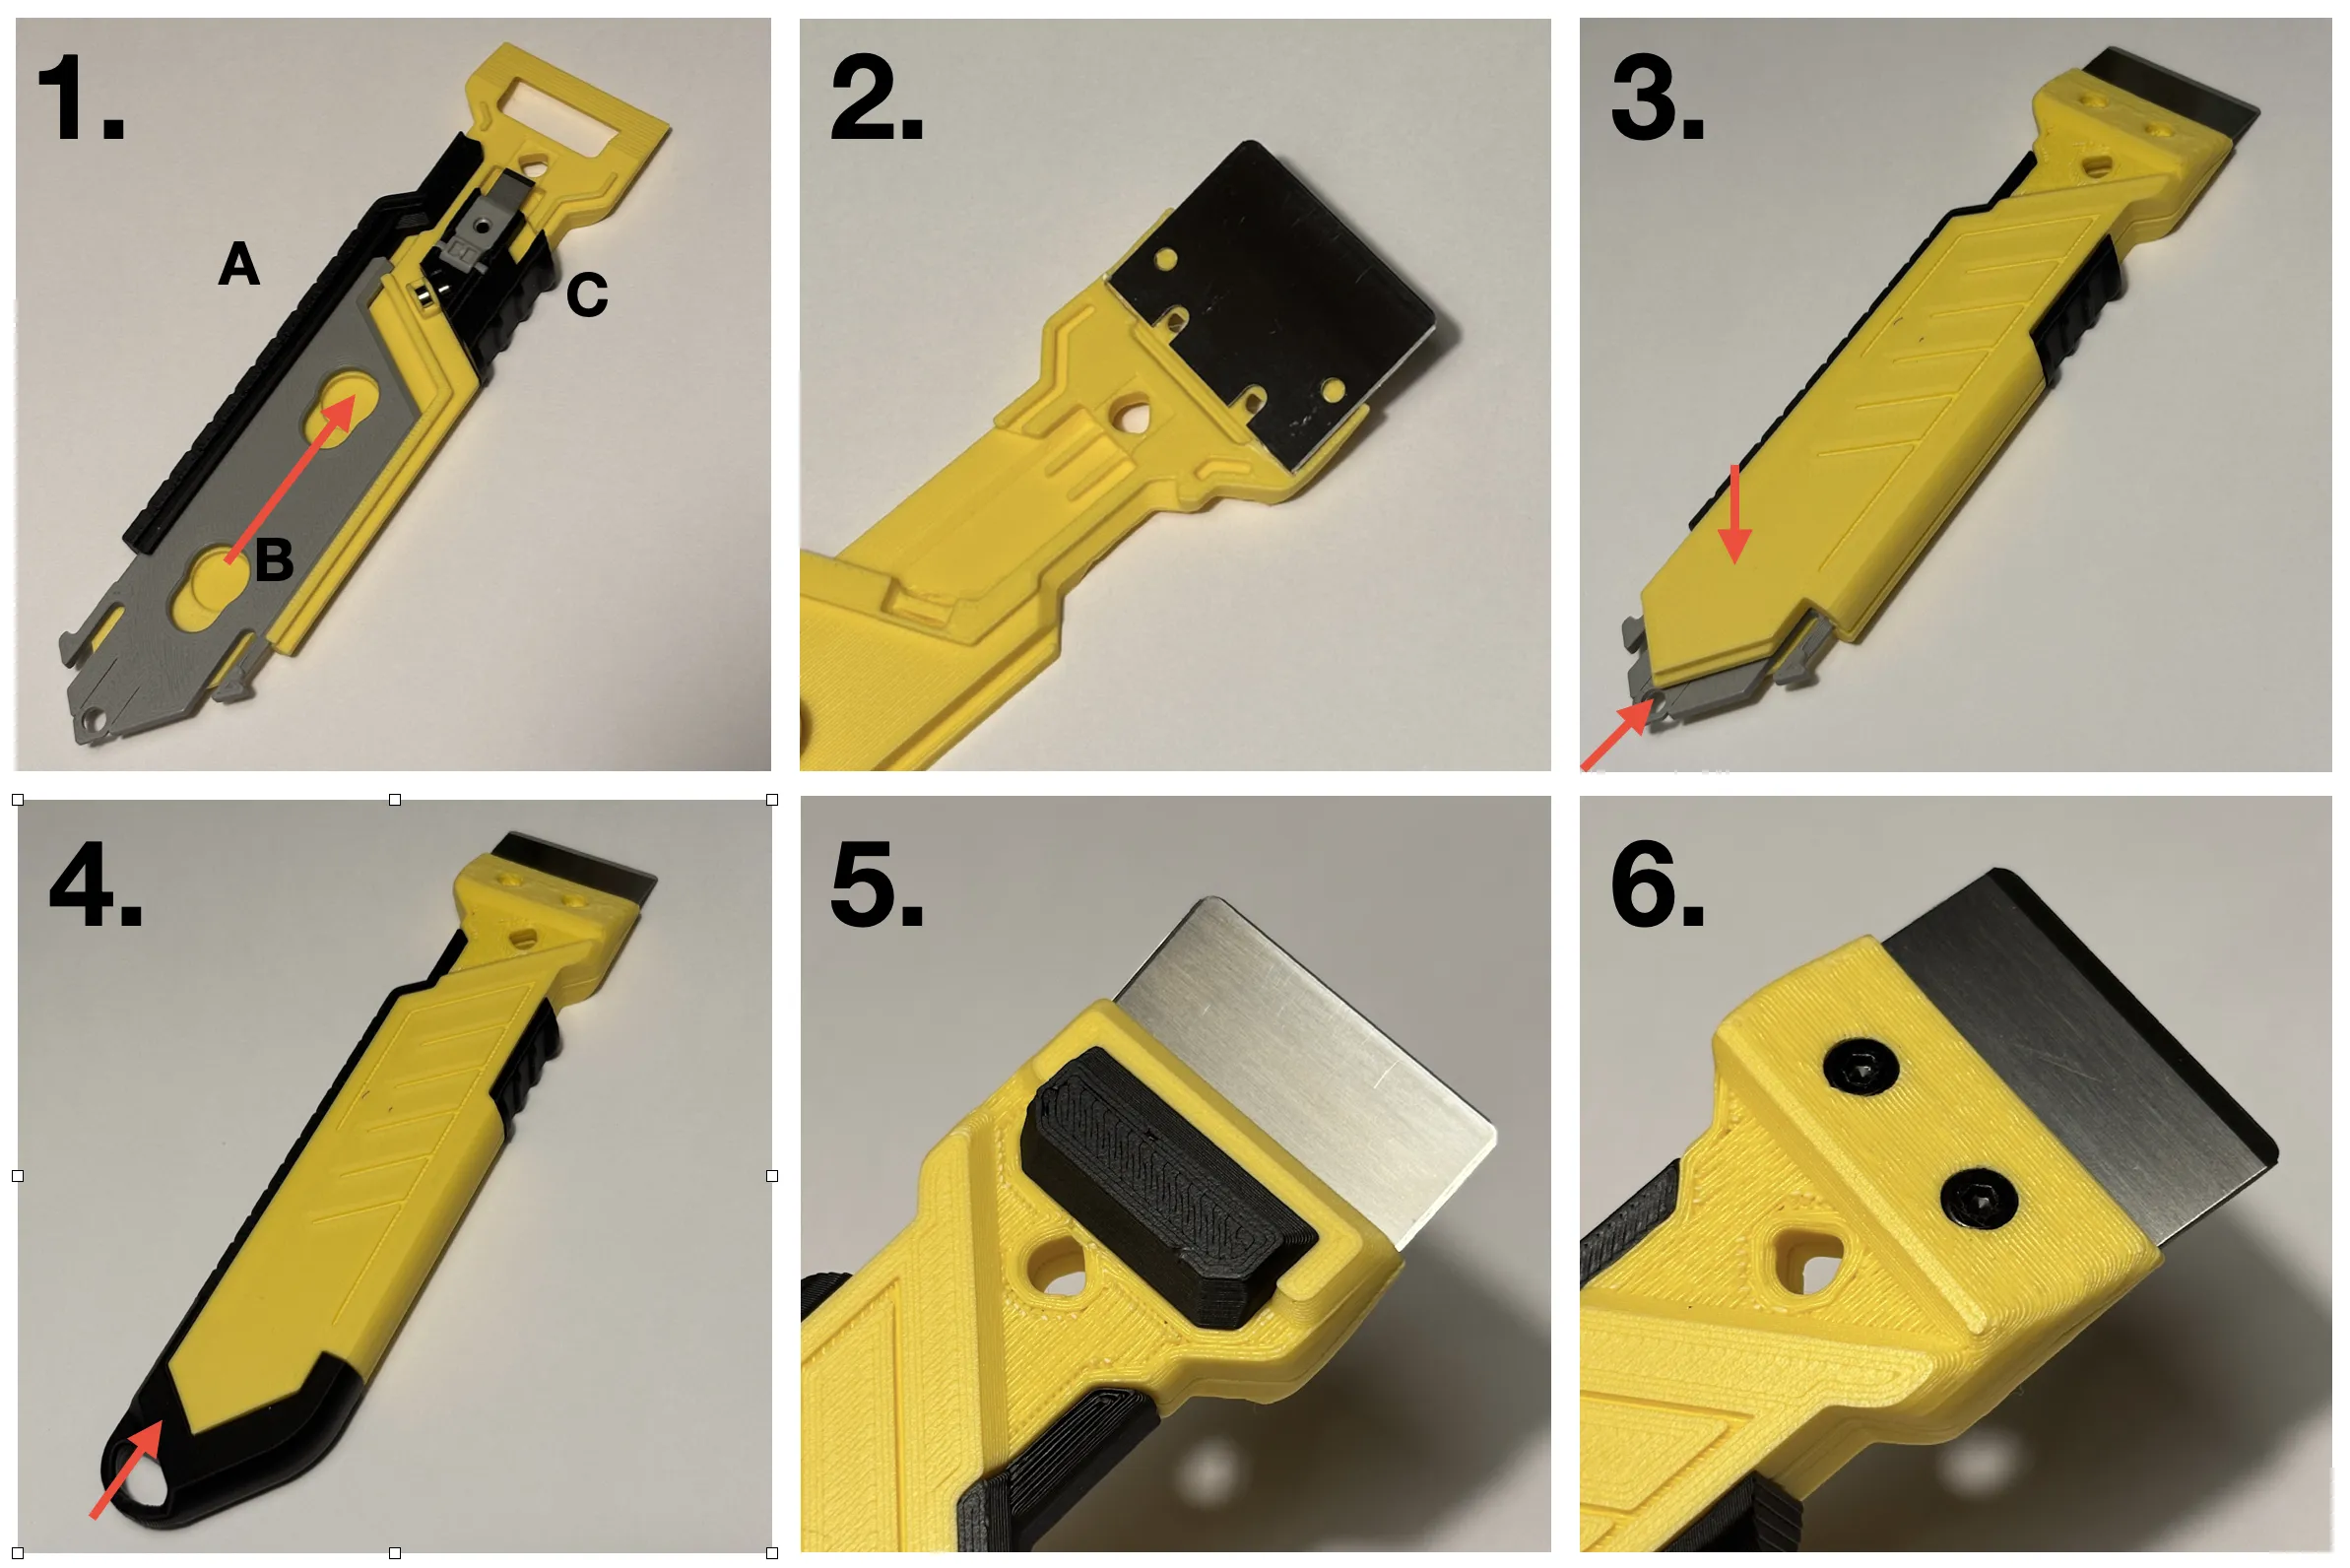
Assembly (follow with picture below)
1.A Place the Side part on the Bottom housing.
1.B Slide the Inner part in starting from the very end - stop where opening matches round housing recess
1.C Place cutter blade and magnet in slider. Place Slider part in housing. Place magnet in housing such that it attracts Slider.
2. Place scraper blade on Top housing. Make sure it sits all the way in.
3. Place Top housing on Bottom housing. Press the halves together and slide Inner part all the way in.
4. Slide End part on.
5. Install finger block part
6. Fasten the screws - the heads should fall just below flush when fully tightened. Squeeze halves together as you tighten the screws.
Membership
Support or become a commercial member here
License

You shall not share, sub-license, sell, rent, host, transfer, or distribute in any way the digital or 3D printed versions of this object, nor any other derivative work of this object in its digital or physical format (including - but not limited to - remixes of this object, and hosting on other digital platforms). The objects may not be used without permission in any way whatsoever in which you charge money, or collect fees.


Comment & Rating (24)