
Multiboard_Vert_Mount_Kit
Print Profile(1)

Description
Multiboard Vertical Mount Kit
Origin Story
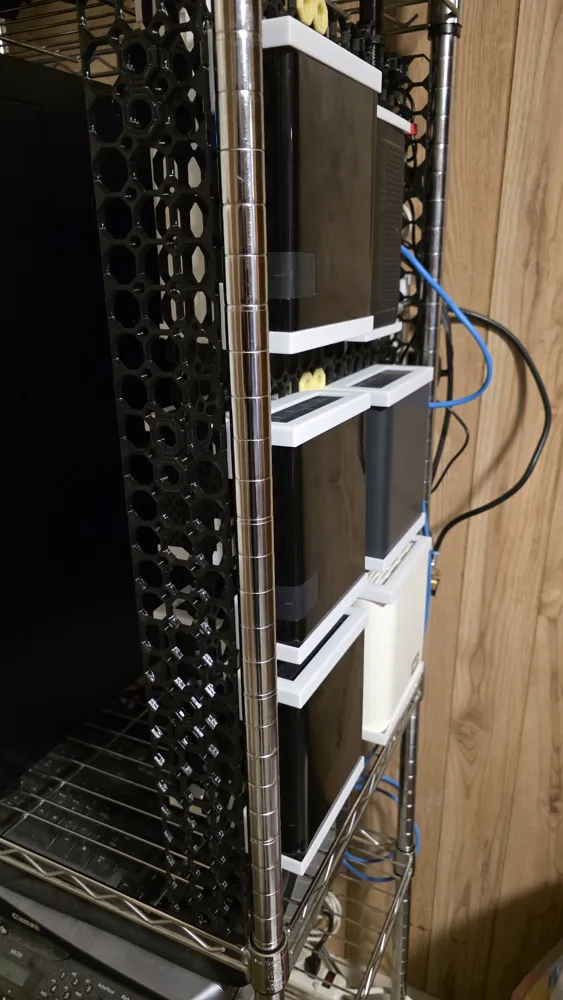
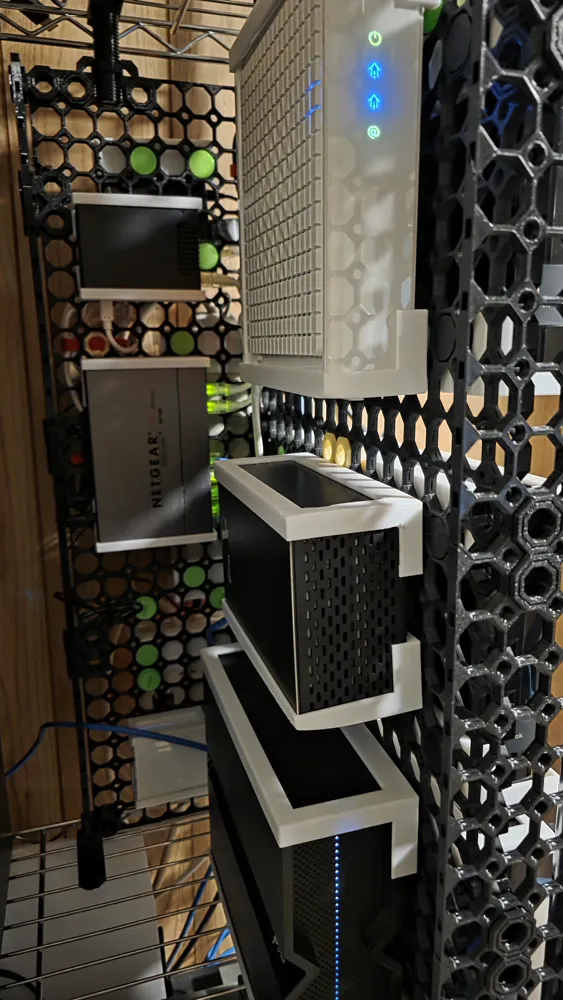
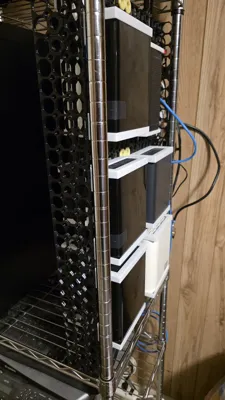
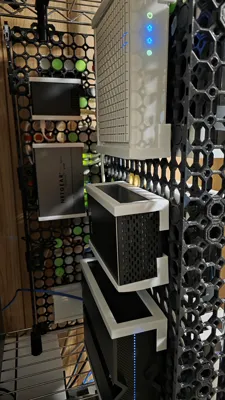
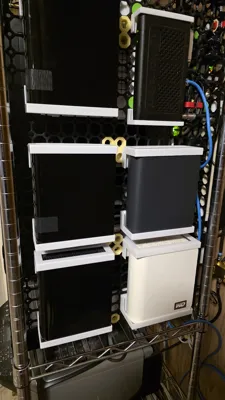
After getting my first 3D printer and setting up a Multiboard installation in my small hobby and storage room, I came up with the idea to build a vertical server rack. The goal was to fill the space on the wire shelf that holds my OMV PC and create a setup that could organize the modem, router, Raspberry Pis, hubs, and other small devices. I wanted it to be a self-contained unit that could easily be removed from the rack whenever I needed to work on something.
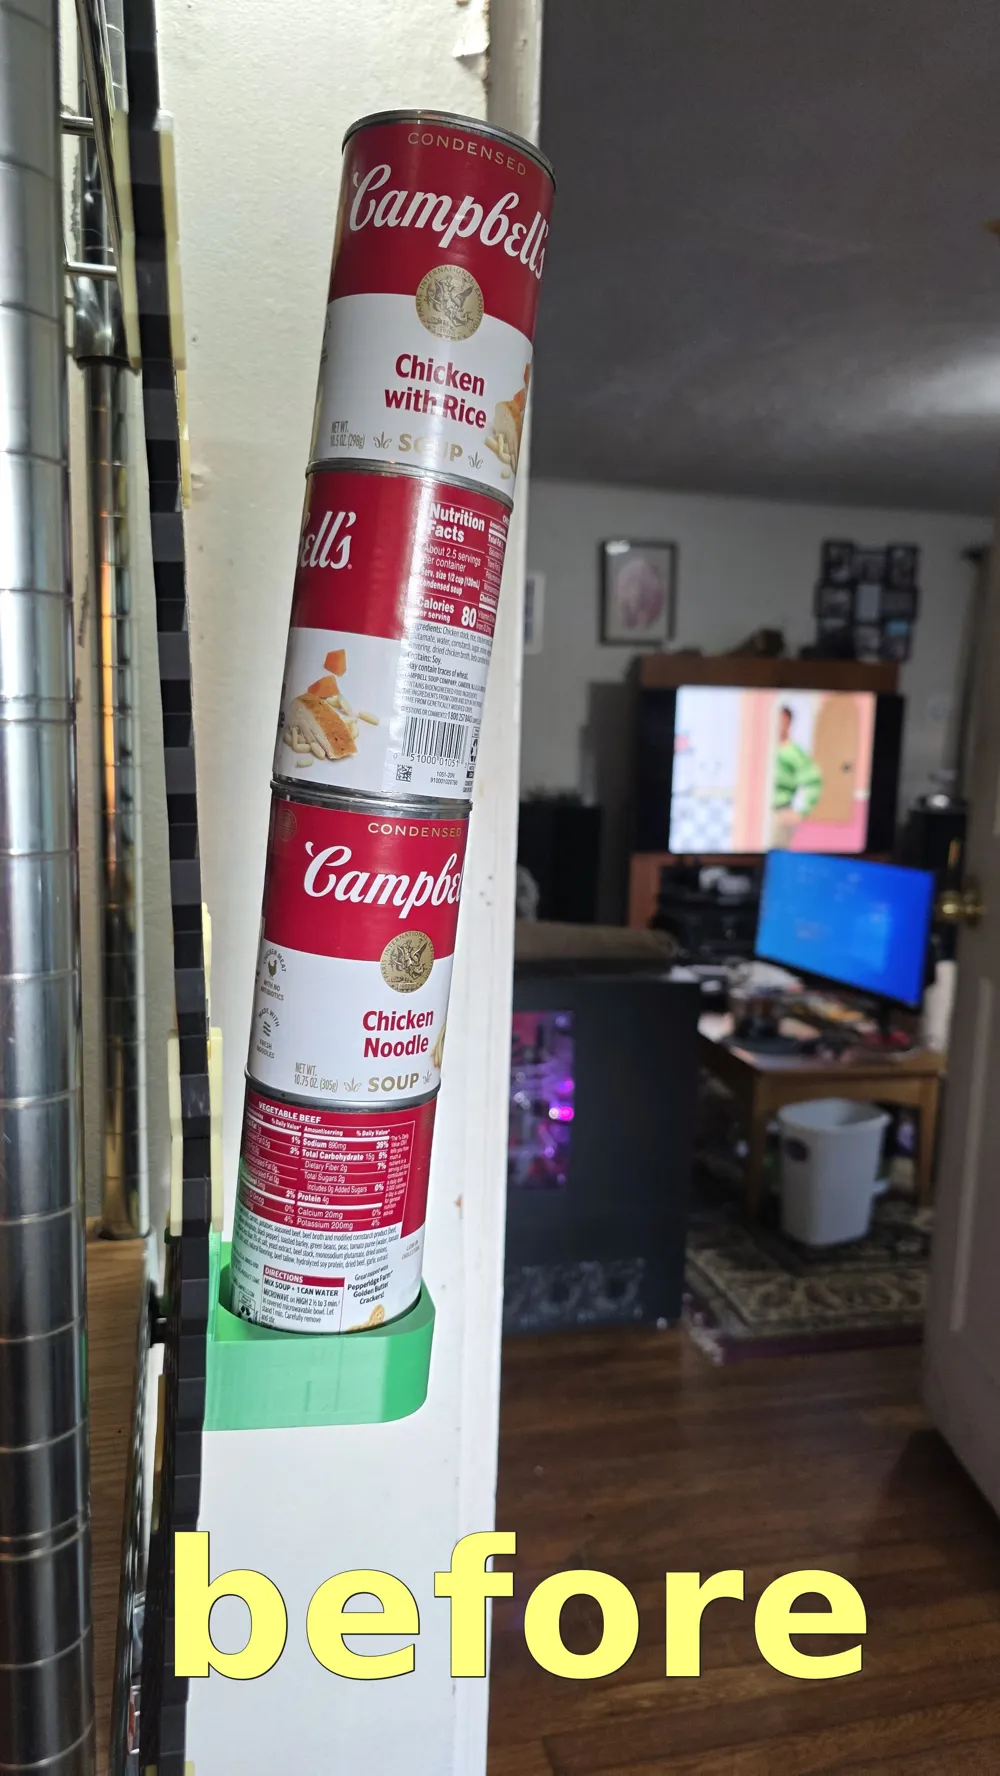
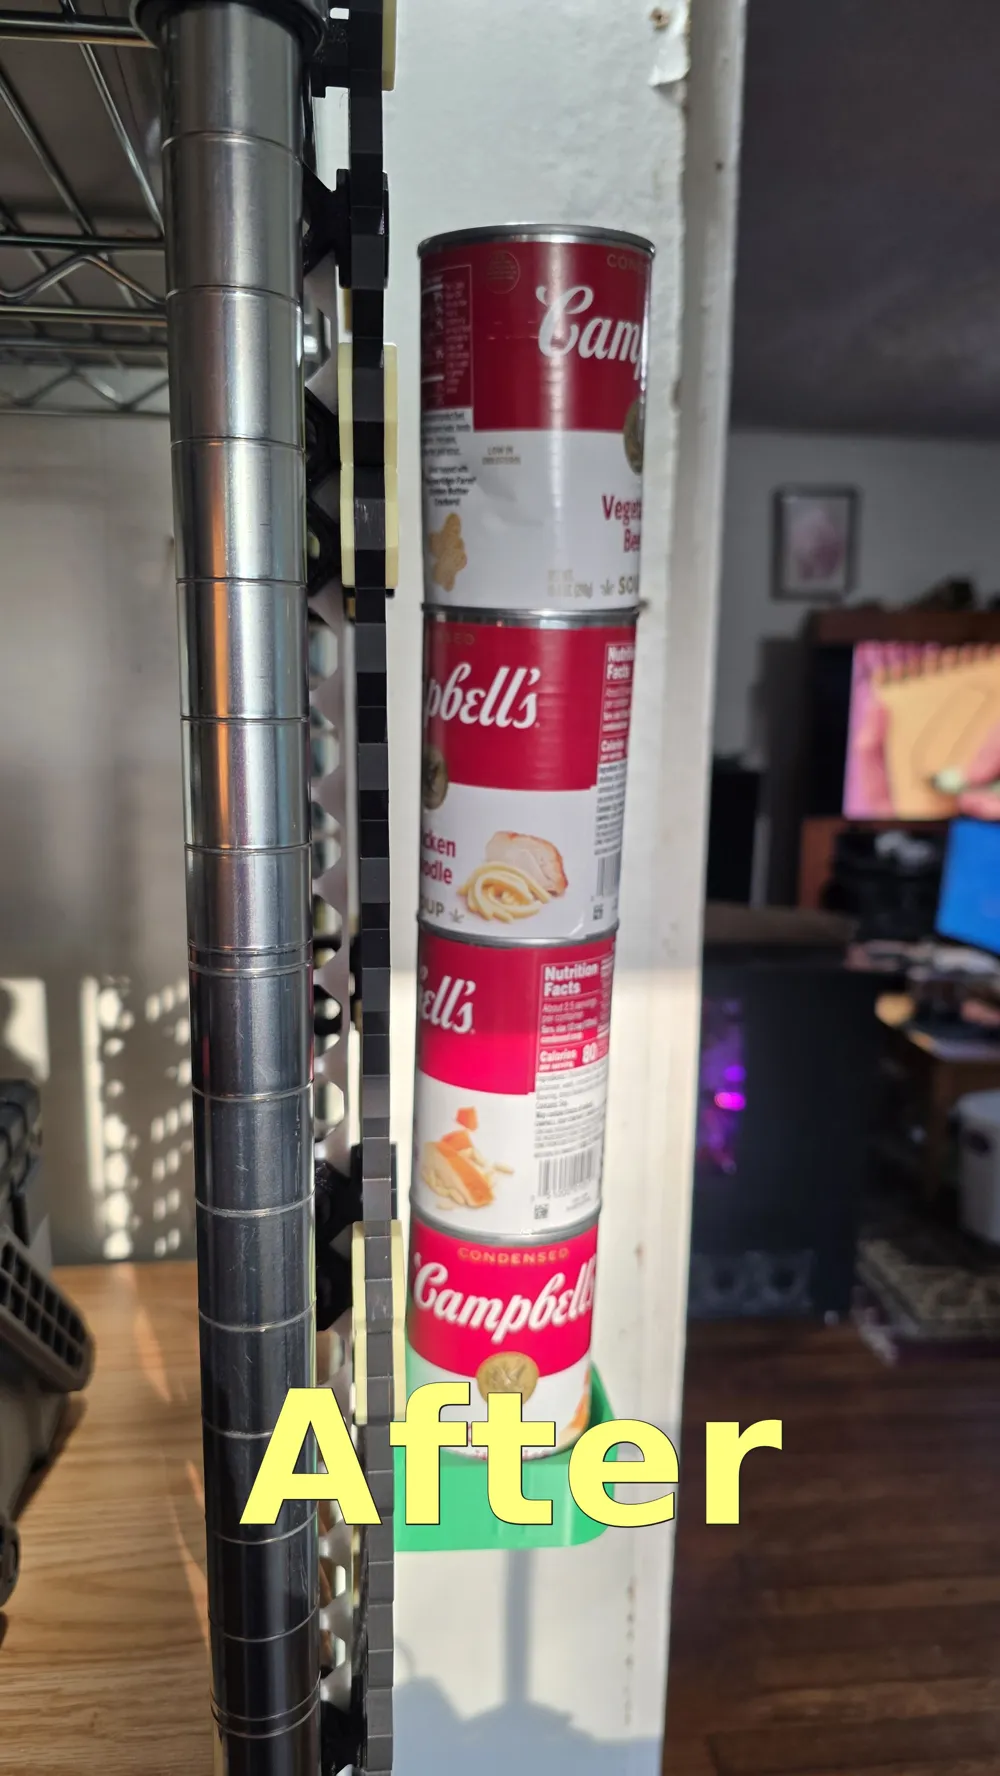
After printing a few device holders and mounting prototypes, I quickly discovered that Multiboard flexes a lot when it’s not mounted to a firm surface. To compensate, I designed a few support parts and installed them. While they helped, I wasn’t completely satisfied with the results, so I set the project aside for a bit. Over time, the first install began to sag, and one of the mounts snapped — forcing me to revisit the design. That’s when it clicked: instead of reinventing the wheel, I could use Multiboard to reinforce itself. Once I started rebuilding the setup with that idea, everything came together perfectly. I realized just how many possibilities these parts opened up for structural and modular projects like this one.
Installation Instructions
90° Mounts
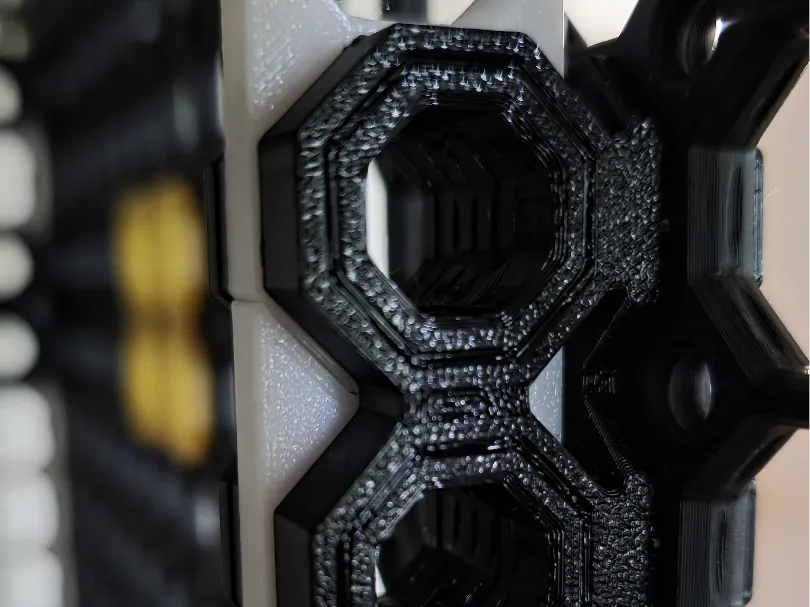
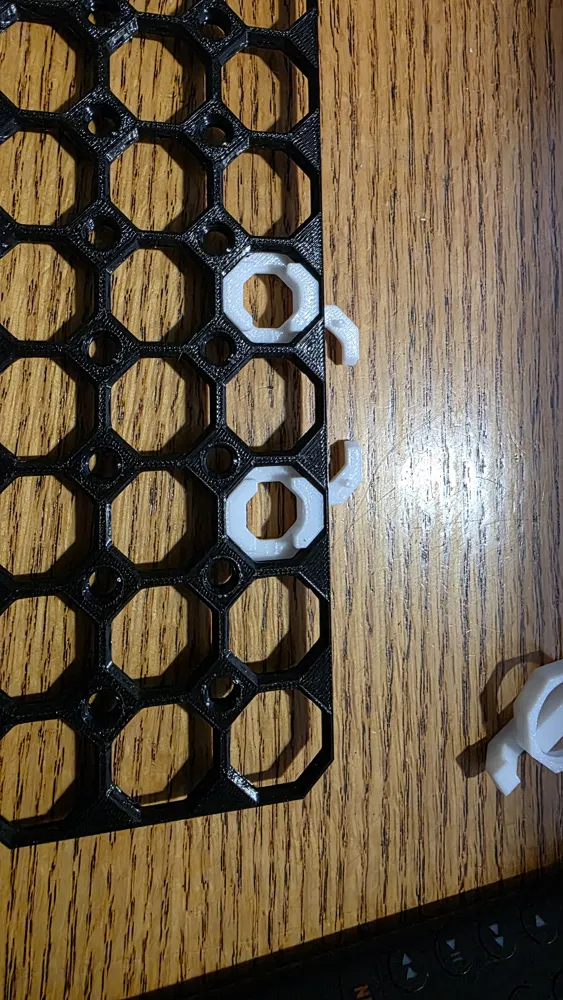
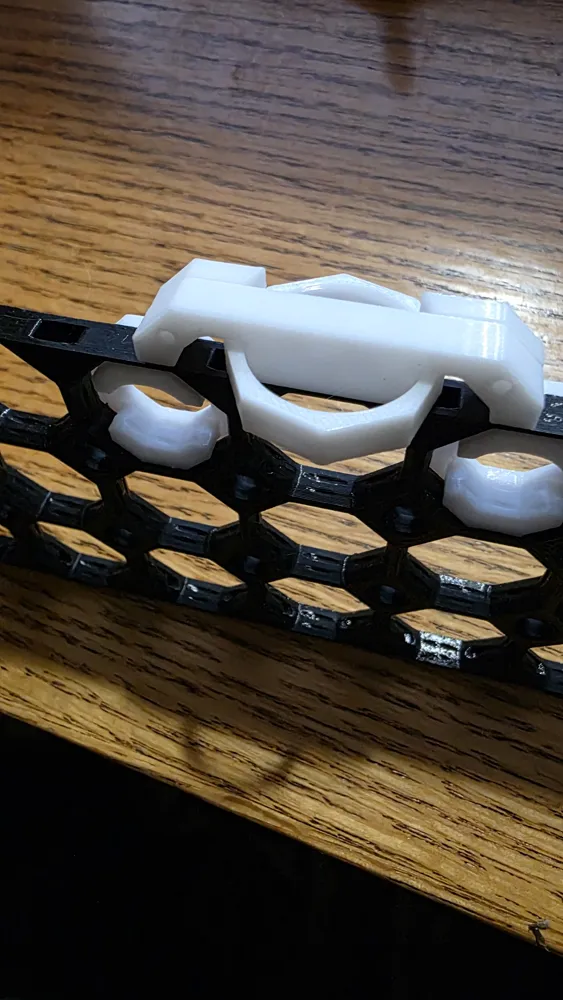
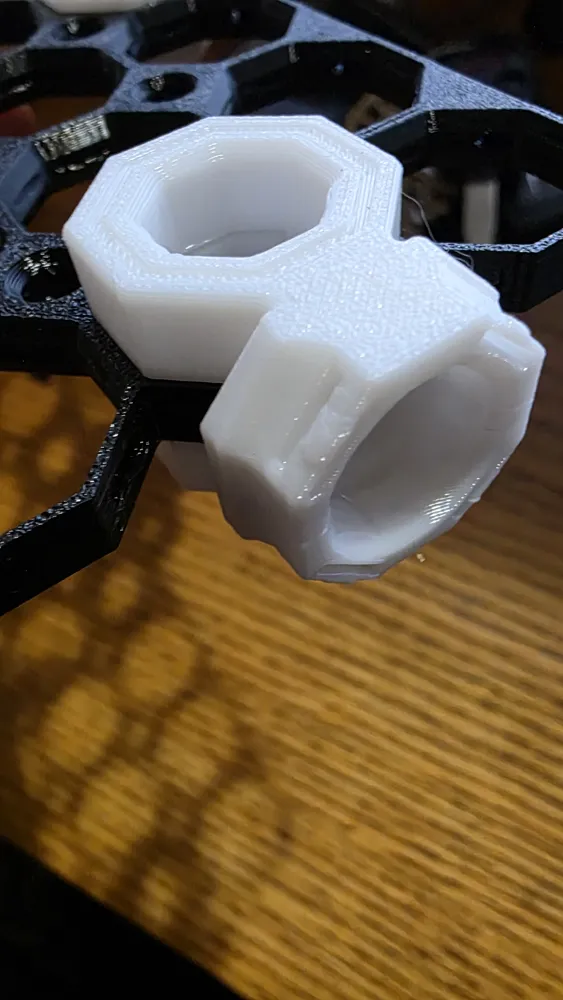
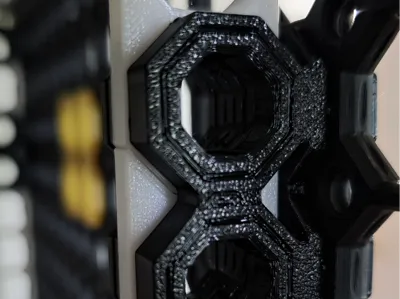
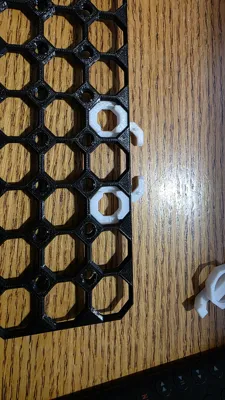
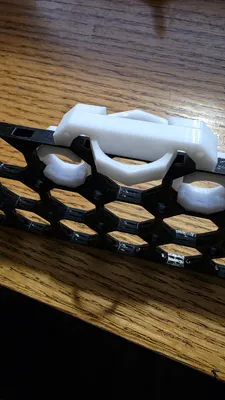
The single and dual 90T mounts snap around the outer edge of your Multiboard, replacing the standard connectors.
- For a stand-up installation like the example shown, use a Multiboard that’s at least three units wide for stability.
- For stiffening a hanging installation, a single-row Multiboard can be attached anywhere on the backside to provide reinforcement.
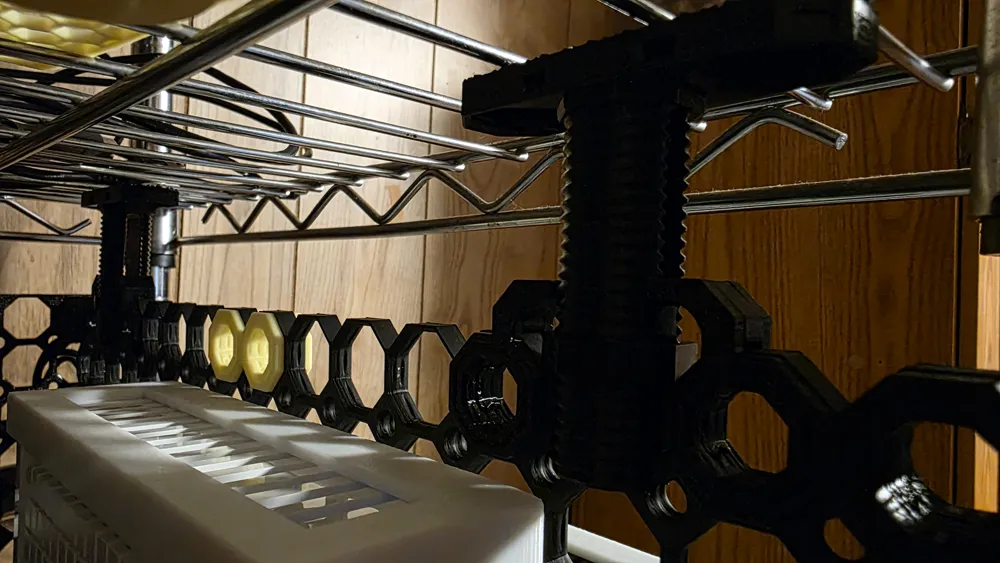
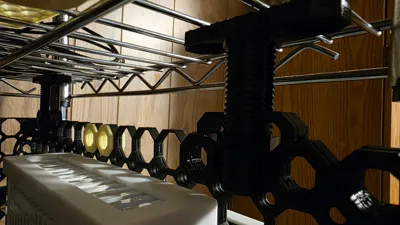
Tension Bracket
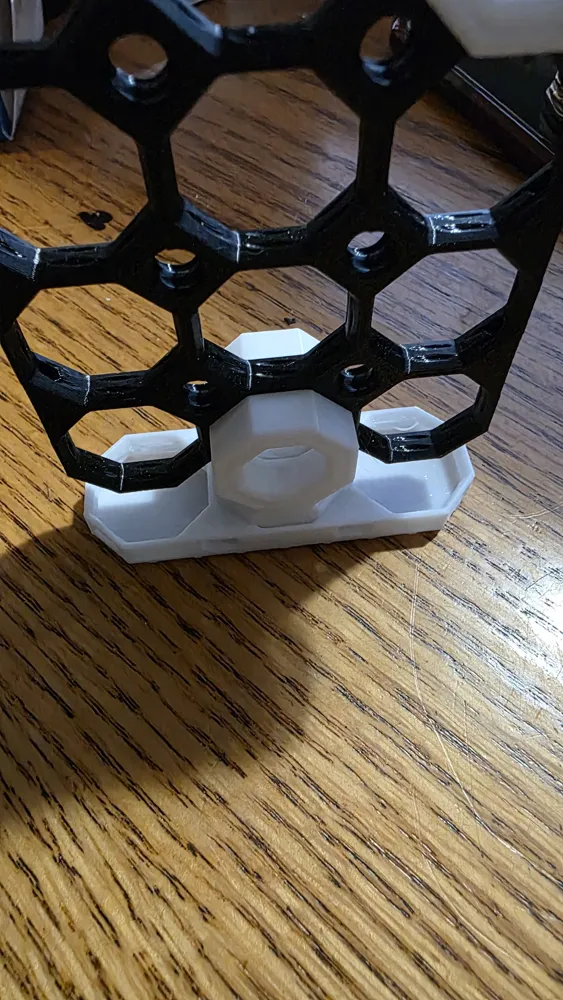
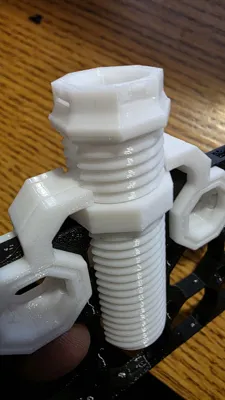
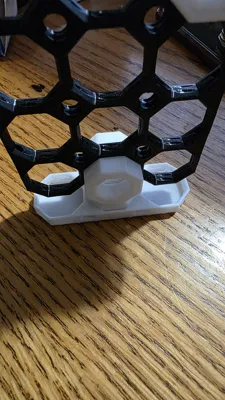
- Snap on Tens_M_A_R and Tens_M_A_L, leaving a small space between them.
- Place Tens_M_Nut on Tens_M_Bridge and align it on top of the installed A_R/L pieces. The edges should line up flush — if not, flip the bridge over.
- Snap on Tens_M_B_R and Tens_M_B_L to lock the assembly together.
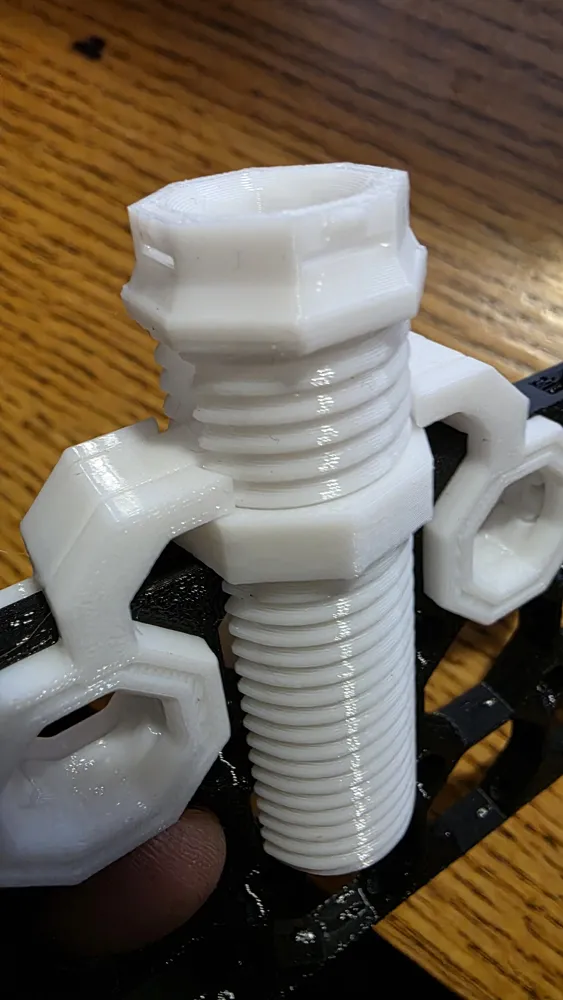
- Slide Tens_M_Pin over the bracket and tighten the nut.
- Snap on the Foot piece, then tighten the nut again to expand the tension pin and secure the Multiboard connection.
Feet
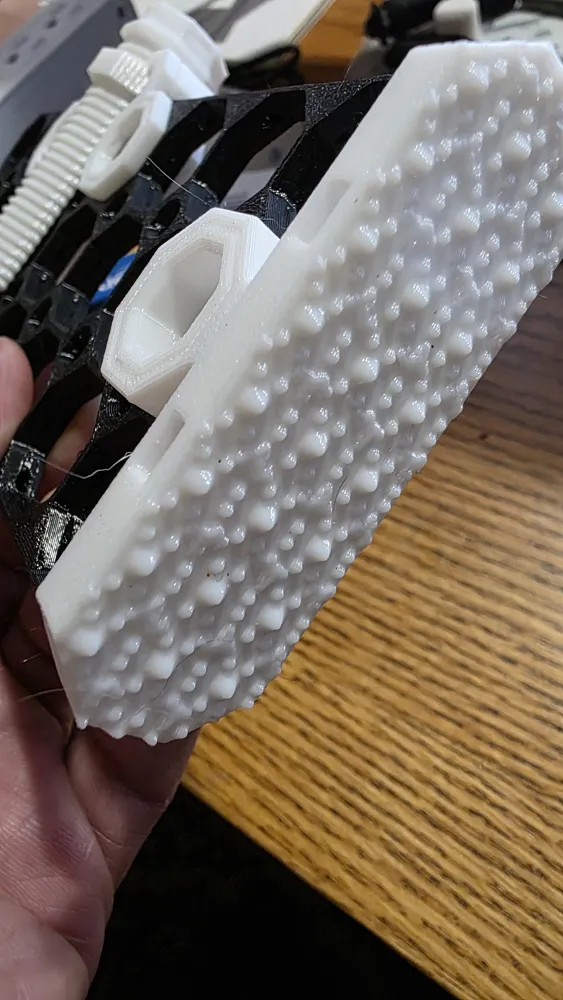
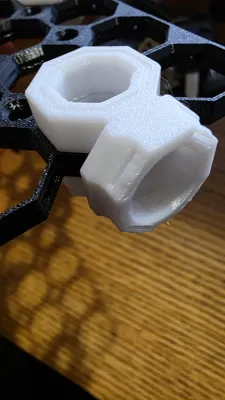
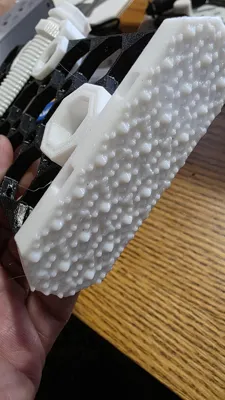
The feet use a double-sided snap design that connects to a standard Multiboard snap and can easily be rotated or offset for alignment or spacing adjustments.
Source Models
- Multiboard System — https://www.multiboard.io/
- Gorilla Grip — https://makerworld.com/en/models/1167210-gorilla-grip?from=search
Other Models Designed for This Project
- Multiboard Device Holders
- Multiboard Wire Management
- Clean Cable Management Organizer Clip
- MKS Multiboard Keyhole System V3
Example Build
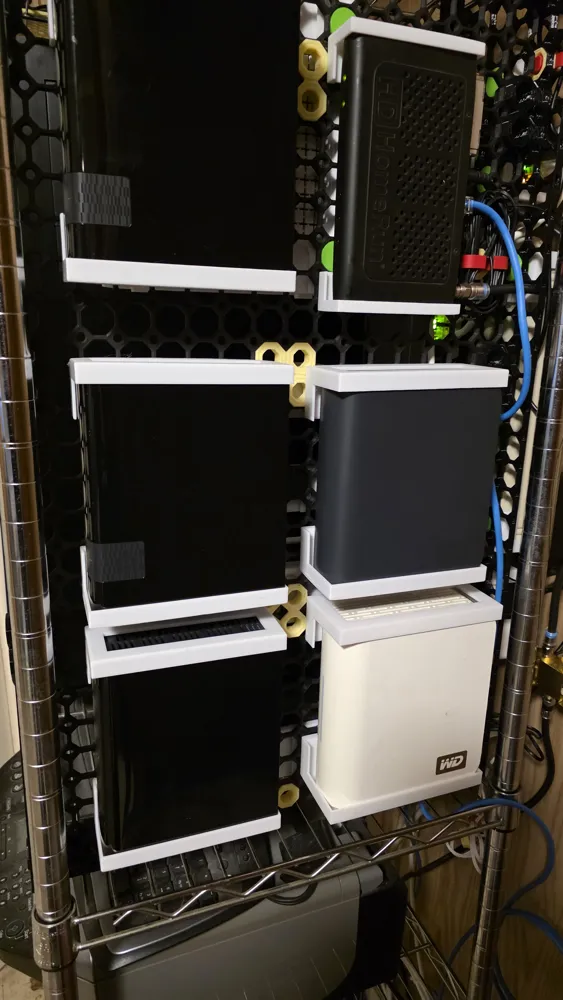
The vertical server rack shown in the example photo includes:
- 2 large power strips
- 5 desktop hard drives (1 dual-drive bay, ~48TB total)
- Cable modem
- Wireless router
- 8-port switch
- Lutron hub
- 2 Raspberry Pi units
- HDHomeRun Prime tuner
Even fully loaded, the finished rack is solid — no wobble or flexing.
Boost Me (for free)
License

You shall not share, sub-license, sell, rent, host, transfer, or distribute in any way the digital or 3D printed versions of this object, nor any other derivative work of this object in its digital or physical format (including - but not limited to - remixes of this object, and hosting on other digital platforms). The objects may not be used without permission in any way whatsoever in which you charge money, or collect fees.


Comment & Rating (5)