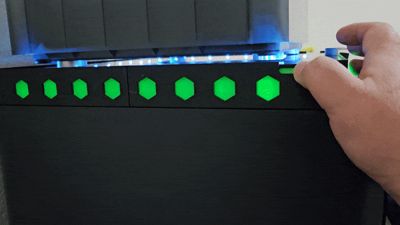
Sliding Vents Riser With Led V2


Print Profile(9)


Description
This Model has been updated and improved it is outdated please check out the new improved modular version. Thanks
Check out V3 here https://makerworld.com/en/models/720099#profileId-650937 Now completely Modular.
**ALSO CHECK OUT MY RISER DRAWER SYSTEM HERE** https://makerworld.com/en/models/185440#profileId-204184
Thanks again
License
You shall not share, sub-license, sell, rent, host, transfer, or distribute in any way the digital or 3D printed versions of this object, nor any other derivative work of this object in its digital or physical format (including - but not limited to - remixes of this object, and hosting on other digital platforms). The objects may not be used without permission in any way whatsoever in which you charge money, or collect fees.
Comment & Rating (488)