
Wolverine Claws -Retractable,Spring-loaded,Trigger

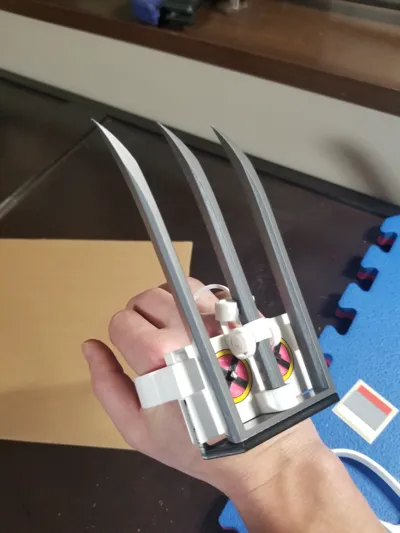
Print Profile(7)


Description
Membership
Support me a little for $3/month. Thought I'd try this out.

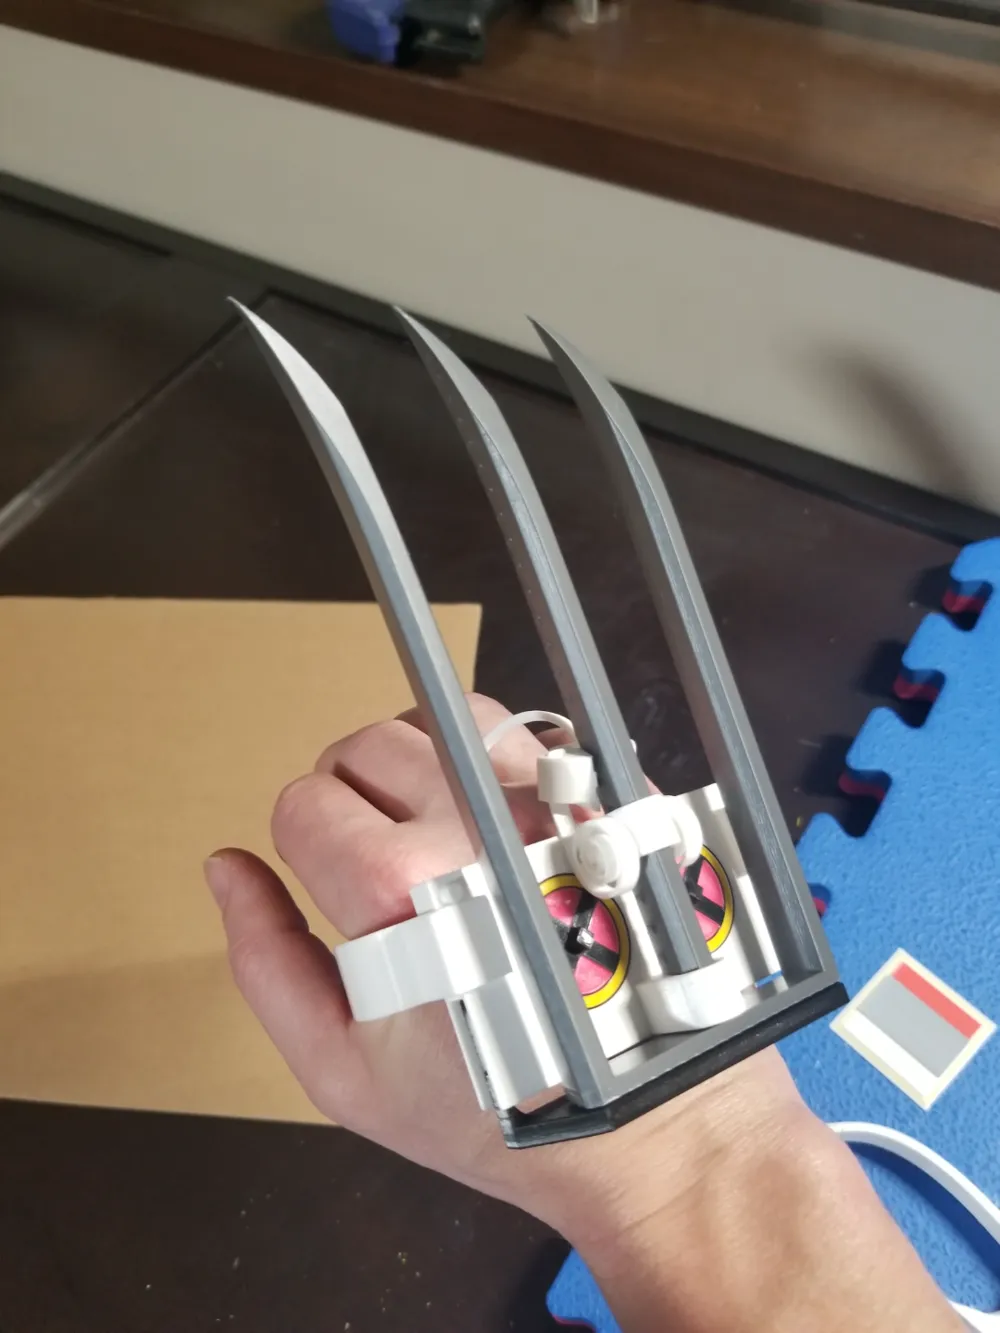
My son requested some wolverine claws, and since I had just printed a print in place spring box I was like ‘I bet we could make some claws spring loaded!’
Famous last words…
Fortunately (or unfortunately?) the spring idea proof of concept worked immediately:

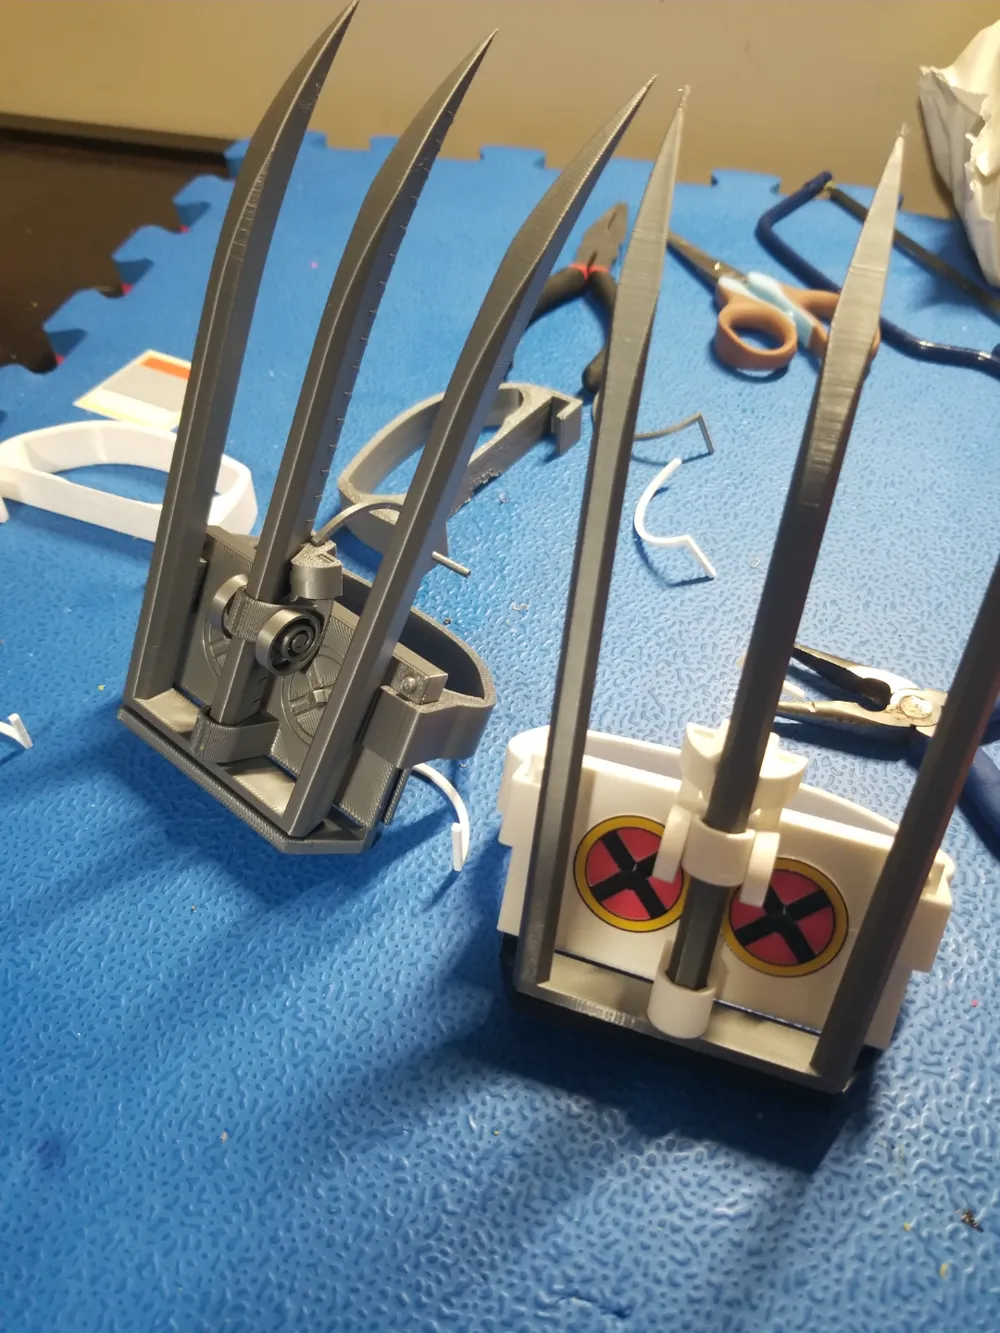
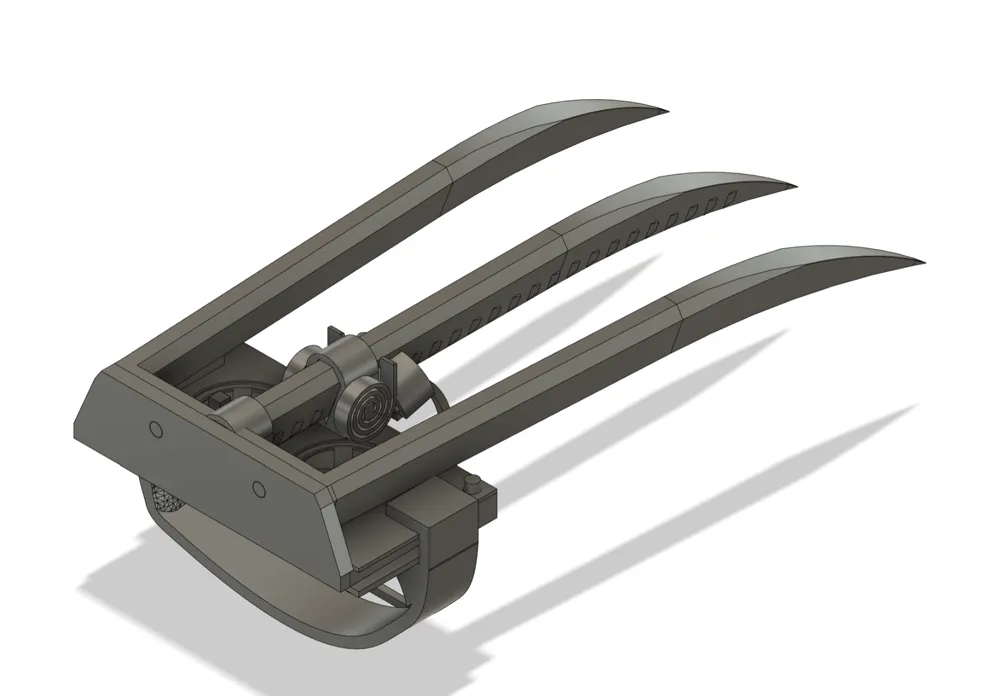
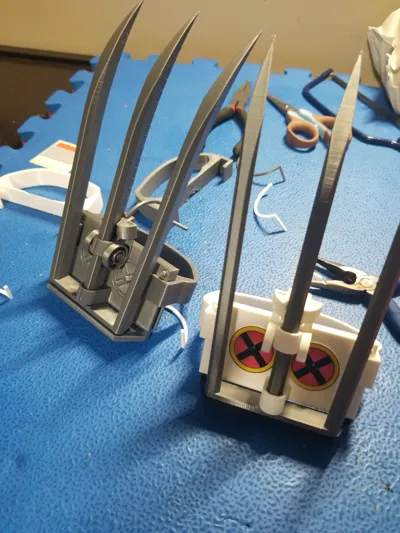
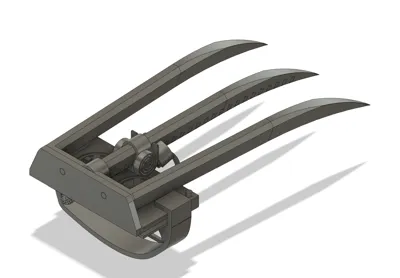
So we were off! And then a billion iterations later, we get to this first release version.
It's a bit tricky to assemble, but I'll try to get some how to's in the future if needed. Please leave feedback on what I might do to enhance it - or let me know points of failure that I can strengthen.
Thanks!
For Assembly, you may want to watch this youtube where Uncle Jessy successfully assembles it (https://youtu.be/PM3DsiuDIDw?si=Ku4l55NfCI200hou).

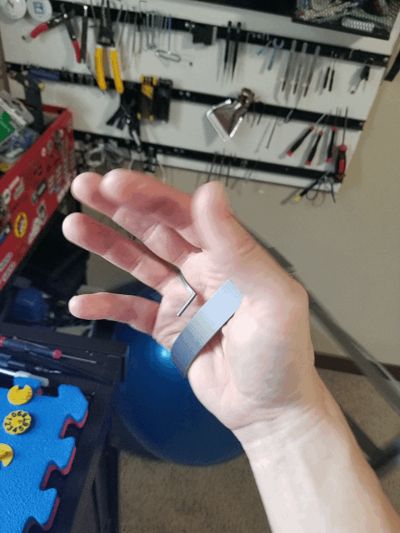
HAND STRAP - This was for my son, and I actually tried using the Polycam photogrammetry app on my phone to 3D scan his hand, and then made the strap using that :). It worked suprisingly well for HIS hand. I scaled up the strap for bigger hands, but you can also cut or delete a piece to make it bend and fit different sizes.
ASSEMBLY
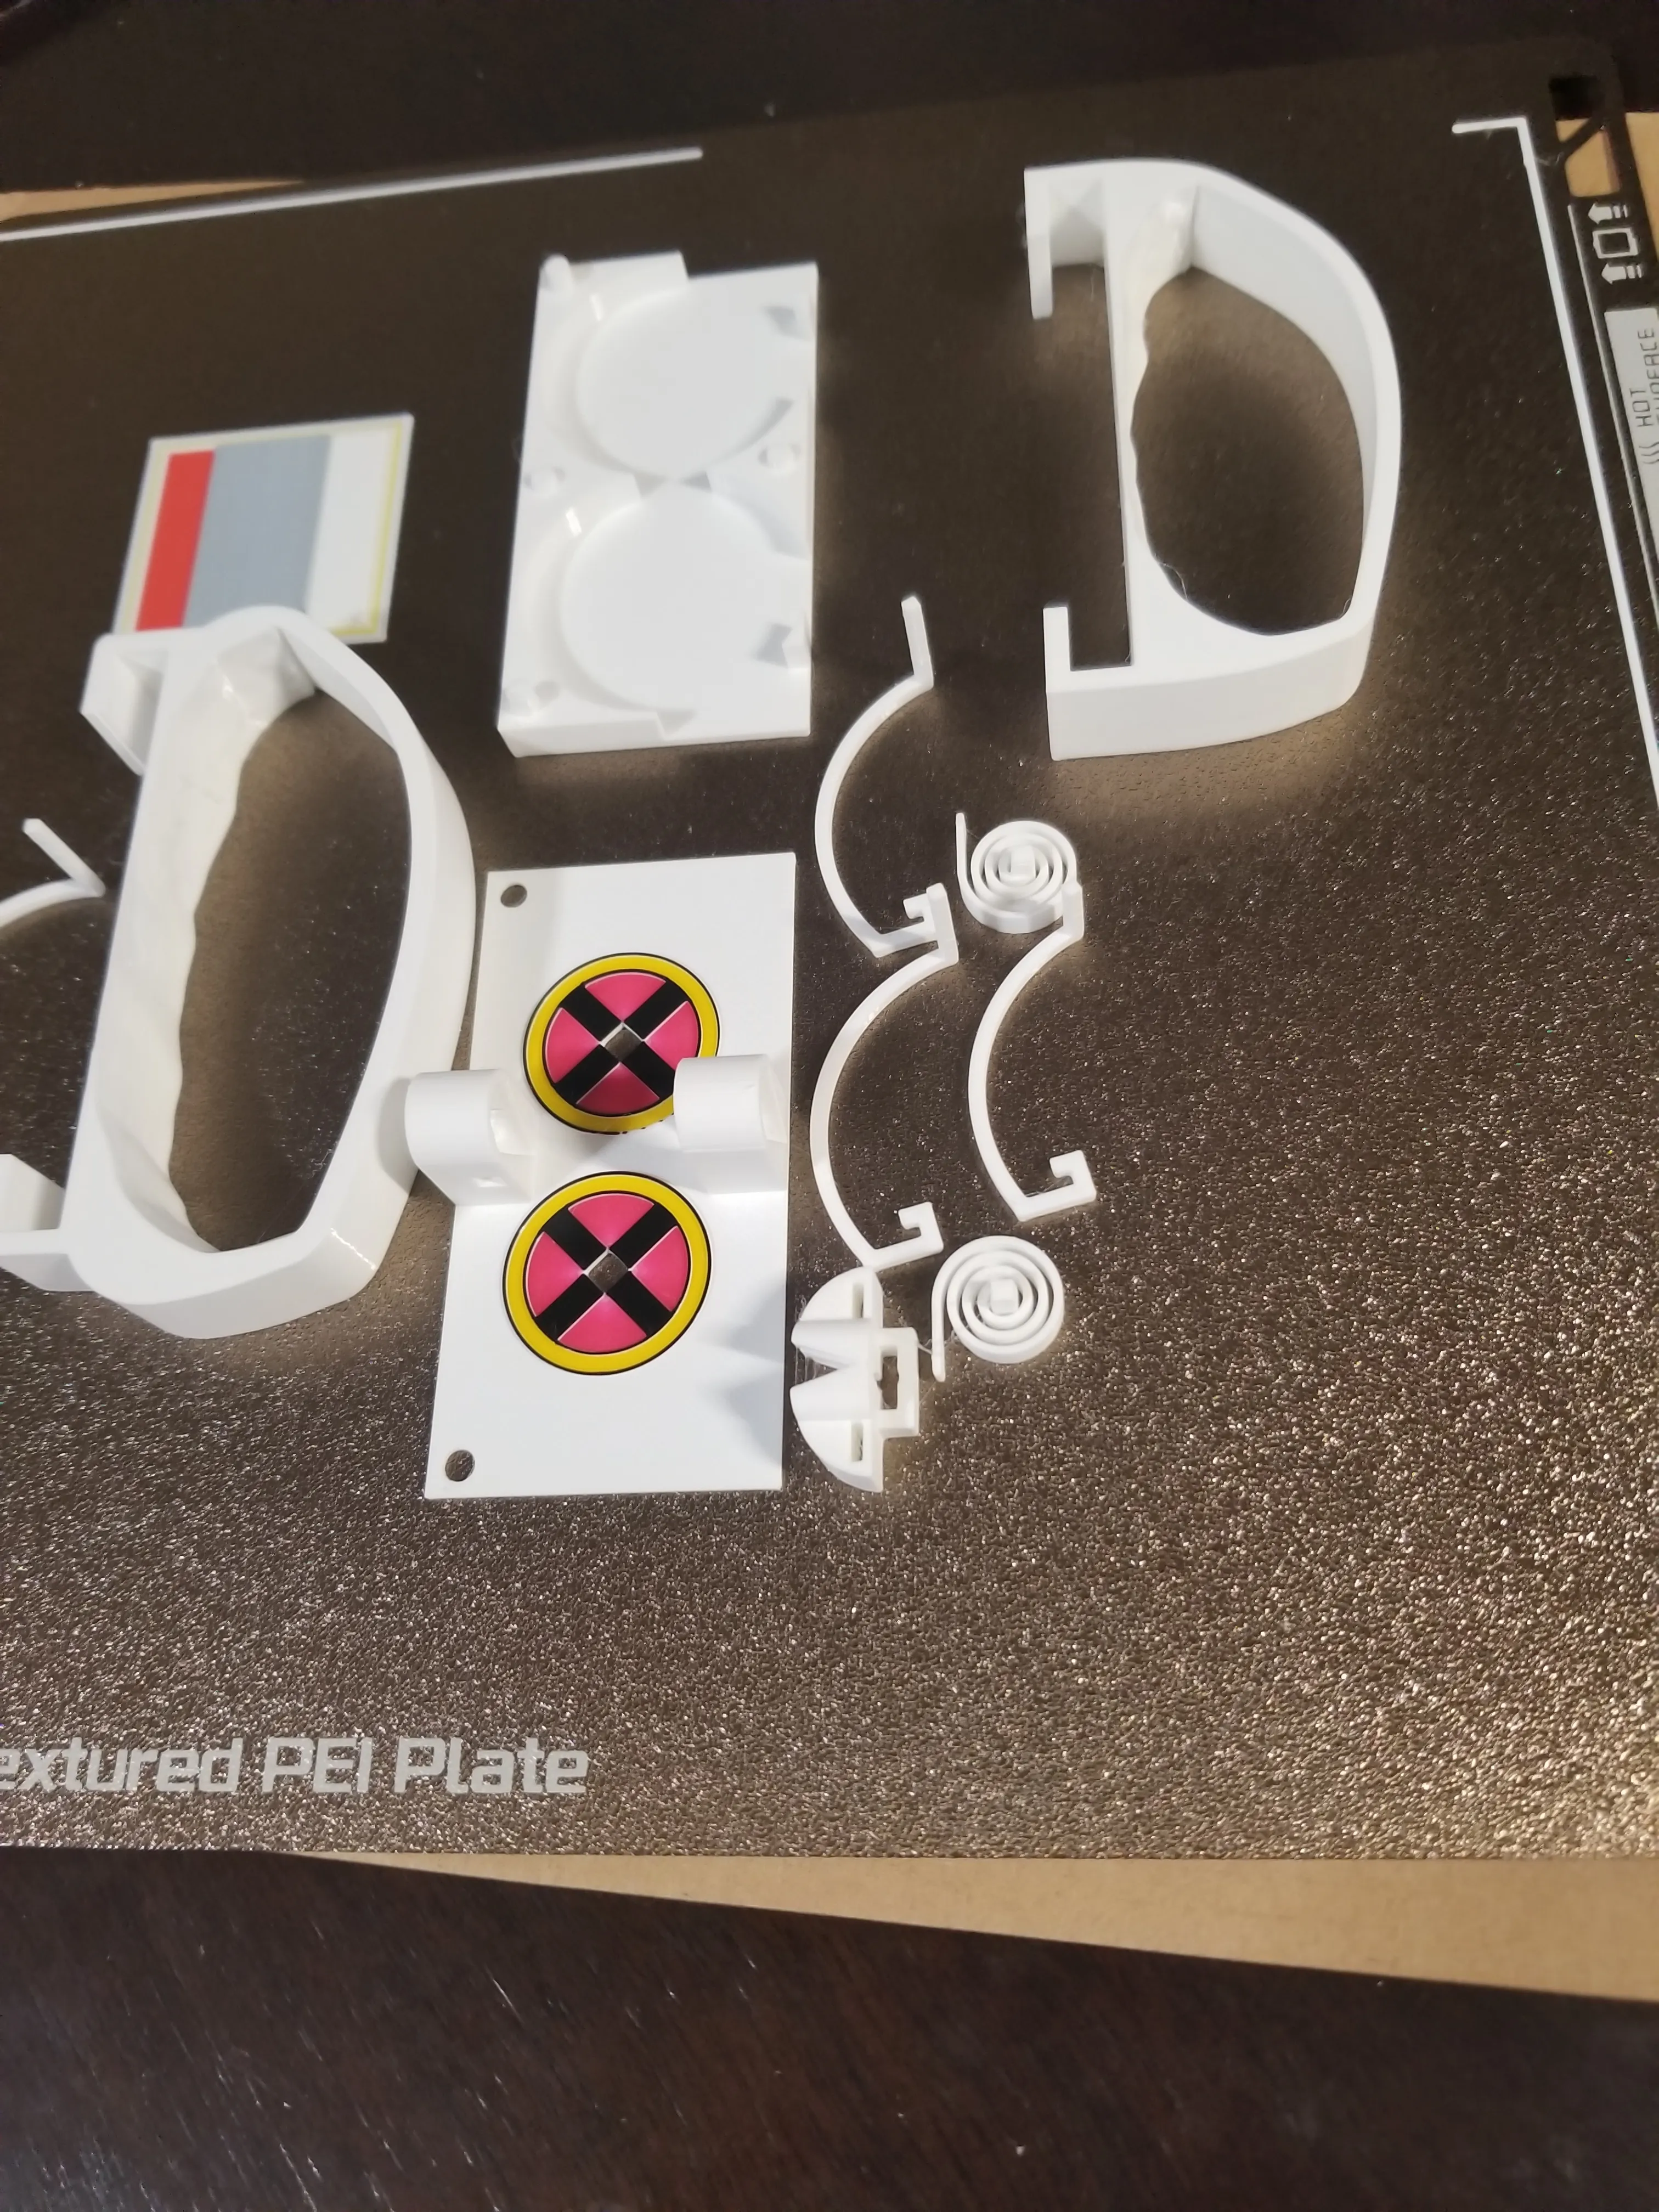
The brake.
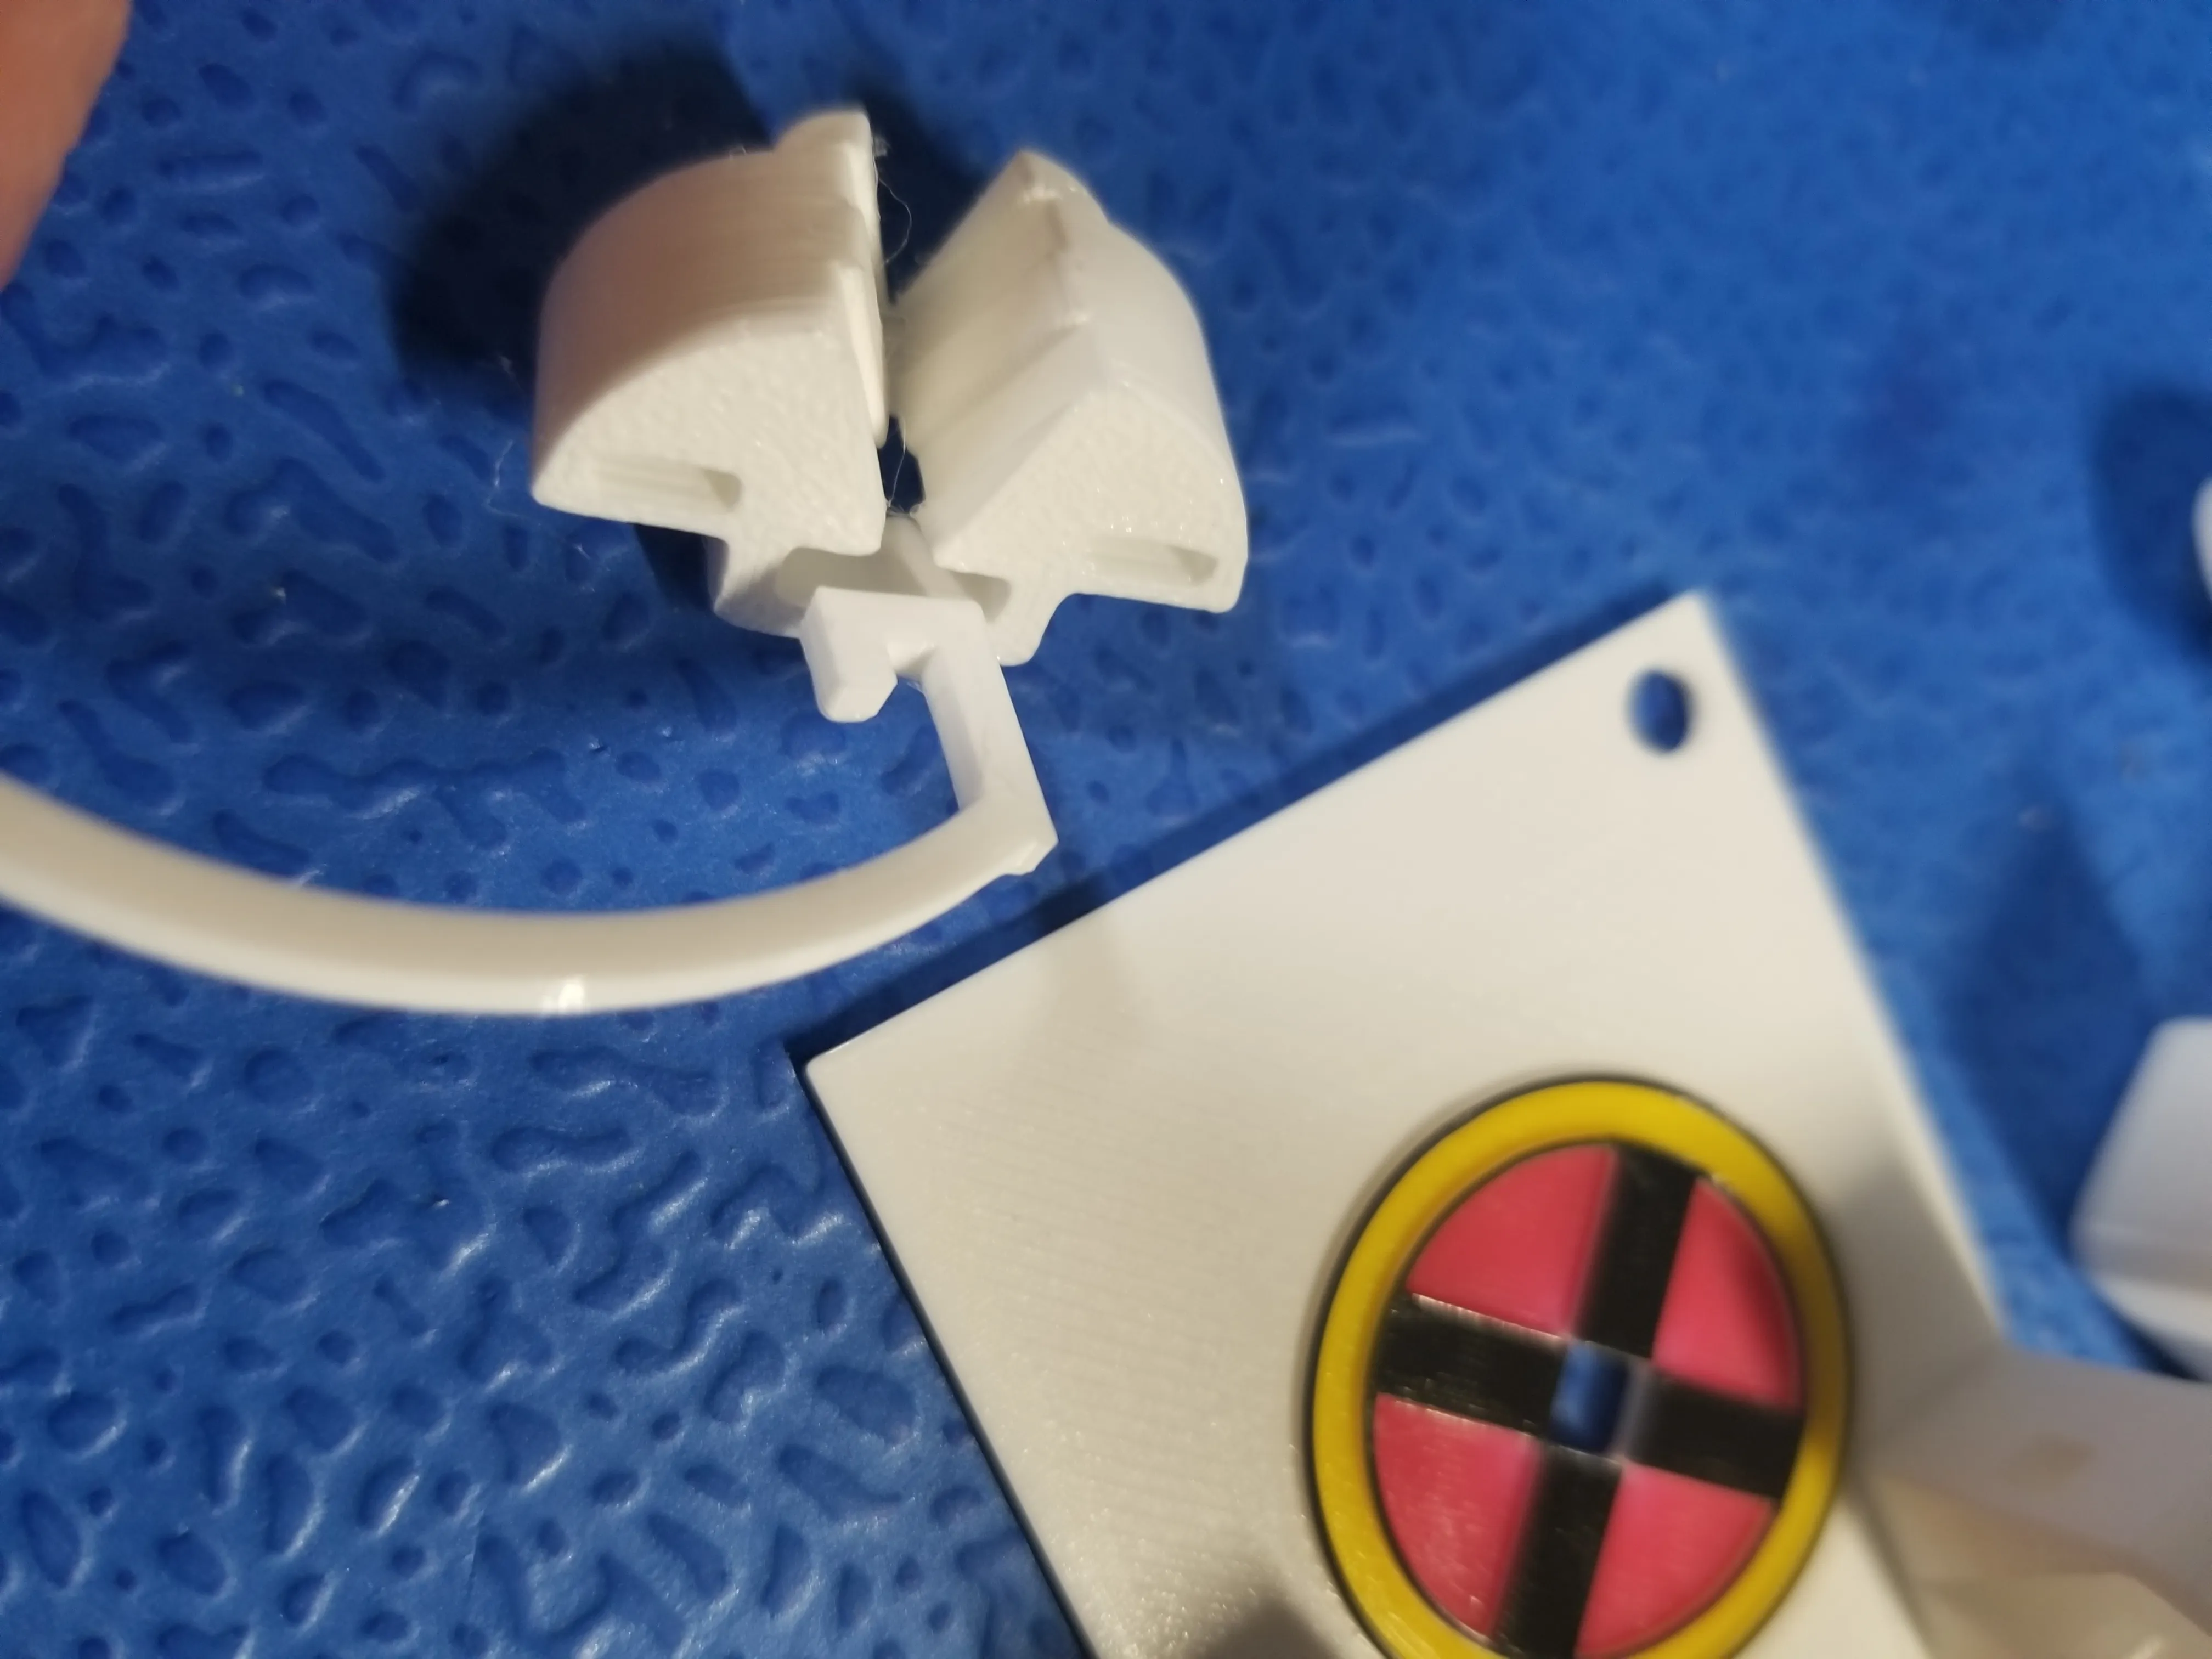
Stick the ‘trigger’ down through the brake sideways and then turn it (somewhat gently, don't break :))
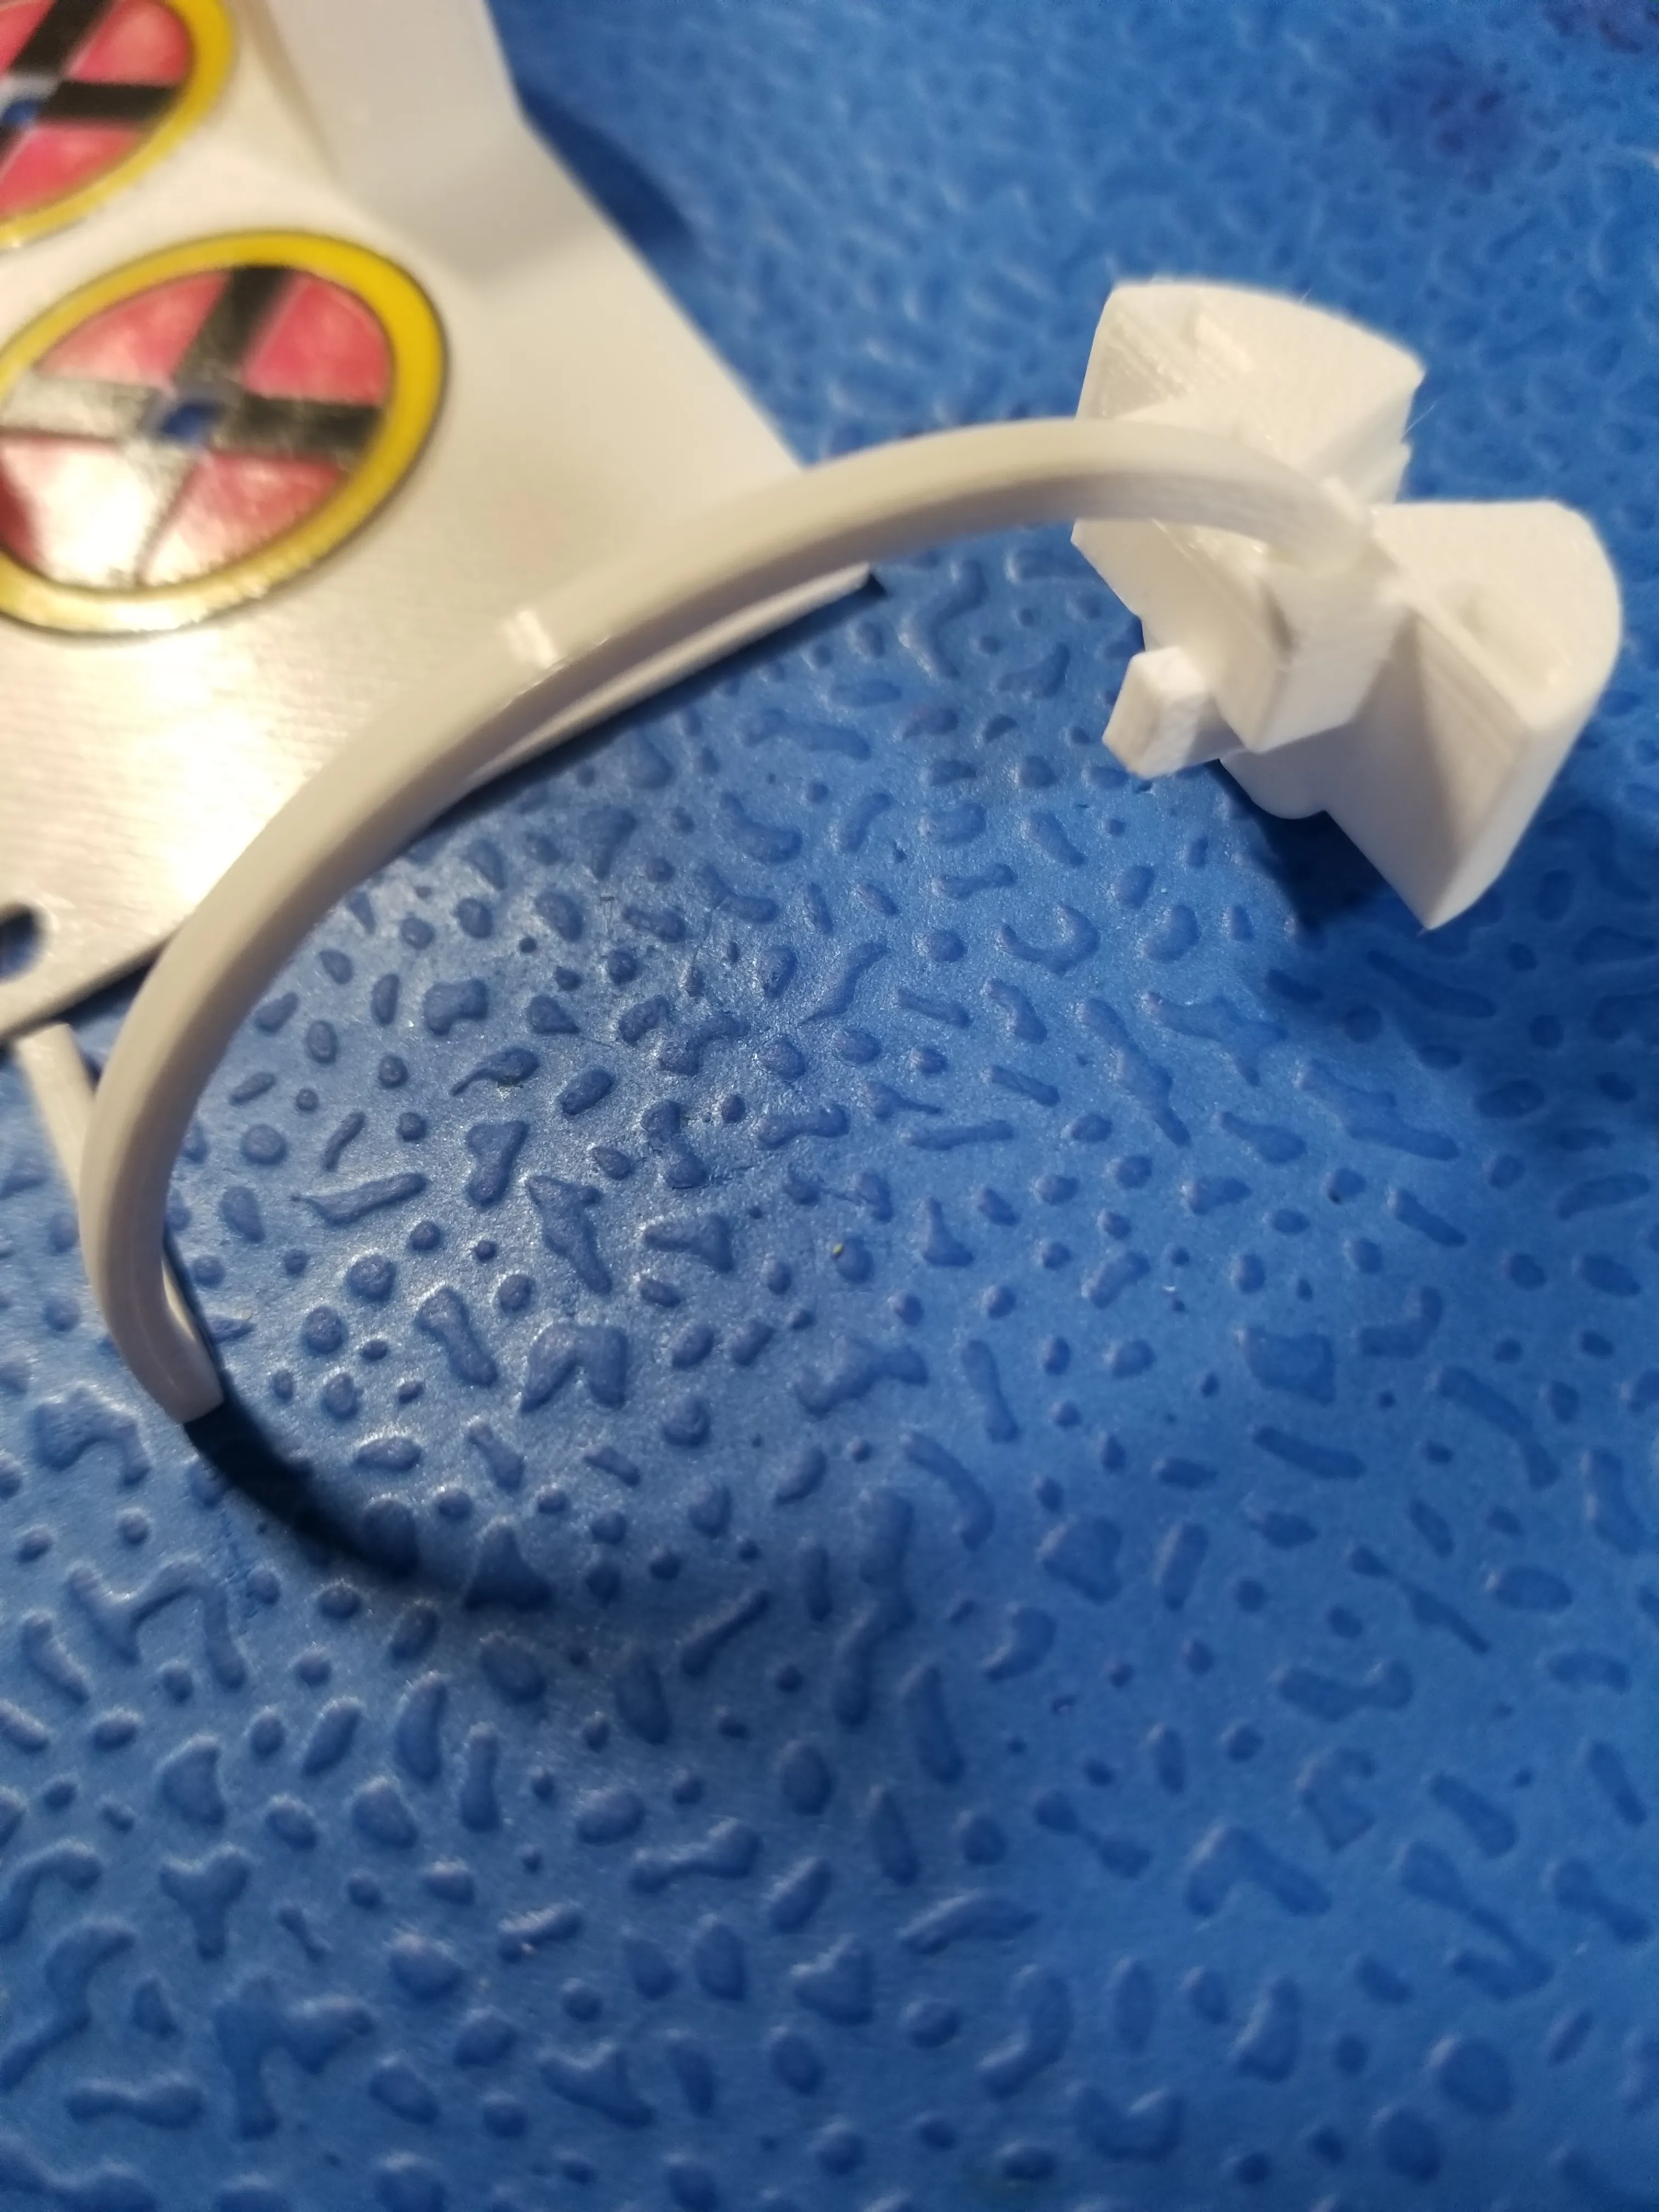
Put the springs into the brake
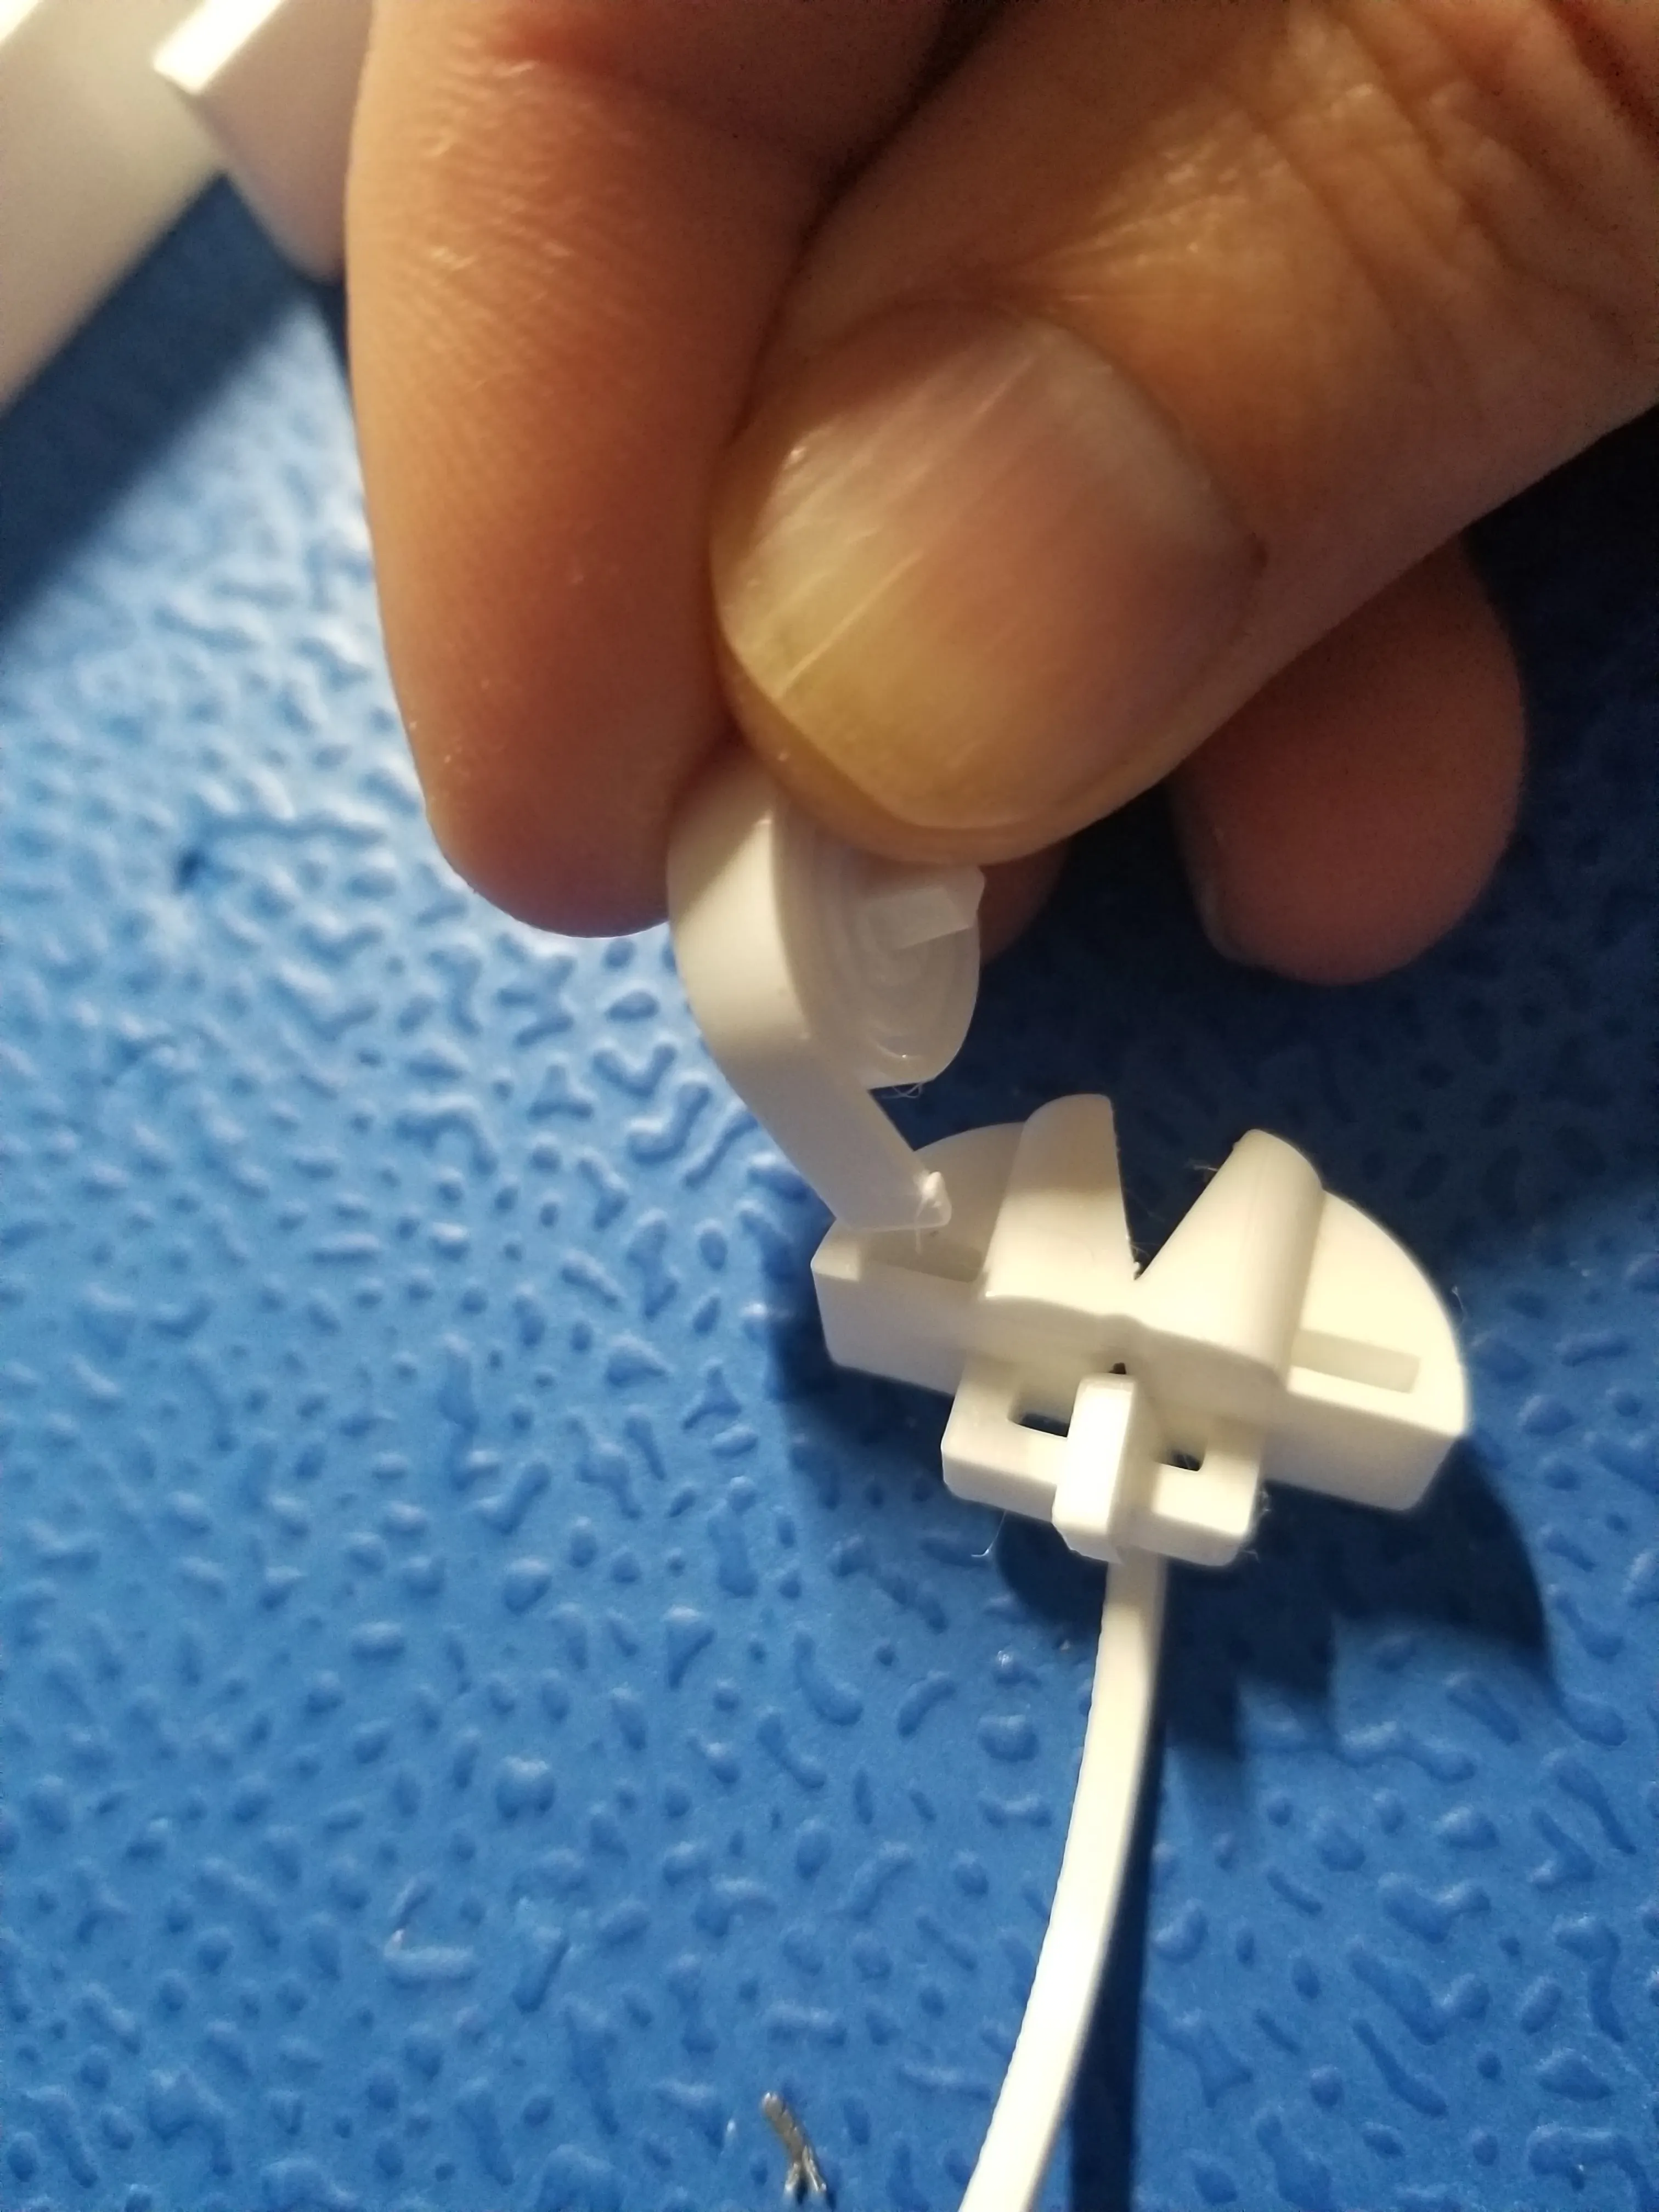
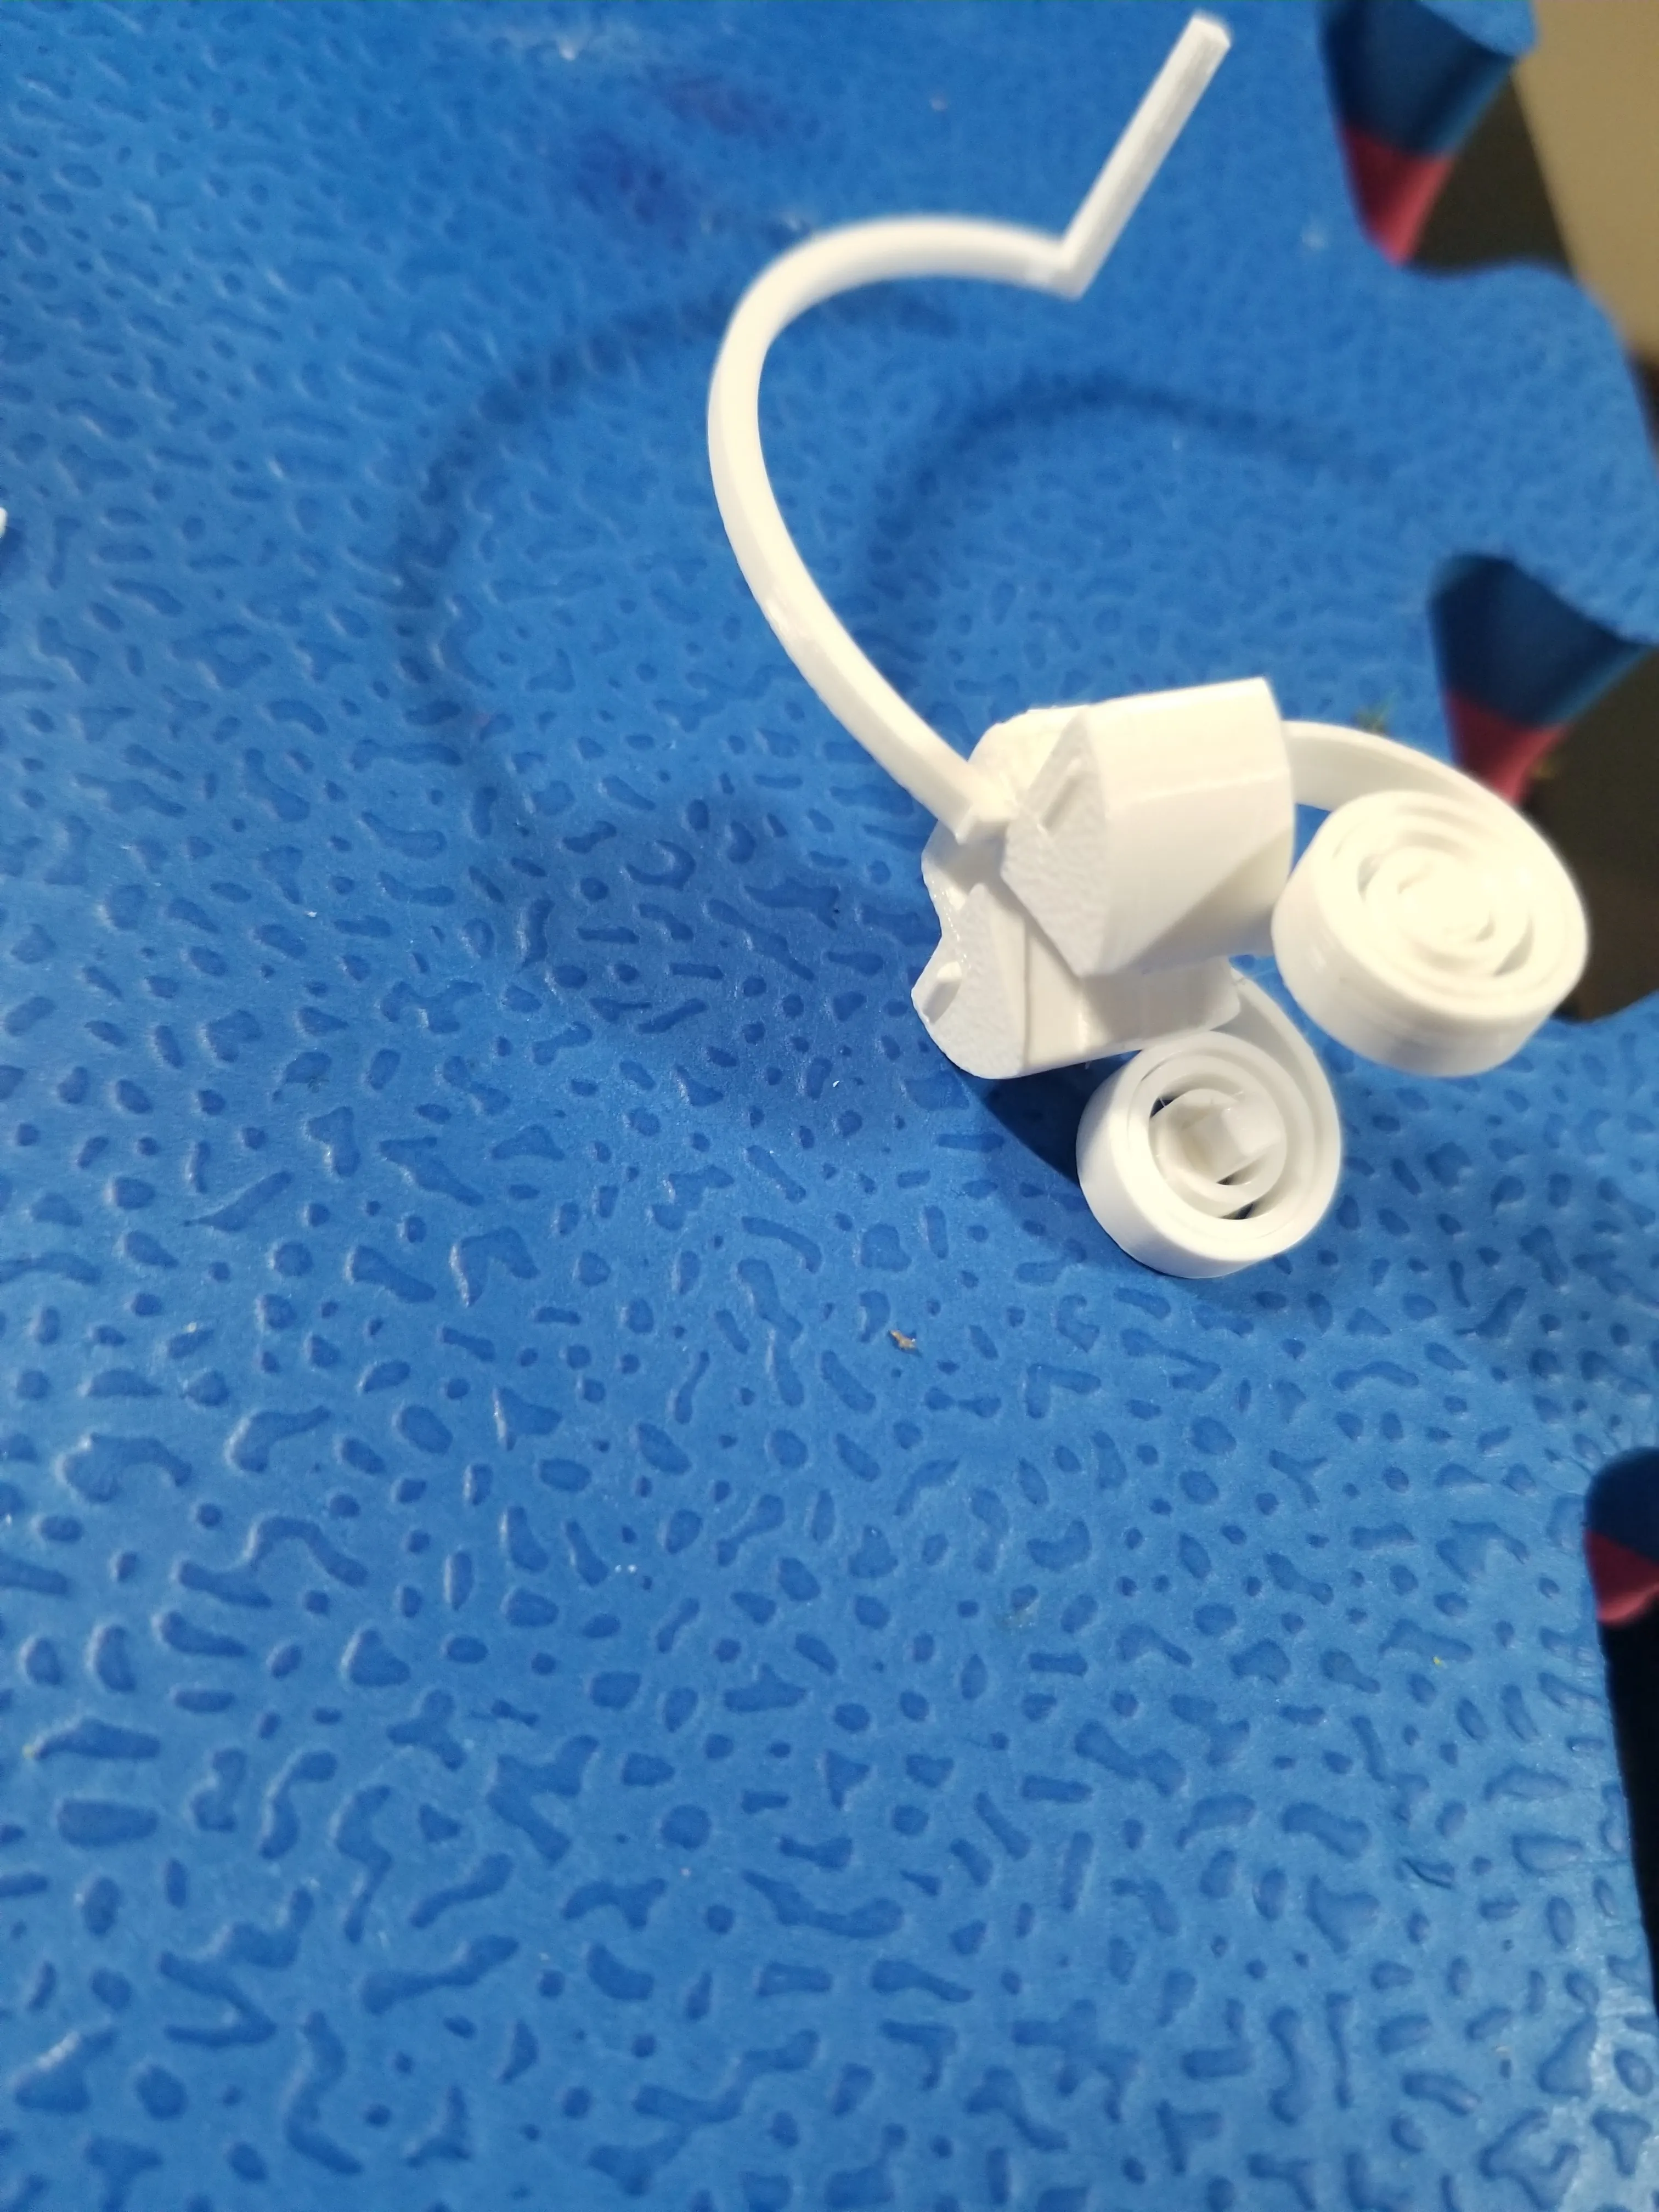
TRICKY PART -
No to putting the brake on this way (it won't have enough space to release):
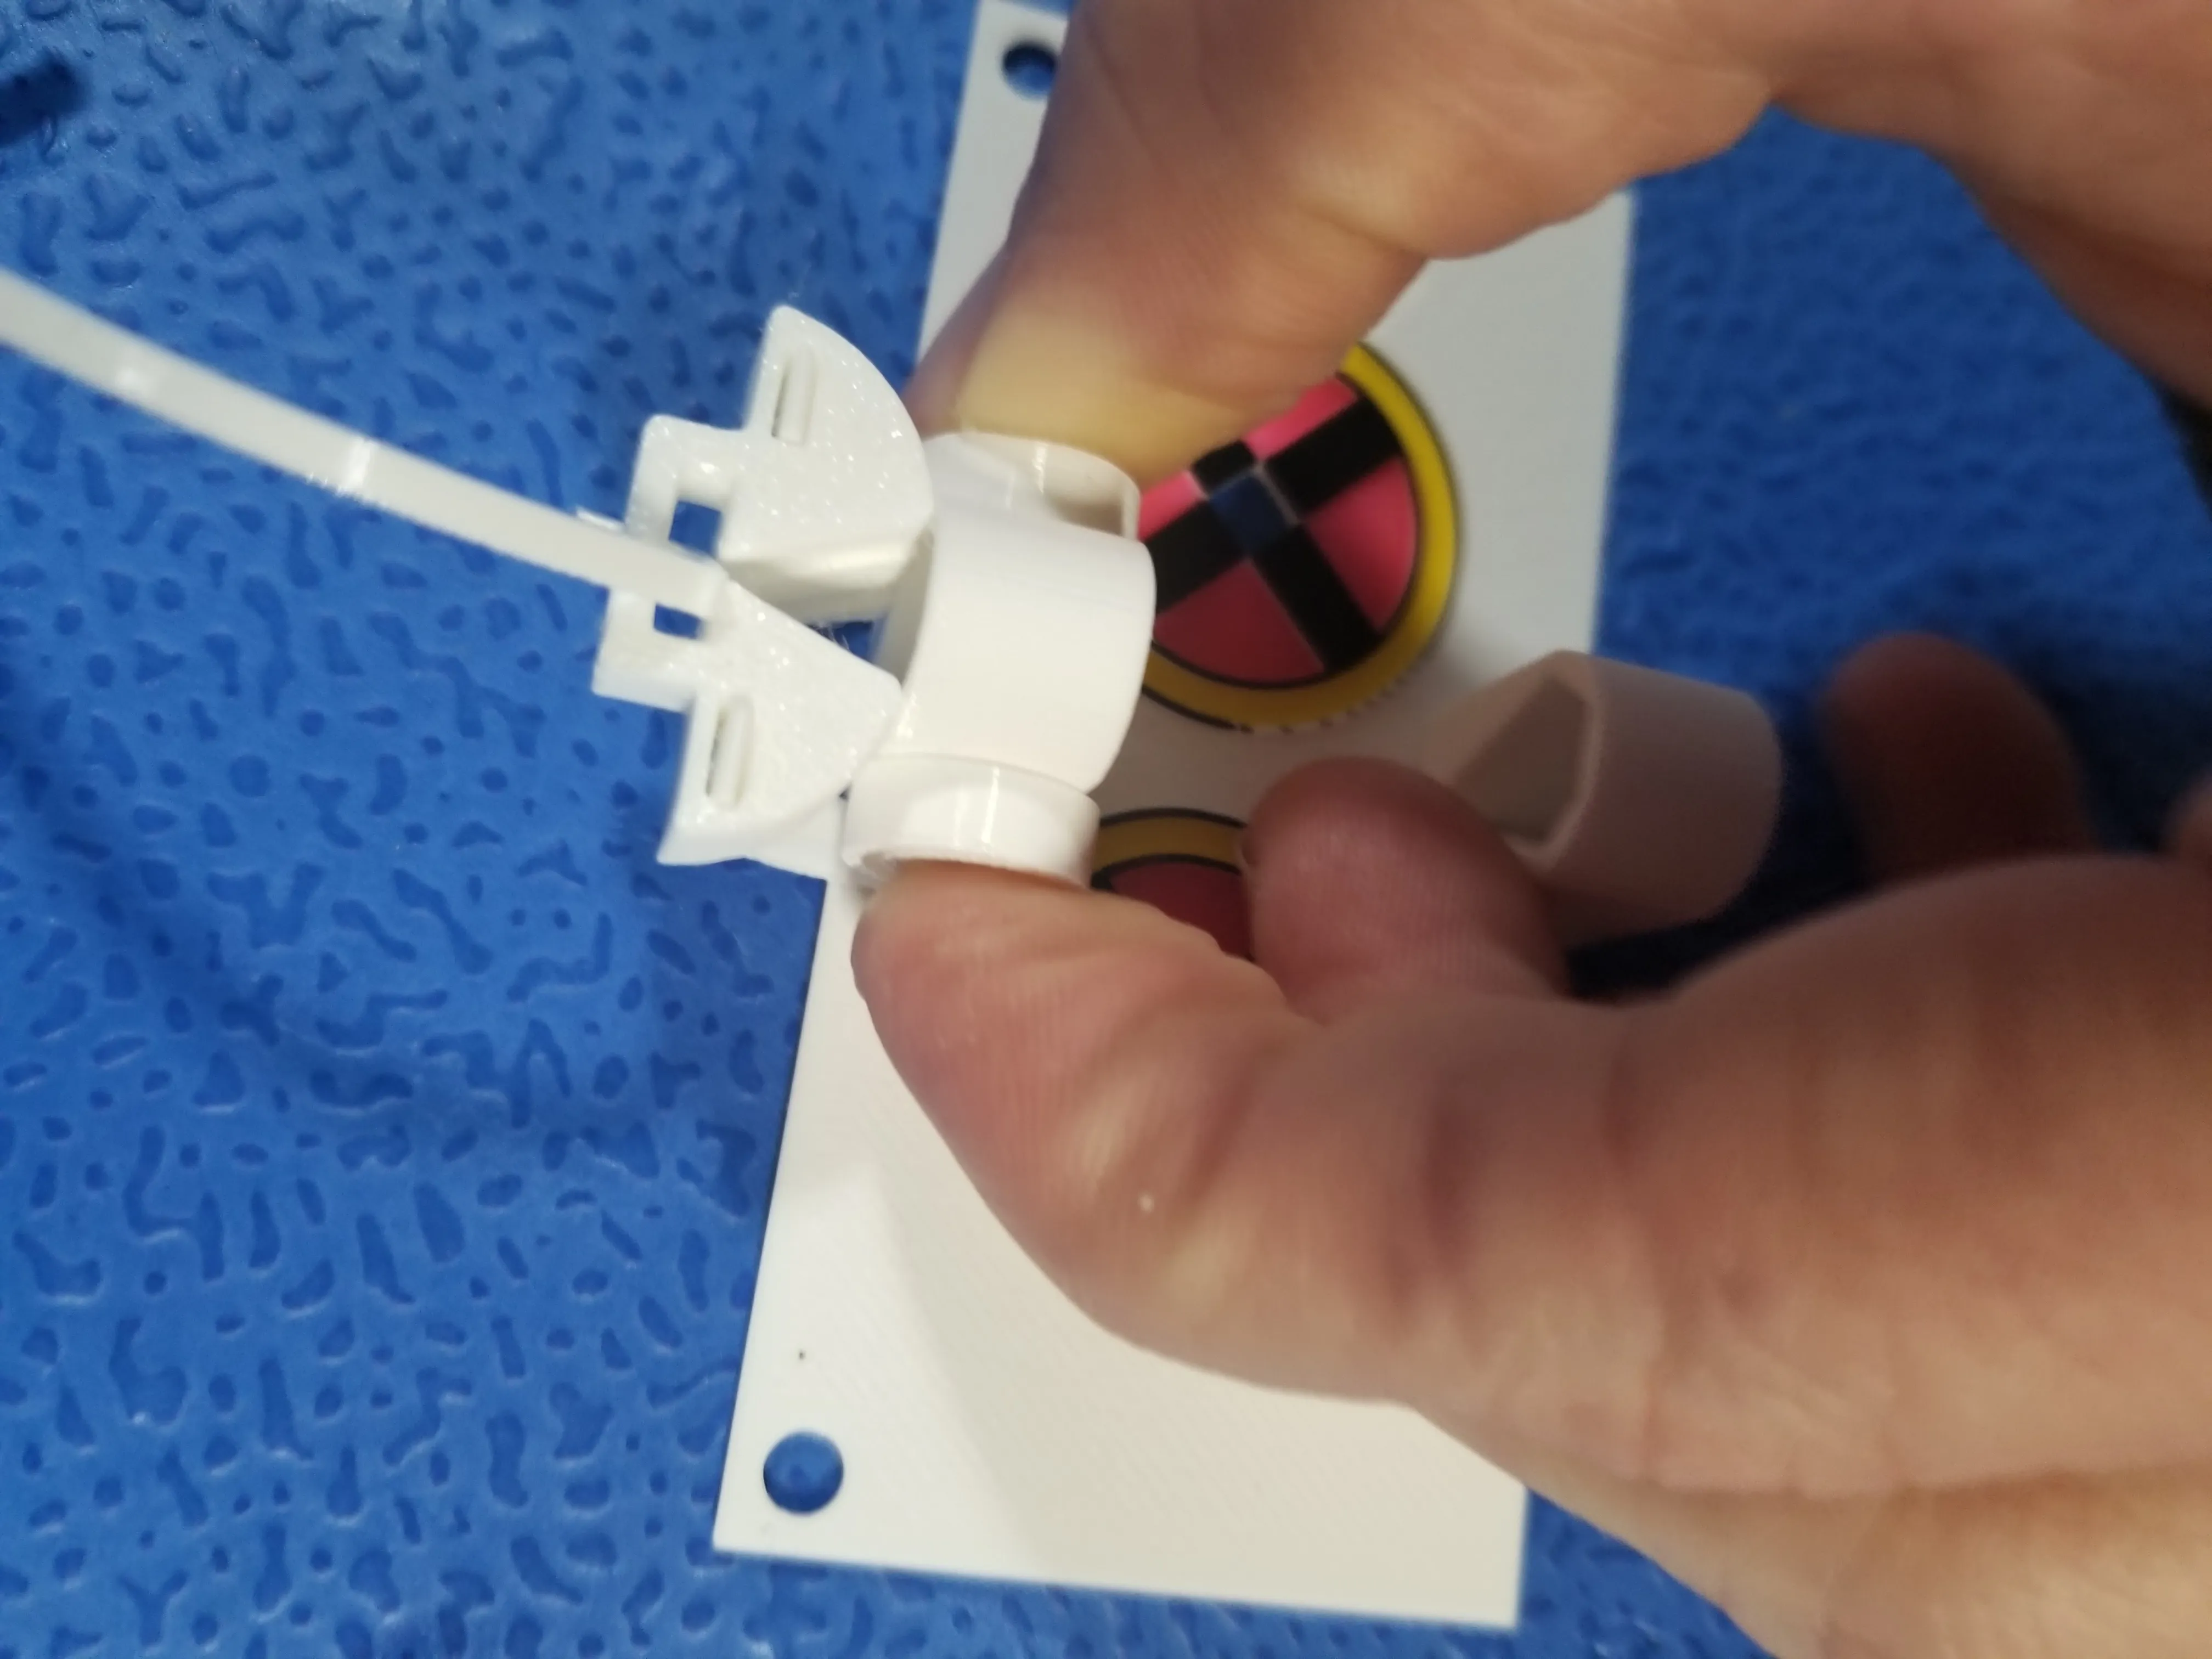
Put it on the other side (I've never had to glue, but tolerances may necessitate that - the mechanism itself actually holds it together pretty well regardless), and then stretch/pull it over to the front (the springs will now have arm length and springiness for the brake mechanism):
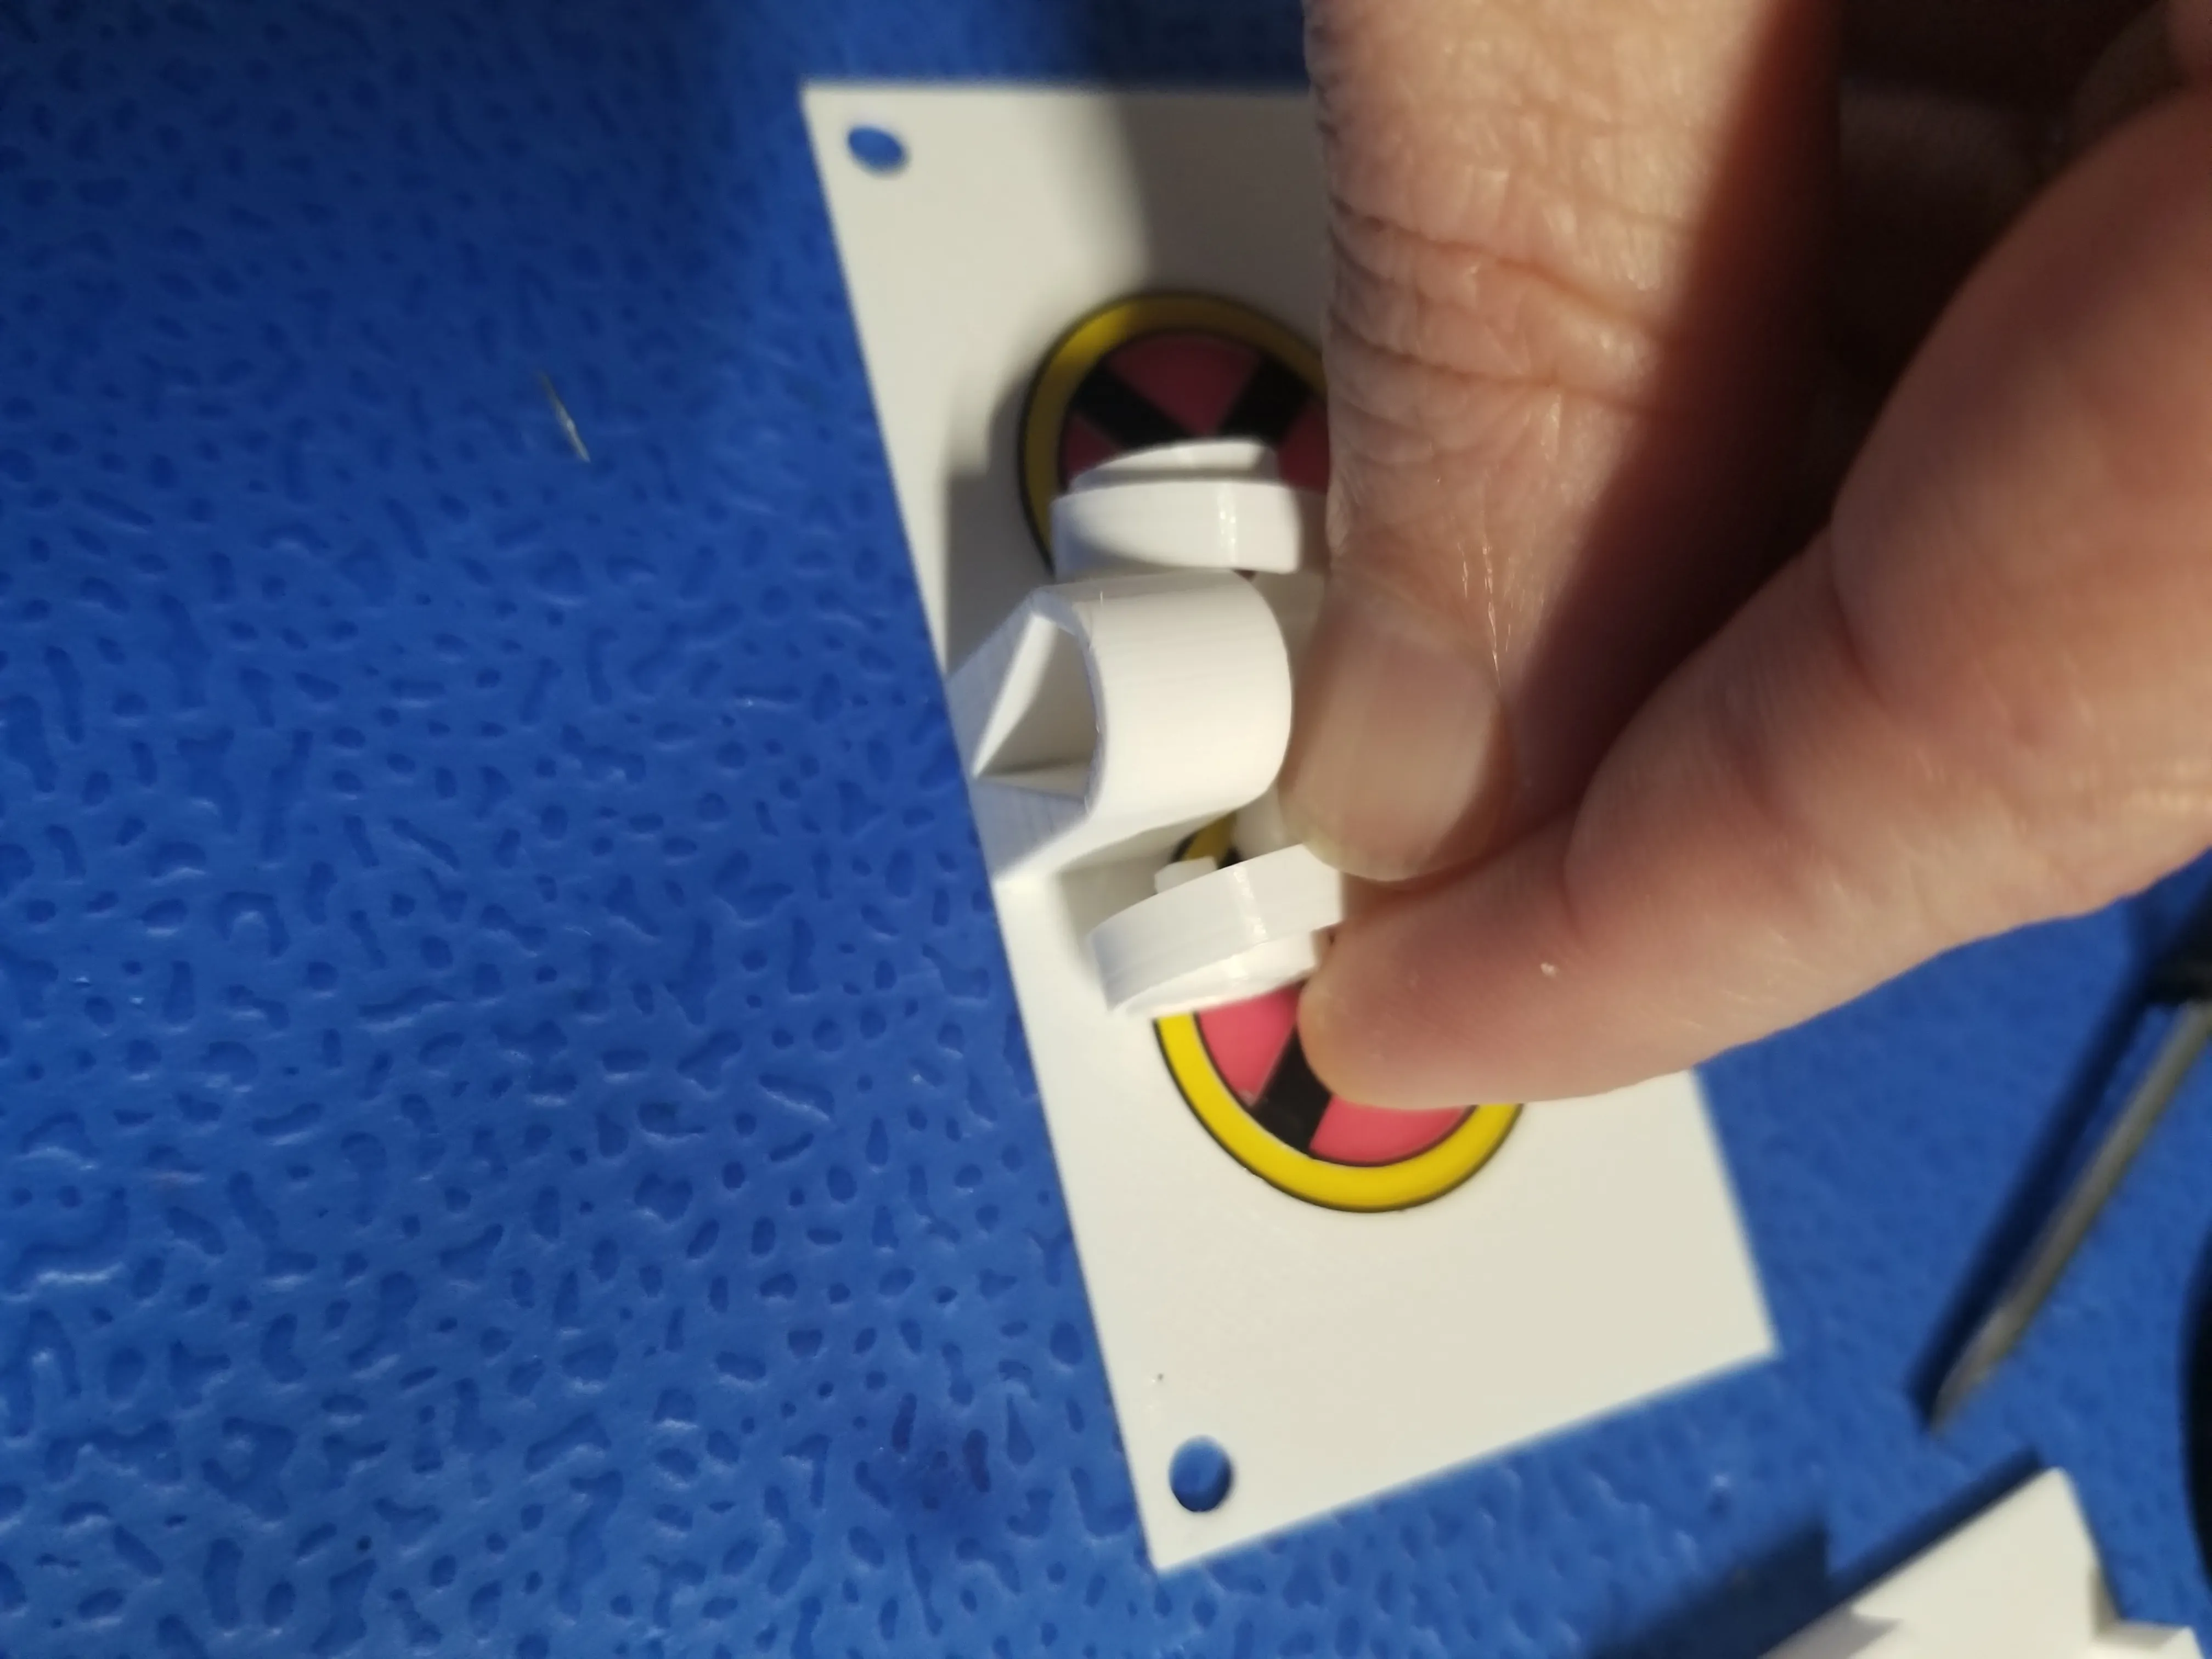
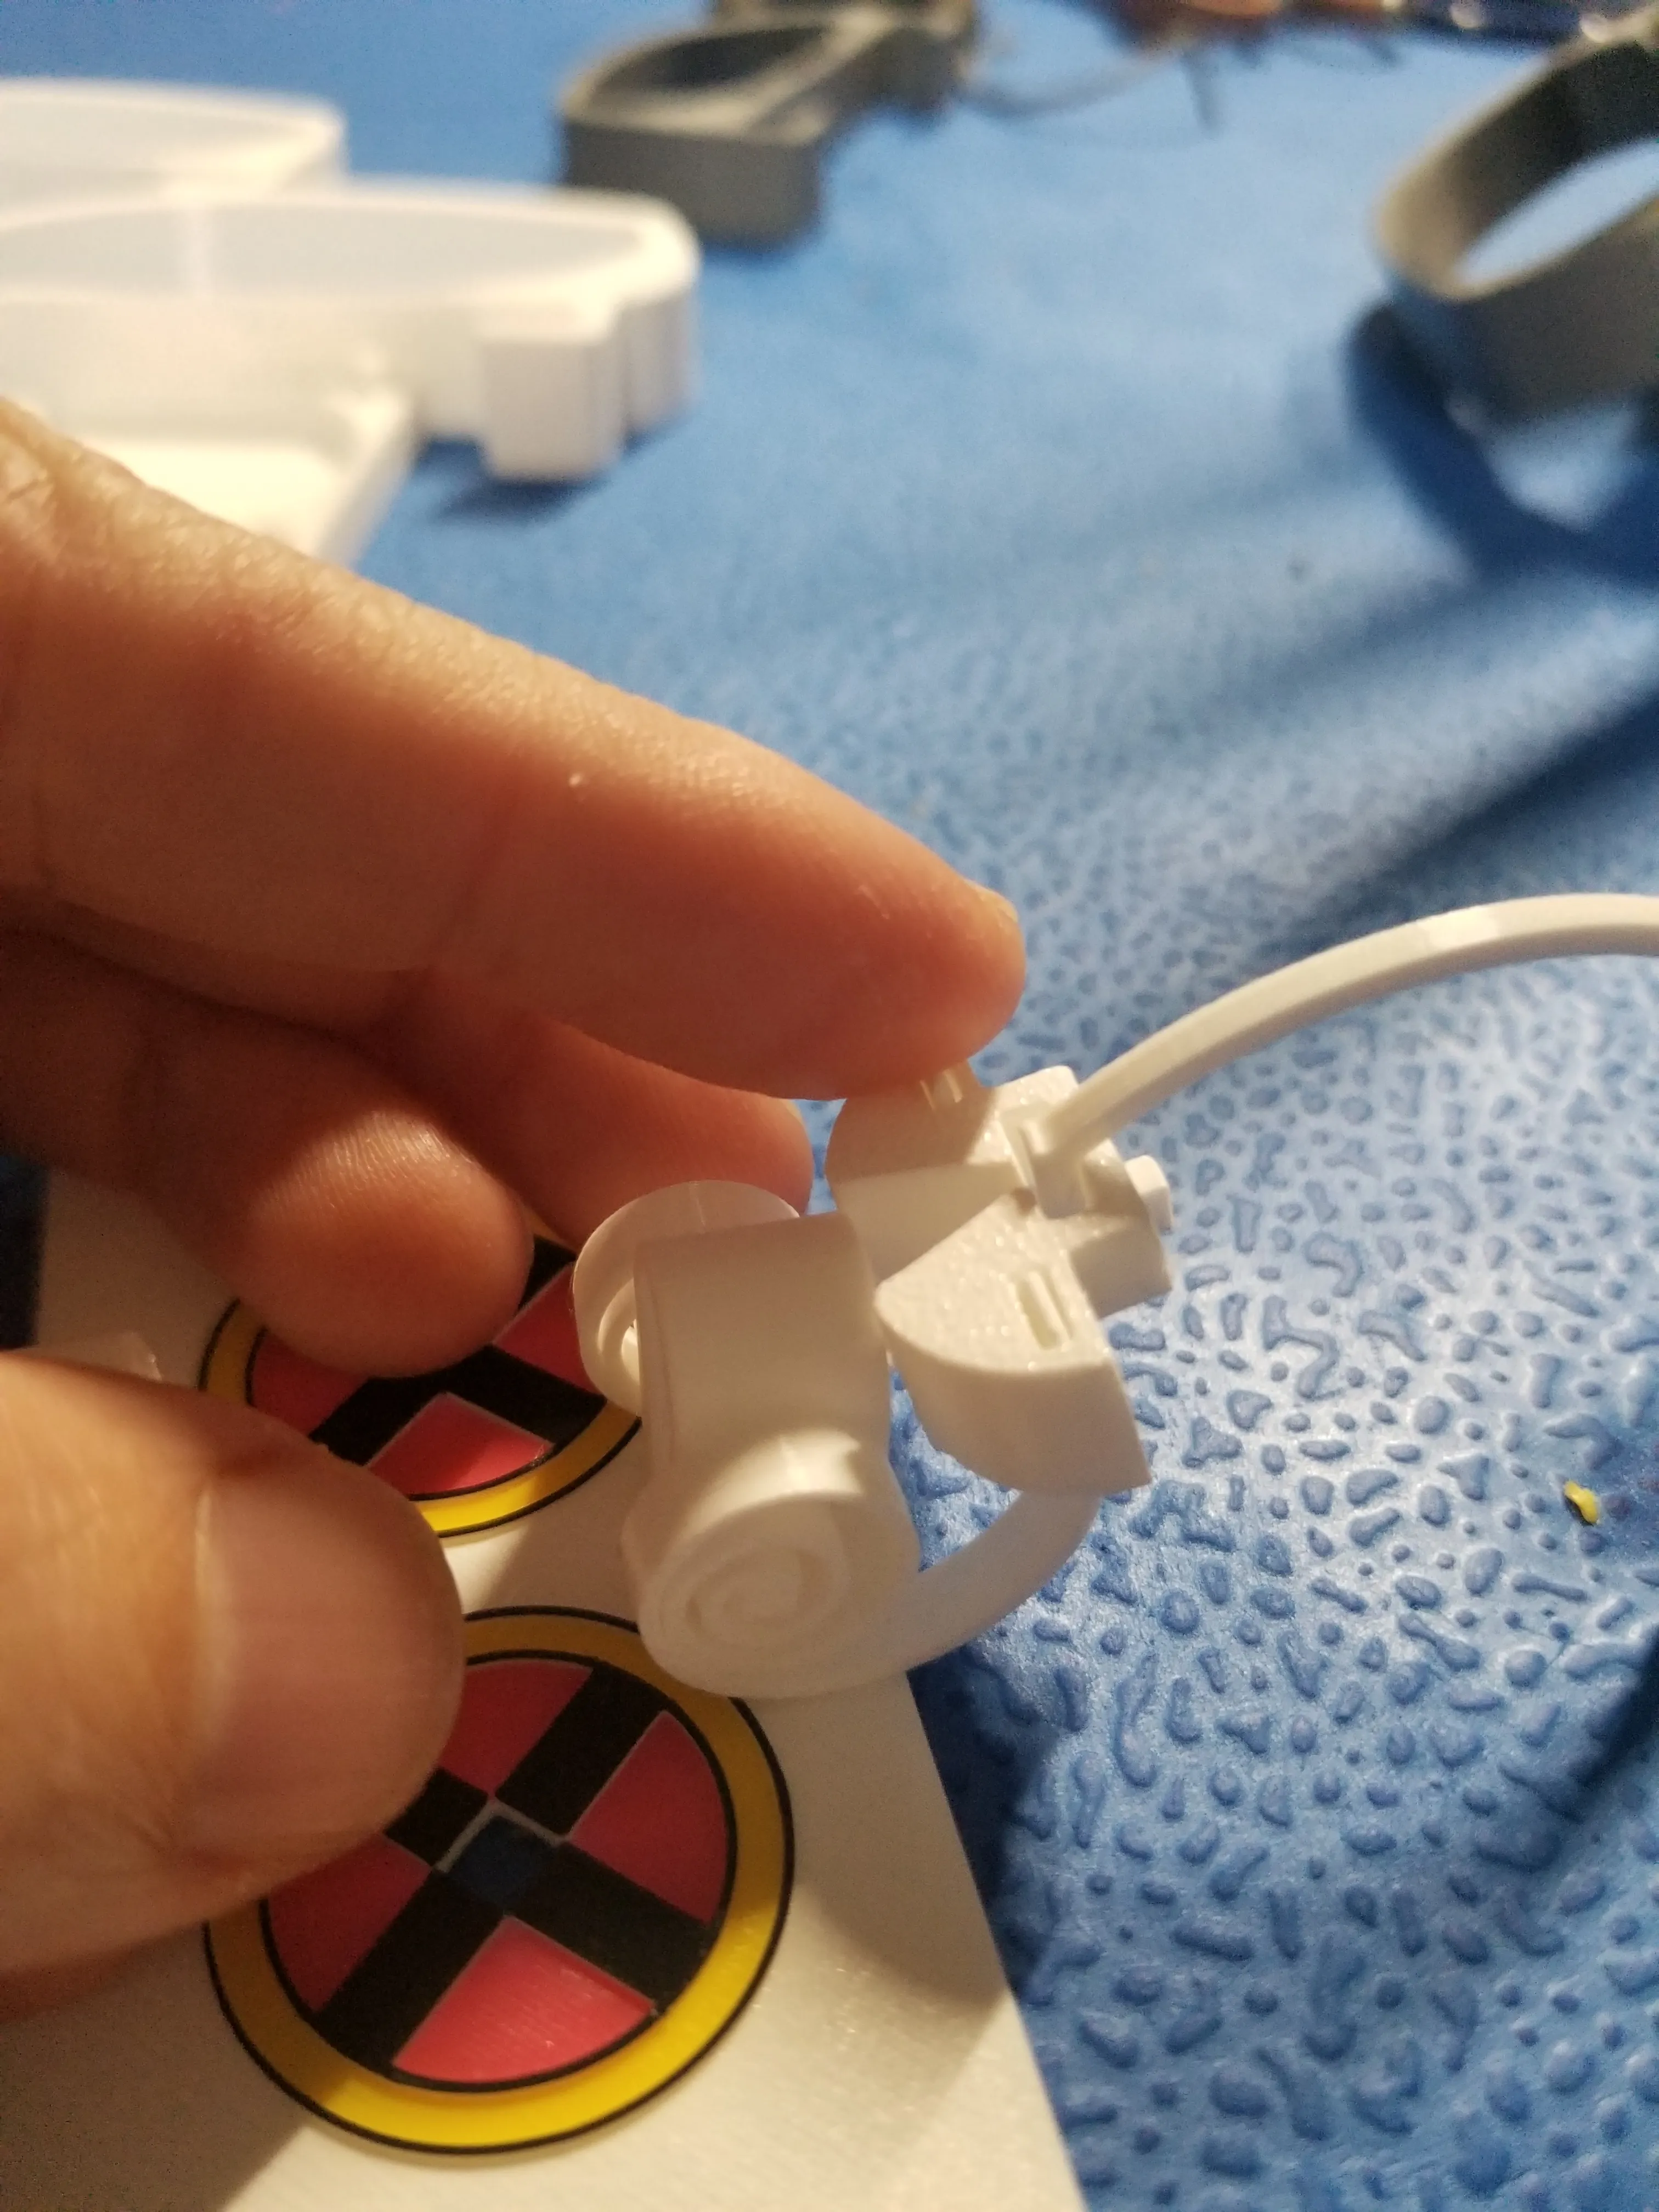
Now put the claws through while holding the brake out of the way. Depending on tolerances you may need to move the claws in and out of the guides to break it in:
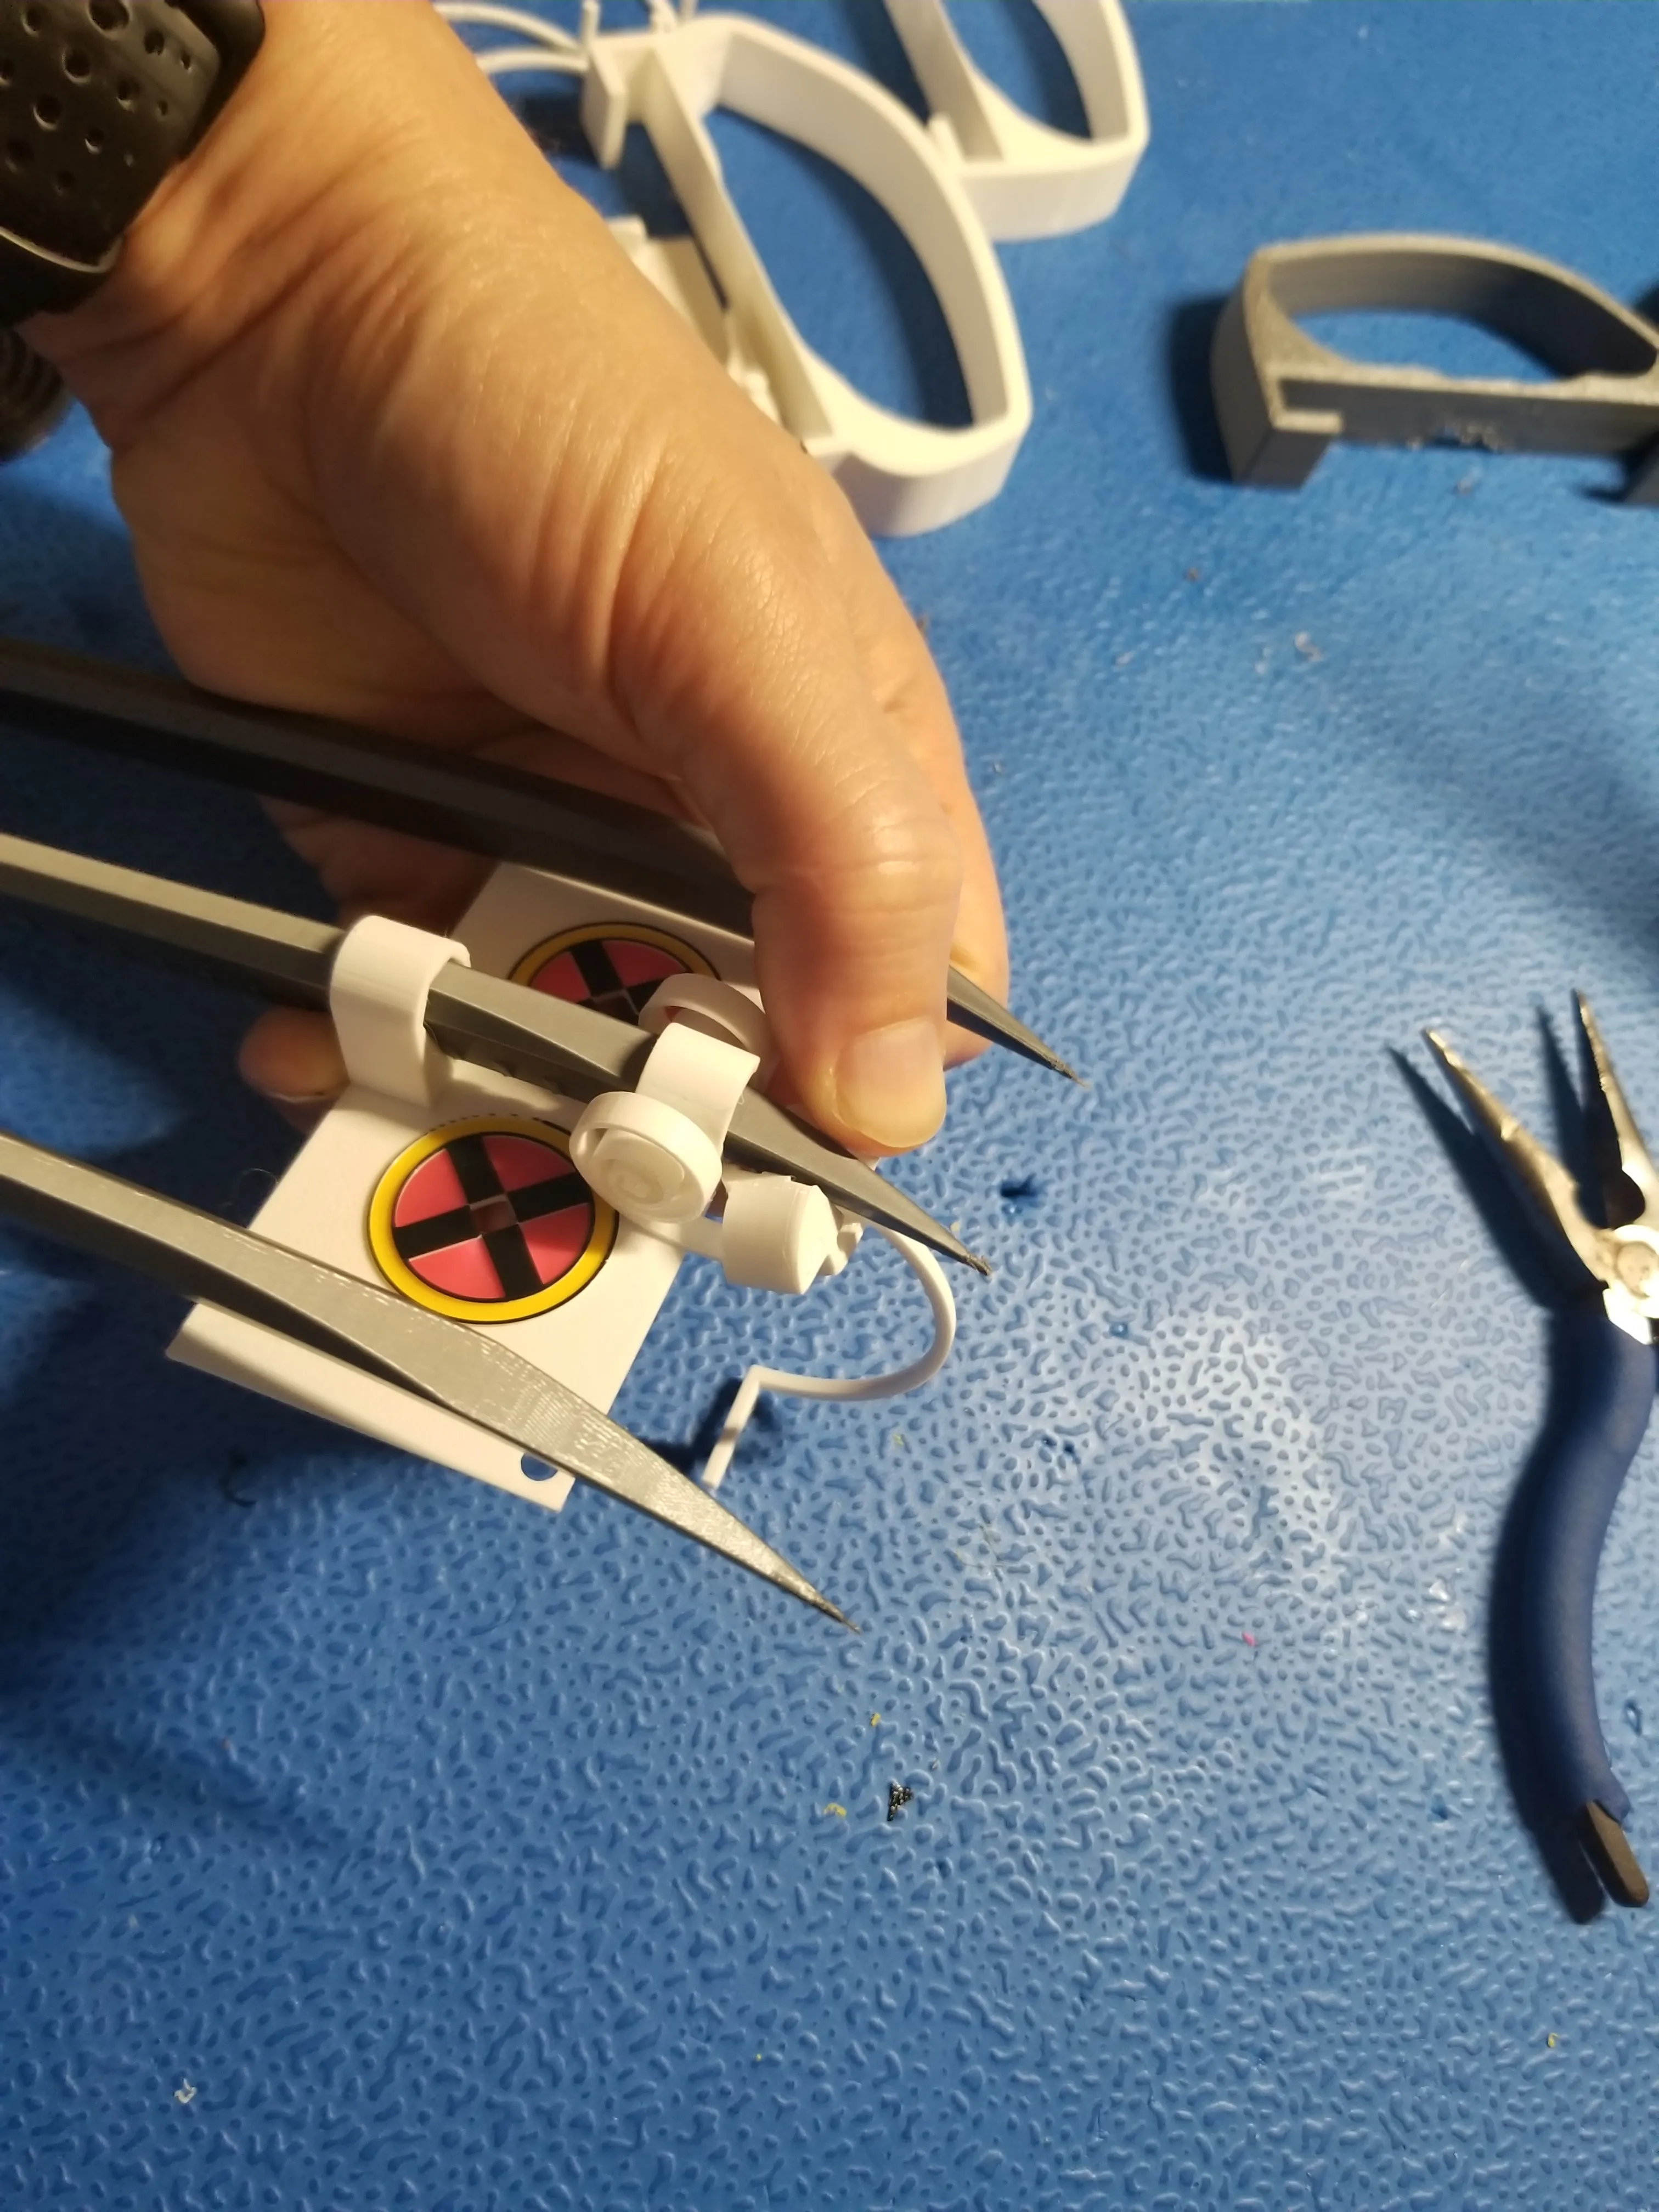
Snap the springs into claws and top plate, and then top plate into bottom plate:
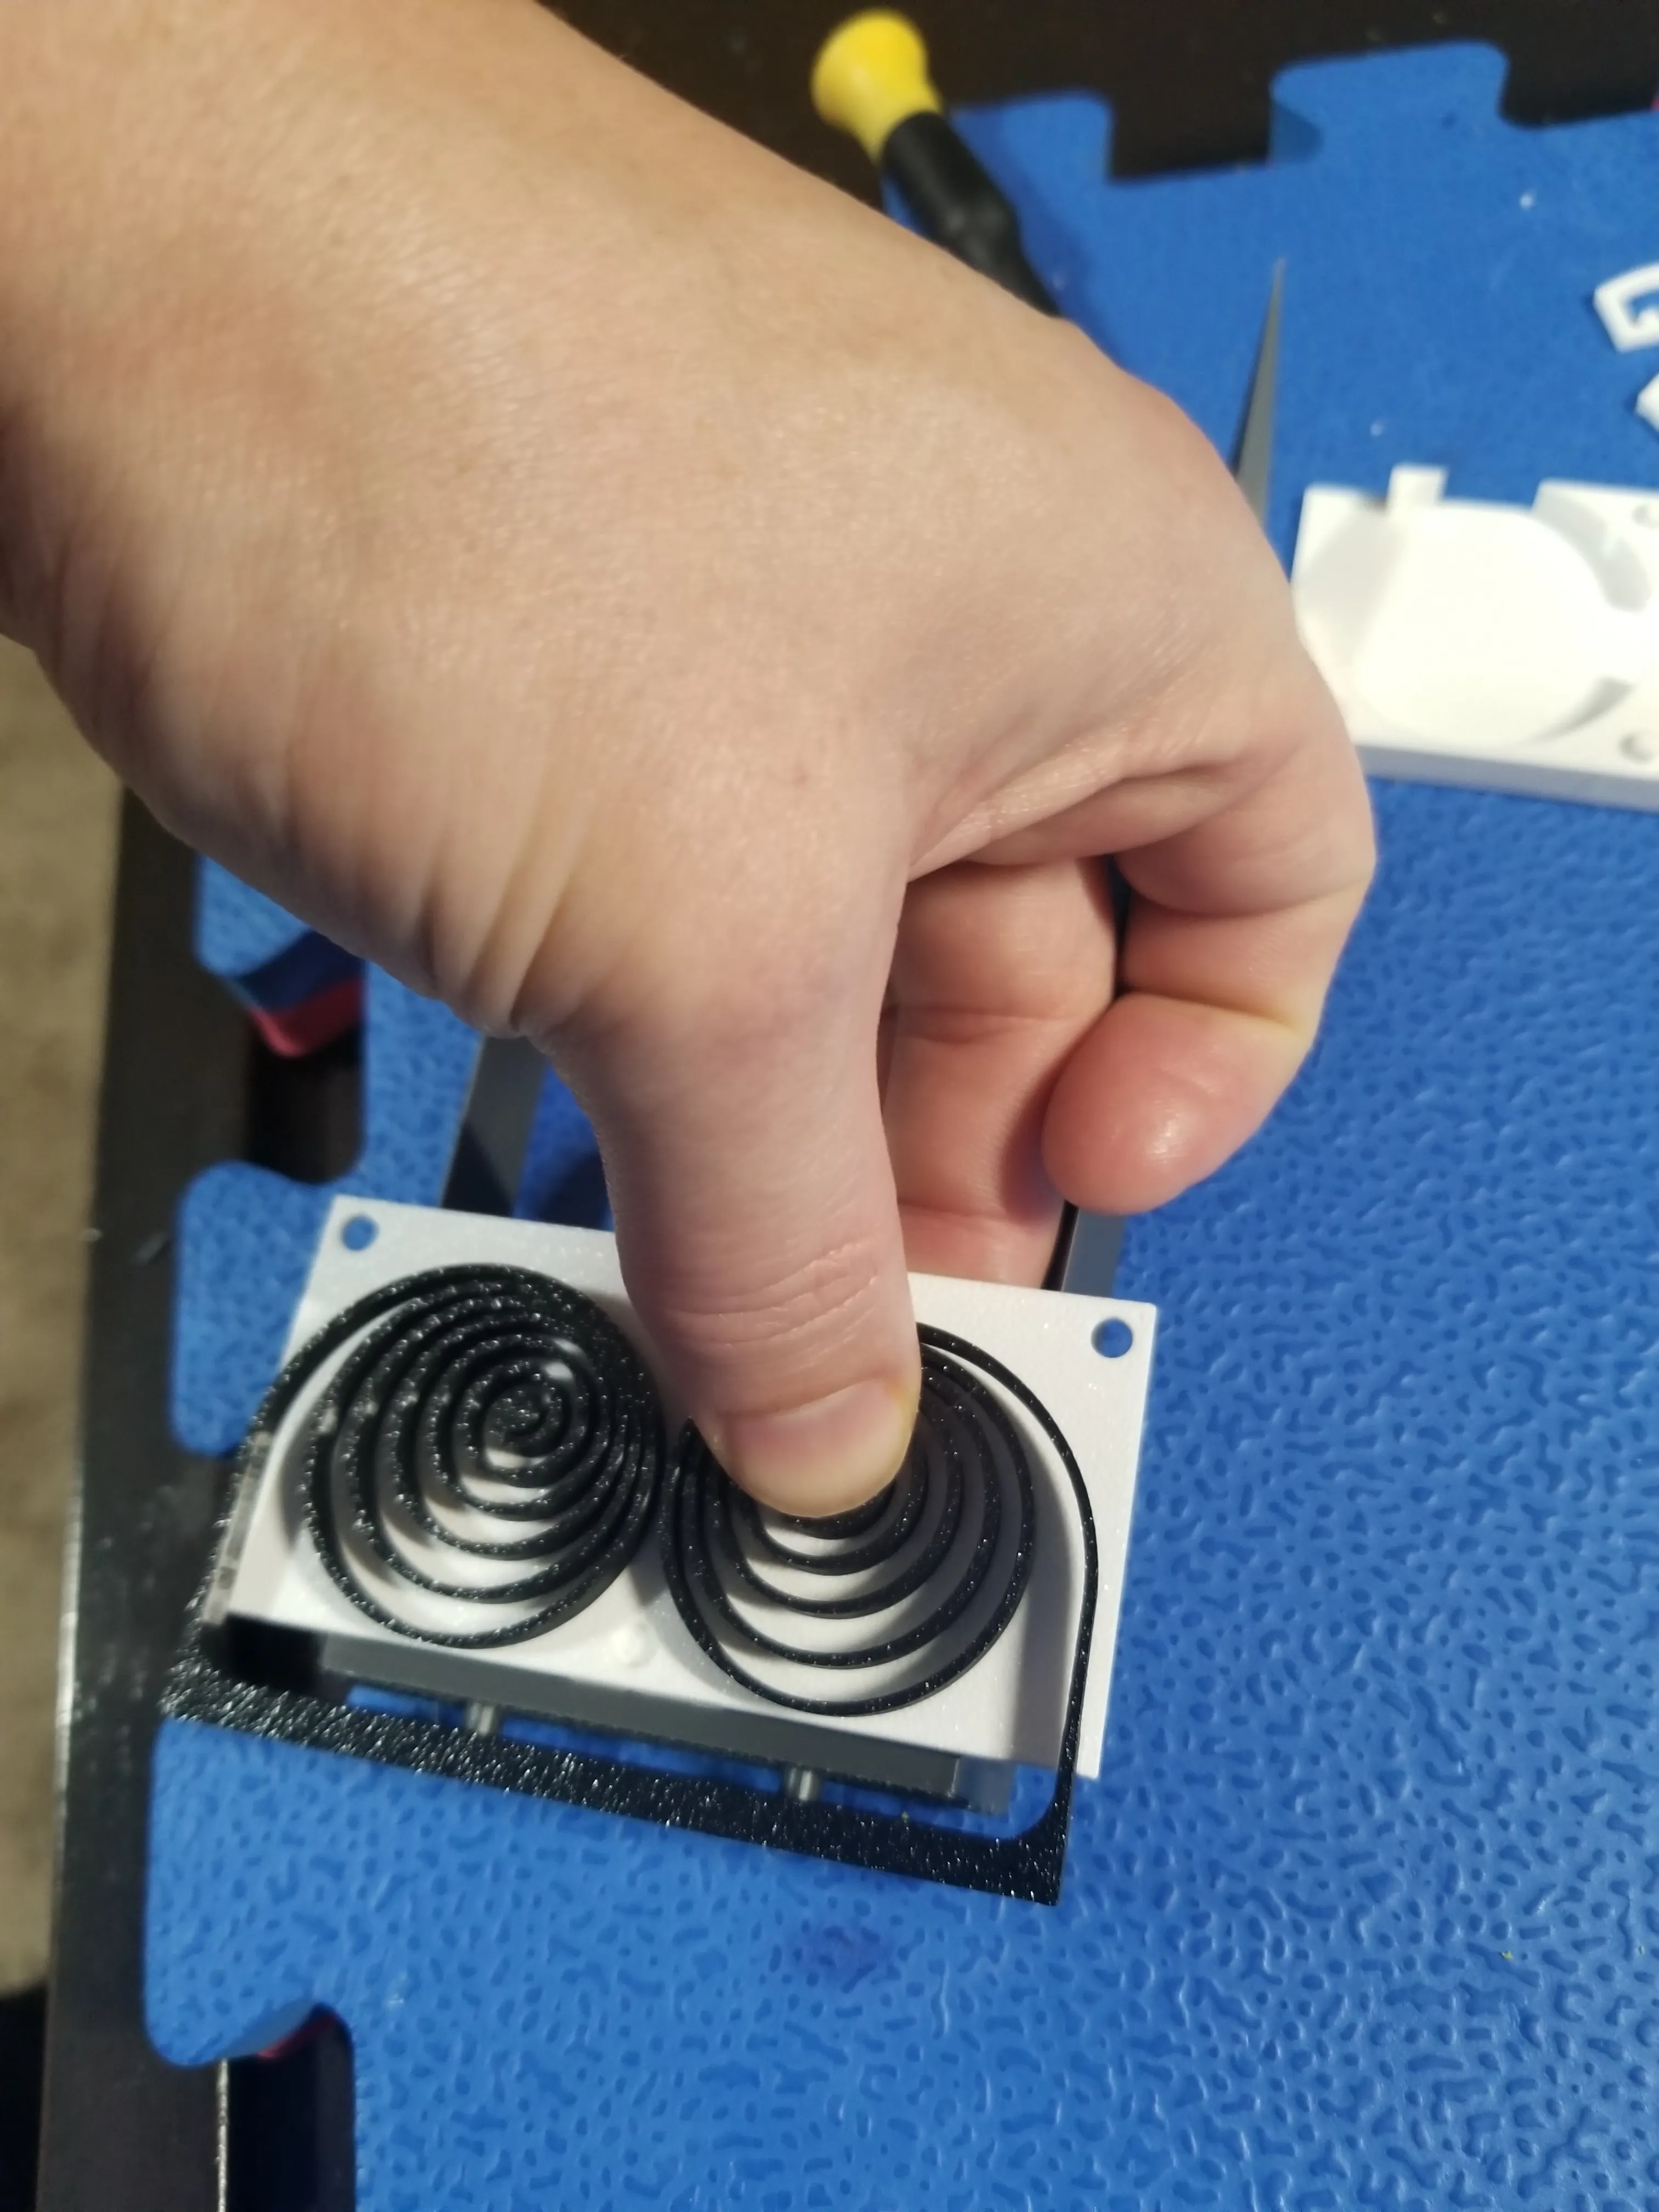
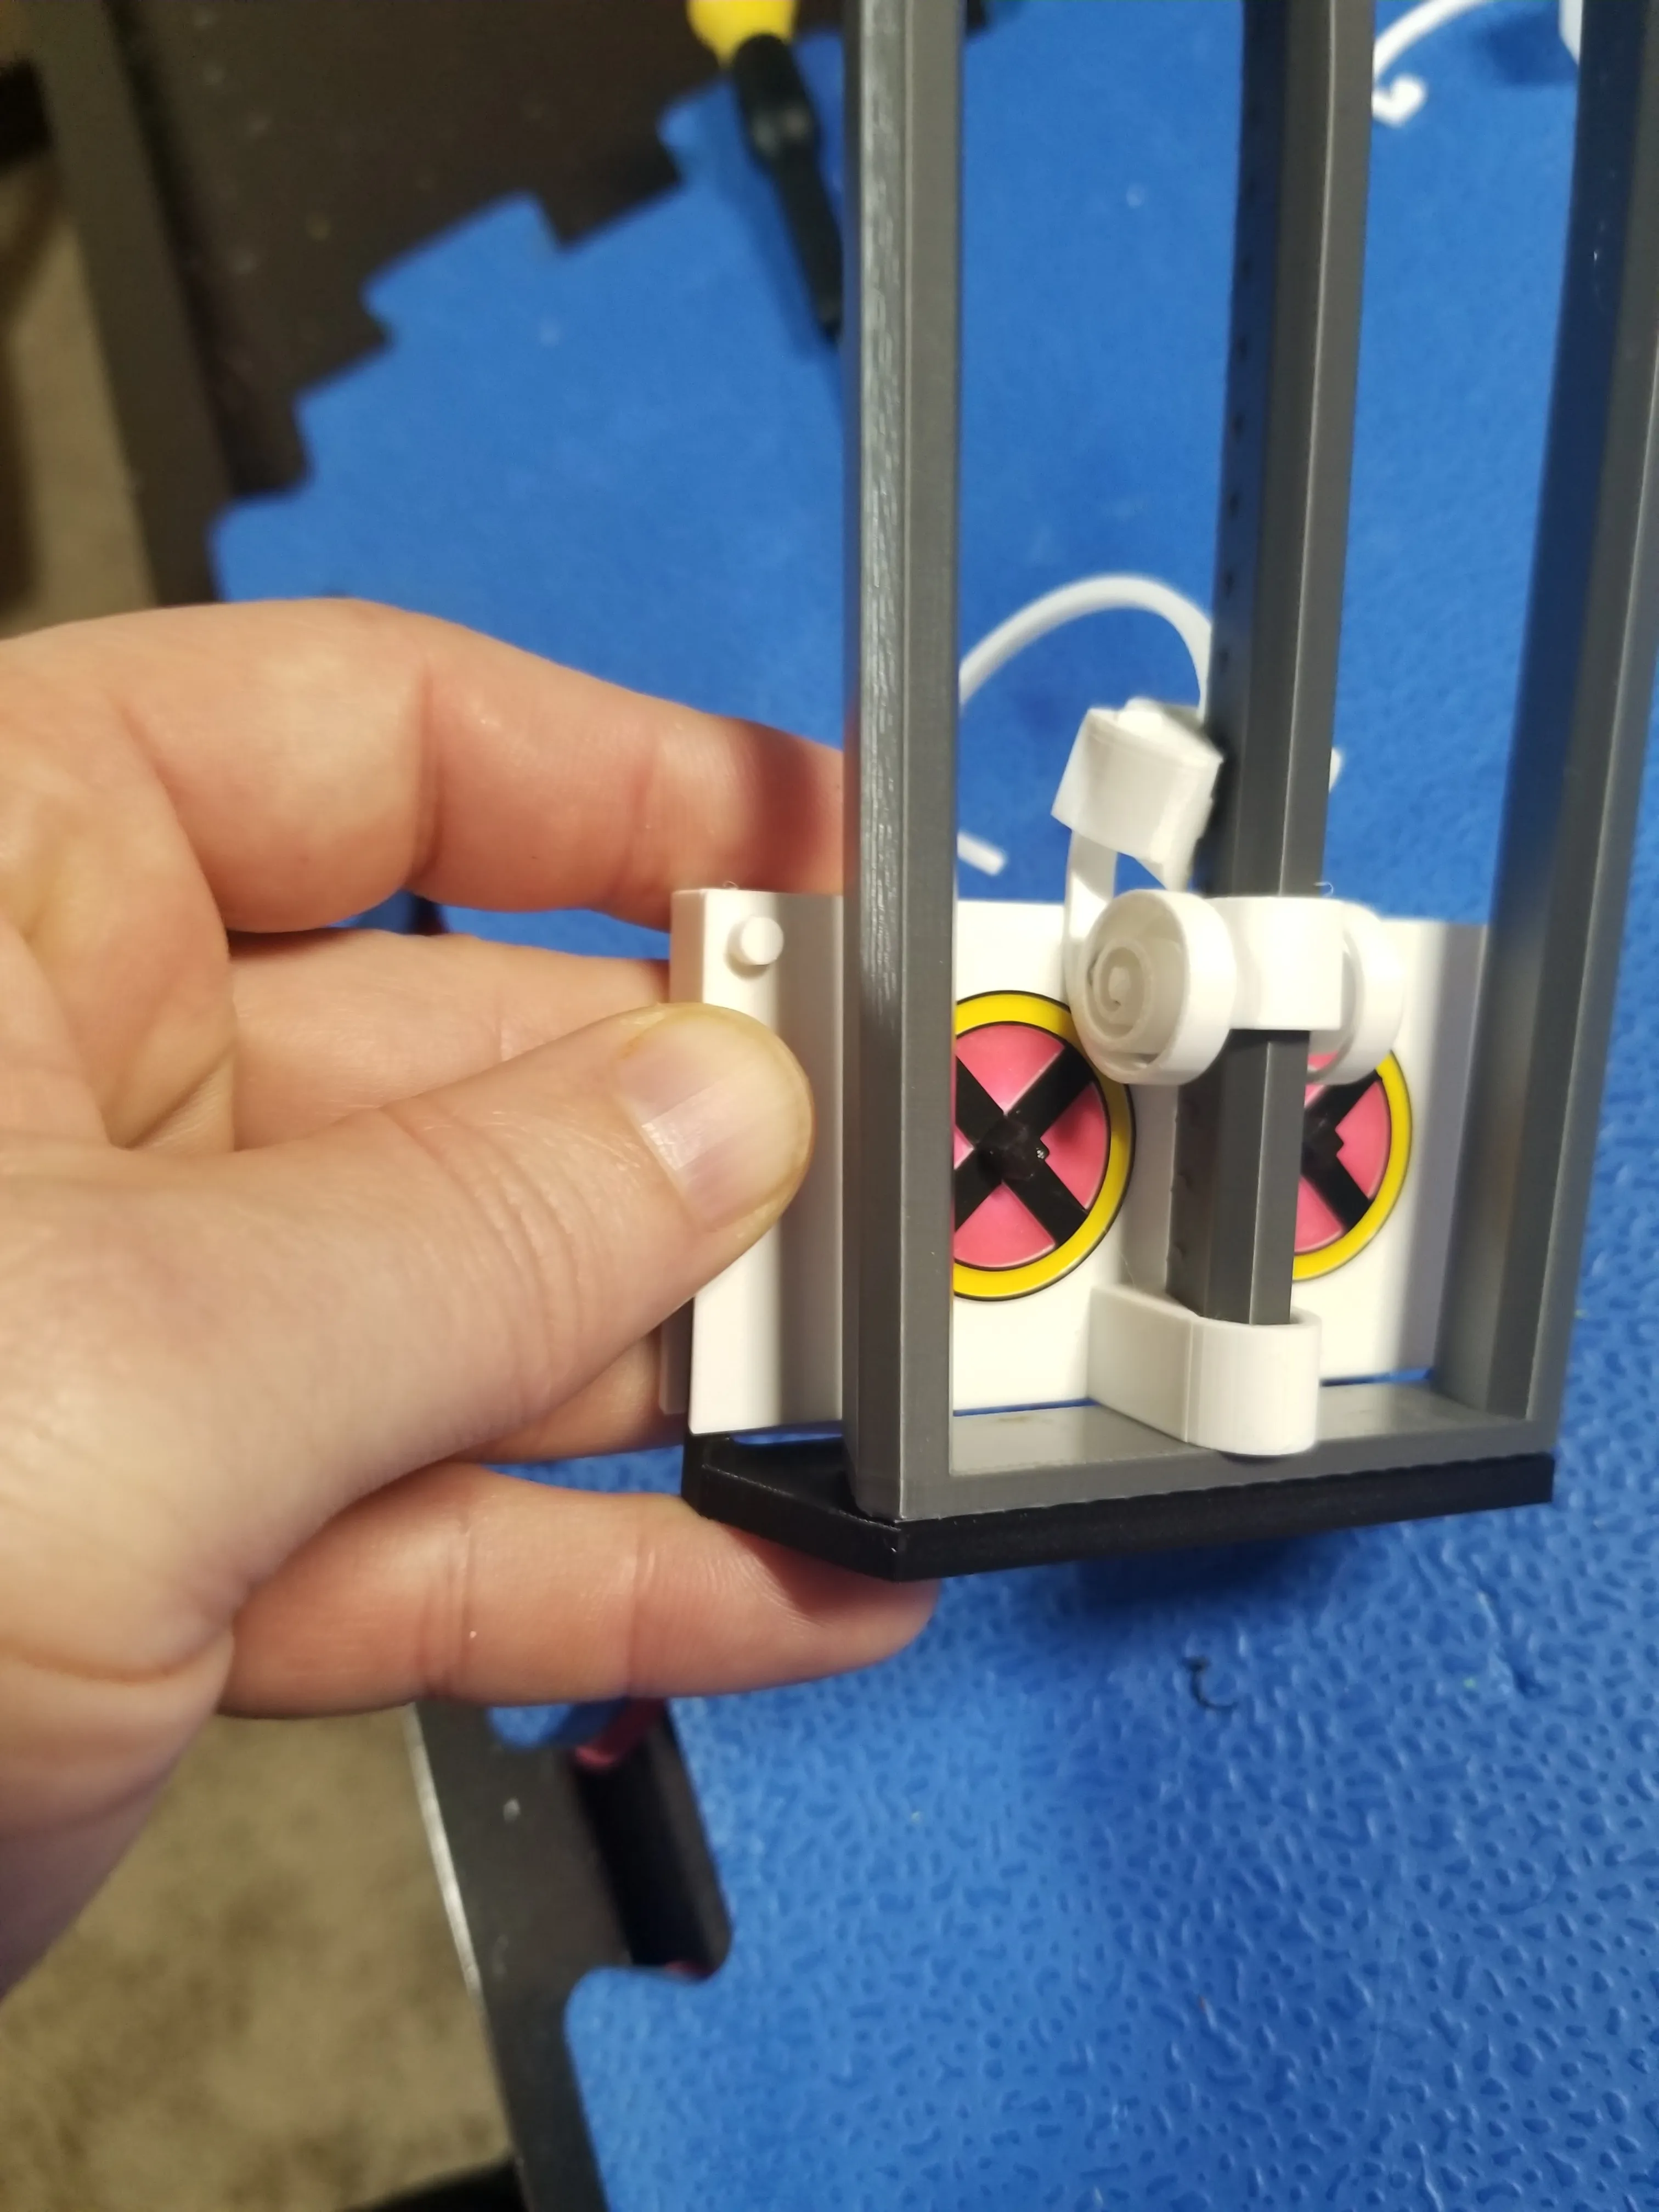
Pull down brake and pull out claws, slip strap around extended claw spring and onto the assembly:
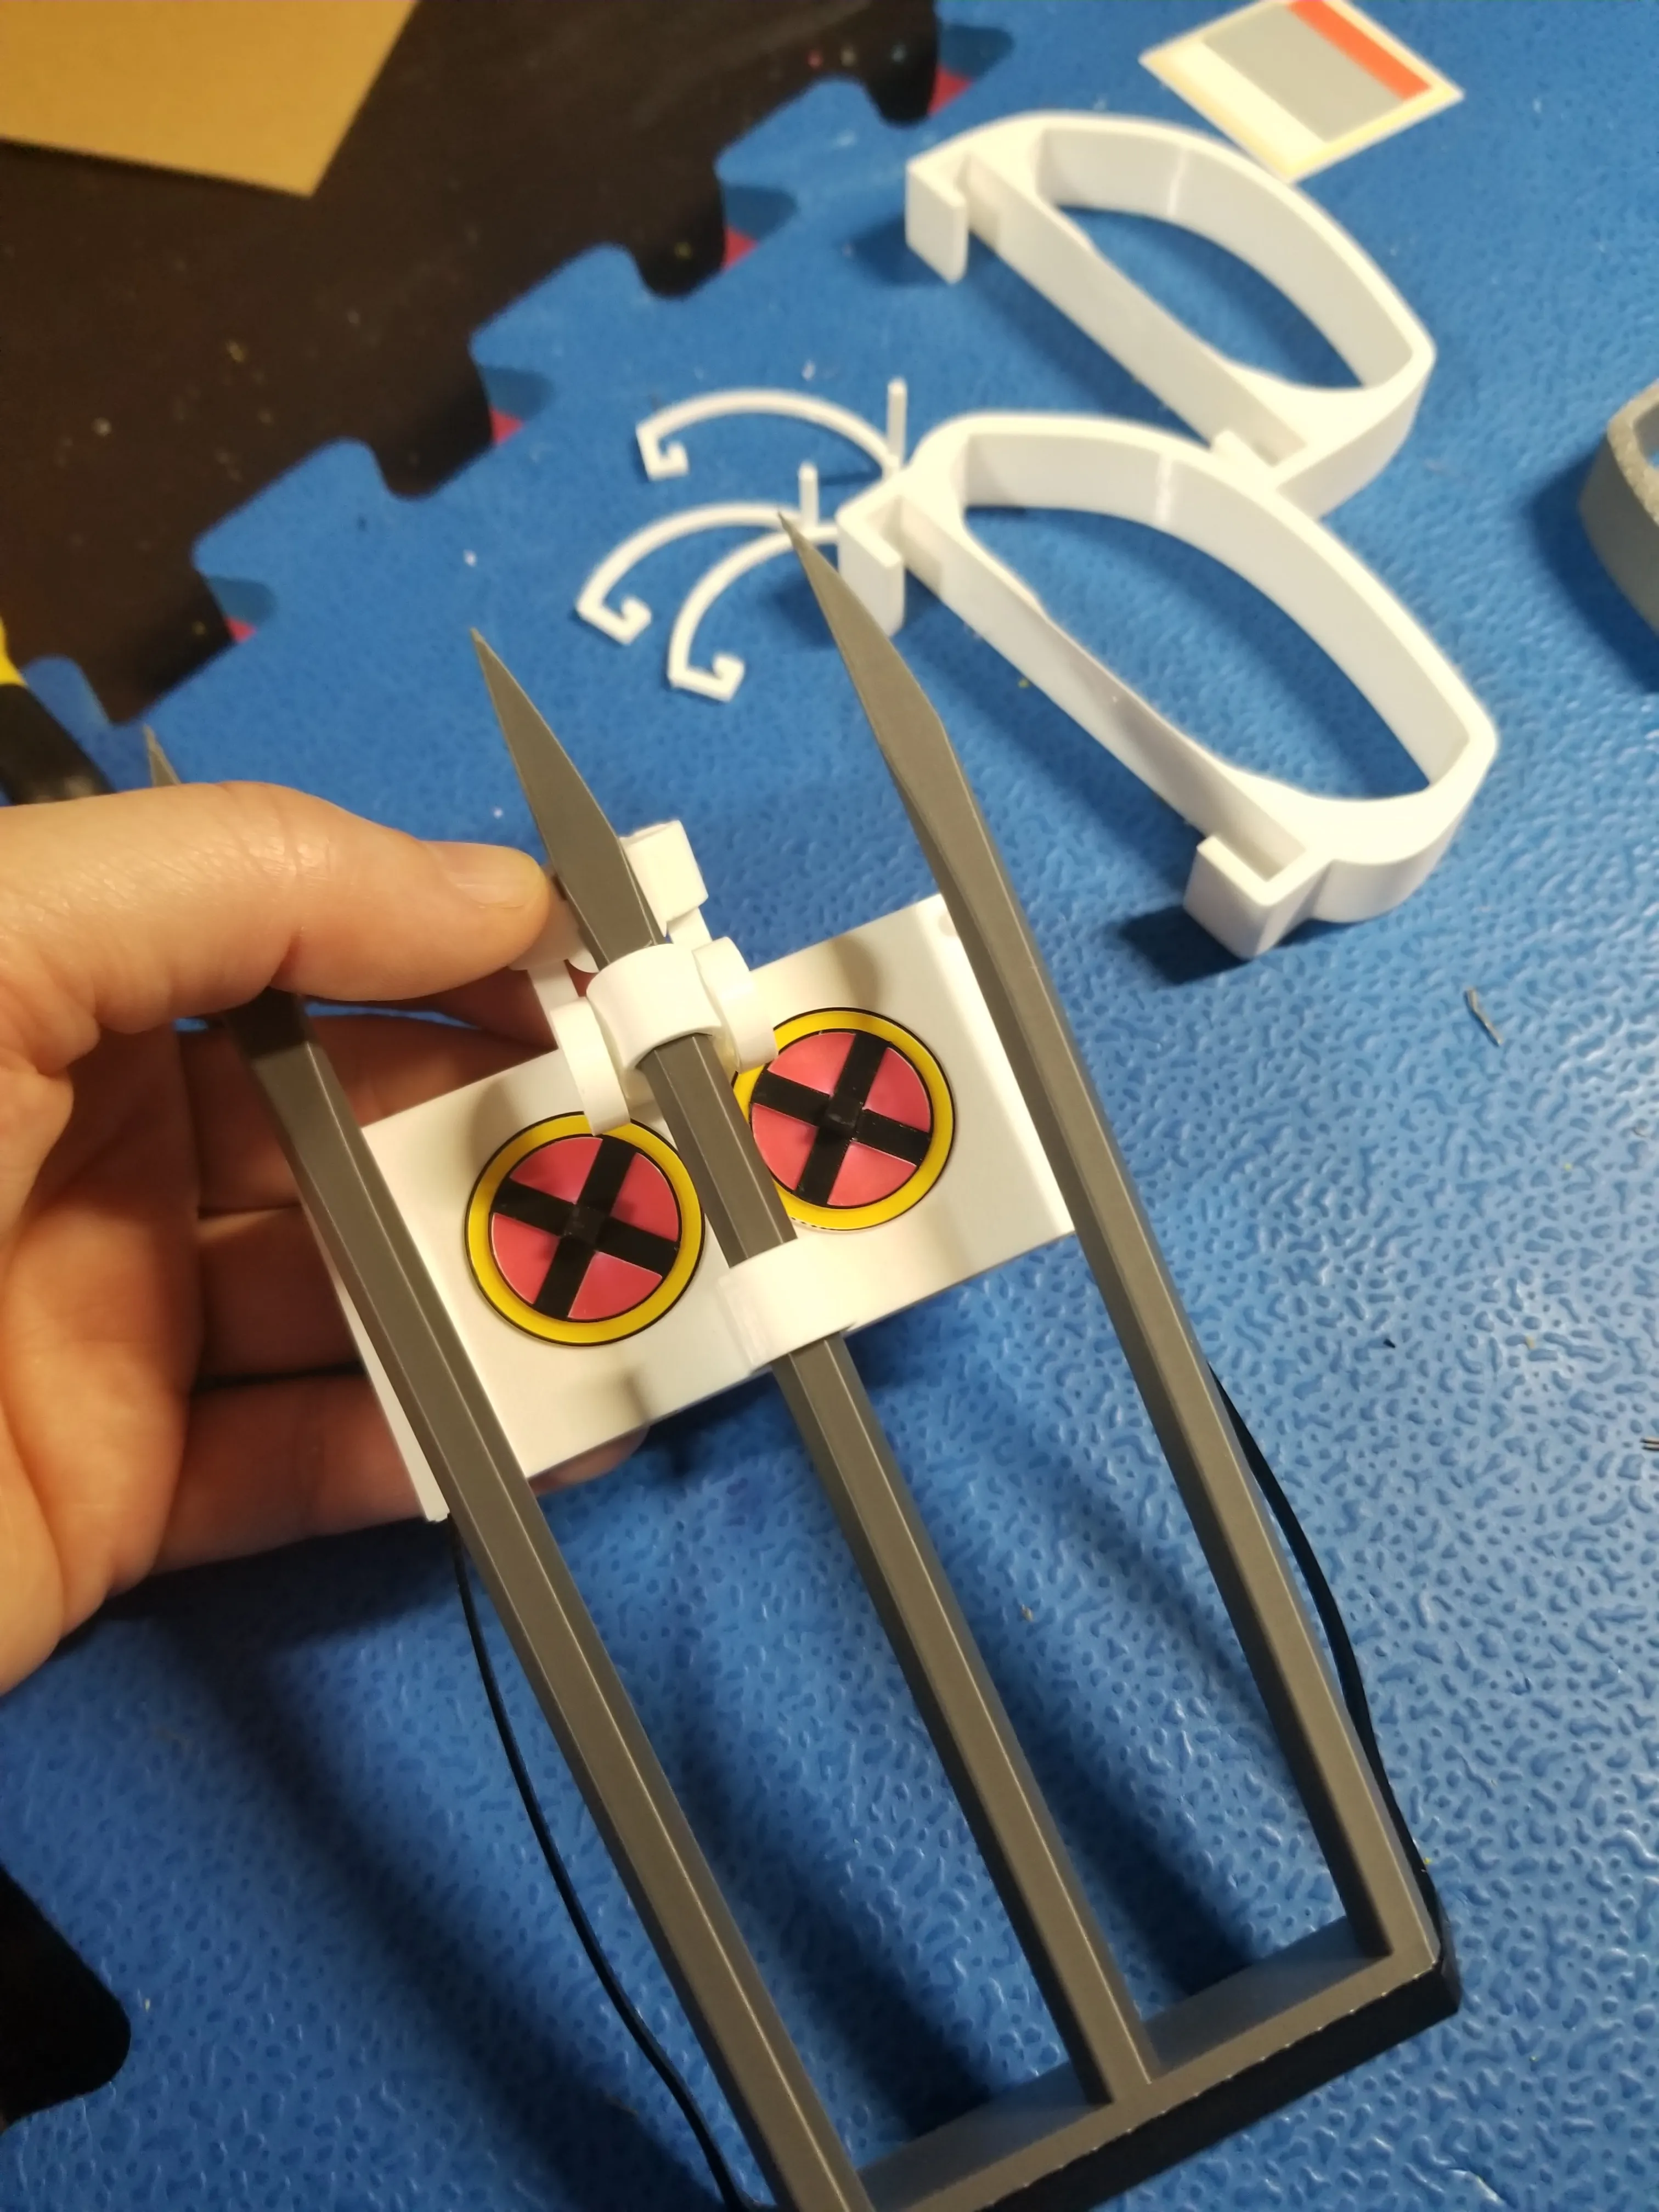
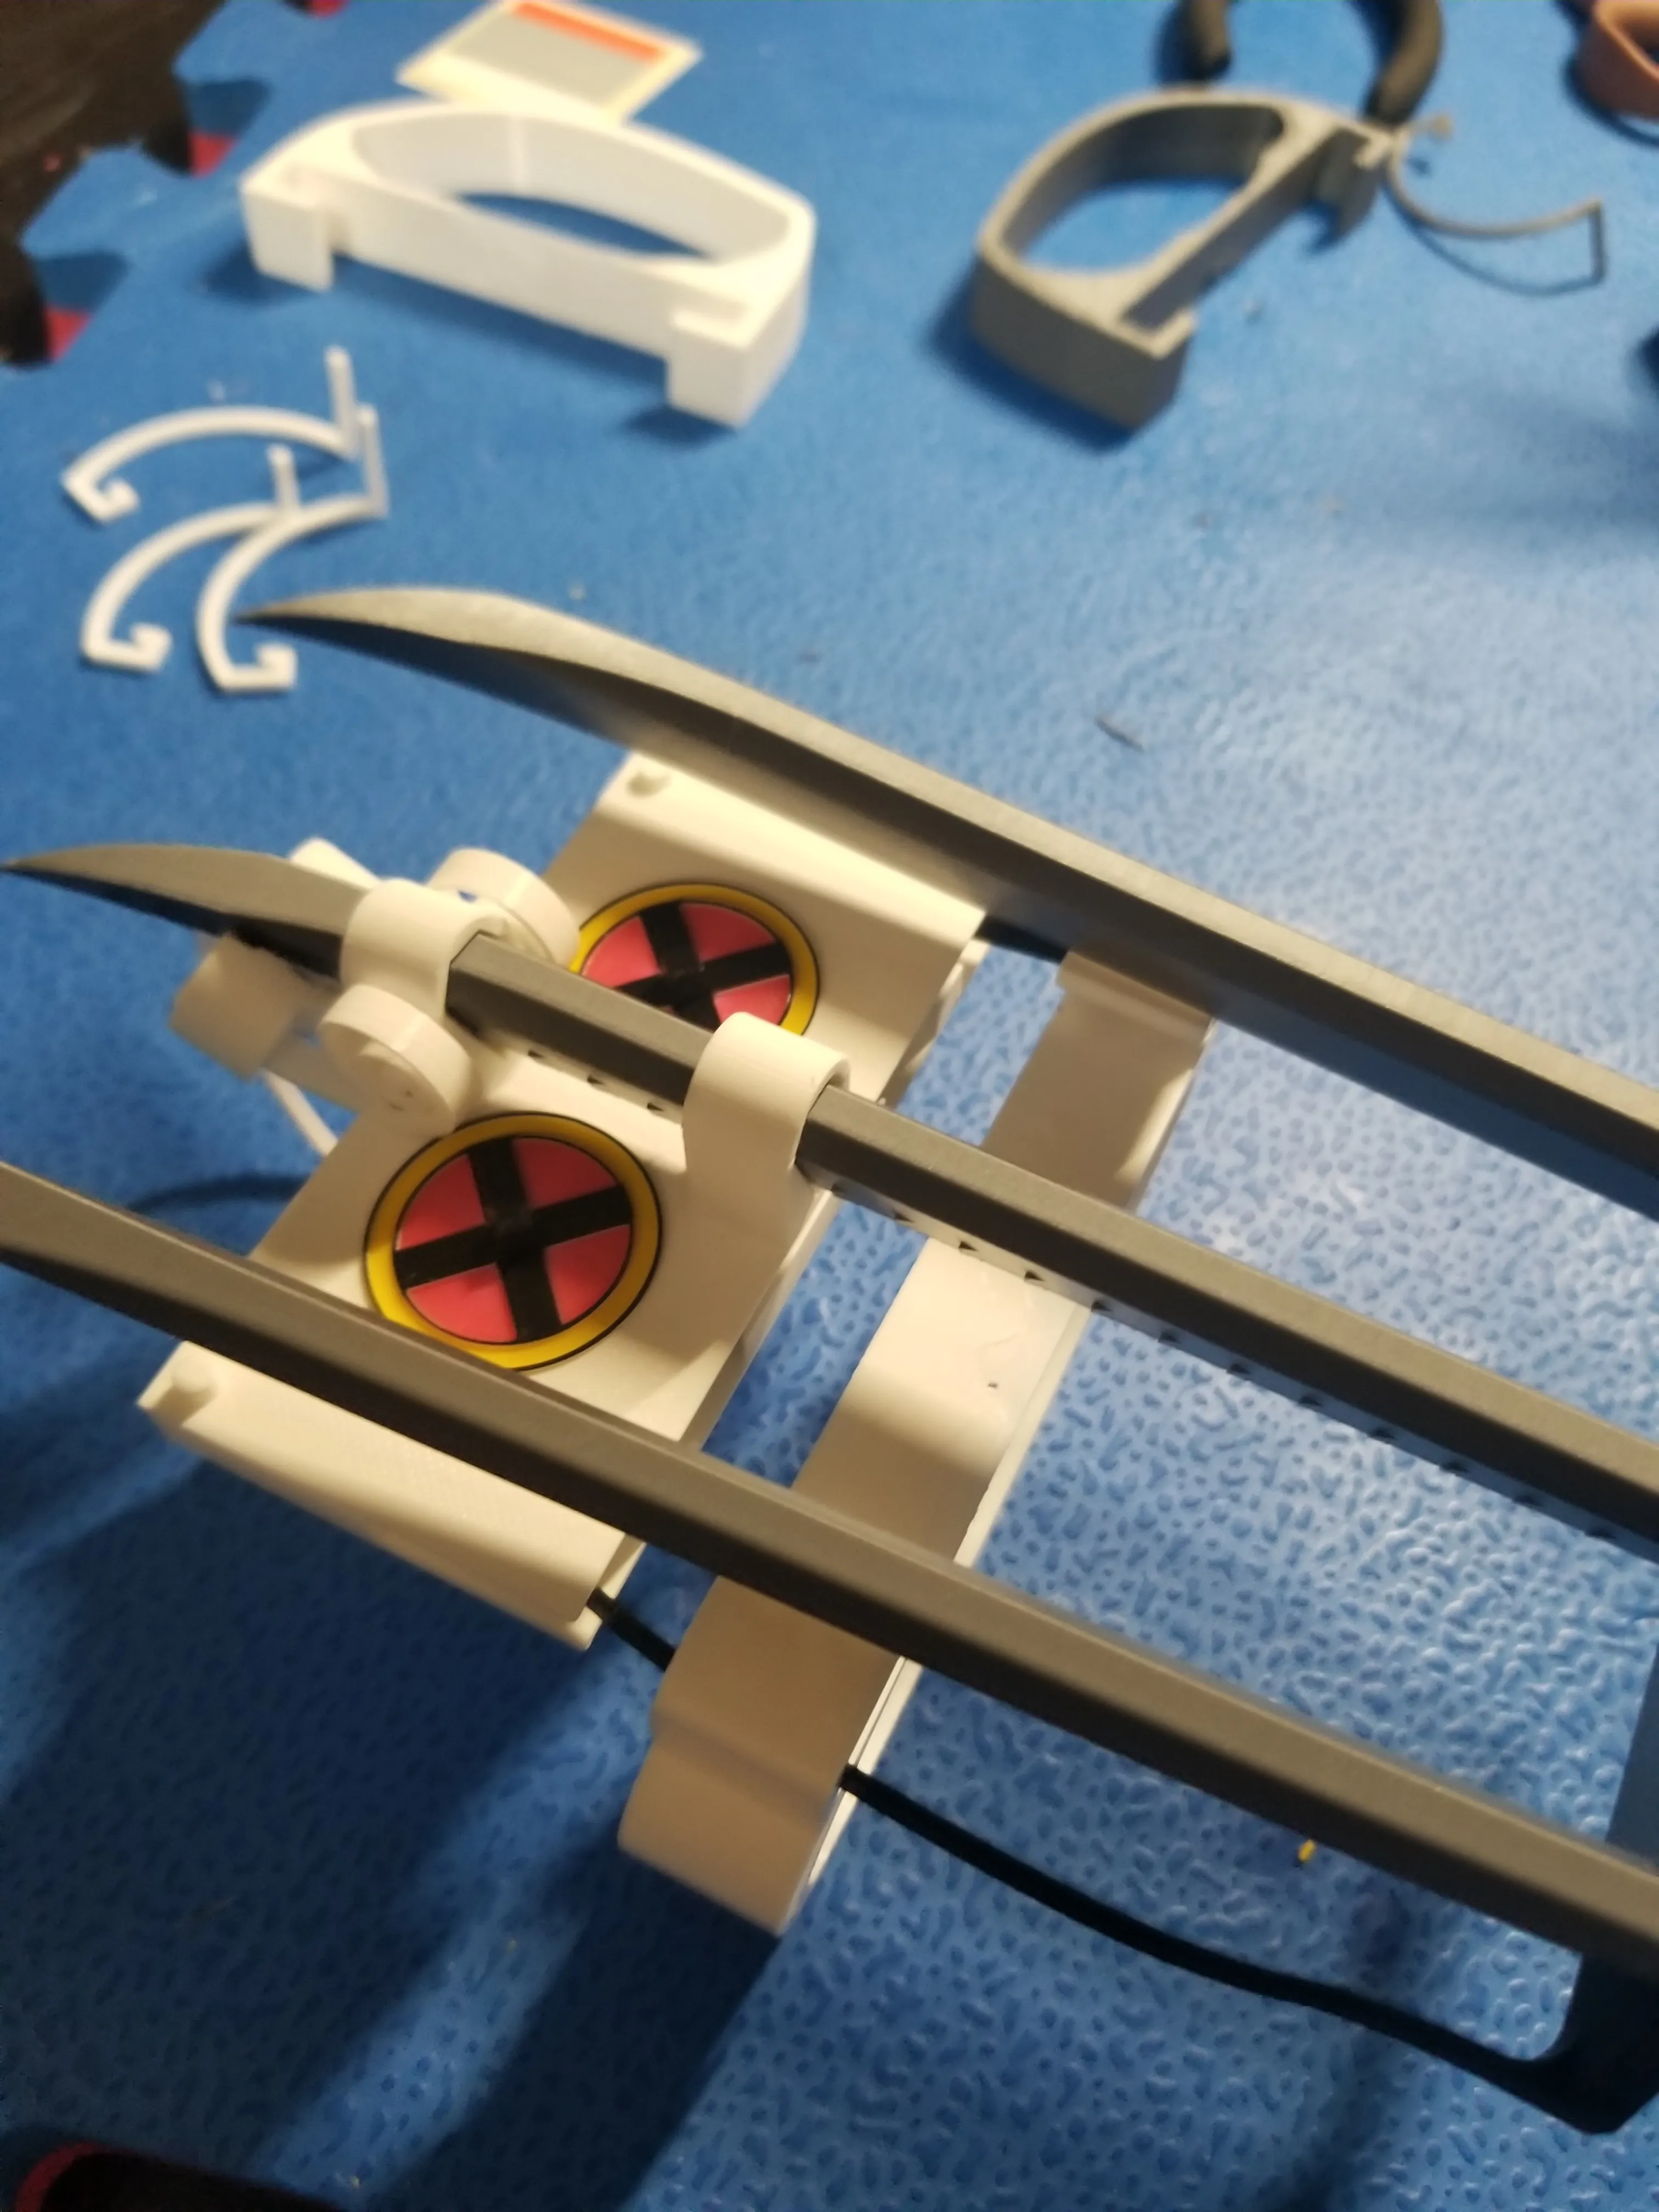
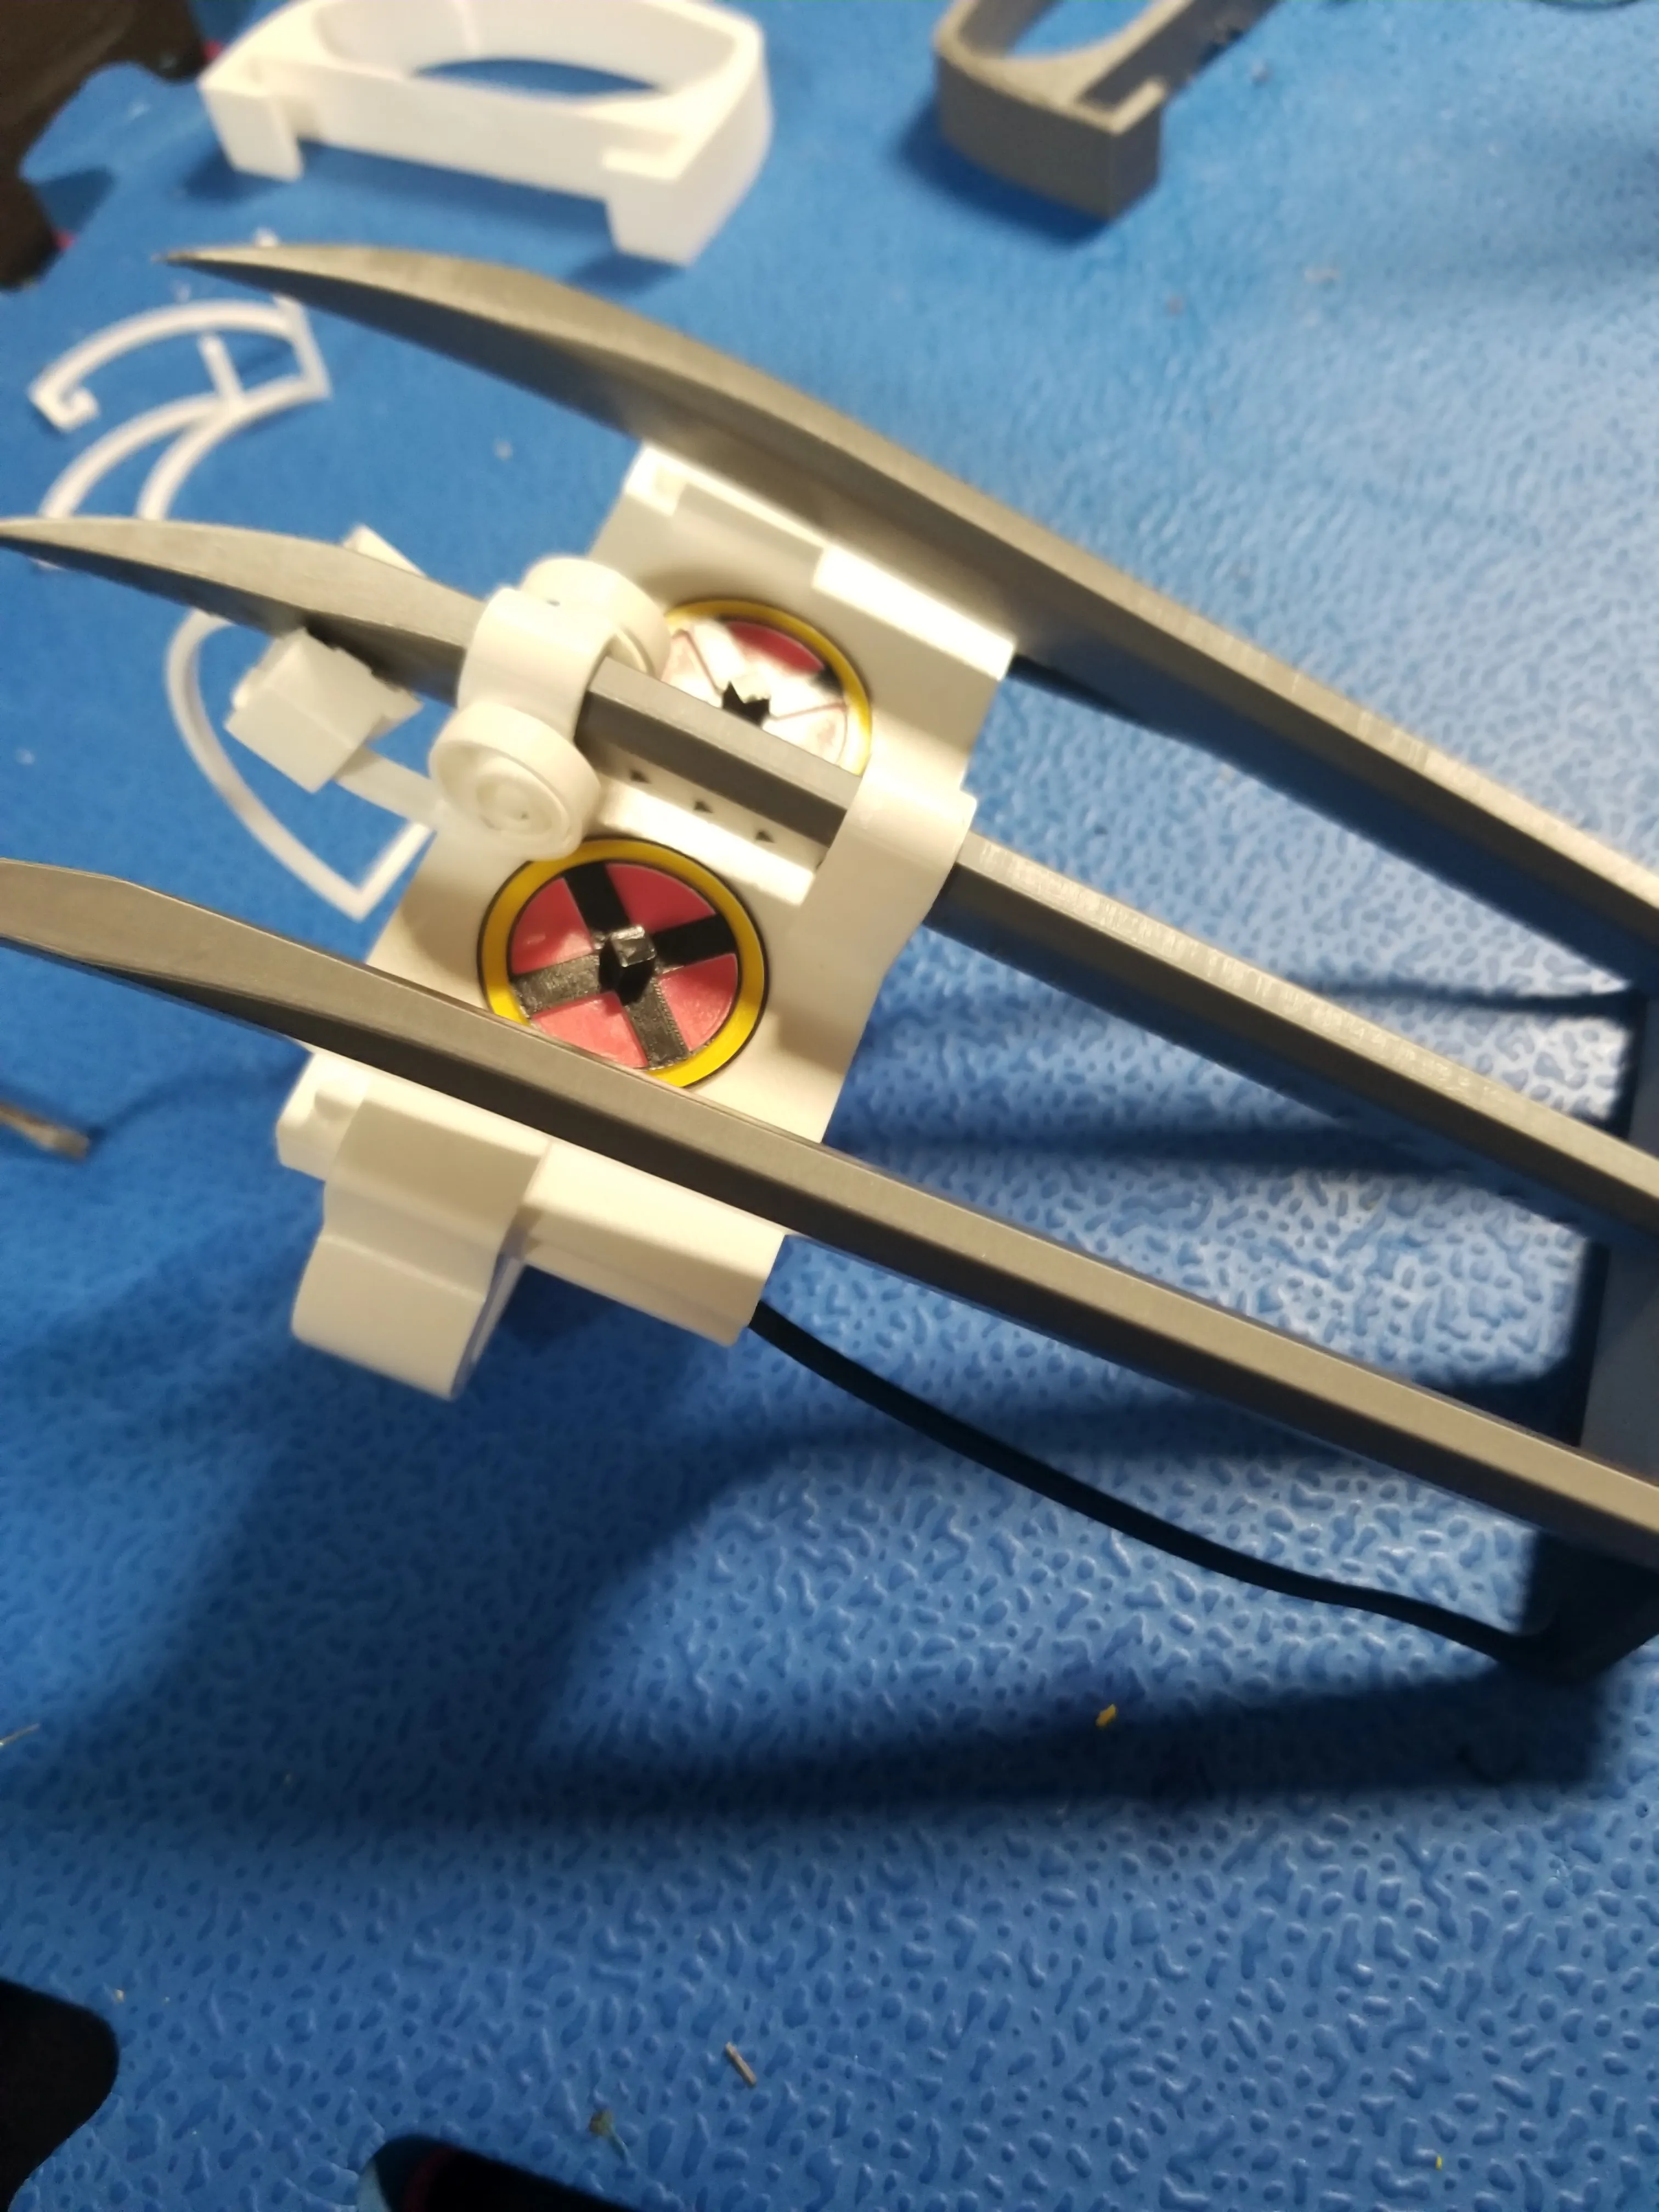
License

You shall not share, sub-license, sell, rent, host, transfer, or distribute in any way the digital or 3D printed versions of this object, nor any other derivative work of this object in its digital or physical format (including - but not limited to - remixes of this object, and hosting on other digital platforms). The objects may not be used without permission in any way whatsoever in which you charge money, or collect fees.


Comment & Rating (1276)