
Print Profile(1)

Bill of Materials

Description
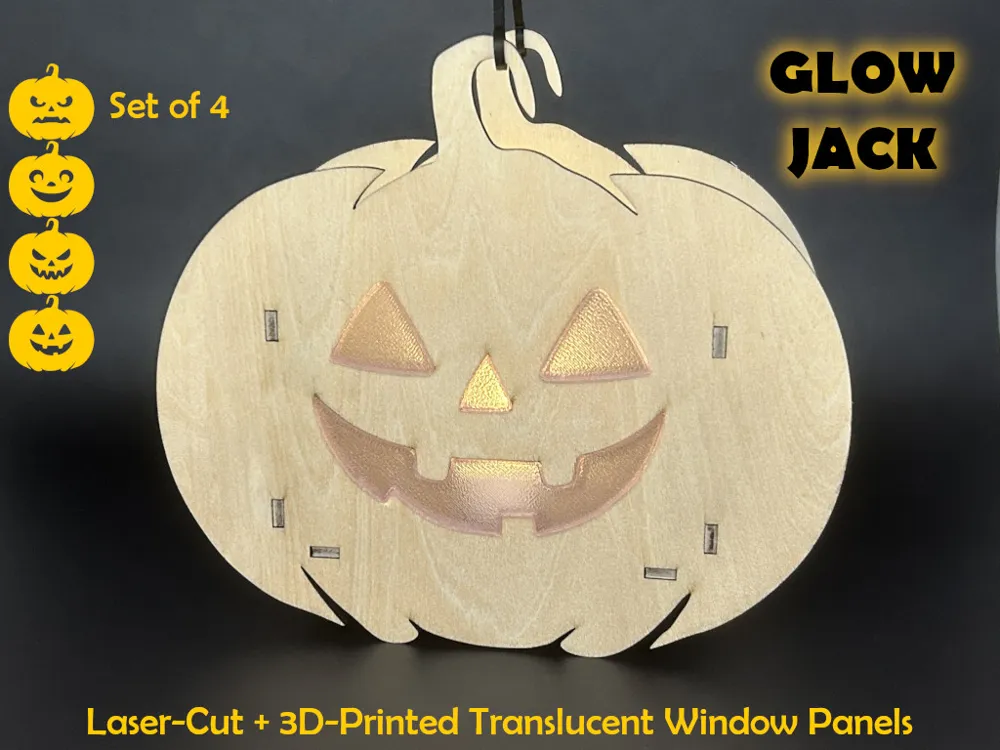
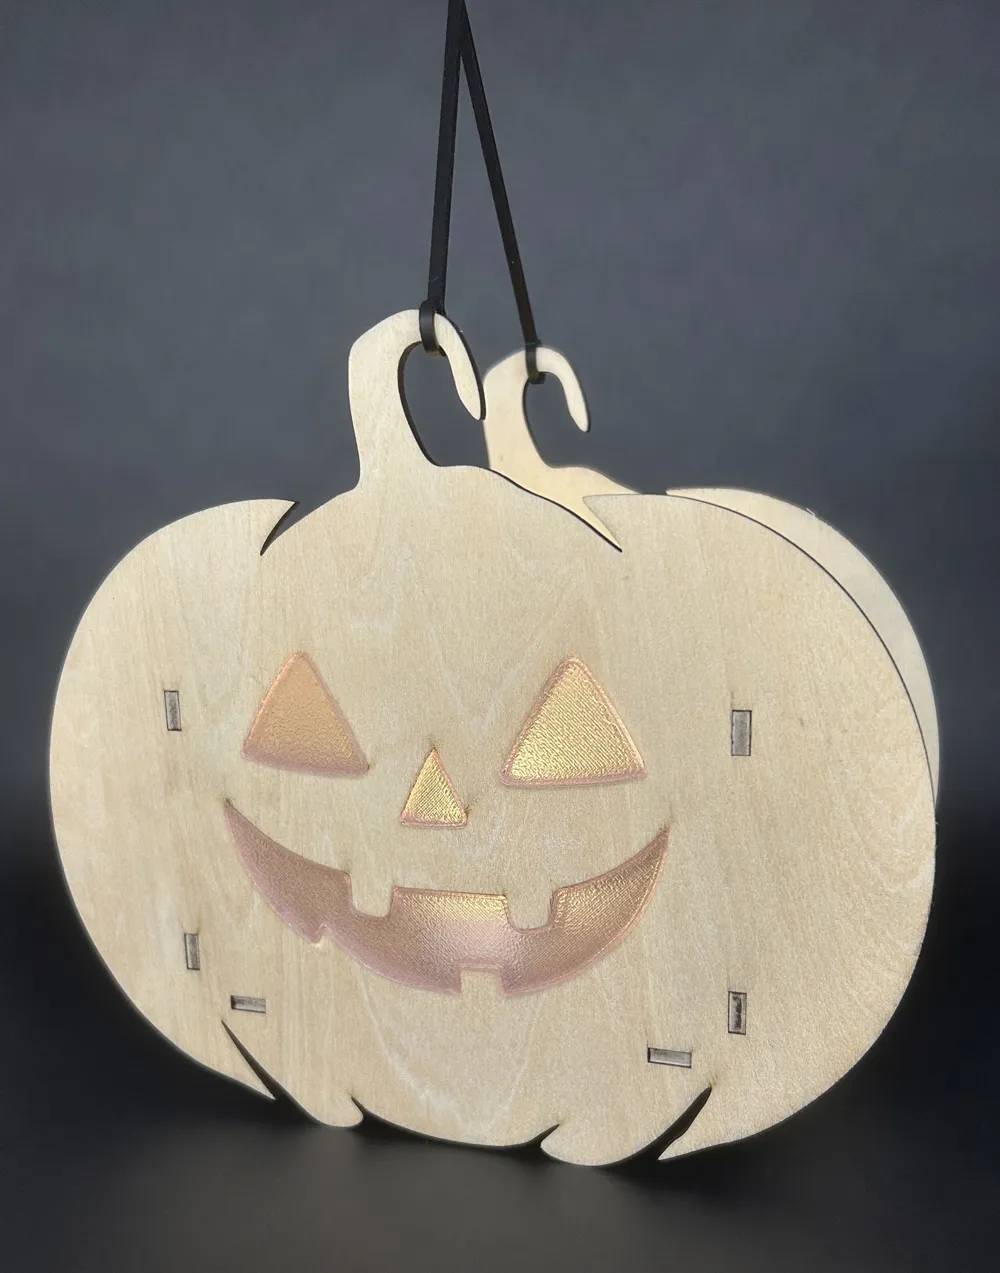
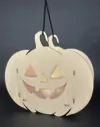
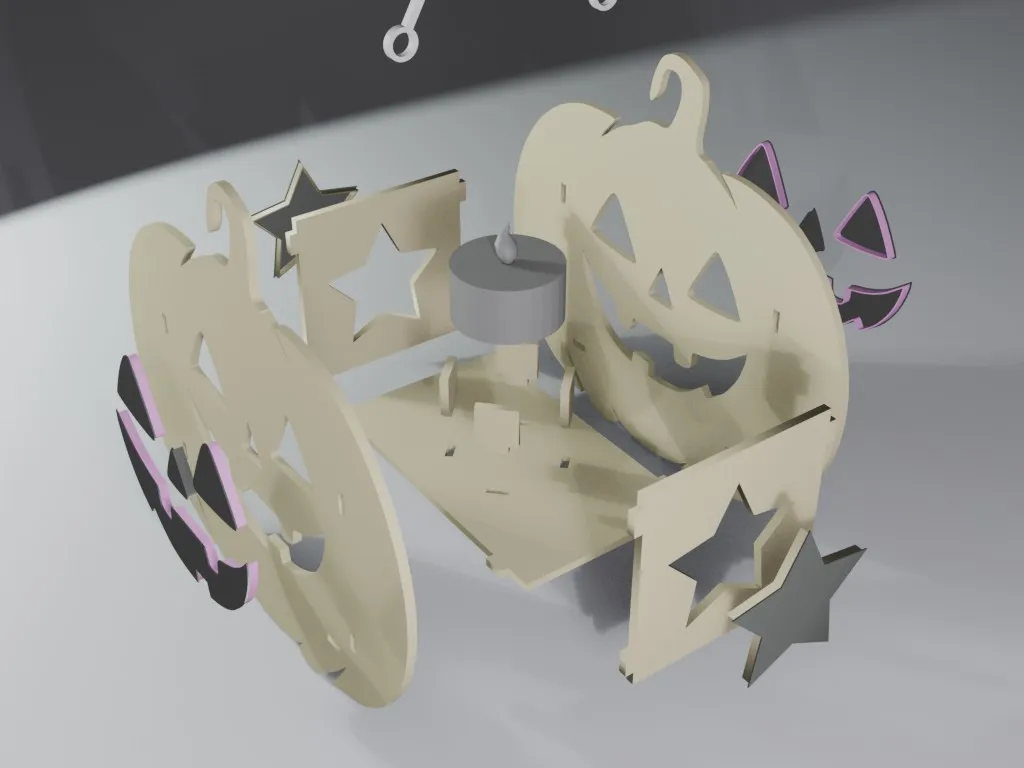
Bring Halloween magic to life with GlowJack, a charming laser-cut pumpkin lantern designed for LED tea lights. The set includes:
- 4 x Front & Back Pumpkin Faces – classic jack-o’-lantern designs with crisp cutouts.
- Side Panels with Star Cutouts – let light shine through for a sparkling effect.
- Translucent 3D-Printed Inserts – snap-fit “windows” for the face and star openings to diffuse the LED glow.
- Printable Hook – easily attach your lantern to a stick for kids’ parades or evening walks.
Assembly is simple and beginner-friendly. Four different pumpkin face templates are included for variety.
Designed for 3 mm wooden sheets. If your material thickness differs, scale both the laser-cut files and the 3D-printed parts accordingly for a perfect fit.
Lightweight, reusable, and fun to customize, GlowJack is the perfect DIY project to brighten your Halloween nights!
Assembly is simple:
- Insert the translucent windows first. Place the insert against the cutout, flip the wooden part upside down and gently press it against a table surface to snap the window in place.
- Glue the parts together to complete the lantern.
Tip: If a window insert doesn’t fit right away, try flipping the laser-cut part or using a different insert. The pumpkin faces are not perfectly symmetrical, so some inserts fit better in specific openings.
Boost Me (for free)
Small click, big smile 😊.
Place the insert against the cutout, flip the wooden part upside down and gently press it against a table surface to snap the window in place.
Glue the parts together to complete the lantern.
License

You shall not share, sub-license, sell, rent, host, transfer, or distribute in any way the digital or 3D printed versions of this object, nor any other derivative work of this object in its digital or physical format (including - but not limited to - remixes of this object, and hosting on other digital platforms). The objects may not be used without permission in any way whatsoever in which you charge money, or collect fees.


Comment & Rating (0)