
Tracked Excavator


Print Profile(13)



Description
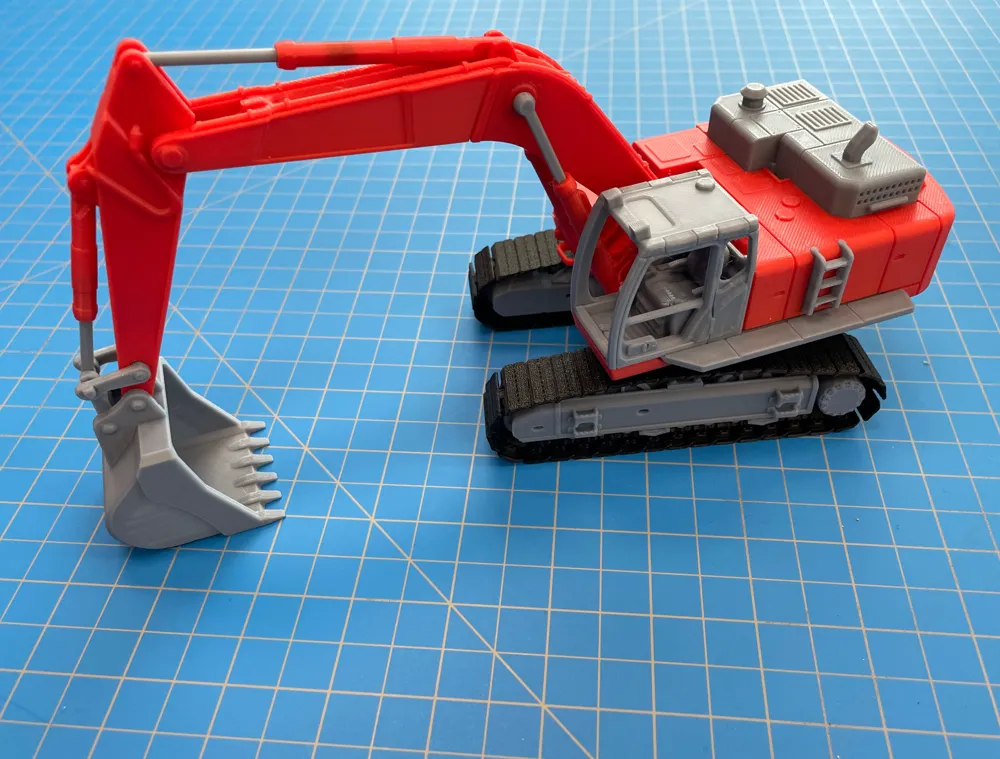
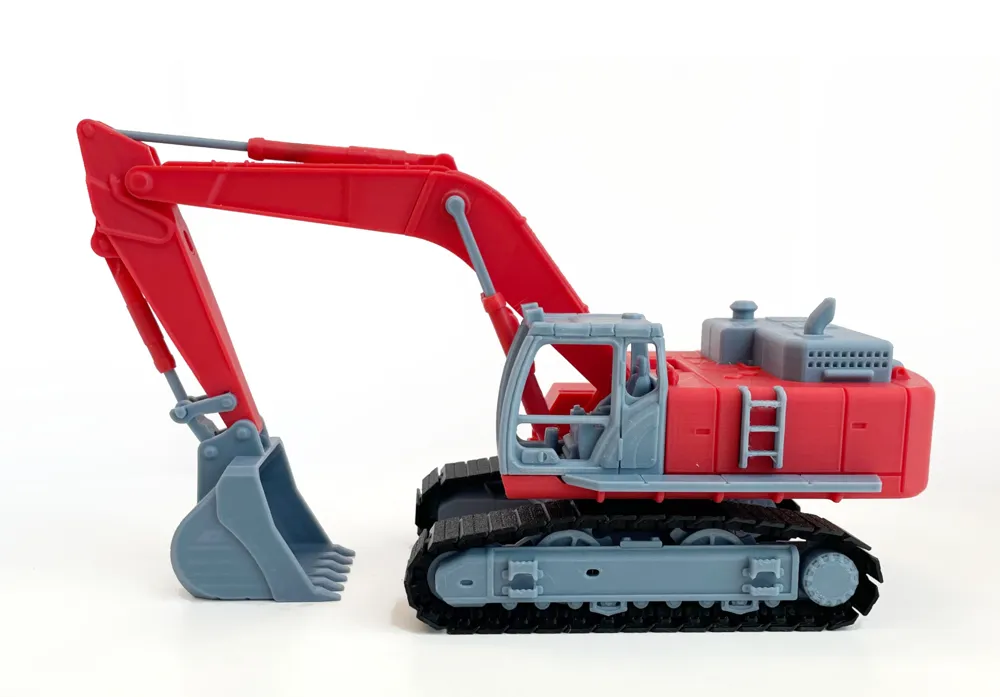
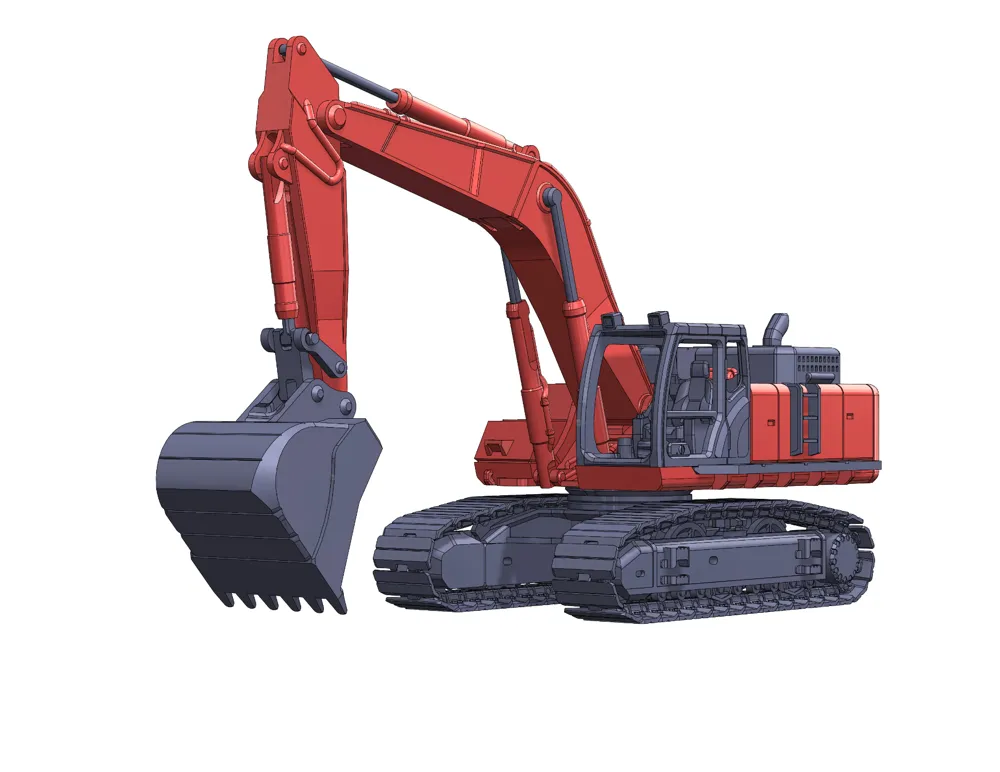
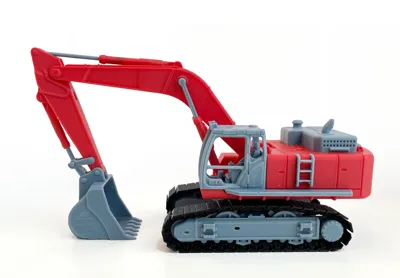
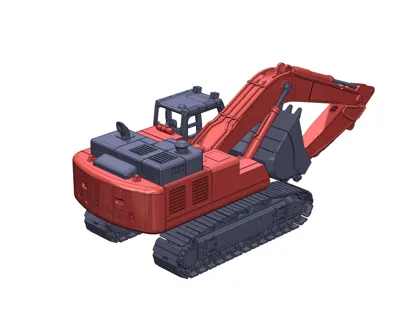
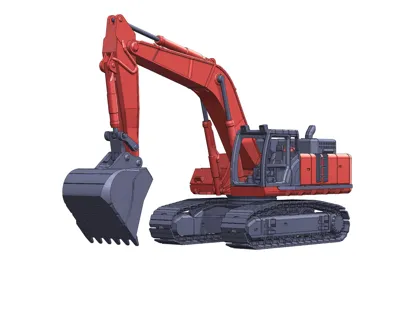
I designed this toy for my 3 year old to play with so it is intended to be robust enough to survive rough play, and the bucket is slightly oversized for more fun. There’s also an accompanying dump truck model.
Please let me know if any parts break and leave feedback on anything that could be improved upon in the design.
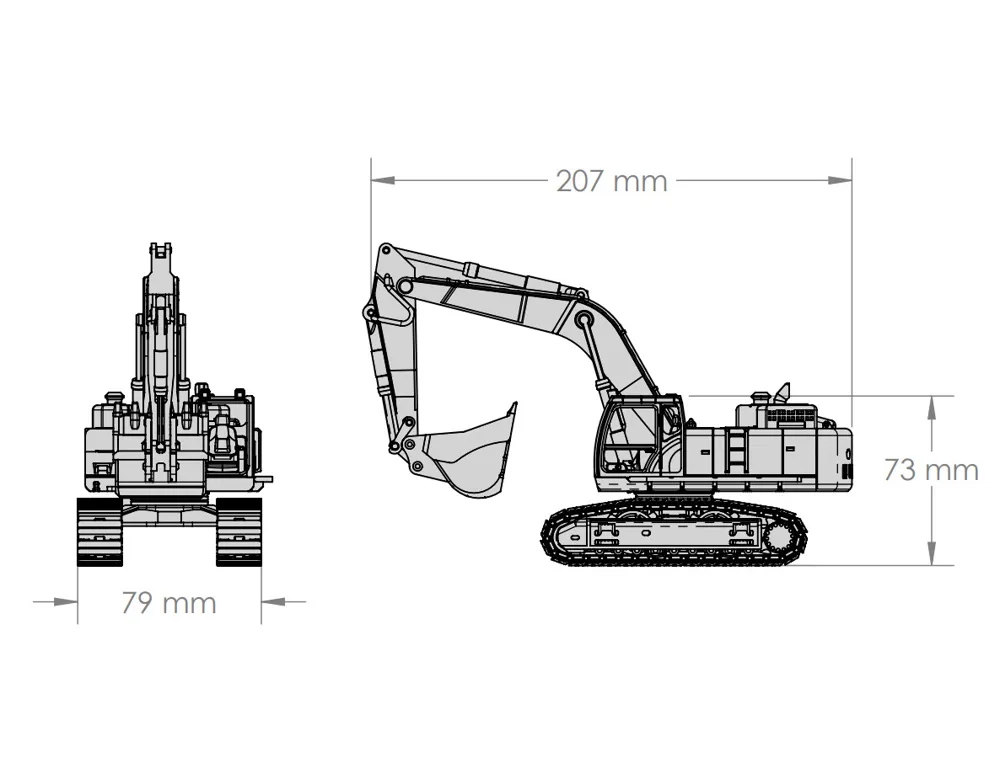
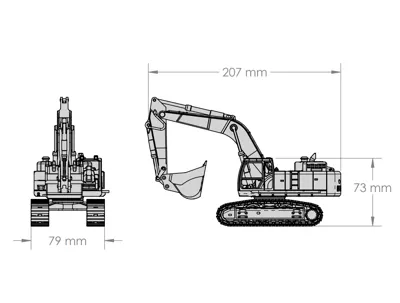
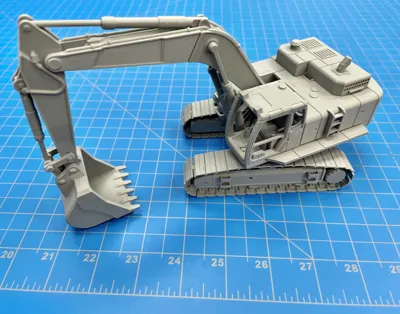
The final model is 1:50 scale, roughly 80 mm wide, and everything is assembled with snaps (no glue or fasteners). The only tool required is a coin to tighten the body and tracks together. And there is a hollow pocket for some old AA batteries to add a bit of weight to the body. These are purely optional.
Most moving parts are designed with 0.2 mm clearances which work fine on the Bambu X1C but might fuse on other printers. If any joints are frozen or too tight to assemble, try setting XY Contour Compensation to -0.05 mm. The tracks are offered in two variants, 0.15 mm clearance and 0.2 mm clearance in the raw files. My print came out nicely with 0.15 mm clearance track, but I understand this is not possible on all printers. The tracks show the build-plate side, so they will look a bit nicer if printed on a textured plate.
Build Notes
- Be careful to install the H-link build plate face out. It’s a common mistake.
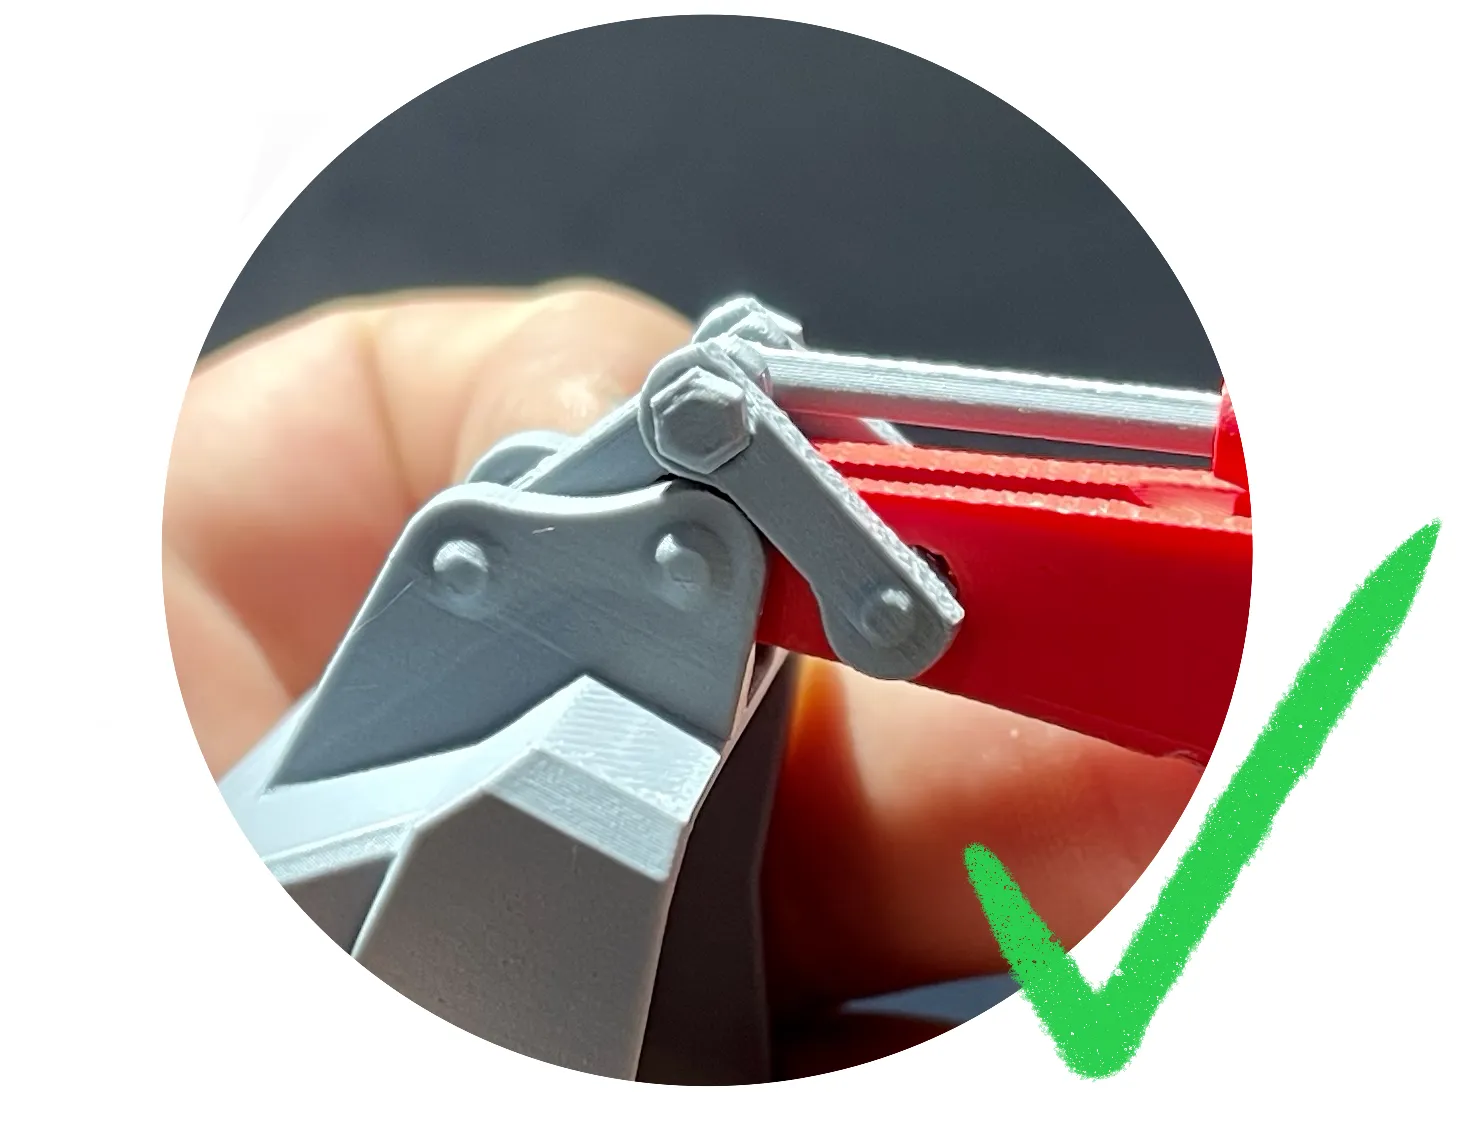
- When loosening joints for the first time, grab or pry as close to the pivot as possible. If a joint is a little bit stiff, it’s pretty easy to snap a piston by prying on the end.
- Order of assembly for tracks: first connect the tracks into a loop. Get the track installed around the small wheels first and press in the big middle wheels last.
History
2024-03-30: Added some extra brim to boom cylinders to help with adhesion.
2023-12-04: Minor updates to boom to reduce stuck or broken parts and improve bed adhesion.
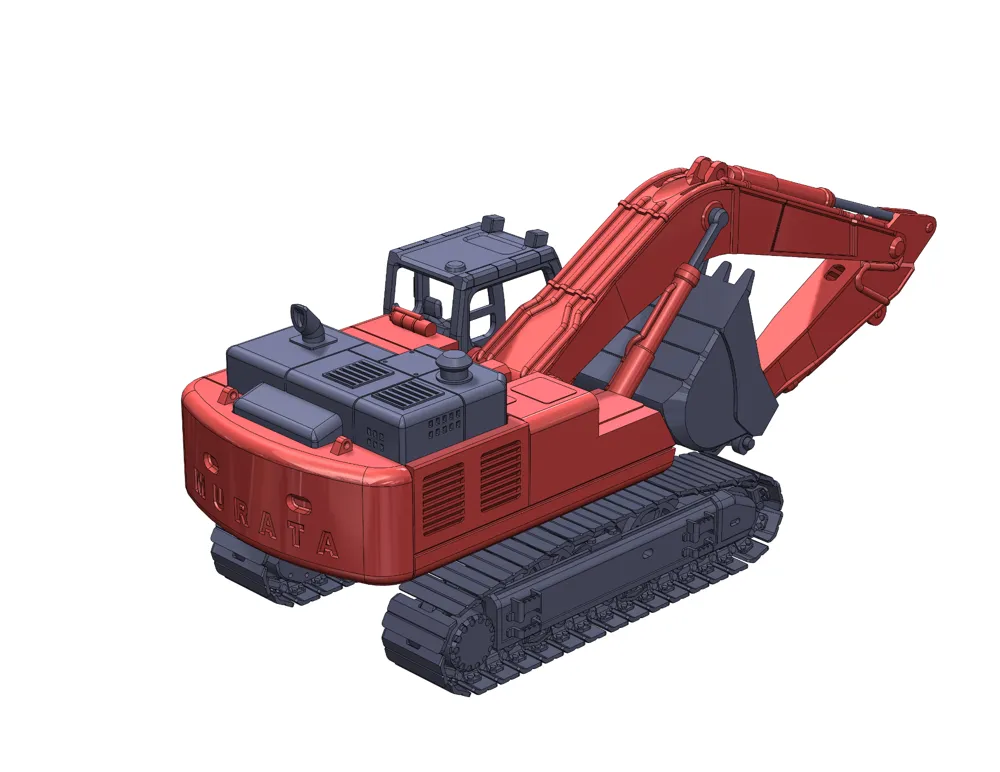
2023-10-13: Several minor design fixes to make parts more robust. I've also included half-length track stls for smaller build plates. You need 4 of these per model. And I've included a step file of the assembled excavator so that you can preview different colour pallet ideas. And lastly, there is now a single plate profile that crams the whole thing onto one plate if you're feeling confident and don't care about colours.
Documentation (1)
License

You shall not share, sub-license, sell, rent, host, transfer, or distribute in any way the digital or 3D printed versions of this object, nor any other derivative work of this object in its digital or physical format (including - but not limited to - remixes of this object, and hosting on other digital platforms). The objects may not be used without permission in any way whatsoever in which you charge money, or collect fees.


Comment & Rating (1348)