
Swirl Clock
Print Profile(1)

Bill of Materials


Description
Boost Me (for free)
If you like my work, drop a 👍 and hit “Boost” to help it reach more makers! Your support means more free designs and cool future projects for the community.
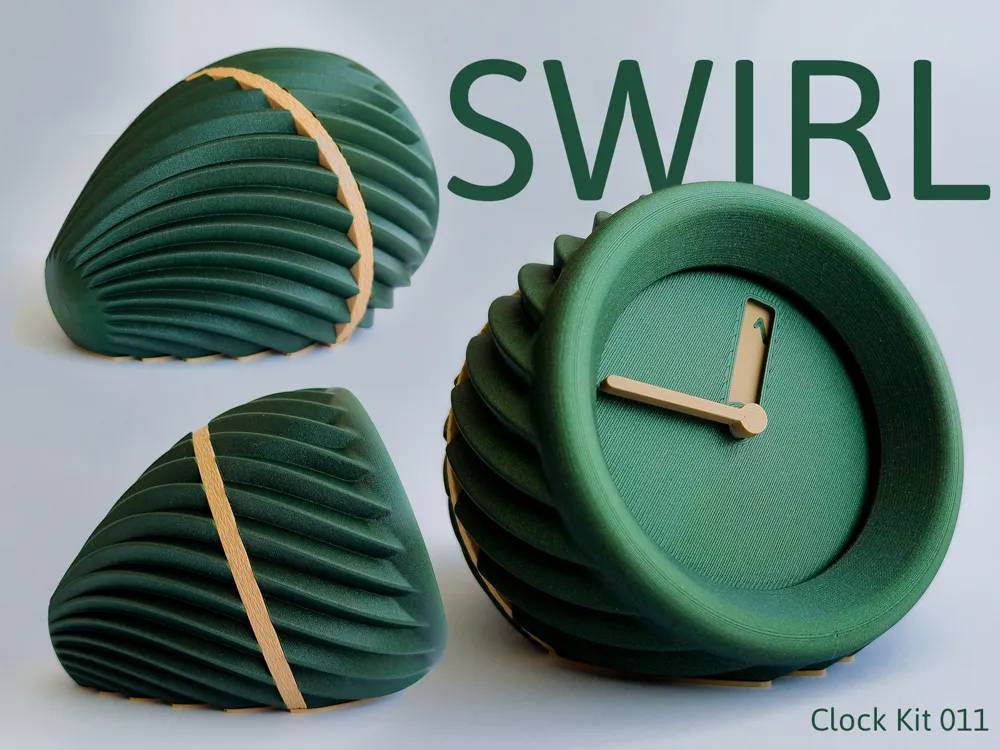
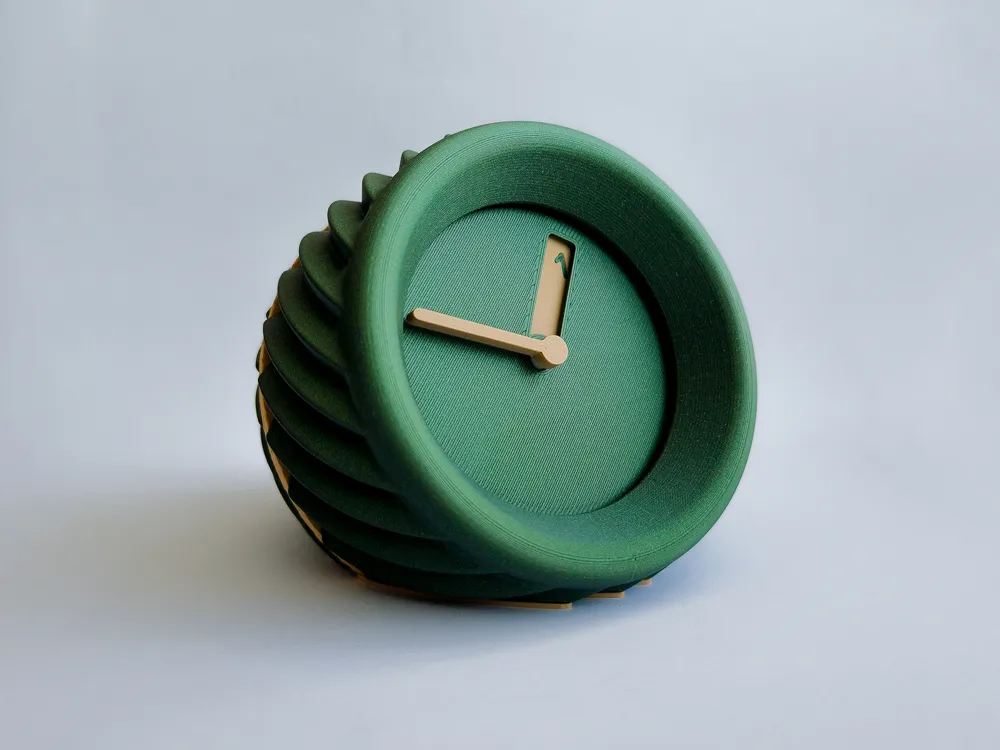
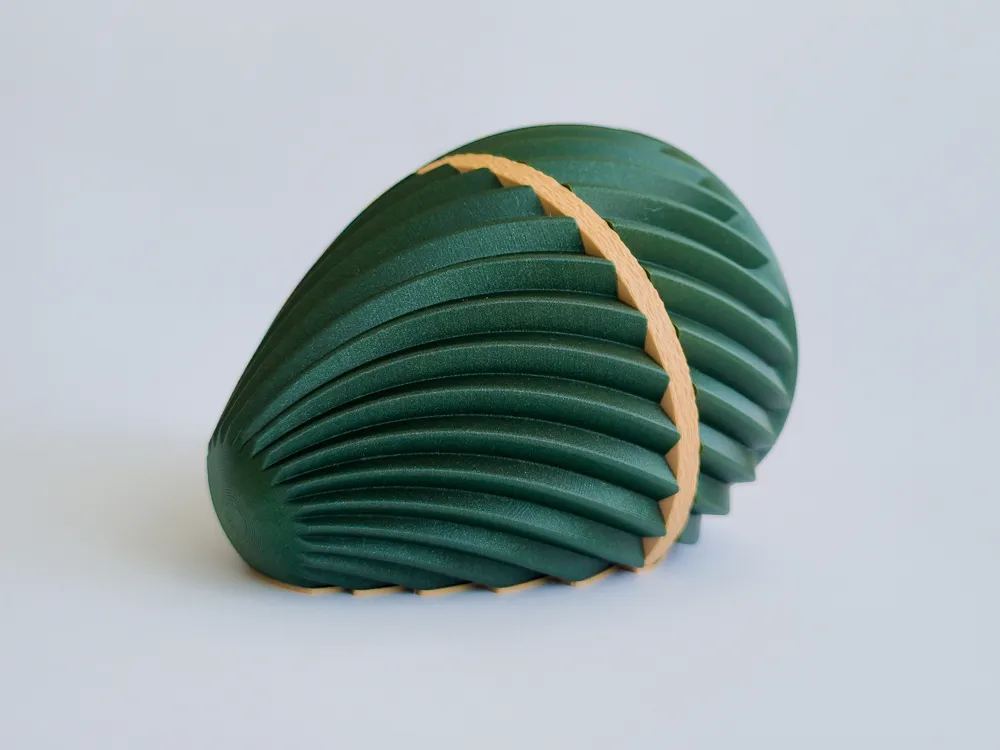
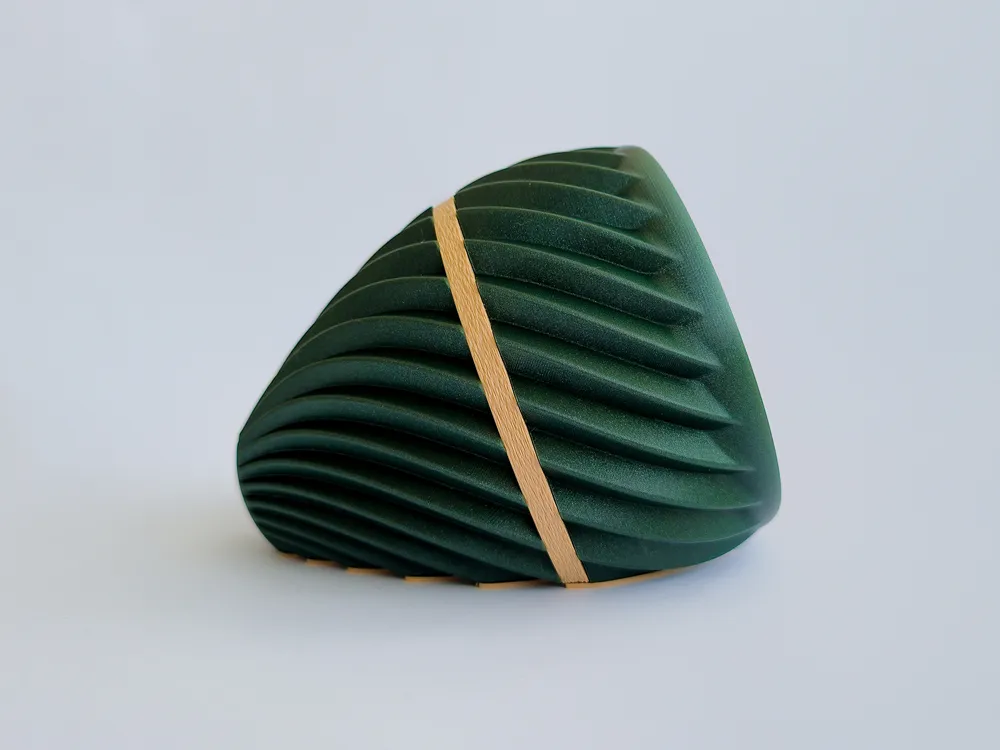
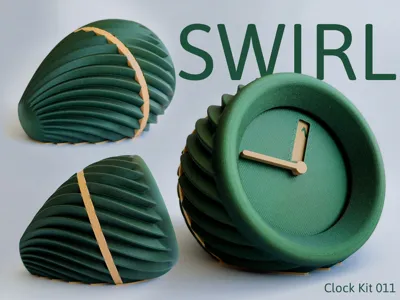
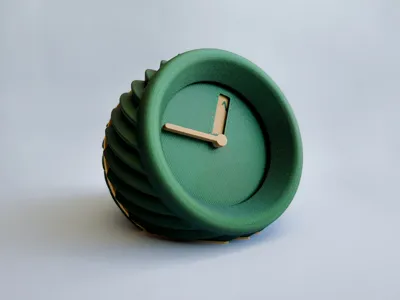
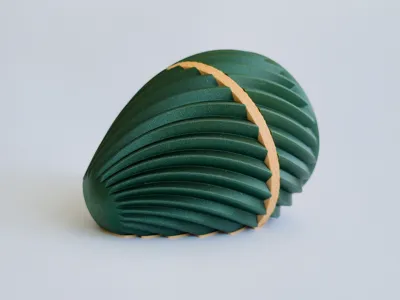
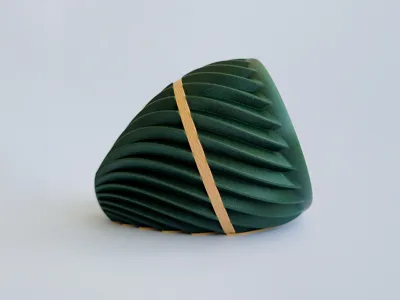
The Swirl Clock is a 3D-printed desk clock that combines minimalist functionality with a striking sculptural form. Its spiral-inspired body creates a sense of movement and elegance, making it as much a design piece as it is a functional timekeeper.
Just like the Minimal Clock, the Swirl Clock features the unique hour hand mechanism: instead of a traditional pointer, the hour hand is a rotating disk with a cut-out window. This silhouette reveals only the current hour number on the dial, while the minute hand remains classic for clarity.
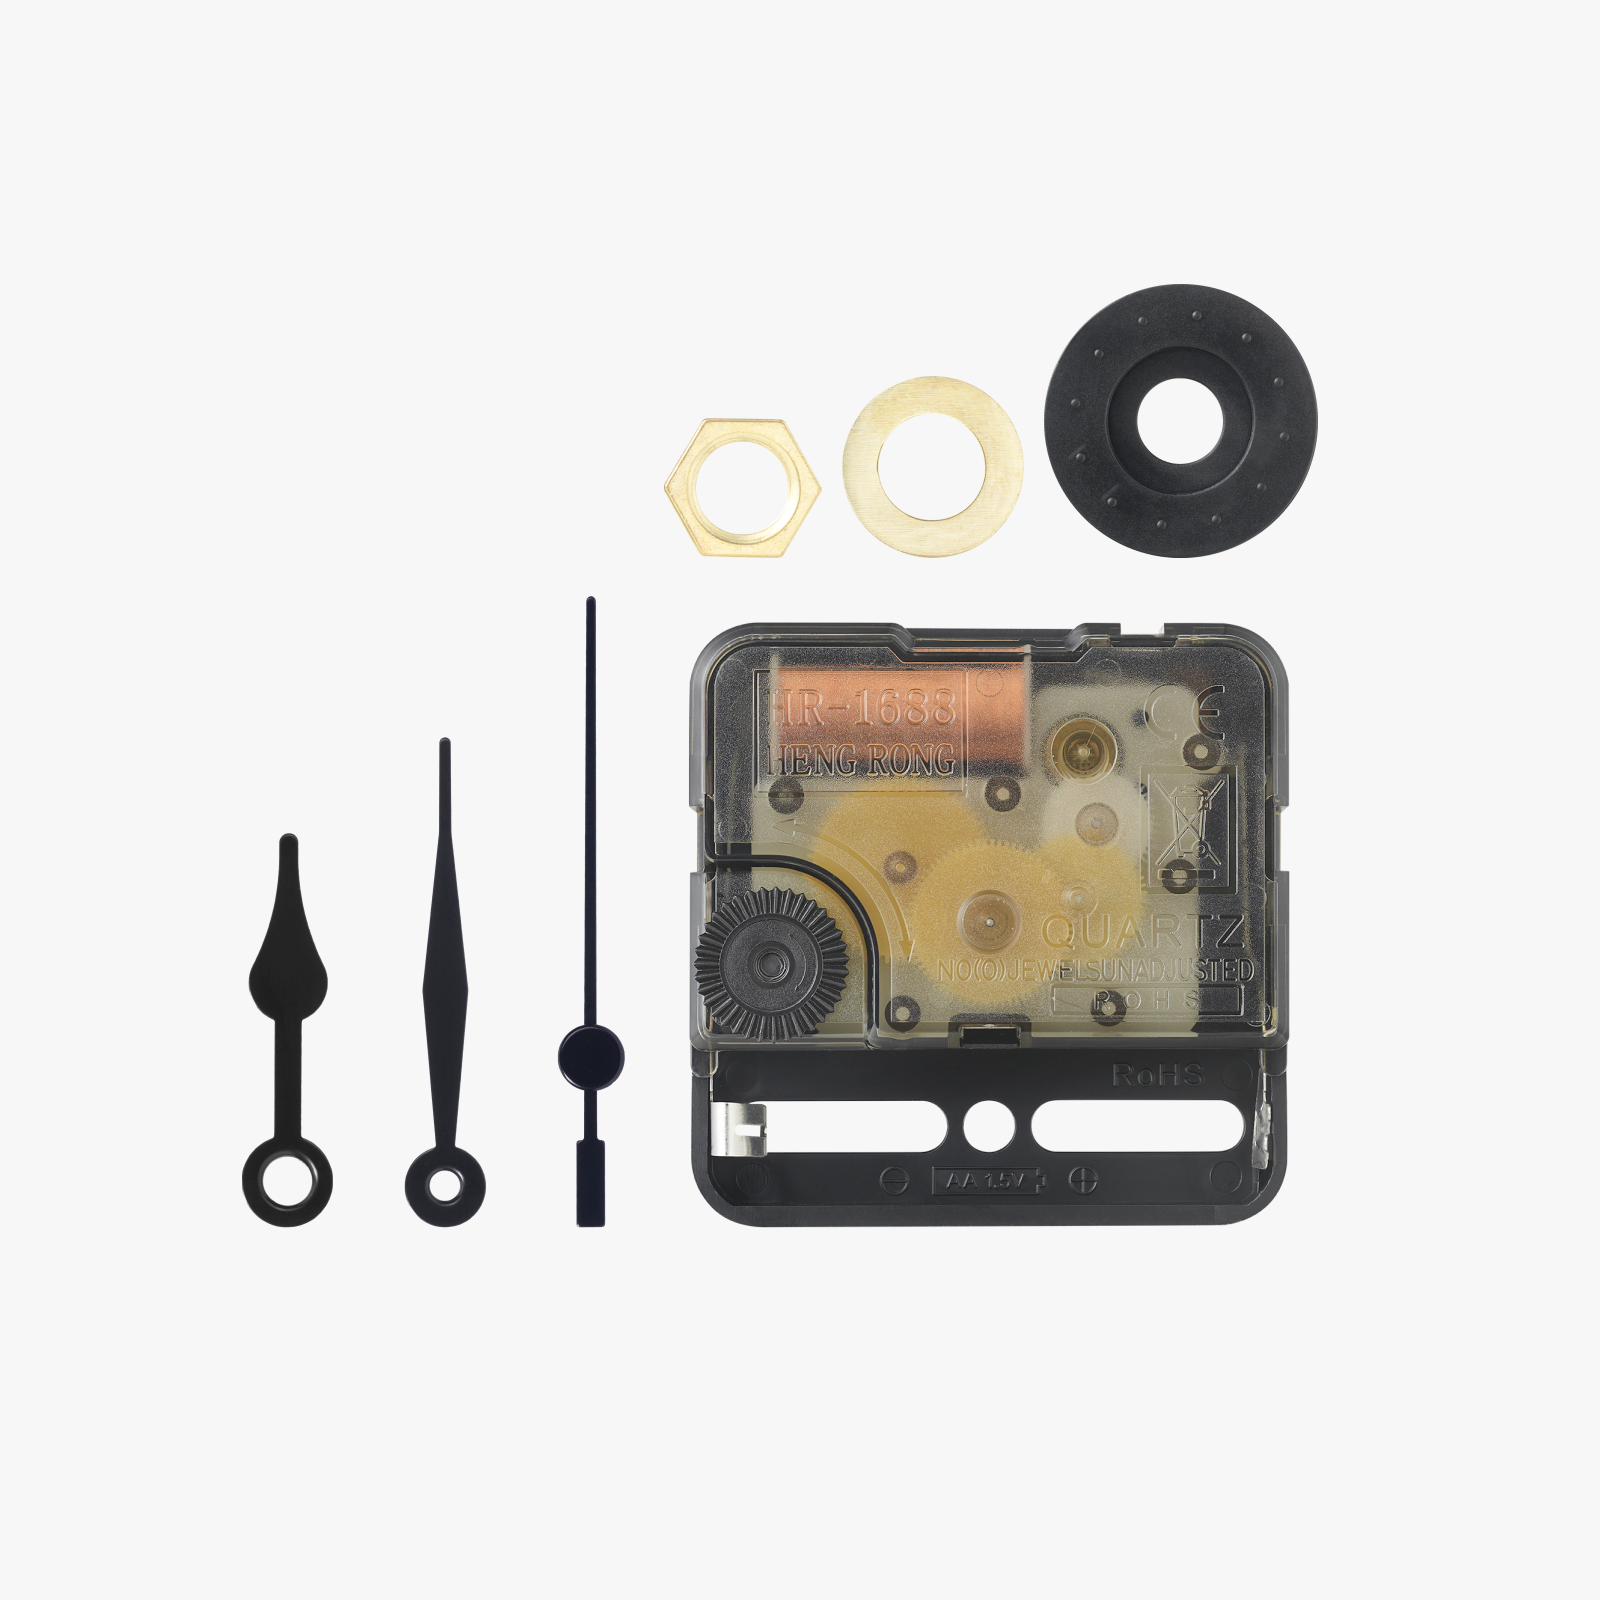
The clock is designed for the Bambu Lab Clock Kit 011, ensuring a straightforward build and smooth operation.
Features
- Bold spiral body design that adds texture and movement
- Hour disk mechanism with cut-out window for elegant hour display
- Classic minute hand for quick readability
- Compatible with Bambu Lab Clock Kit 011
- Print-friendly and support-free design
- Perfect as both a functional clock and a decorative centerpiece
Printing Notes
- Orientation: Print the clock body flat, no supports required.
- Layer height: 0.2 mm recommended.
- Infill: 15% is sufficient.
- Colors: Works beautifully in dual tones.
Assembly
- Insert the Bambu Lab Clock Kit 011 movement.
- Mount the hour disk hand aligned with the dial’s numbers.
- Attach the minute hand normally.
- Holding the assembled parts together, insert them into the outer shell of the clock body.
- Follow up by inserting the middle ring.
- Insert the 4 pins in the correct slots.
- Attach the back body with the help and alignment of the pins protruding from the middle ring.
- Insert the base layer from the bottom back and slide it forward to lock the pieces together.
- Optional: Add adhesive pads to the base for extra grip.
I hope you enjoyed this project and would appreciate it if you checked out my other projects as well!
Boost Me (for free)
If you like my work, drop a 👍 and hit “Boost” to help it reach more makers!
Your support means more free designs and cool future projects for the community.
License

You shall not share, sub-license, sell, rent, host, transfer, or distribute in any way the digital or 3D printed versions of this object, nor any other derivative work of this object in its digital or physical format (including - but not limited to - remixes of this object, and hosting on other digital platforms). The objects may not be used without permission in any way whatsoever in which you charge money, or collect fees.


Comment & Rating (6)