

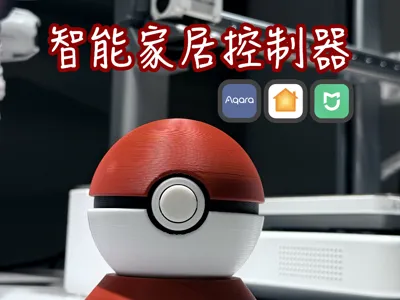
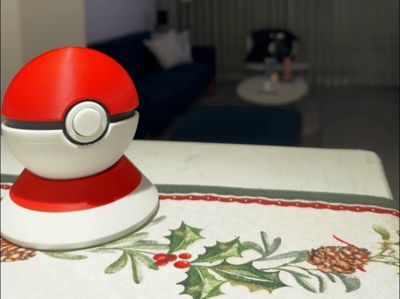
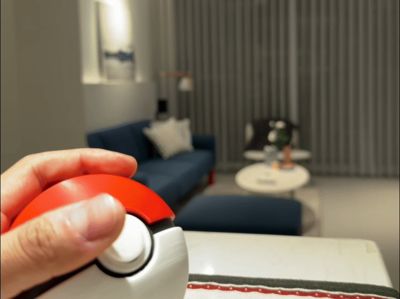
Smart Home Controller
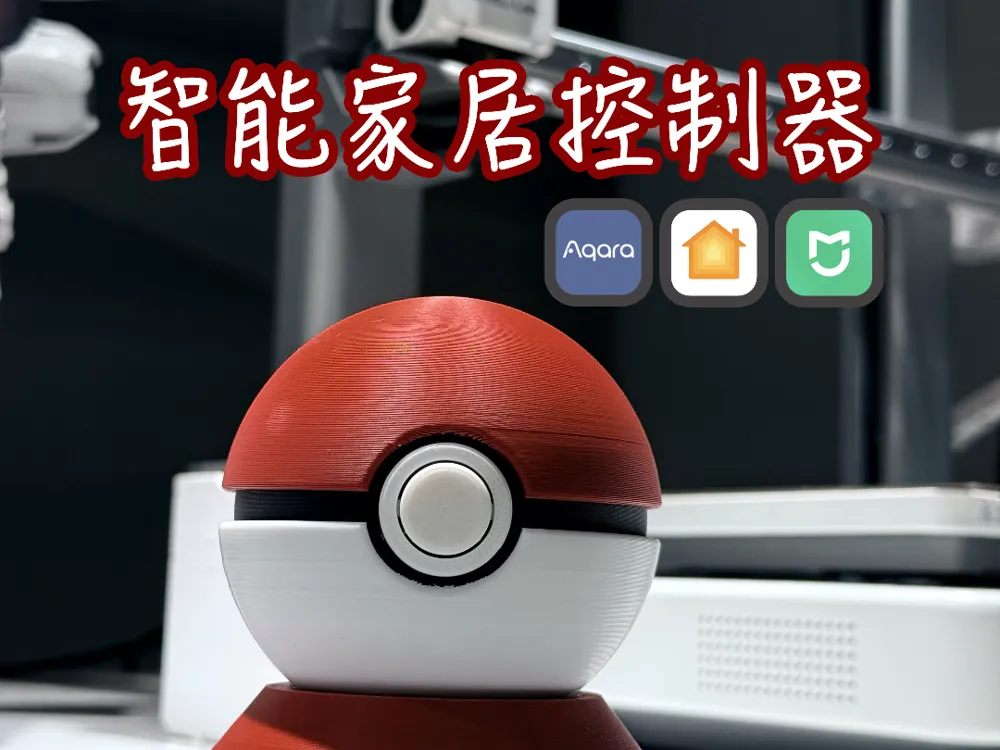



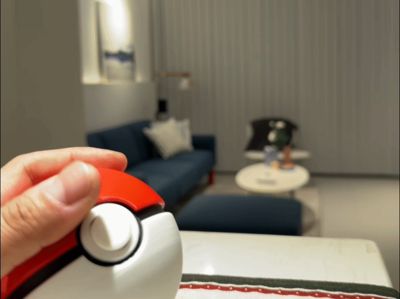
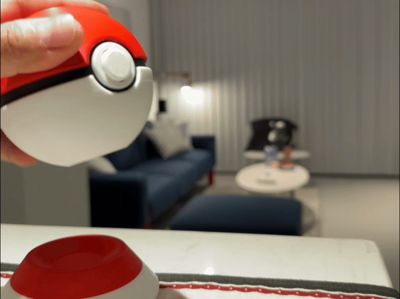
Print Profile(1)

Description
Attention before printing!!!
This model is designed based on Aqara products. Please carefully check the contents of the material package and confirm whether it is suitable for your smart home system in conjunction with the platform you use!
Platform compatibility instructions:
Aqara users can print directly. Mijia users need to check if they have a Zigbee gateway (M1/M1S gateway or multi-mode gateway)
Material package:
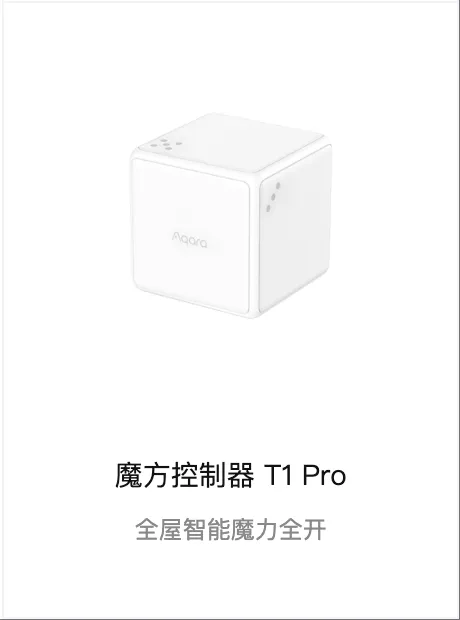
1. Aqara Cube T1/T1Pro (Mijia users can use Aqara Cube, T1, T1Pro do not support Mijia)
2. Aqara Wireless Switch T1 (Mijia users use Aqara Wireless Switch/E1, T1 does not support Mijia)

3. Aqara Door and Window Sensor T1 (Mijia users use Aqara Door and Window Bed Sensor/E1, T1 does not support Mijia)
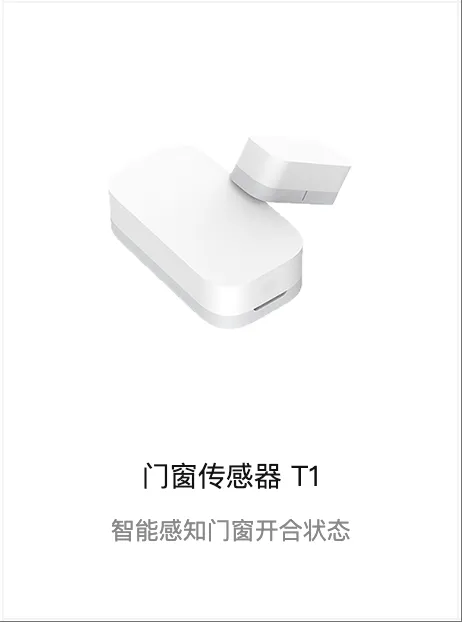
4. 1 pc 10x4mm round magnet (Door sensor T1 comes with a square magnet, non-T1 users need to purchase magnets separately. The print profile contains two types of bases, choose one)
Assembly instructions:
Make sure all devices are connected to the network before assembly!!!
Make sure all devices are connected to the network before assembly!!!
Make sure all devices are connected to the network before assembly!!!
Before installing the device, first fix the button to the core with the ring. Secure the ring with glue, being careful not to get glue on the button
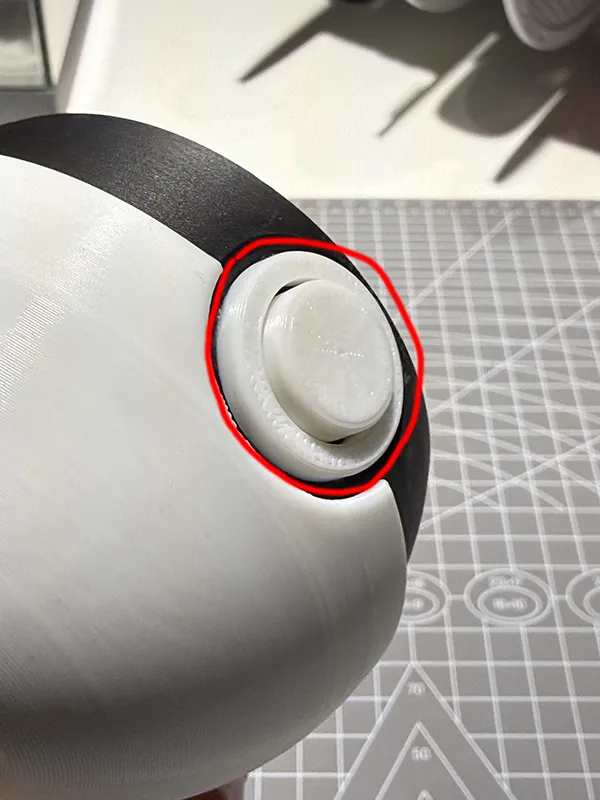
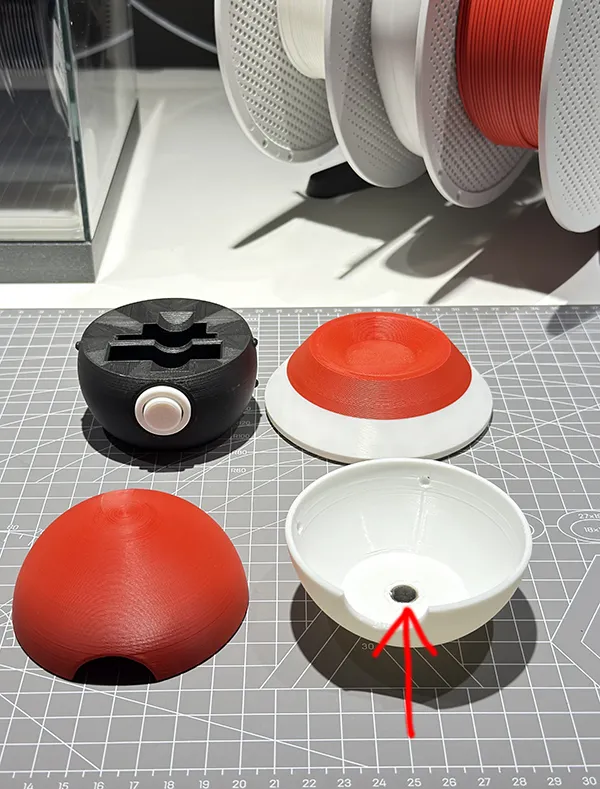
Remember to install the magnet and fix it with glue before installing the bottom cover
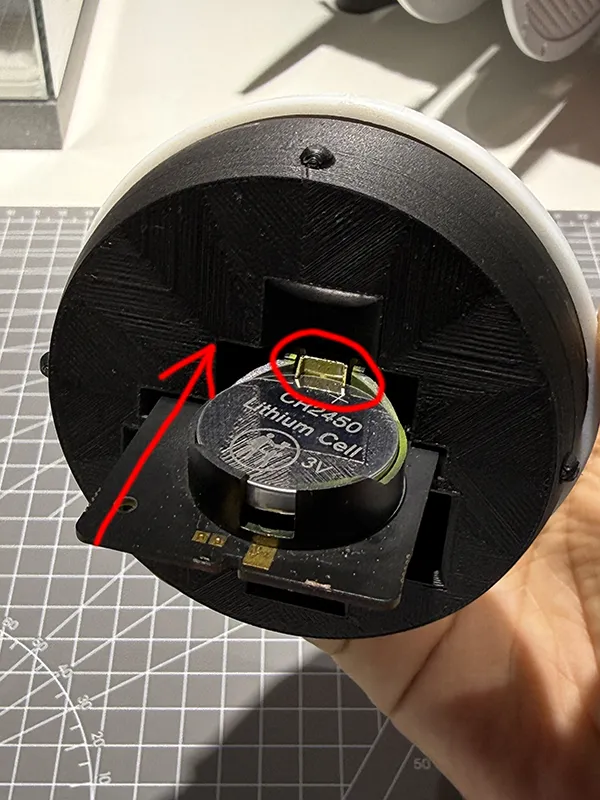
The Aqara Cube requires the internal circuit board to be removed and inserted in the direction shown in the figure. There is a card slot inside, push firmly until you hear a click
The wireless switch can be inserted directly with the button facing outwards
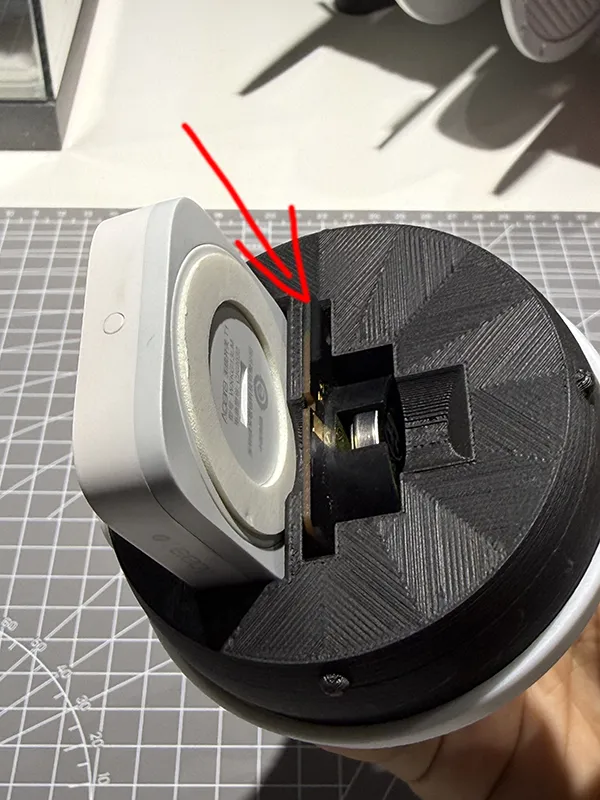
The door sensor should be inserted with the scale mark facing inwards
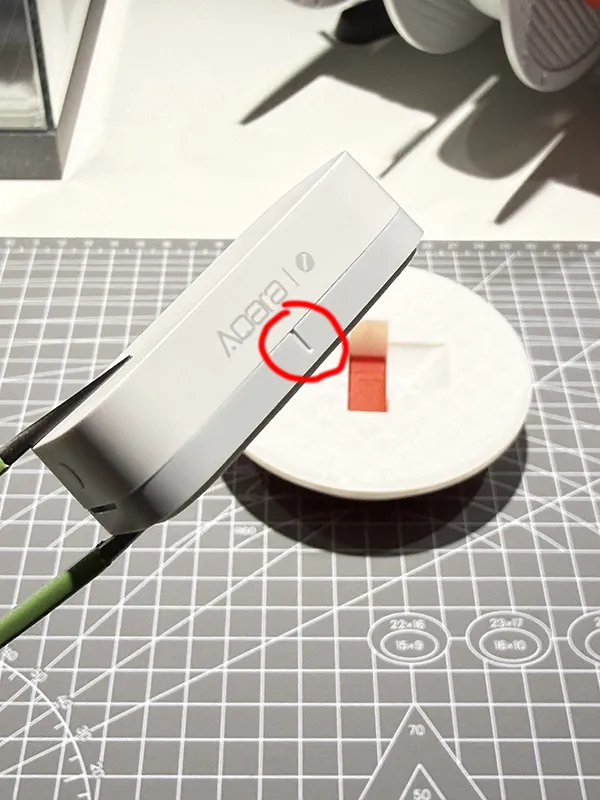
Function and automation configuration instructions:
Functions available for Aqara Cube:
1. Shake
2. Plane rotation
3. Trigger after 1 minute of inactivity
4. Double tap
Functions available for Wireless Switch:
1. Single click
2. Double click
3. Long press
Functions available for Door and Window Sensor:
1. Open
2. Close
3. Open/close for a certain period of time (some models may not have this)
Automation configuration can be adjusted according to your actual needs. You can refer to my configuration
1. Pick up (When: door and window sensor opens, then: turn on spotlight)
2. Plane rotation (When: Aqara Cube rotates on a plane, and (this condition is optional): spotlight is on, then: spotlight adjusts brightness)
3. Shake (When: Aqara Cube shakes, then: execute home scene)
4. Press (When: wireless switch single click, then: open/close curtains)
5. Double press (When: wireless switch double click, then: turn on/off floor lamp)
6. Long press (When: wireless switch long press, then: execute movie scene)
7. Put back on base (When: door and window sensor closes, then: execute away scene)
The configuration is for reference only. You can explore more ways to play by yourself. If you have any questions, please leave a comment below
License



Comment & Rating (0)