
Scifi Crate

Print Profile(1)


Description
Boost Me (for free)
These models can be a lot of work, so please consider giving a boost to help further the development of models like this, and many more! Also, don't forget to follow me for more work like this too!
[Update 2025-01-28]
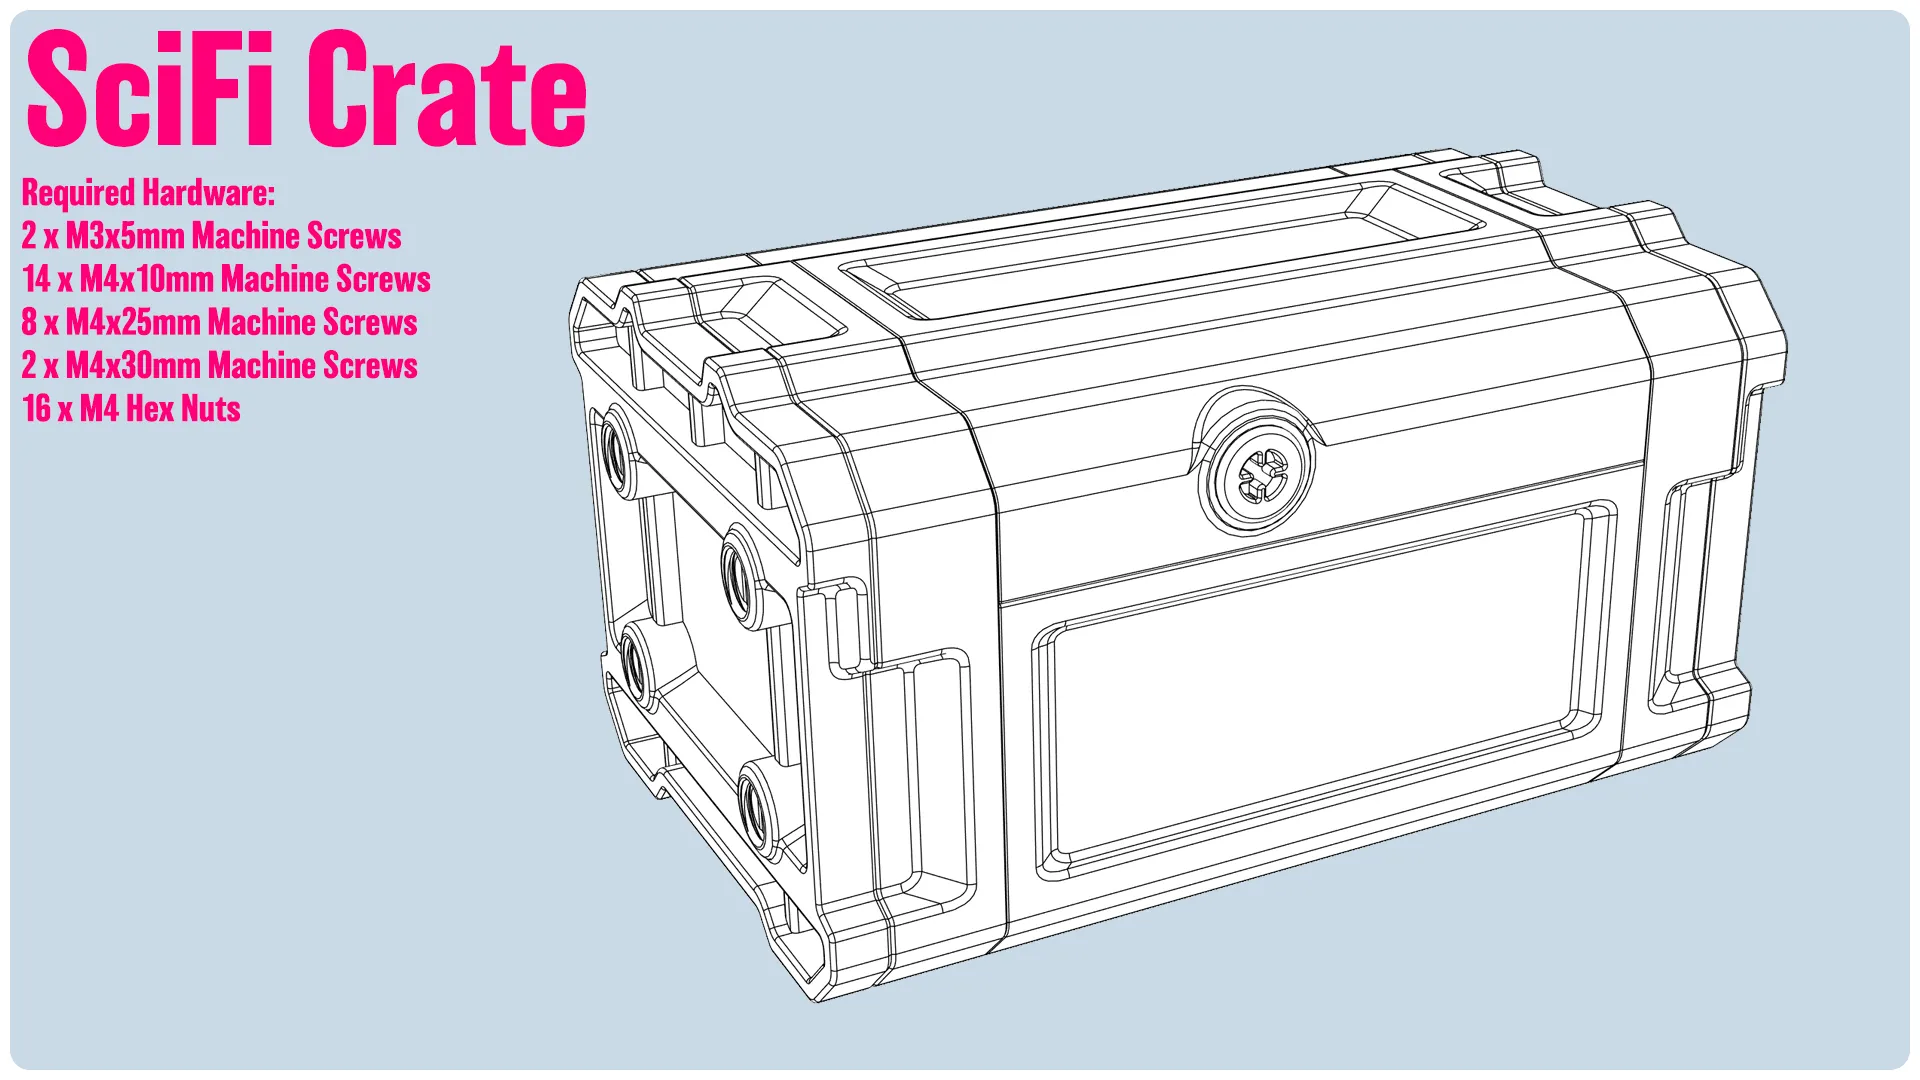
I've worked on an updated models that adjust the screw holes so drilling is no longer required. Along with this update comes updated instructions and two size variations which will get their own posting.
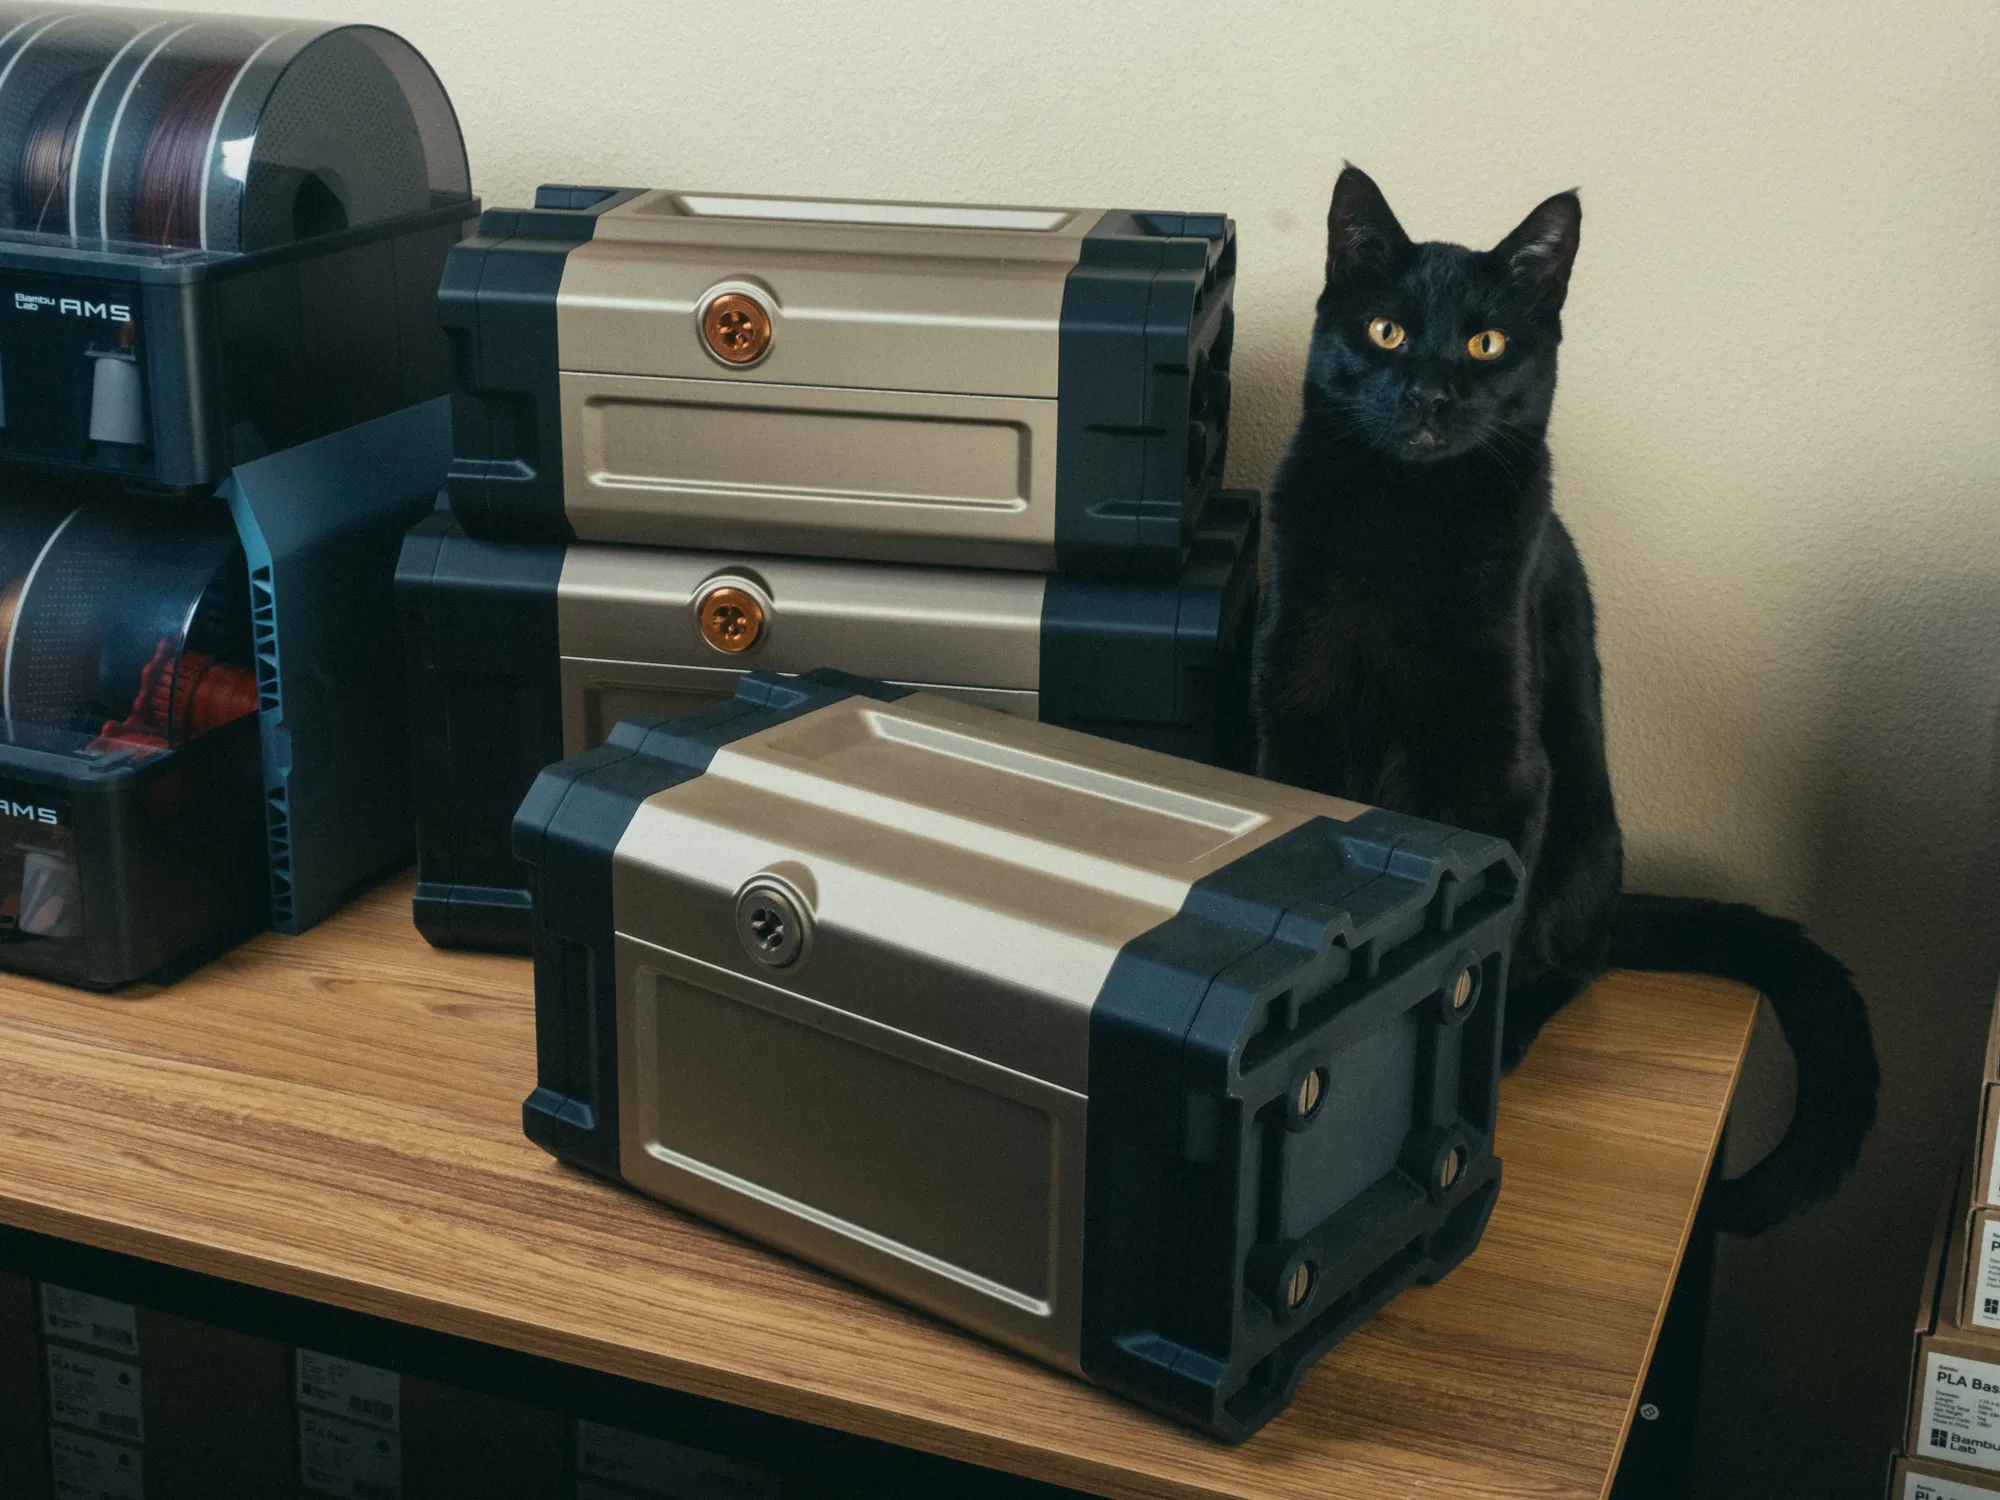
[Intro]
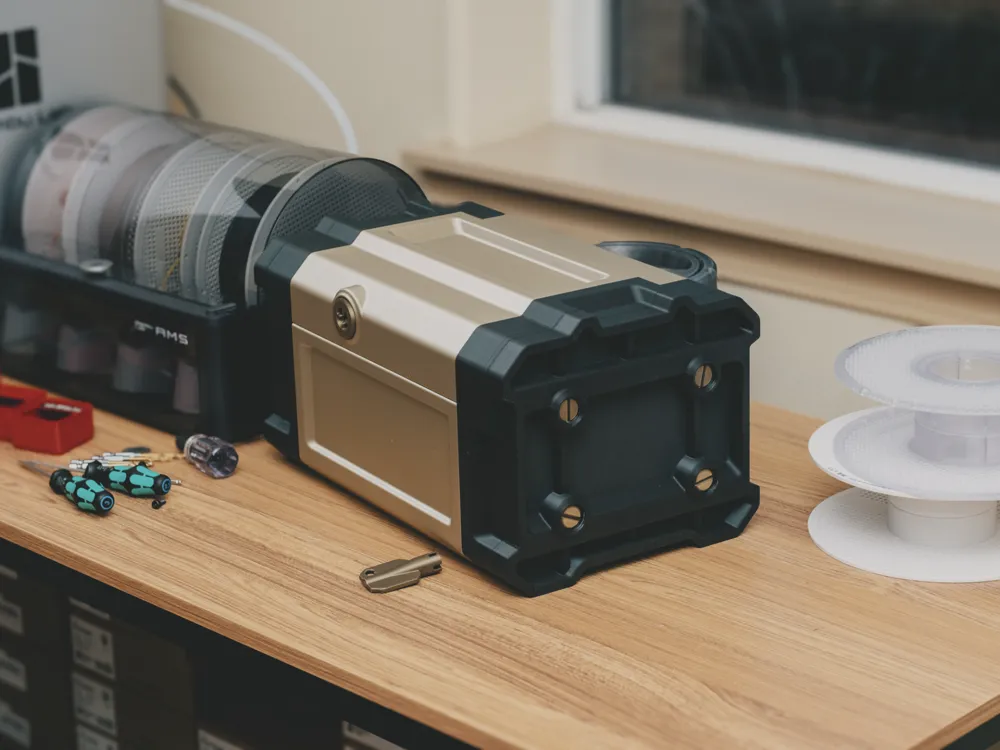
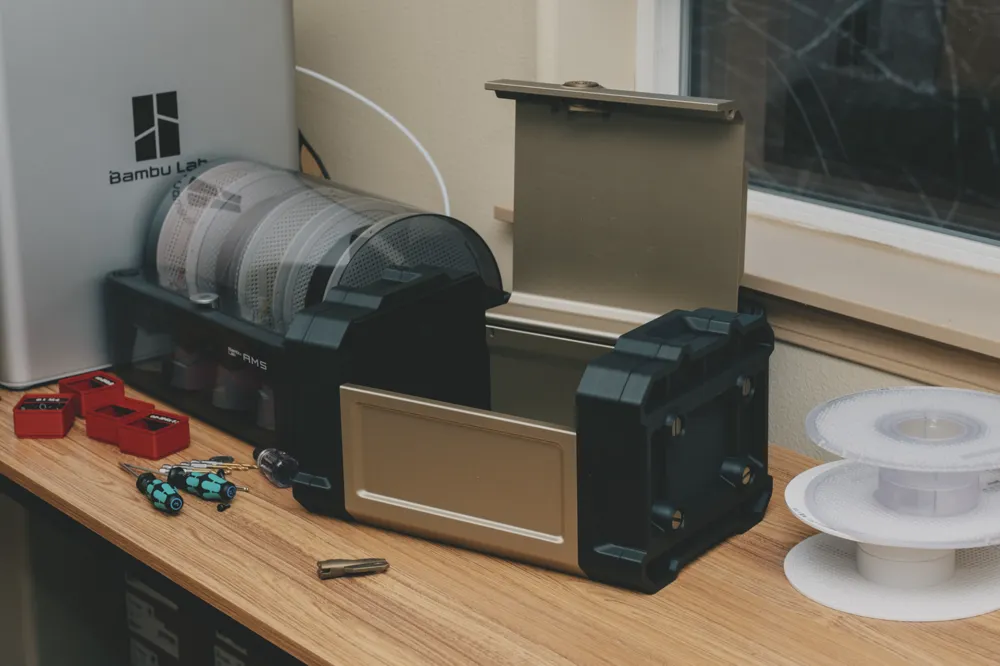
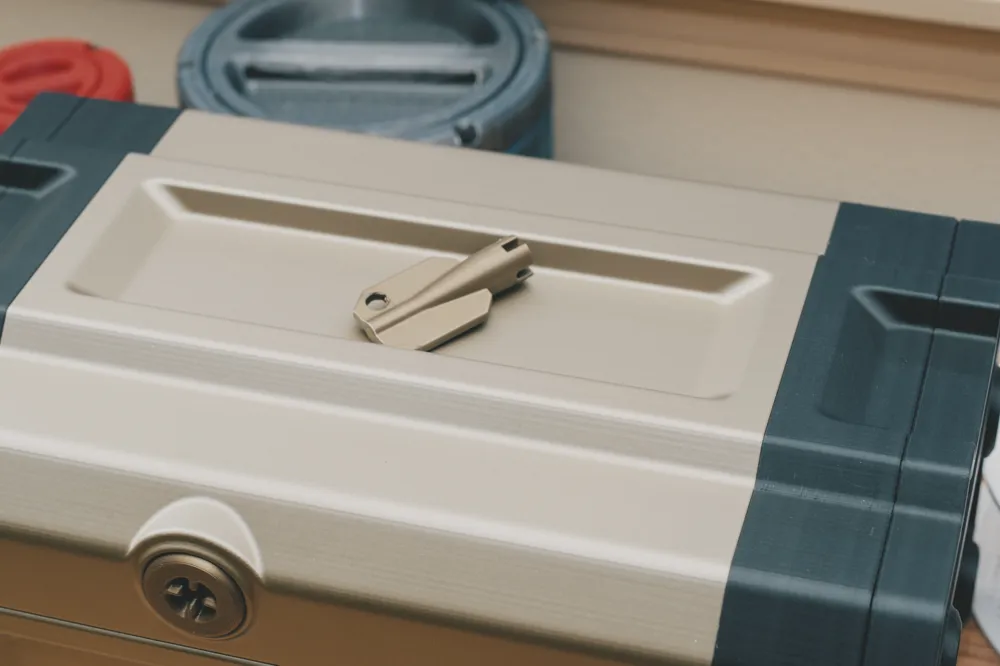
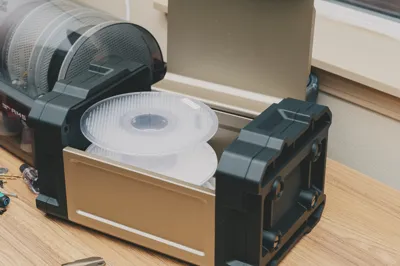
I would like to introduce to you my fancy Scifi Box! Or crate? Treasure chest? Do I need to model some gold coins for you to fill this thing up with? Hehe.
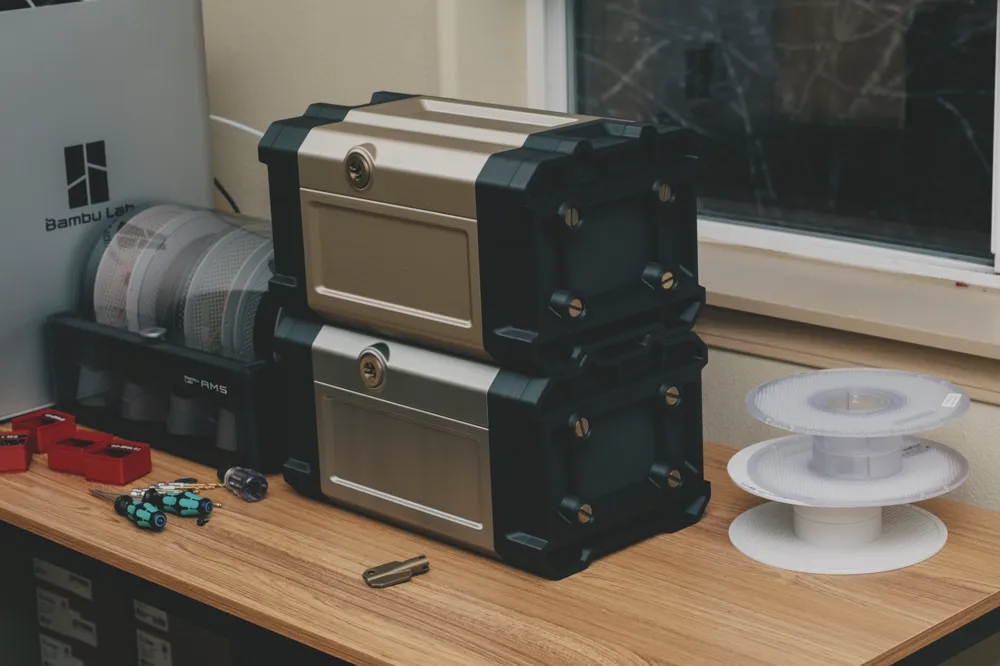
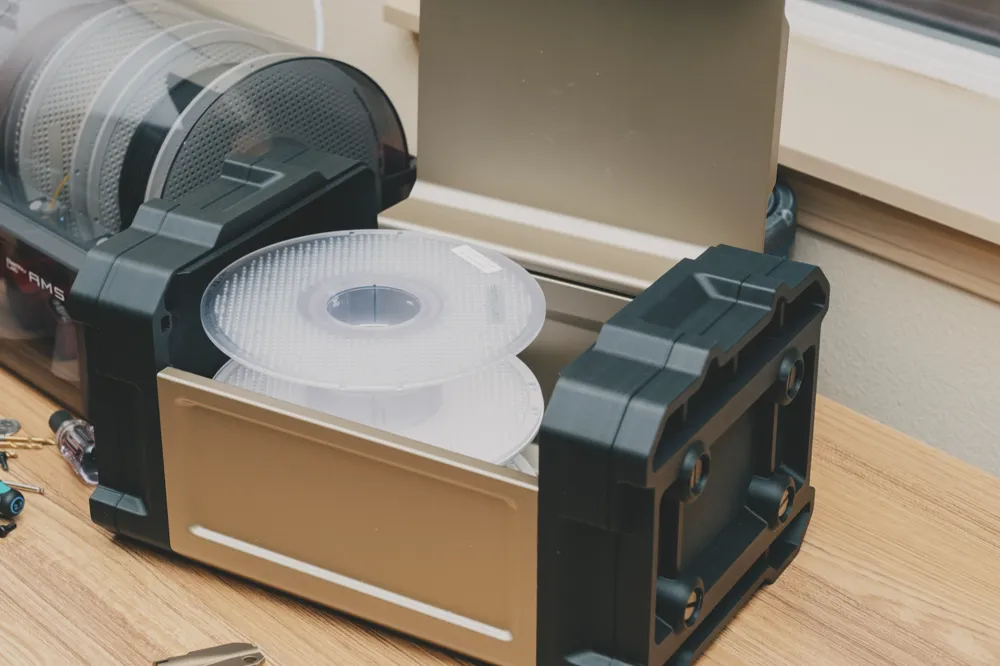
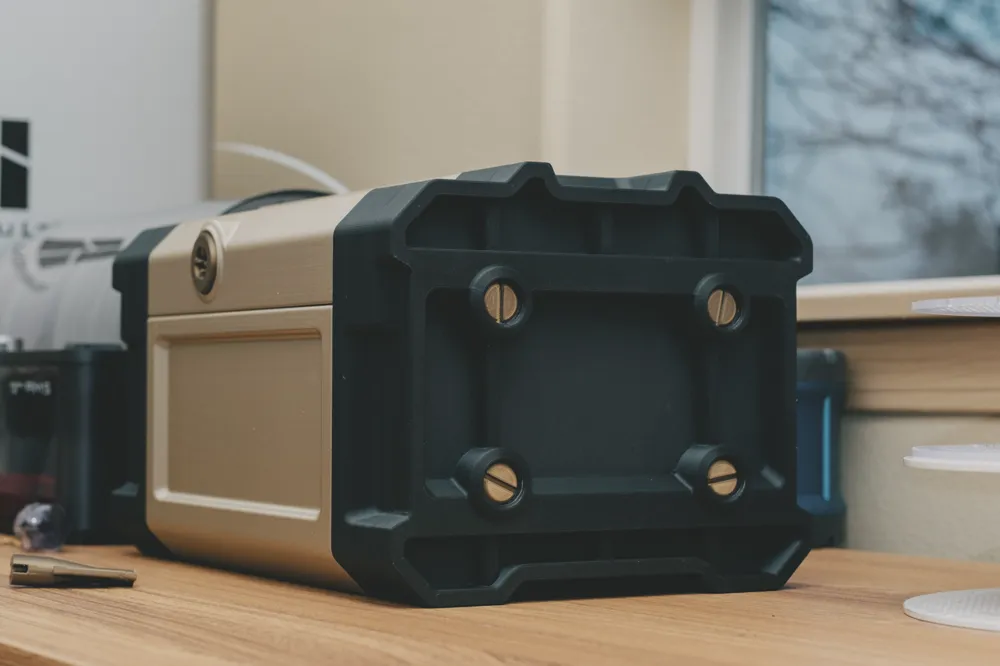
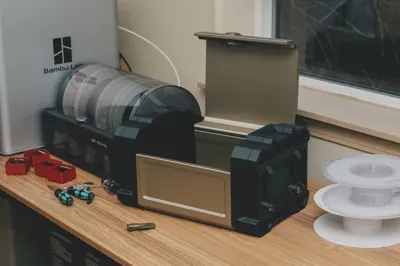
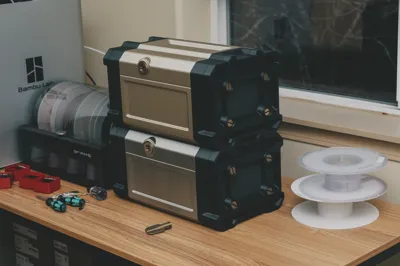
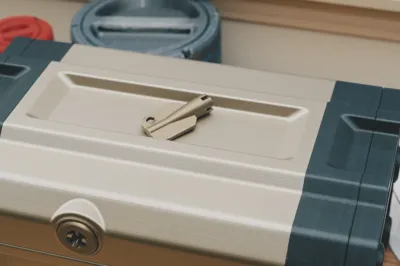
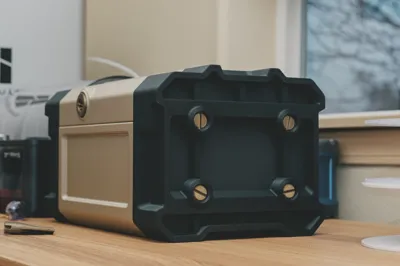
I wanted to produce a crate of sorts that'd be larger than the print volume, but assembled in a way that it didn't feel like it was just a model chopped up to fit into a printer's build volume. This is the results of those efforts. Part of my goal with this too was to make it easy to print, have cool styling, and have some sort of latch/locking mechanism (although it is primitive, it is still cool). For bonus points, I made it stackable!
[What you'll need]
Tools:
Hex Driver #3 & #2.5
File for cleaning up edges where berm is used, or whatever tool you like for that job.
Hardware:
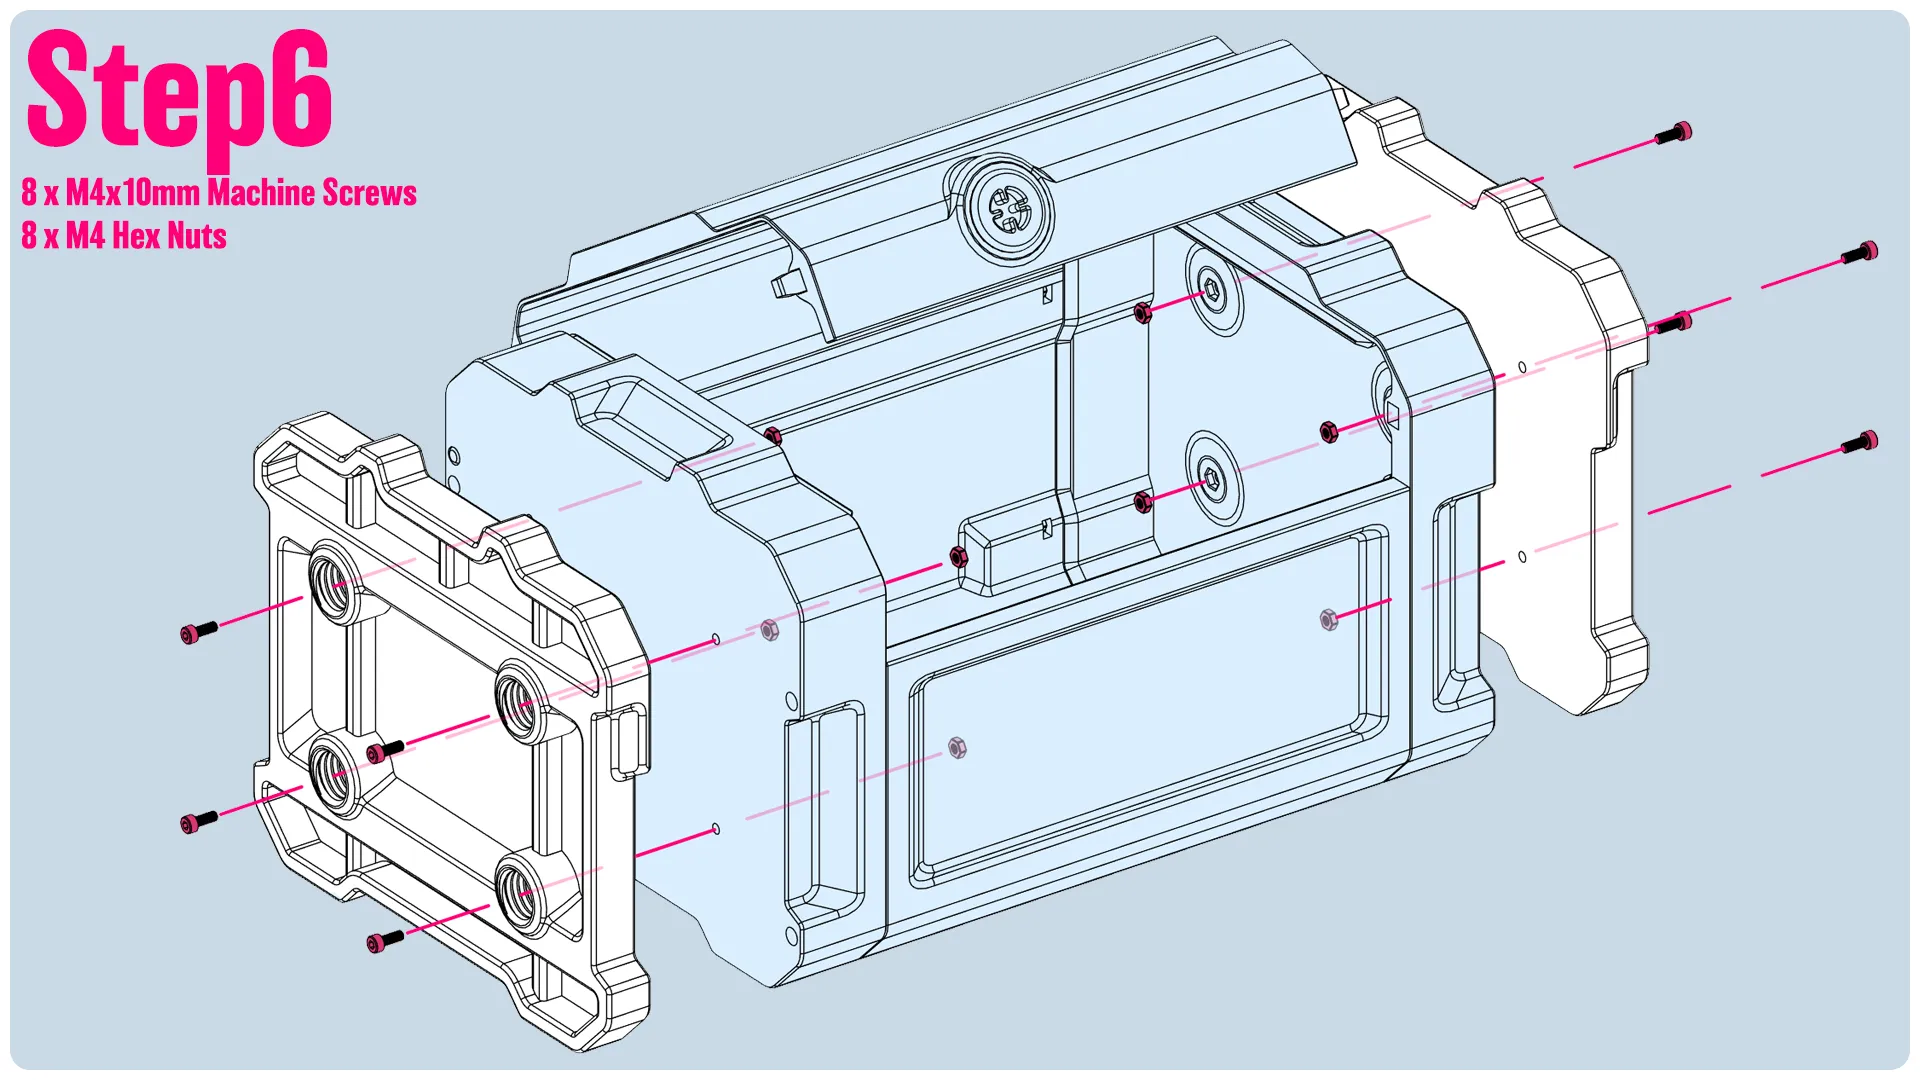
16 M4 Nuts (Used for connecting the End Caps, Ends, And Mid section together.
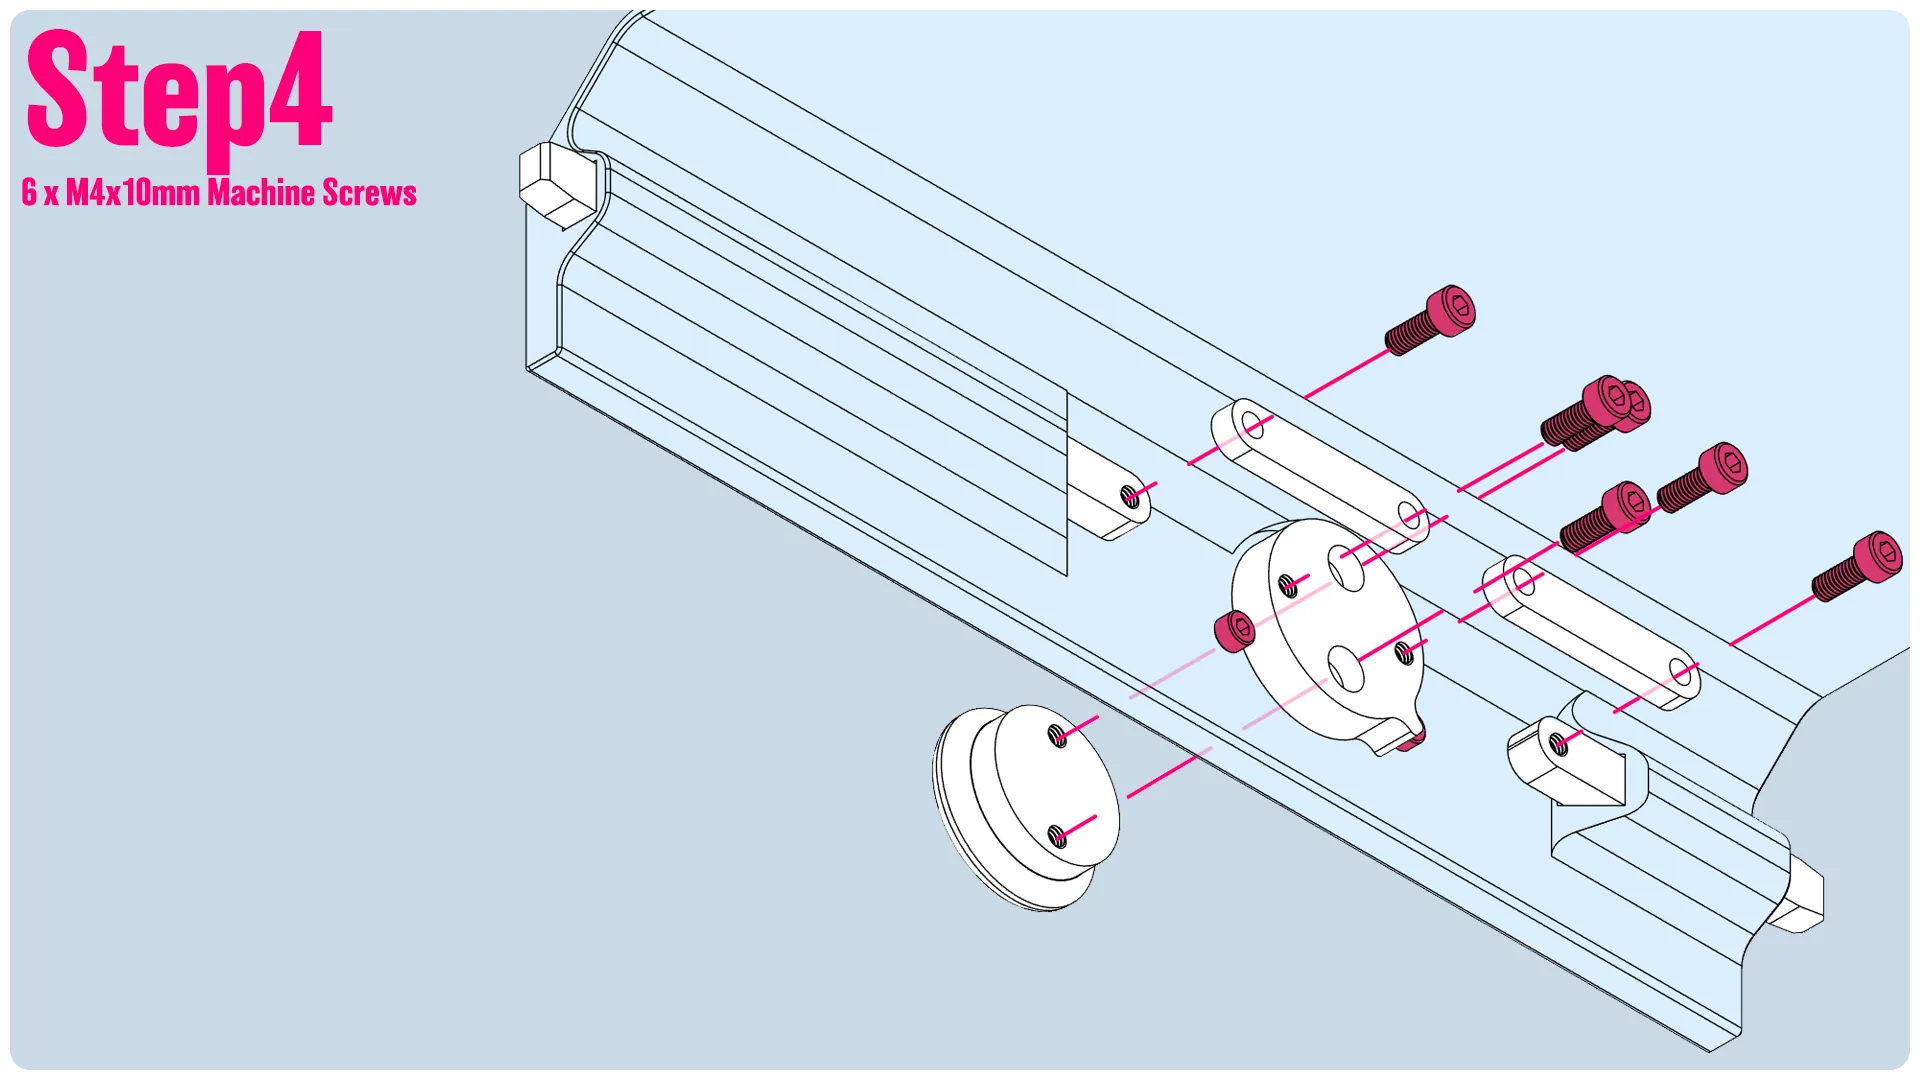
8 M4x25 (Used to connect the Ends to the Mid section)
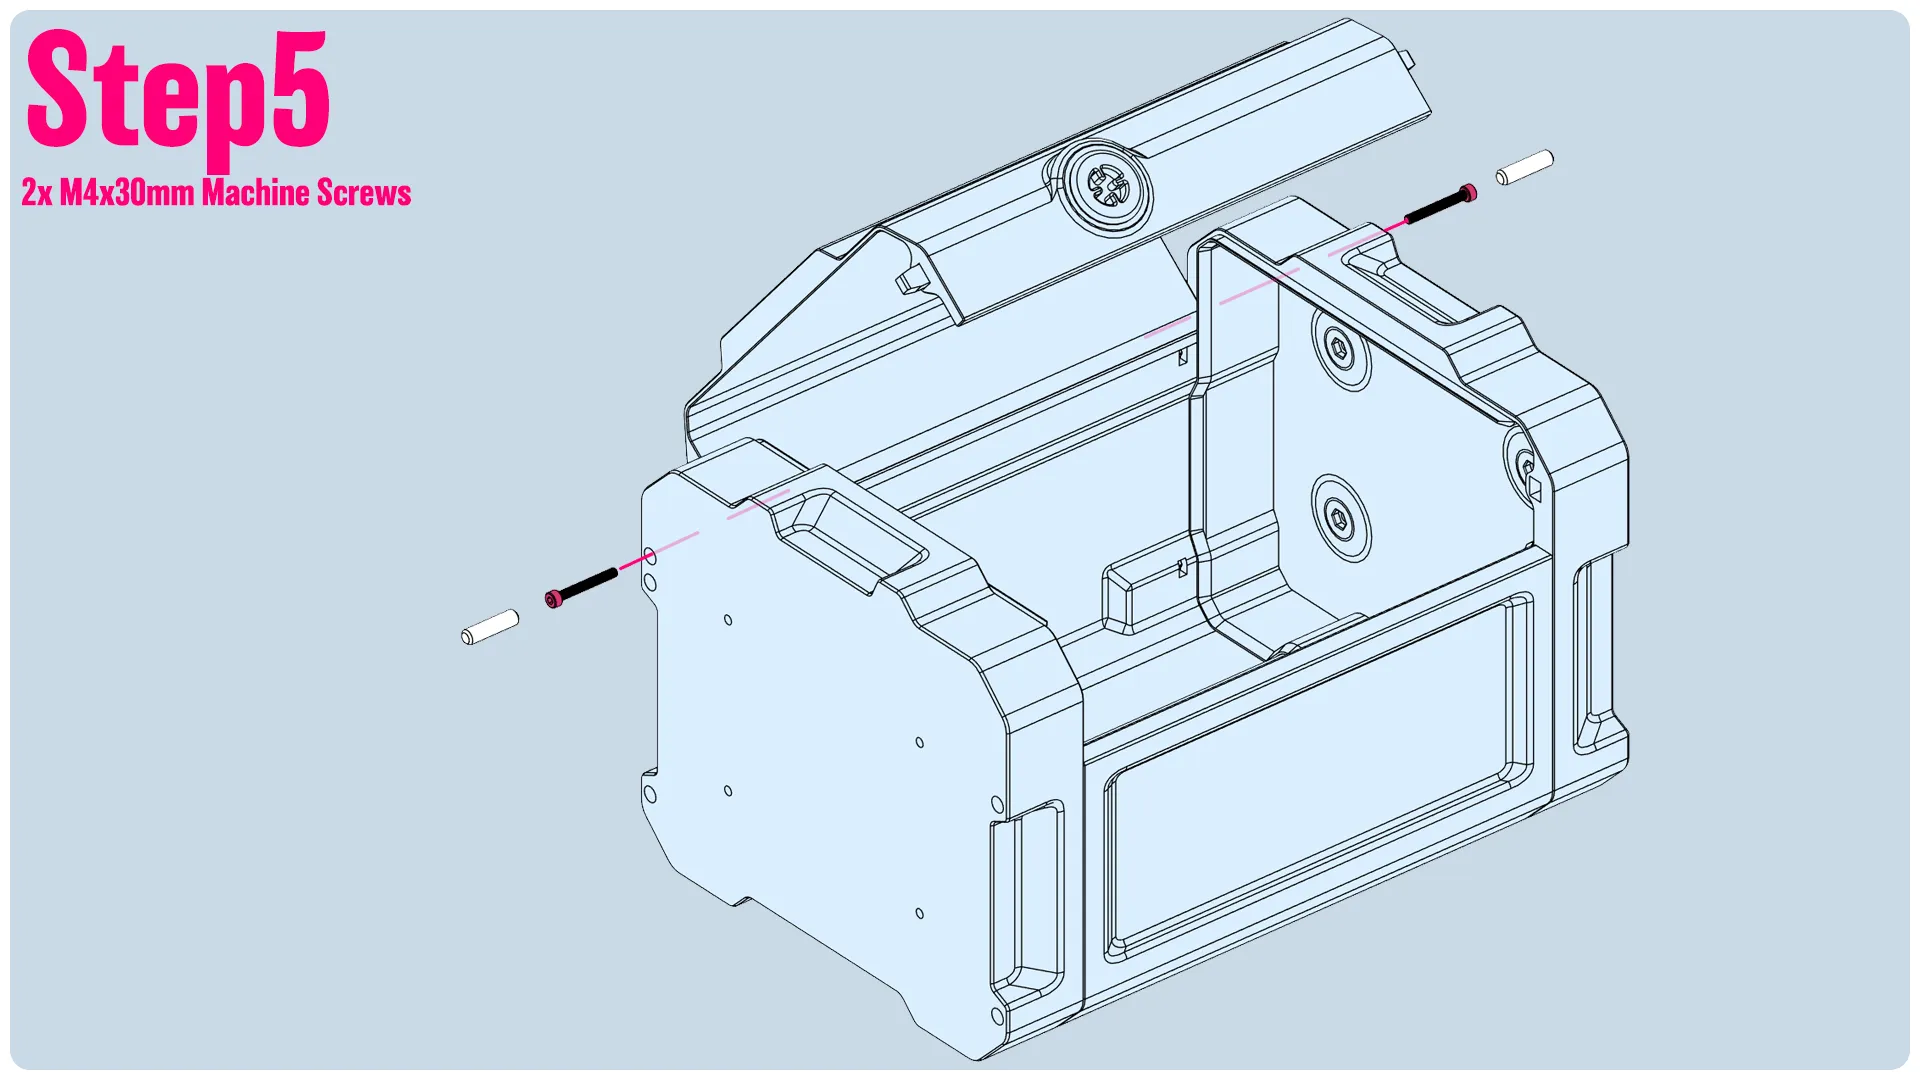
2 M4x30 (Used for the hinge)
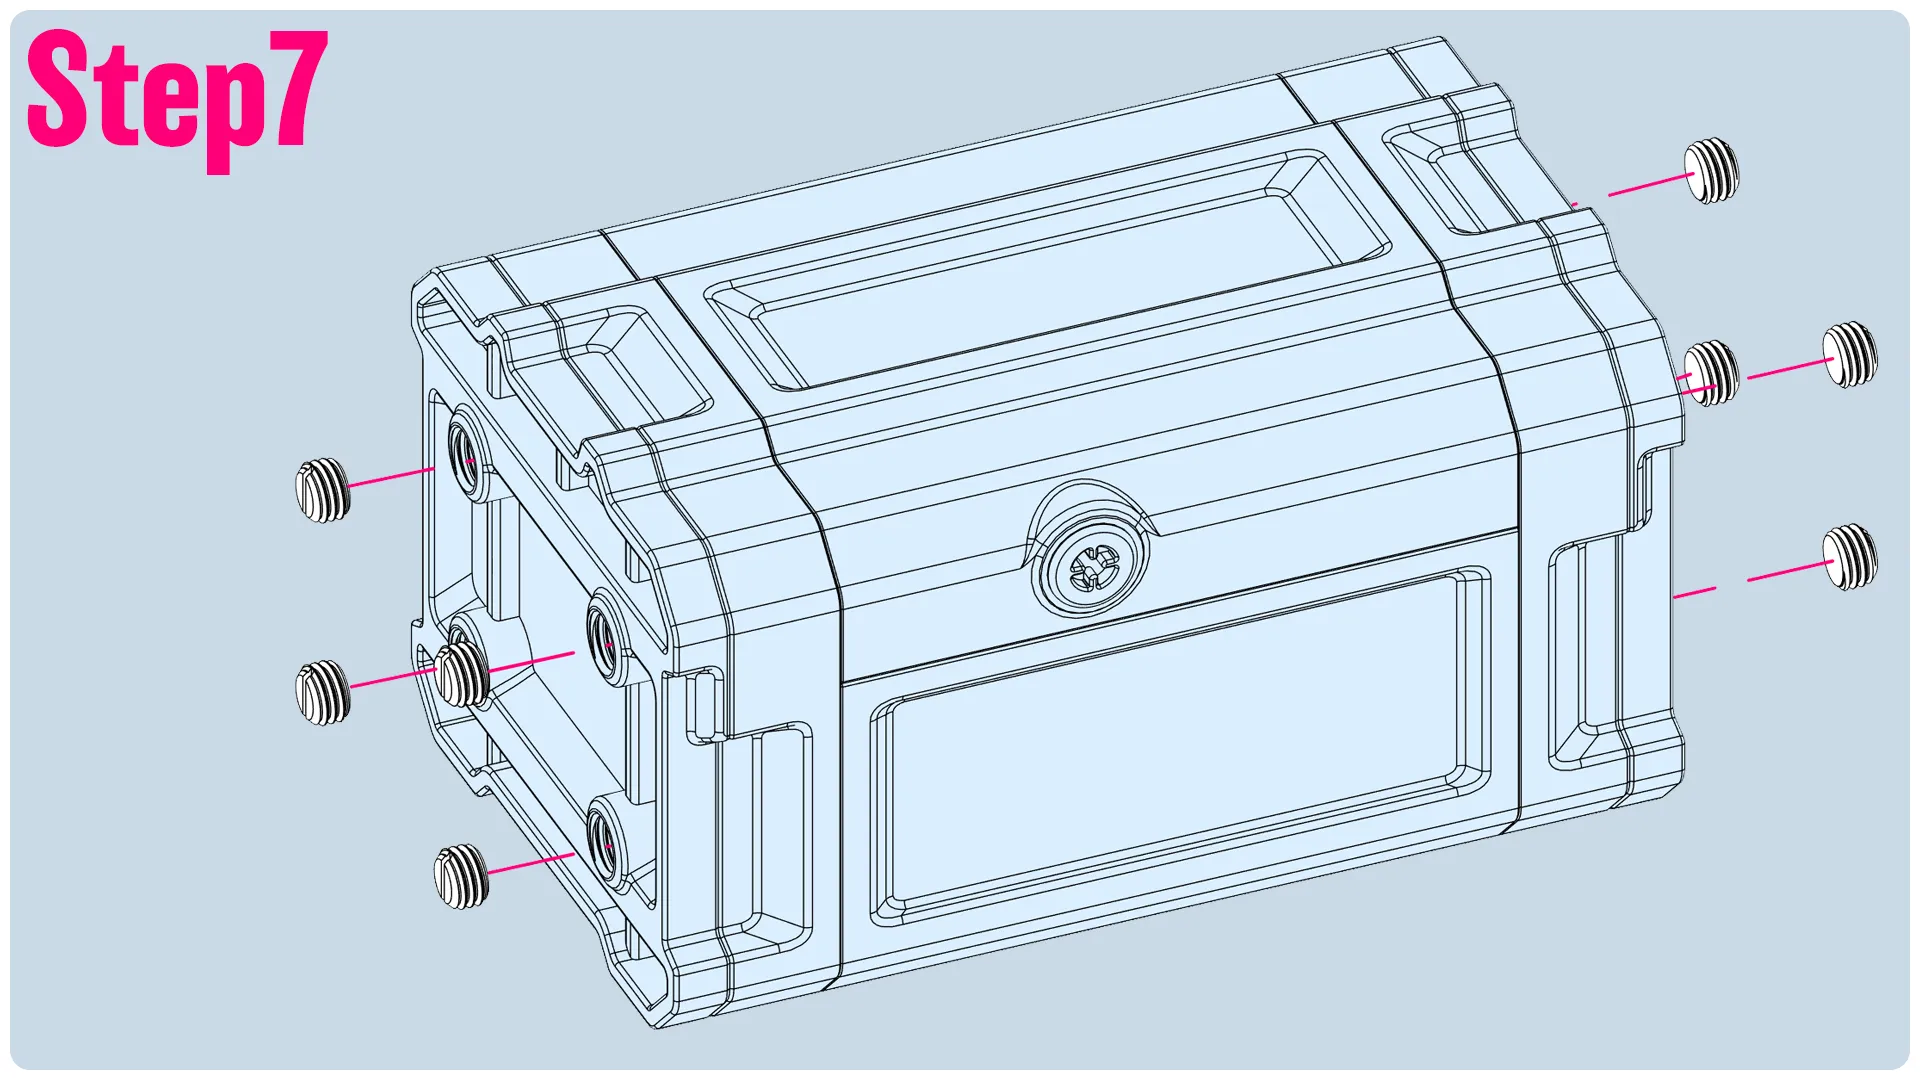
2 M3x5 (Used on the Lock. You can Use M3x6 screws, but don't over tighten them, as it'll push through and show on the front)
14 M4x10 (6 for the Lock, and 8 are used to connect the End Caps to the Ends)
Filament I used: (For reference! Use the colors you see fit!)
Mid - Bambu PLA Iridium Gold Metallic
Ends - Bambu PLA Matte Charcoal
Hardware - Bambu PLA Basic Bronze
[Getting ready to print]
You're going to need about 2kg of filament for this case. It'll be about 1kg for the ends, and a little less for the mid/lid section. I modeled everything to be relatively easy to print, but they're still big full plate models, so make sure you've got things like warping under control (On the P1/X1 for example, turning off the aux fan!), that your bed is super clean, and yeah. These are big prints, so let's check ourselves before we wreck ourselves, because a failed print here can be costly.
There is a little post processing that should be done with the models once they're off the build plate. Holes will need to be cleared for where the screws go, as I modeled a flat plane in place to help keep them clean. Additionally, on the lid, you'll want to make sure a screw can insert into the hole freely, and use a drill to clear it out if need be.
[Assembly]
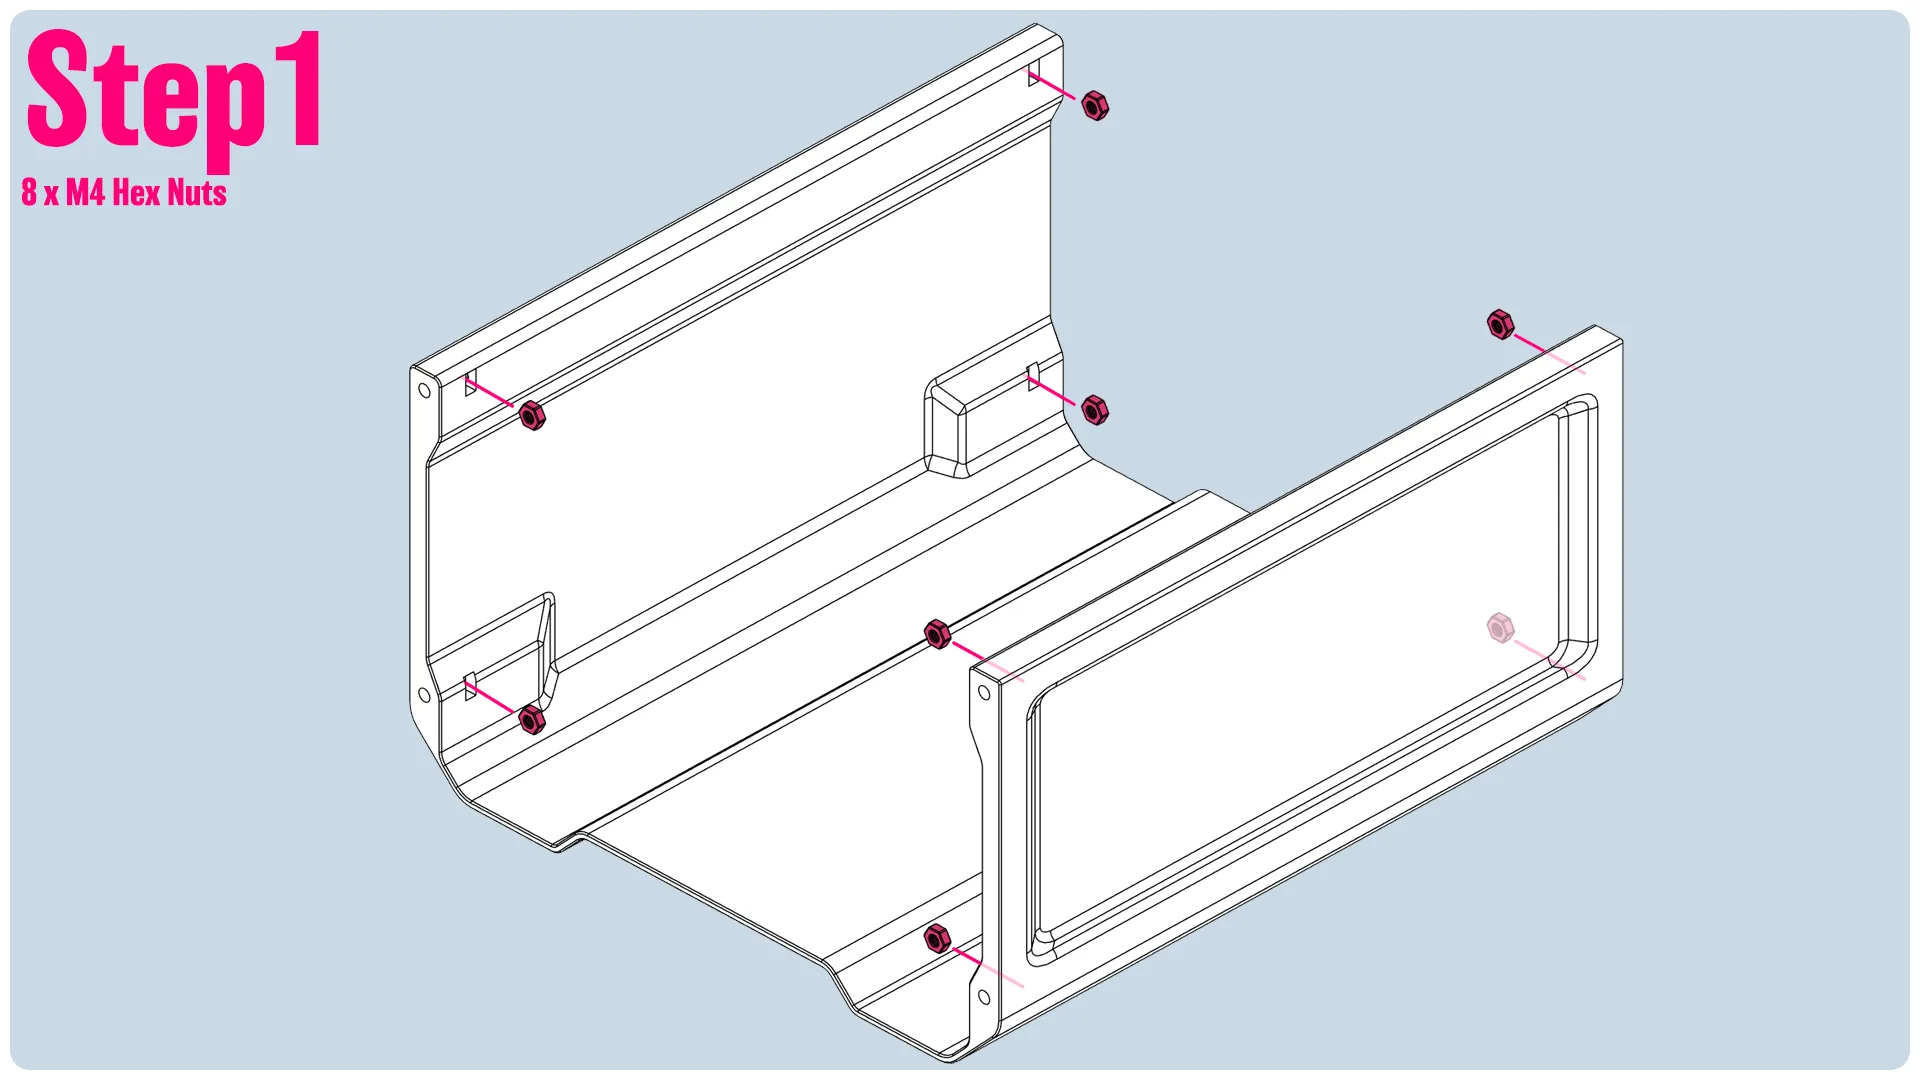
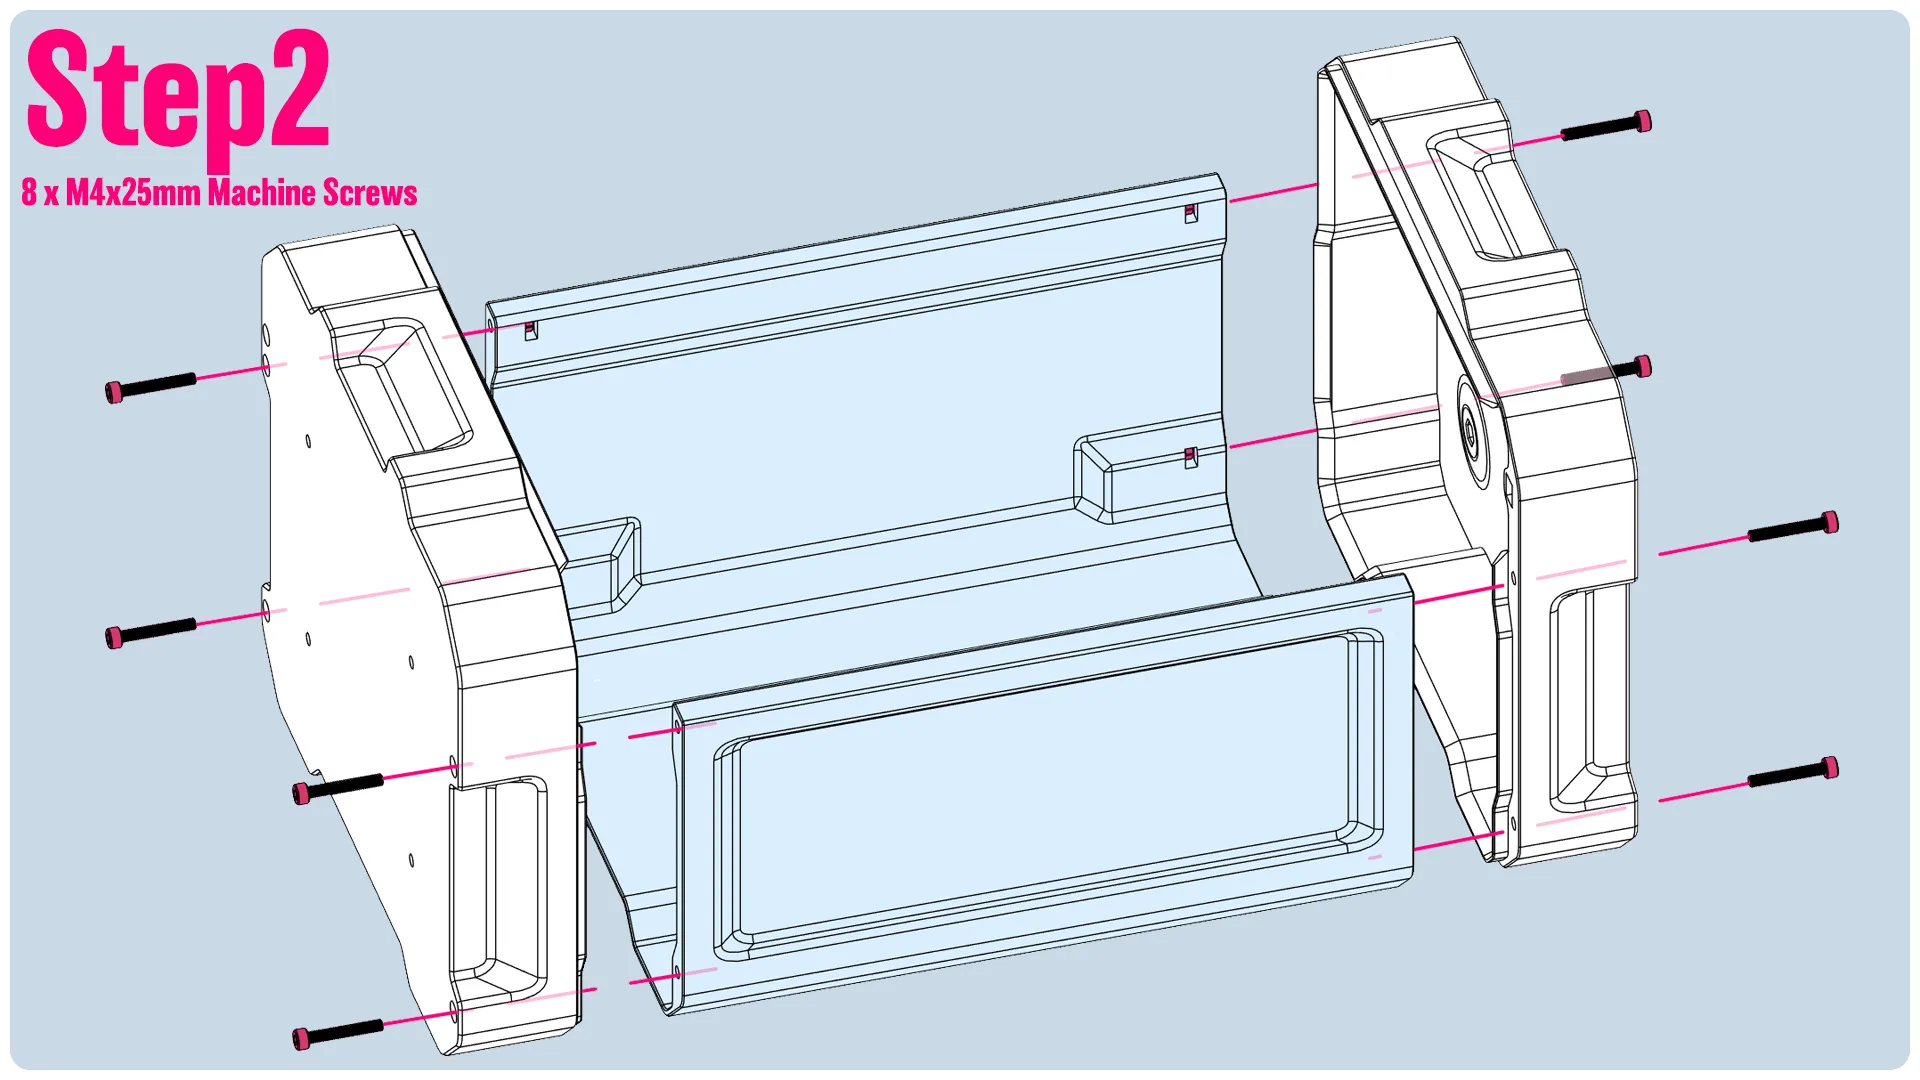
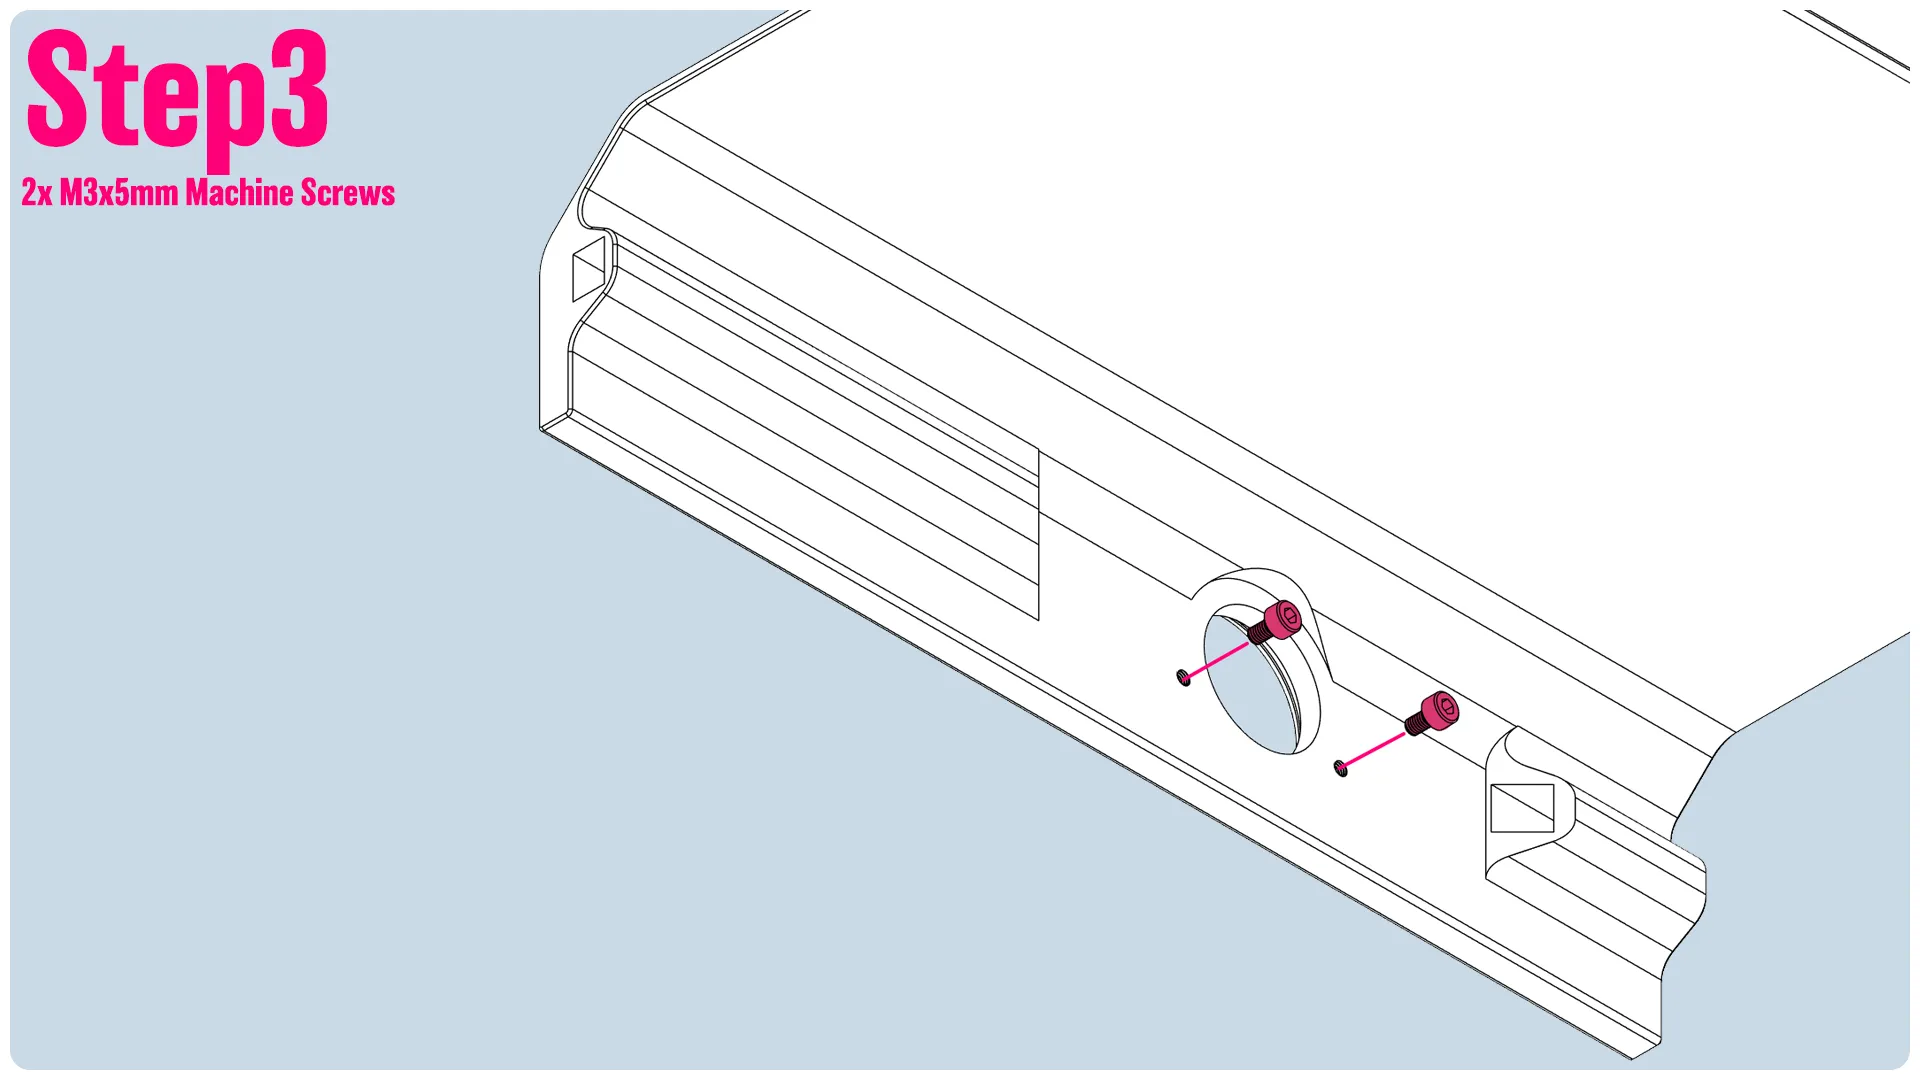
-------
If you like my work, consider showing your love by Buying me a coffee. Additionally, if you're looking to sell prints of my design, please check out my Patreon page for more information. Additionally, you can follow me on Youtube for videos covering some of my models, and Instagram.
License

You shall not share, sub-license, sell, rent, host, transfer, or distribute in any way the digital or 3D printed versions of this object, nor any other derivative work of this object in its digital or physical format (including - but not limited to - remixes of this object, and hosting on other digital platforms). The objects may not be used without permission in any way whatsoever in which you charge money, or collect fees.


Comment & Rating (174)