
Wasp
Print Profile(1)

Description
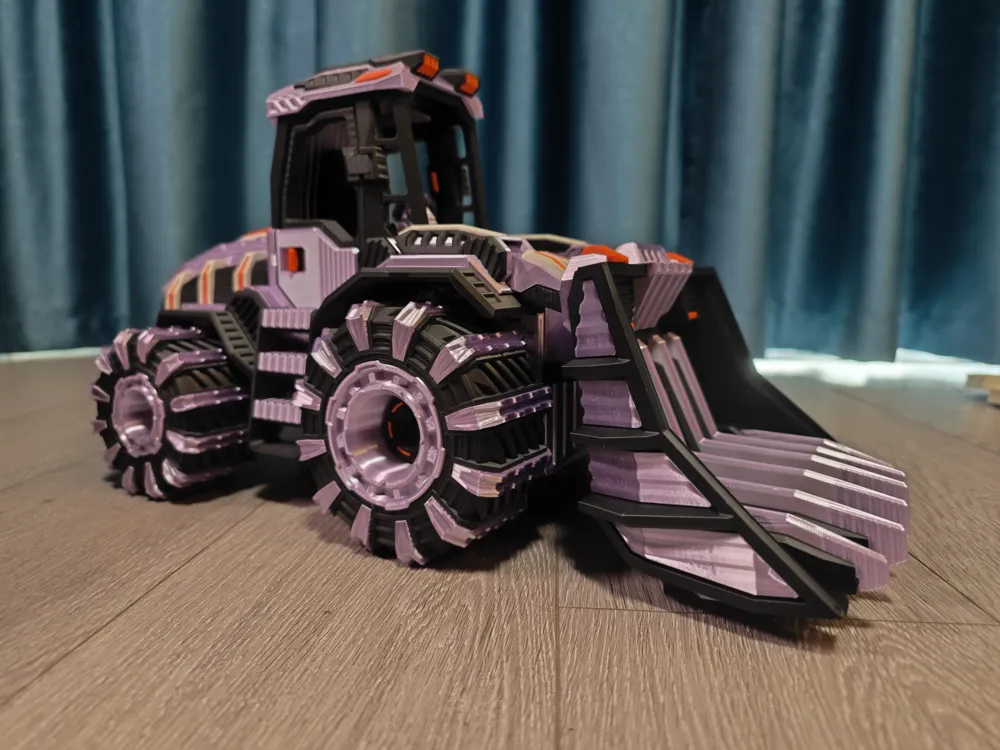
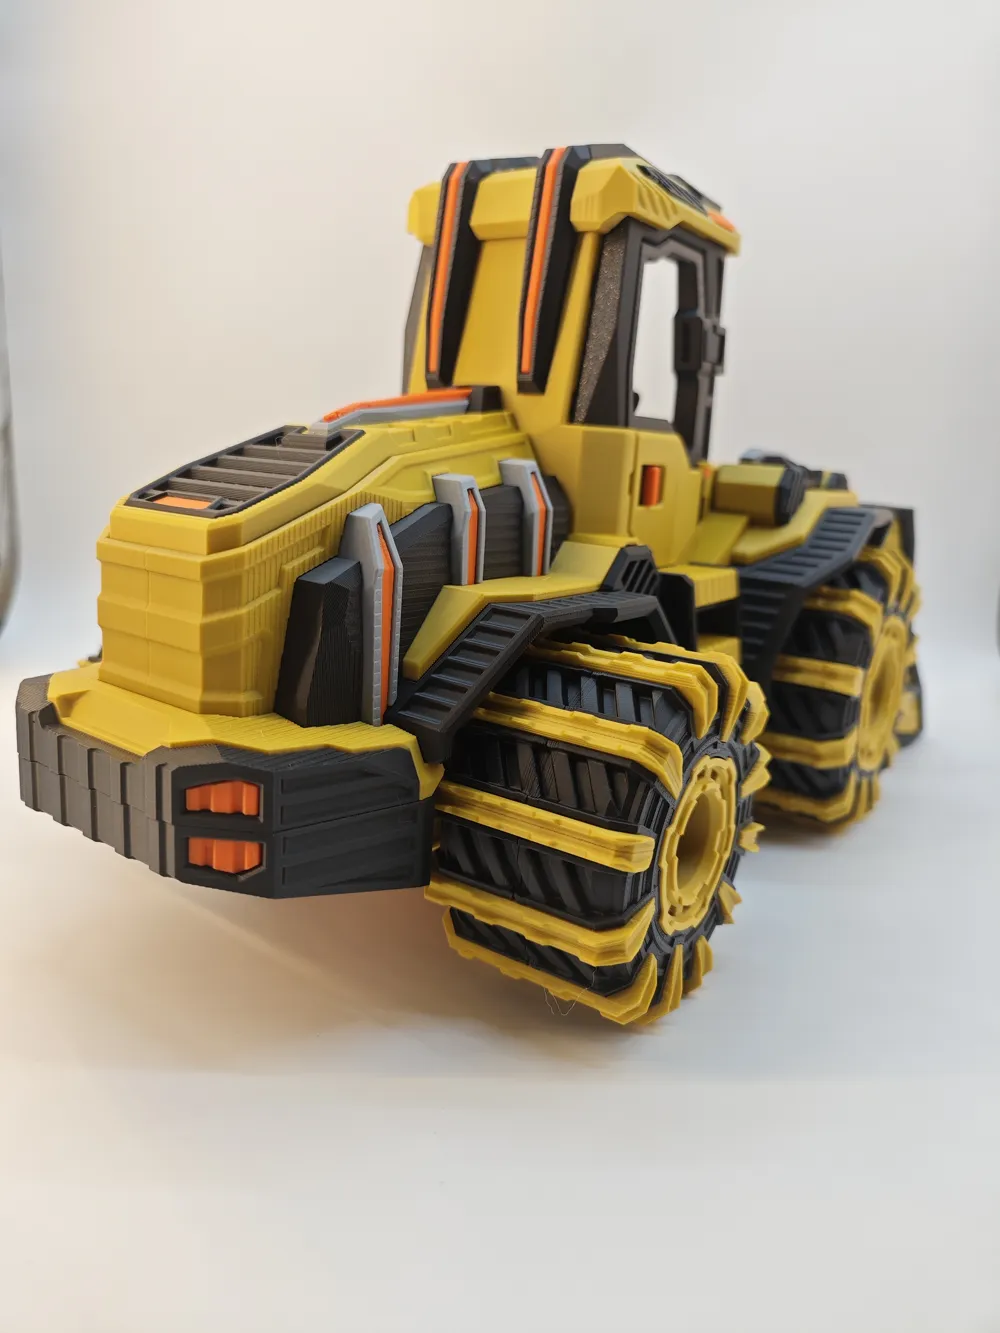
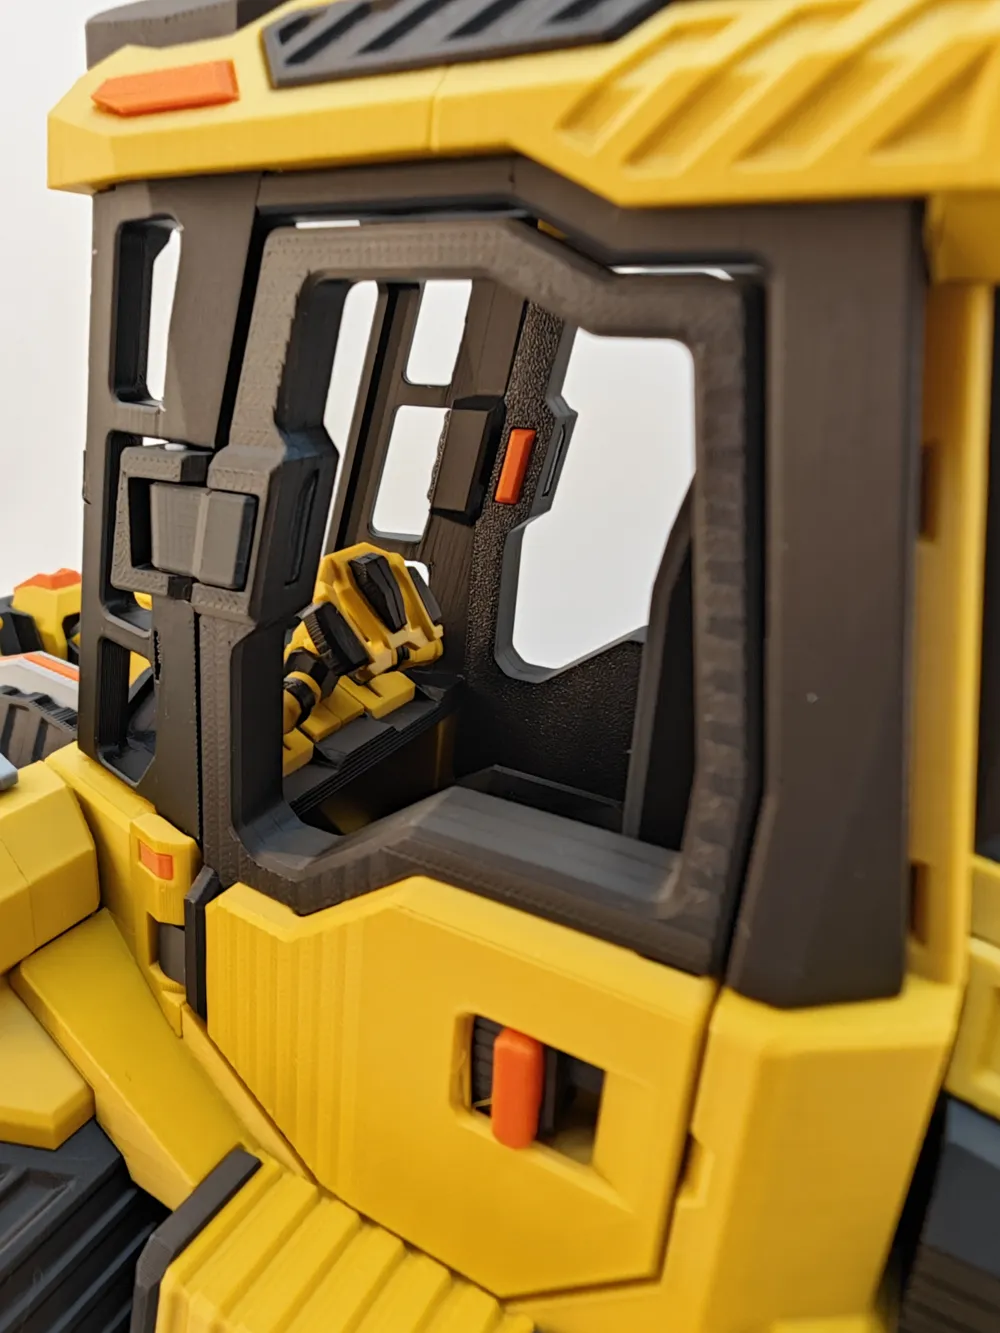
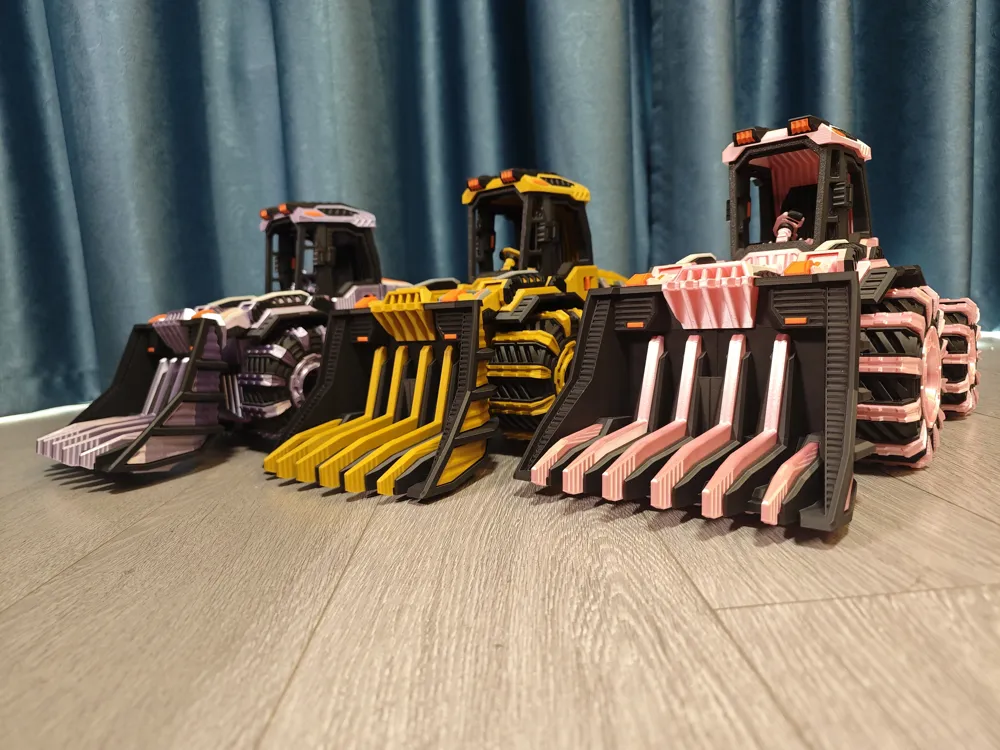
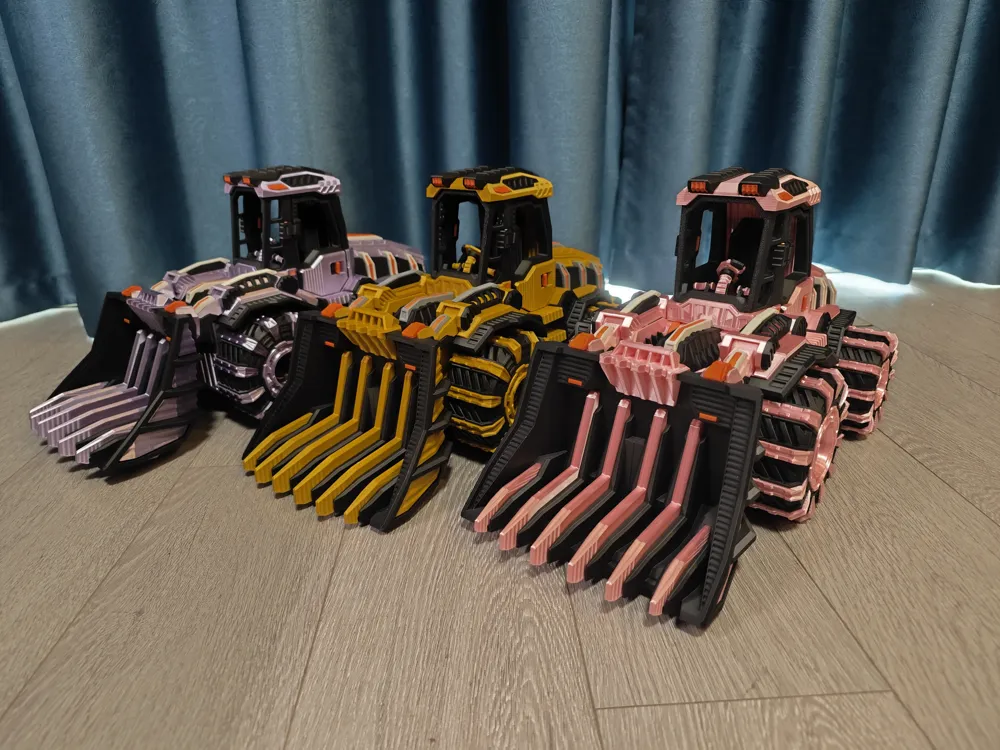
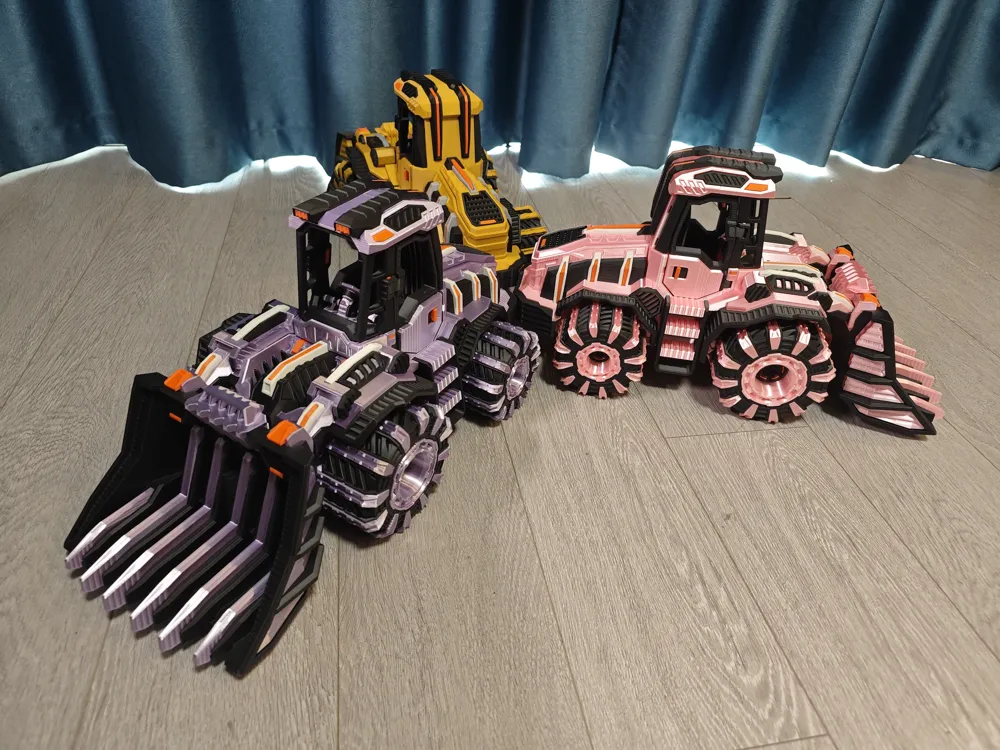
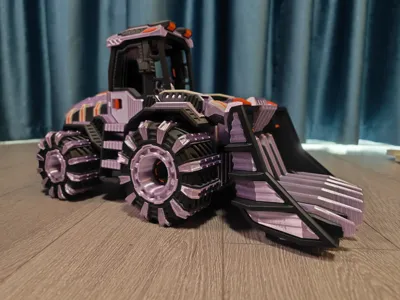
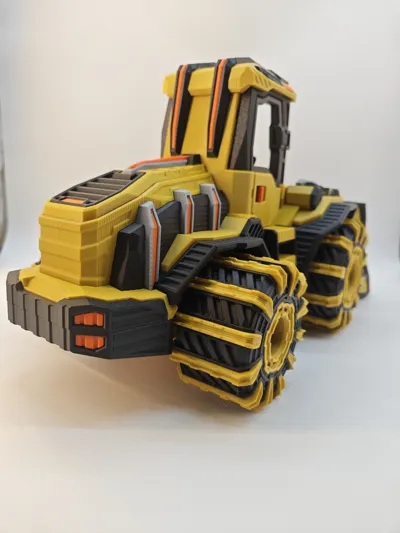
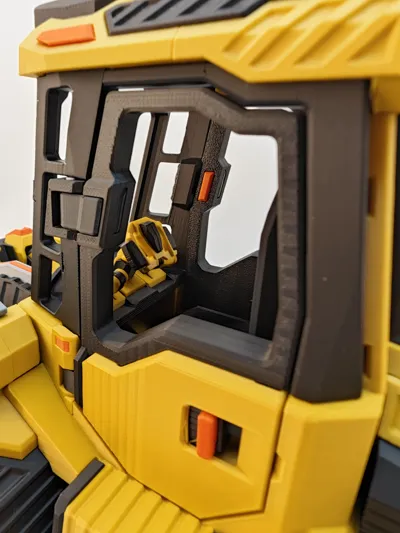
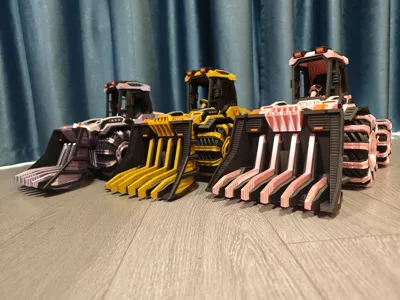
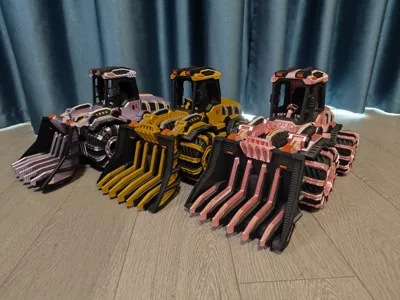
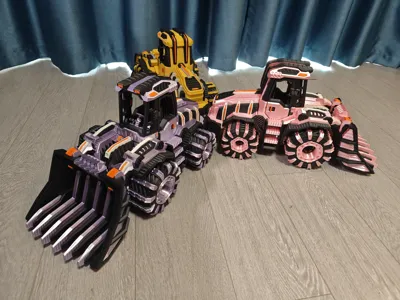
Hi everyone, this work is the Bulldozer Wasp.
Please be sure to check the instructions I uploaded during assembly
Below are
Assembly Tips:
1. The model is quite large, approximately the size of an AMS.
2. The design and validation of this model were done using PLA printing. Some flexible parts can be replaced with PETG to improve the elastic feedback feel. However, in the sliced files I uploaded, all materials are defaulted to PLA, so using PLA directly is fine if you want to avoid hassle.
3. All parts are printed in a single color to reduce printing time and avoid waste. Every bit saved counts.
4. Including supports, the model parts require a total of just over 3kg of filament, with a printing time of approximately 7 days. I recommend everyone evaluate this reasonably, but I guarantee the assembly experience will be top-notch.
5. If you are using 1kg spools of filament, the main colors black and yellow will require a bit more than one spool, approximately 1.2kg. You can see the specific data in the sliced files. This consumption might be a bit awkward as it requires preparing an extra spool of filament; please bear with me. Next time, I will try my best to ensure it can be resolved within one spool.
6. Assembly does not require screws or glue, but some areas may require considerable force. Those with less hand strength can use tools, such as a hammer.
7. When assembling the blades on the wheels, please pay attention to the markings on the blades. Sorting them in advance can improve efficiency. Please find the two mirrored blades and press them onto the wheel together.
8. There are a total of 3 assembly manuals, covering four components: the cabin, bucket connection, bucket, and wheels. The manuals are designed in A4 paper size, making it convenient for printing if you don't want to look at a screen.
9. Some parts look very similar; I have marked them for differentiation and also highlighted them in red in the manual to help prevent incorrect assembly.
Finally, I hope you have a smooth printing and enjoyable experience. Feel free to share photos of your printed models with me. If you find any design or slicing issues, please also provide feedback. Your support is my continuous motivation to update! Thank you!
You can refer to my social media for assembly videos:
Xiaohongshu: https://www.xiaohongshu.com/user/profile/564fd0a782718c6ae307845e
Douyin: https://v.douyin.com/PO5yajXWHPA/
Bilibili:https://space.bilibili.com/312290411?spm_id_from=333.1387.0.0
Documentation (3)
License

You shall not share, sub-license, sell, rent, host, transfer, or distribute in any way the digital or 3D printed versions of this object, nor any other derivative work of this object in its digital or physical format (including - but not limited to - remixes of this object, and hosting on other digital platforms). The objects may not be used without permission in any way whatsoever in which you charge money, or collect fees.


Comment & Rating (2)