
32x32 LED Matrix Frame with Diffuser Grid

Print Profile(3)


Description
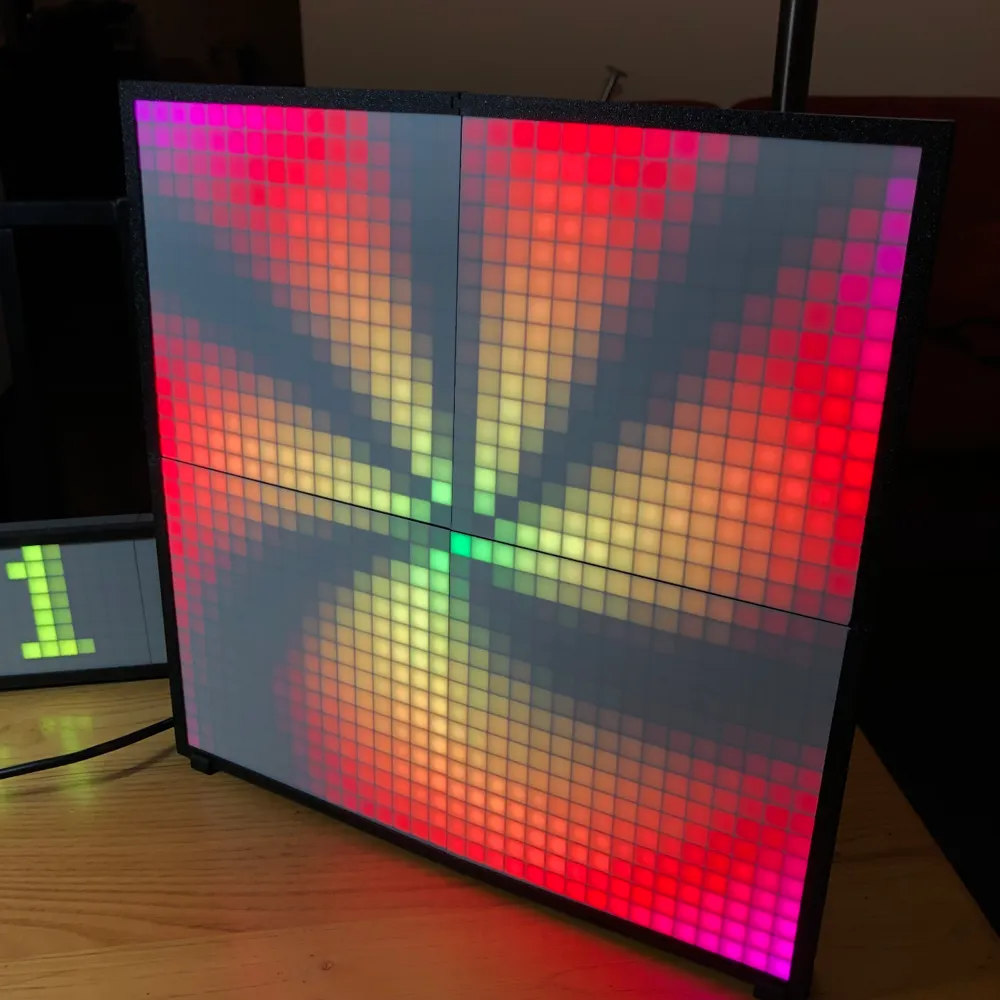
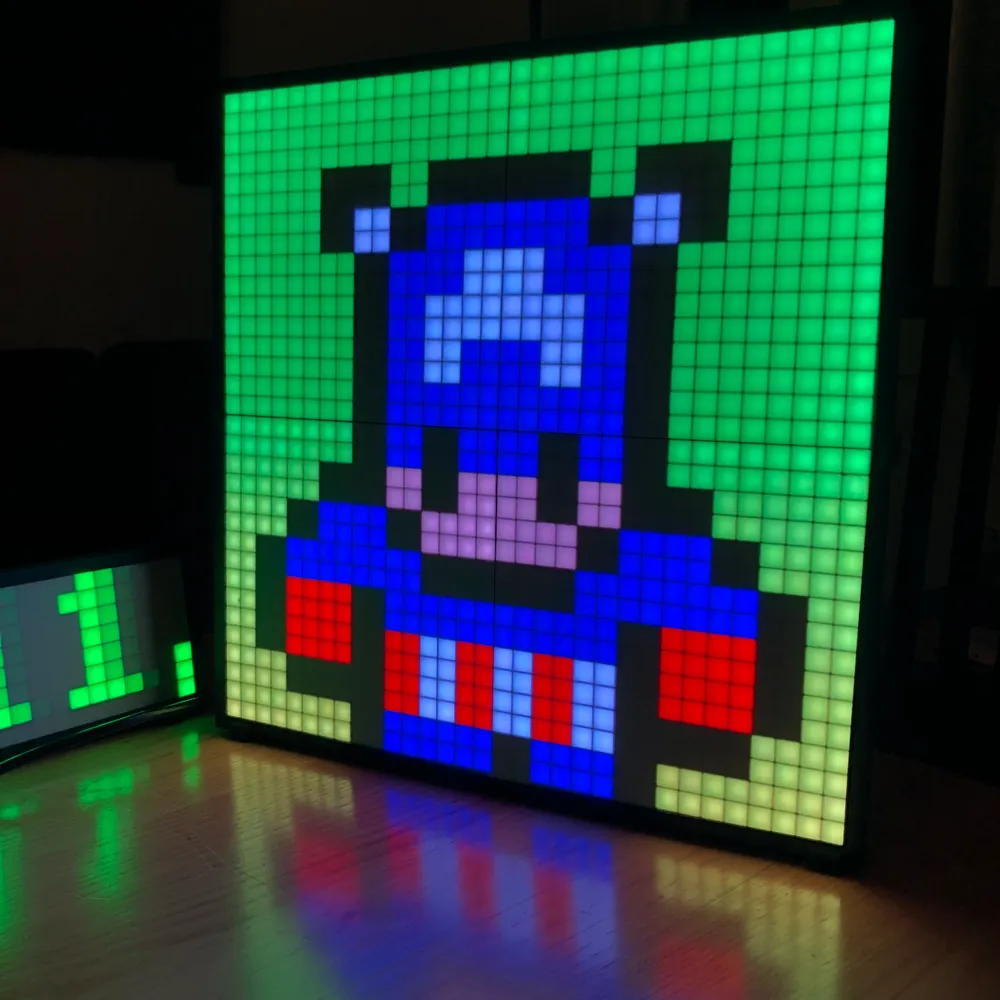
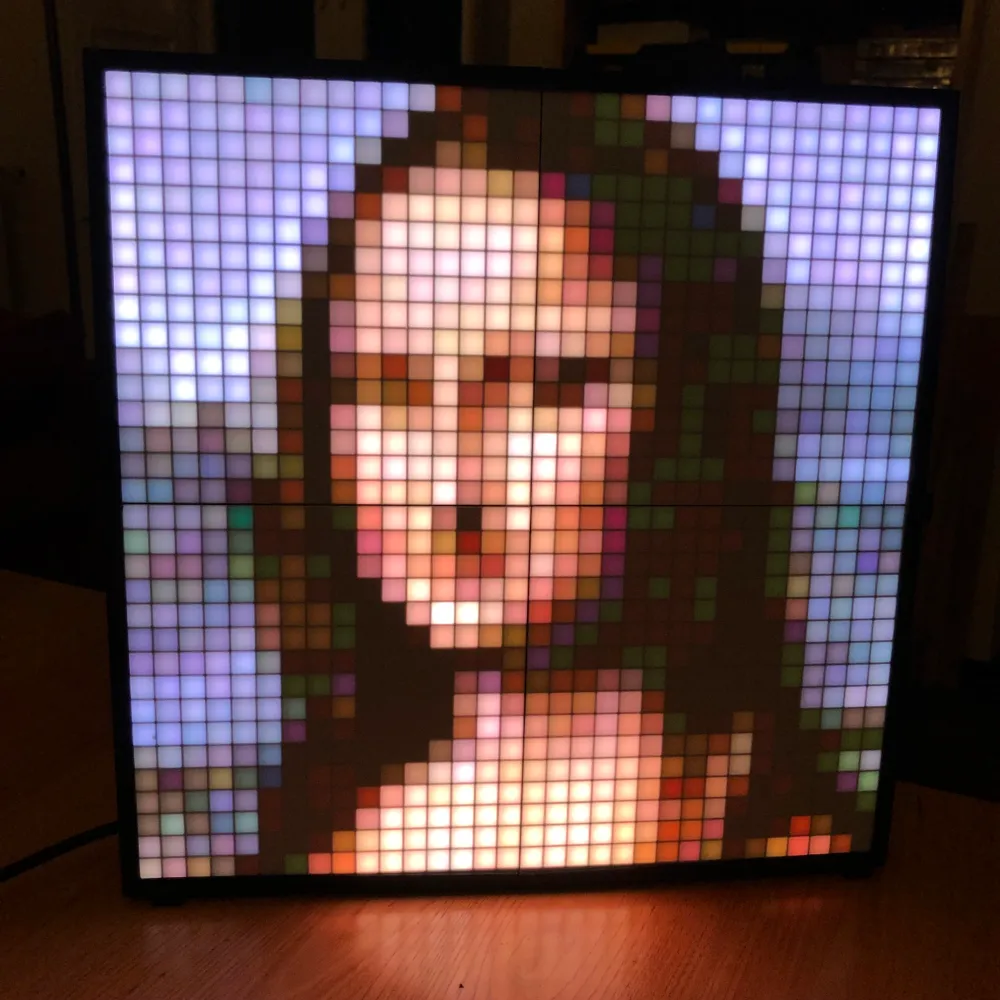
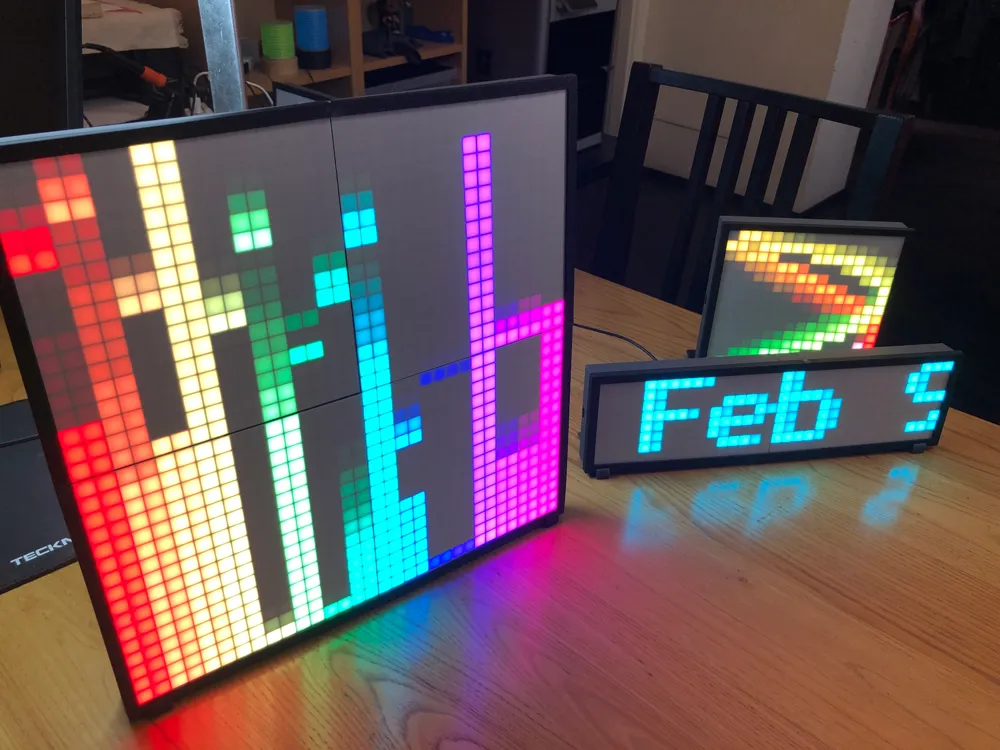
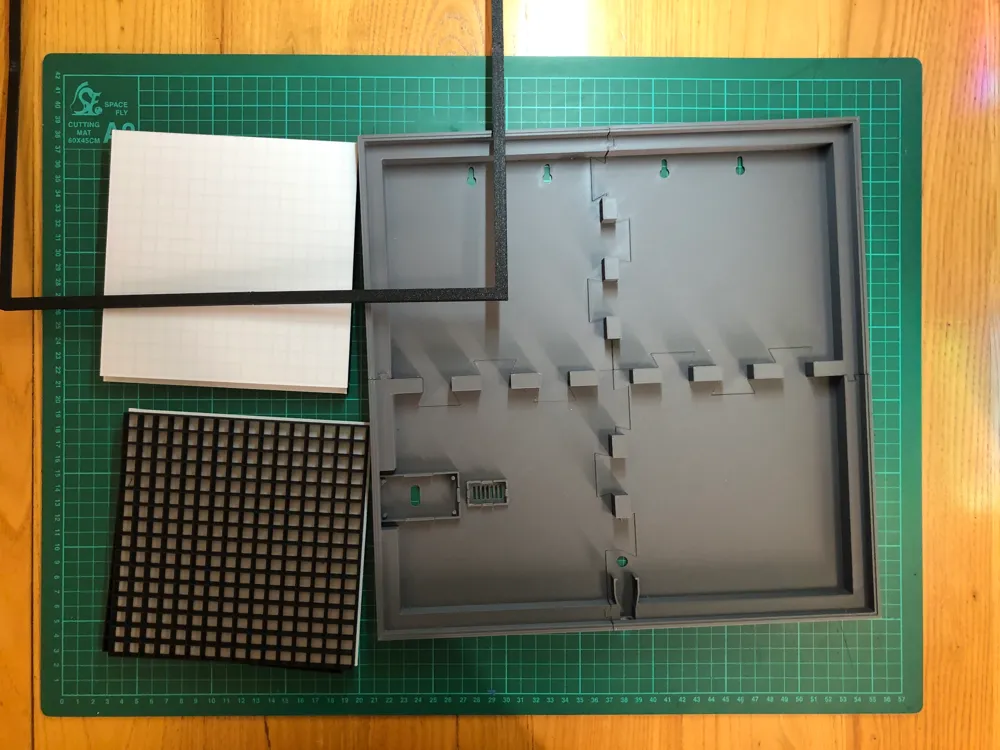
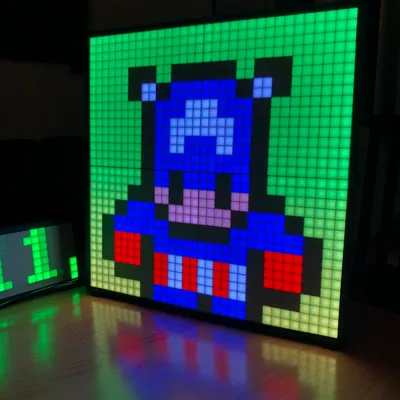
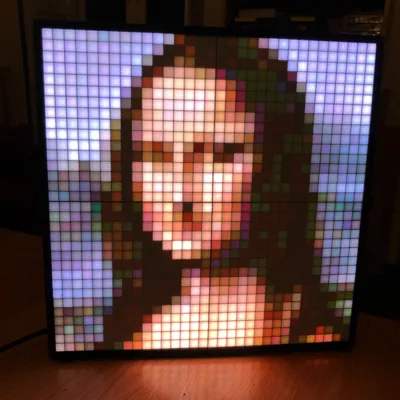
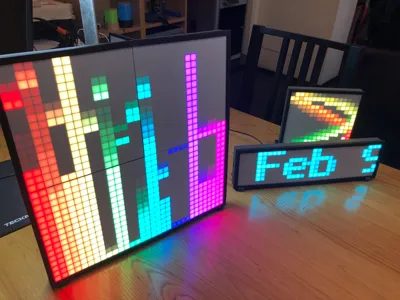
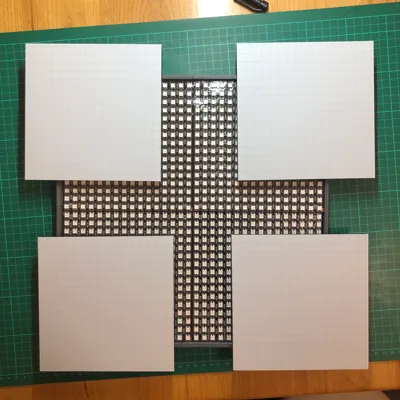
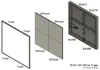
32x32 LED Matrix Frame
- No glue*, tape or screws needed
- Accessible USB port
- Wall- or desk-mounted
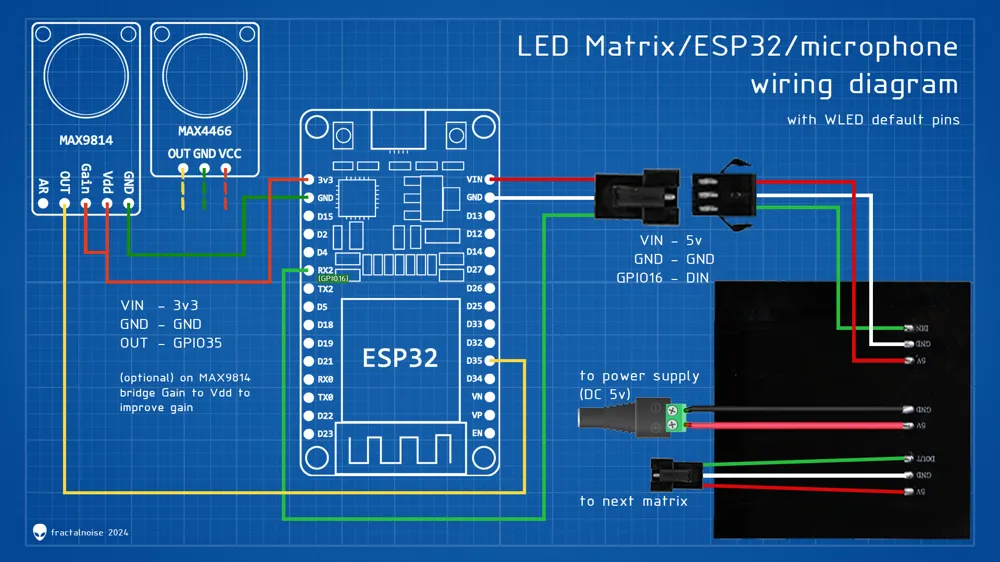
- Snap-fit sockets for ESP-WROOM-32, MAX4466 or MAX9814 microphone and DC Power Connector for easy installation
- Optional socket-less version (see stl files)
* I suggest gluing the four front frame pieces together, and also maybe the diffuser pieces… it's getting big :)
CHECK THE STL FILES ("DOWNLOAD STL/CAD FILES") IF YOU NEED THE UN-SPLIT (ONE PIECE) OR SOCKET-LESS FILES
Istructions
Print:
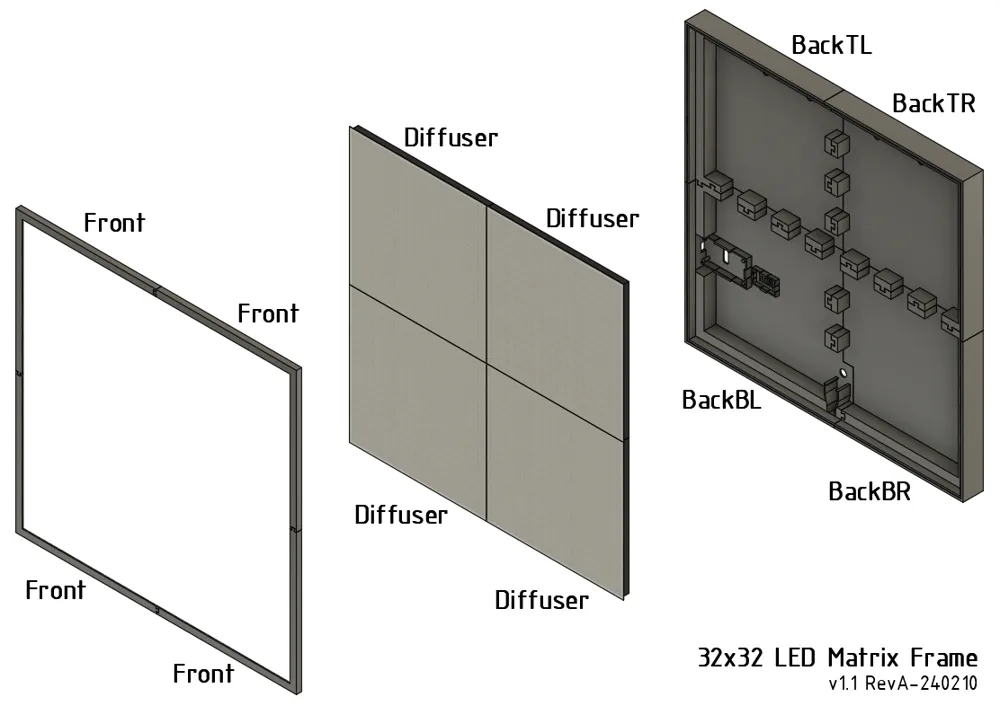
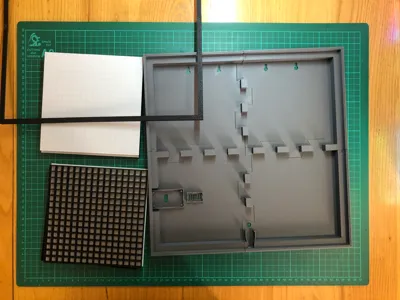
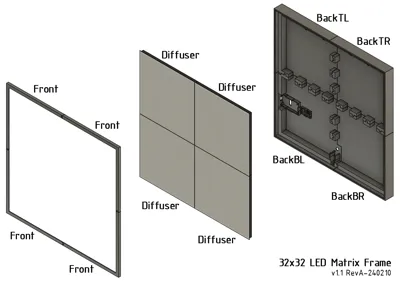
- 4xFront SPLIT
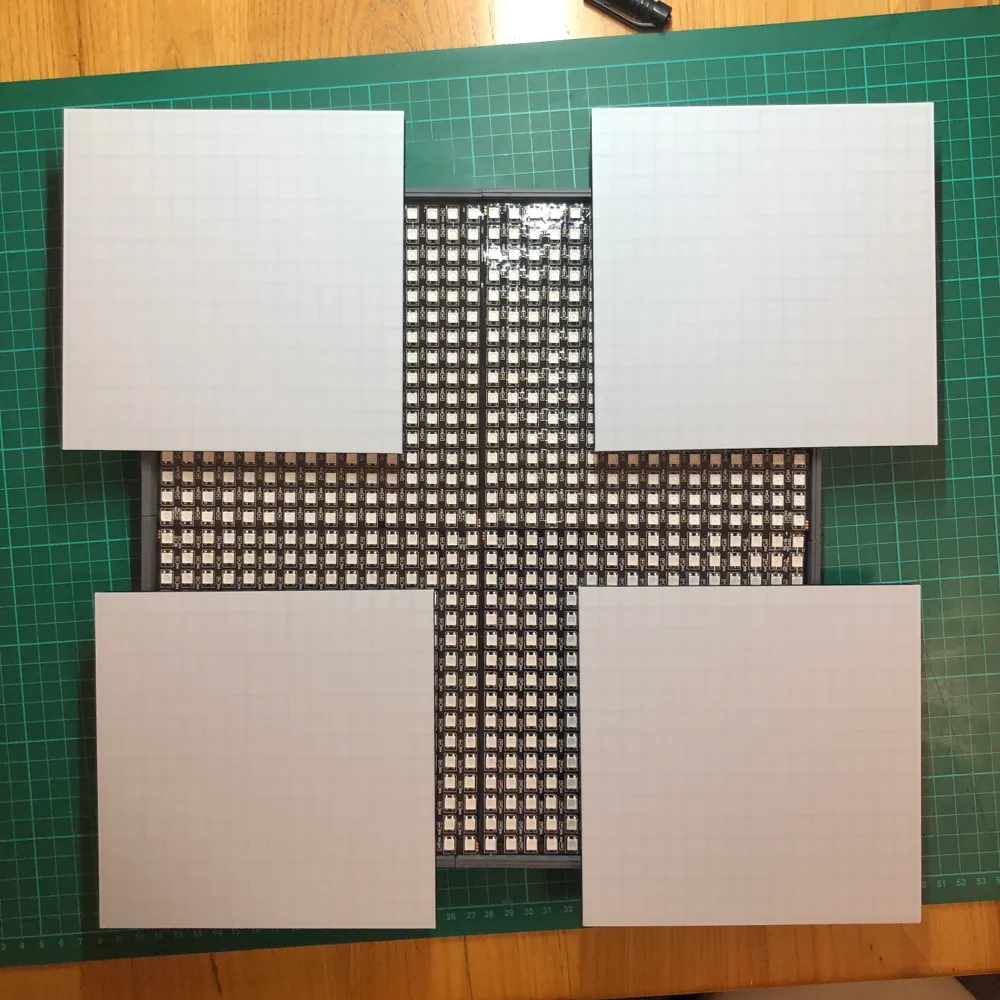
- 4xDiffuser SPLIT
- 1xBackTL
- 1xBackTR
- 1xBackBL
- 1xBackBR
Print the Diffuser Screens with these settings to give the screen a horizontal “scanline” texture:
- Top/Bottom surface pattern: ALIGNED RECTILINEAR
- Internal solid infill pattern: ALIGNED RECTILINEAR
- Sparse infill pattern: ALIGNED RECTILINEAR
- Infill direction: 0
- Rotate either the model or the infill direction 90° for two of the screens.
If using white filament for the Diffuser Screen, printing it on a textured plate will make it scatter more light and be dimmer. Use a smooth plate for best results. A textured plate will work great for clear filament though :)
For the LED matrix, you'll need:
- Four 8x32 or four 16x16 LED Matrices - e.g. https://aliexpress.com/item/4000544411175.html
- ESP-Wroom-32 - e.g. https://aliexpress.com/item/1005005972312714.html
- MAX4466 microphone - e.g. https://aliexpress.com/item/3256803608057399.html
or
MAX9814 microphone - e.g. https://aliexpress.com/item/3256805923391884.html - Power Supply 5V 15~60A (~15-20A will do for most uses) - e.g. https://aliexpress.com/item/1005006126703620.html
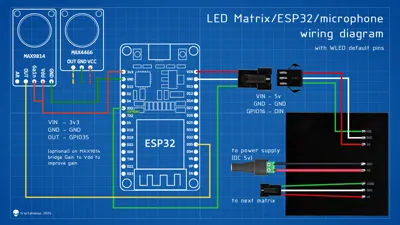
LED Matrix/ESP32/WLED Assembly Guide:
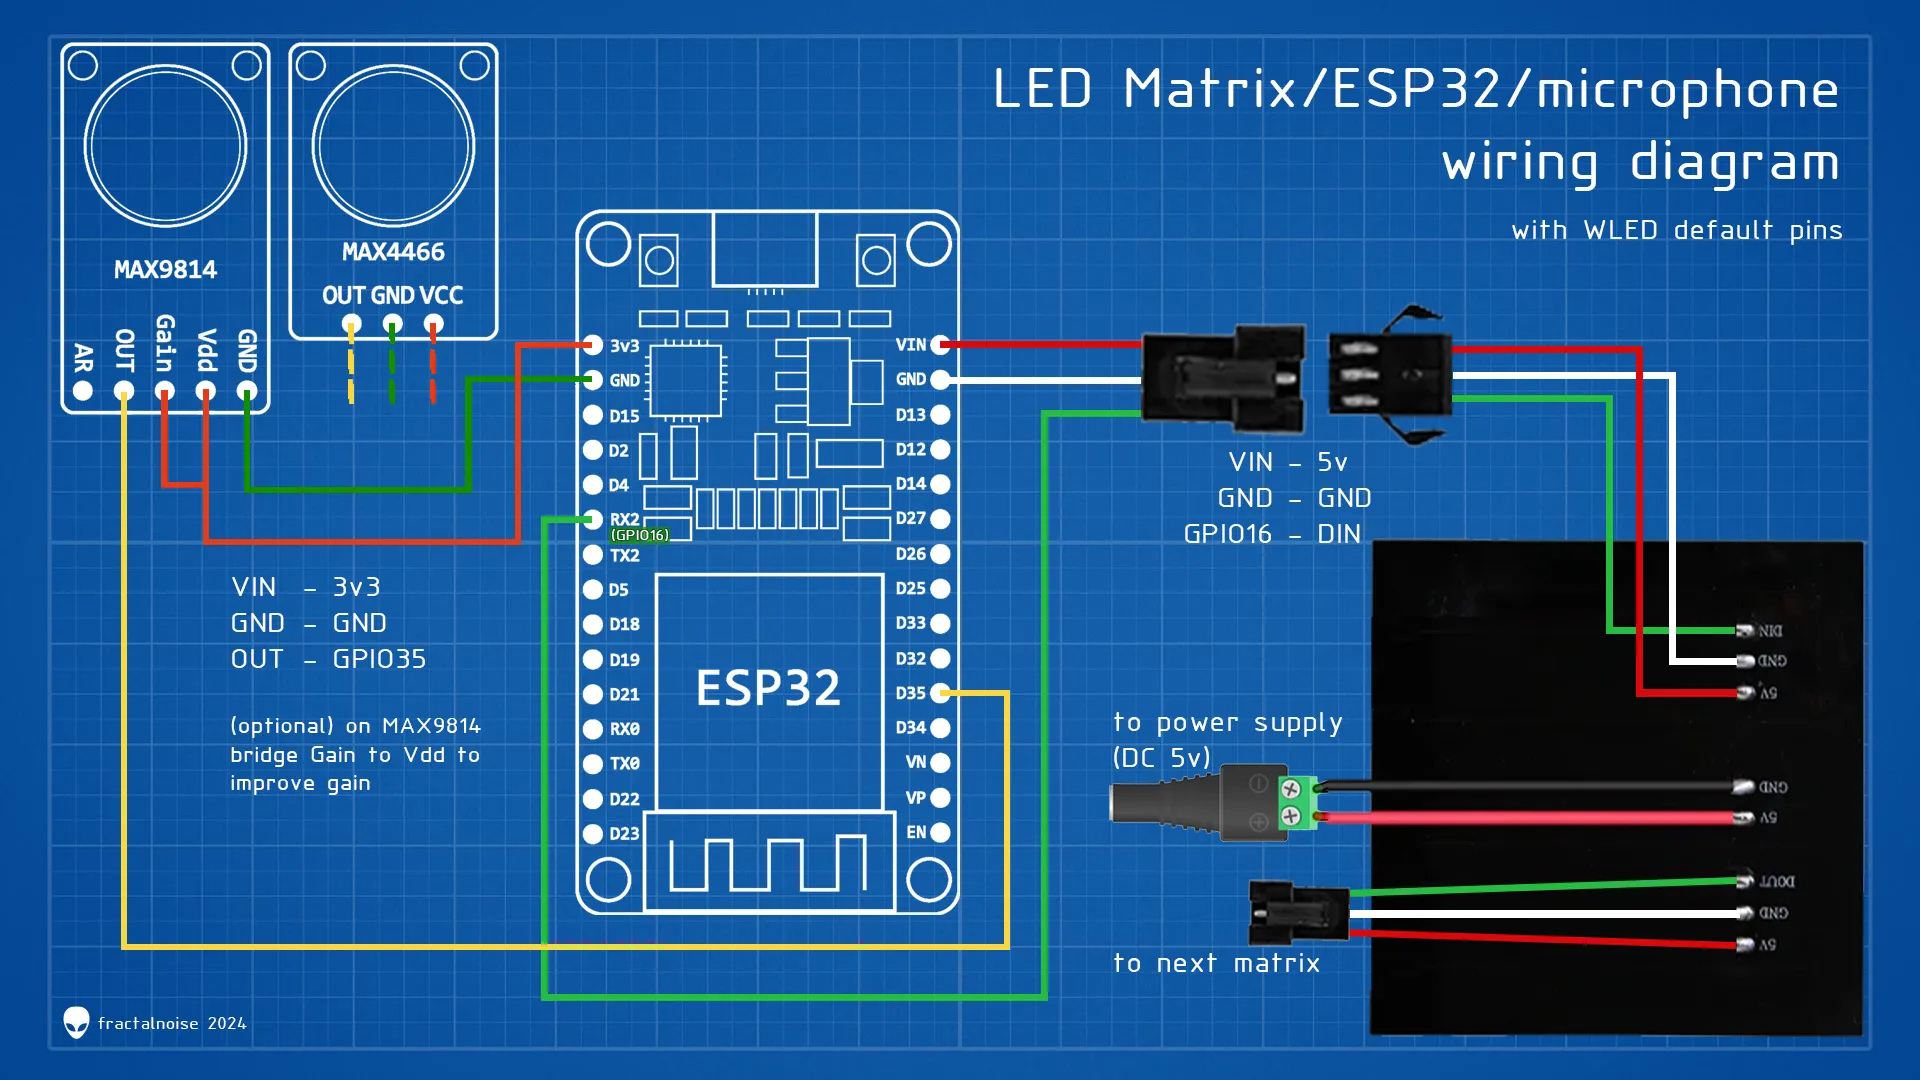
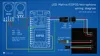
I connected the matrices starting with the first one (#0, the one attached to the esp32 and power supply) in the bottom right corner (when seen from the back), like this:
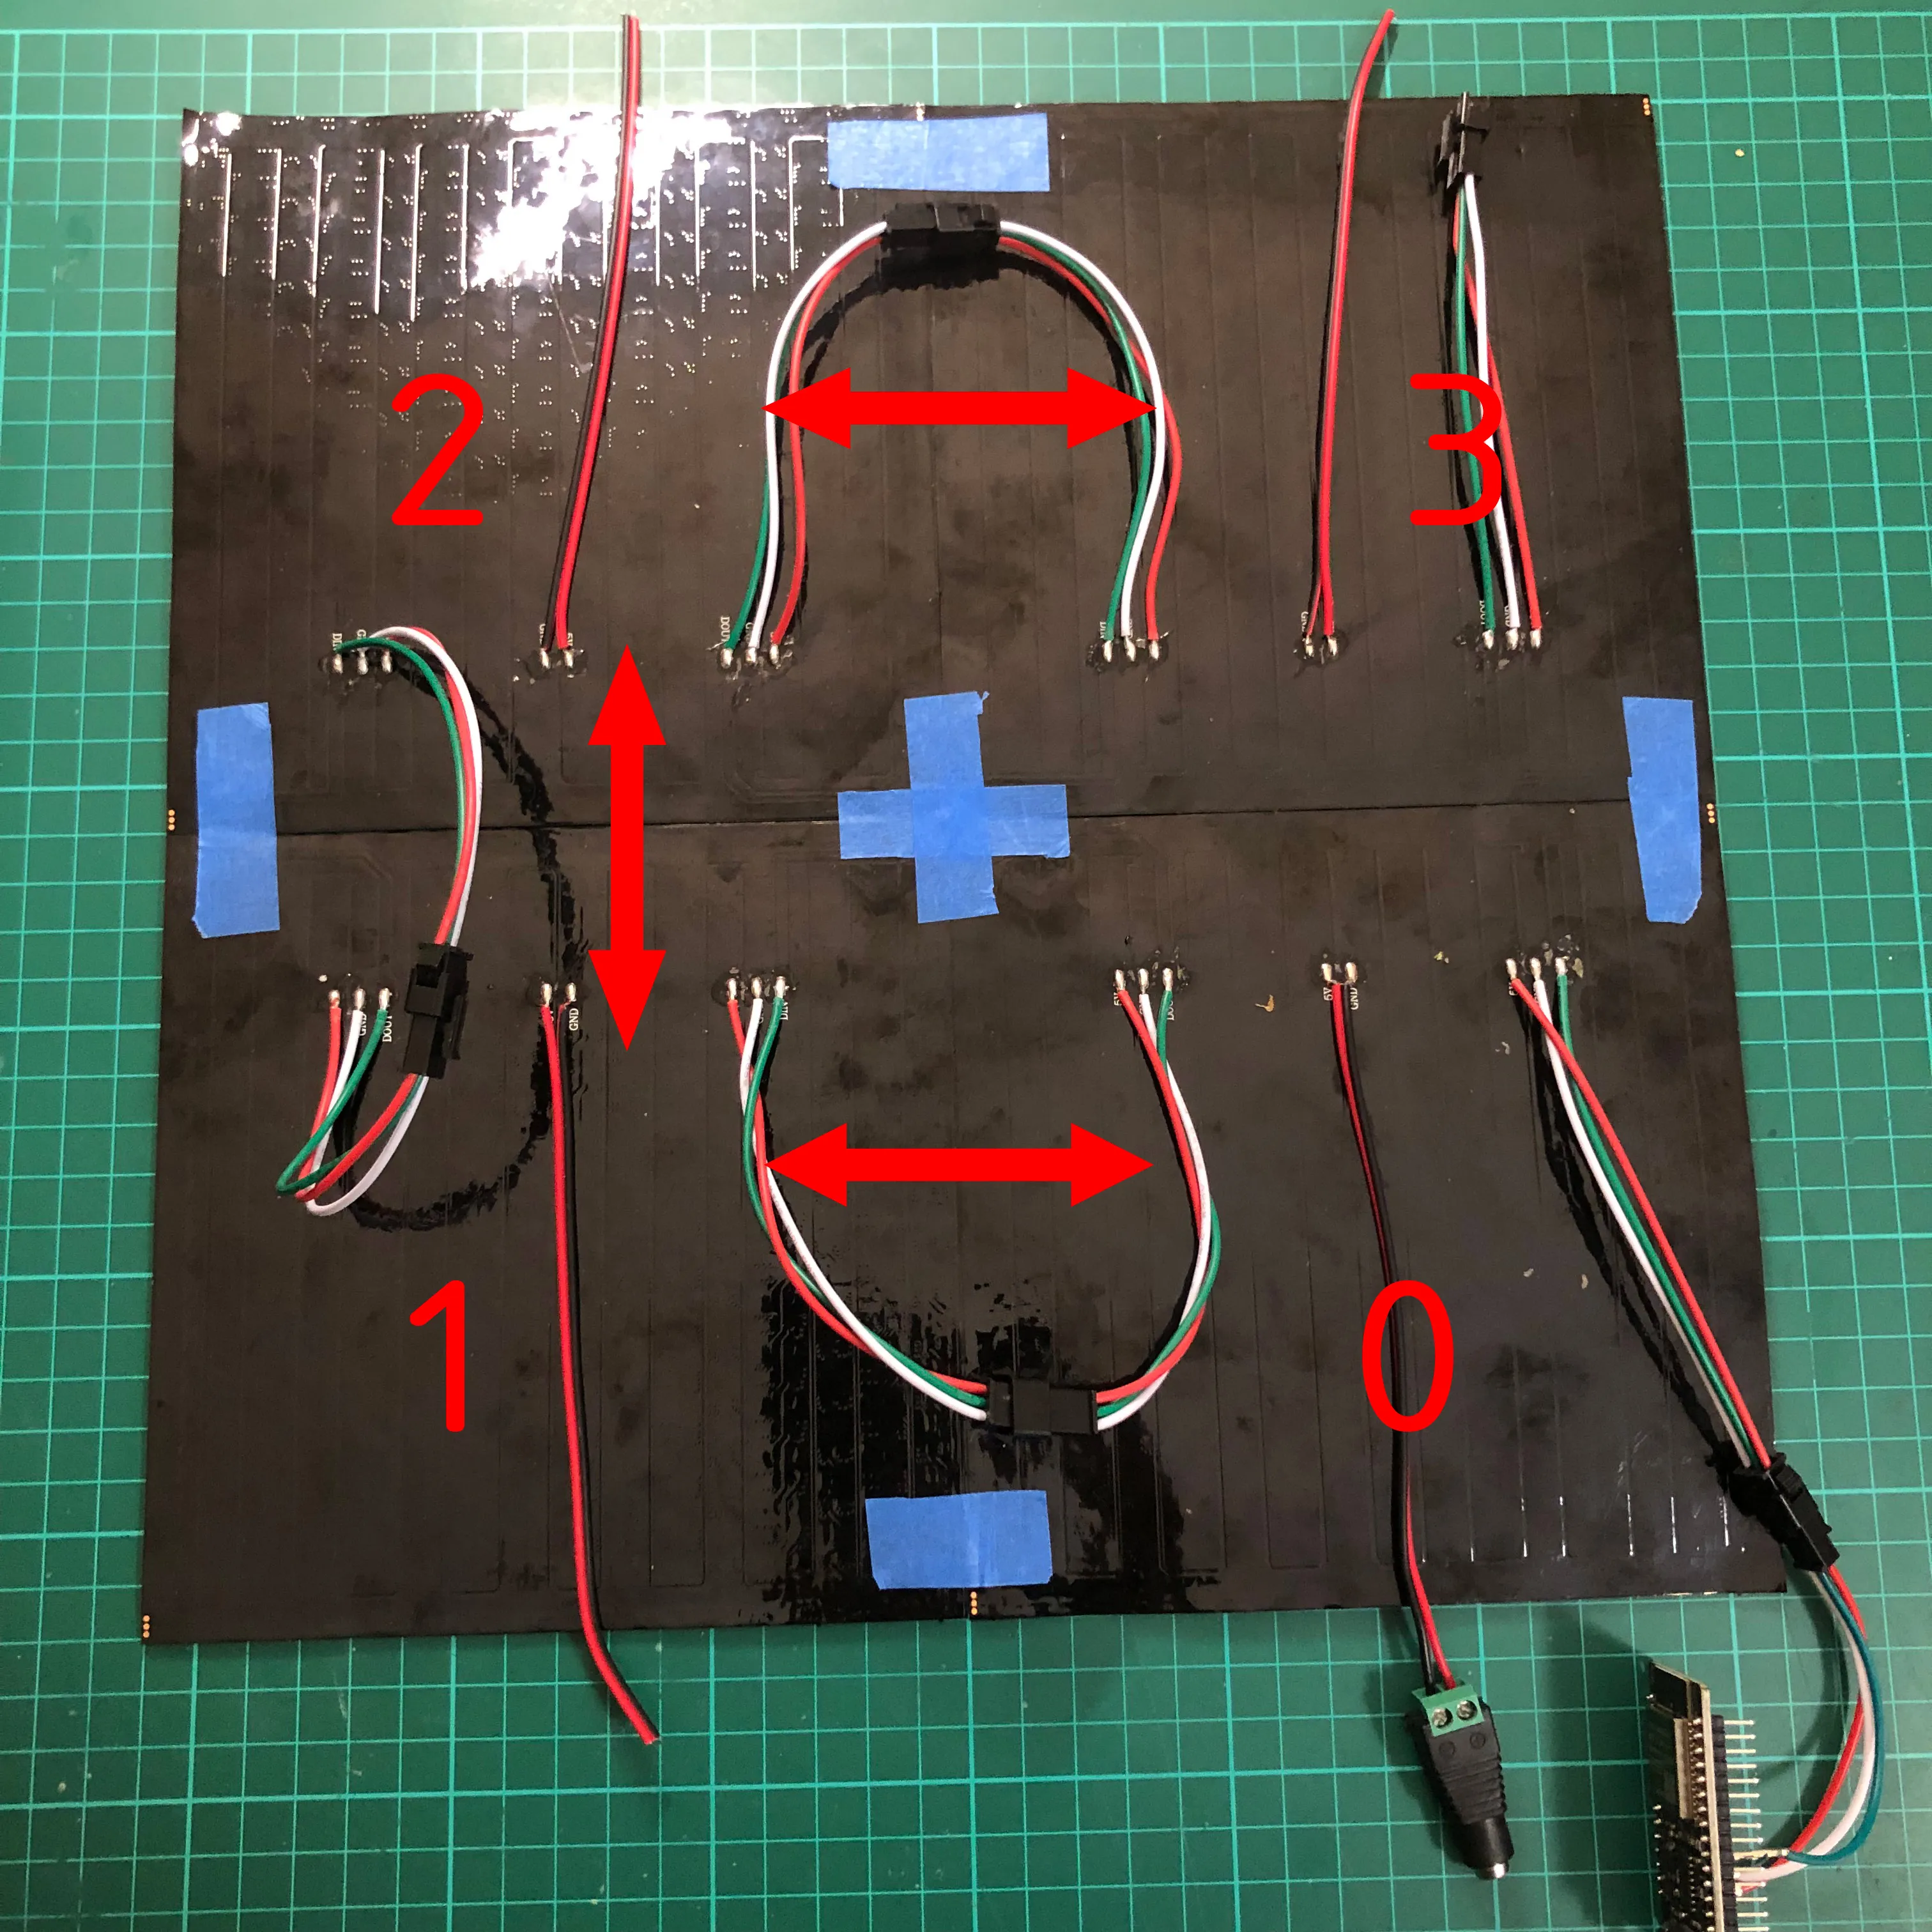
and then used these settings in WLED/Config/2D Configuration:
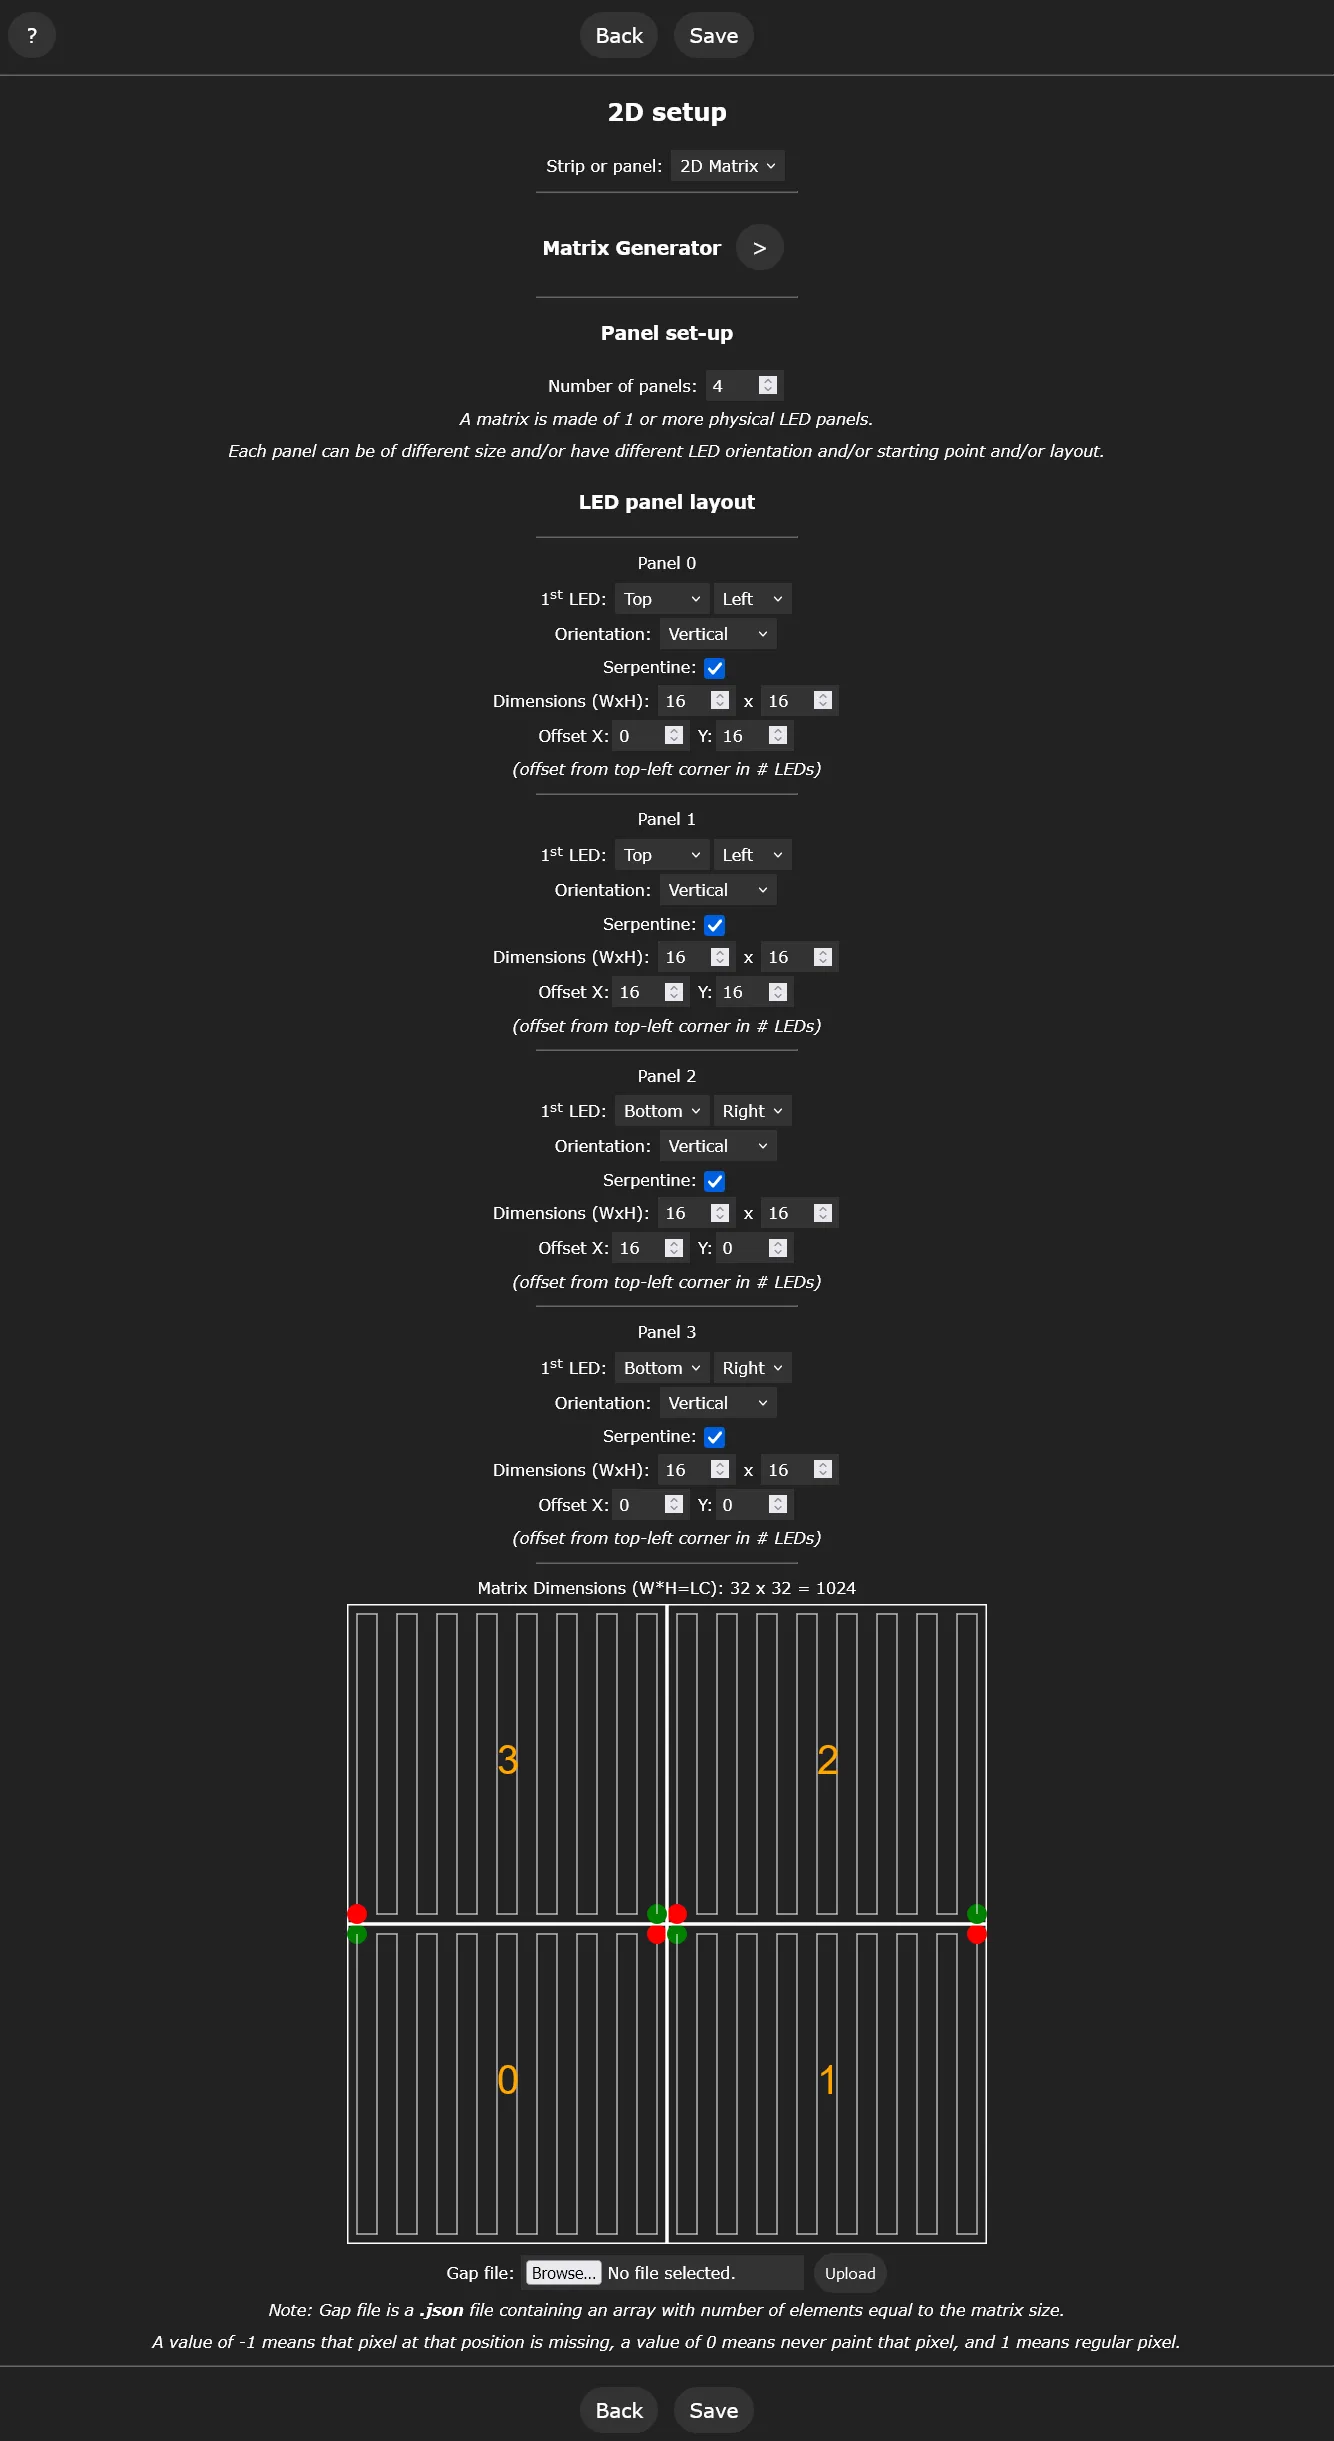
If you're using 8x32 matrices or want a different setup you'll have to experiment a little with the settings.
WLED CONFIG:
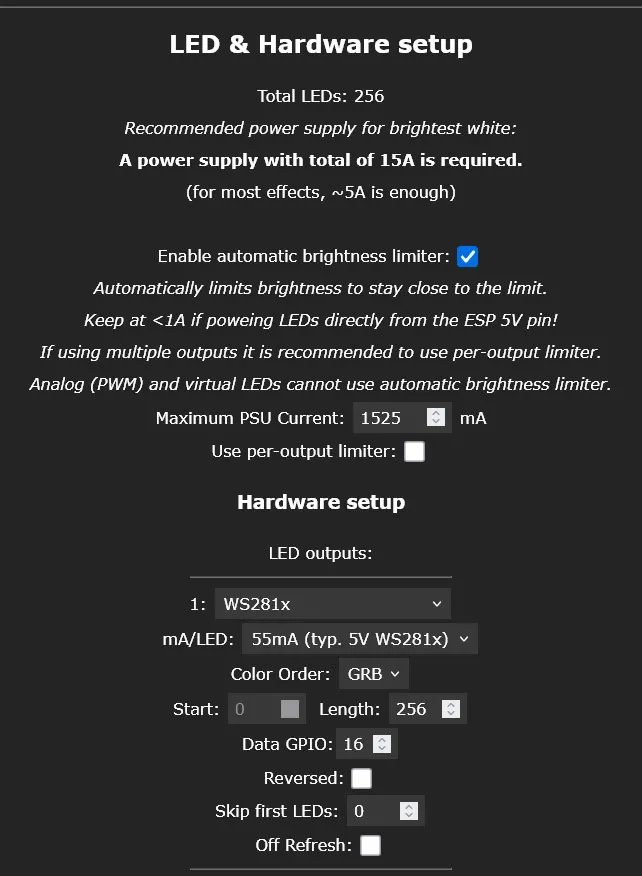
LED & Hardware setup (WLED/Config/LED Preferences):
IMPORTANT! - Set the appropriate Maximum PSU Current for your power supply.
Under Hardware Setup/LED Outputs set the correct number of LEDs in the matrix/matrices, in this case 1024. This will also give you an idea of how many Amps are needed.
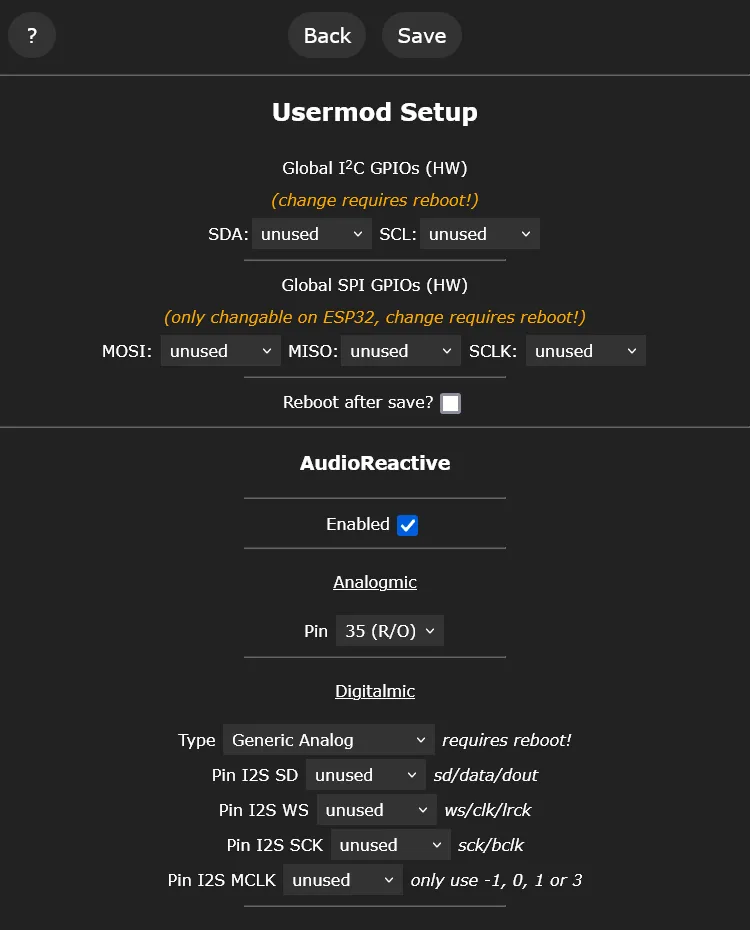
Microphone settings (WLED/Config/Usermods):
Some useful resources:
- WLED Project: https://kno.wled.ge/
- Chris Maher WLED tutorials playlist: https://www.youtube.com/playlist?list=PLur8dX5PE-4pk838s_gZAdm-98-sf0f0Z
- Make It Work WLED tutorials playlist: https://www.youtube.com/playlist?list=PLUTKOGJvdIQ8WYfG6TDJ_c8_WlPovWbL9
My other LED projects:
Documentation (2)
License



Comment & Rating (109)