
Gridinity Macropad
Print Profile(1)


Description
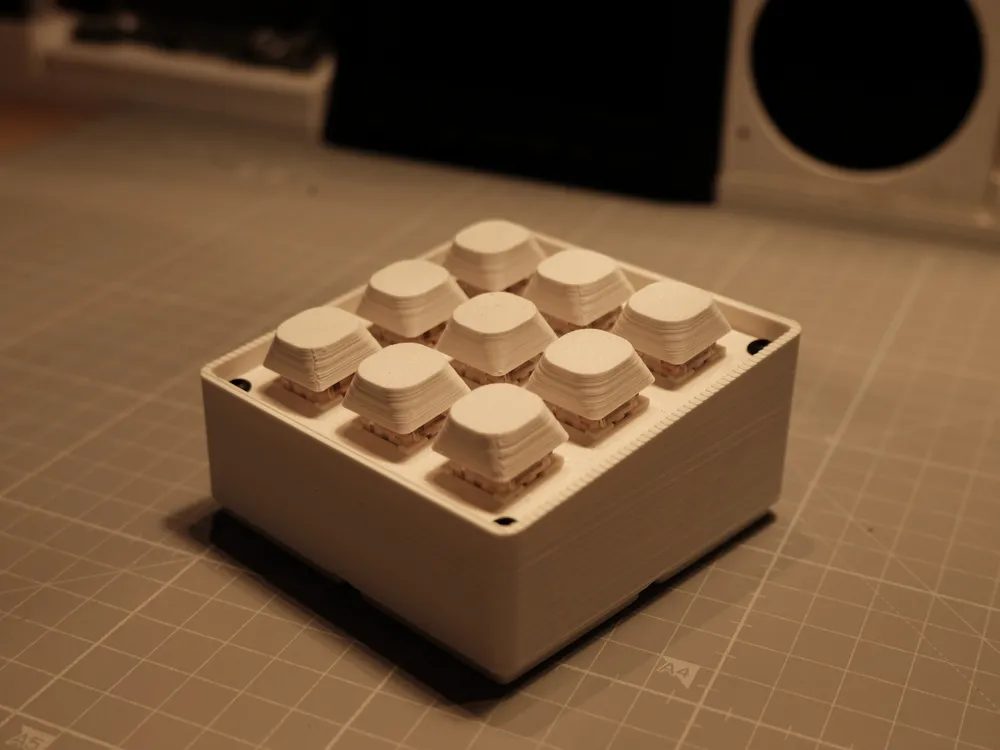

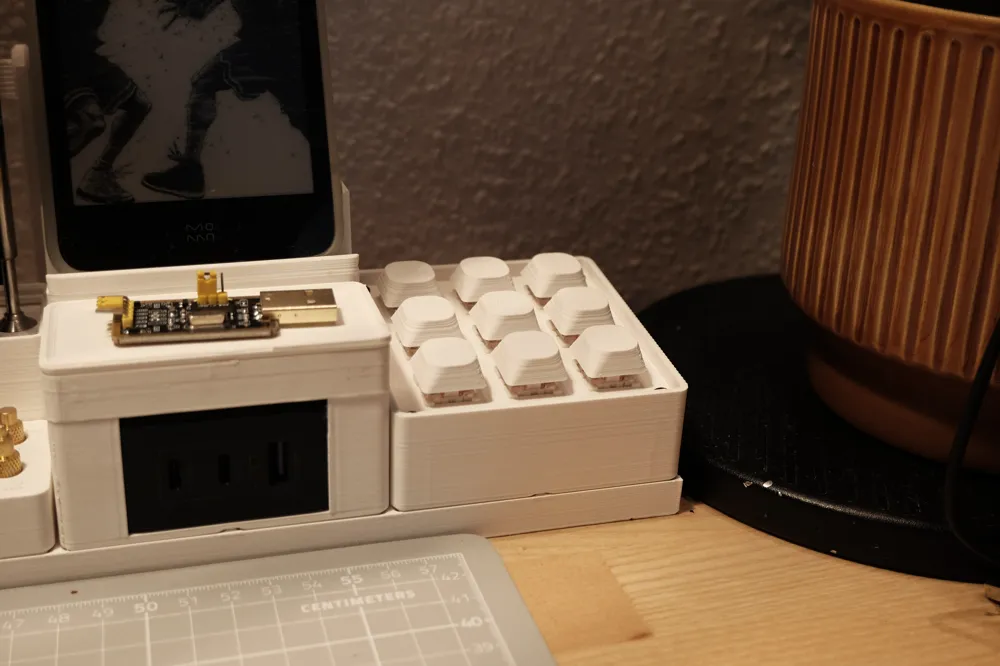
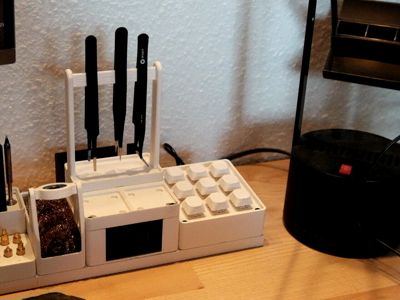
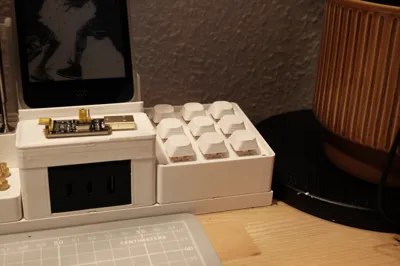
Gridfinity Macropad
Macropad that fits in a 2x2 gridfinity grid, it runs an ESP8266 that controls the 9 buttons using a grid pattern.
Parts:
- 9 x Mechanical keyboard switches
- ESP8266 (Usb-C version)
- Length of small wire
- 8 x m3x15mm bolts
- 4 x m3 heat threaded inserts
Instructions
This is a pretty simple electronics project that would be just fine for most beginners.
After printing all the parts, the mechanical keyboard switches can be put into the grid holder, and soldered together in a matrix and connected to the ESP. The wiring guide can be seen below
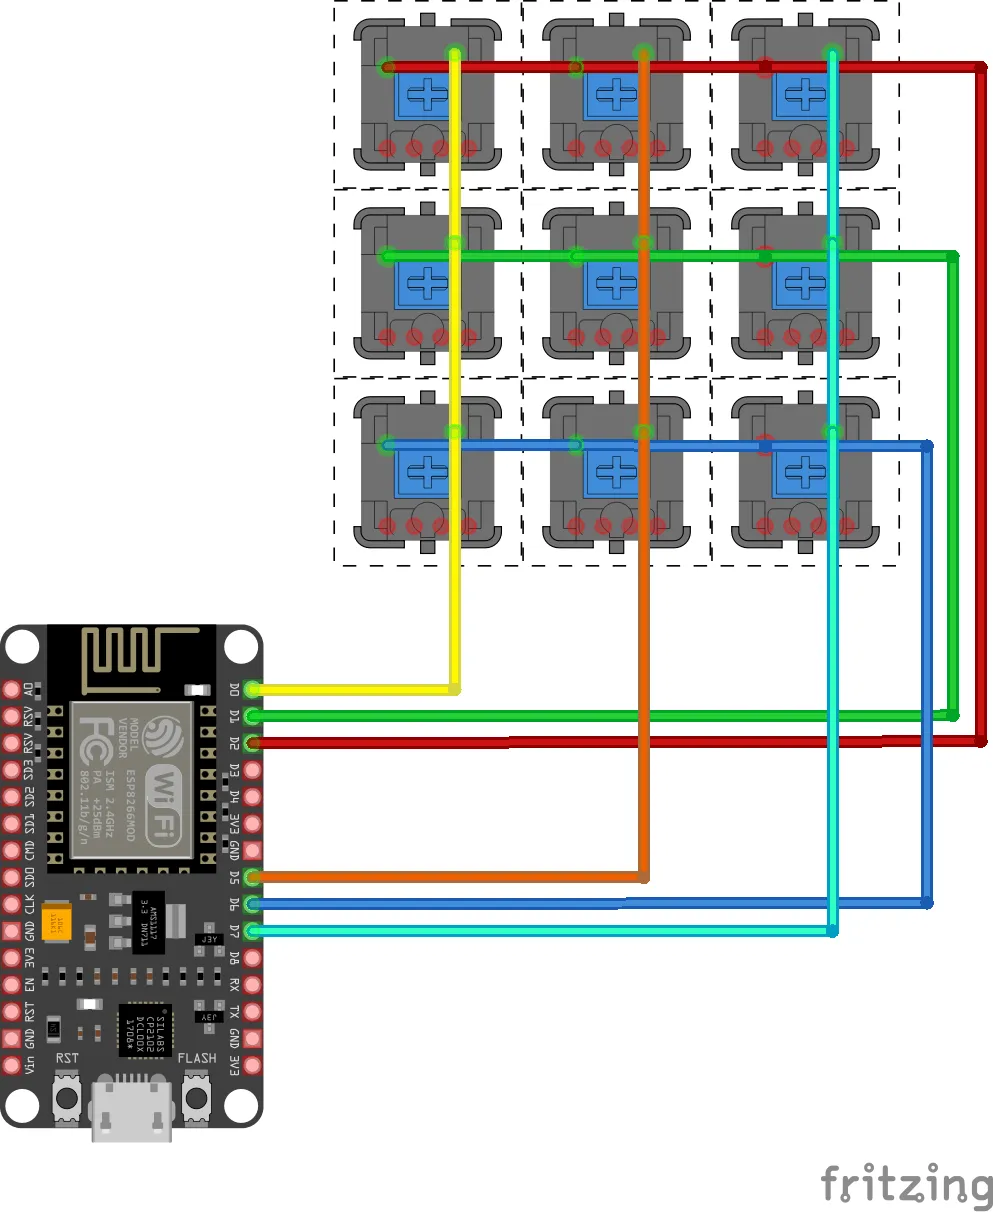
Photo of the switches soldered together:
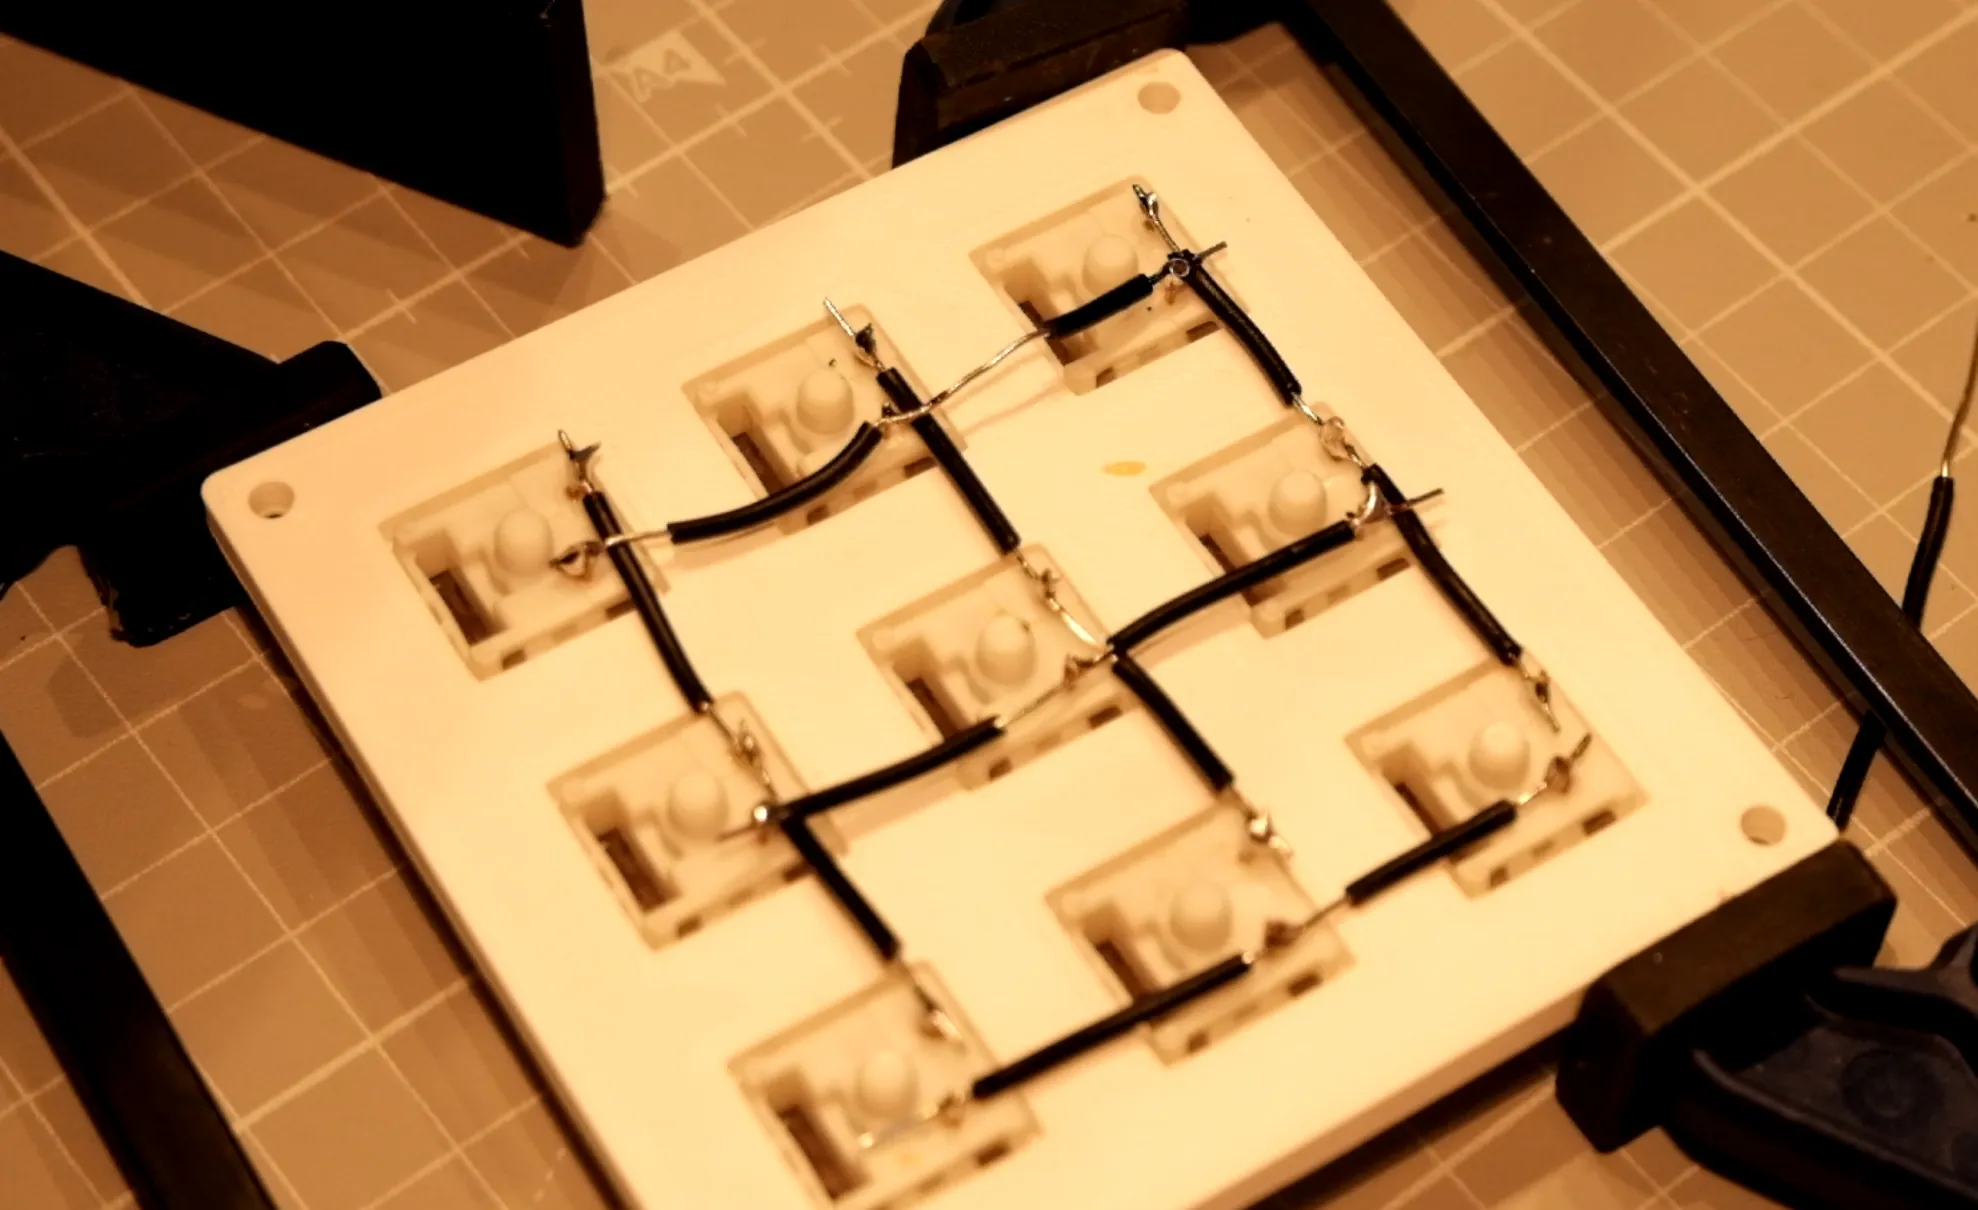
These columns and rows should then be connected to the ESP8266 as shown in the above schematic.
Once that is done, the ESP can be inserted into the case and screwed in using 4 m3 bolts.
Software
To get this assembly to be more than just a fidget toy, software needs to be flashed to the micro controller, this can be done in numerous ways and can be used for varous different uses.
I chose to use this macropad for controlling my lights on my Home Assistant server, the code for which can be found here:
https://github.com/AndersHackerMand/Gridfinity-Macropad/tree/main
Just copy the code from macropad_code.yaml and paste it into Home Assistant ESPHome Builder, and edit the wifi name and password, then ESPHome Builder should be able to flash the ESP for you. Once that is finished you should be able to use the 9 different entities for anything you want in Home Assistant.
License



Comment & Rating (3)