
AMS Riser V2 Buffer Relocation Bracket
Print Profile(1)

Description
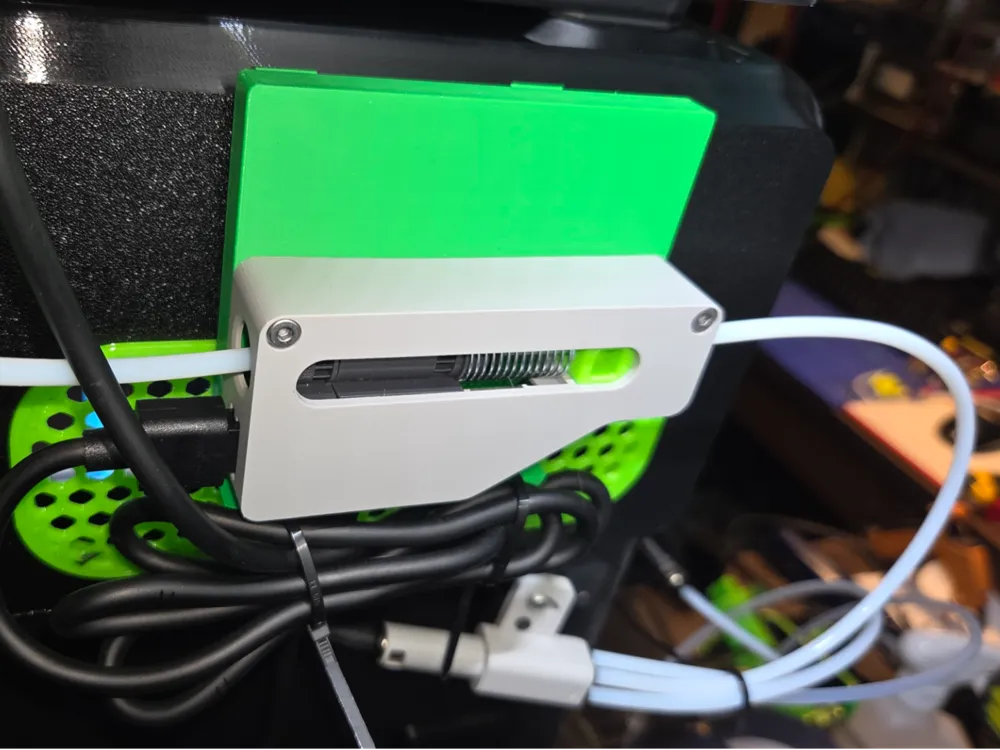
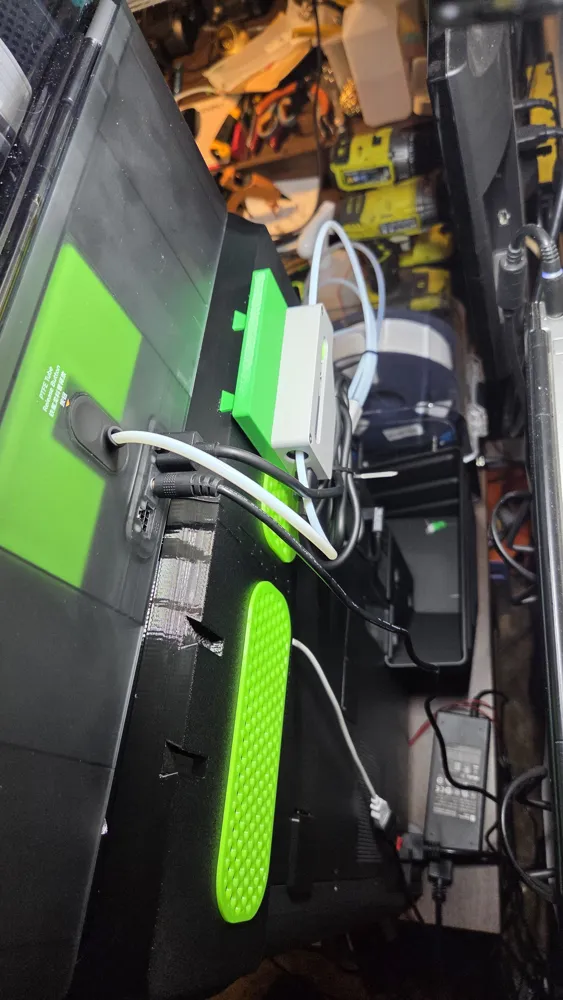
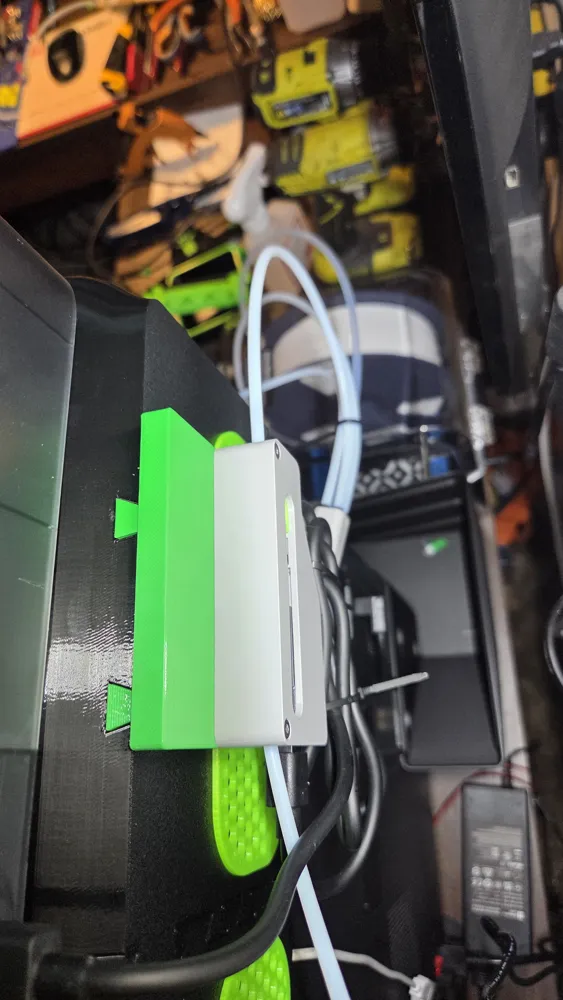
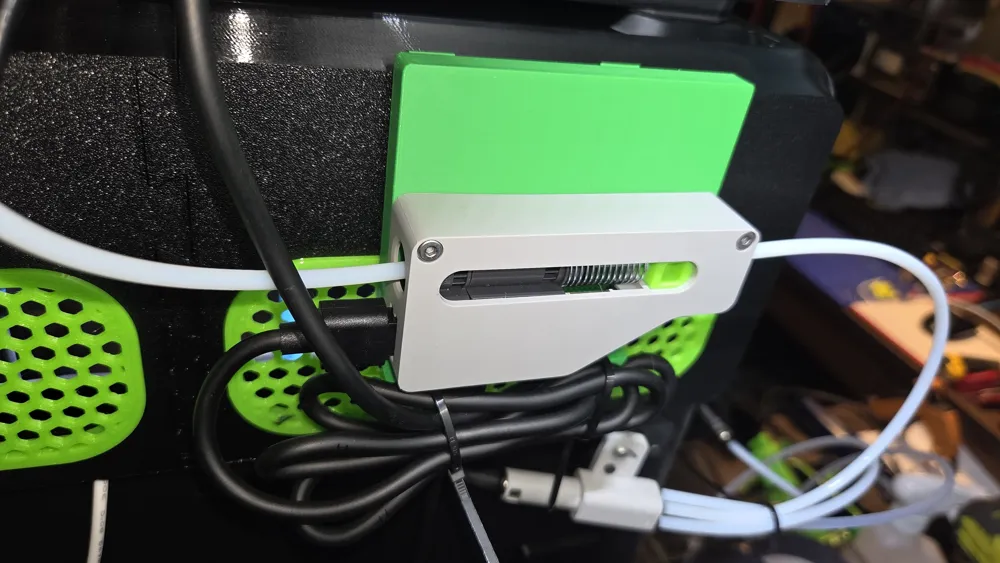
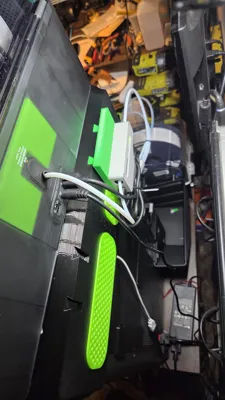
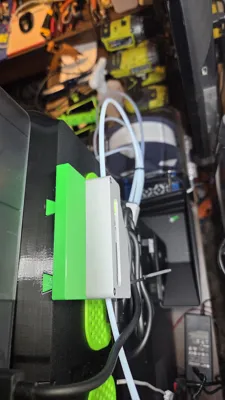
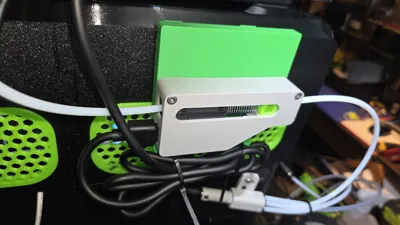
This model involves relocating your AMS buffer to the back of your AMS Riser V2 with a bracket that fits in to the back slots. This may reduces filament change times and therefore save you time, especially on big multi-color prints. This time savings will vary depend on print time and number of color changes etc. It might also reduce strain on the motors. My default profile for the P1S my filament time changes are about 30 seconds. With my new custom profile my filament time changes for load is around 5-7 seconds, and unload 8-10 seconds. This might not seem like much until you are doing many color change prints. Here is an example I did, I made a print that was 55:22 and 19 color changes, after this mod the same print was 44:57, that's a 11:25 min an 25 sec faster, or 18.81% overall reduced print time.
You can use whatever length of tubing you want between the AMS and the buffer, and the Buffer and printer. Just try not to make too sharp of bend. A nice gentle curve is what you want.
The idea for this model primarily came from my other buffer bracket that mounts directly on the back of the AMS found HERE. So I decided to make this version that will fit the AMS Riser V2 and it prints in about 1:40 min, There are holes on the bottom edge where you can tie up any cables etc.
This doesn't fit the P2S model due to it using a different buffer.
Printing tips:
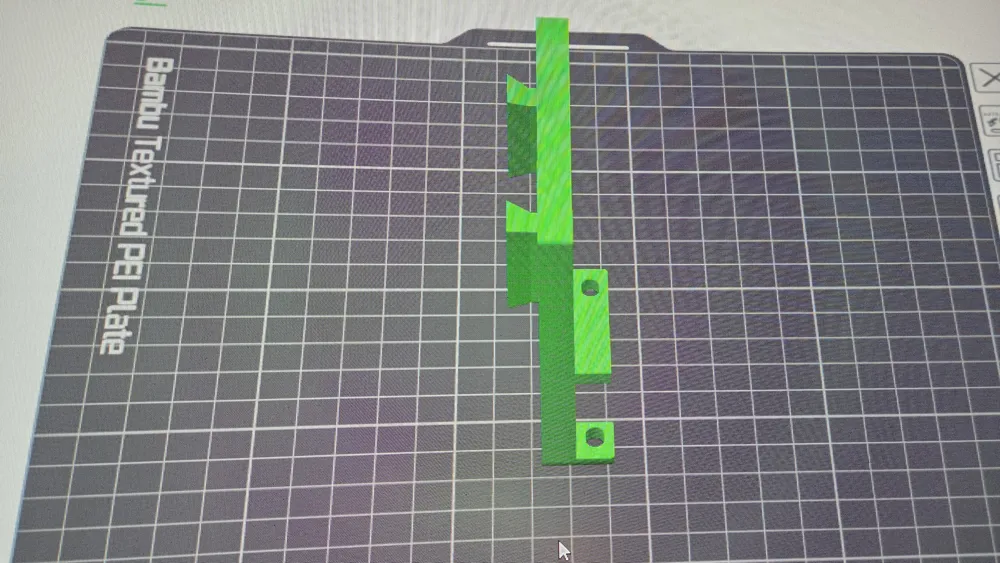
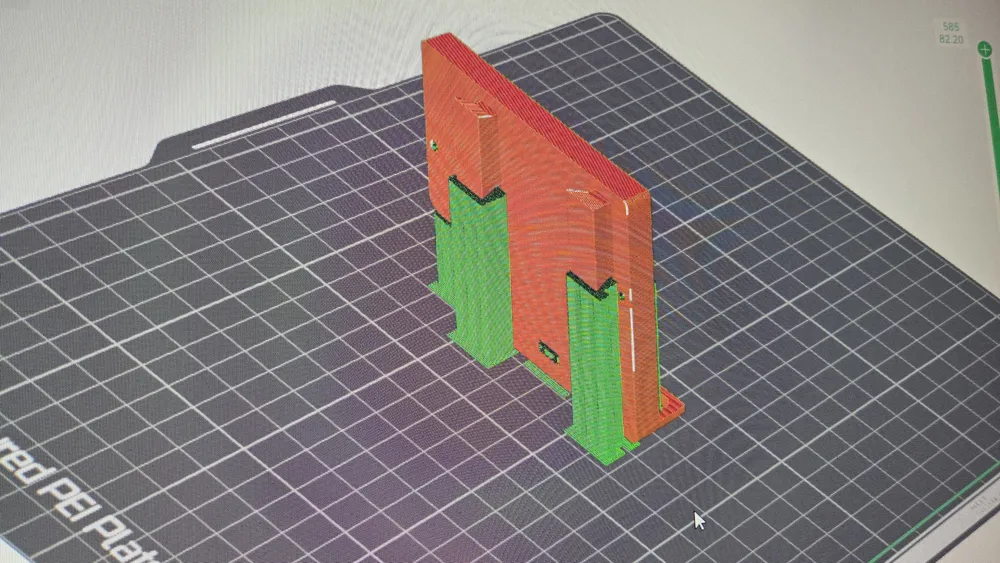
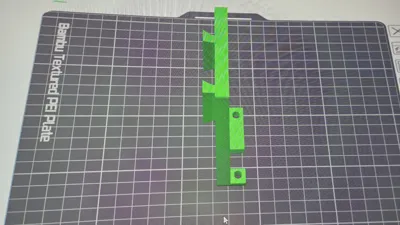
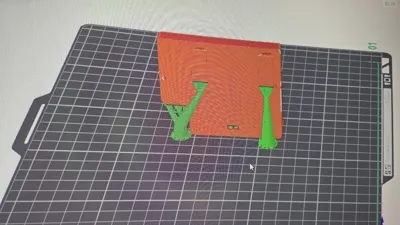
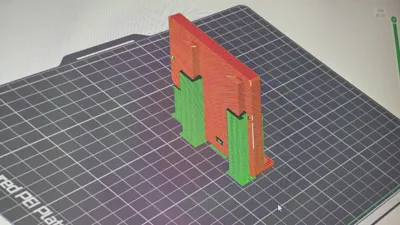
- Please use the .3mf files as there are critical areas strengthened around the thinner parts of this model. Also pay attention to model bed orientation, as it need to be printed vertically.
- I recommend using PETG, but PLA should work too.
- I'm using calibrated Sunlu PETG, 270/260 Nozzle and bed 80.
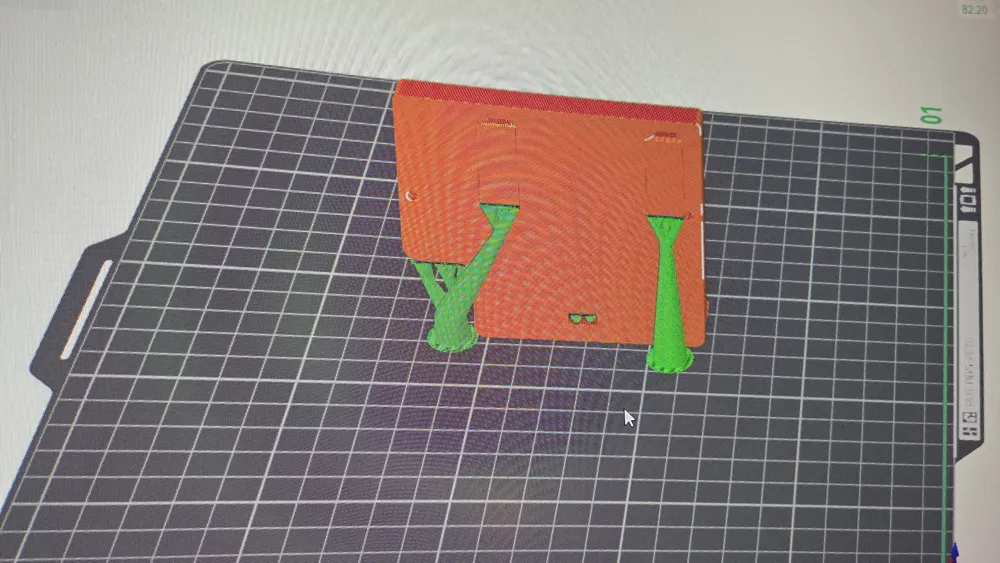
- Use supports, Tree Auto, or Normal auto. They come off pretty easily.
Assembly:
- Run the screws for the buffer in to make the threads easy before installing the buffer.
- The supports come off pretty easy with a little care.
- Make sure to give a nice smooth bend to the PTFE tube coming out of the buffer to the printer.
- I would also highly recommend 4Designs Buffer tube guide and cover.
- I'm using the AMS Riser V2. The height of the buffer mount stretches the 4 pin cable almost to the limit, but it will reach. Your installation might vary. I have heard that the A1 AMS lite extension cable will work if the cable is too short for your application.
- You can adjust your load time and unload times accordingly in the printer settings. It really depends on your tubing lengths. I think around 13-16 is a good place to start. Mine loads in 5-7 seconds and unloads in about 8-10 seconds.
Version History:
V1.0 Initial Version
V1.1 Extended the length of the shelf with holes for easier access. Made holes for buffer .2mm smaller.
License

You shall not share, sub-license, sell, rent, host, transfer, or distribute in any way the digital or 3D printed versions of this object, nor any other derivative work of this object in its digital or physical format (including - but not limited to - remixes of this object, and hosting on other digital platforms). The objects may not be used without permission in any way whatsoever in which you charge money, or collect fees.


Comment & Rating (7)