Search models, users, collections, and posts

Loading Thoughts - Please wait
IP Report

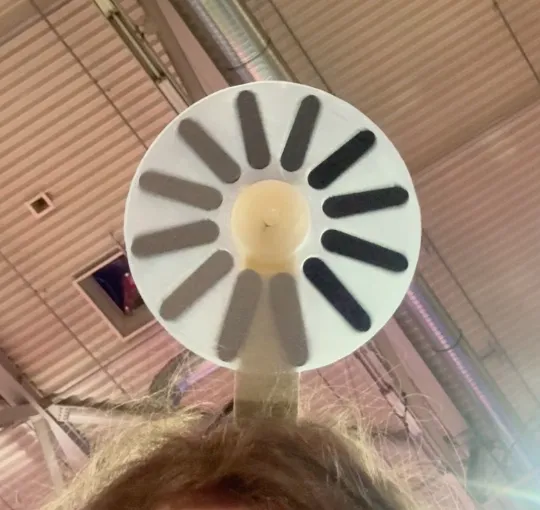
GIF
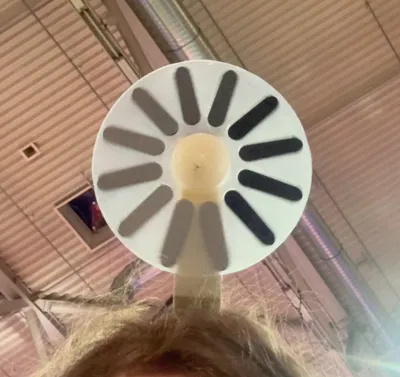
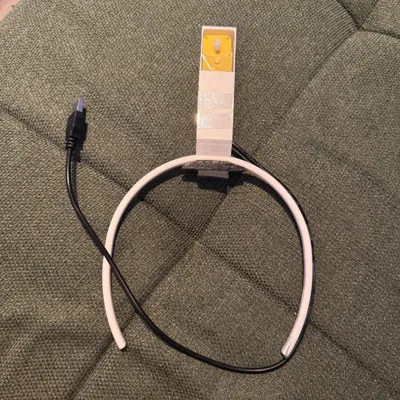
Print Profile(3)

Spinner - Hueforge - 0.08mm layer, 2 walls, 15% infill
Designer
59 min
1 plate

Headband and Enclosure - 0.16mm layer, 4 walls, 10% infill
Designer
1 h
1 plate

Spinner Interface - 0.16mm layer, 2 walls, 15% infill
Designer
17 min
1 plate
Open in Bambu Studio
Boost
25
43
2
0
16
6
Released
Bill of Materials
Maker's Supply Kits and Parts
Select all





List other parts
- Optional: eSun PLA Transparant 1kg x 1:
Description
🛠️ Materials
- PLA Filament: White, Gray, and Black
- Optional: Transparent PLA (I used eSun) - gives a nice translucent look. White PLA works too if you prefer a more solid finish.
- Motor: From the Marble Run Kit
- Optional (for portability):
- USB extension cable
- Power bank
- Optional (for comfort):
- Piece of foam for the headband
⚙️ Step-by-Step Assembly
1. Print the Spinner Disk (Hueforge Method)
- Use White, Gray, and Black PLA.
- For the background, print with Transparent PLA for a see-through effect, or White PLA for a less transparent look.
2. Print the Interface Piece
- Works well in Transparent PLA, but plain White is also fine.
3. Attach Disk and Interface
- Carefully cut a small hole in the spinner disk, just large enough for the interface piece.
- Press-fit the piece into the disk, then glue it in place so the two parts are securely connected.
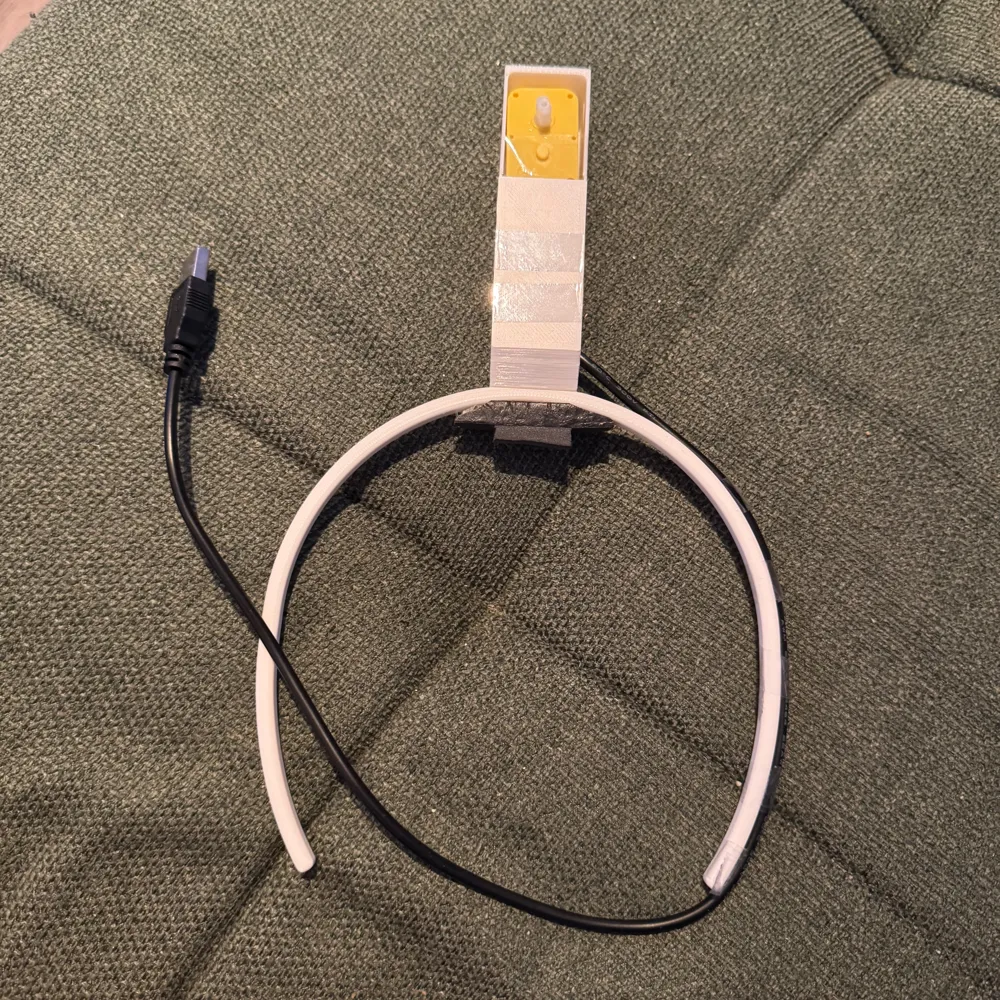
4. Print the Headband and Motor Enclosure
- The motor enclosure is designed for the Marble Run Kit motor.
5. Install the Motor
- Place the motor between the enclosure halves.
- Wrap transparent tape around the enclosure to hold it snugly.
- Glue the motor assembly to the headband.
6. Route the Wiring
- Run the motor wire neatly down along the headband.
- Use transparent tape to secure it in place.
7. Power It Up
- Connect the motor to a USB extension cable.
- Plug into a power bank for a portable setup.
8. Optional:
- Glue a piece of foam on the headband for comfort.
🎉 Ta-da! Now your brain can buffer like mine
License

This user content is licensed under a Standard Digital File License.
You shall not share, sub-license, sell, rent, host, transfer, or distribute in any way the digital or 3D printed versions of this object, nor any other derivative work of this object in its digital or physical format (including - but not limited to - remixes of this object, and hosting on other digital platforms). The objects may not be used without permission in any way whatsoever in which you charge money, or collect fees.


Comment & Rating (2)