
PLA Effect Plate Settings
Print Profile(1)

Description
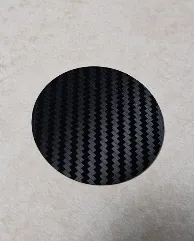
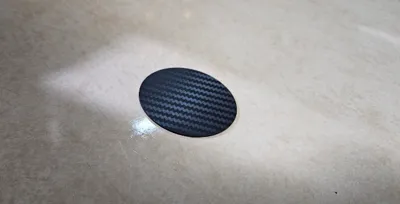
Effect Plate Settings!
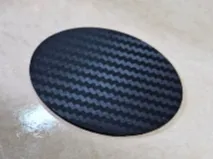
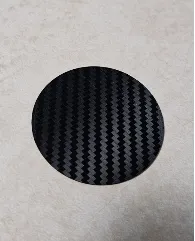
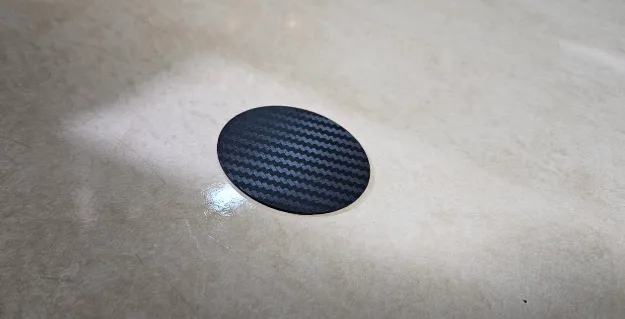
These are the settings that have been painstaking to find. I've shared it around to some larger content creaters/modelers to help clean up some of their settings and now I've decided to release it here. With these settings, you should get a much cleaner visual from all angles on your effect plates.
wrong/bad settings:
Low visability of the effects on the printed item.
In certain angles, printed piece can show lines that look similar to scratches that line up going a certain direction.
rough or unsightly layer bubbling.
Poor first layer adhesion.
With these settings:
Much better adhesion, but not too much that it will permanently adhere to the effect plate
Looks great from all angles
No more lines making the print look bad with certain lighting
Full visability of the effect plate, regardless of if its Carbon Fibre, Stars, Hammered Metal, Etc
= = How to Use = =
To test the results
1) Download the 3mf file. Don't just ‘open in bambu’ or the settings dont transfer for some reason.
2) Confirm your PLA bed temp is 62c, if its not. adjust it.
3) Print and verify the effect on the little cylinder plate I've provided.
4) Once you are happy with that, then move onto the next part below.
Happy with results
1) Open the 3mf I've provided as before.
2) Confirm your bed temp is still 62c, if its not, adjust it.
3) Change to the ‘Preview’ tab in the top bar.
4) Press ‘Ctrl + i’ and select the file you want your effects on.
5) Once you select the file, it will prompt you. Select ‘Geometry Only’. This will keep the effect settings, while bringin over your object.
6) Change back to ‘Prepare’ tab and remove my cylinder from the plate.
7) Print!
What Changes are/should be made with this?
#1) Plate tempeture: You should increase the temps on your plate by about 7 to 10 degrees celcius. This will allow for two things to occur, the first being that it will help your PLA and PETG to adhere to the print bed better. This is a super common issue with effect plates. The second is that it will allow your filament to stay liquid ever so slightly longer around/over the glass transition point. This lets it pick up the effects easier and helps us with filling in the layer gaps to reduce the lines seen from certain angles.
2) First layer Flow Ratio: This gets adjusted to 1.35 as default in the print profile, but can be adjusted as needed. I suggest not exceeding 1.4 or dropping below 1.25. This is exceptionally important to the quality of the effect. Since we will be using Hilburt Curve that ill explain more below about, this is what lets us reduce the corner dots that are missing filament on the first layer. Over doing this value will create artifacting that will screw up your layers beyond the first. We're trying to skirt the maximum that can be used here without ruining the future layers. Ive found for me this becomes a problem when exceeding 1.4 but your maximums may vary.
3) First Layer Pattern: Hilburt Curve, When pairing this with the increased flow ratio, this is the magic sauce for cleaning up your effect quality. When using things like Monotonic or rectilinear, you will get layer lines when viewing it from certain angles. This prevents that by creating short, non straight lines. The problem is that it can create filament gaps in the corners. This problem is relieves by the flow ratio used in #2.
4) Increased Filament Temps: Increase the temp on your filament that you have optomized by between 2c and 6c. This further helps the first layer liquification to properly fill the corners of curve and create a better looking effect. Obviously don't over do this it it will murder the rest of your print. but you want to skirt the upper limits of your printing temp on the first layer.
5) Infill Direction 0': This one isnt super important and is dependent on what you are printing. You can probably leave this alone, but i found that having it print a seperate direction from the base layer causes it squish down the first layer better. This change is exceptionally minor and can be ignored if you want too. otherwise leave it at 0.
Good luck and hope you enjoy!
Boost Me (for free)
If these settings work for you, please do take the time to boost. It truely does help me stay sane while using trial and error finding what works best and slowly helps me replace some of the filament used in the process =P
License

You shall not share, sub-license, sell, rent, host, transfer, or distribute in any way the digital or 3D printed versions of this object, nor any other derivative work of this object in its digital or physical format (including - but not limited to - remixes of this object, and hosting on other digital platforms). The objects may not be used without permission in any way whatsoever in which you charge money, or collect fees.


Comment & Rating (25)