
Niver Purge Bin
Print Profile(1)


Bill of Materials

Description
Boost Me (for free)
I usually don’t ask for this, but I’ve noticed that many creators actively encourage it on other platforms—and it makes sense, as it helps increase visibility. So, if you can follow me, it would make difference. It’s a great way to support my work and show appreciation. For more insight subscribe my blog at: https://designrepcom.com/ This design is freely available for the community, but if you enjoy my work and would like to show your support, you can boost this project. Thanks!
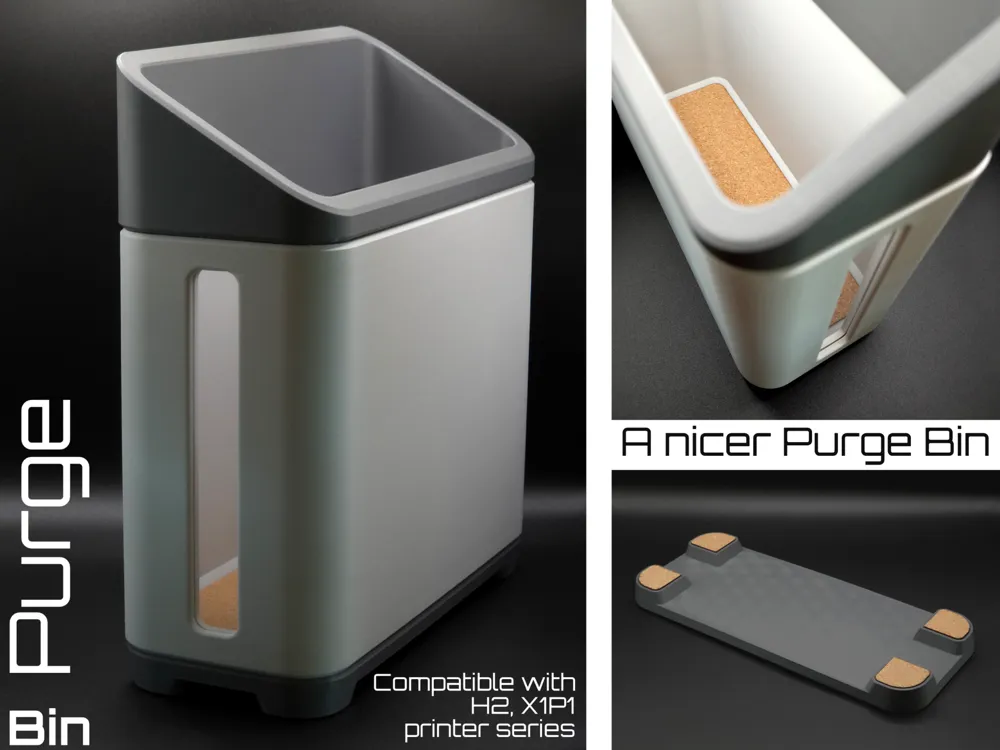
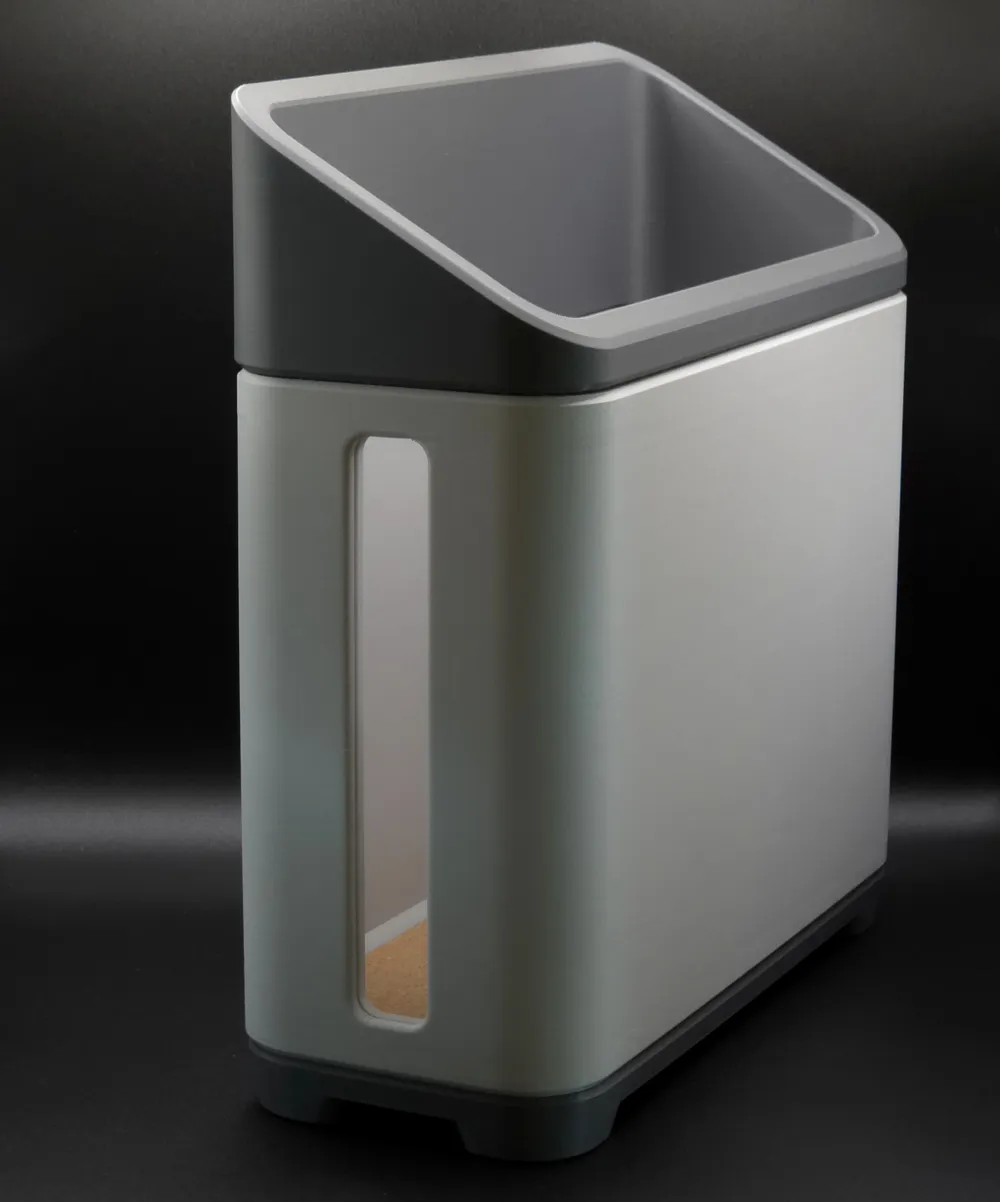
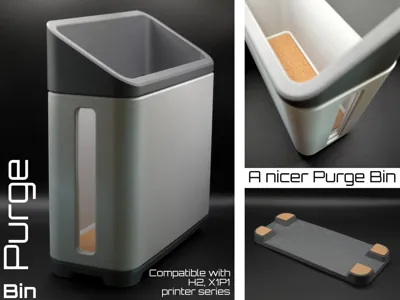
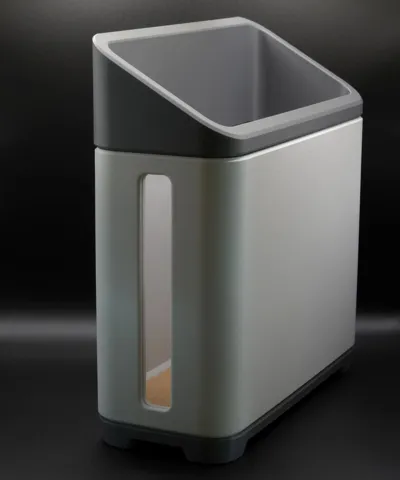
This project is aimed at those who like to have nice and good things. Since this isn't just about something that merely functions - there's already plenty of bins like that out there - I decided to create a container that combines functionality with aesthetics using nicer materials.
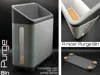
The Nicer Purge Bin is composed of several components, using various materials, making it an interesting project for beginners; there are several ways to make it:
For those who have a hybrid printer, like the H2D, which I usually call a production HUB.
In this case, I consider it an excellent project to undertake after receiving your machine - simple and one that uses different functionalities of your machine: printing and laser cutting.
So, let's start with the H2D Combo Laser.
If you have this printer, this project can be broken down as follows:
The piece I call the "Bin" should be printed - the material I suggest is regular PLA, in Light Gray color, which is very similar to the printer's color.
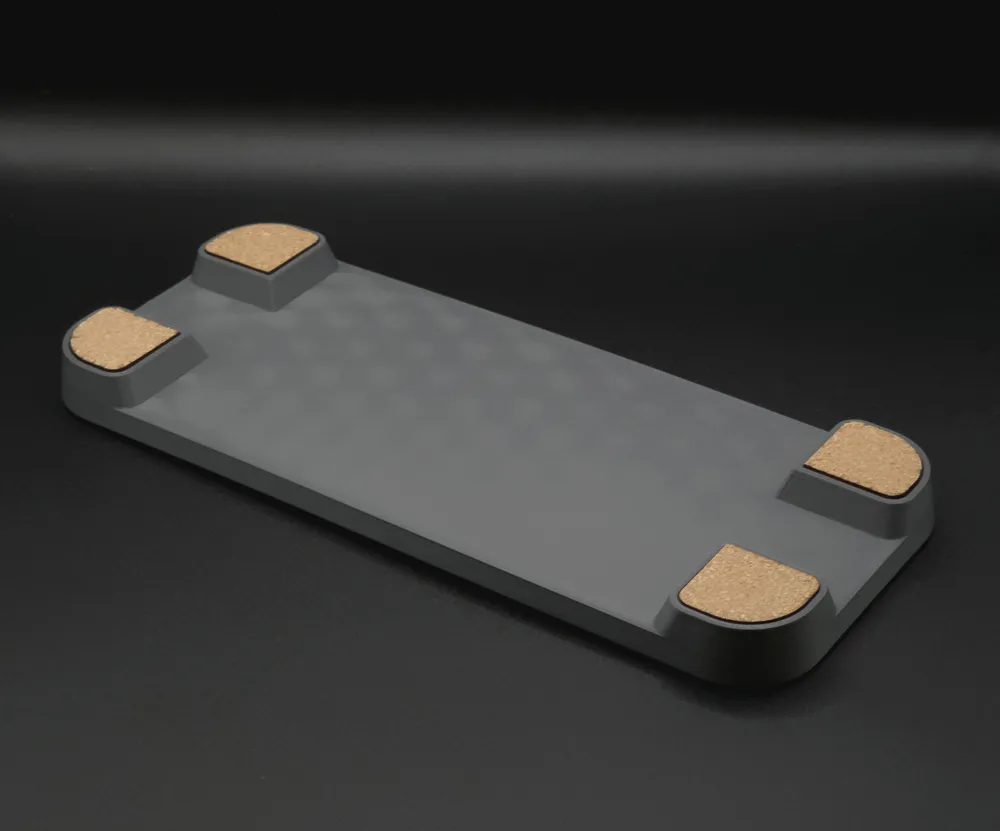
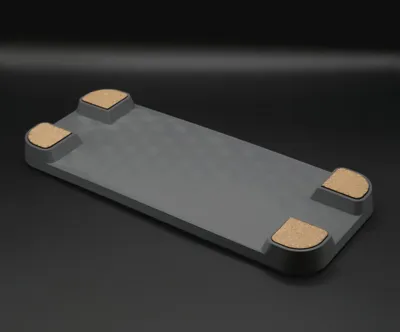
For the feet, you also have two options, both involving laser cutting. These can be 2mm EVA foam or cork, with the latter being offered as a sample material with your printer, at least at the time of this product's launch. The feet are only necessary if you choose to make the project with the Base, which I recommend.
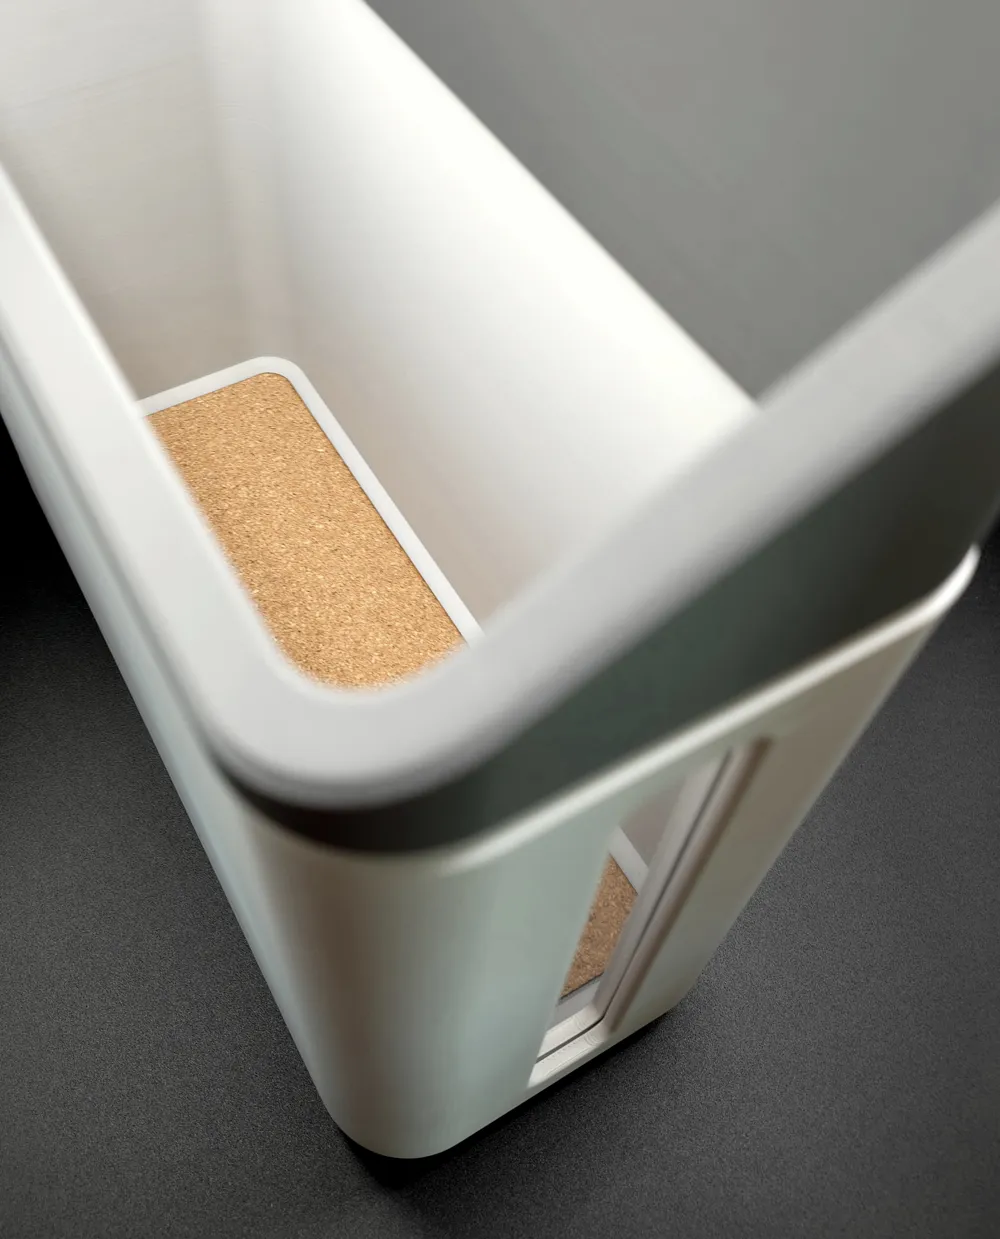
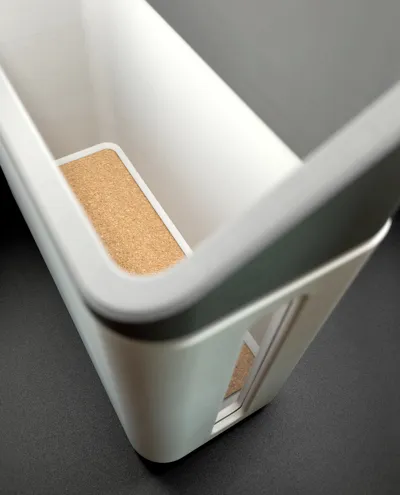
Also optional, a lining for the container - the bin - to prevent poops from sticking when they come out too hot. It's not something common, but it can happen. However, if there's something you can consider "more optional," it would be this element.
Curious About My Tools? Check This Out!
For those of you who often ask about the tools I use to bring ideas to life, this article, The Journey From Idea To Object (Part I), offers some insights into the initial stages. It highlights the use of various tools, including software like Autodesk Fusion for CAD design, Blender for render and Bambu Studio for 3D printing preparation, and other... So, if you're curious about the software and hardware too, that I've incorporate in my workflow, take a look at the link for more details!" – Visit https://designrepcom.com/ for much more.
License

You shall not share, sub-license, sell, rent, host, transfer, or distribute in any way the digital or 3D printed versions of this object, nor any other derivative work of this object in its digital or physical format (including - but not limited to - remixes of this object, and hosting on other digital platforms). The objects may not be used without permission in any way whatsoever in which you charge money, or collect fees.


Comment & Rating (0)