
Hydra - Universal Spool Adapter


Print Profile(7)


Description
About
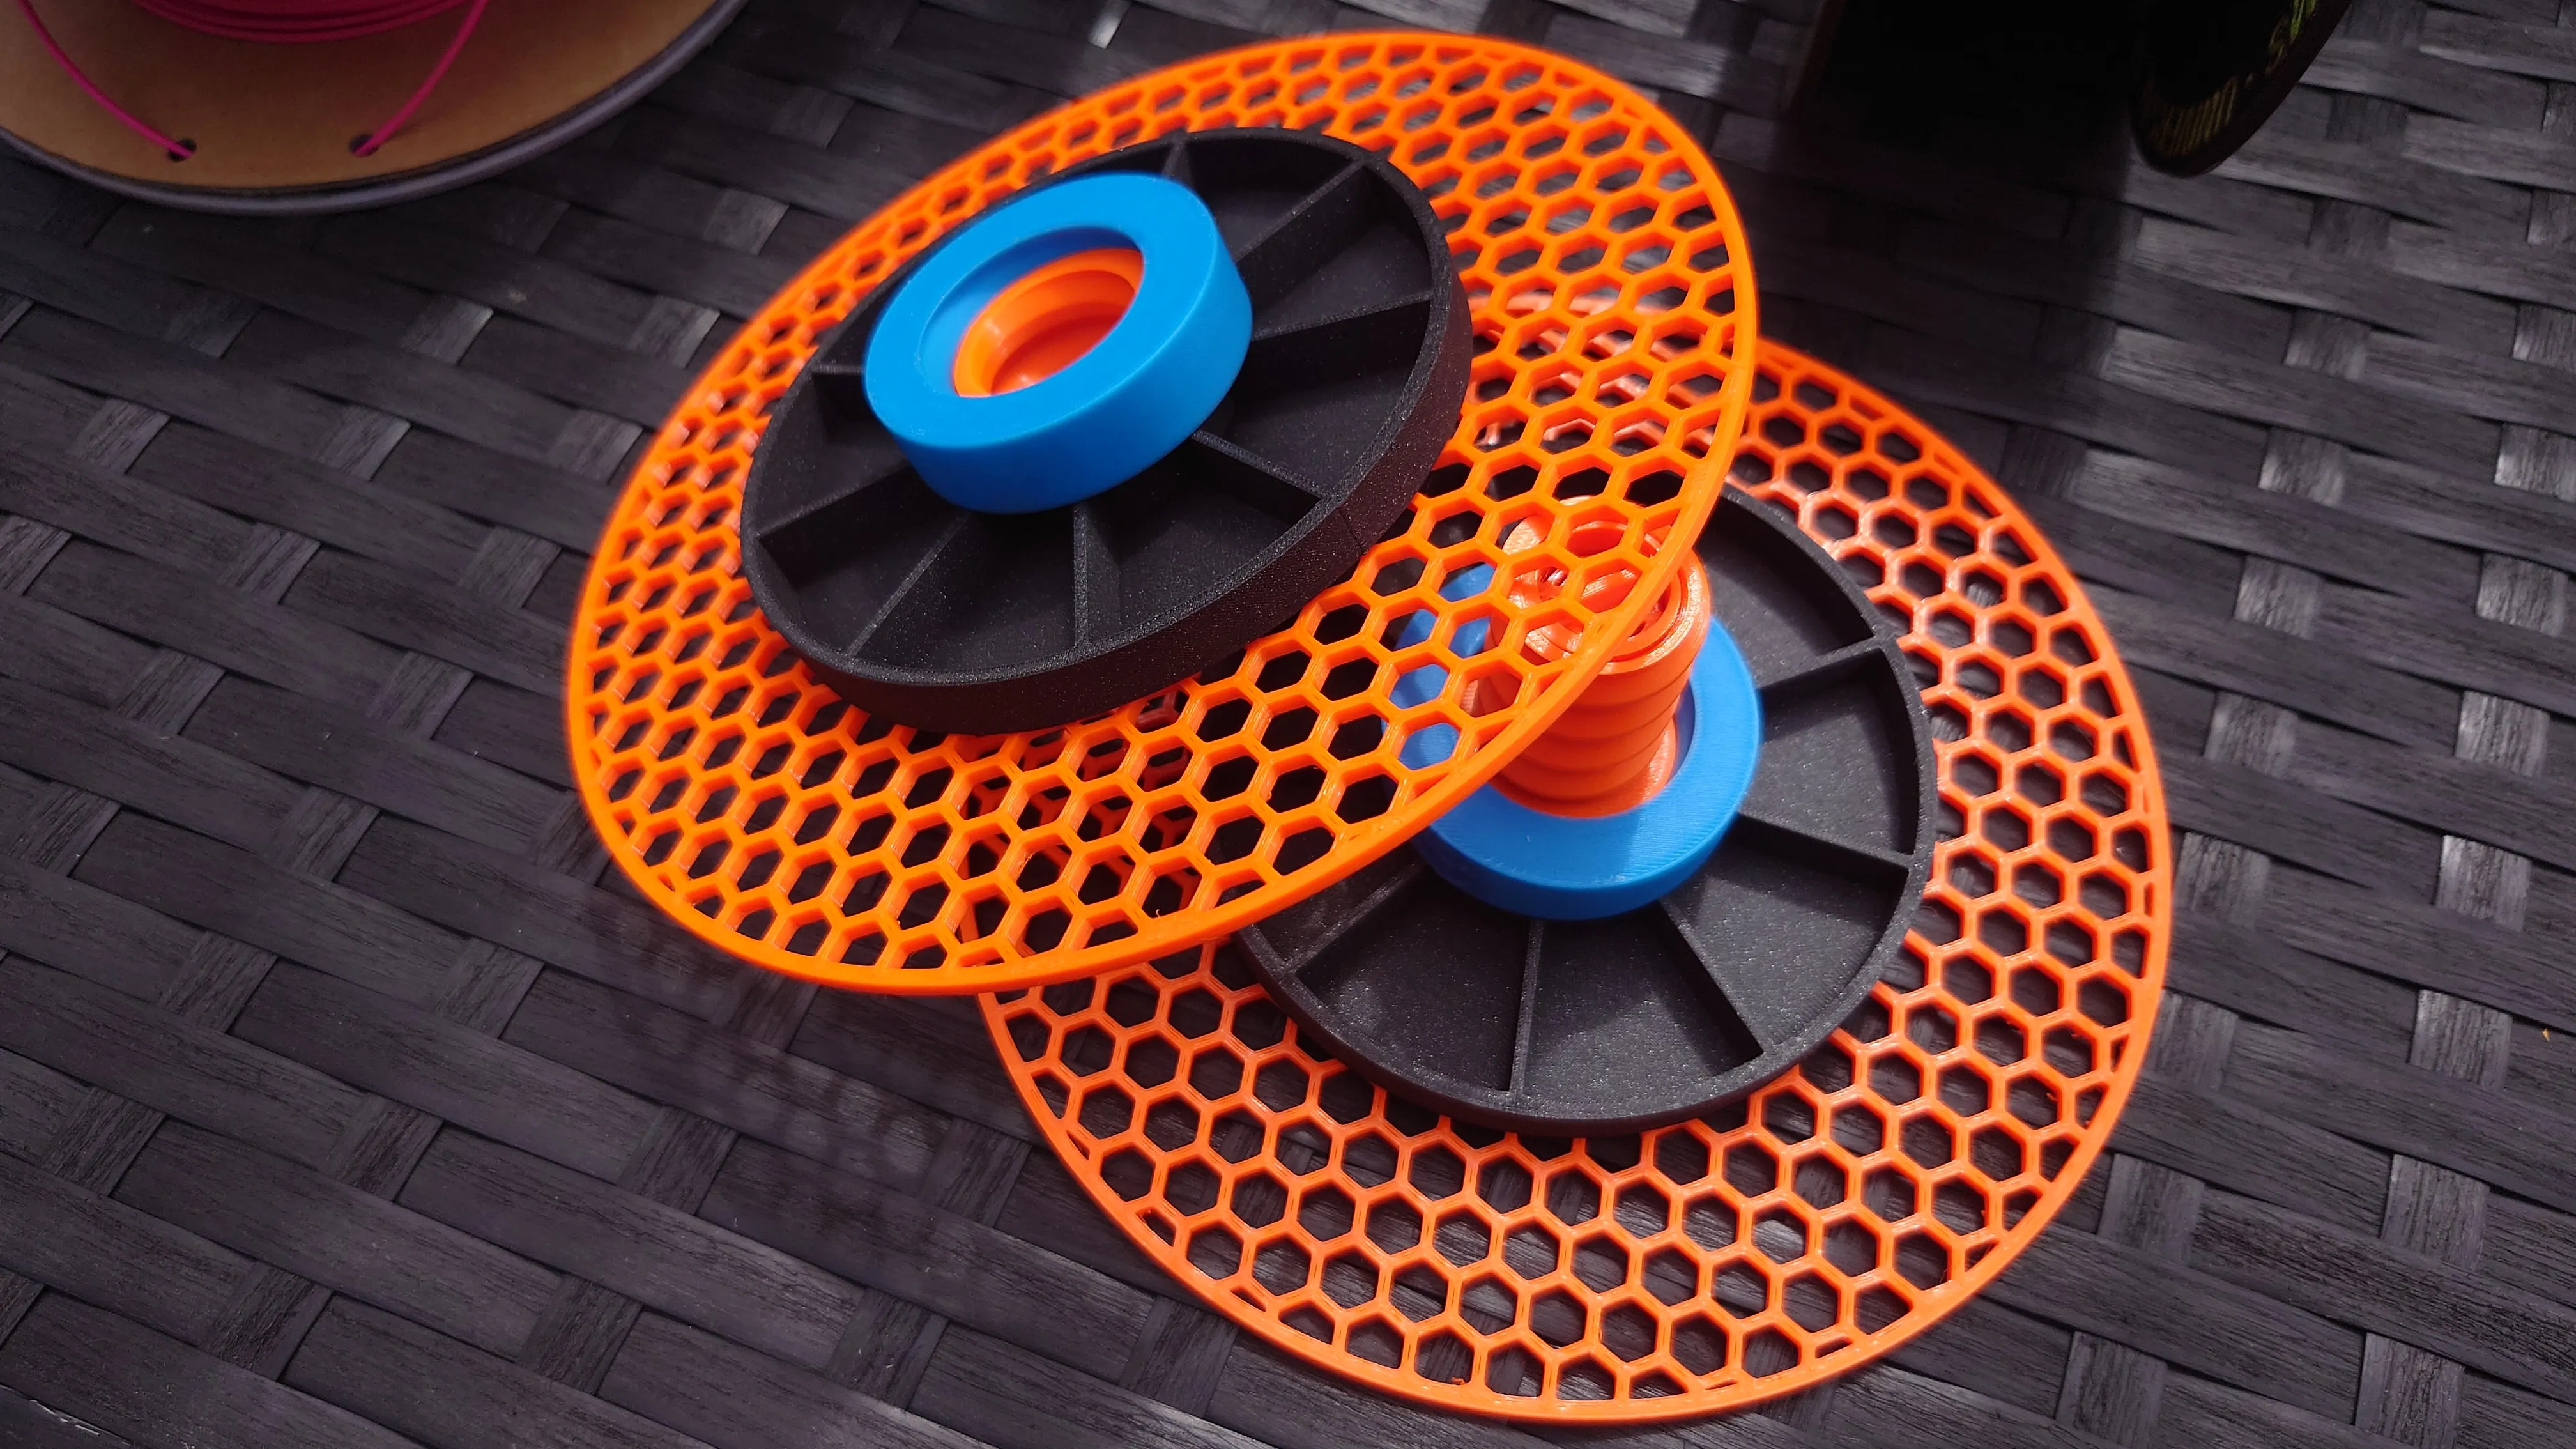
The Hydra - Universal Spool Adapter is developed specifically for Hydra but will also work well for the standard Bambu Lab AMS. If you use very narrow spools with this however, Hydra will work a lot better as the feeders are tilted back a little compared to stock.
One of the main benefits of the Hydra is that it allows a wide variety of spool diameters, both small and large diameter spools as well as wider spools with a spool width up to 75 mm.
But one issue remains - very narrow spools such as certain 250g sample spools and some 500g spools as well. Another issue is the more and more common cardboard spools, these are not ideal to be used in an AMS for a few reasons, cardboard debris, causing less grip on the front rollers and dirt inside the feeders and tubes.
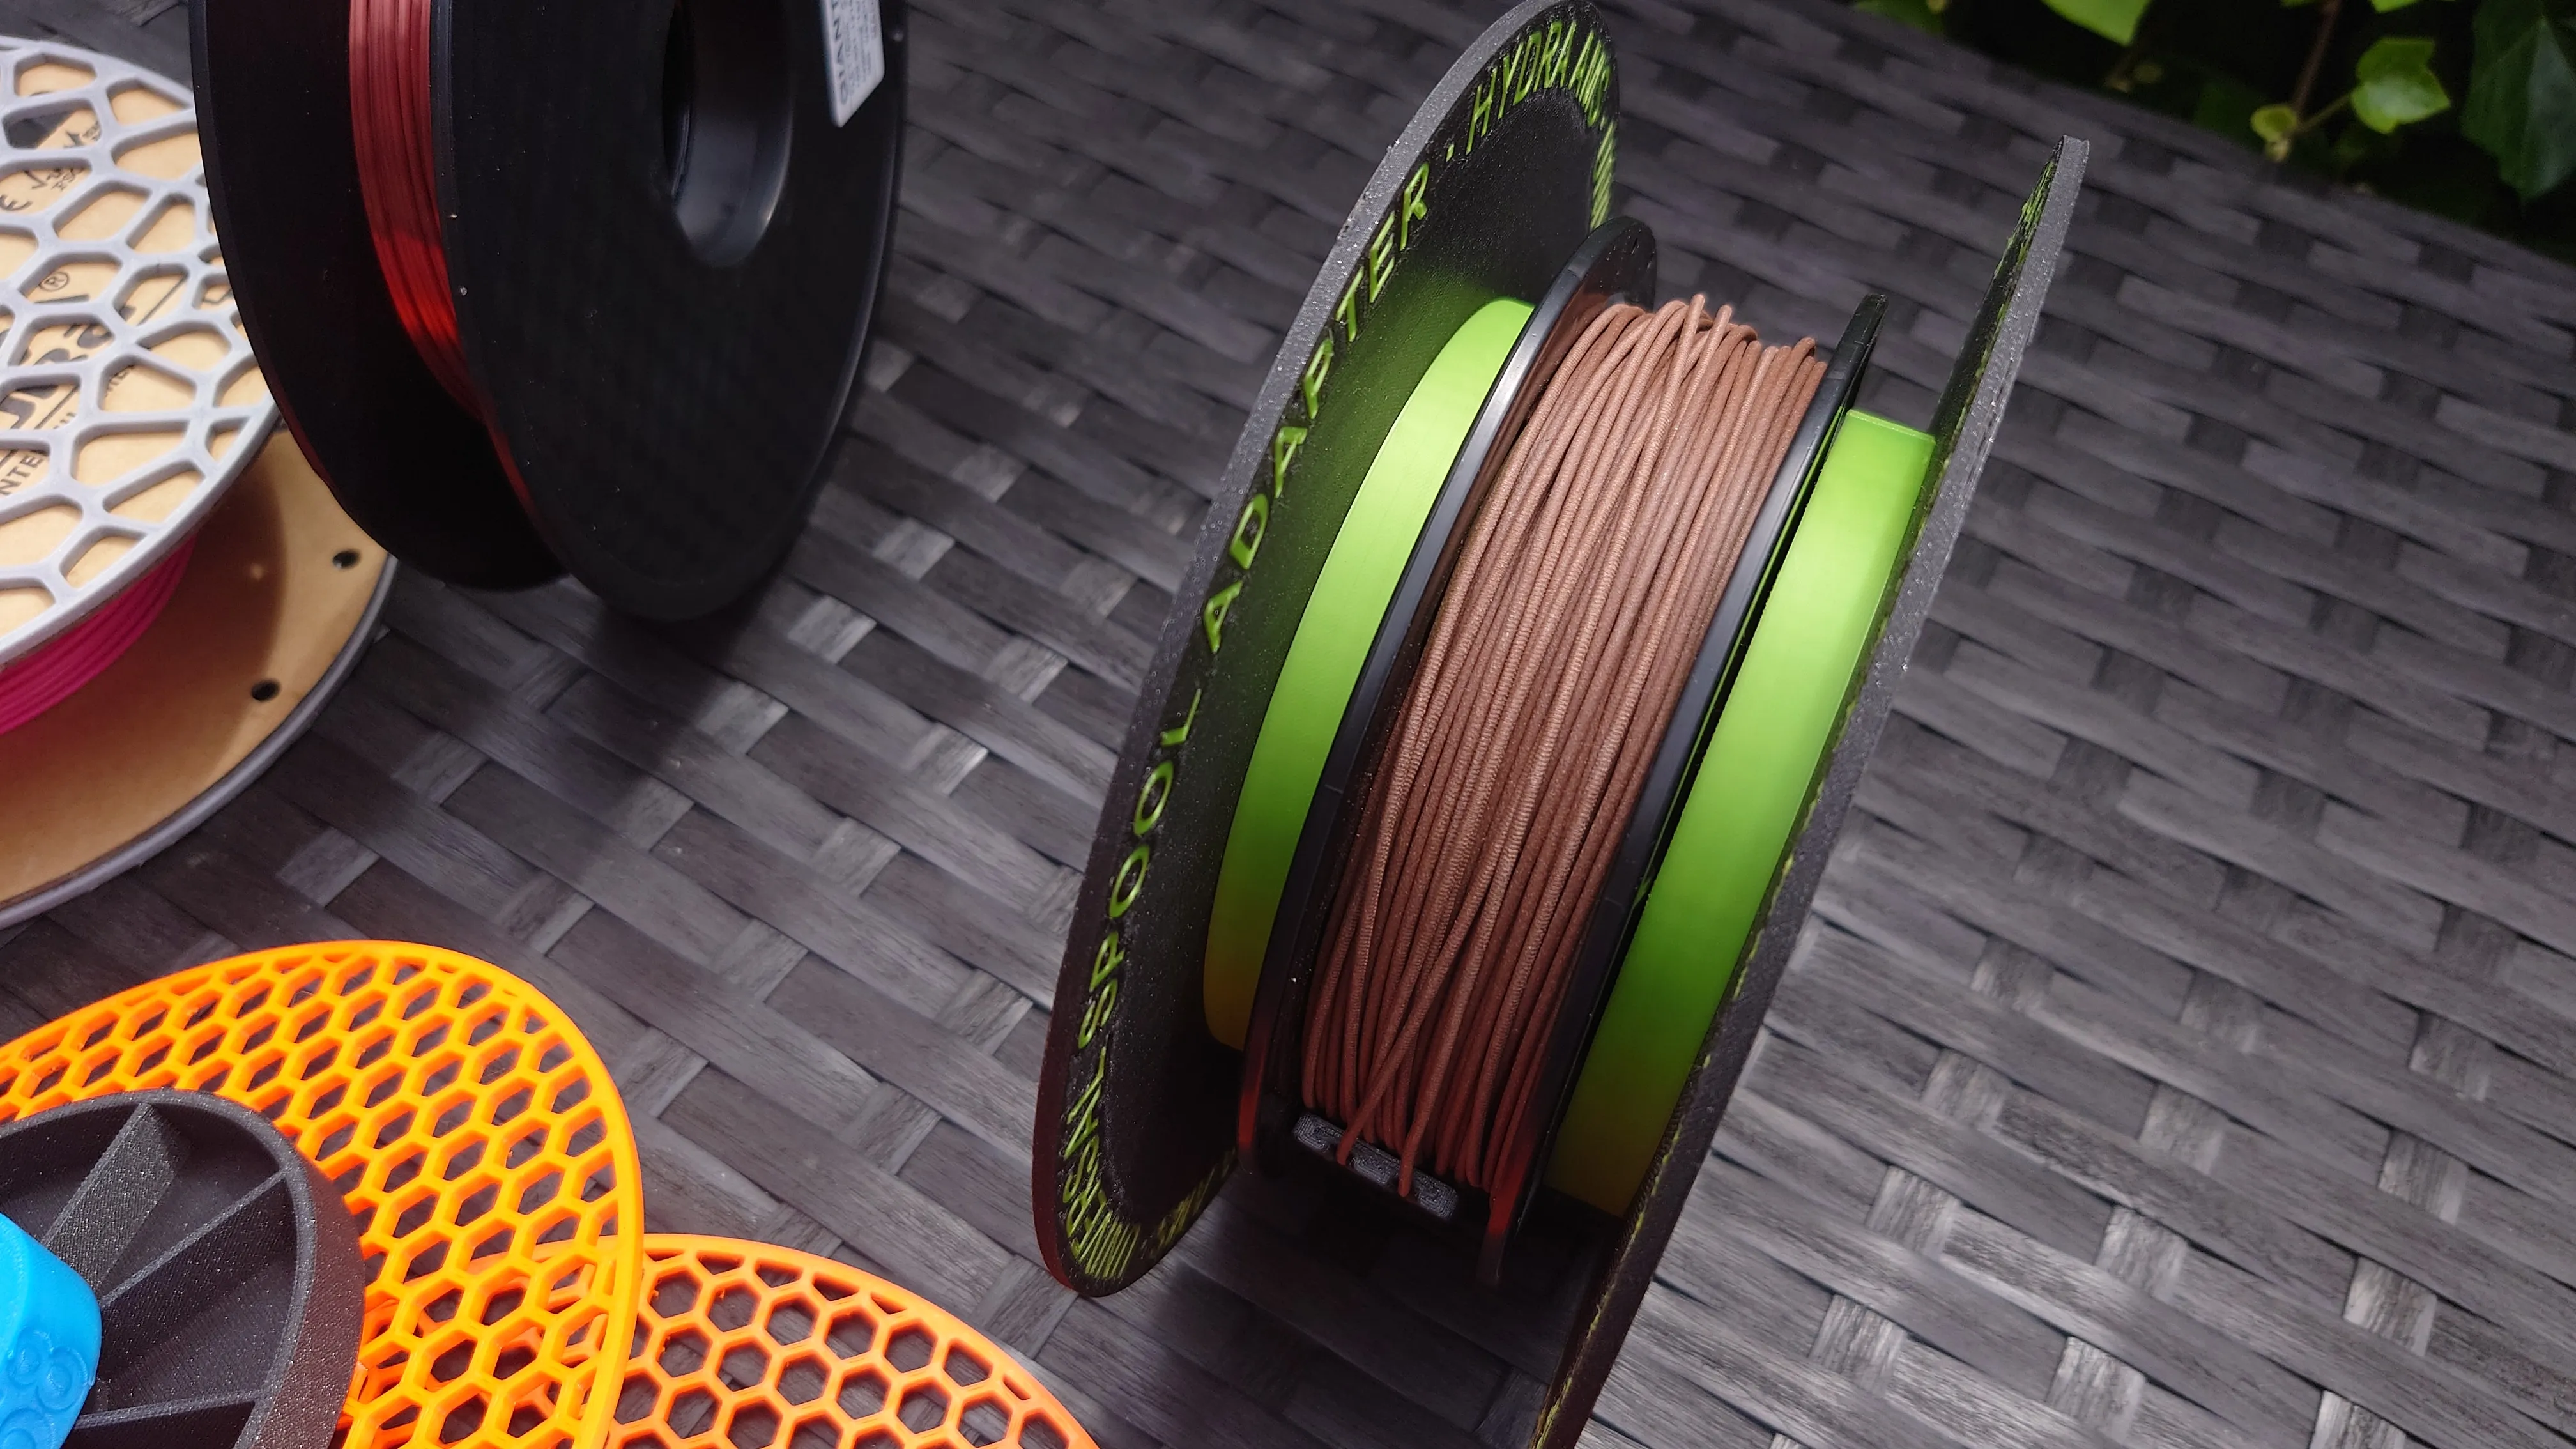
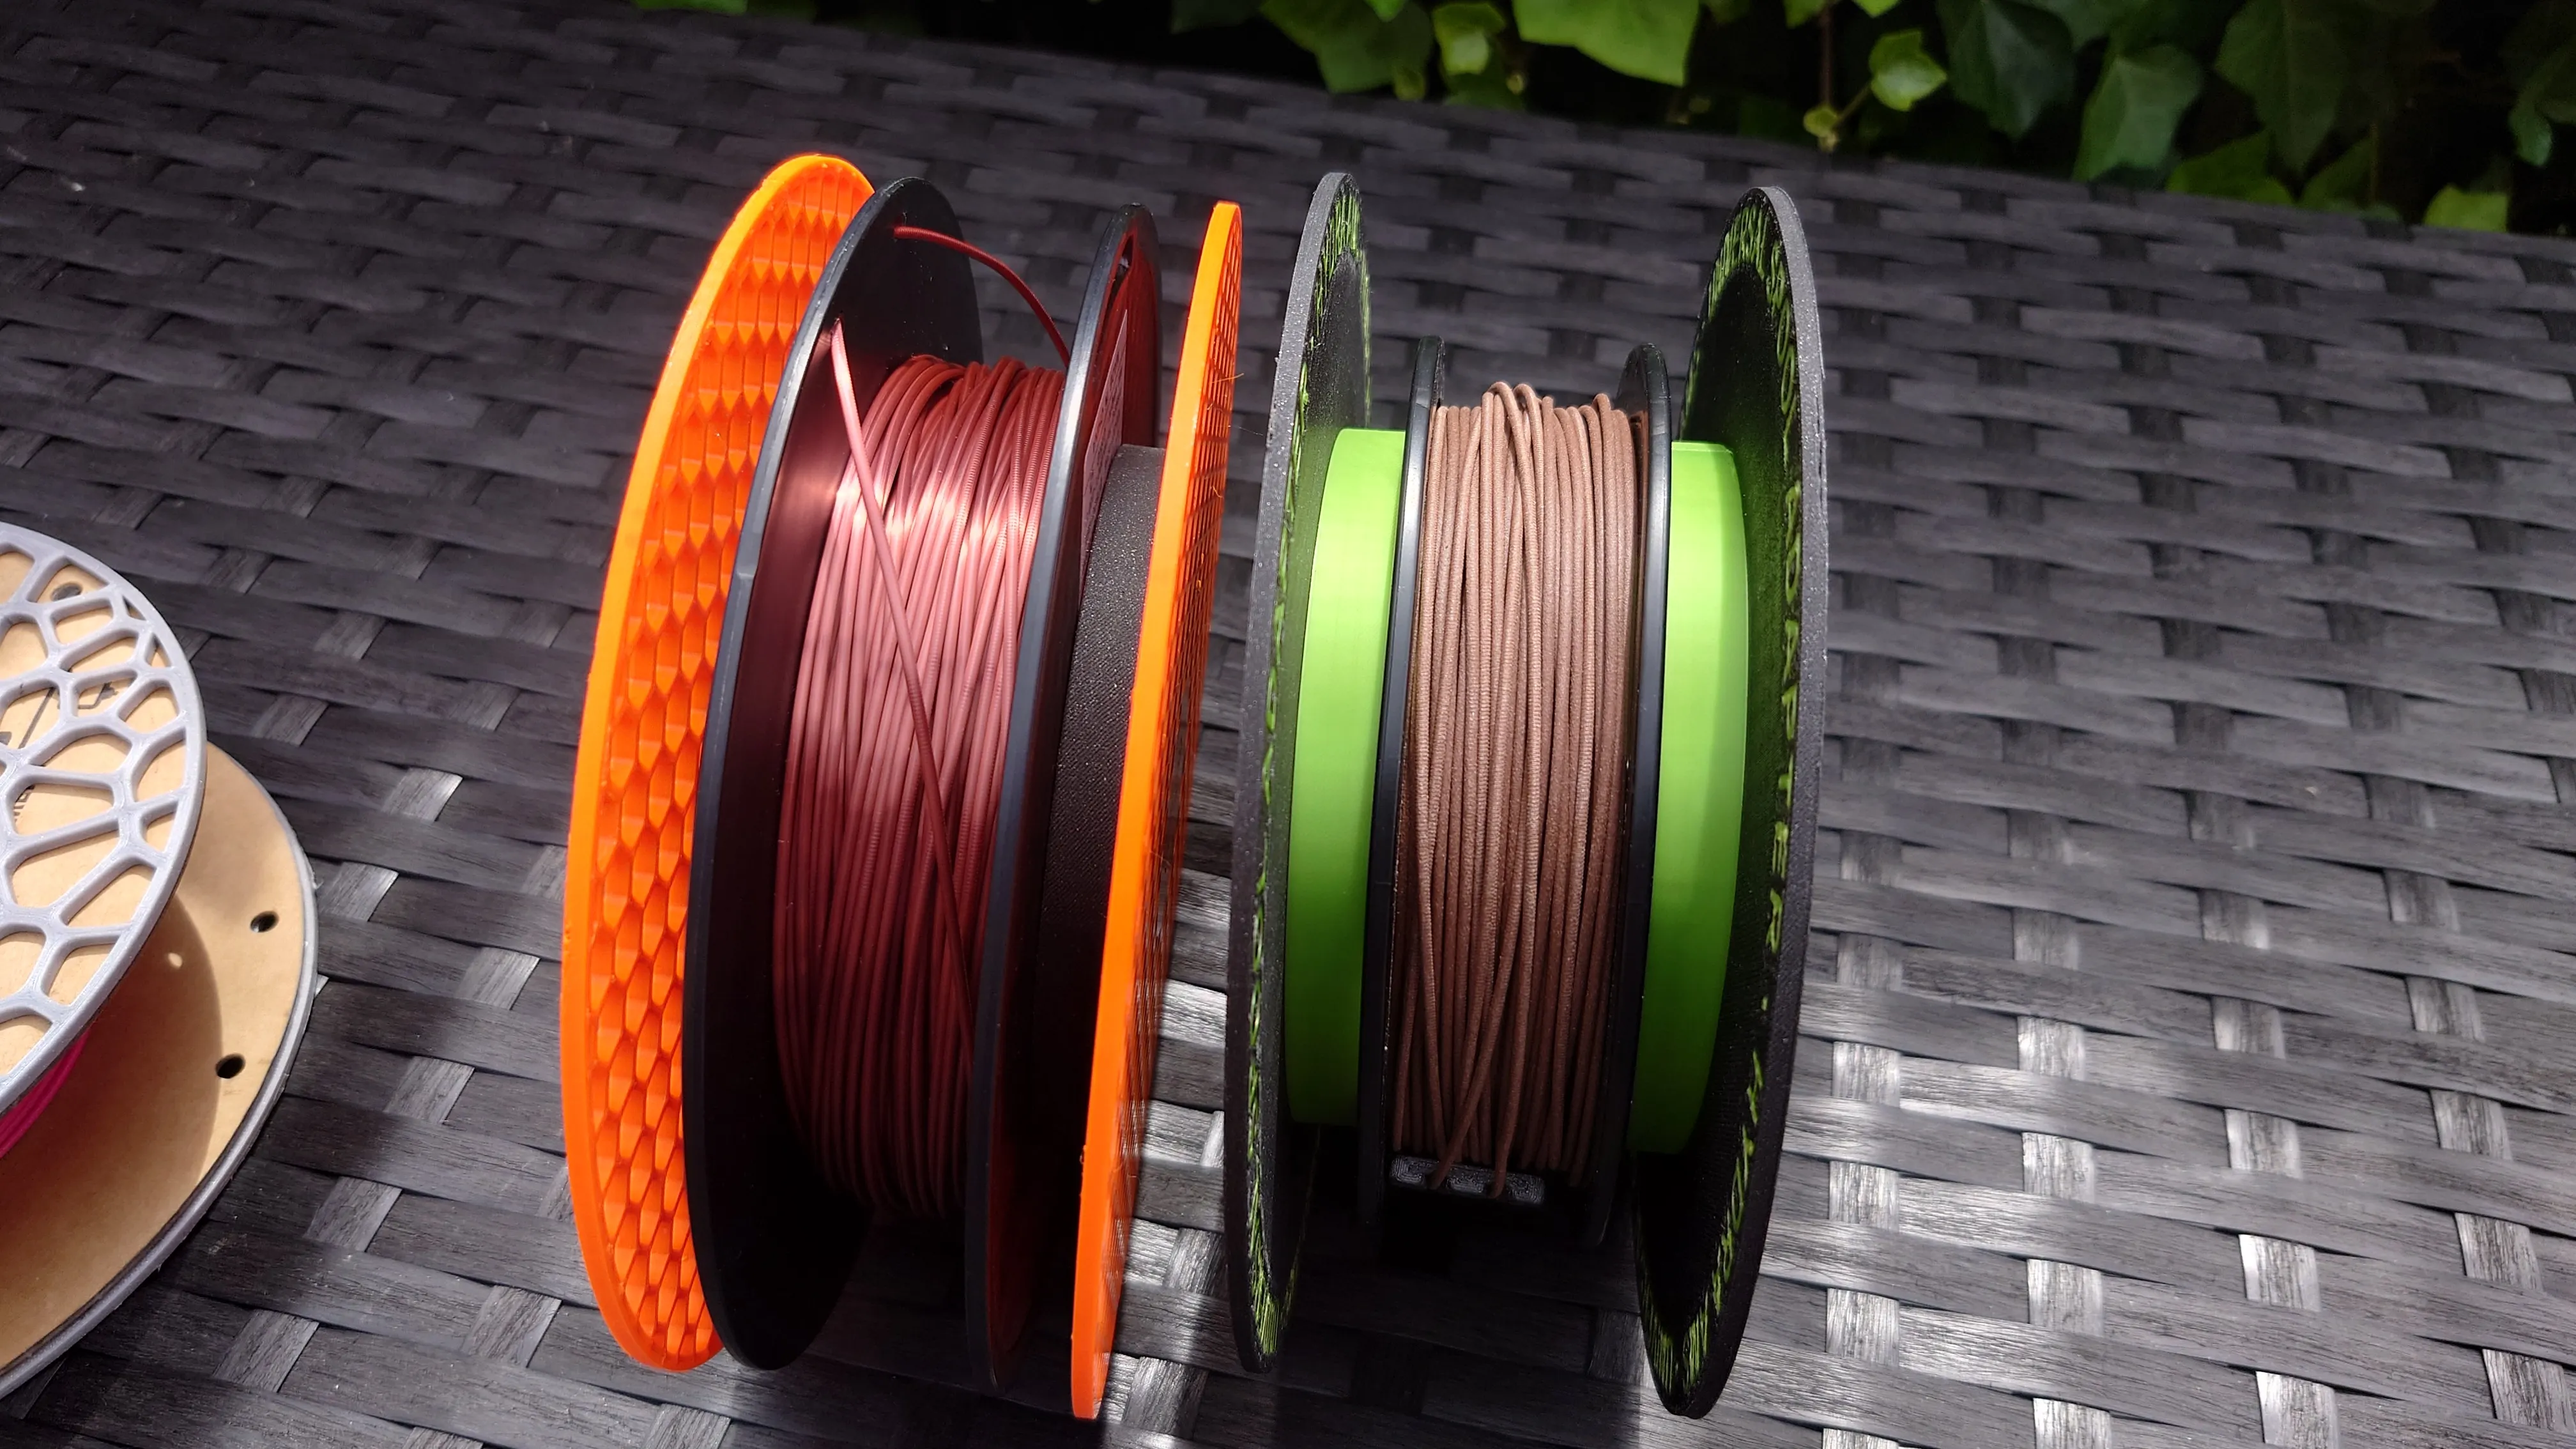
I usually recommend adding some electrical tape to the edge, it works well. But you can also use this new adapter I've developed. It's compatible with spools up to 69 mm wide with Hydra as it adds 6 mm to the total spool width.
I ordered a bunch of odd sized spools just to develop this mod as it's often requested.
So what makes this different from other spool adapters?
Features
- It adds weight to the spool, reducing the chance of the spool jumping up and jamming.
- You can fill it with silica gel to keep the spool dry. One spool adapter holds around 20g of silica gel beads. It's more than sufficient, especially when paired with the front mounted Hydra - Silica Gel Boxes.
- It's Universal, just print a couple of center rings matching the inner diameter of the spool you're using.
- It allows printing of narrow 250g sample spools and narrow 500g spools that would normally jam against the clear cover of the AMS feeder.
- You can use it with cardboard spools as a raised spool edge around it. As the spool diameter of this is 201 mm, it's a little larger than most cardboard spools so it would run on the printed part in the AMS instead of the actual cardboard rim.
What to Print
Print the following parts in the direction I have set them, no supports are needed:
- hydra-universal-spool-adapter-hex-bottom.3mf
- hydra-universal-spool-adapter-hex-top.3mf
- hydra-universal-spool-adapter-lid.3mf
(You can use the Voronoi or Solid spool types instead if you prefer)
Next, measure the inner diameter of the spool you are using and print a couple of the center rings matching that diameter, rounded down to the nearest millimeter.
For example, if your spool's inner diameter is 52.3 mm, print two of these:
- hydra-52mm-center-ring.3mf
The center rings make sure the spool is perfectly centered and aligned on the Universal Spool Adapter. There are center rings for spools with a spool center diameter between 40 and 95 mm.
Also, if you have a very narrow spool (less than around 40 mm) you should use the spool spacers to widen the track so it does not hit the clear cover of the AMS front feeder. There is a 6 mm spacer available as well.
- 12mm-spacer.3mf
Video Guide
Assembly
If you just want to use it as a spool adapter and nothing else, for example when using a cardboard spool, simply screw the center rings on the top and bottom of the spool adapter then screw it together with the spool in between.
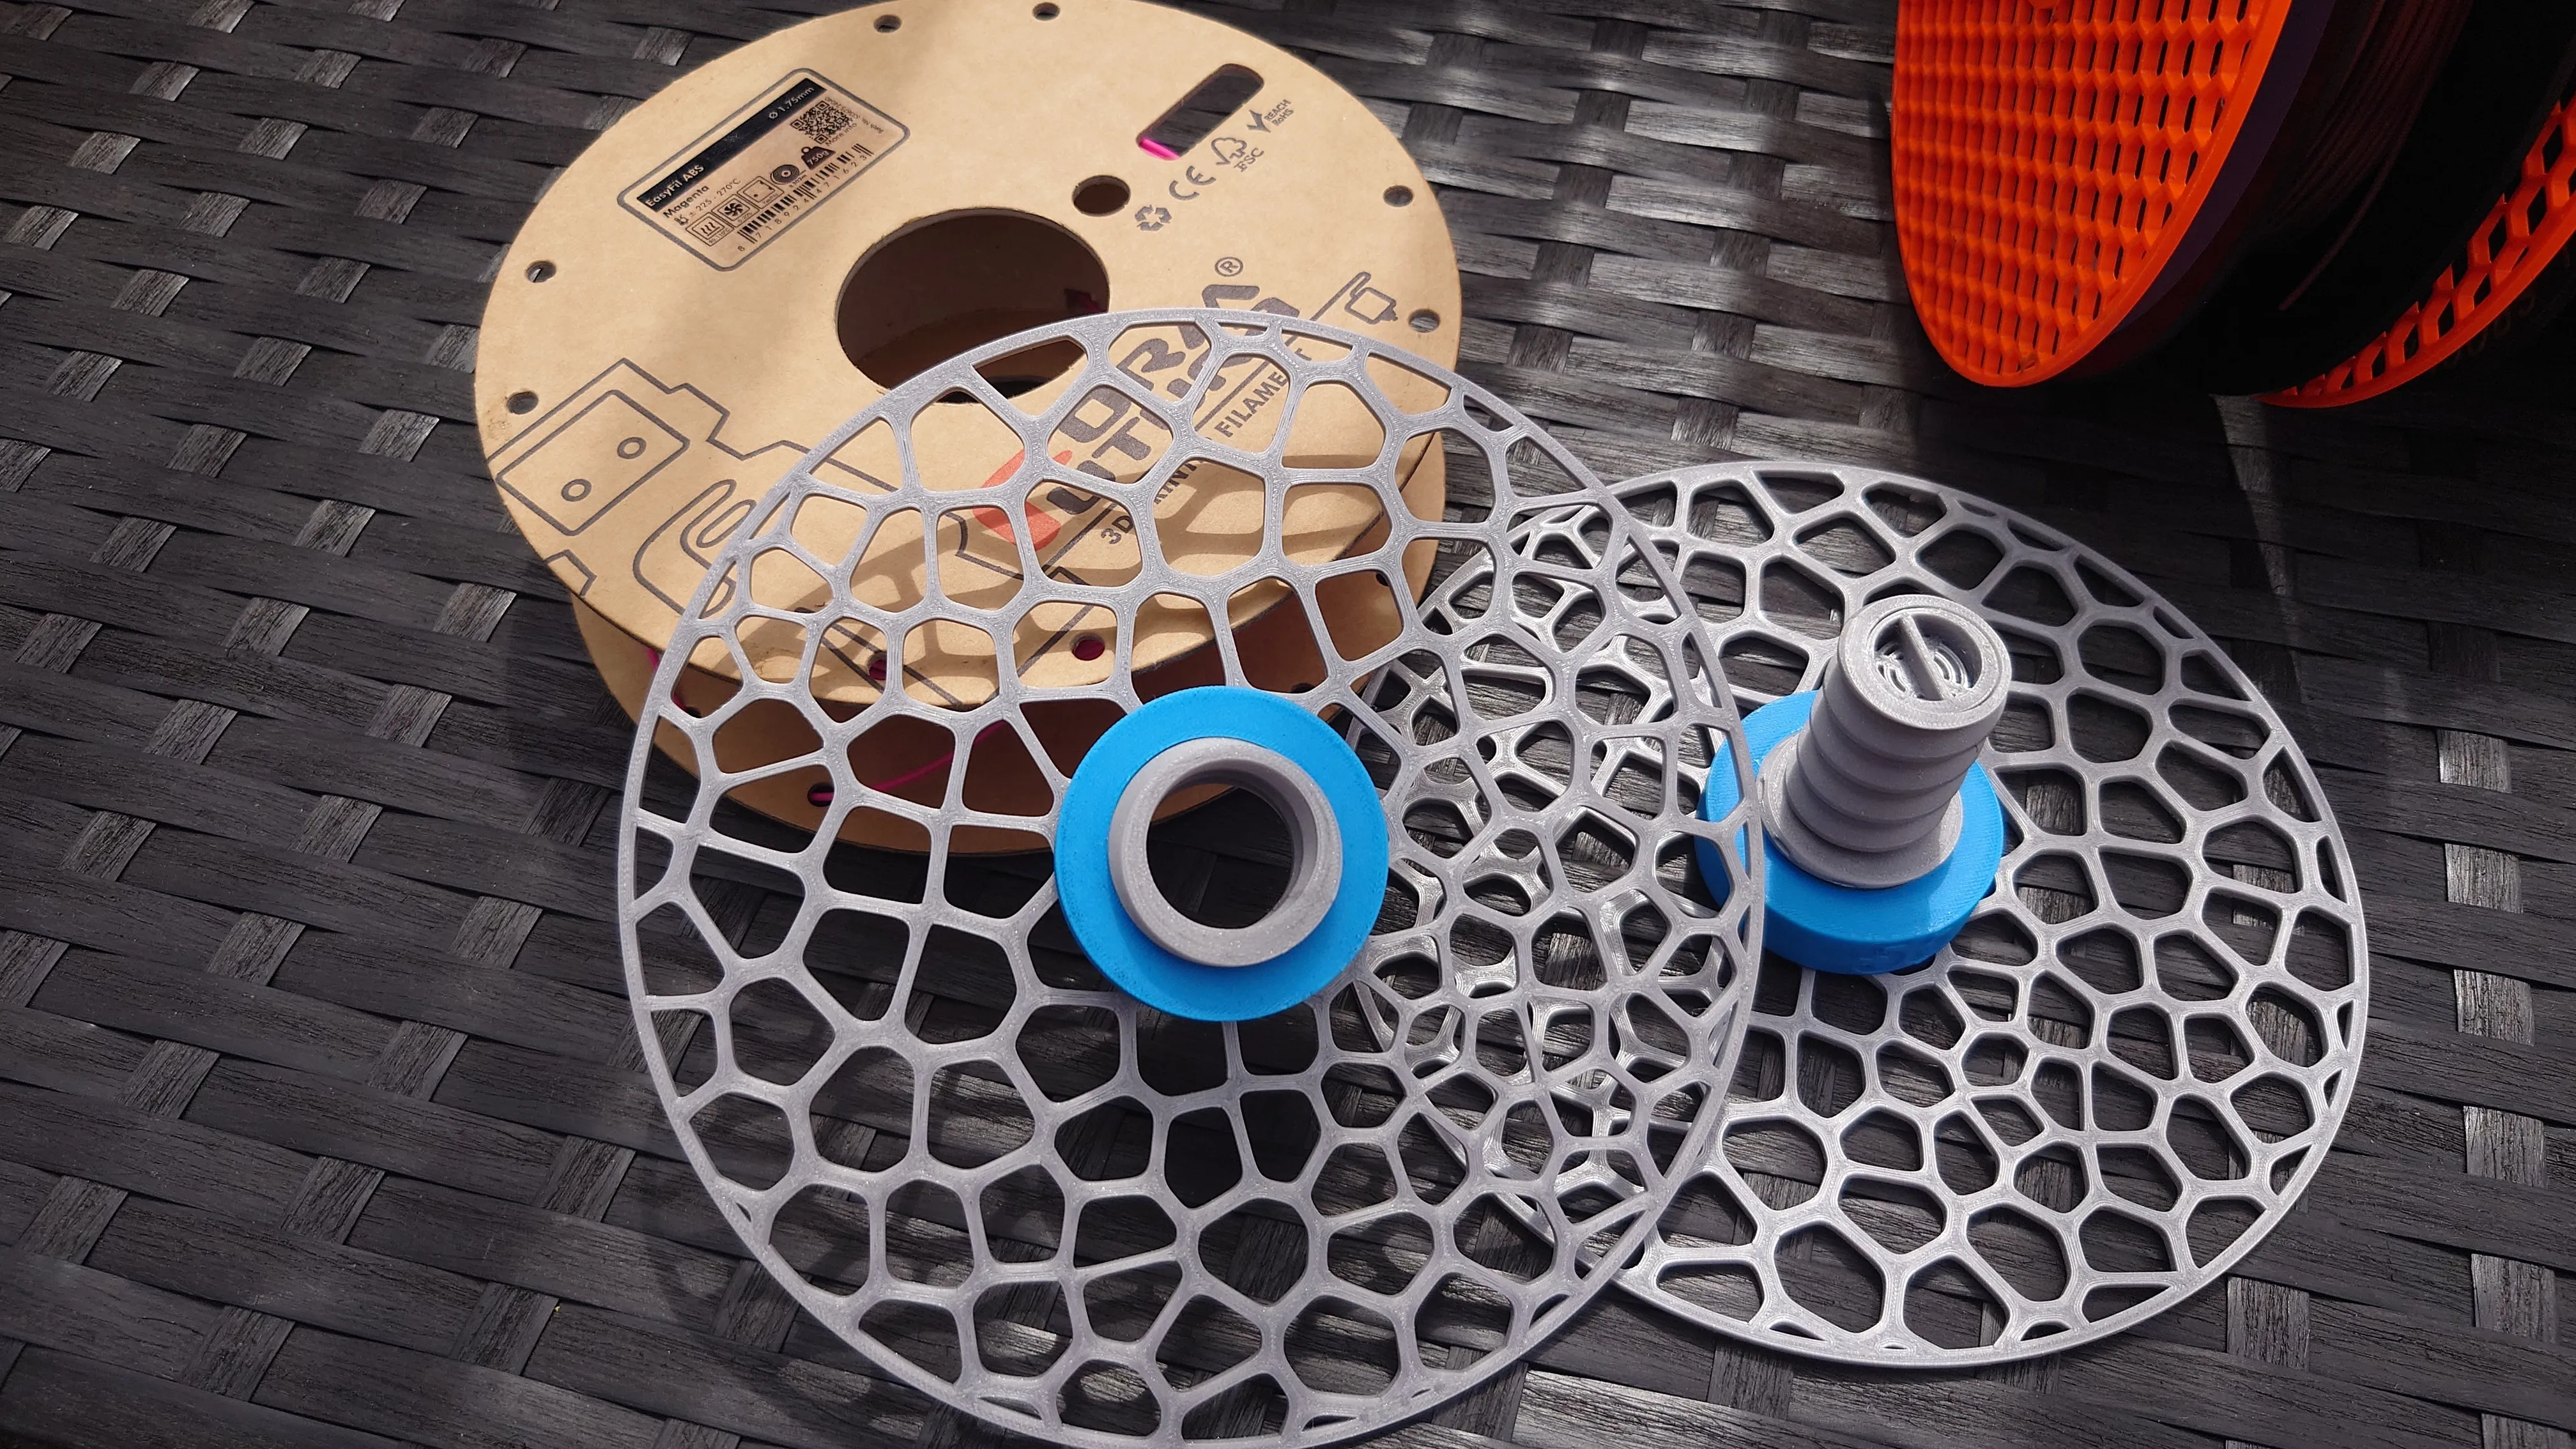
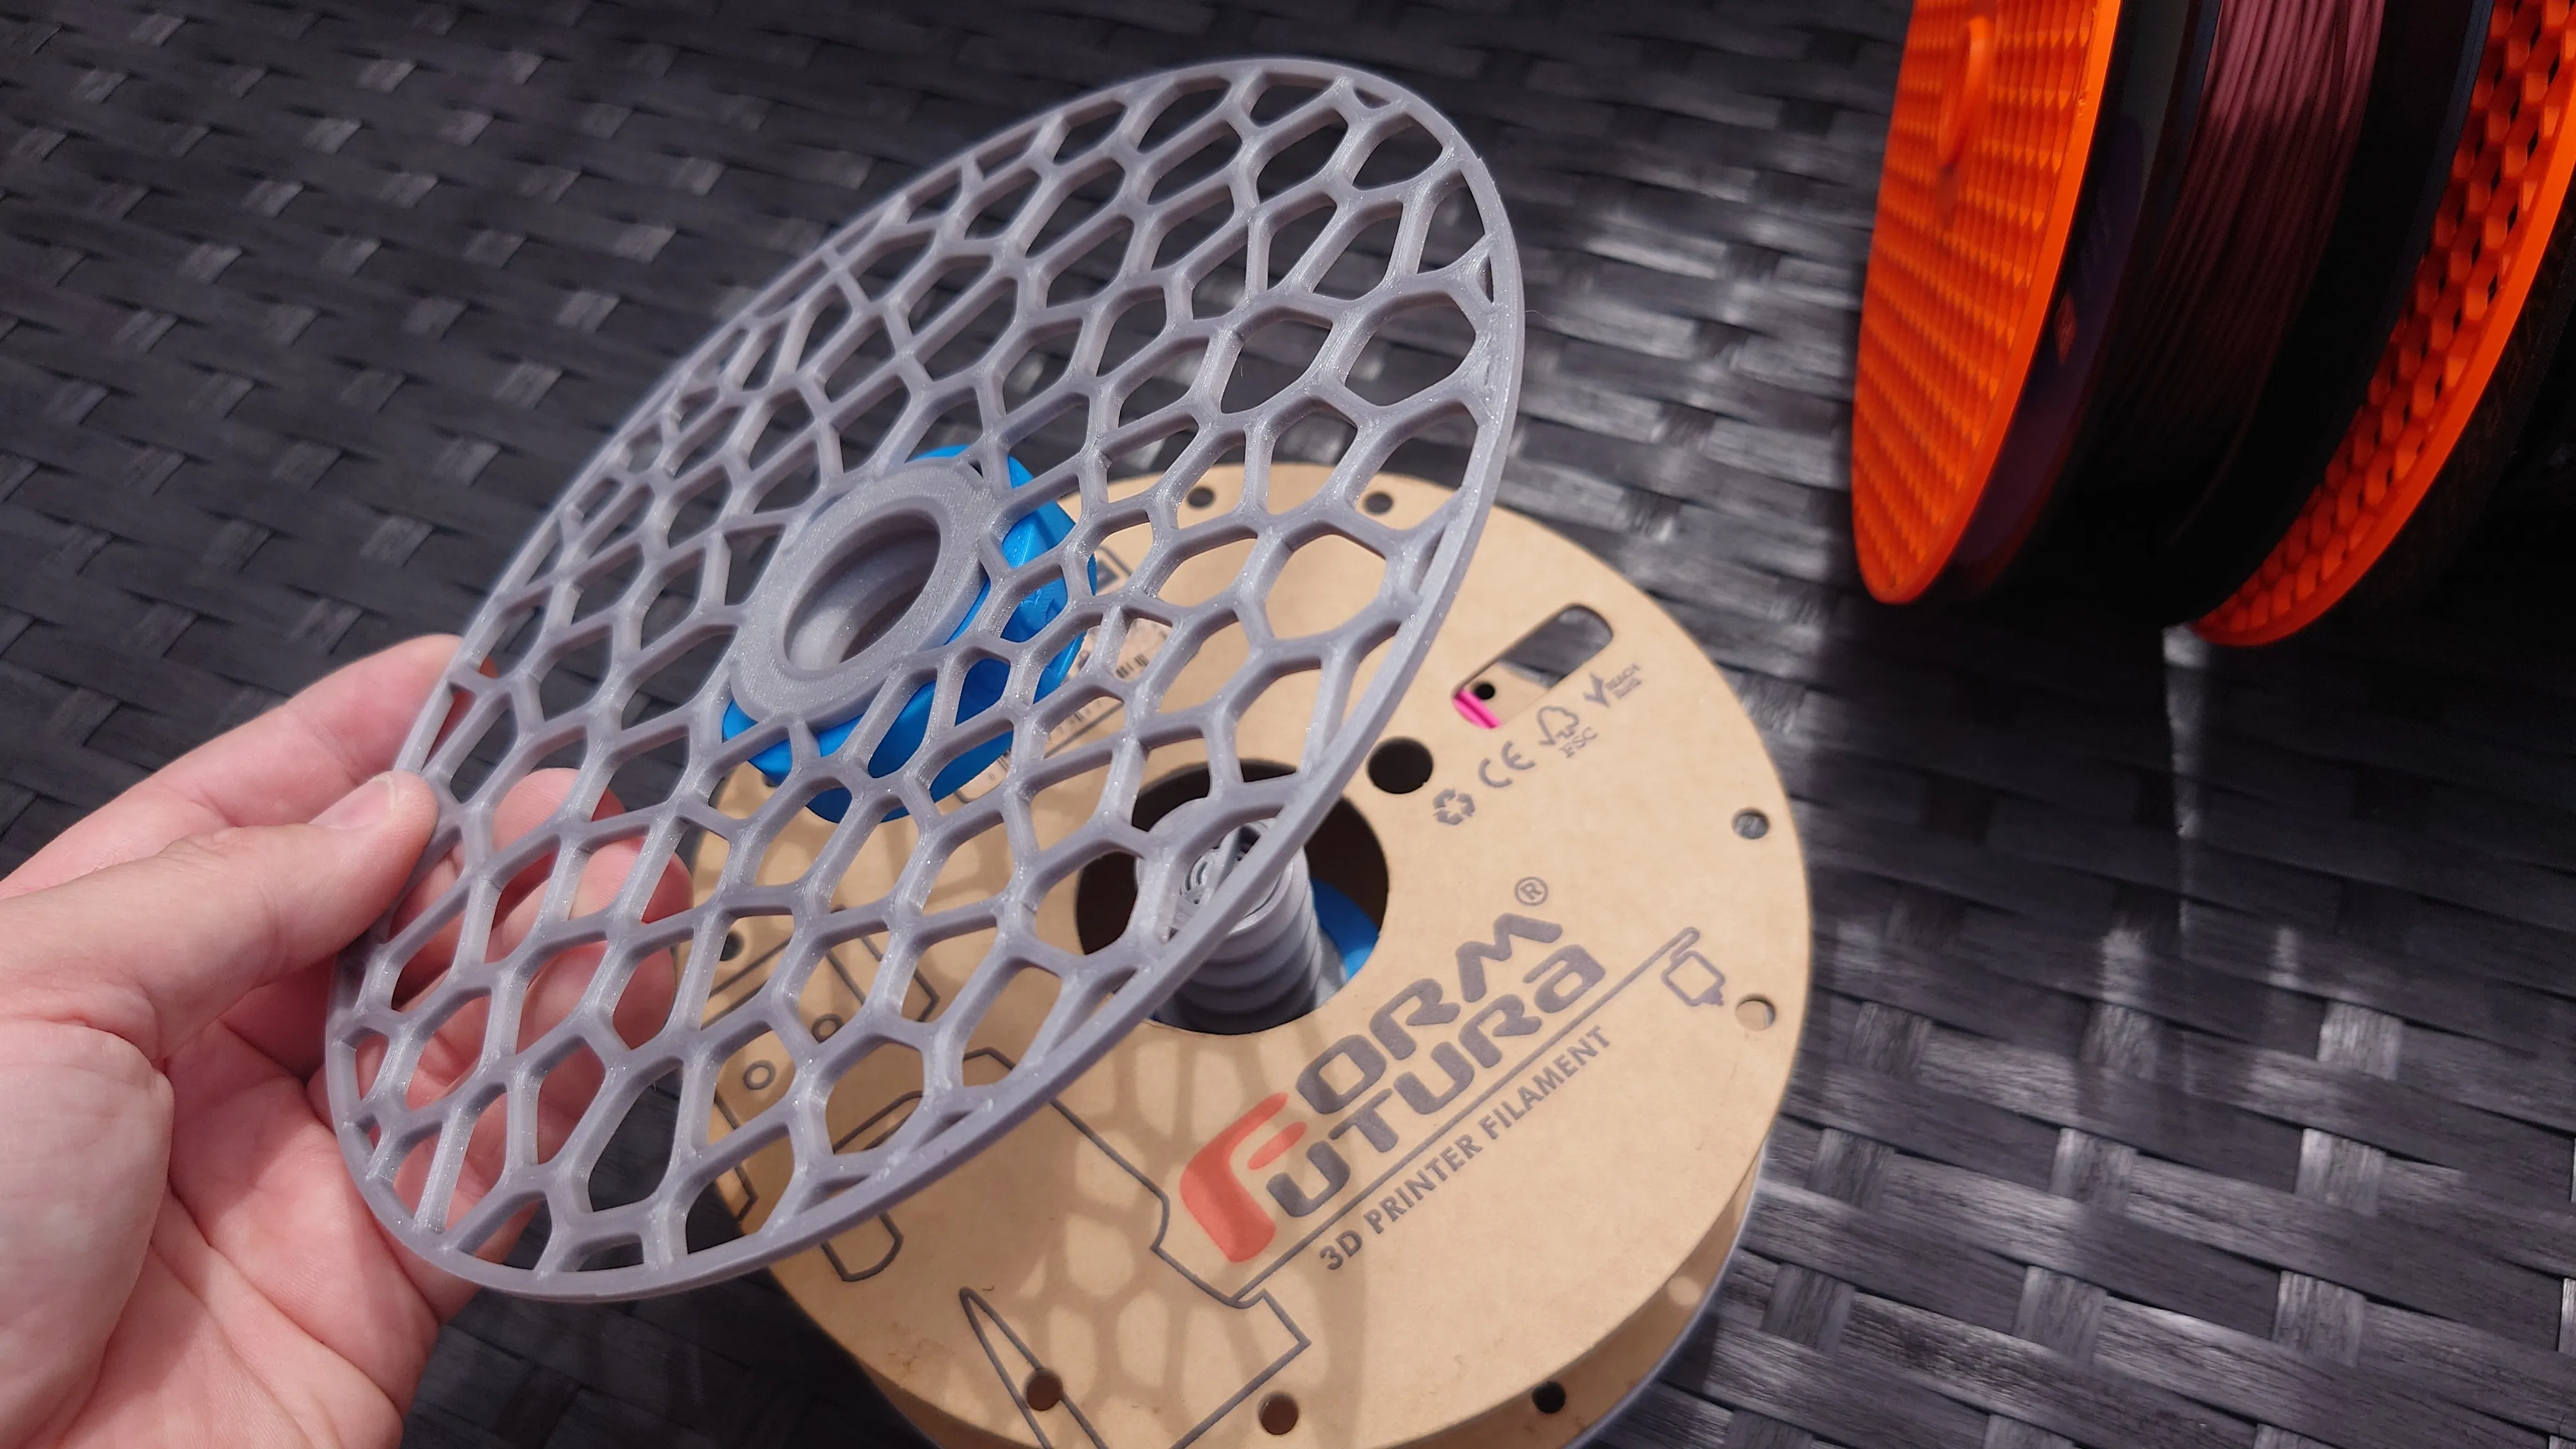
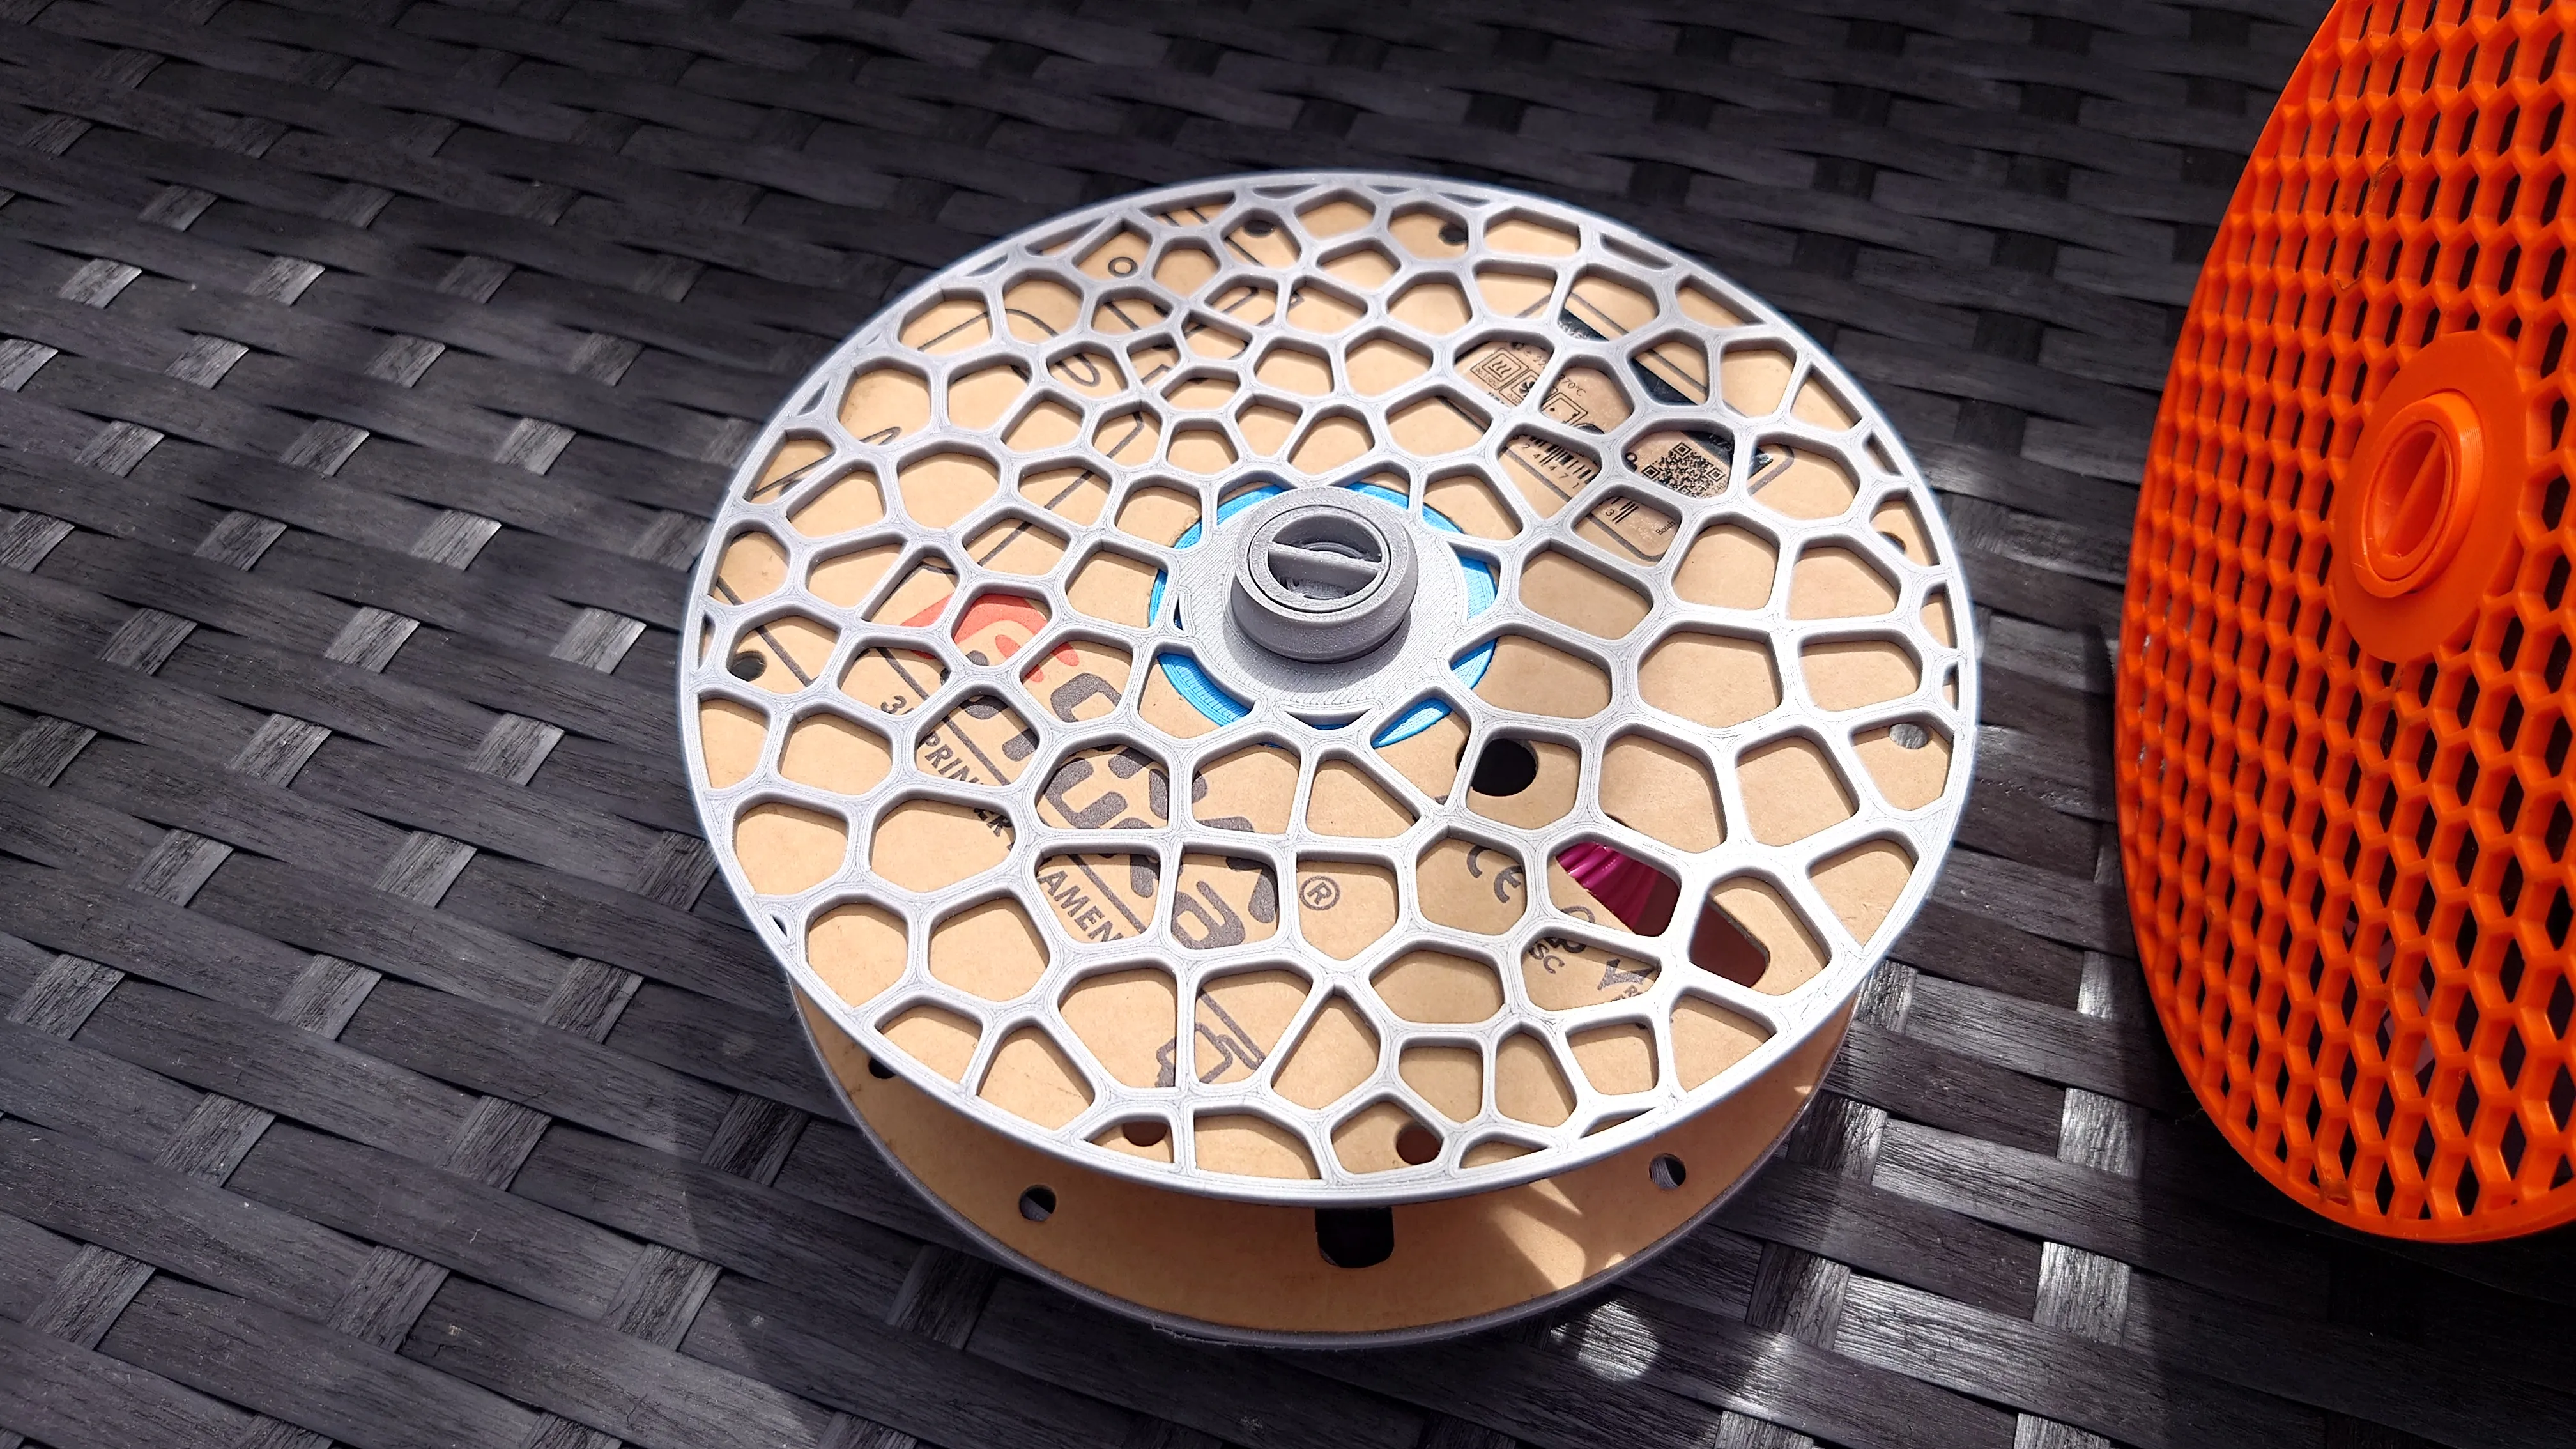
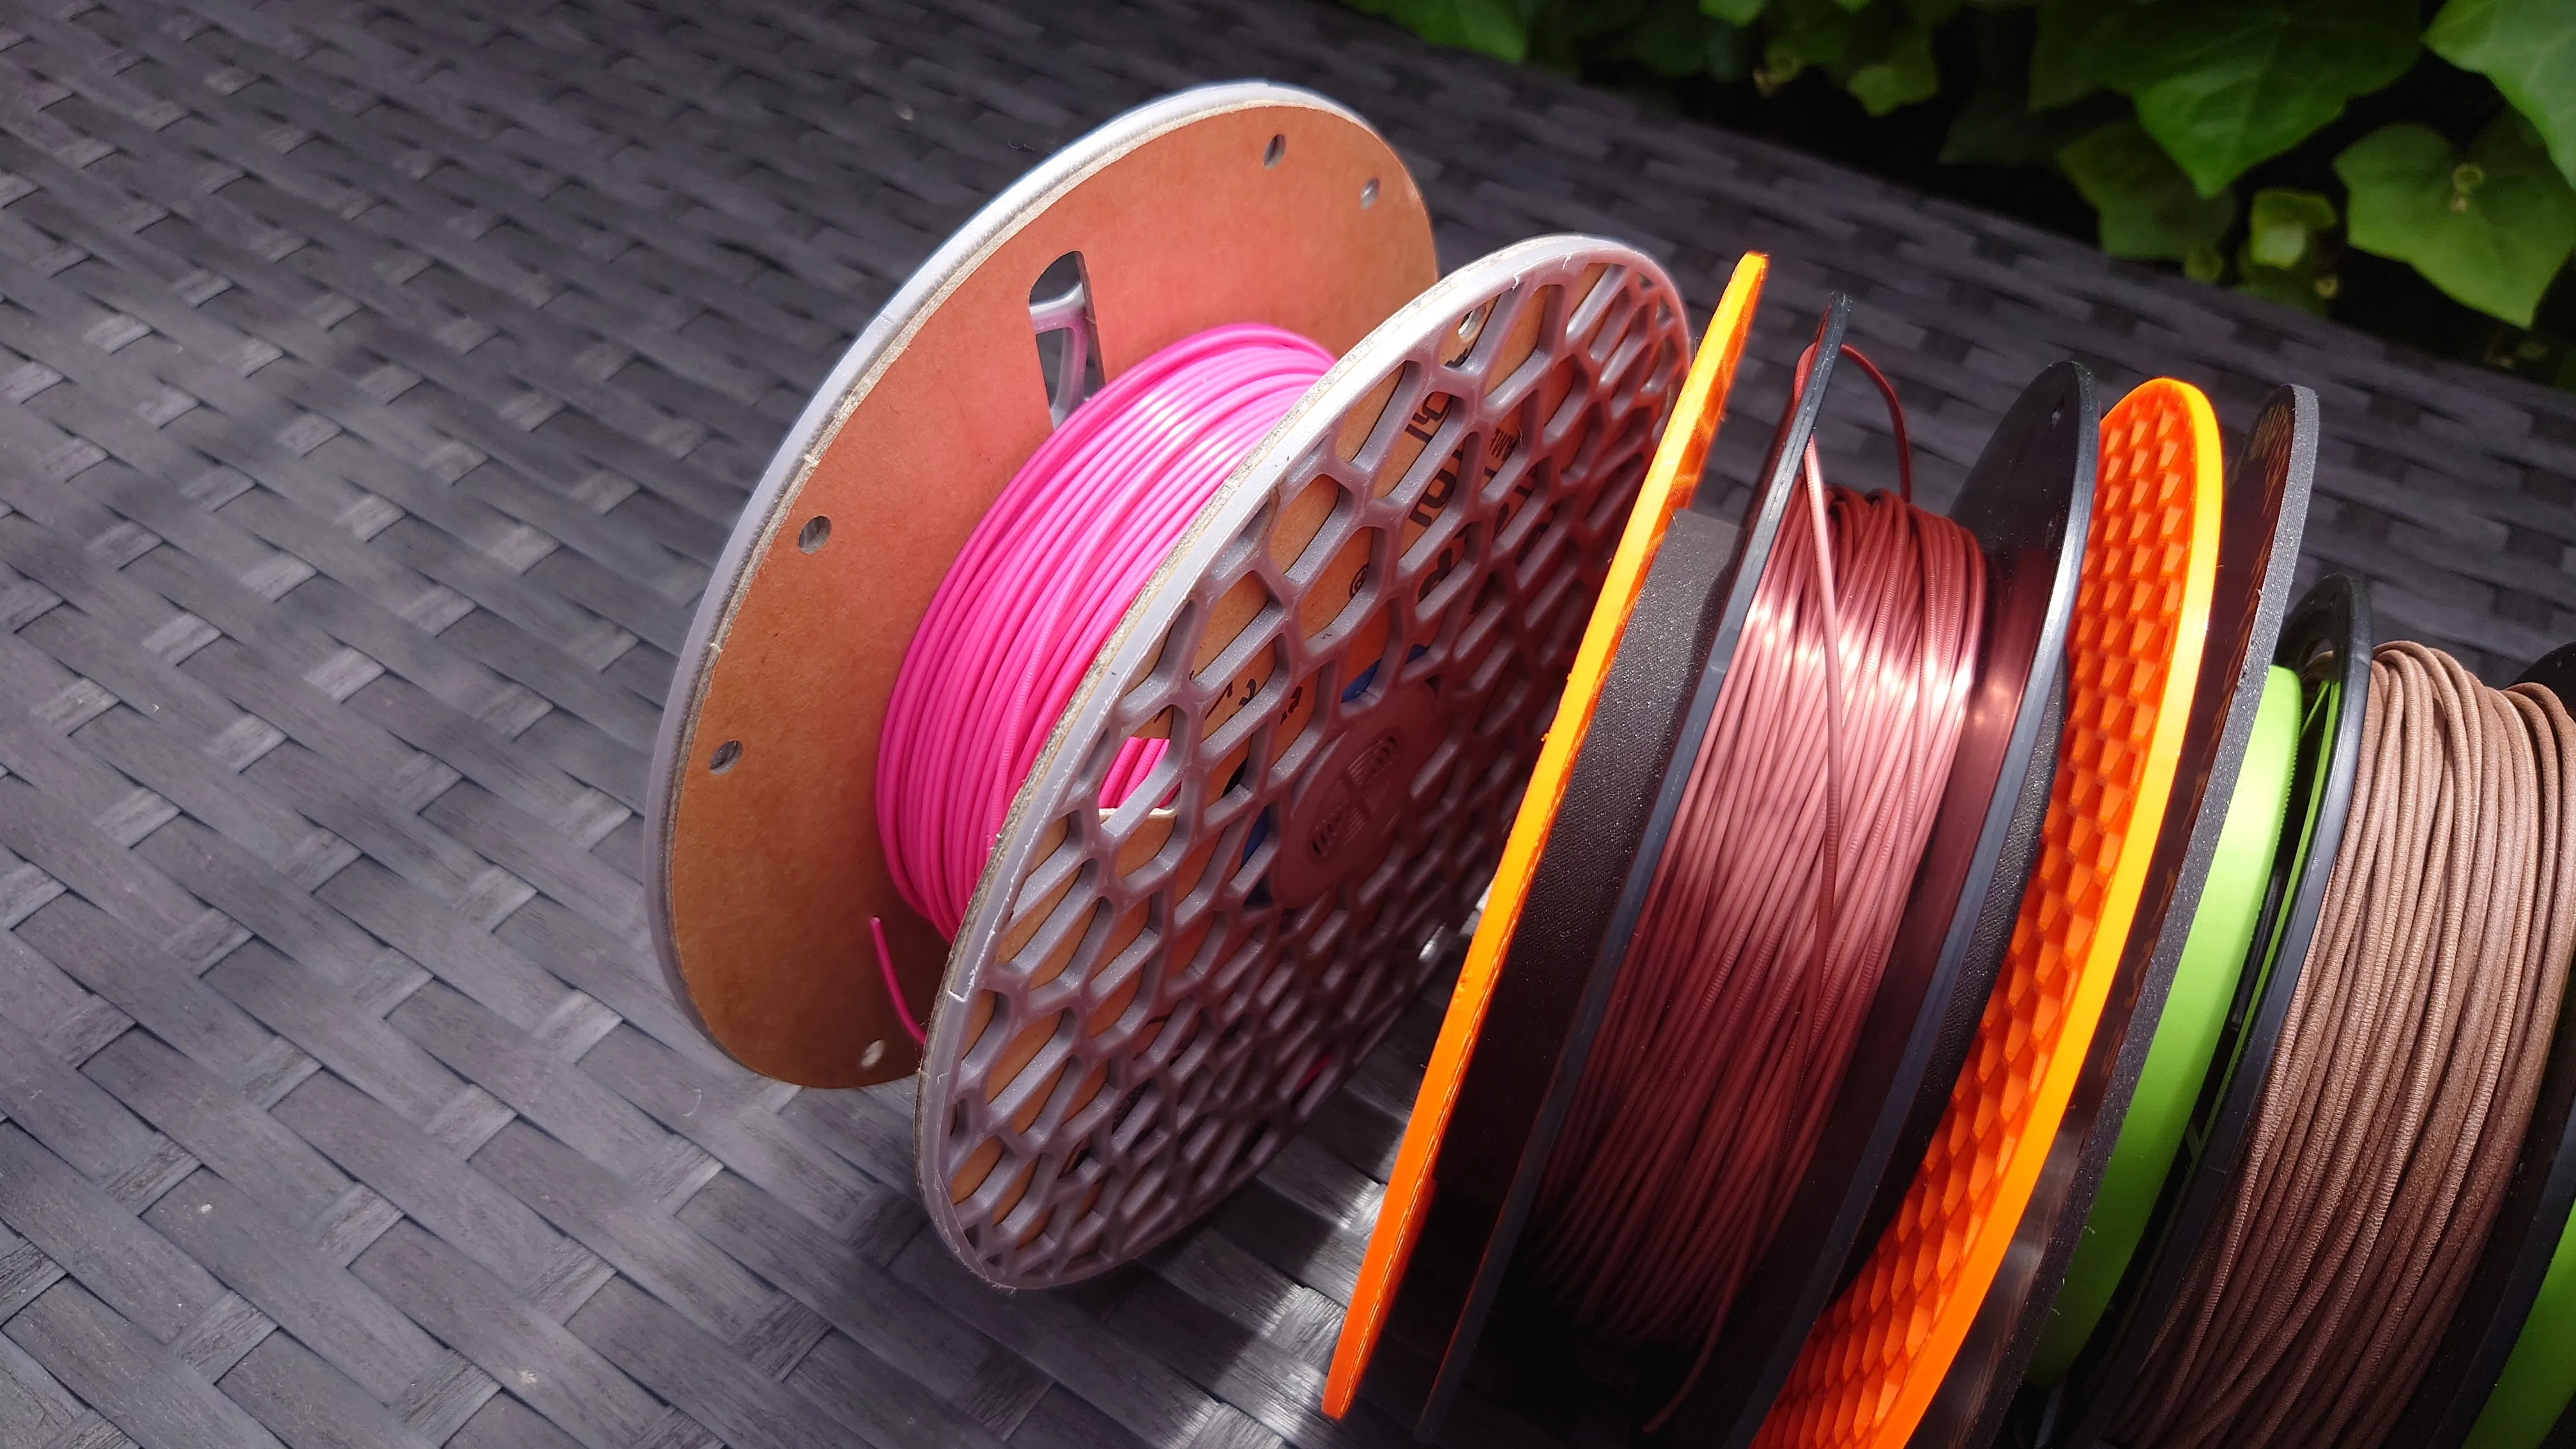
If you want to use it with a sample spool or another spool with a narrow footprint, first screw the spacers to the top and bottom of the spool adapter then screw on the center rings. Finally, screw it together with the spool in between.
This remix is based on

License



Comment & Rating (91)