
Trash Can
Print Profile(1)

Description
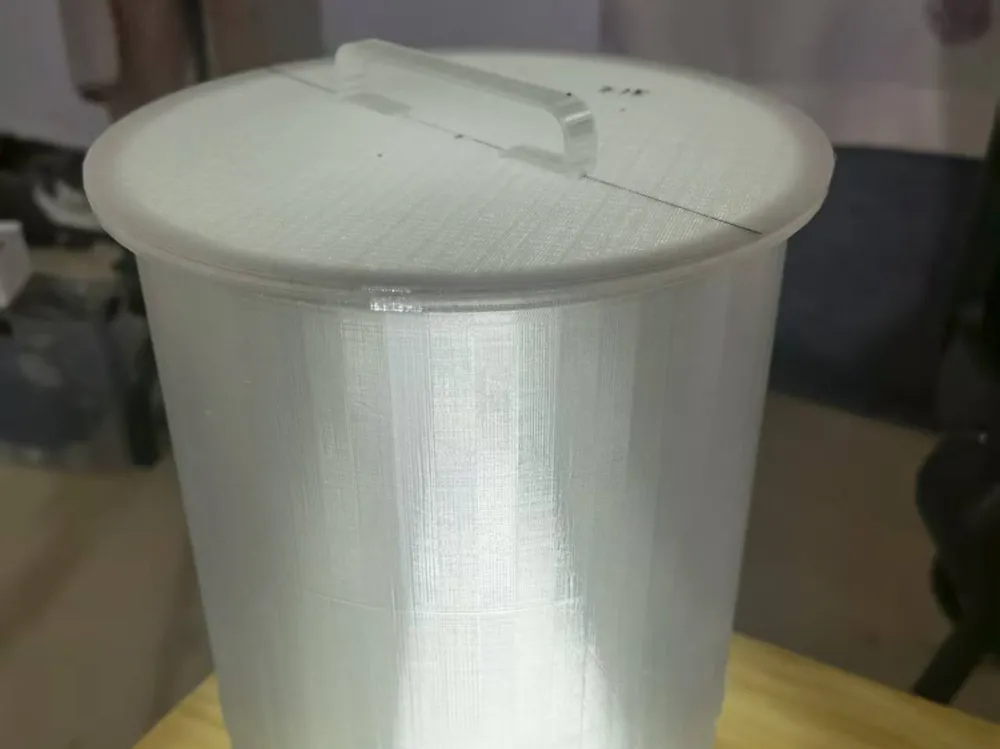
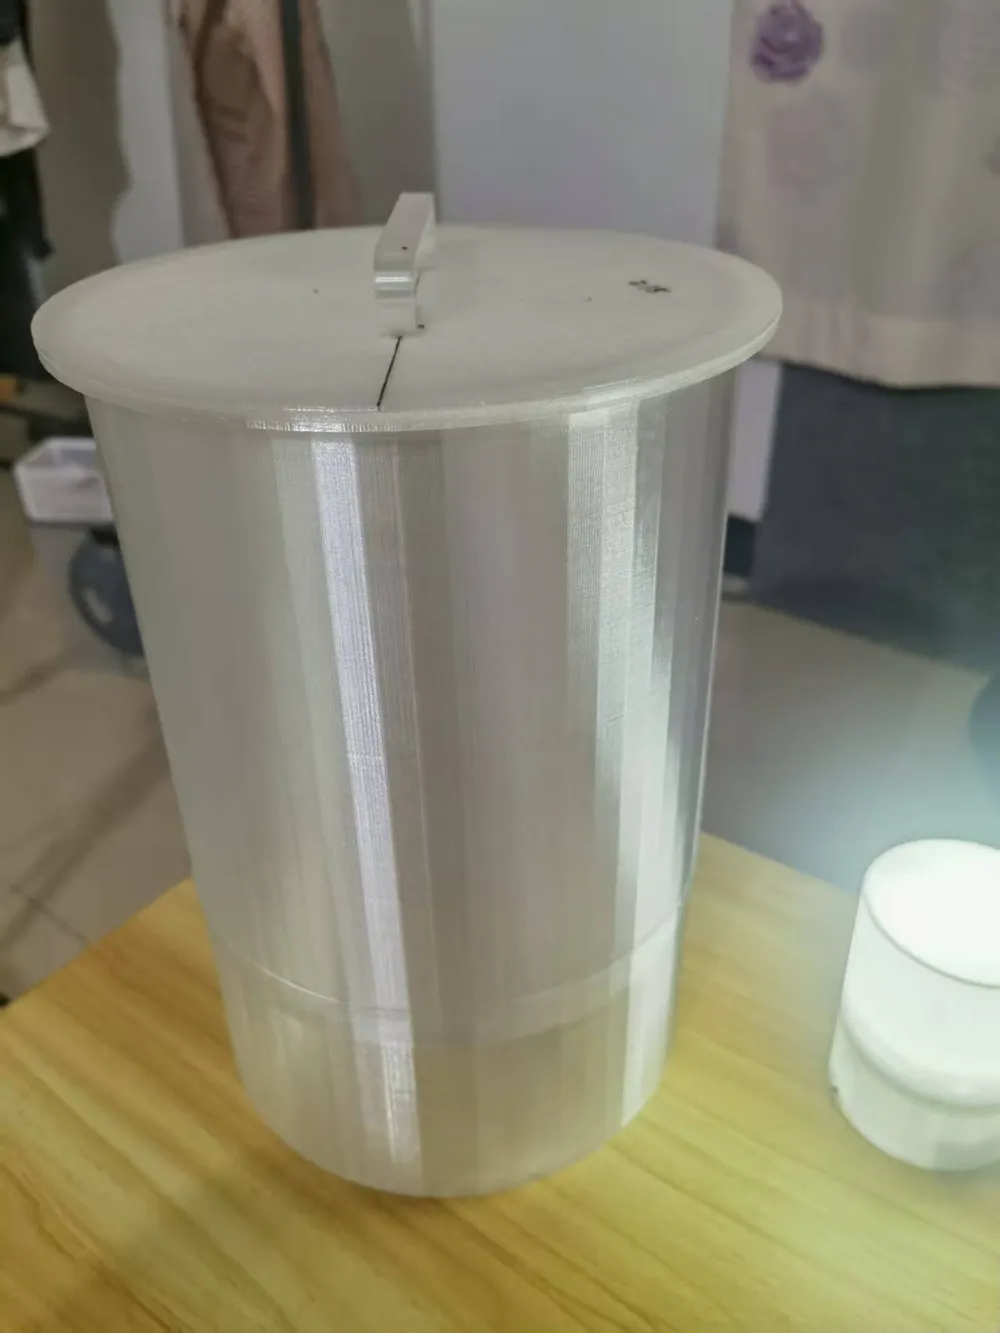
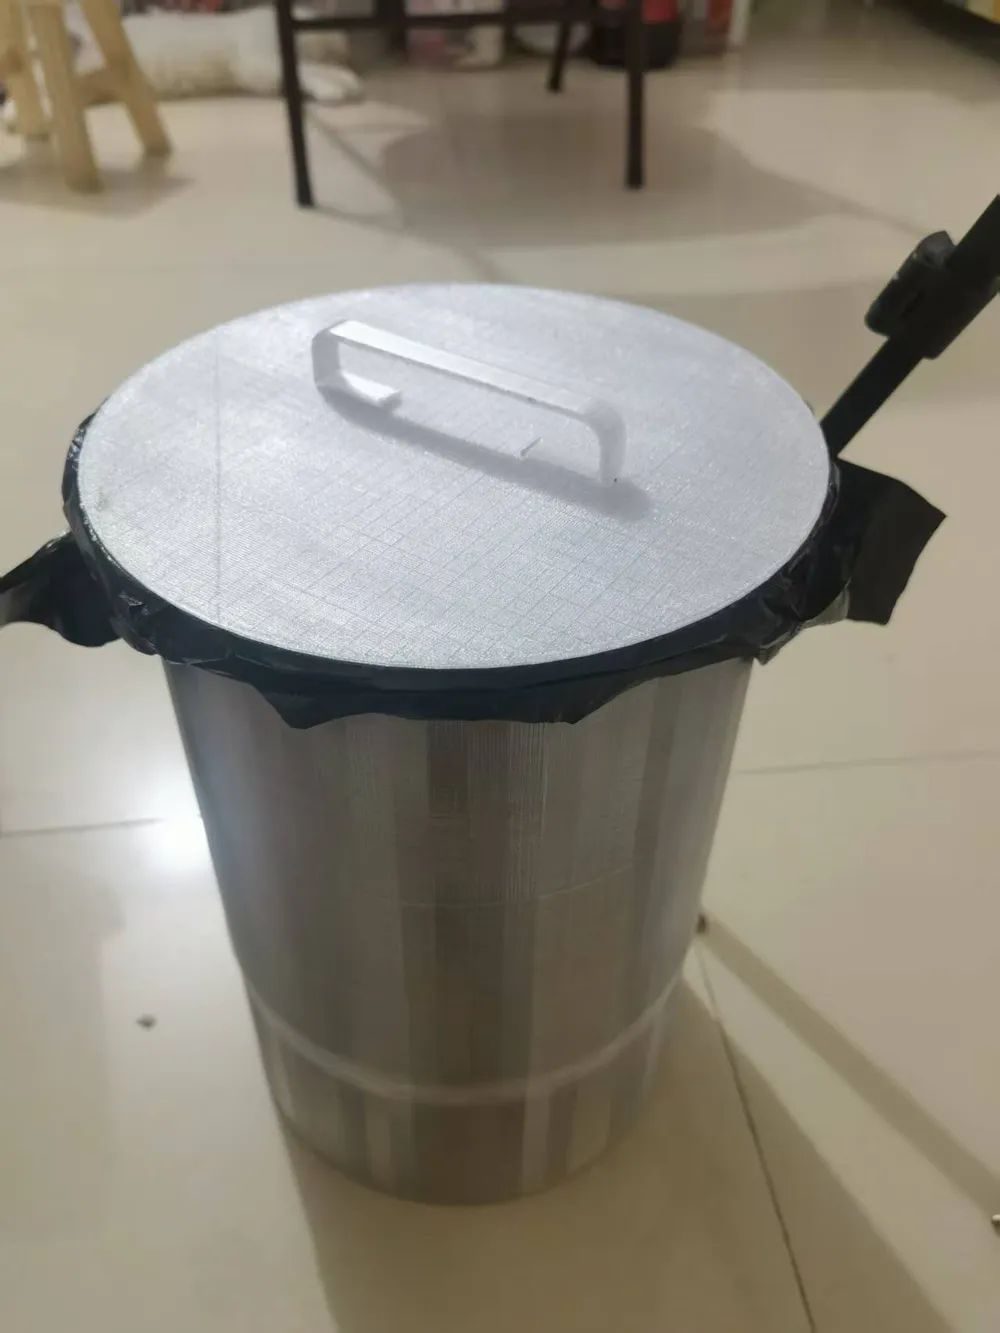
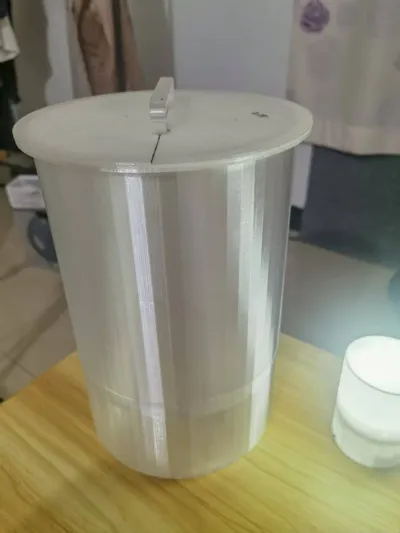
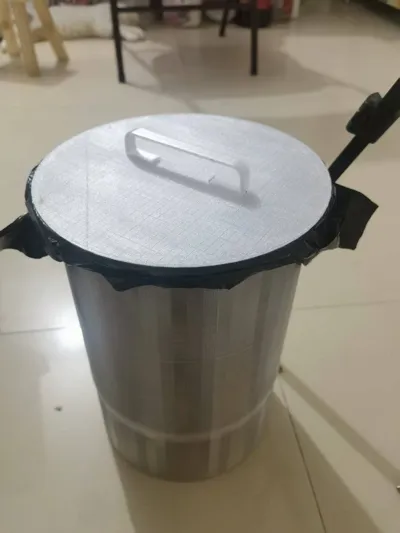
A simple, high-capacity trash can. Assembly requires UV glue
Installing the bin body: Place the bin body into the groove of the base. Gently slide it left and right to ensure it rests steadily on the base. Apply a ring of UV glue along the exterior joint between the bin body and the base, then cure with a UV light
Installing the lid handle: Place the handle in the appropriate central position on the lid and mark the location with a marker. Then, pick up the handle and apply two lines of UV glue to the left and right adhesive points on its underside. Place the handle back onto the marked position on the lid and cure the front with a UV light. Invert the lid, resting it flat on the ground using the handle as support. Place UV flashlights on each of the two adhesive points and illuminate for a sufficient time to complete the curing and bonding
At this point, a well-sealed trash can has been assembled. The lid provides air damping when placed on the trash can, allowing for a very smooth closure
License

You shall not share, sub-license, sell, rent, host, transfer, or distribute in any way the digital or 3D printed versions of this object, nor any other derivative work of this object in its digital or physical format (including - but not limited to - remixes of this object, and hosting on other digital platforms). The objects may not be used without permission in any way whatsoever in which you charge money, or collect fees.


Comment & Rating (0)