
Zapper
Print Profile(0)
Description
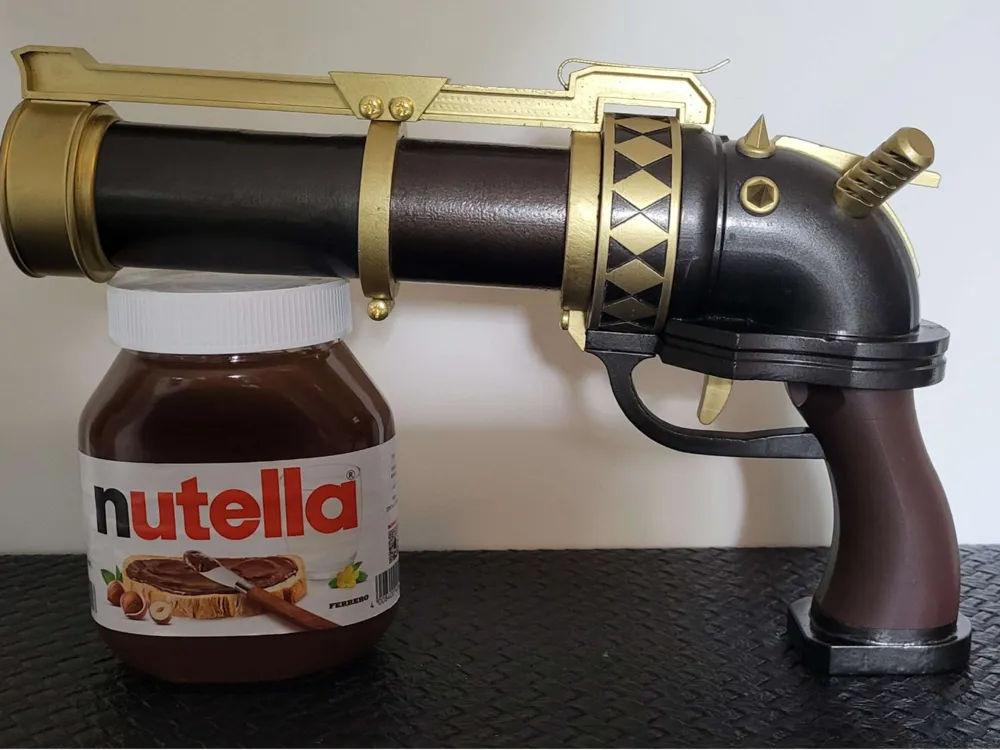
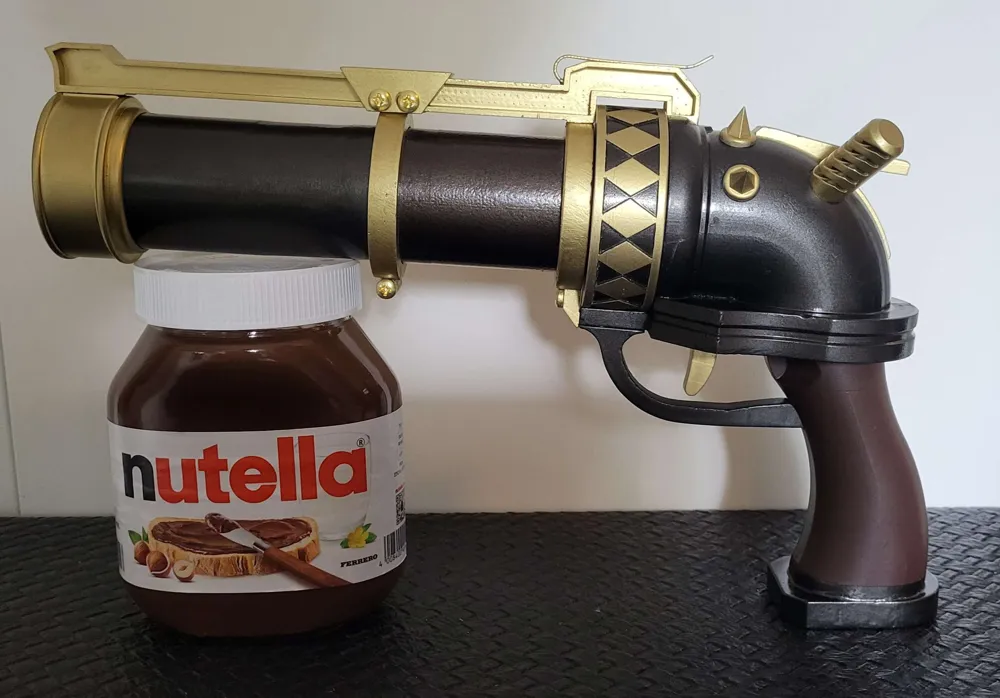
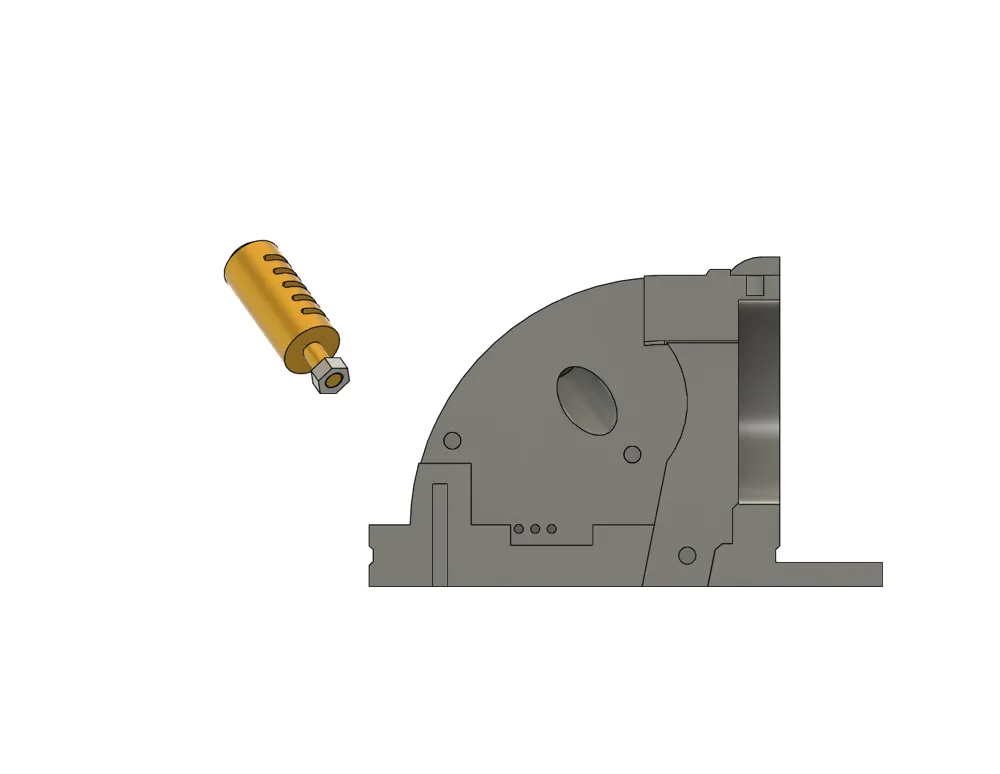
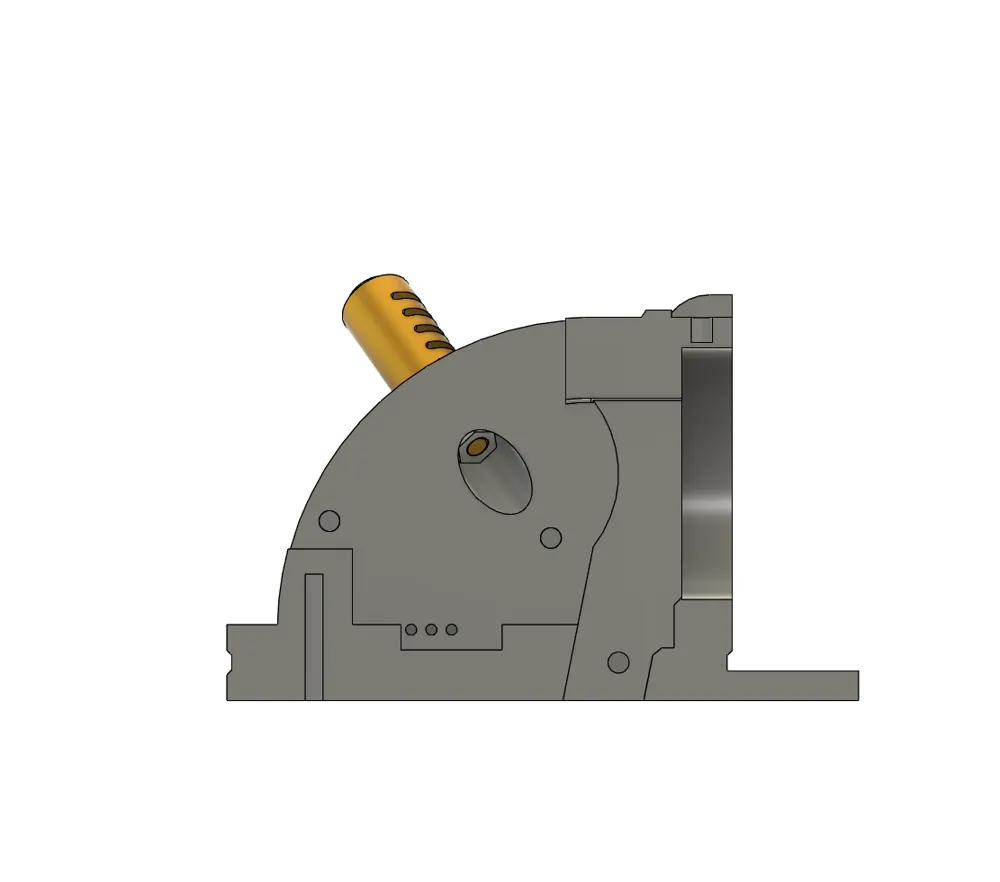
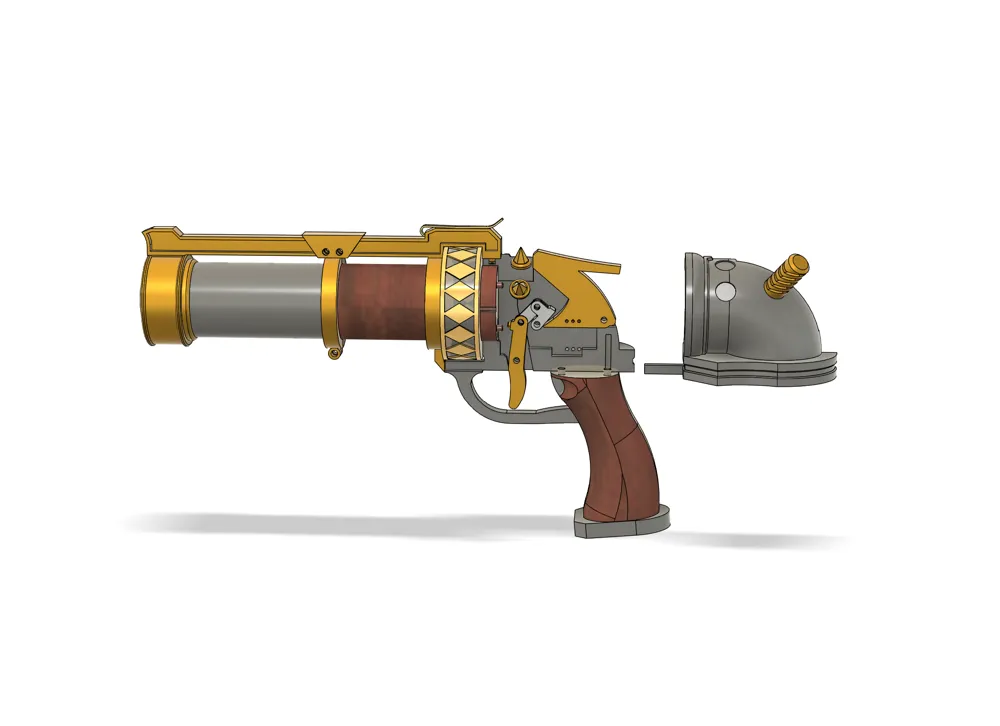
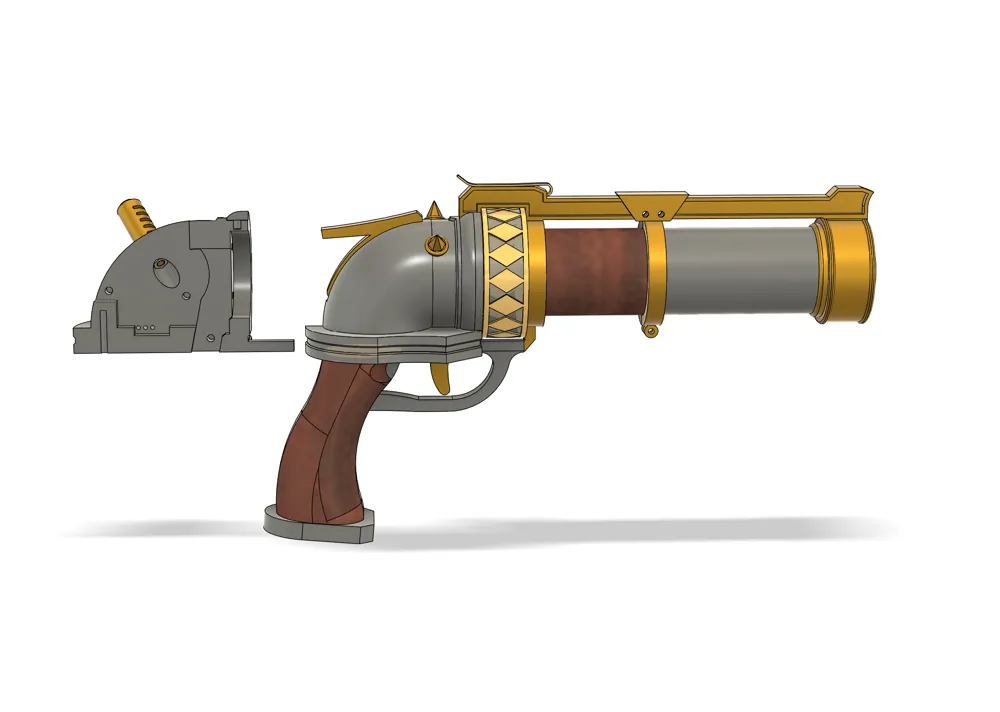
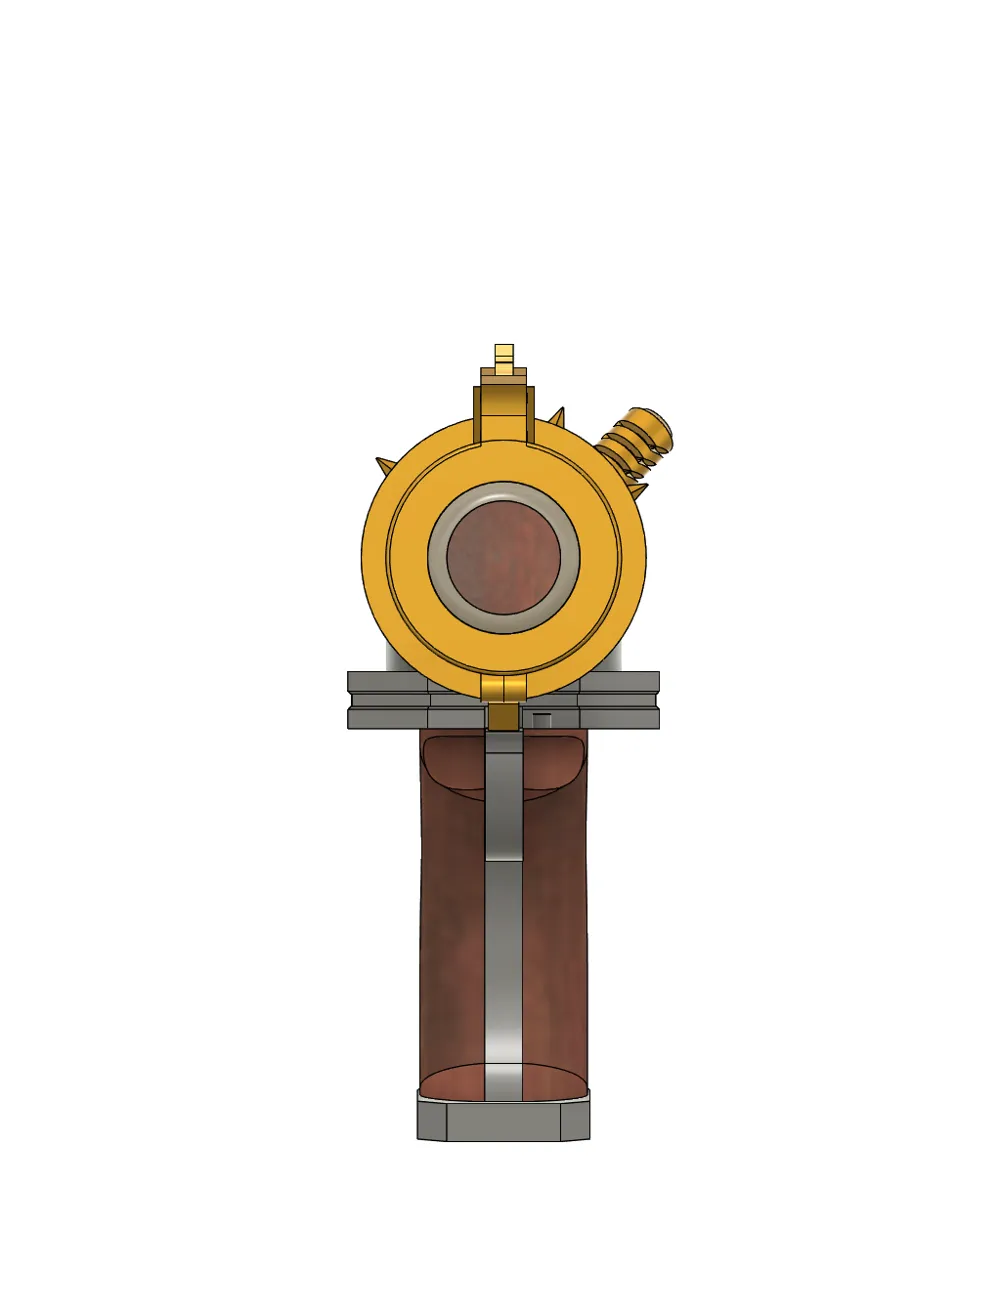
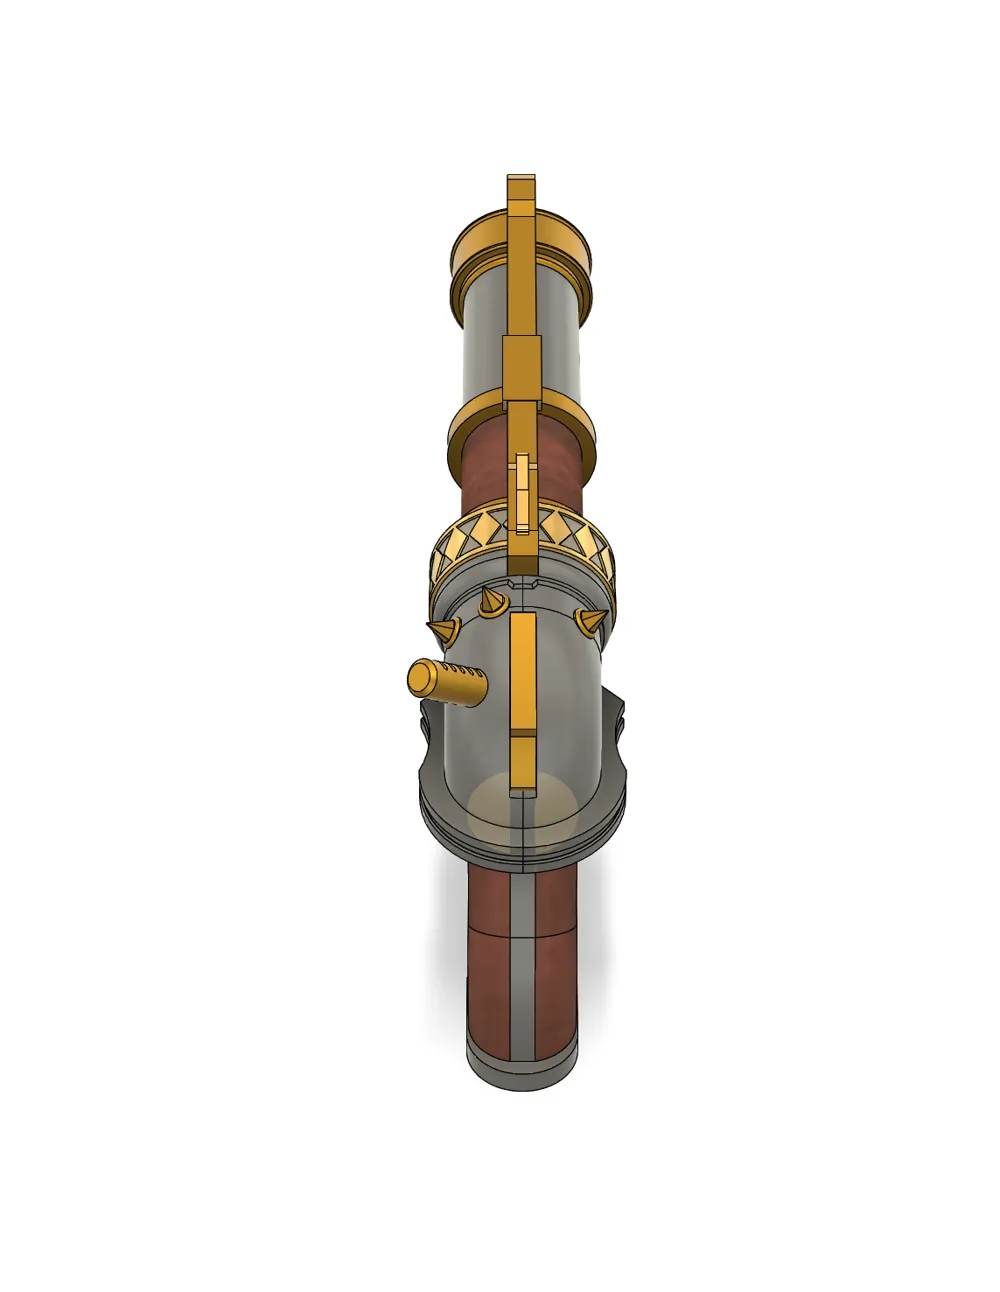
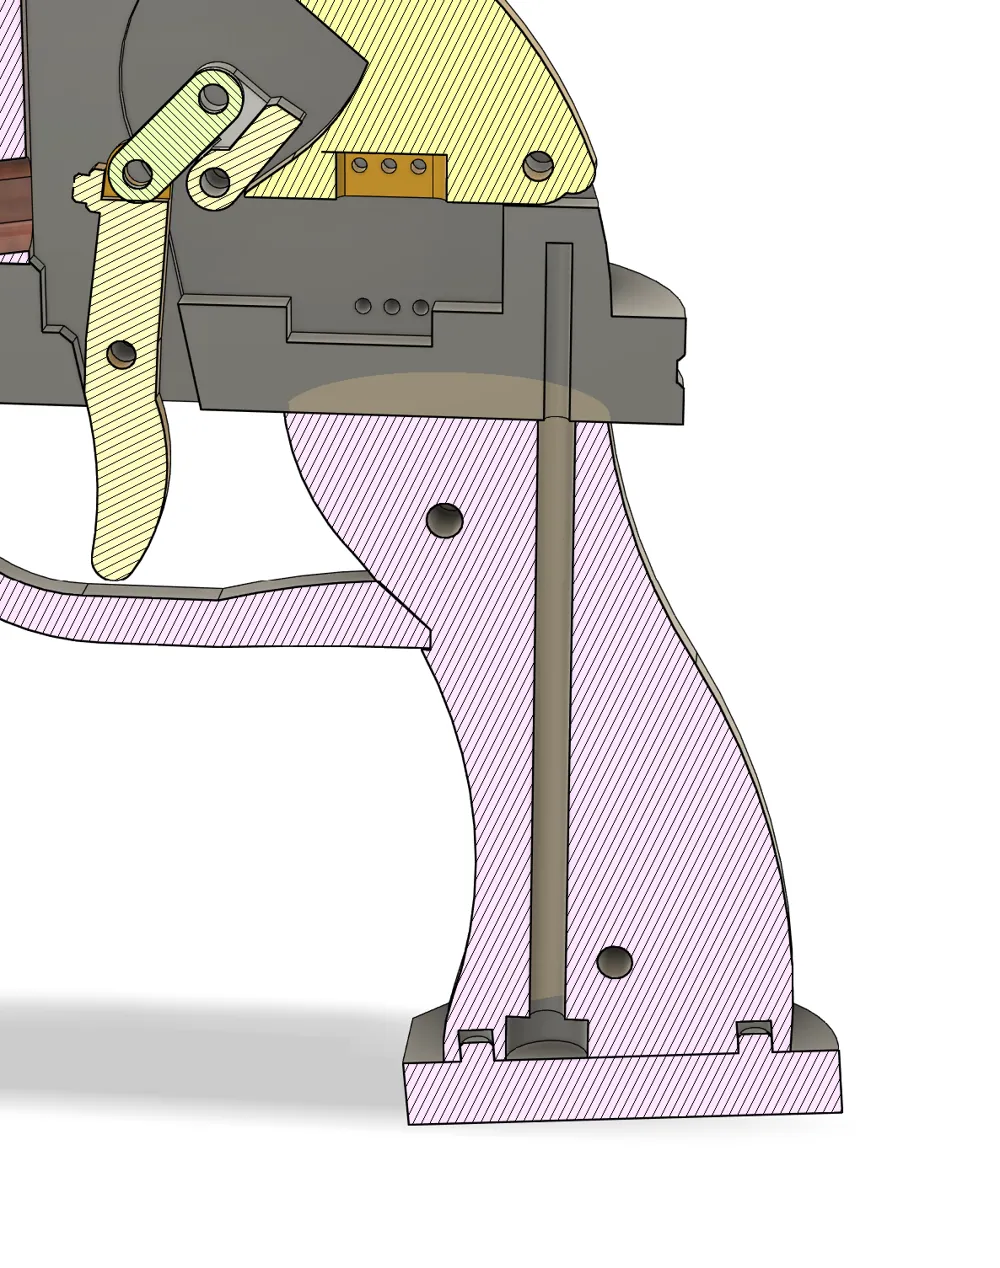
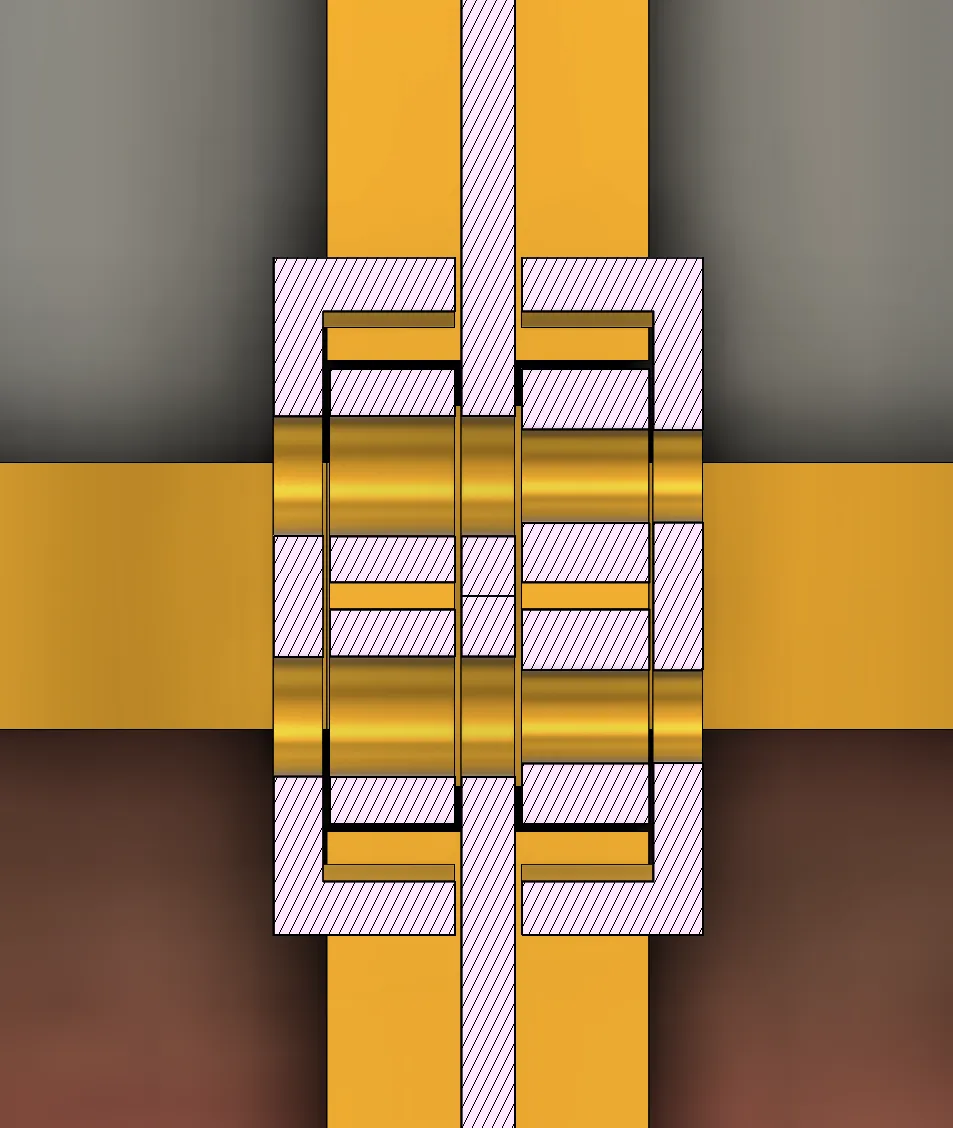
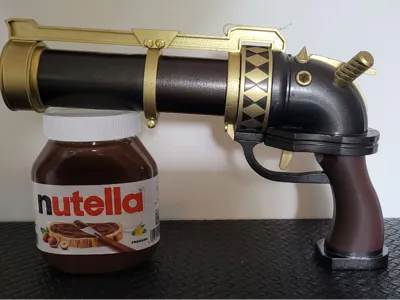
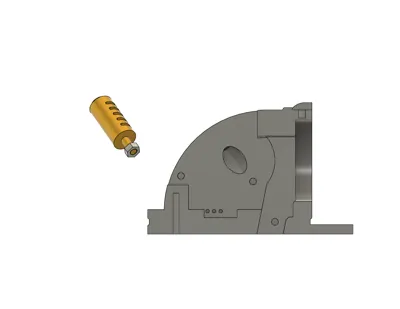
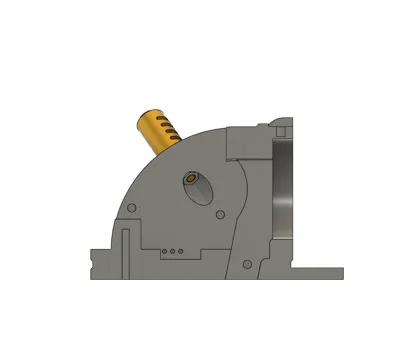
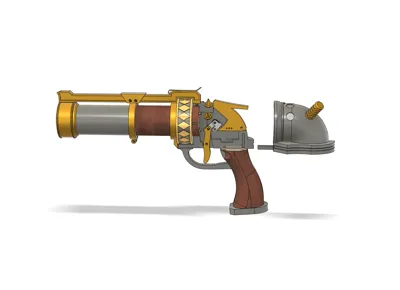
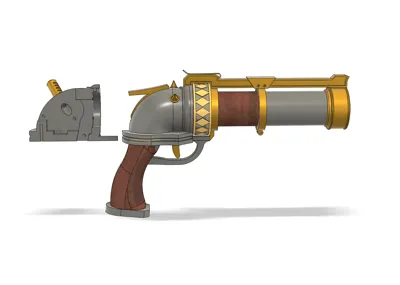
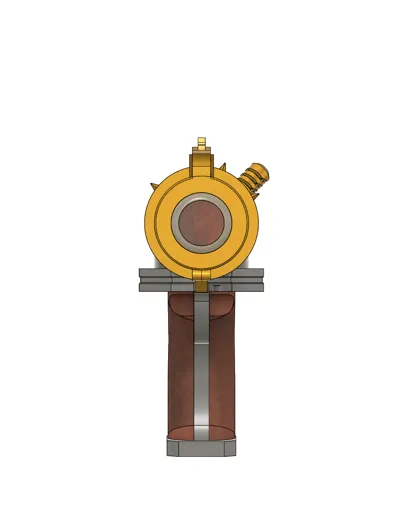
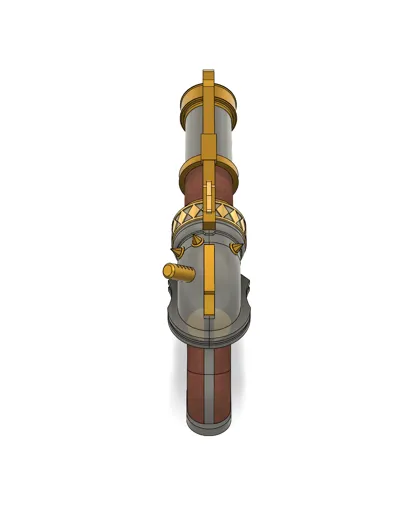
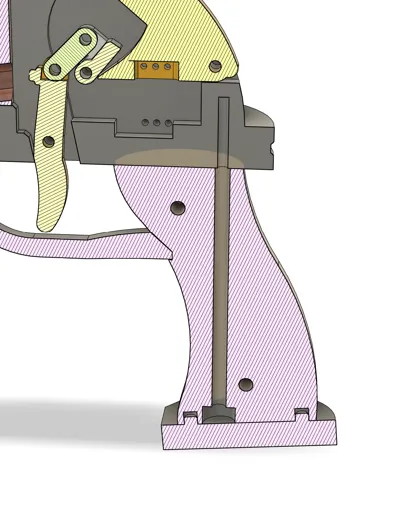
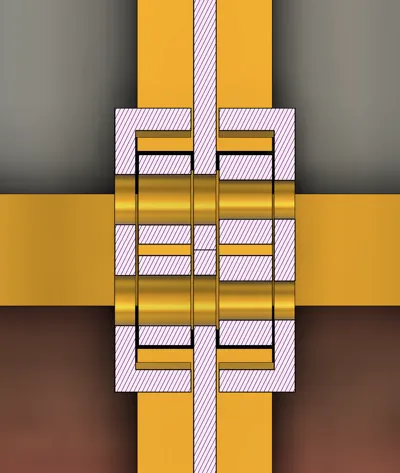
I created this cute model here as a cosplay decoration 2 years ago Its functions are quite straightforward you can cock the hammer and release it to the stop with the trigger the pressure regulator on the rear housing is also rotatable but has no other functions The model was originally printed as a resin model so this would be quite possible with a little orientation on the print plate The pictures should make it easy to understand how the Zapper is assembled only in 2 places is it a bit tricky namely the two halves of the rear housing should be firmly glued together after the trigger mechanism runs freely and without sticking After that an M4 threaded rod must be screwed into the hole shown in the picture with super glue to which the handle will later be fixed The second spot is on the bracket that connects both barrel parts there make sure to insert the screw from the larger side as shown in the picture so that the two clamps pull together well Finally sawed-off screw heads are glued onto the side with the smaller holes to complete the look
I list the items still to be ordered for this model below
- https://www.amazon.de/QUARKZMAN-Kompressionsspirale-Drahtdurchmesser-Au%C3%9Fendurchmesser-Mechanische/dp/B0D66DDKCB/ref=sr_1_8 You only need one of these which is placed in front of the nut over the shaft of the pressure regulator to create preload
- https://www.amazon.de/QUARKZMAN-Kompressionsspirale-Drahtdurchmesser-Au%C3%9Fendurchmesser-Mechanische/dp/B0D66NL291/ref=sr_1_2 You also only need one of these which is inserted between the trigger and the rear barrel to ensure the trigger's return action
- https://www.amazon.de/sourcing-map-Doppelhaken-Spannfeder-Ersatzteil/dp/B07PFV8818/ref=sr_1_7 Here you can use up to 3 springs depending on how strongly the hammer should snap back However I would use a maximum of 2 springs to protect the material
- https://www.amazon.de/sourcing-map-Passstifte-Edelstahl-Flachbefestigungselemente/dp/B0BHP1QWQC/ref=sr_1_6 These are the retaining pins in the housing halves where the springs are hooked so you need as many of these as you use springs for the trigger
- https://www.amazon.de/sourcing-map-D%C3%BCbelstift-Zylindrischer-Regalbodentr%C3%A4gerstift/dp/B07YKCNGCC/ref=sr_1_6 The same applies here as for the 2x30 mm pins but for the sides of the hammer
- https://www.amazon.de/sourcing-map-D%C3%BCbelstift-Zylindrischer-Regalbodentr%C3%A4gerstift/dp/B07YL5FR6V/ref=sr_1_3_sspa You need 5 of these these cylindrical pins serve as the axis for the moving parts in the trigger mechanism
- https://www.amazon.de/DTGN-M4x16mm-Kreuzschlitz-Maschinen-Schrauben/dp/B0CG1LPYPW/ref=sr_1_6 Of these you need 7 screws 3 of which you should cut directly behind the head so you can use these screw heads as covers for the smaller holes on the clamps of the two barrel halves Please refer to the model description for how to screw in the other 3 screws additionally please saw off one screw at 5 mm to screw it into the hole of the limiting ring
- https://www.amazon.de/Index-Fixing-Systems-rv-a2-Gewindestange-975A2M04/dp/B00J5NYJLE/ref=sr_1_26 Please saw off a 120 mm piece from this threaded rod and screw it into the glued-together rear housing If necessary the hole can be pre-drilled with a flat M4 tap
License

You shall not share, sub-license, sell, rent, host, transfer, or distribute in any way the digital or 3D printed versions of this object, nor any other derivative work of this object in its digital or physical format (including - but not limited to - remixes of this object, and hosting on other digital platforms). The objects may not be used without permission in any way whatsoever in which you charge money, or collect fees.


Comment & Rating (3)