Golf Swing Trainer


Print Profile(5)


Description
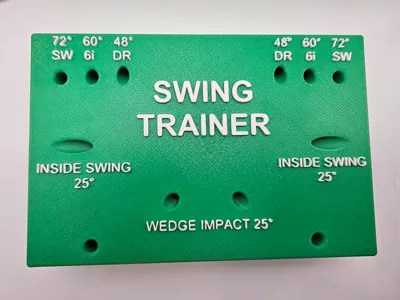
Golf Swing Trainer
Copyright SR 1-15141493121 Patent Pending 64/071,524
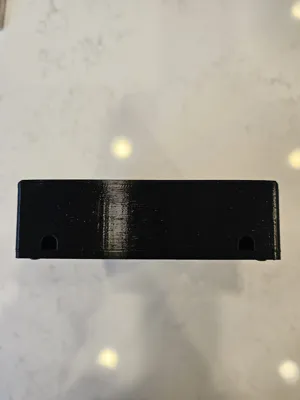
The golf swing trainer is to use with alignment stick for different practice drills. You can find many of the drills online used by similar golf training aids. Compared with other printed models I've seen, this has the following improvements.
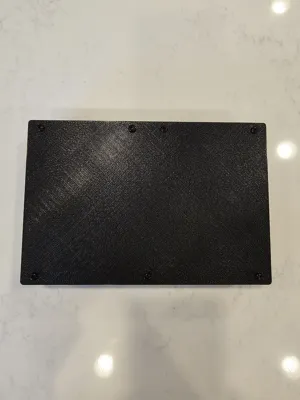
- Much larger base which adds stability
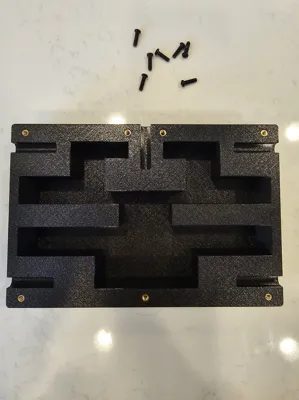
- More area to fill with weighted material which gives more stability
- Some of the models had holes with the wrong angle
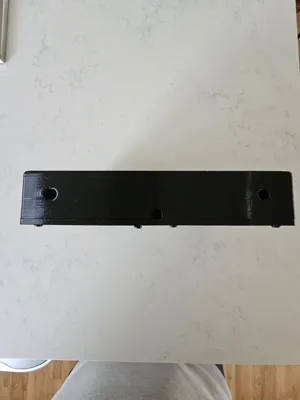
- Fastened the base cover with machine screws and threaded inserts.
- The ability to customize the alignment stick holes and hole sizes for the screws and heat thread inserts.
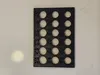
- If you customize the size of the alignment stick holes, a hole gauge 3D model which you can print to determine what hole size you should use.
The trainer holes diameters default to 8.1 mm.
The trainer can be weighted with sand, gravel etc. The best what I've seen used is Quikrete, an inexpensive concrete mix.
To attach the bottom cover I have used 6 M4 x 10mm Lx5.5mm OD threaded inserts. These can easily installed with a soldering iron. They are adapters sold for soldering irons that replace the soldering tip. However, I have used a soldering iron with a regular tip with great results installing the inserts. I use 6 M4 x 14mm Pan Head Machine Screws to secure the bottom cover, screwing into the thread inserts. The holes for the threaded inserts and the machine screws are customizable.
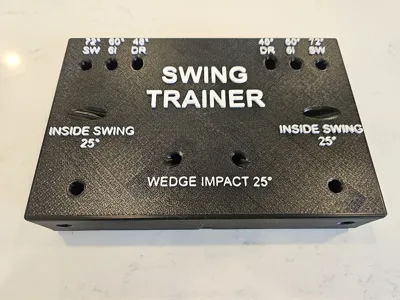
I've printed the model with PETG and PETG CF. I like using PETG because of the strength and cost. I have printed the model with Bambu, Sunlu and Jayo PETG. I use 5 wall loops for strength for the top holes. I use manual slim tree supports. I use the same material for supports as I print the rest of the model. However, I use a .275mm top Z distance with a rectilinear interlaced interface. I uses 15% gyroid infill.
The printing of the different color for text is done by instructing the slicer to change the filament to the text color at the layer where the raised text starts printing. Arachne wall generator is used otherwise, some text is not printed.
A second version has flat text which allows the main body to be printed printed upside down with no supports.
License
You shall not share, sub-license, sell, rent, host, transfer, or distribute in any way the digital or 3D printed versions of this object, nor any other derivative work of this object in its digital or physical format (including - but not limited to - remixes of this object, and hosting on other digital platforms). The objects may not be used without permission in any way whatsoever in which you charge money, or collect fees.
Comment & Rating (318)