Search models, users, collections, and posts









Print Profile(0)
Add the first print profile to earn points
Boost
15
9
0
0
19
3
Released
Description
This is a simple star-shaped lamp for the wall.
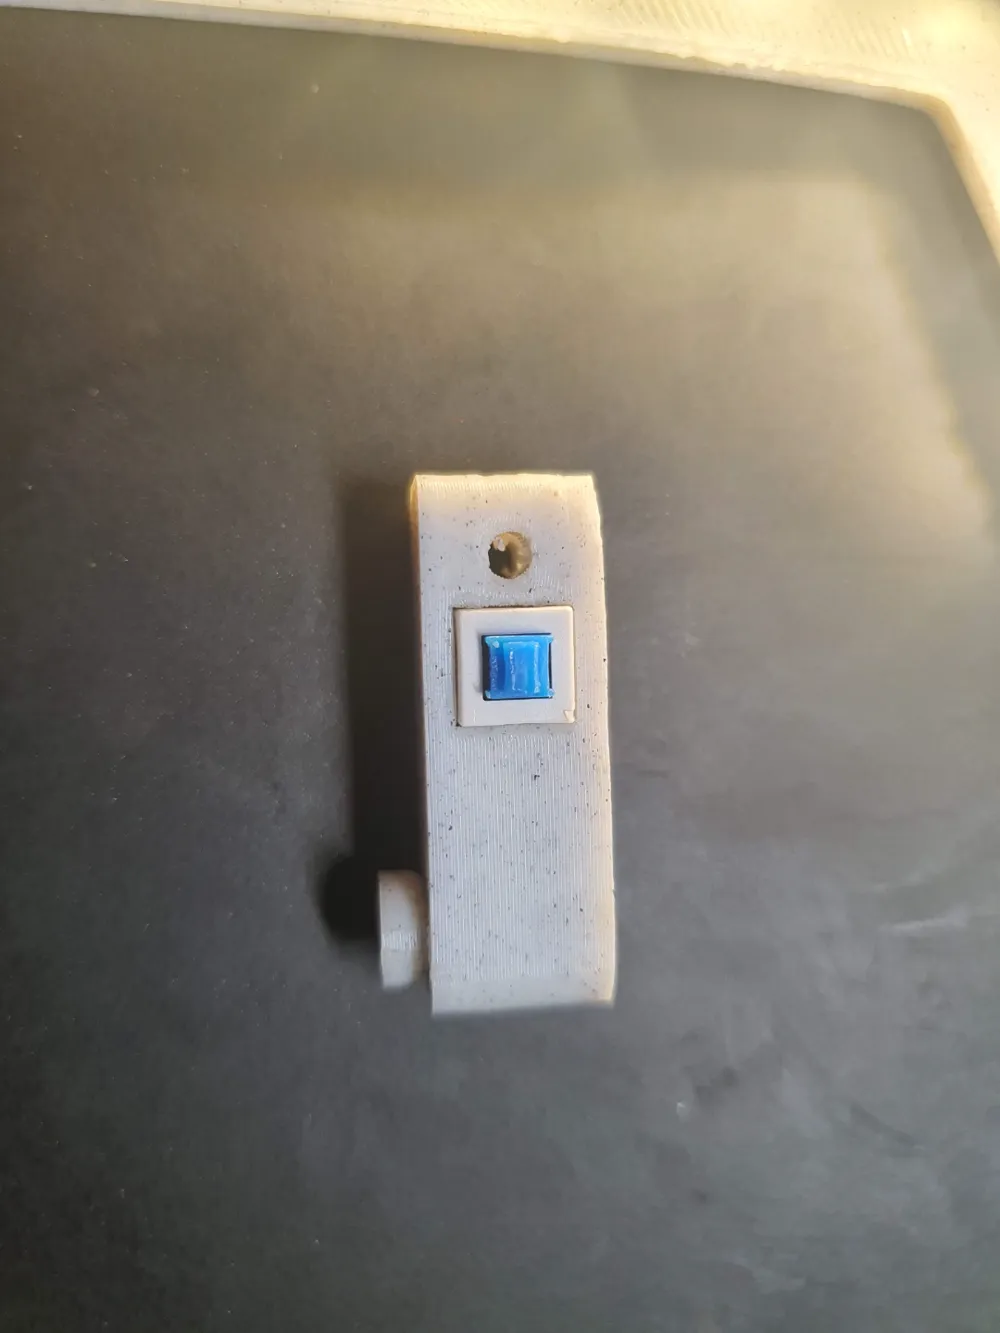
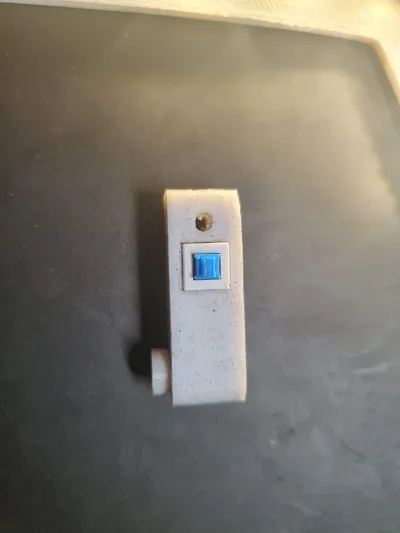
You may need to modify the small switch holder. I designed it with a fairly large tolerance for rotation, but it depends on your printer, and it might be worthwhile to adjust the size of the circle at the end of the axis to fit snugly into the hole in the star, eliminating the need for glue.
Do not use supports when printing the switch holder; it's unnecessary.
Here's what you'll need for assembly
- 5-9mm wide 5V LED strip that can be cut (please note, 5V, not 12)
- Battery holder for 3 AAA batteries
- Microswitch (note: a switch, not a push button)
- Red wire
- A small piece of string
Assembly steps
- Glue the battery holder in place.
- Thread a string through the small circular hole in the switch holder and tie a knot.
- Solder two red wires to the microswitch (one to the contact in one corner, the other to the middle one next to it).
- Insert the microswitch into the square hole in the holder, ensuring that the soldered wires do not touch the contacts, as this would prevent the switch from working.
- Place the holder in the designated space on the back of the star. If it doesn't fit snugly, glue it in place. Be careful to allow the arm to rotate freely around the axis after gluing.
- Solder one red wire from the switch to the red wire of the battery holder.
- Solder the other red wire from the switch to the +5V contact of the LED strip.
- Solder the black wire from the battery holder to the GND (-) contact of the LED strip.
- Test the switch.
- Adhere the LED strip to the outer edge of the back of the star, trimming any excess.
- Hang it on the wall using a screw, and use the dangling string to turn it on and off.
License

This user content is licensed under a
Creative Commons Attribution-Noncommercial-Share Alike


Comment & Rating (0)