
Magnetic Dock for Scraper
Print Profile(1)






Description
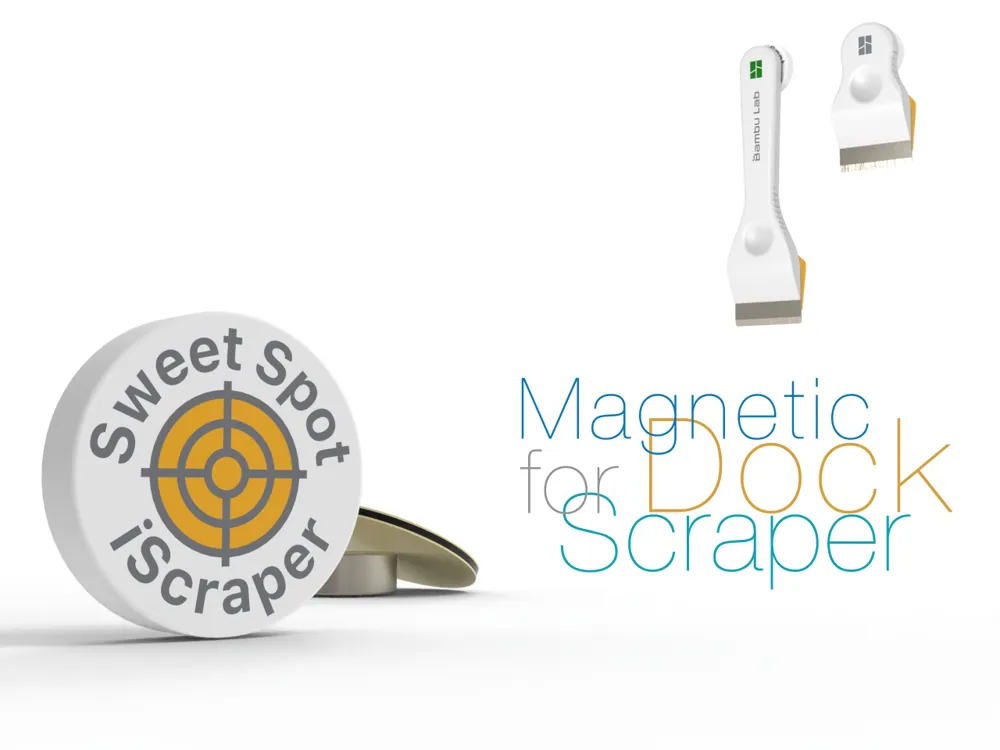
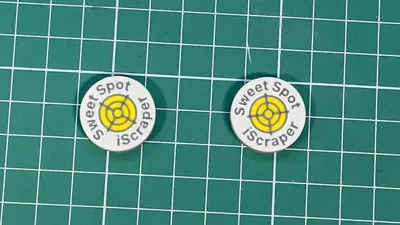
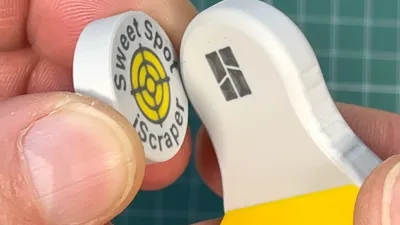
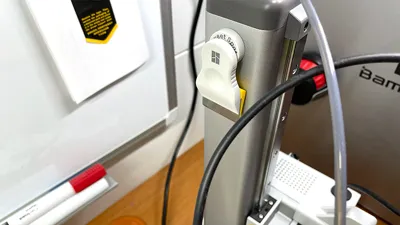
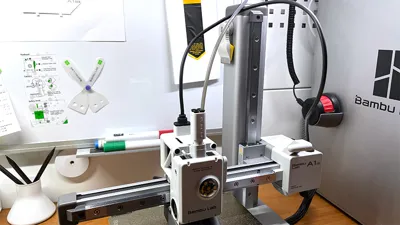
Magnetic Dock for Scraper
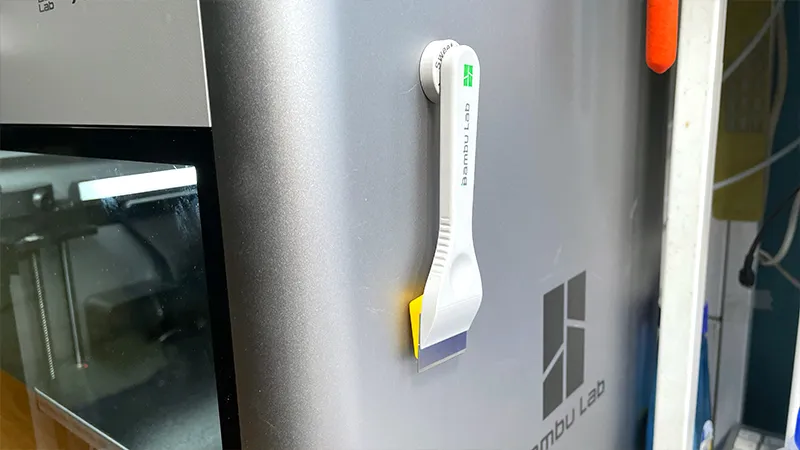
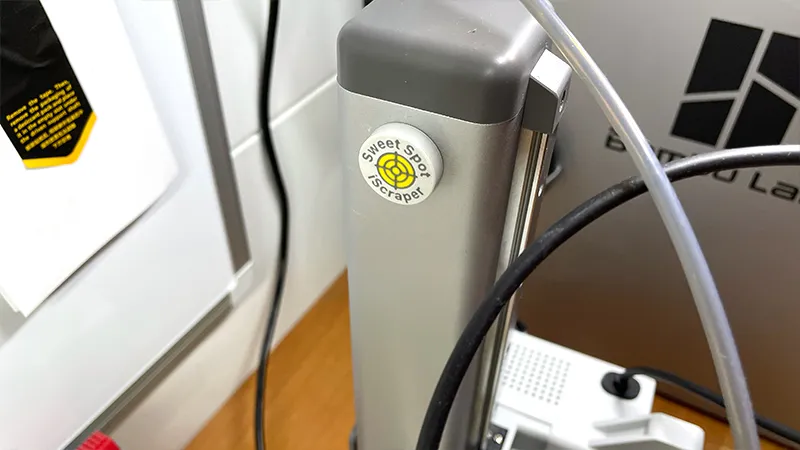
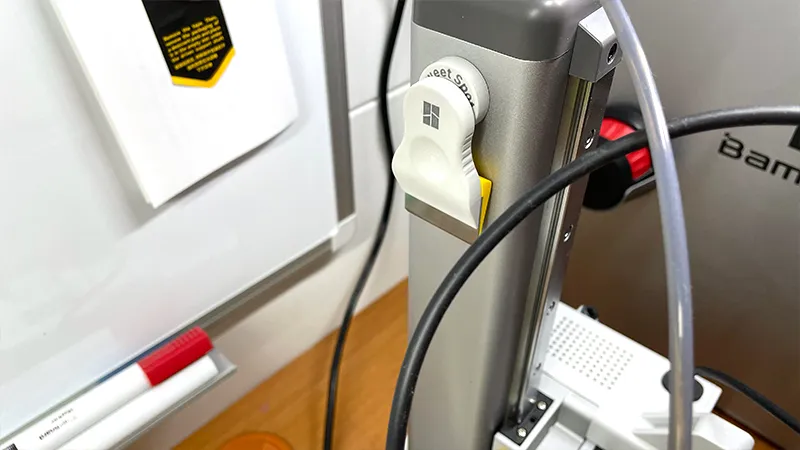
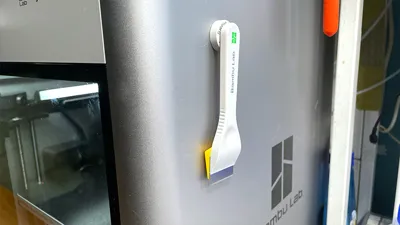
When I created the first scraper — and soon after, the second — I had already embedded magnets into the handles so the tool could be conveniently mounted wherever needed. Many of you probably noticed that. But as I started using them regularly, I ran into a surprisingly simple but annoying issue.
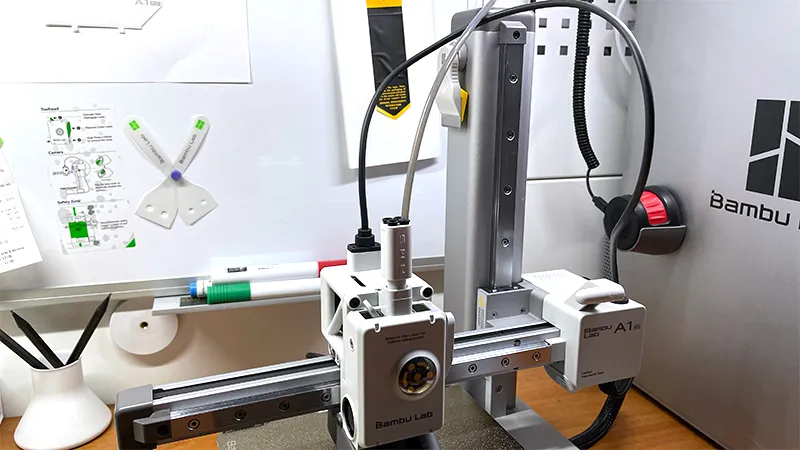
Like many makers, my workspace is packed with tools. And if even one of them ends up slightly out of place — say, just 30 centimeters from where it usually lives — it becomes a hunt. Time gets wasted, irritation builds. And when it comes to 3D printing, the scraper is one of the most frequently used tools. After every print, you need it: to remove the skirt, pop off calibration prints, separate the model. And if it’s not right where you expect it — you’re thrown off your rhythm.
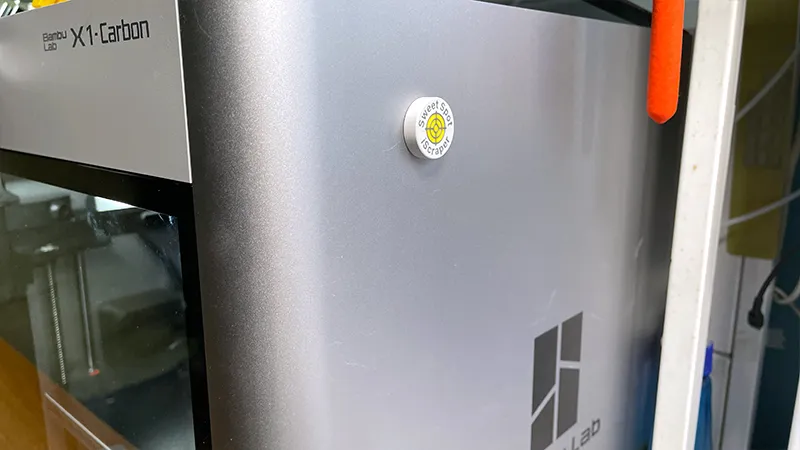
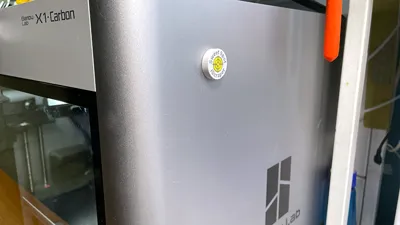
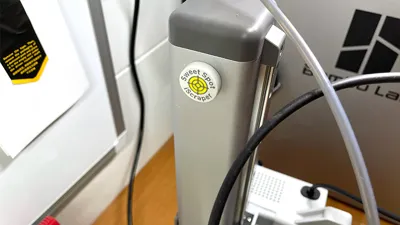
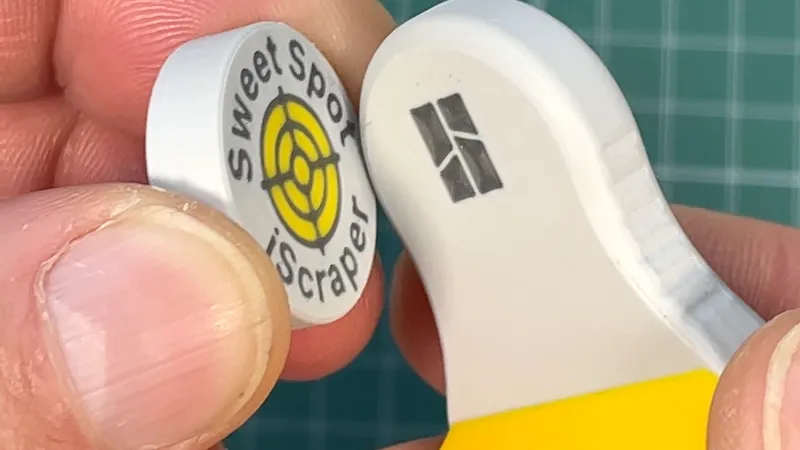
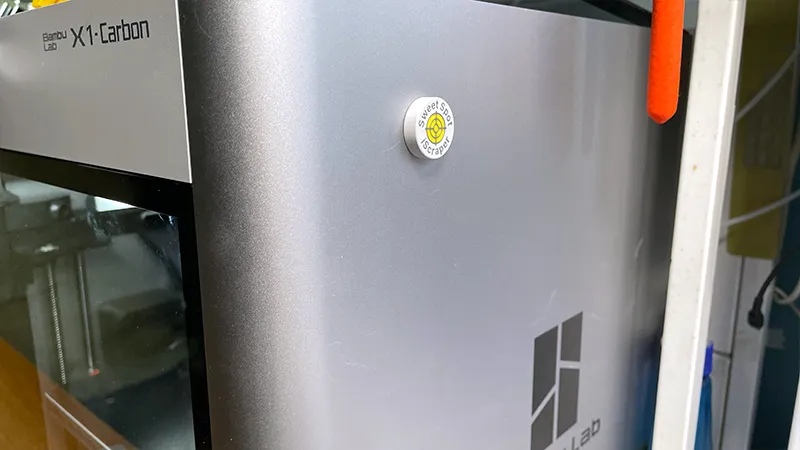
That’s exactly why I designed this magnetic dock for the scraper — to give it a permanent, convenient, easily recognizable spot. Set it once — and never look for it again.
Print & Assembly
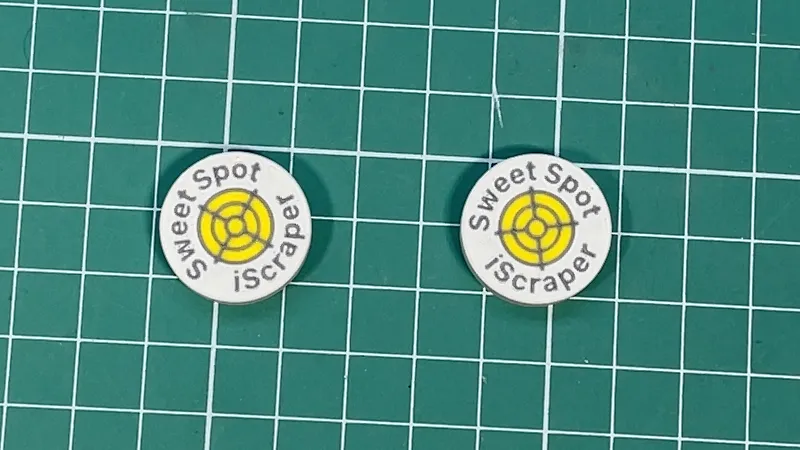
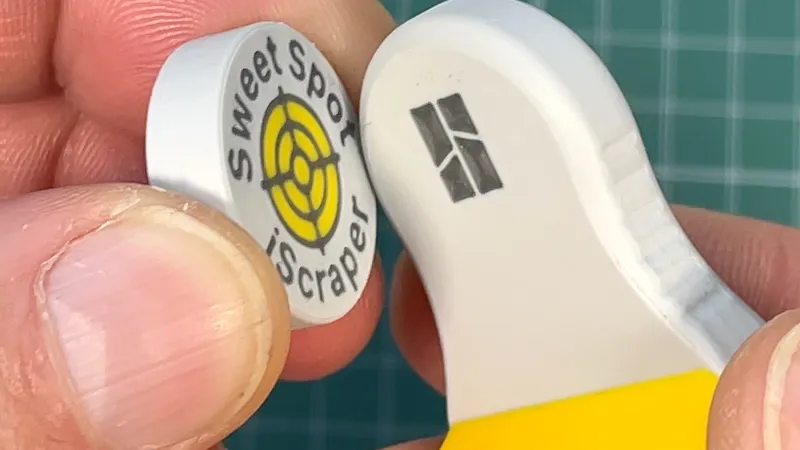
Just like the scrapers themselves, I printed the dock using a 0.2 mm nozzle to ensure clean geometry and a sharp finish. With a 0.4 mm nozzle, the result will be noticeably rougher, so I definitely recommend going with the finer option.
The magnets (10 mm diameter, 4 mm thick) are embedded during the print process. With my 3MF settings, the printer will automatically pause at around 1 hour 23 minutes. That’s when you place the magnets into the cavity and hit “Resume” — the print continues and seals them inside the body.
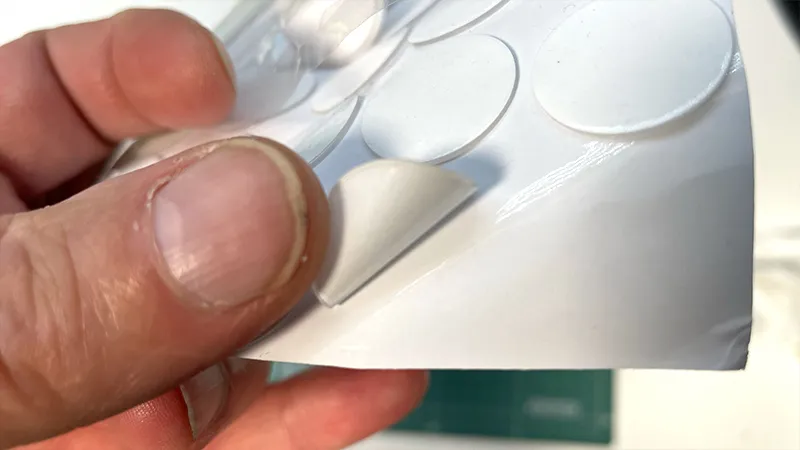
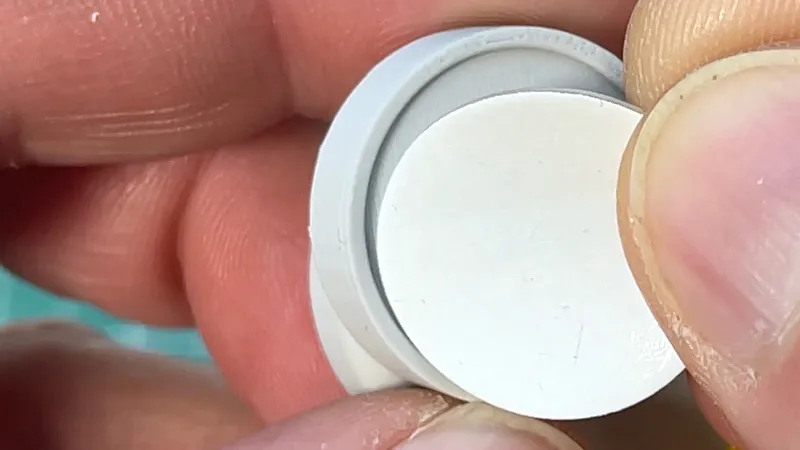
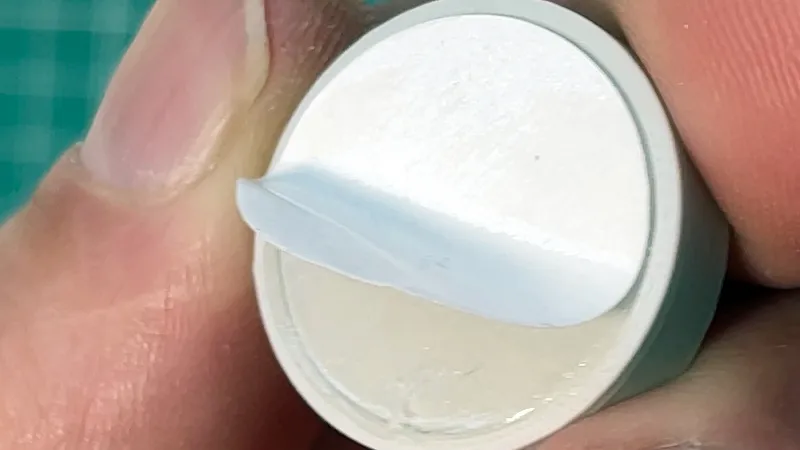
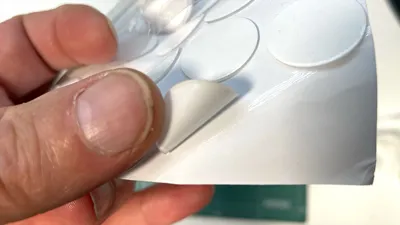
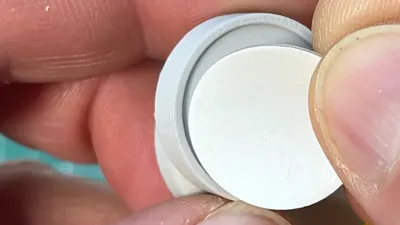
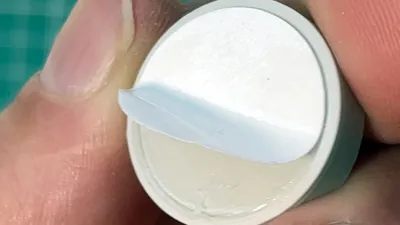
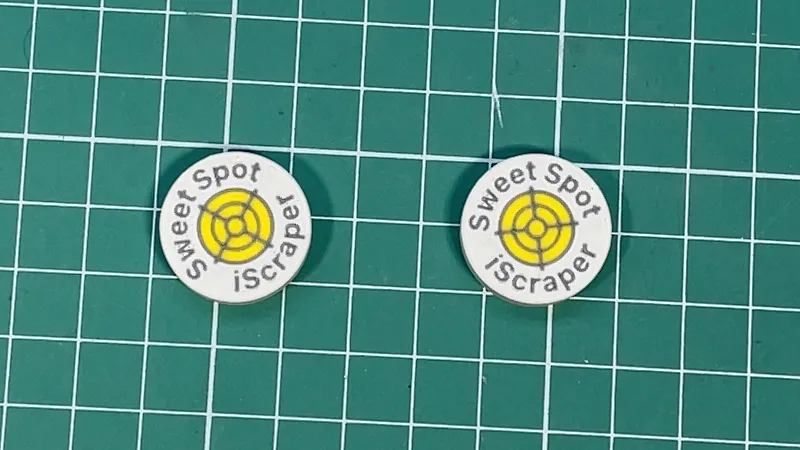
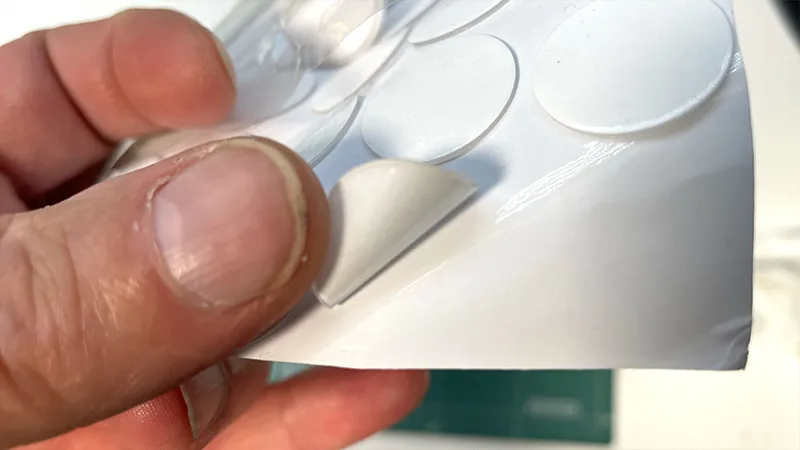
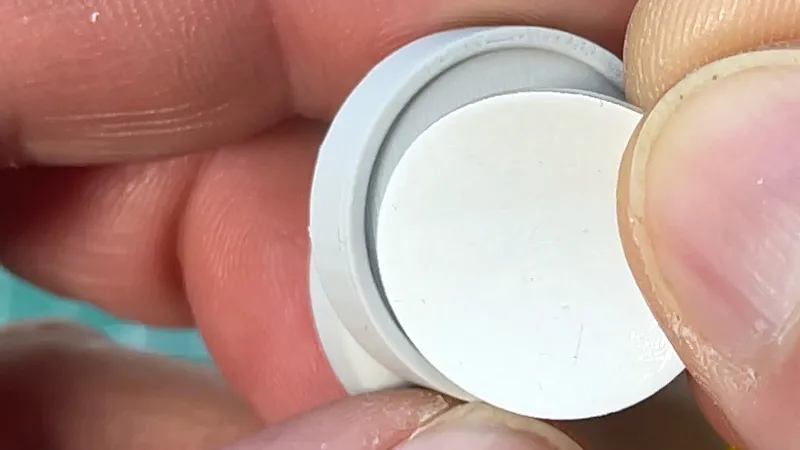
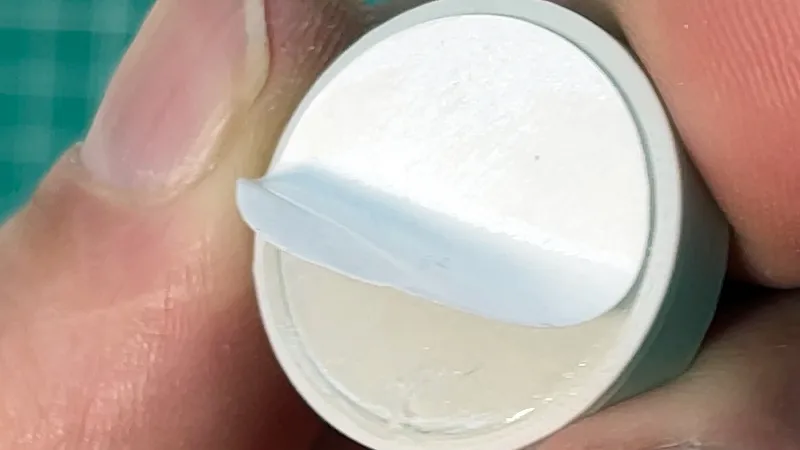
The dock is mounted using a strong adhesive round sticker, 20 mm in diameter, which you can stick to any surface of your choice. These are the same ultra-sticky pads I’ve used for my printed utility hooks — which, by now, many of you are probably familiar with. I’ve got those hooks all over the place now, holding different tools. And I’ve started using the leftover stickers for these scraper holders too. It just works — clean, simple, and reliable.
Important Note
Before inserting the magnets, check the polarity! If you get it wrong, you’ll have to reprint or redo the setup. I simply marked the correct side with a permanent marker — and it all aligned perfectly.
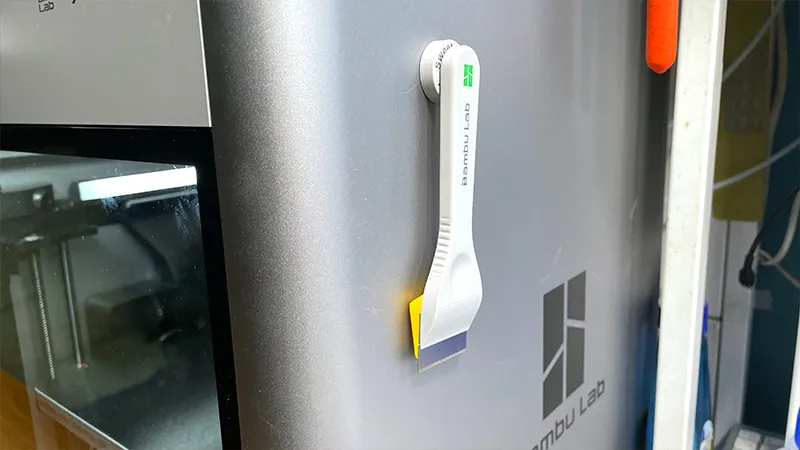
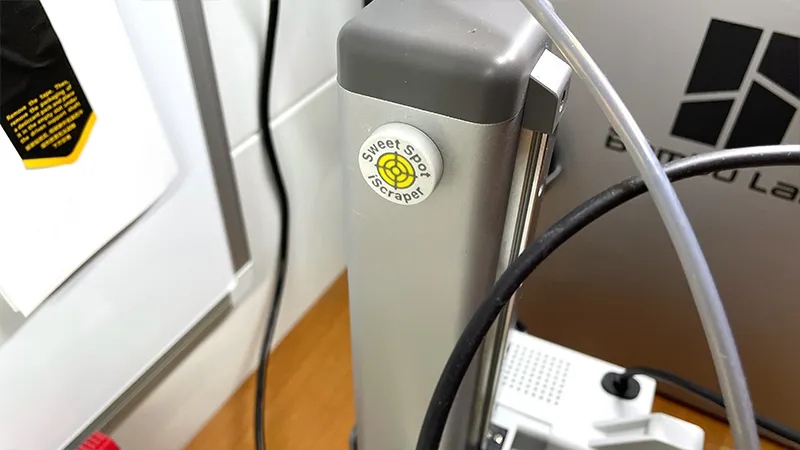
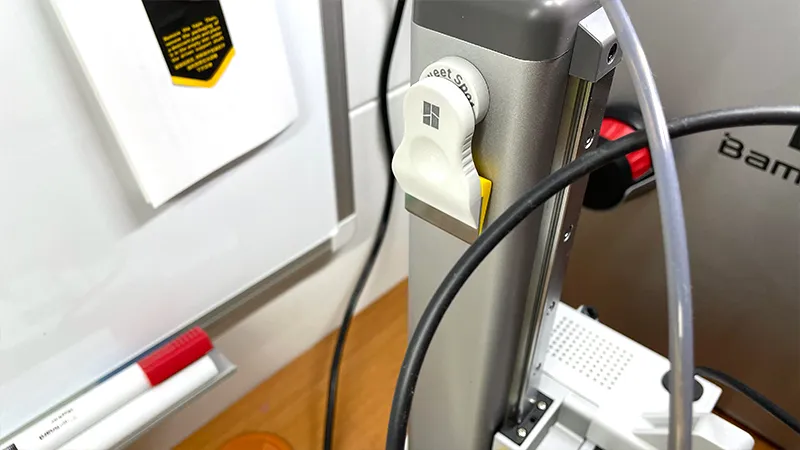
I hope this little detail turns out to be as useful for you as it has been for me.
Boost Me (for free)
If you like the idea — hit that like or Boost — and most importantly, never lose your scraper!
Parts links below:
My new machine:

My favorites:
Thank you for every tip or donation,
it means great recognition for me and helps a lot to keep going!

BTC: bc1qplpzq36ghw84hty4nn2zzu4ps4sdh4th0v93j8
ETH: 0xc766ebbeAa76aaf629788c8F99C33A8d80d48977
My some other things:


License

You shall not share, sub-license, sell, rent, host, transfer, or distribute in any way the digital or 3D printed versions of this object, nor any other derivative work of this object in its digital or physical format (including - but not limited to - remixes of this object, and hosting on other digital platforms). The objects may not be used without permission in any way whatsoever in which you charge money, or collect fees.


Comment & Rating (1)