
Tackle Box
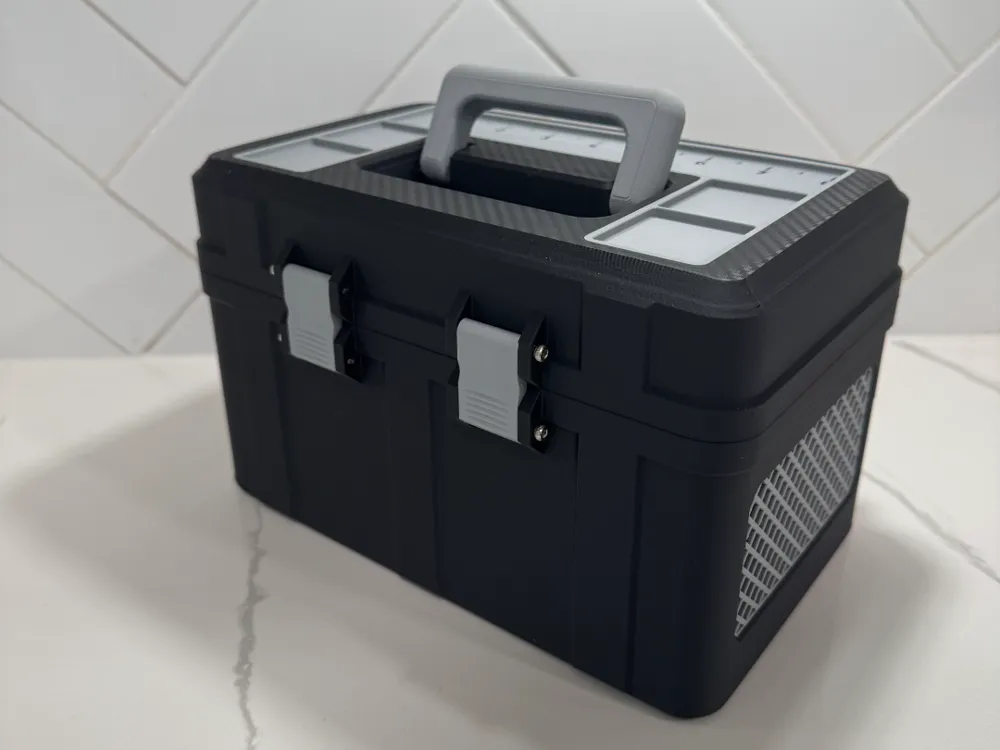
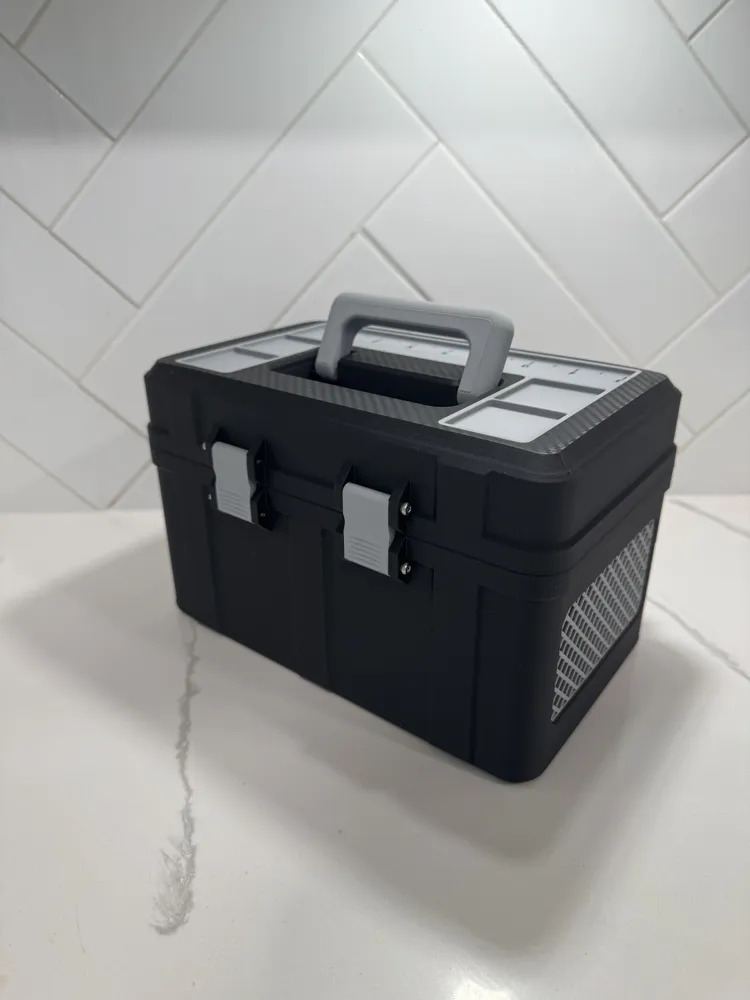
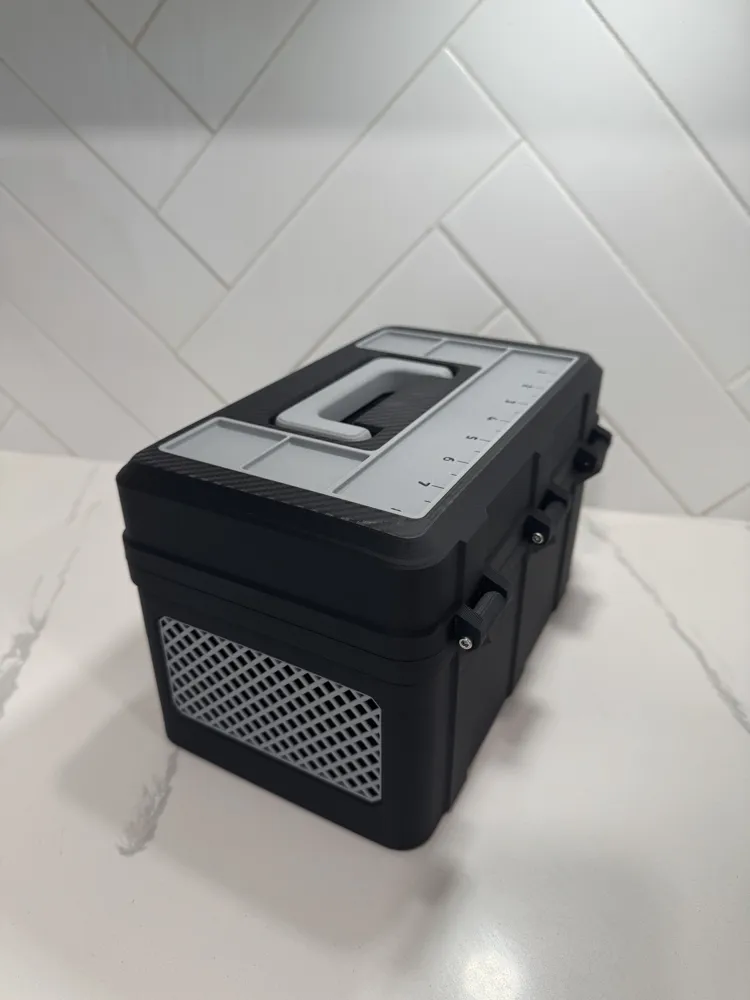
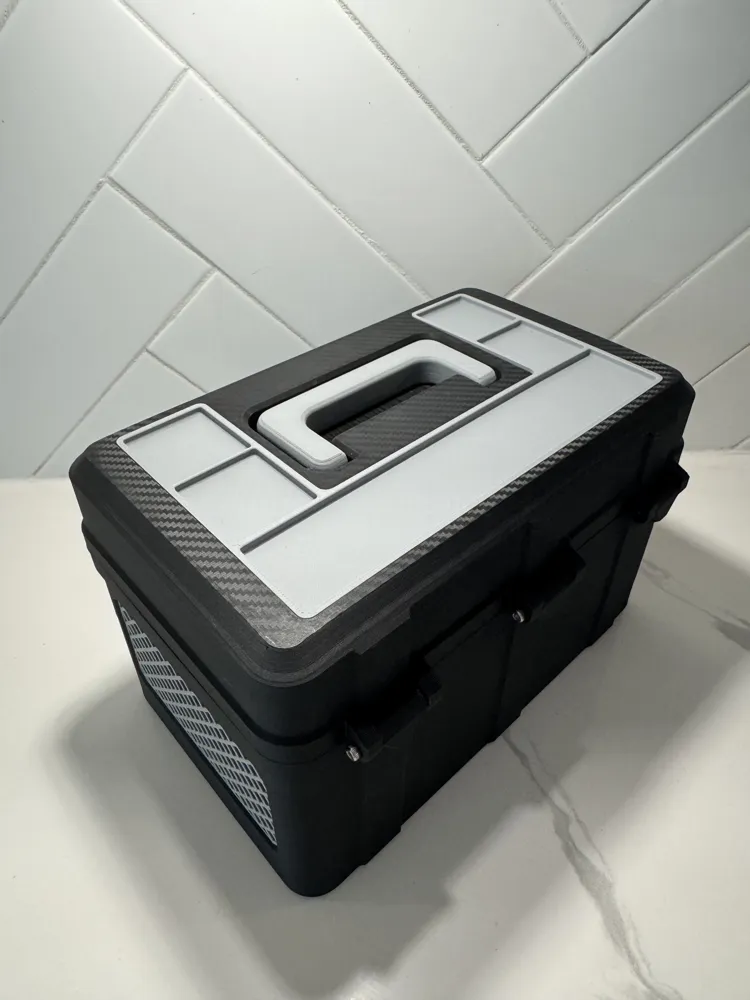
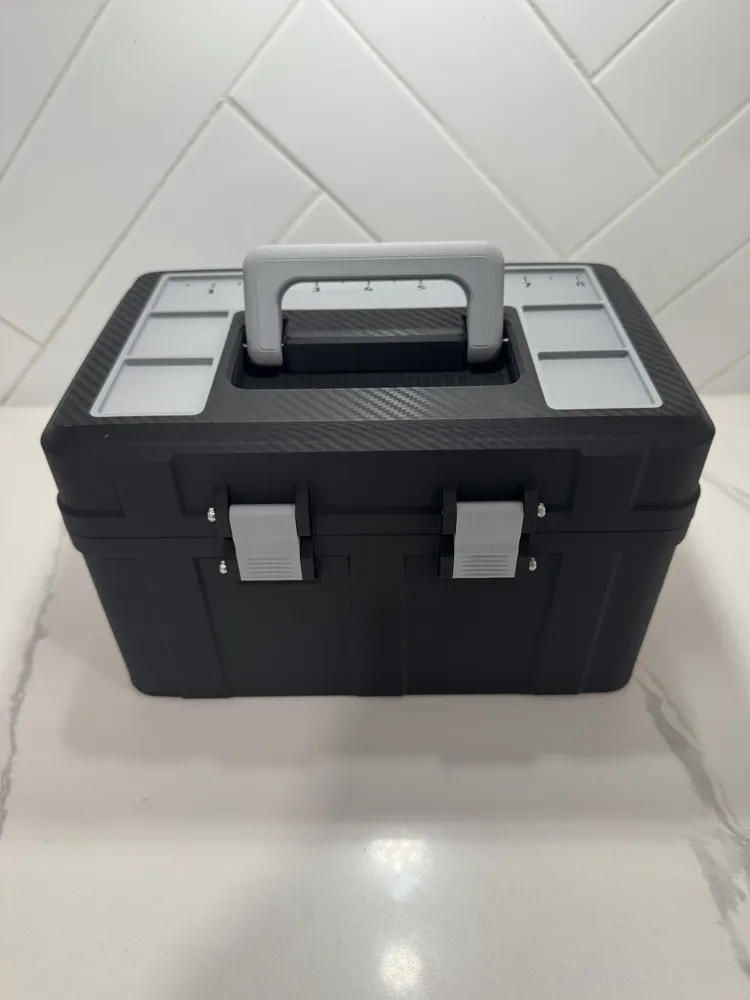
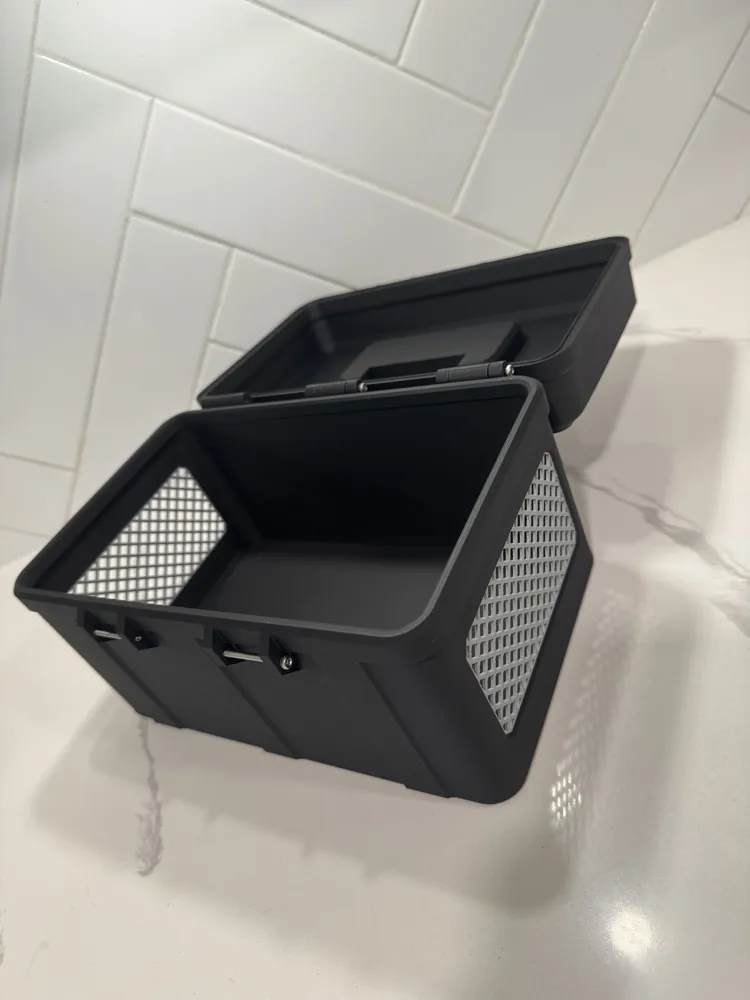
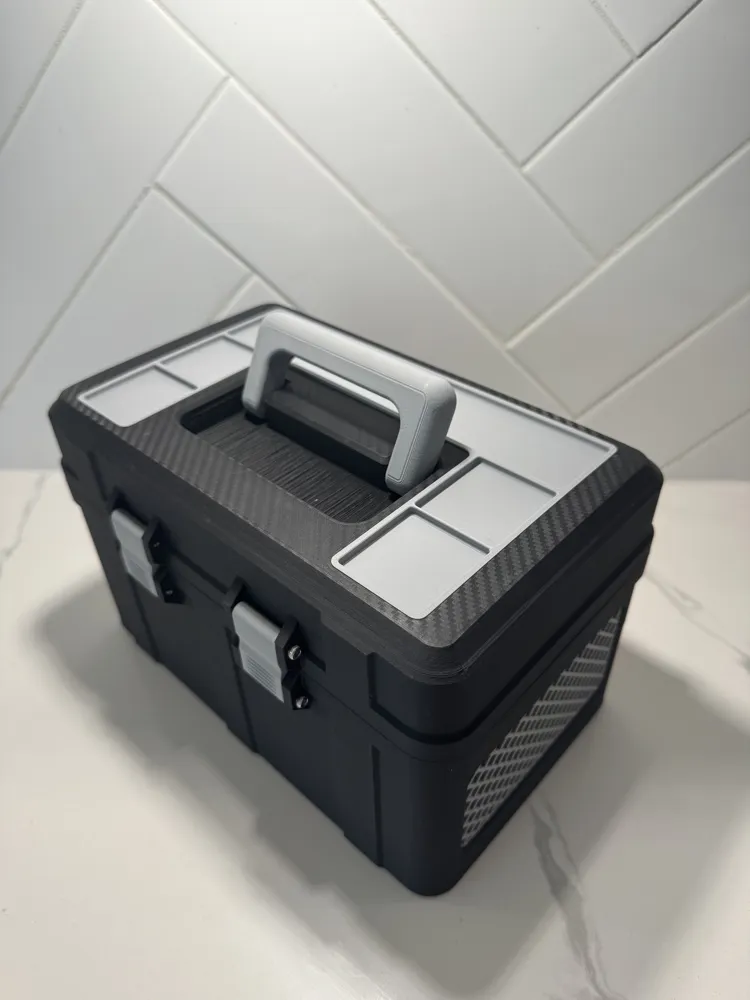
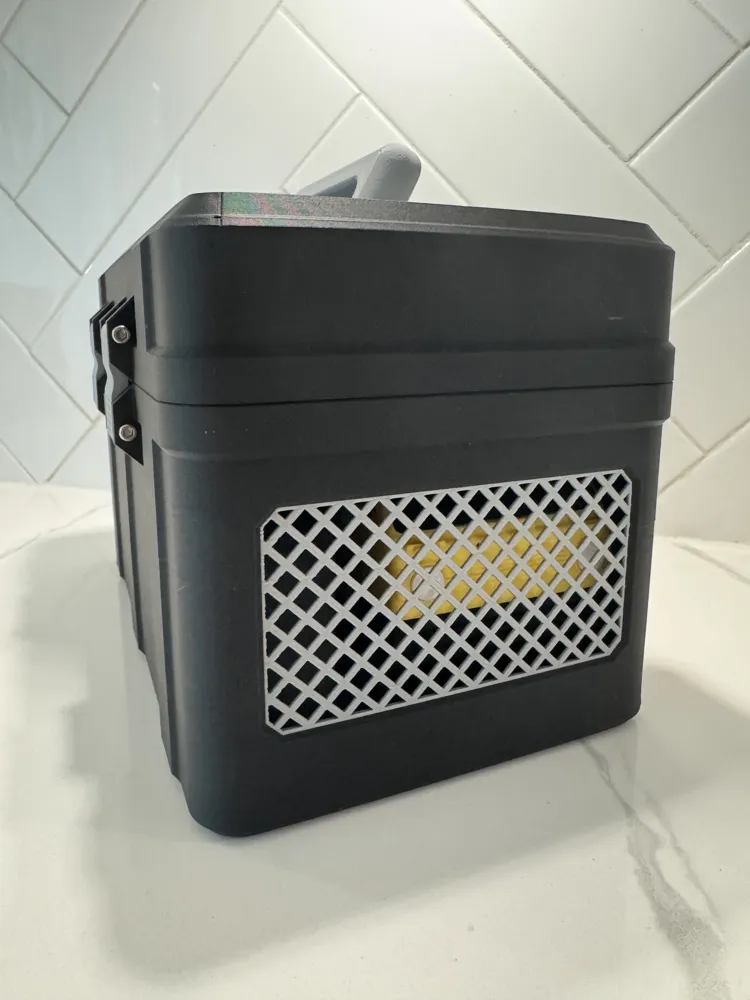
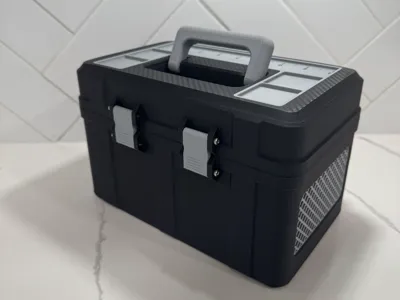
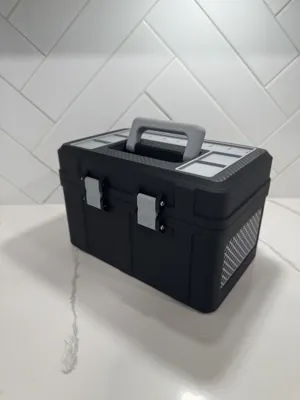
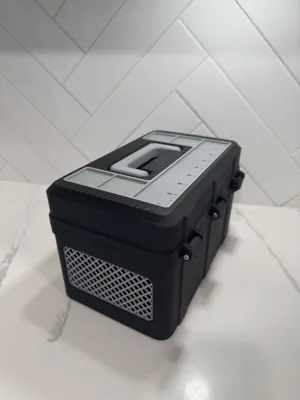
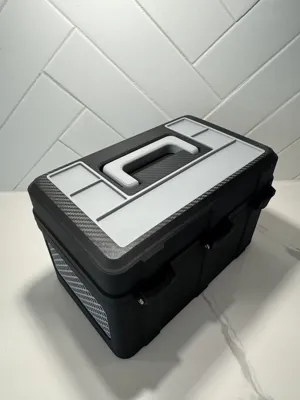
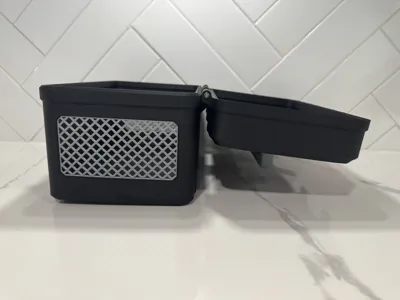
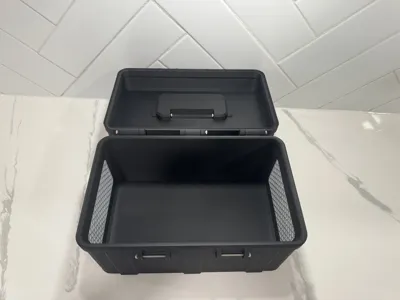
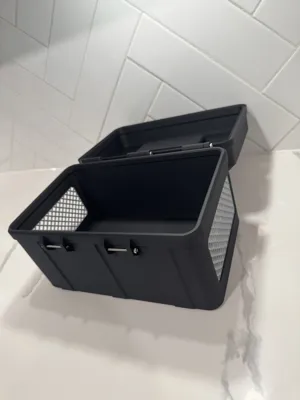
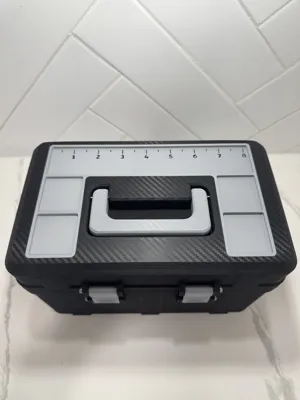
Print Profile(4)


Bill of Materials
- 3m Screw - 35mm x 7: for Latch and Hinge
- 3m Screw - 25mm x 2: for handle
Description
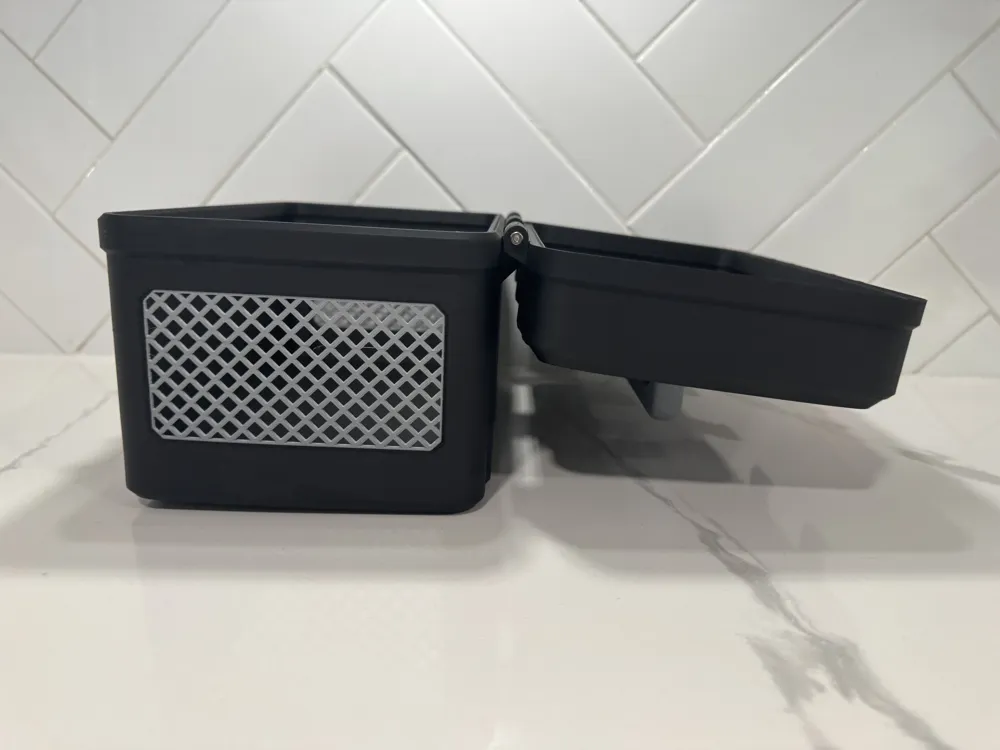
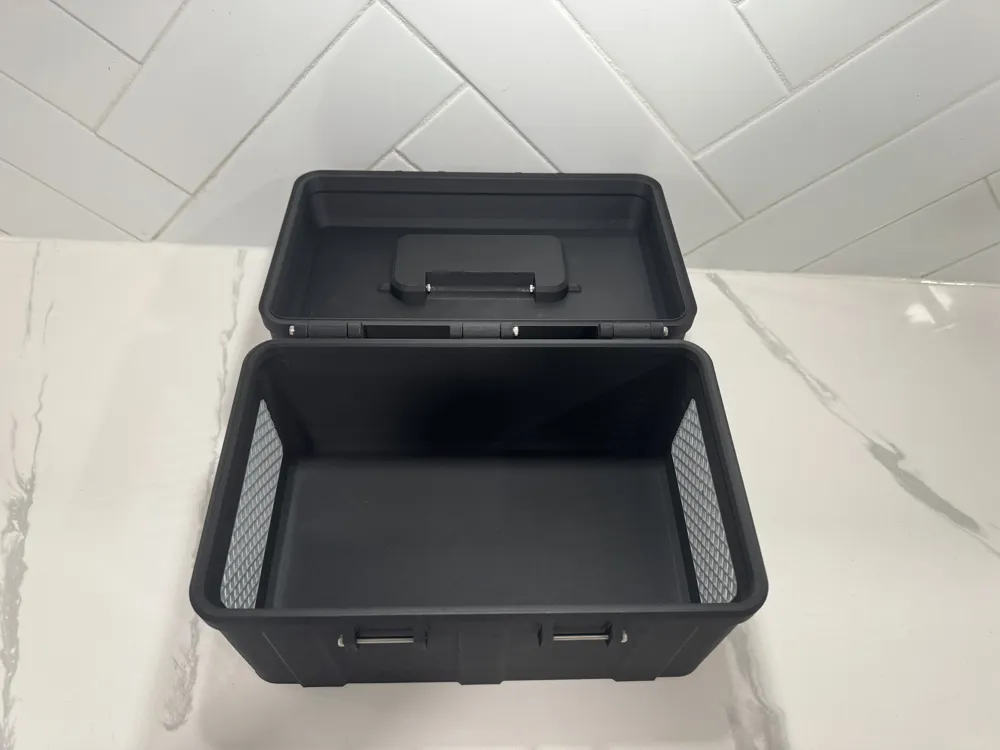
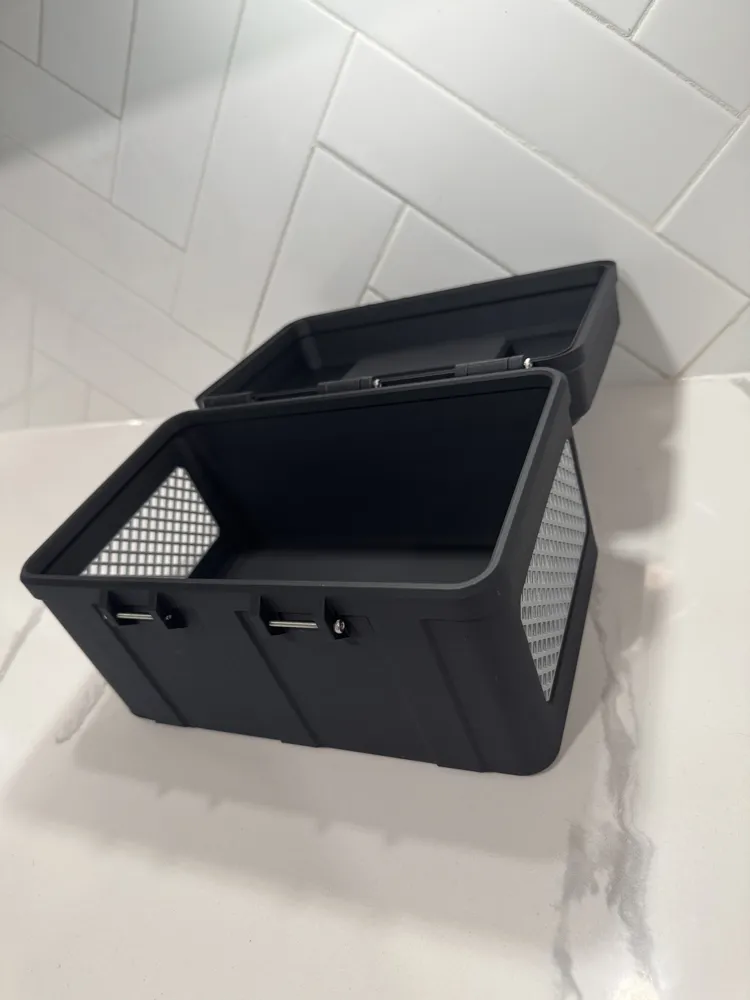
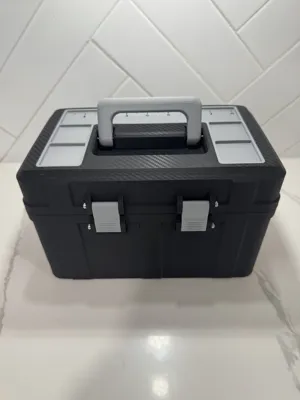
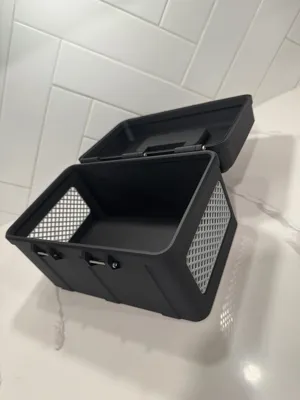
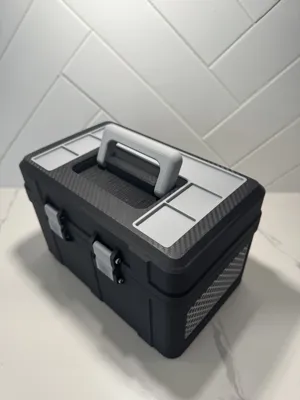
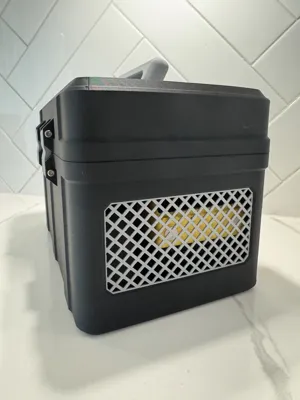
Tacklebox
New smaller version available here
5/18/2026 Update:
Updated the latch so it is easier to open - All print profiles have been updated to include the new version
12/31/2025 Update:
Added “Base - No Mesh” Profile with an easy-to-print base that does not include the side mesh walls and is 1 solid color. Base is compatible with Lid from other profiles
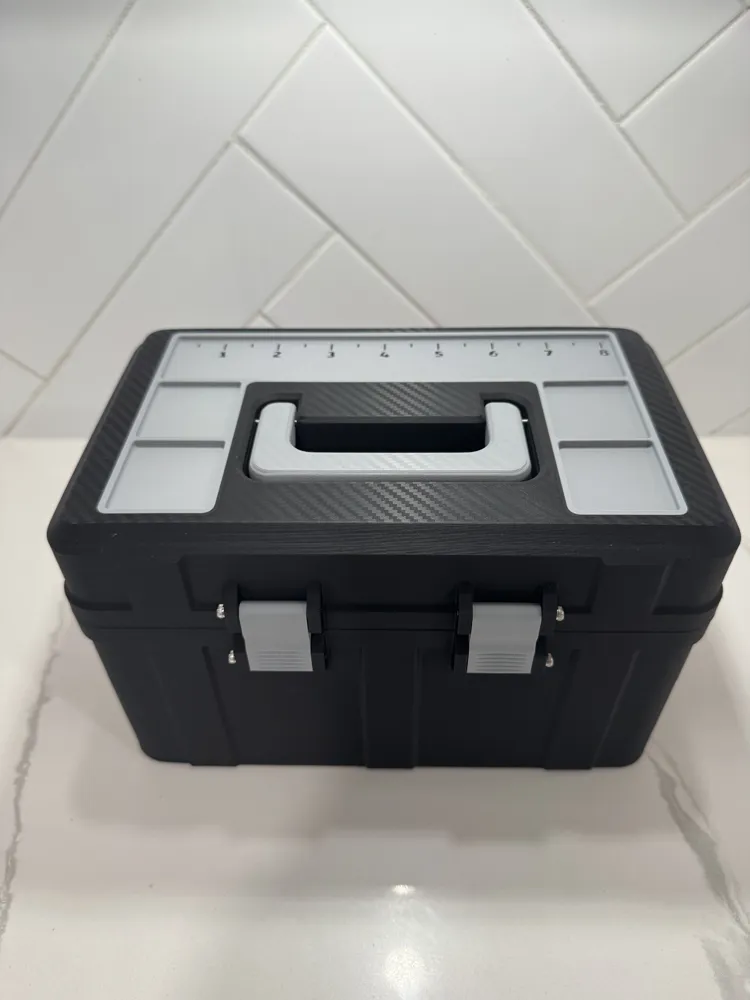
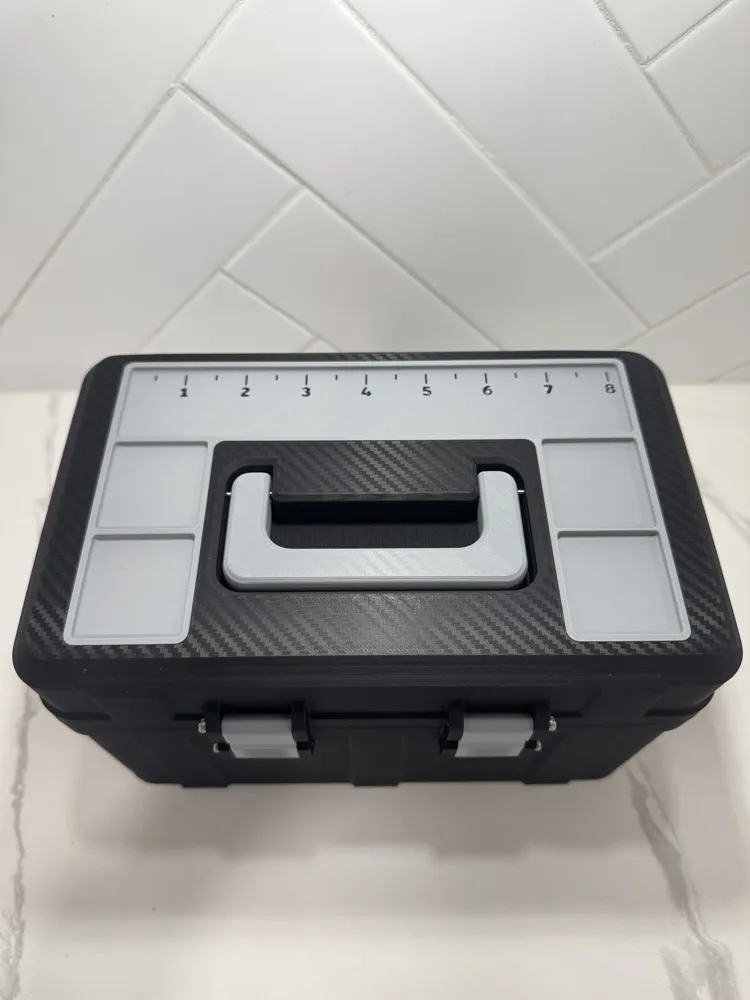
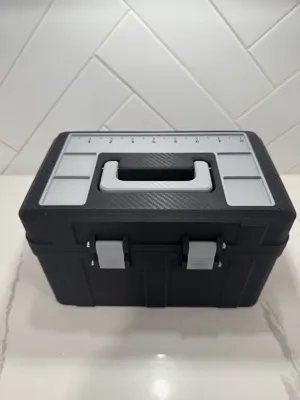
This tacklebox matches the same specs as my Gridfinity version, but without the gridfinity pattern. There are also 2 different top inserts (one with a ruler and one without).
Printed in PolyMaker's new HT PLA for better heat resistance
Recommend printing the Single Body Base Profile. You can set both colors to the same for faster printing
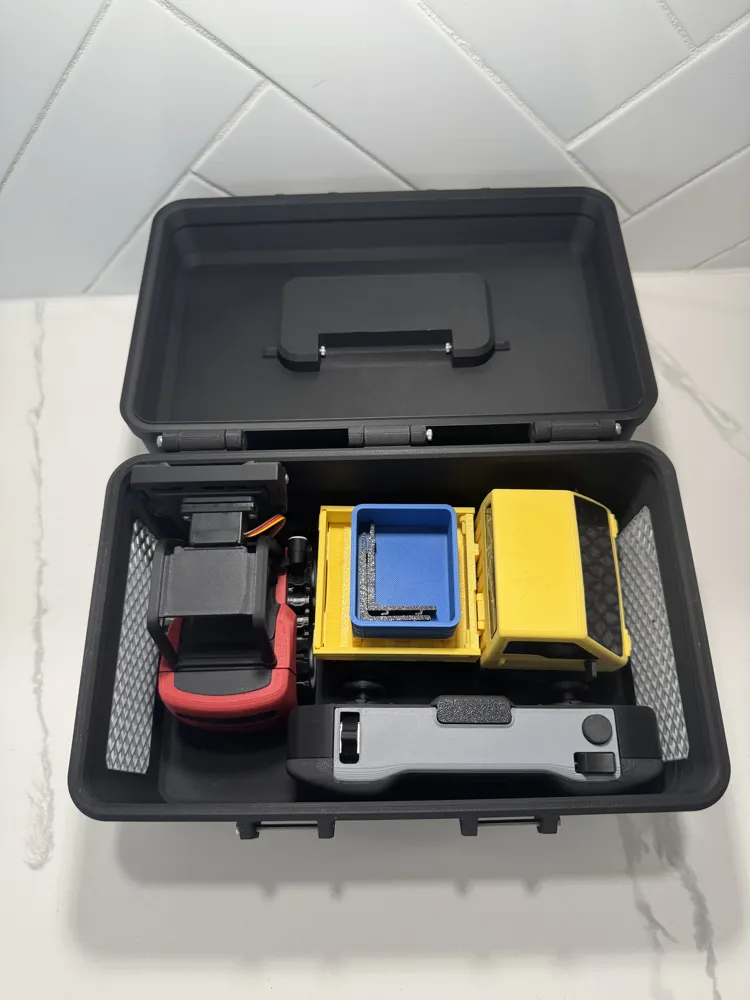
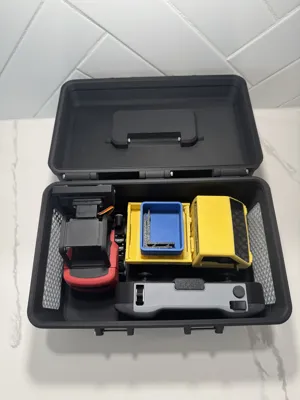
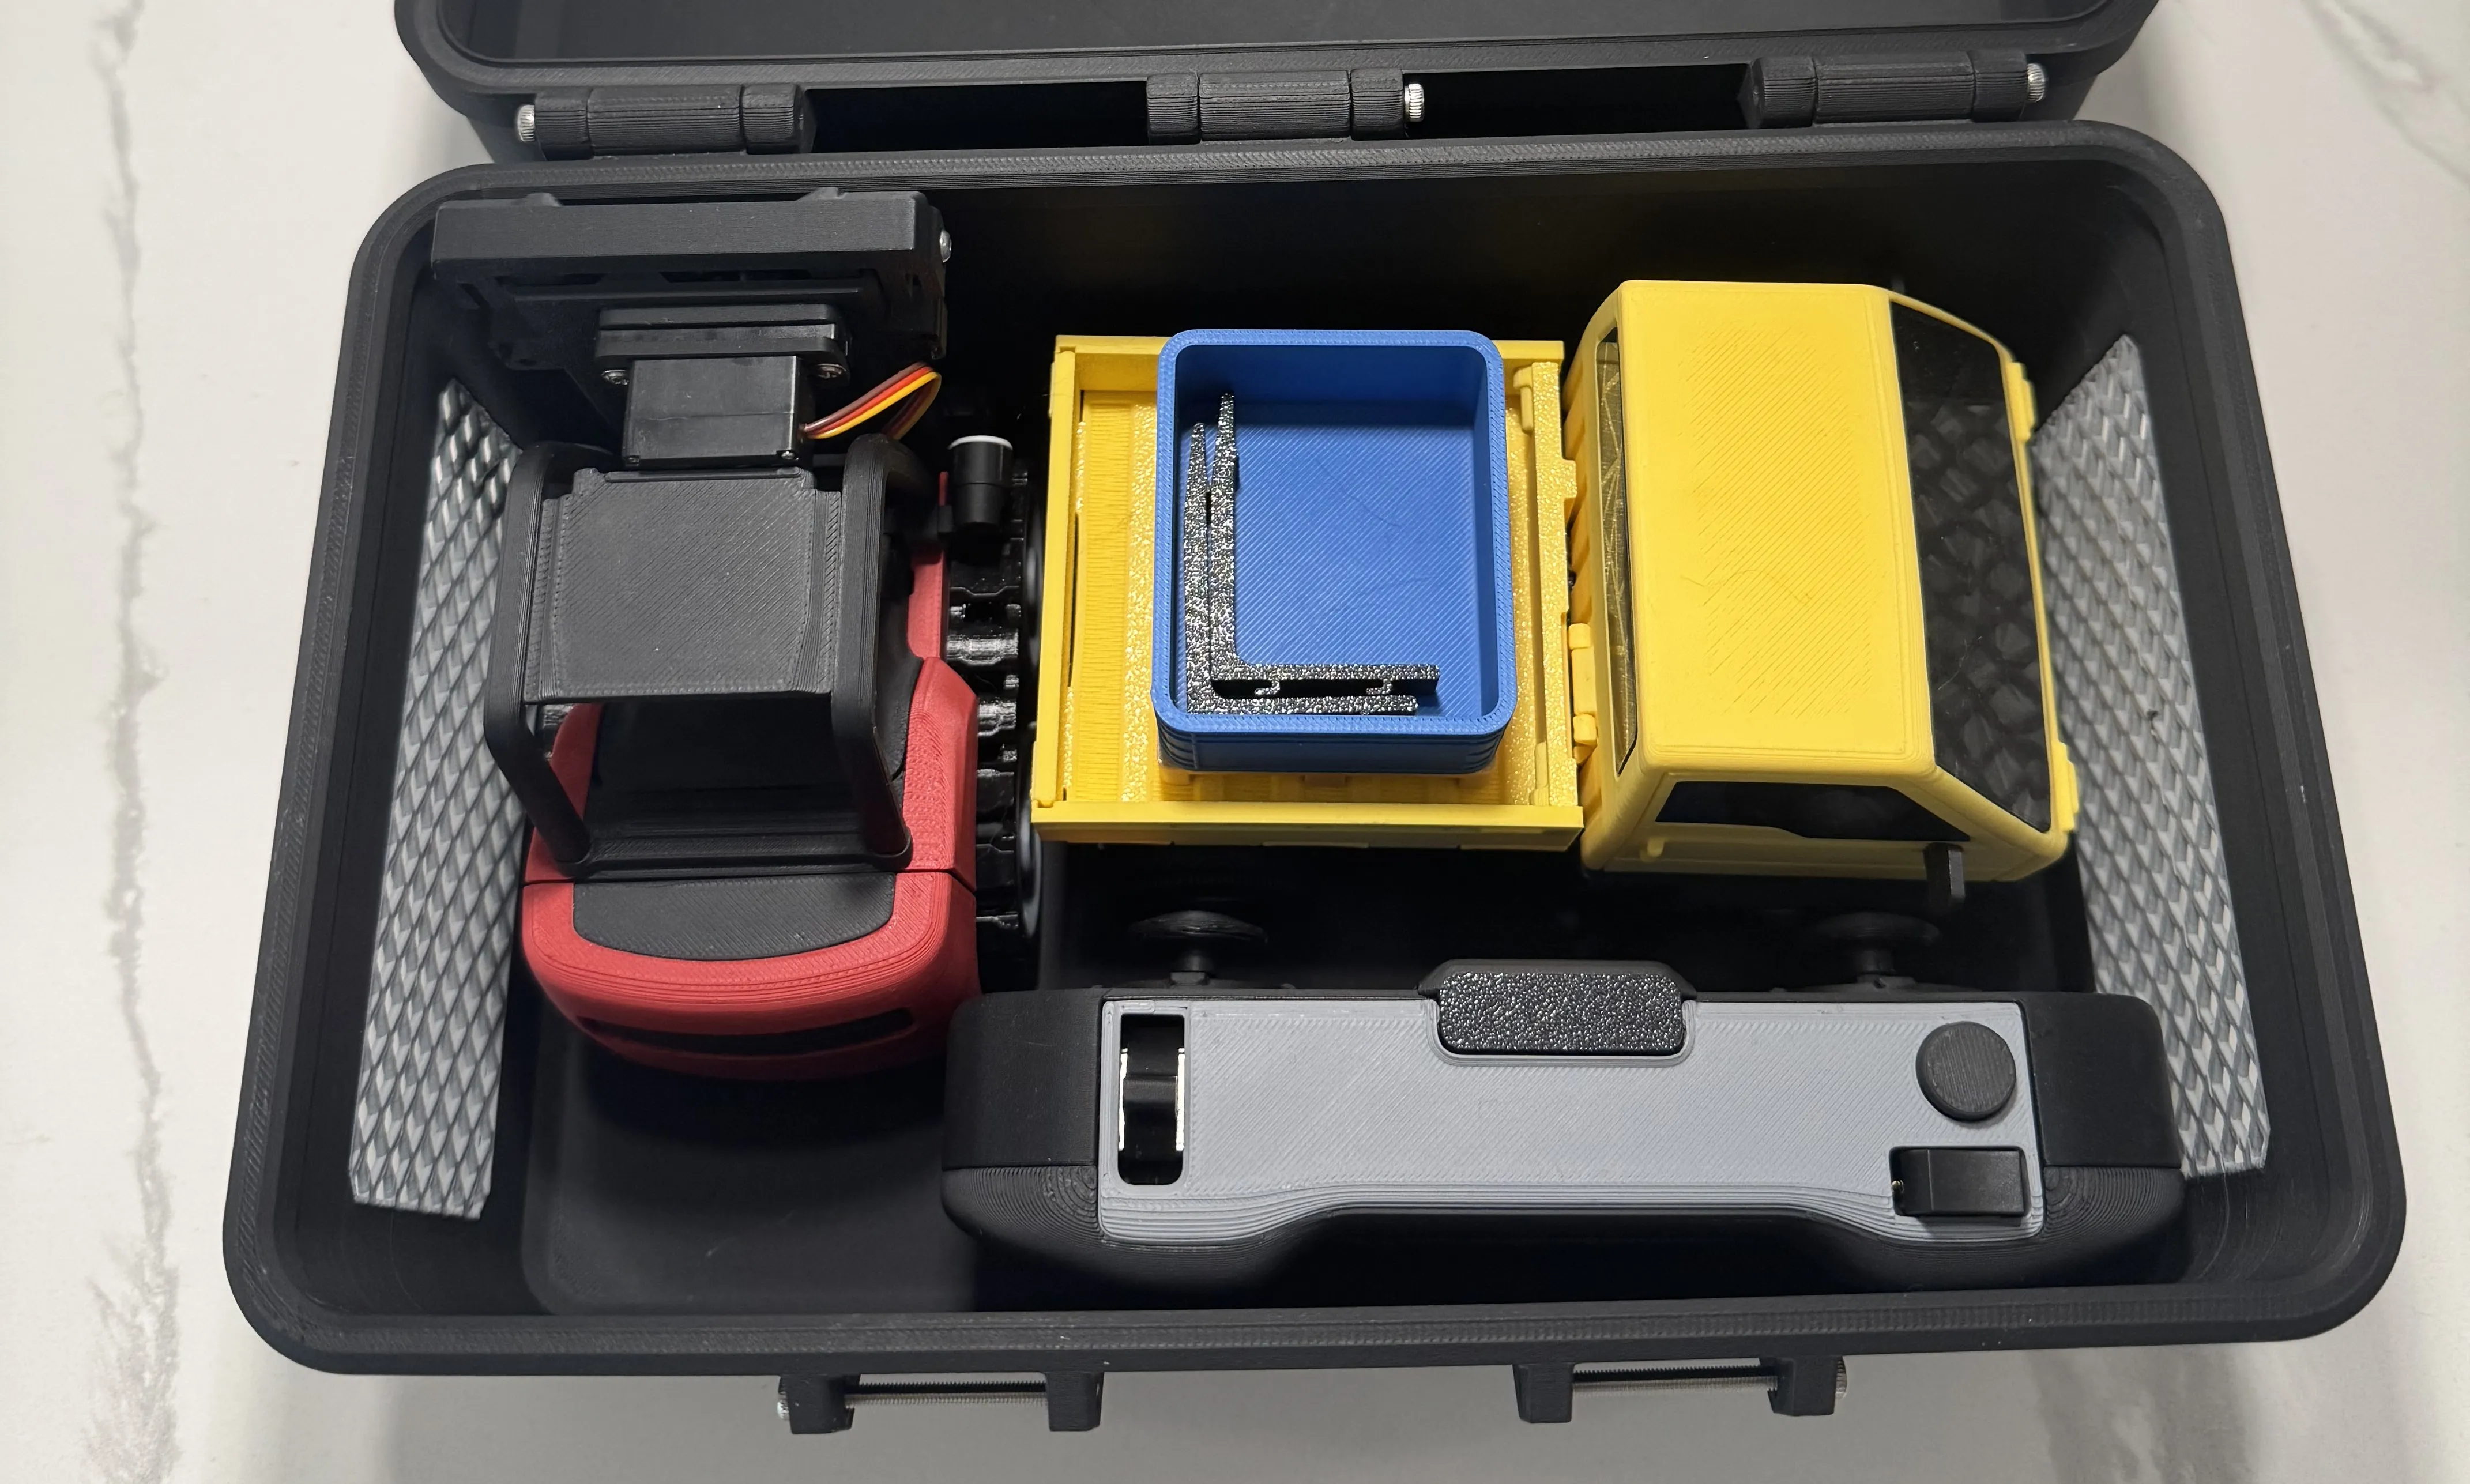
Side note - It makes perfect storage for the CyberBrick ForkLift, Truck, and Controller (Forks need to be removed first)
Overview
There are 3 different print profiles:
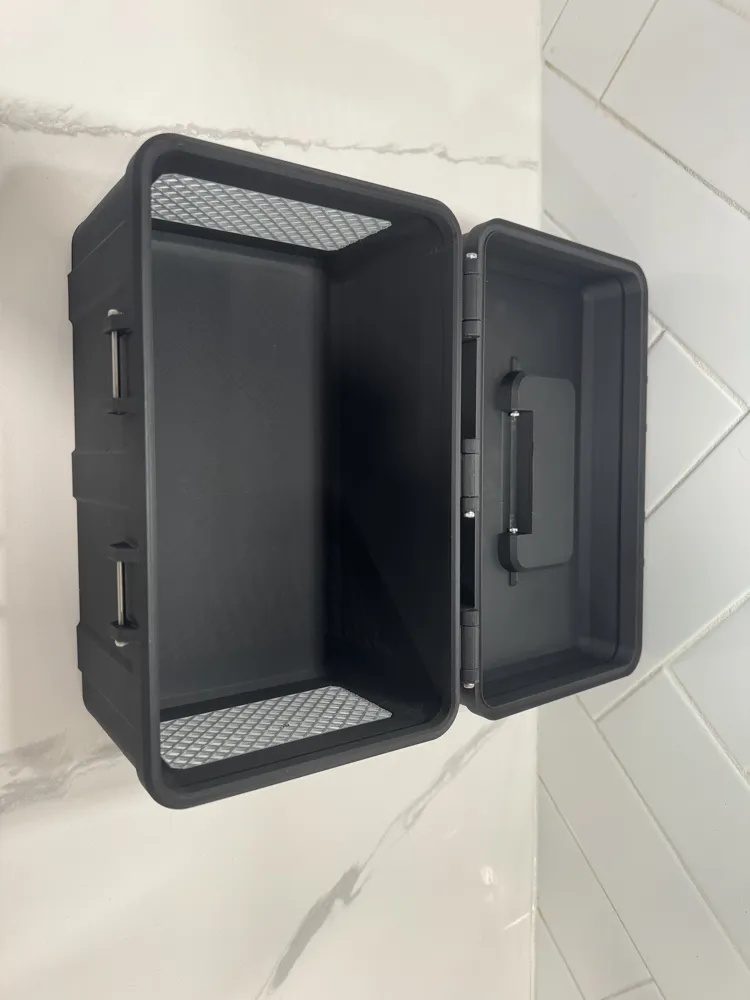
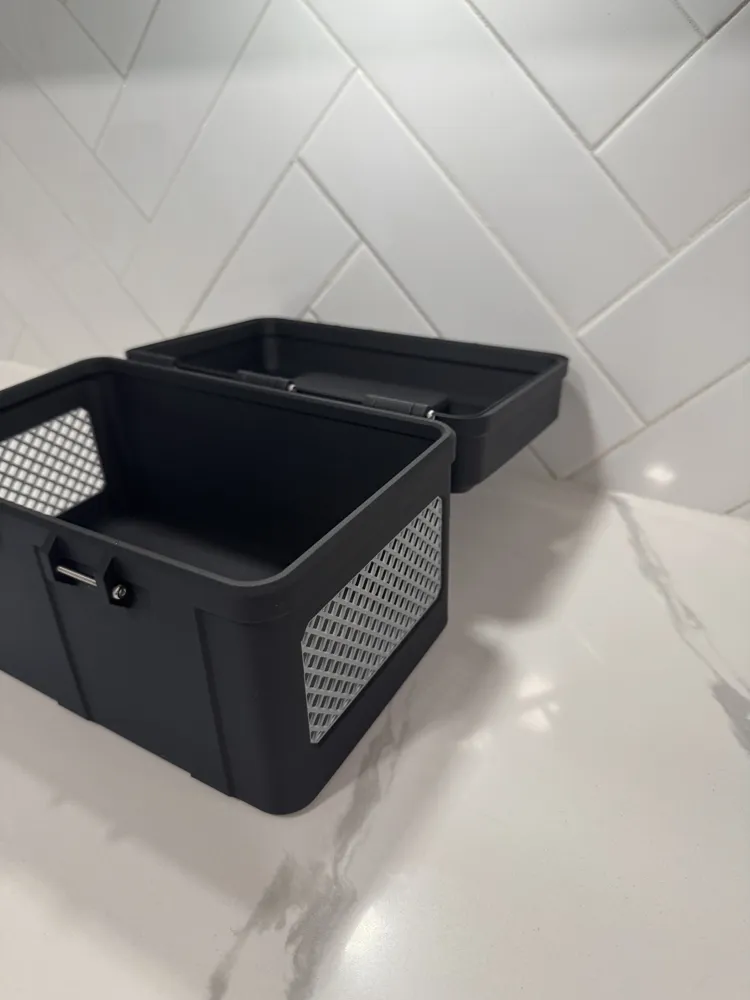
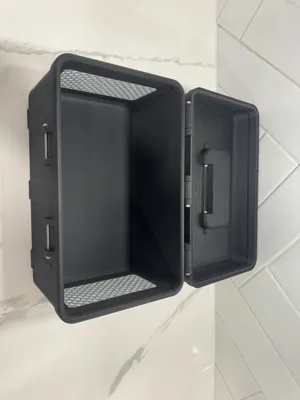
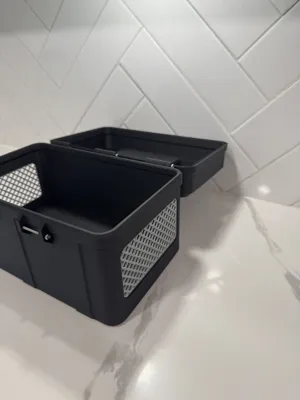
- Single-Body Base: Includes integrated mesh on side walls
- Split Mesh Base: Mesh prints separately and can be glued in afterward — this saves time and filament, but requires supports and some care due to thin structures.
- All Parts: Contains both base options and top inserts - one lid matches both model bases
Both base versions are compatible with the same lid, handle, and hinge system.
Assembly Notes
You’ll need 9 M3 screws for full assembly:
- 4x M3x35mm – front latch mechanism
- 3x M3x35mm – rear hinge
- 2x M3x25mm – handle attachment
- Glue for top insert
Glue the top insert into the lid. Match screw orientation to the images: one side of the screw hole is intentionally tighter to allow threading directly into the part. Use an Allen key for better torque on the handle screws.
Print Details
- Overall Dimensions Assembled: 255mm x 171.925mm x 162.35mm
- Layer Height: 0.2mm
- Supports:
- Lid: Required
- Base (split mesh version): Required for mesh area only
- Base (single-body version): Bottom supports optional
- Filament: HT-PLA
- Build Plate: Regular textured (others should also work)
License

You may create derivative works based on this object, provided that all such derivative works are published exclusively on the MakerWorld platform and include proper attribution to the original creator. You may not share, upload, host, distribute, or publish this object—or any derivative work of this object—on any other digital platform, marketplace, or distribution channel. Commercial use of this object and any derivative works is strictly prohibited. This includes, but is not limited to, selling, renting, sublicensing, or using the object in any context in which you receive monetary compensation or other financial benefits.


Comment & Rating (12)