Bambu Lab X1C Top Glass Riser


Print Profile(3)


Description
NOTE: You need to print both 3MF files from me! (4 parts total)
Hey :) I remixed the “Bambu Lab Carbon X1 Top Glass Riser for LEDs”.
Now you can print it without TPU and it works better, we made some updates to the file!
1. Two 3-hour printing times - two parts fit on the X1C.
2. No TPU is needed anymore because we put the part together as one piece. We now use 20x2mm EPDM tape as a base for the glass! This seals better, is silent and saves us the unnecessary TPU print!
3. We have adjusted the socket a bit so that we can better route the cable to the outside.
Parts List:
1. approx 130cm 8mm COB LED strip
2. One power supply (12V/24V) depending on the LED strip you bought
3. A dimmer if you want, we use an Alexa compatible dimmer.
4. Super glue
5. 20x2mm EPDM foam rubber tape
Printing Instructions:
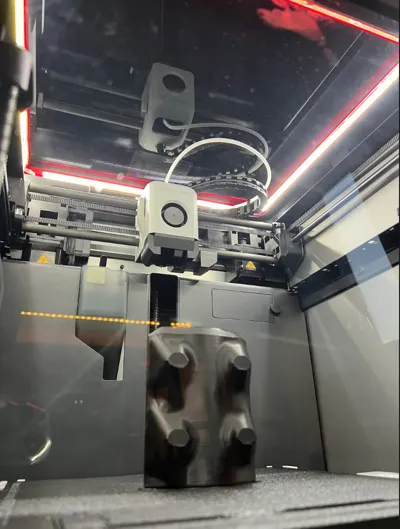
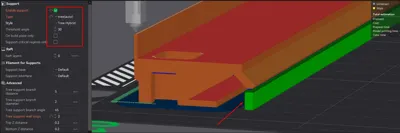
You print everything from PLA, PETG, ABS in your Bambu Lab with a 0.2mm layer height and normal support (no tree supports, please) Refer to the pictures to see how it should look.
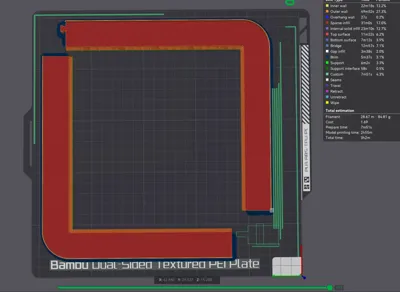
Exactly two parts always just fit on the build plate.
Approximately 6 hours printing time for all 4 parts. (2x 3h)
Assembly Instructions:
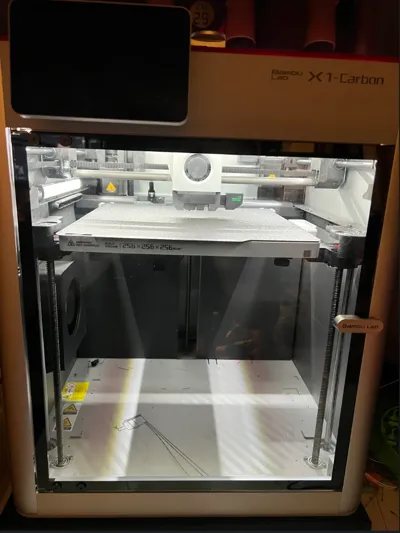
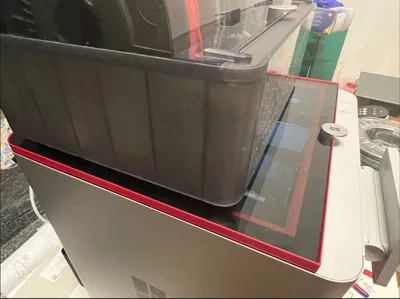
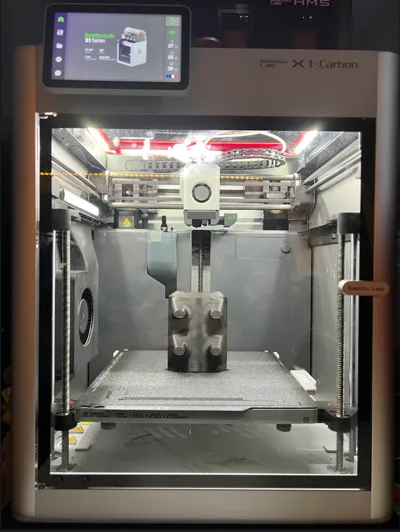
We use the following "COB LED strips" along with a "24V 1A power supply" and the following "EPDM tape" in 20x2mm. After printing, you roughly clean the parts and simply click them together, then you test whether it fits in the printer It should sit flat in the printer without wobbling! If it does not fit, check your print for any warping...
After everything fits, you now glue the EPDM tape along the upper edge This normally does not require super glue (grease-free).
Then you cut the appropriate lengths for your LED strip This depends on the divisibility of the strips.
Now solder all 4 strips correctly at the positive and negative terminals together. Leave the cables between the LED strips approximately 3cm long.
After soldering, insert the LED strips into the designated groove This should work without any issues with an 8mm strip Although we used self-adhesive LED strips, we still secured them at each divisible point from above with a drop of super glue.
Then let everything dry or use activator spray.
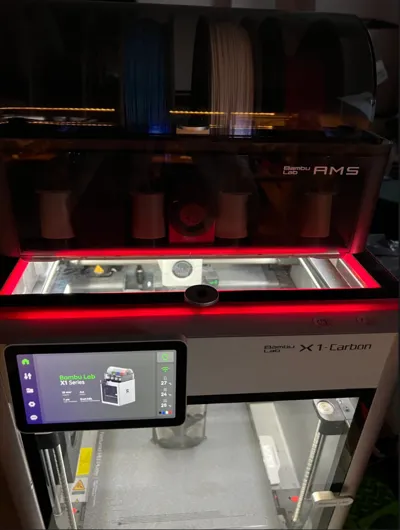
Now place the frame in the printer, the glass pane on top and then if applicable your AMS back on top. We deliberately built it so that we do not have to or want to do any wiring on the printer itself.
Of course, if you wish to do so, that is your choice. In any case, we assume no liability for material defects or any other issues!
Despite the disclaimer, we hope you have fun with your build! See you in the makes!
Nick from Filament Freunde - Discord :)
GERMAN:
Note: You need to print both 3MF files from me! (4 parts in total)
Hey :) I remixed it. Now you can print it without TPU, and it works better, we have made some updates to the file!
1. Two 3-hour print times - two parts fit on the X1C
2. No TPU is needed anymore as we have combined the part into one piece. We now use 20x2mm EPDM tape as a base for the glass! This seals better, makes no noise and saves us the unnecessary TPU print!
3. We have slightly adjusted the socket so that we can better route the cable externally.
Parts List:
1. Approx 130cm 8mm COB LED strip
2. One power supply (12V/24V) depending on the LED strip you bought
3. A dimmer if you want, we use an Alexa compatible dimmer.
4. Super glue
5. 20x2mm EPDM foam rubber tape
Printing Instructions:
You print everything from PLA, PETG, ABS in your Bambu Lab with a 0.2mm layer height and normal support (please no tree structure) Check the pictures to see how it should look.
Exactly two parts always just fit on the build plate.
Approx 6 hours printing time for all 4 parts. (2x 3h)
Assembly Instructions:
We use the following "COB LED strips" along with a "24V 1A power supply" and the following "EPDM tape" in 20x2mm. After printing, you roughly clean the parts and simply click them together, then you test whether it fits in the printer It should lie flat in the printer without wobbling! If this does not fit, check your print for any warping...
After everything fits, you now glue the EPDM tape along the upper edge This normally does not require super glue (grease-free).
Then you cut the appropriate lengths for your LED strip This depends a bit on the divisibility of the strips.
Now solder all 4 strips correctly at +/- together. Leave the cables between the LED strips approx 3cm long.
After soldering, you insert the LED strips into the intended lip This should work easily with an 8mm strip Although we had self-adhesive LED strips, we still secured them at each divisible point from above with a drop of super glue.
Afterward, let everything dry or use activator spray.
Now you place the frame in the printer, the glass pane on top, and then your AMS back on top if necessary. We deliberately built it so that we do not have to or want to do any wiring on the printer itself.
If you want to do this, of course, you are free to do so. In any case, we assume no liability, no liability for material defects or otherwise!
Despite the disclaimer, we wish you a lot of fun building! See you in the Makes!
Nick from Filament Freunde - Discord :)
License
You may create derivative works based on this object, provided that all such derivative works are published exclusively on the MakerWorld platform and include proper attribution to the original creator. You may not share, upload, host, distribute, or publish this object—or any derivative work of this object—on any other digital platform, marketplace, or distribution channel. Commercial use of this object and any derivative works is strictly prohibited. This includes, but is not limited to, selling, renting, sublicensing, or using the object in any context in which you receive monetary compensation or other financial benefits.
Comment & Rating (221)