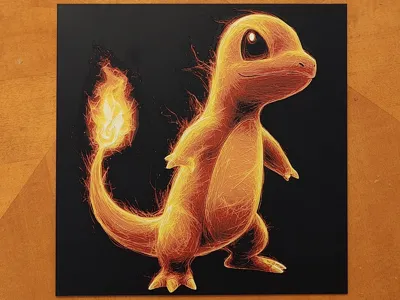
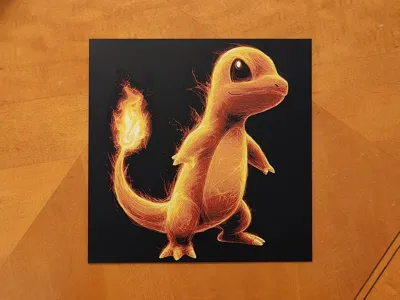
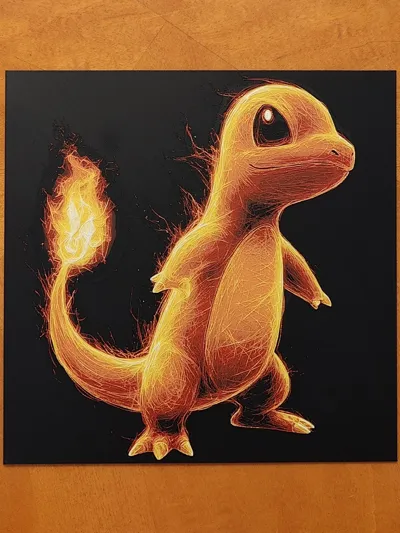
Charmander - Pokemon - Hueforge


Print Profile(3)


Description
Membership
If you would like to sell any of my Makerworld prints, a Commercial License is available.
Boost Me (for free)
If you like it. I would appreciate it if you could leave a rating too.
If you print it, rate it. I put in the work. Rating helps me to keep doing that. I recommend using my print profiles for best results. They are setup and ready to print. Just select your filaments and the correct buildplate. I would also recommend reading below in full. Send me a message if you have questions.
No AMS is required. If you do not have an AMS, just delete the filament changes and replace them with pauses instead. Then you can change filament manually when it pauses at the correct layer.
If you have an AMS, but do not know how to setup more than 4 colours using one AMS then follow this guide.
If you would like to sell my Hueforges a Commercial Licence Subscription is available. Do not sell my prints without it please.
Important:
- You CANNOT adjust the Z axis scaling on a Hueforge. It will not come out as intended. You can change the X and Y values to scale the picture up or down though.
- To ensure that the print looks the same as mine you must use the same filaments I did (listed below). If you do not, your results will not be exactly the same as shown. (It may still turn out great…..or it may not).
- What you see in the slicer will not accurately show the final result. Do not worry about this. Hueforge uses colour blending, but it does not show in the slicer.
- Please ensure your filament flow ratios are properly calibrated to get the best results.
- You may see a floating regions error. This can be ignored.
Printing Instructions
Print at 100% infill with a layer height of 0.08mm with a base layer of 0.24m.
Remember to select the correct plate type for your printer.
I have used a height range modifier in the object settings for quicker printing. The layer swap numbers in the print profile will not match the ones written below. Do not worry about this.
Filaments Used:
PLA BambuLab Basic Black Transmission Distance: 0.6
PLA BambuLab Basic Red Transmission Distance: 3.8
PLA BambuLab Basic Orange Transmission Distance: 4.4
PLA BambuLab Basic Yellow Transmission Distance: 5.5
PLA BambuLab Basic Jade White Transmission Distance: 6
Swap Instructions:
Start with Black
At layer #15 (1.36mm) swap to Red
At layer #20 (1.76mm) swap to Orange
At layer #26 (2.24mm) swap to Yellow
At layer #33 (2.8mm) swap to Jade White for the rest.
License
You shall not share, sub-license, sell, rent, host, transfer, or distribute in any way the digital or 3D printed versions of this object, nor any other derivative work of this object in its digital or physical format (including - but not limited to - remixes of this object, and hosting on other digital platforms). The objects may not be used without permission in any way whatsoever in which you charge money, or collect fees.
Comment & Rating (12)