
Magnetic Clock
Print Profile(4)



Bill of Materials


Description
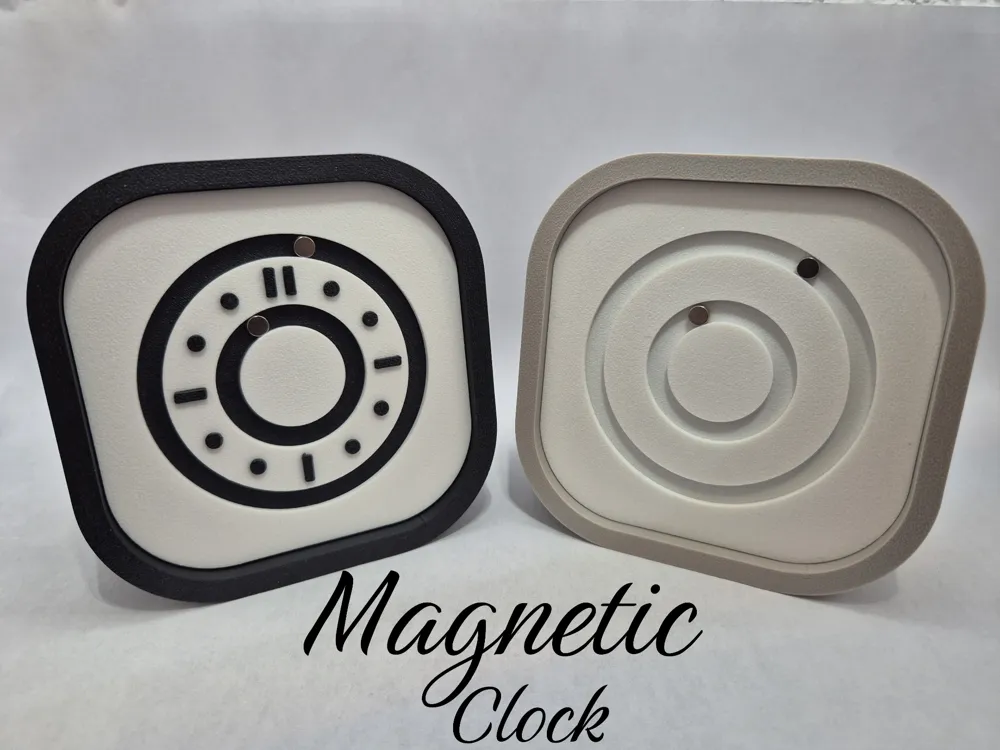
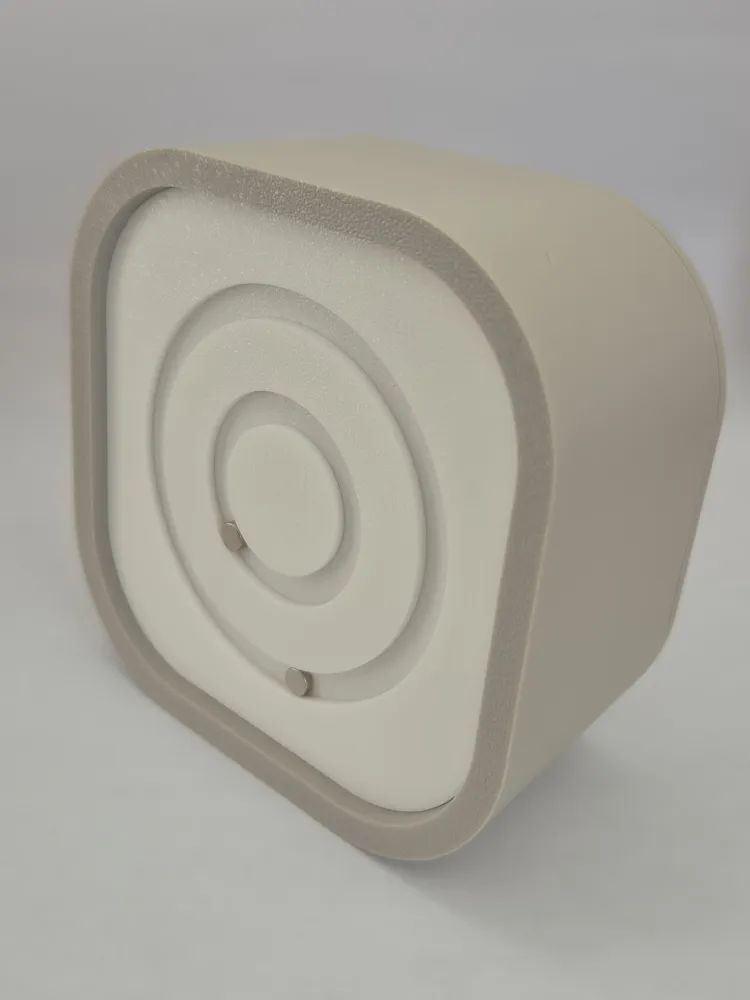
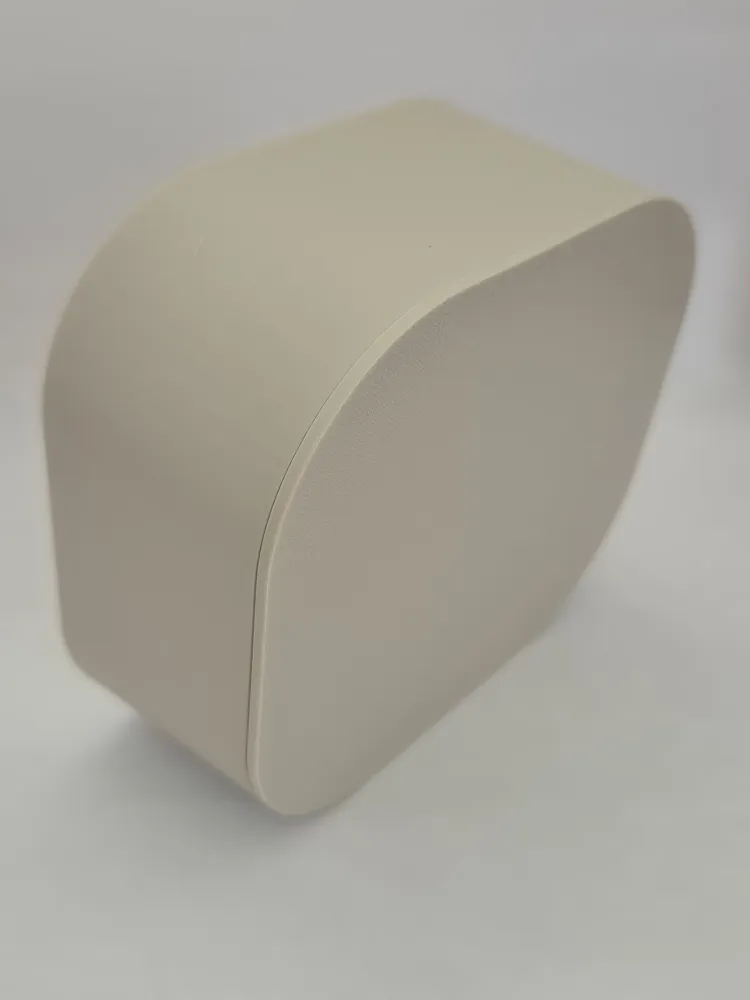
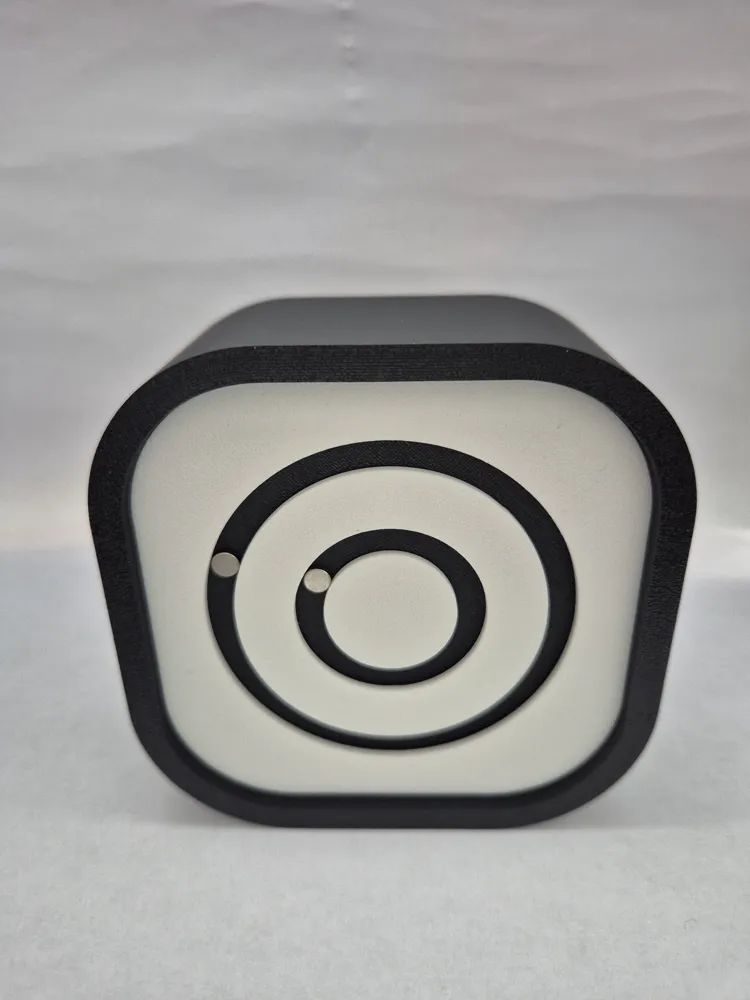
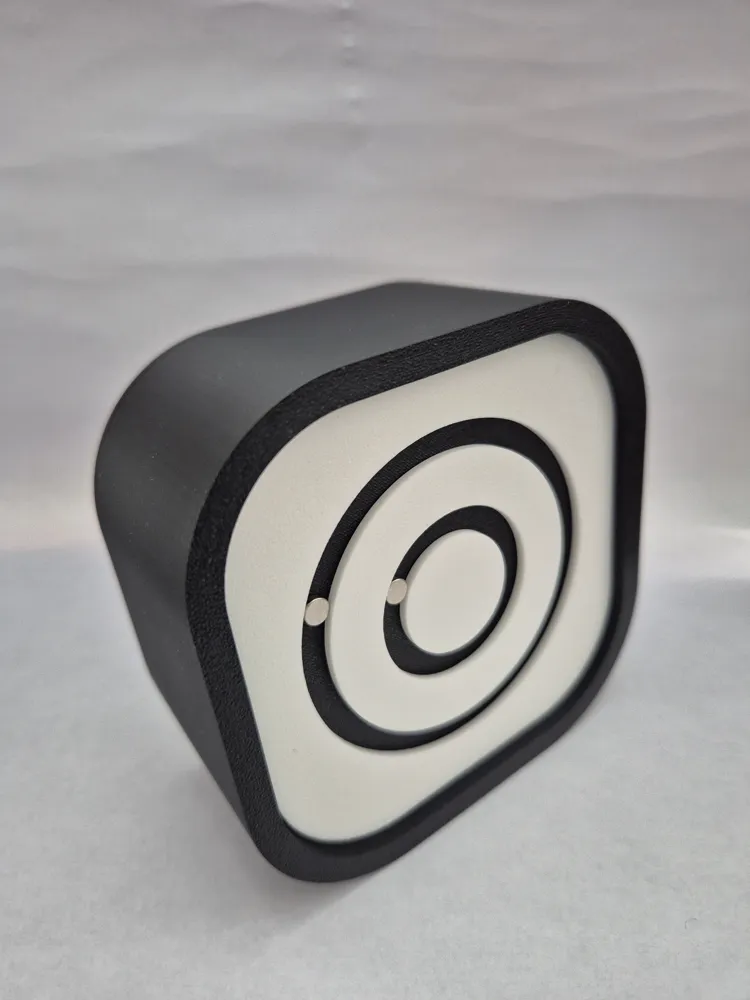
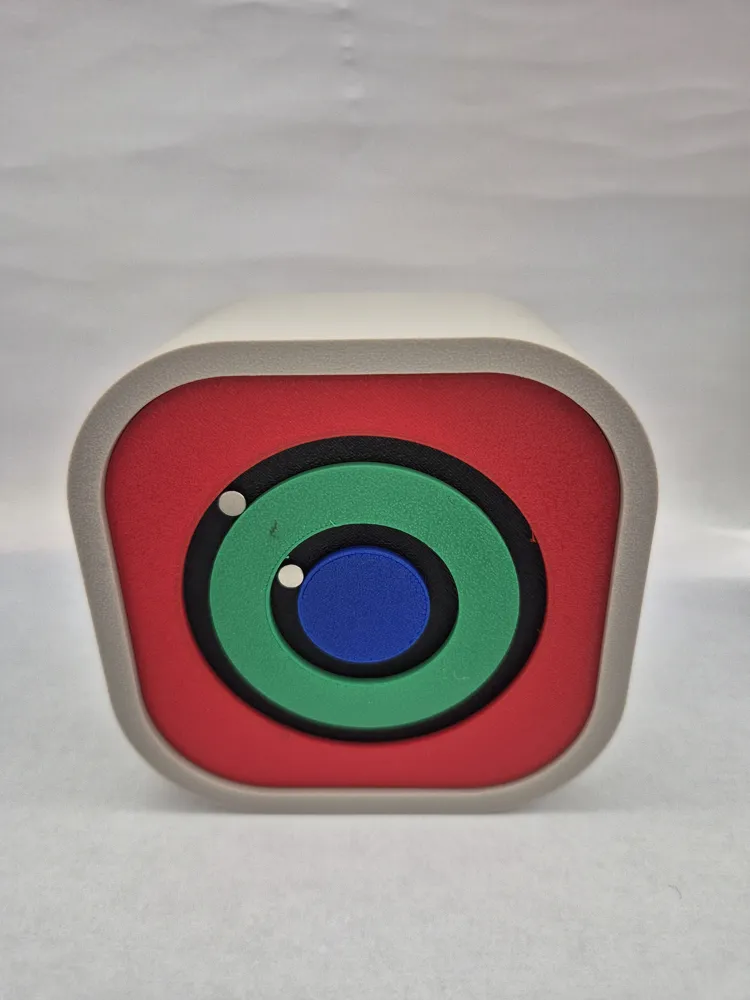
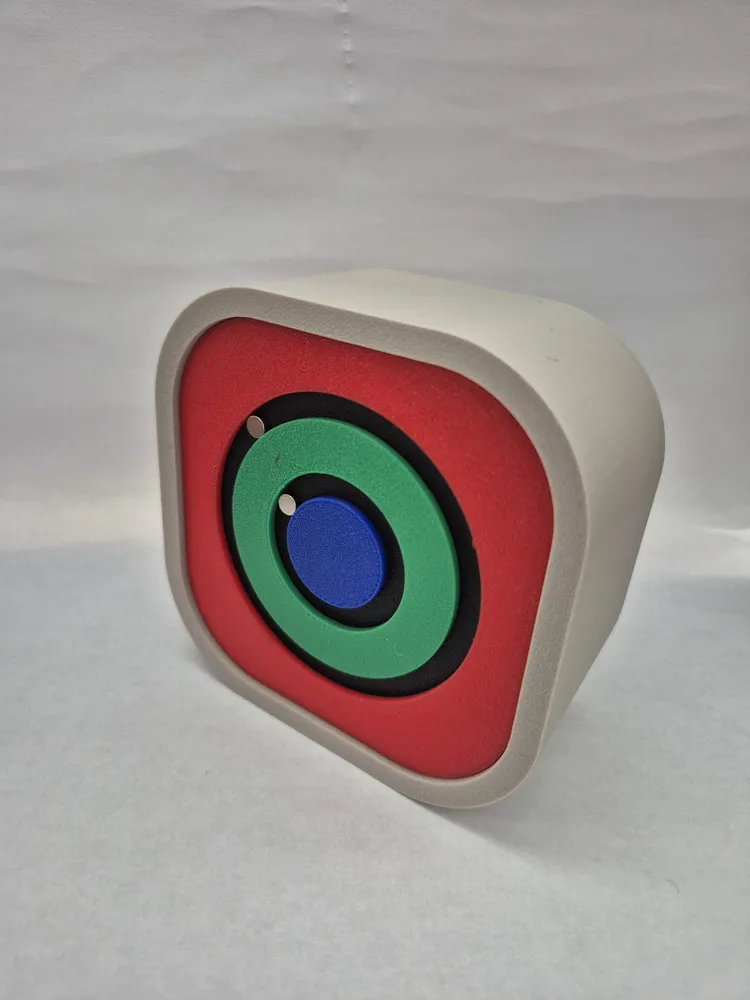
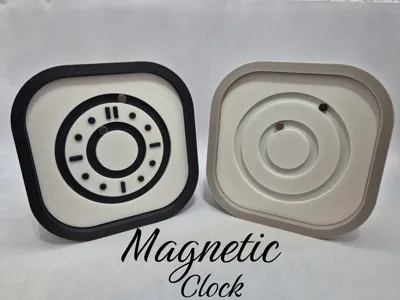
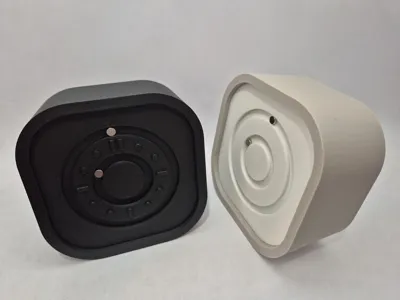
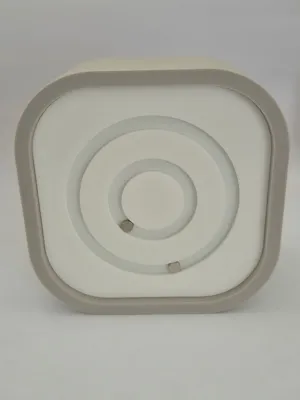
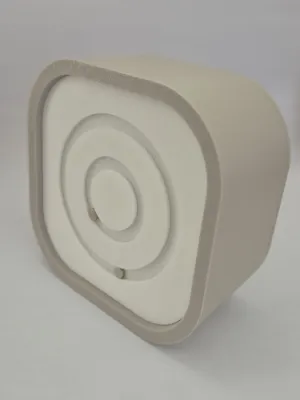
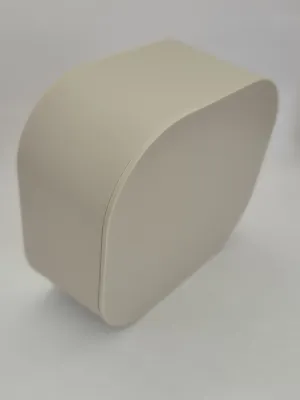
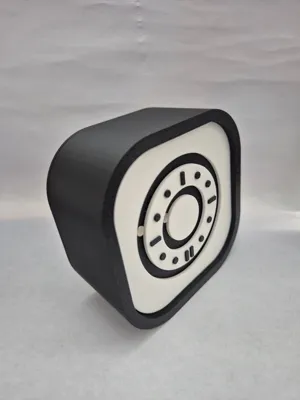
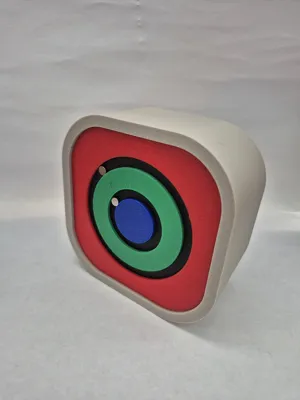
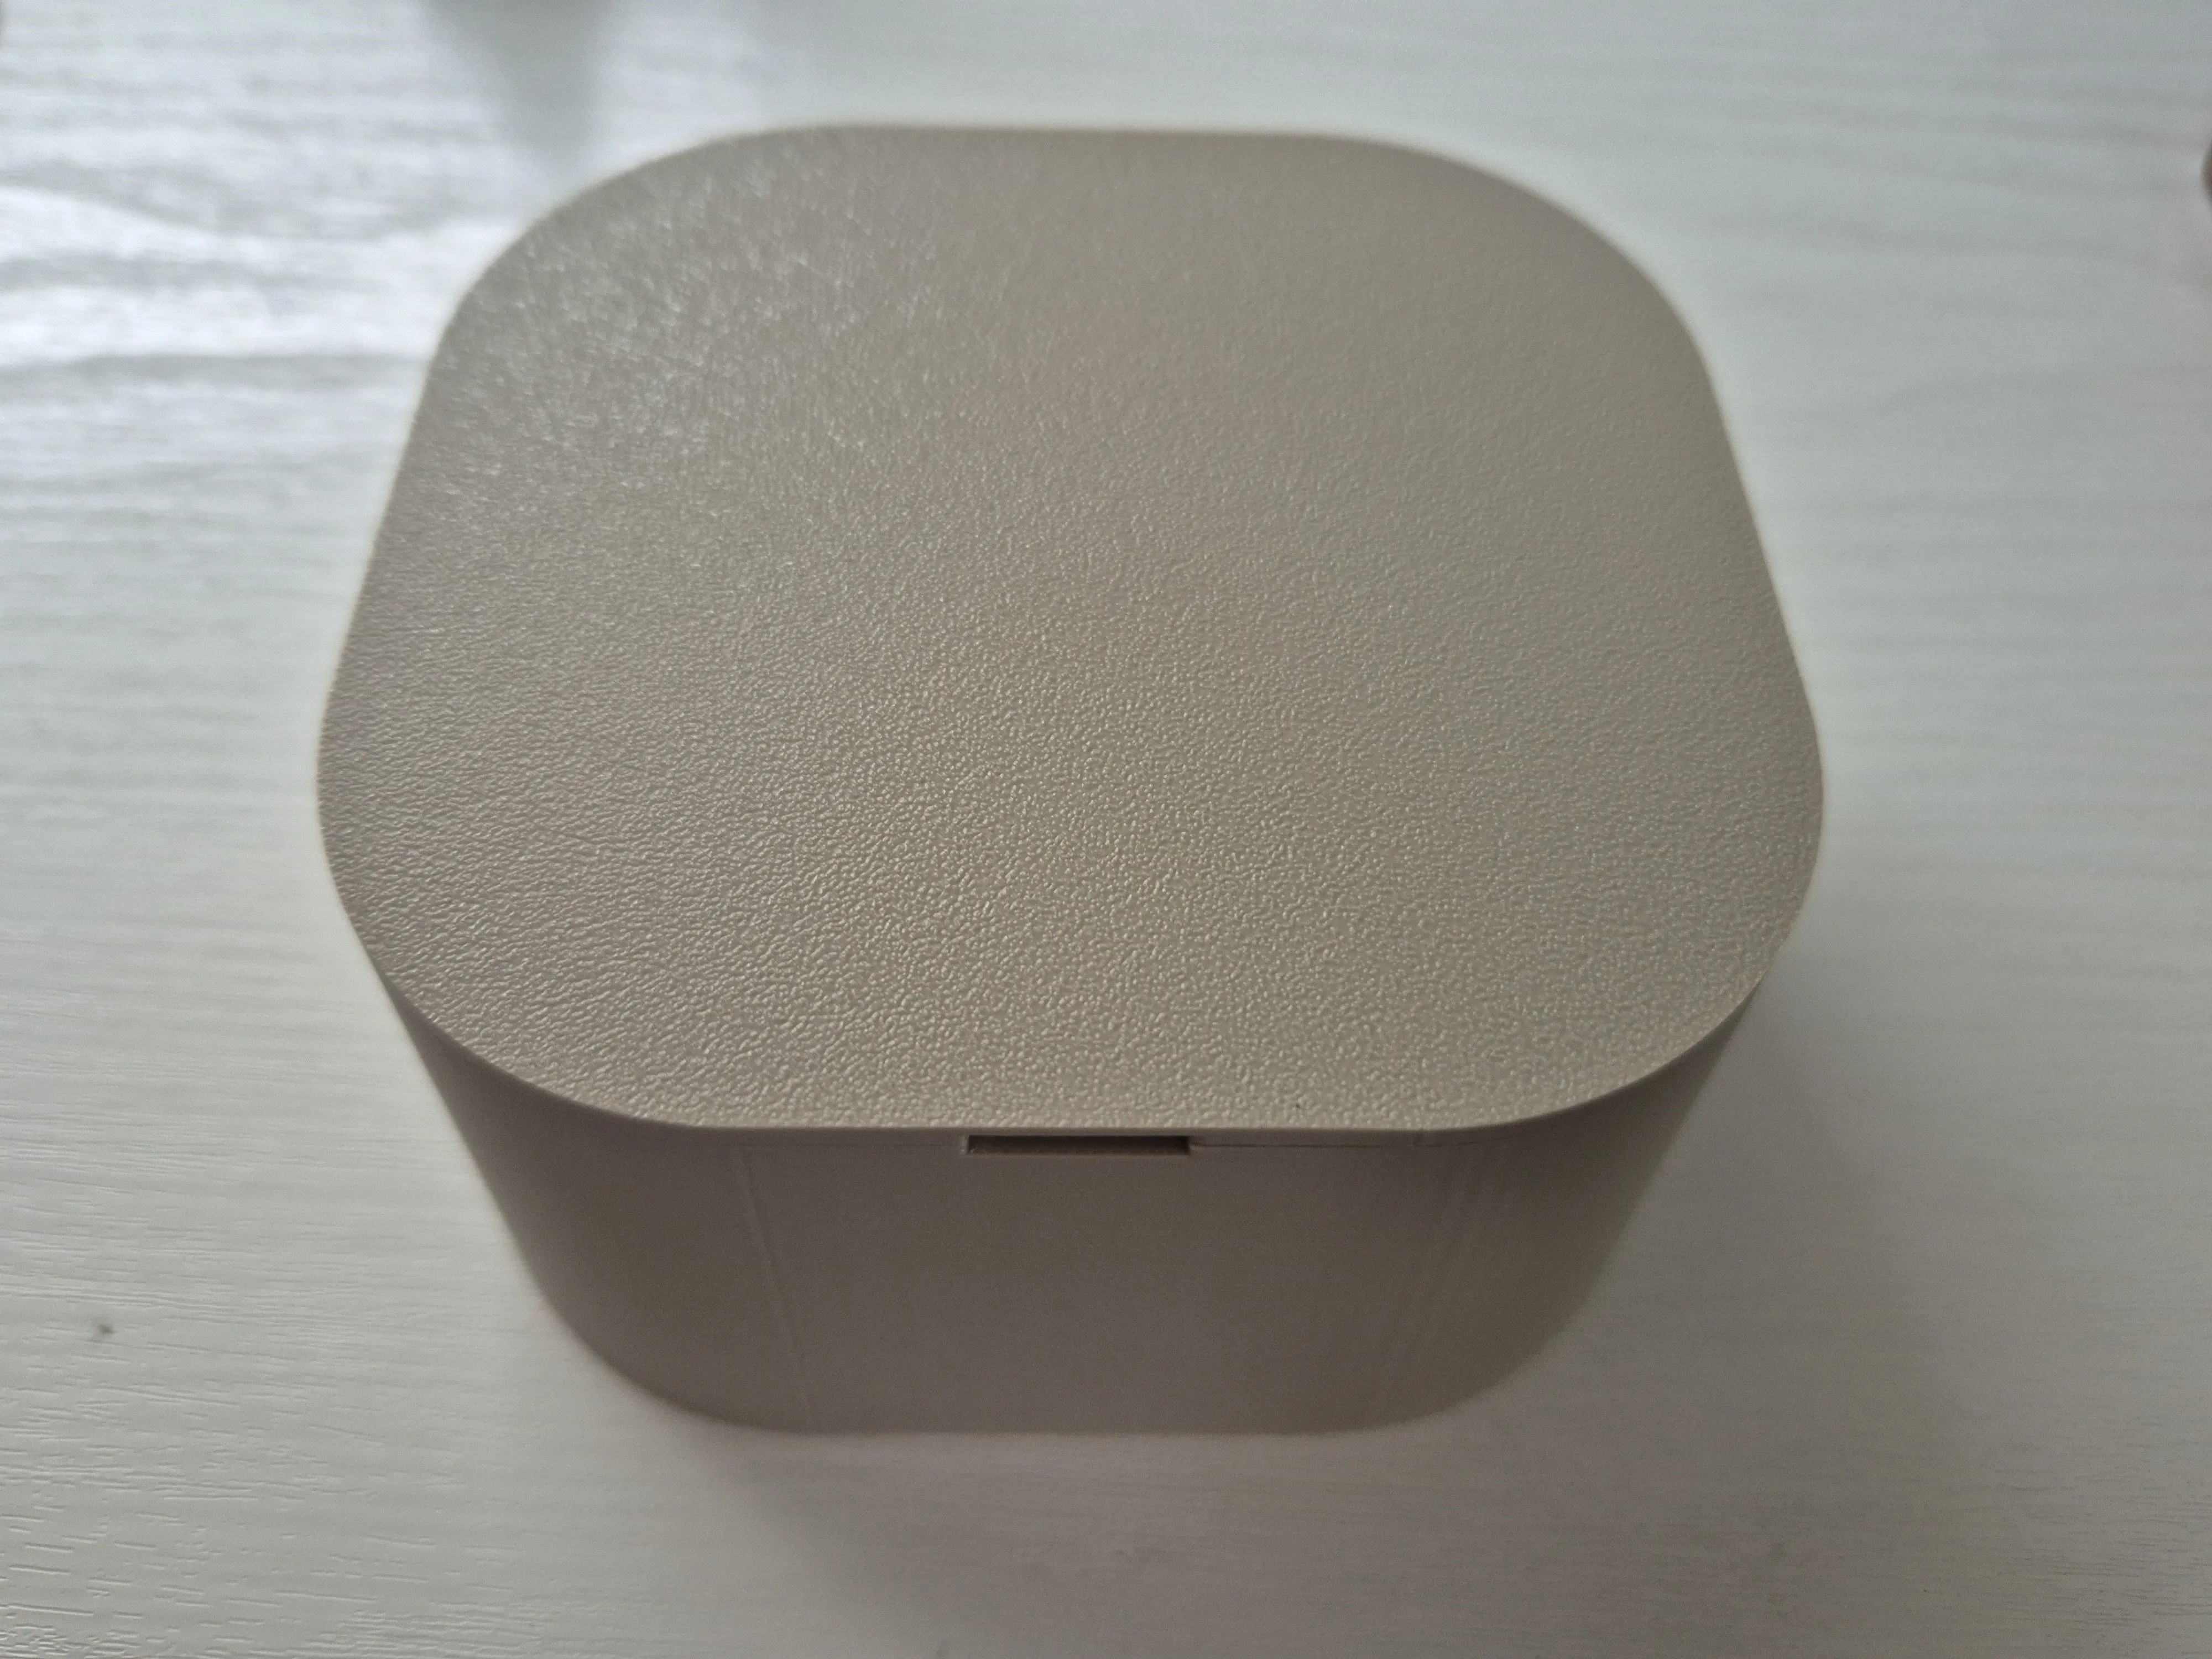
Magnetic Table Clock

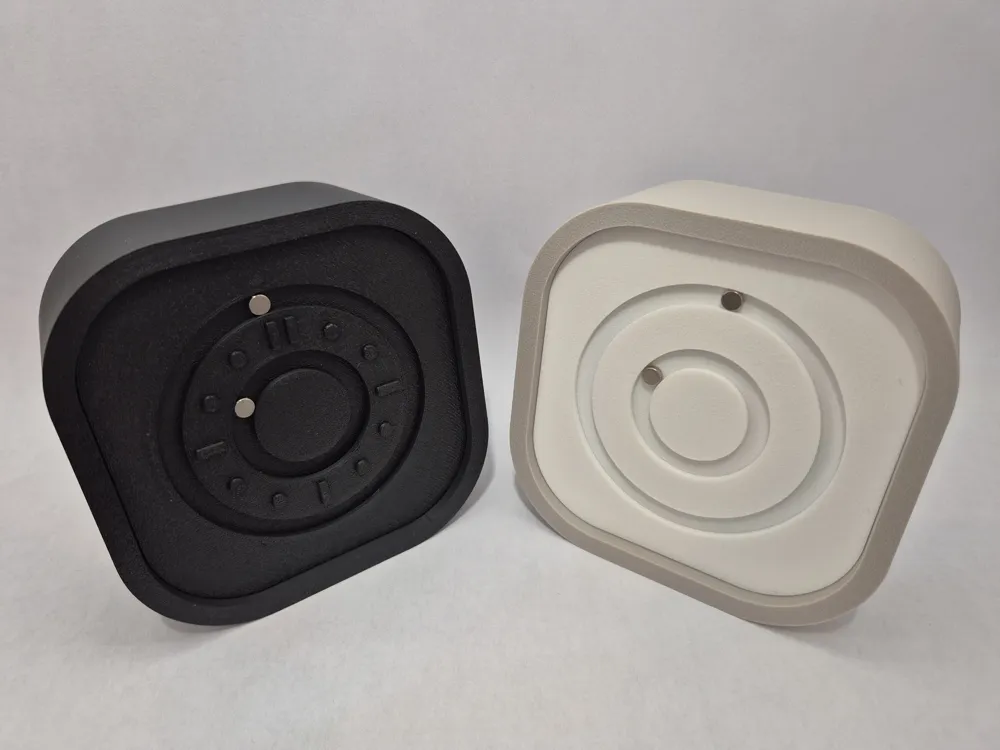
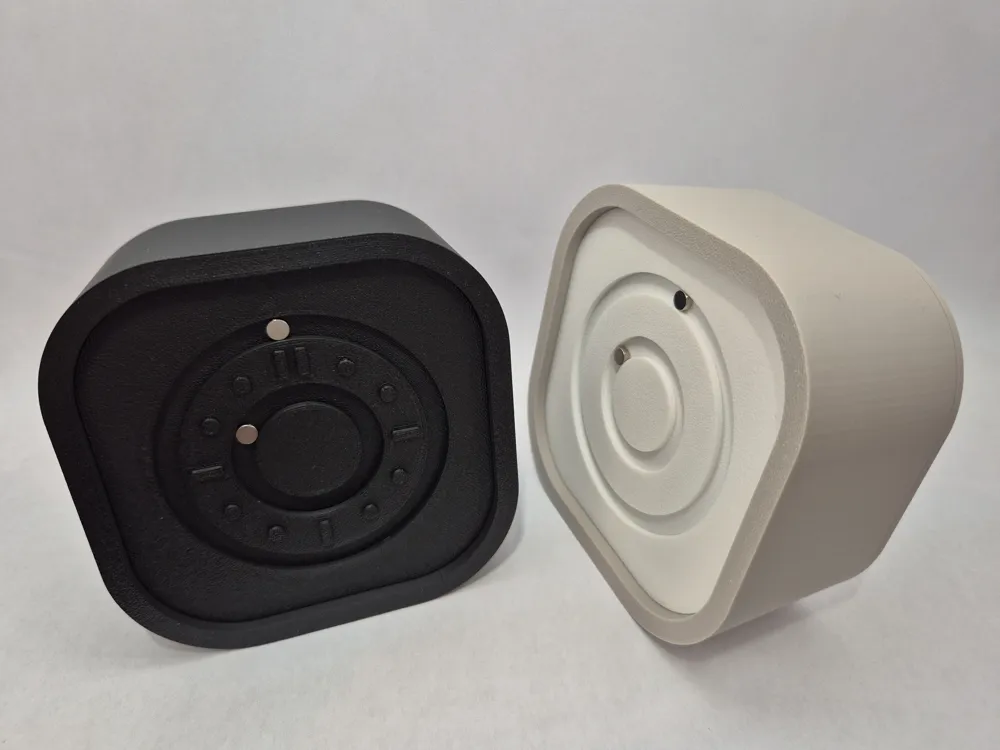
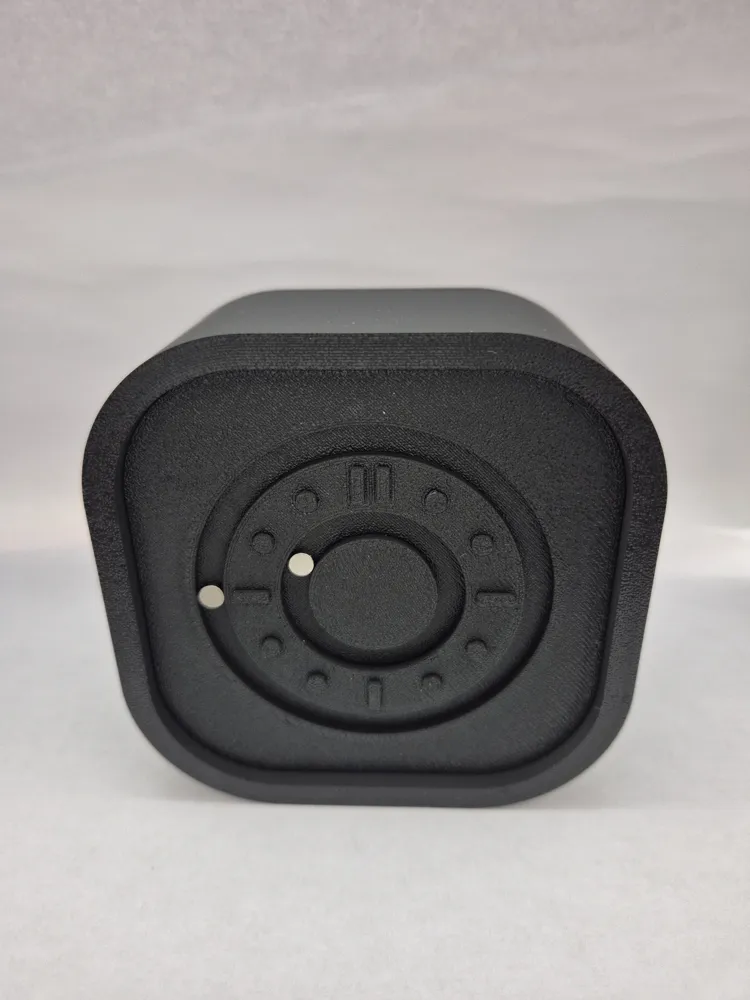
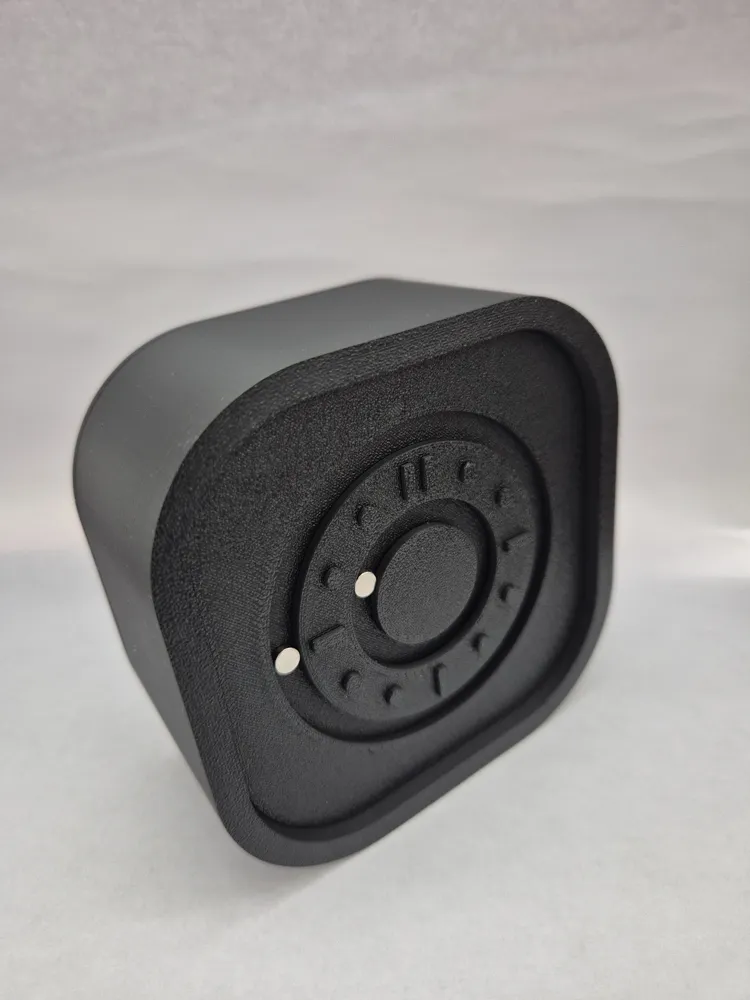
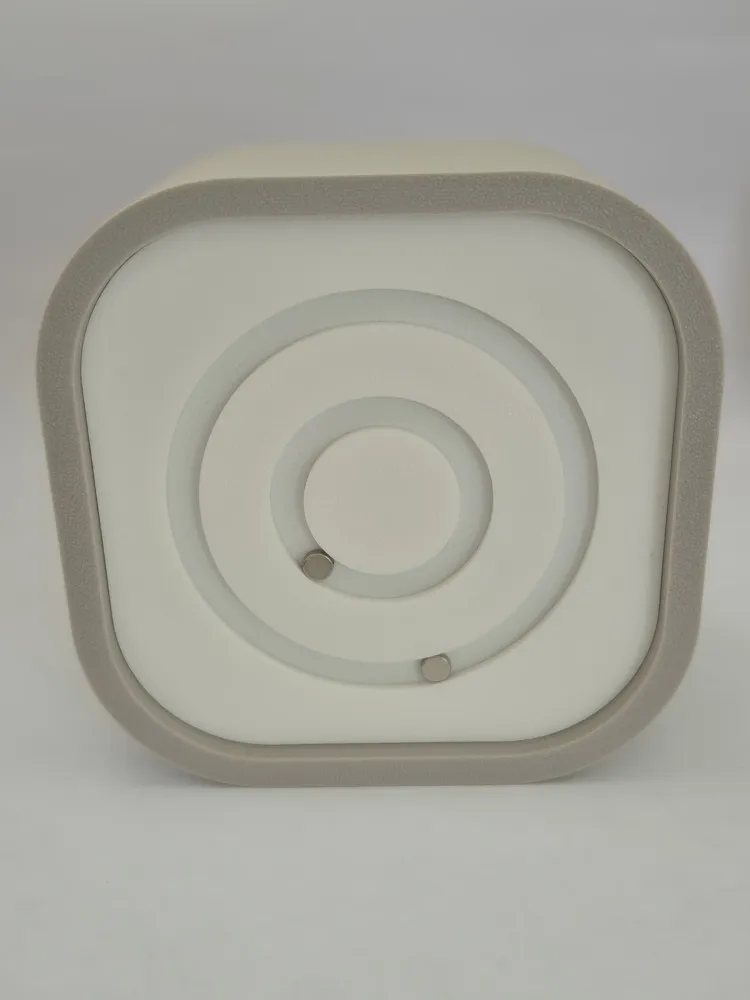
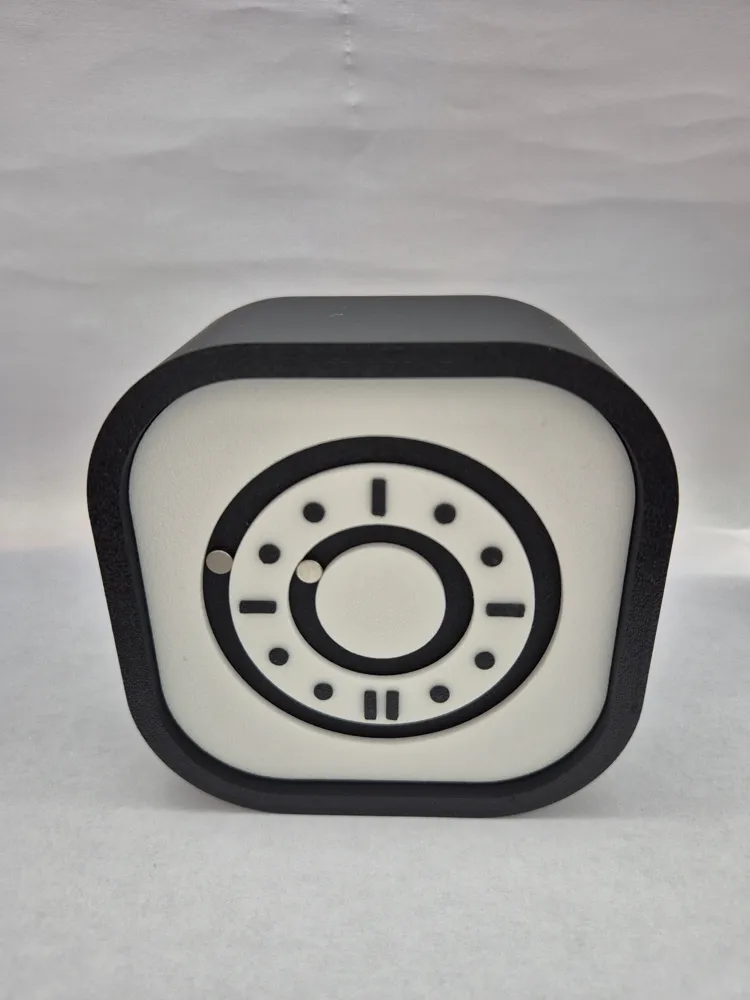
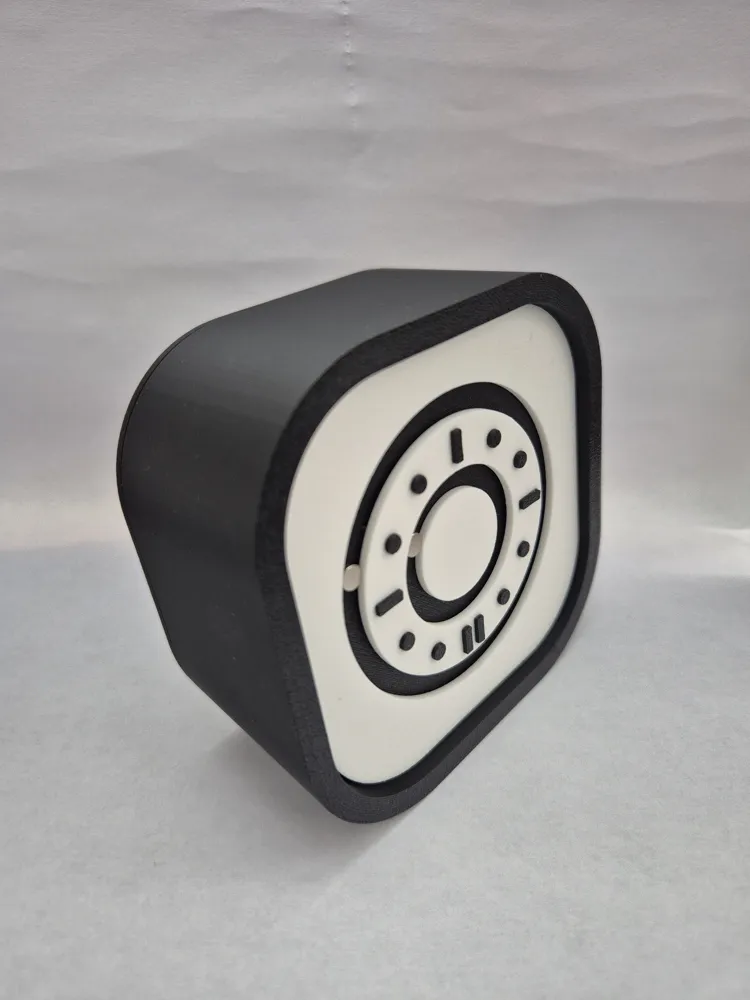
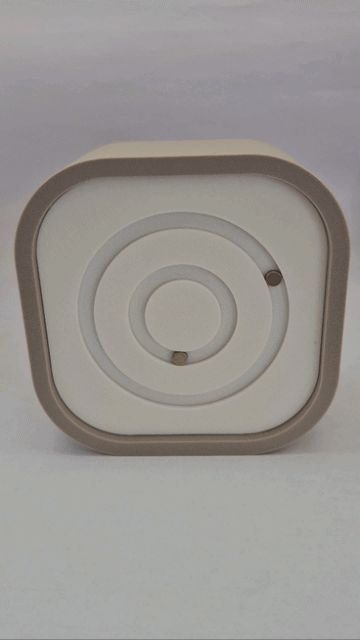
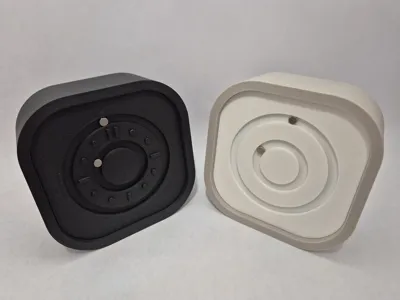
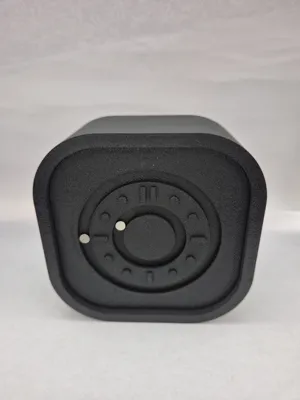
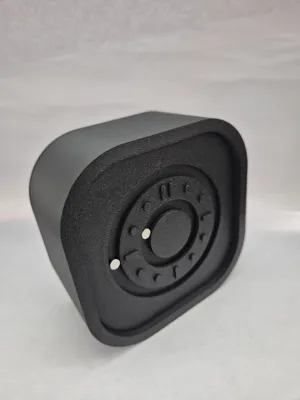
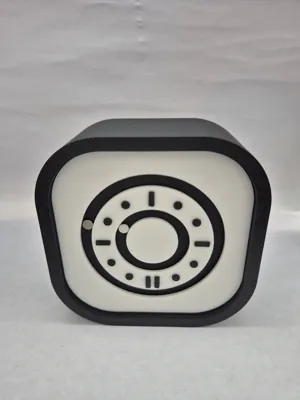
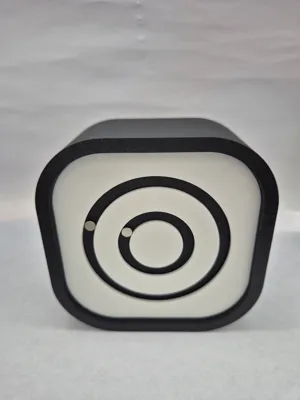
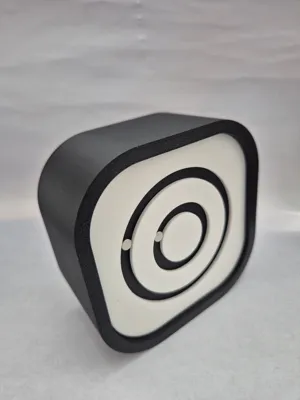
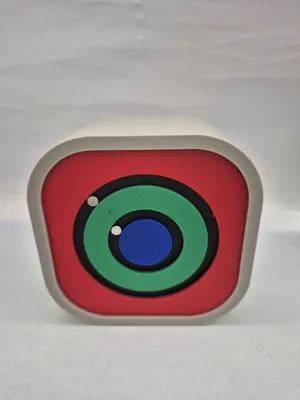
This table clock has no traditional hands. Instead, it uses freely rotating magnets to display the time—creating a sleek, eye-catching, and truly unique look.
The model comes in two versions:
- Clean version: Minimalistic, no numbers.
- Version with numbers: For easier time reading.
Boost Me (for free)
If you like my work and want to support me in providing more (and even better) models in the future, please consider supporting me via the link below or buying me a coffee.
Features:
- Fully modular design
- Wide range of color variations
- Customizable and mixable colors
- No glue required
- Perfectly fitting, solid connections
Battery compartment on the back for easy replacement
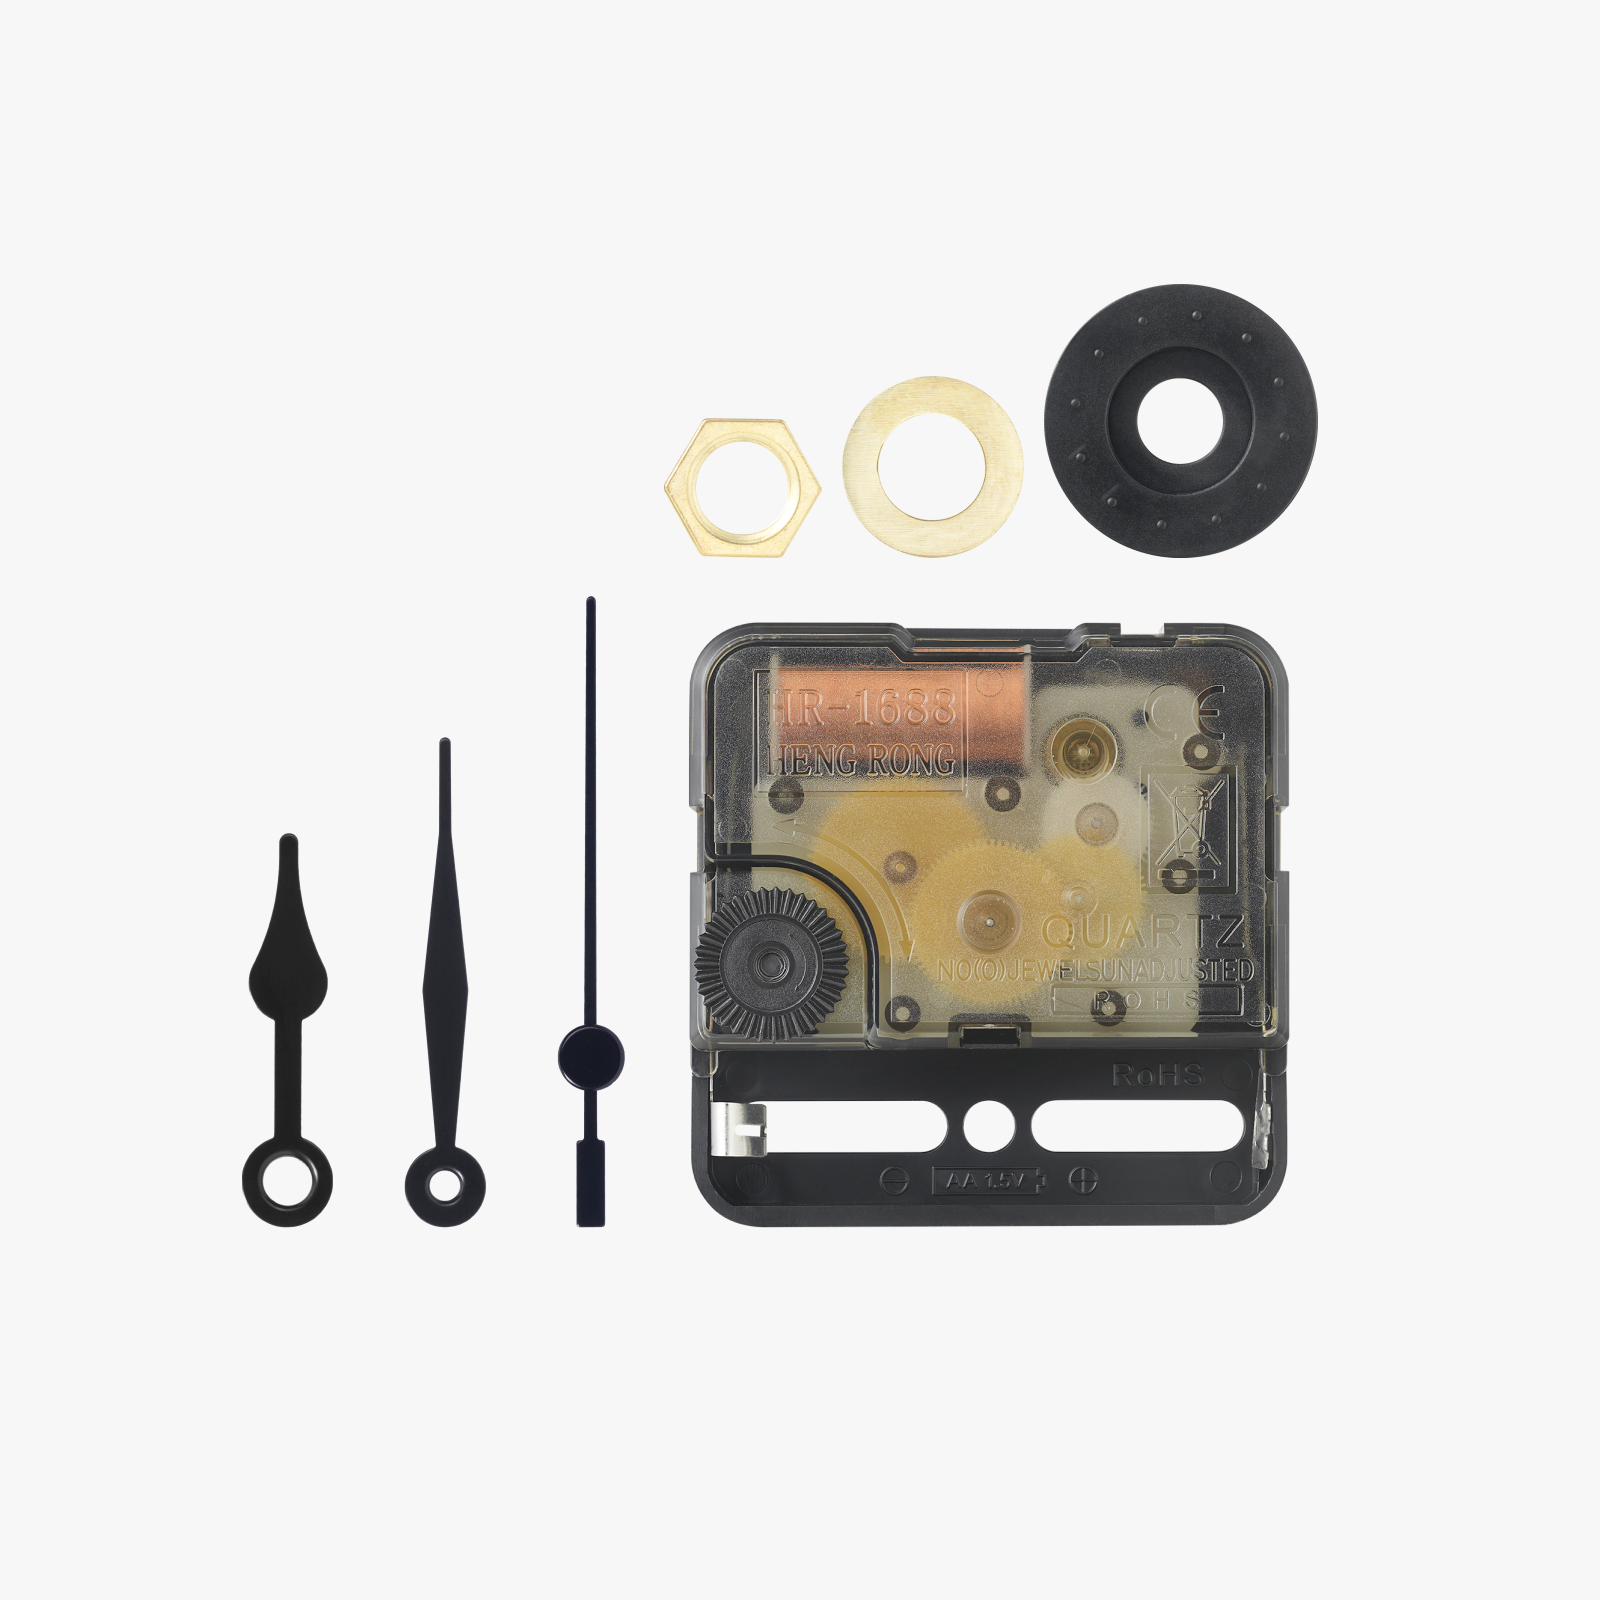
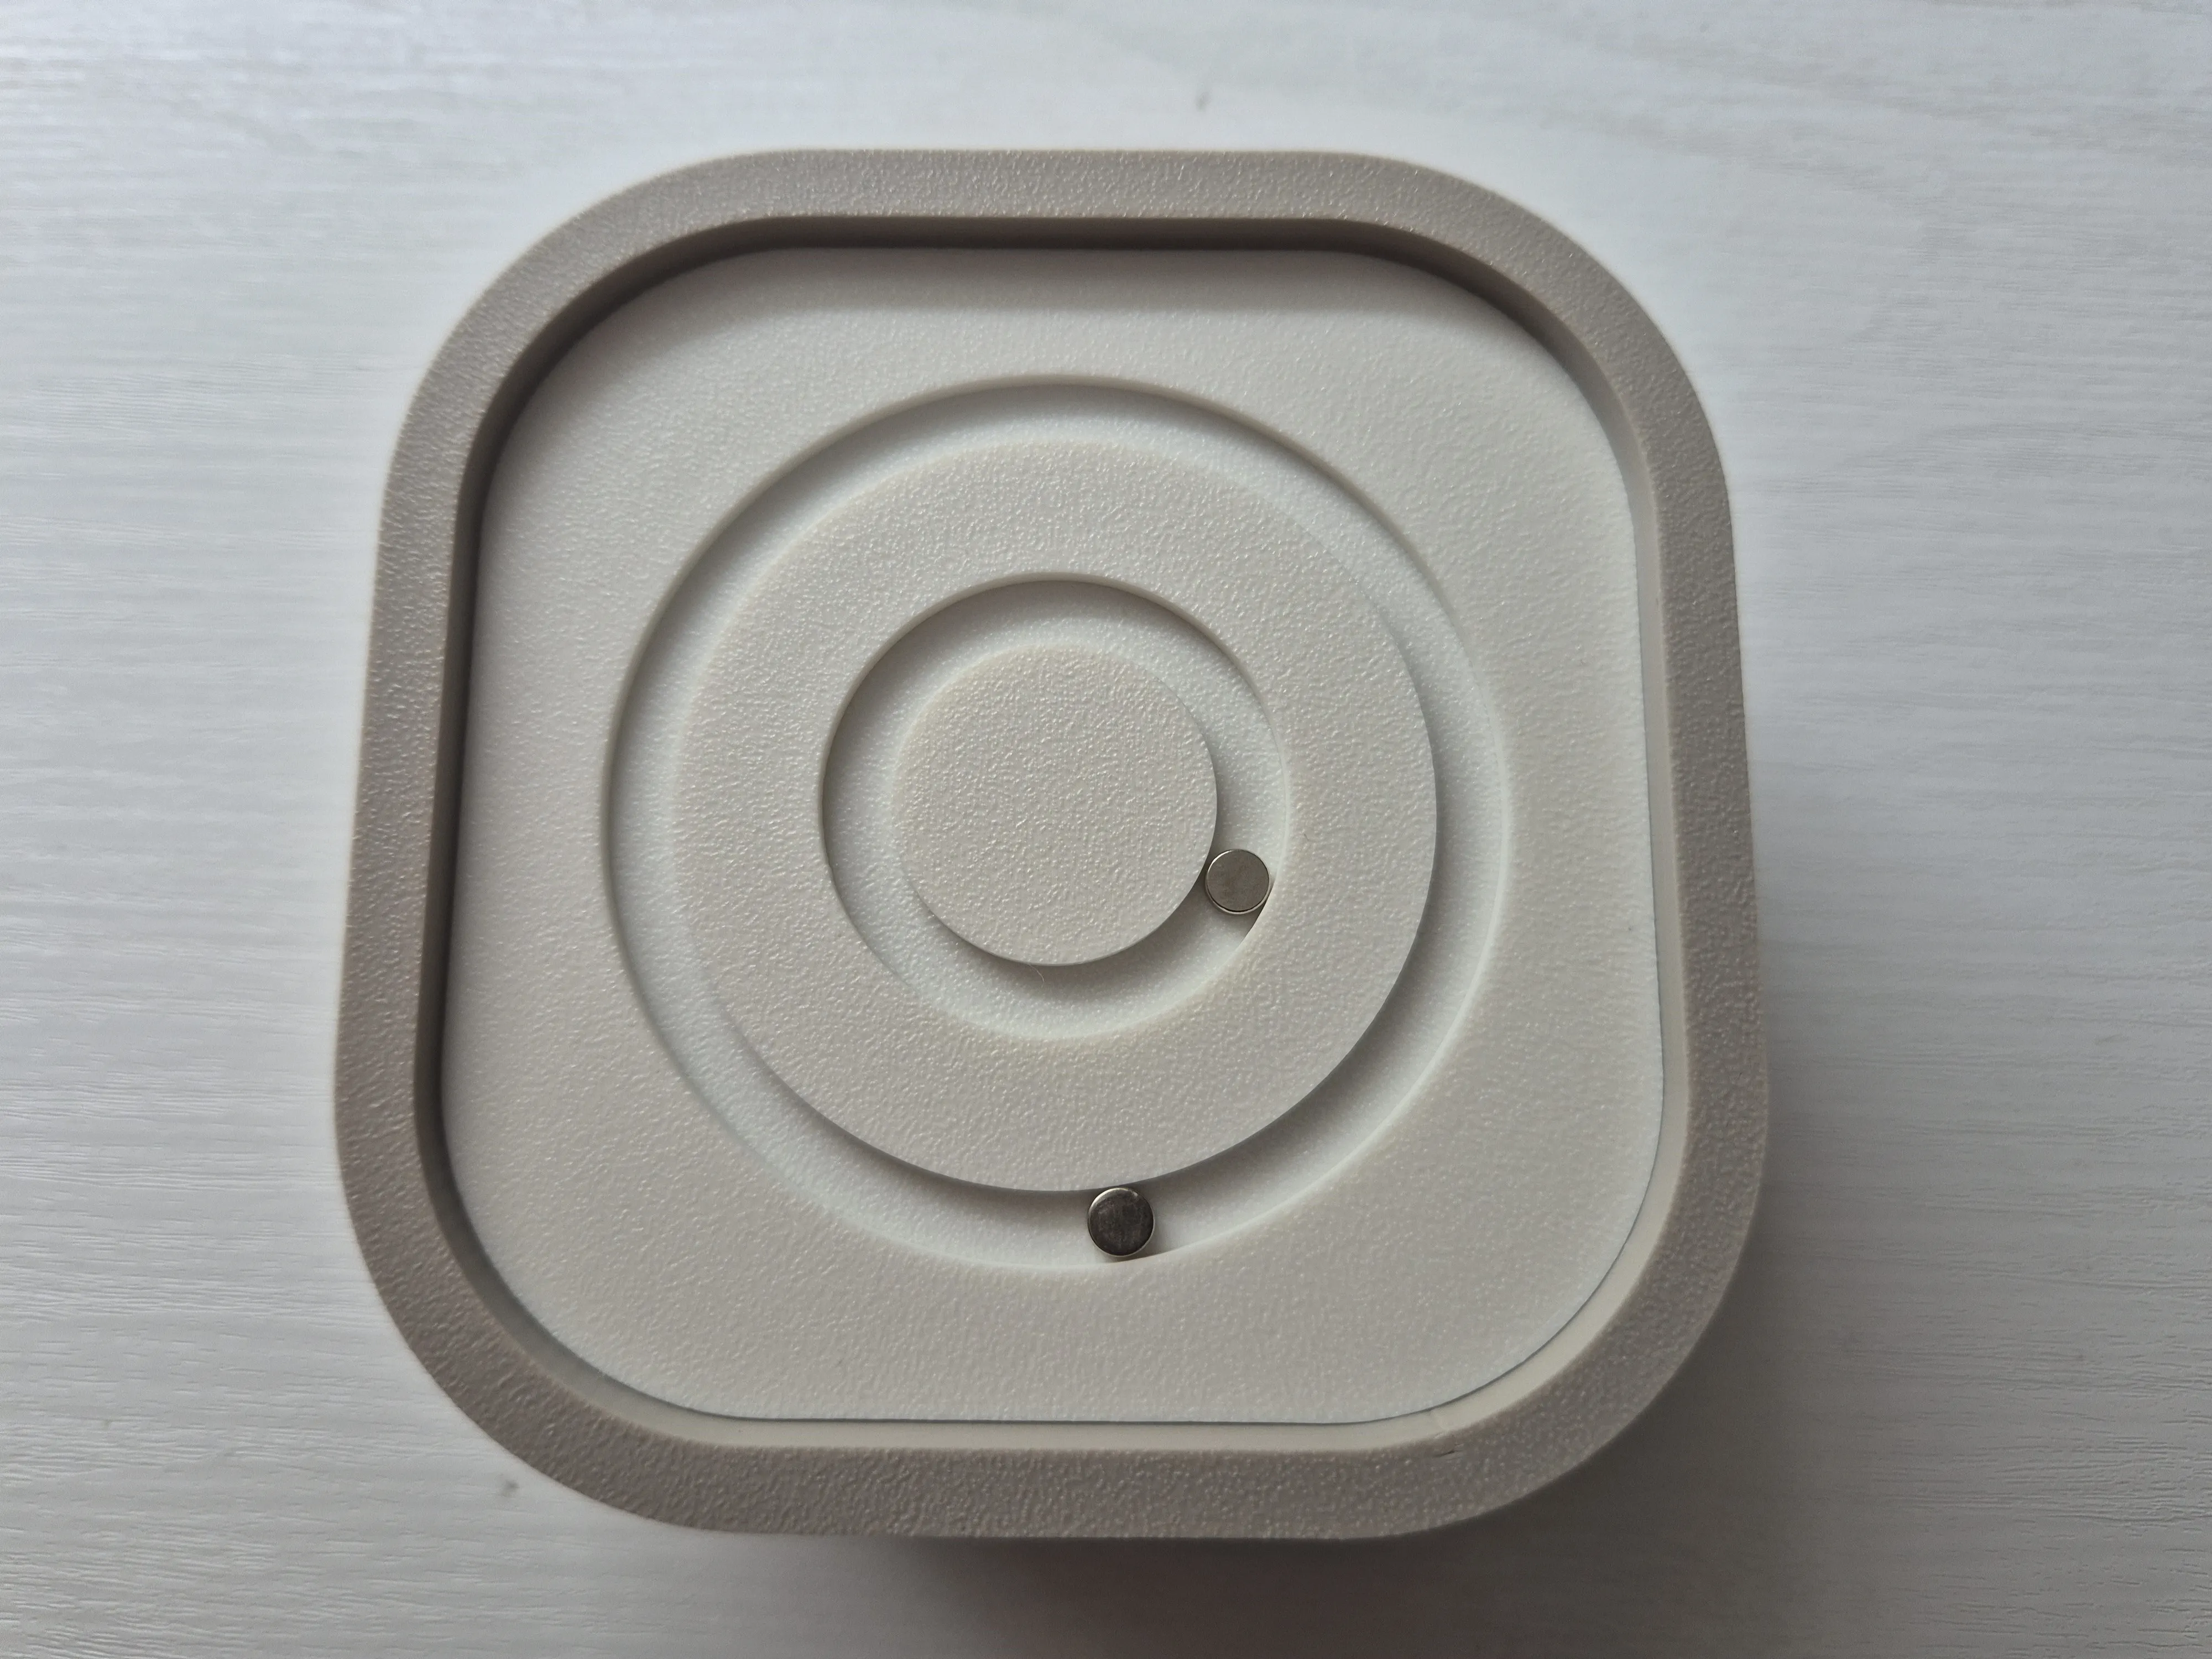
The only components required to operate it are a quartz movement (Clock Components Kit-MH011) and four 5x2 mm round neodymium magnets (D5x2mm Round Magnet (20PCS) - CA003).
Assembly Instructions:
1. Insert the clock movement into the base body and secure it with the nut.
Insert one AA battery into the movement.
Important: Make sure the battery faces the thicker side of the base body.
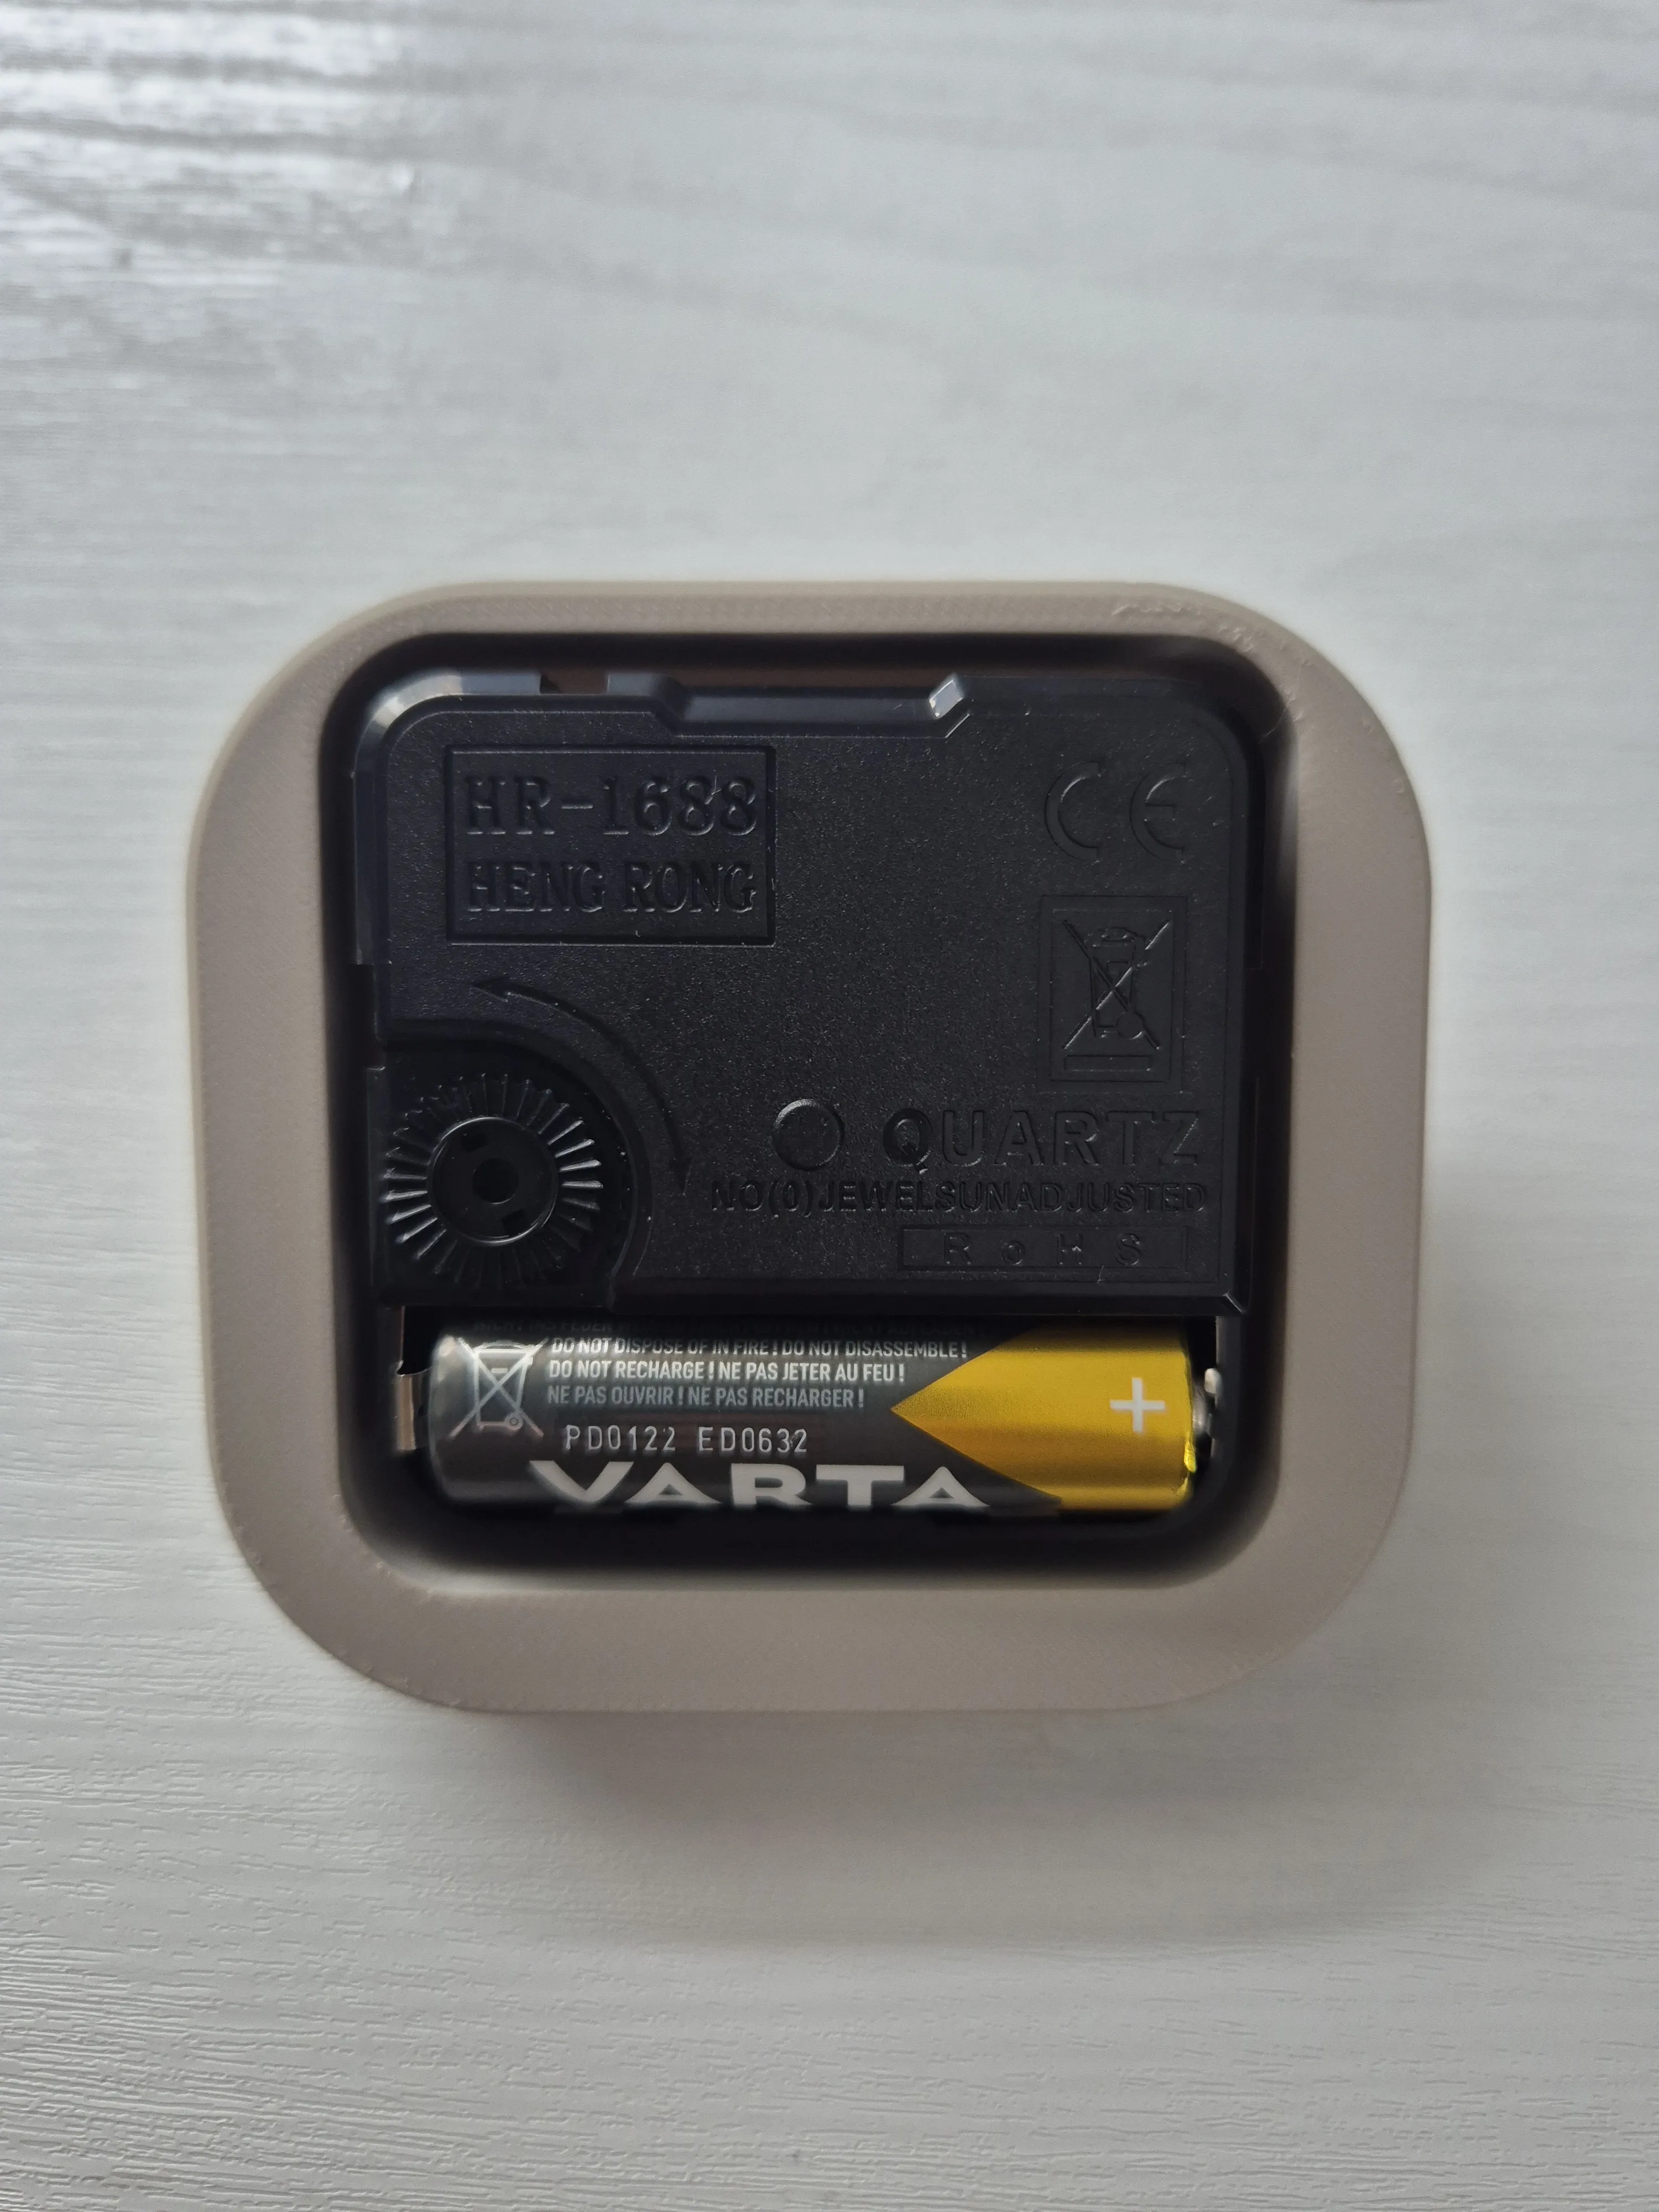
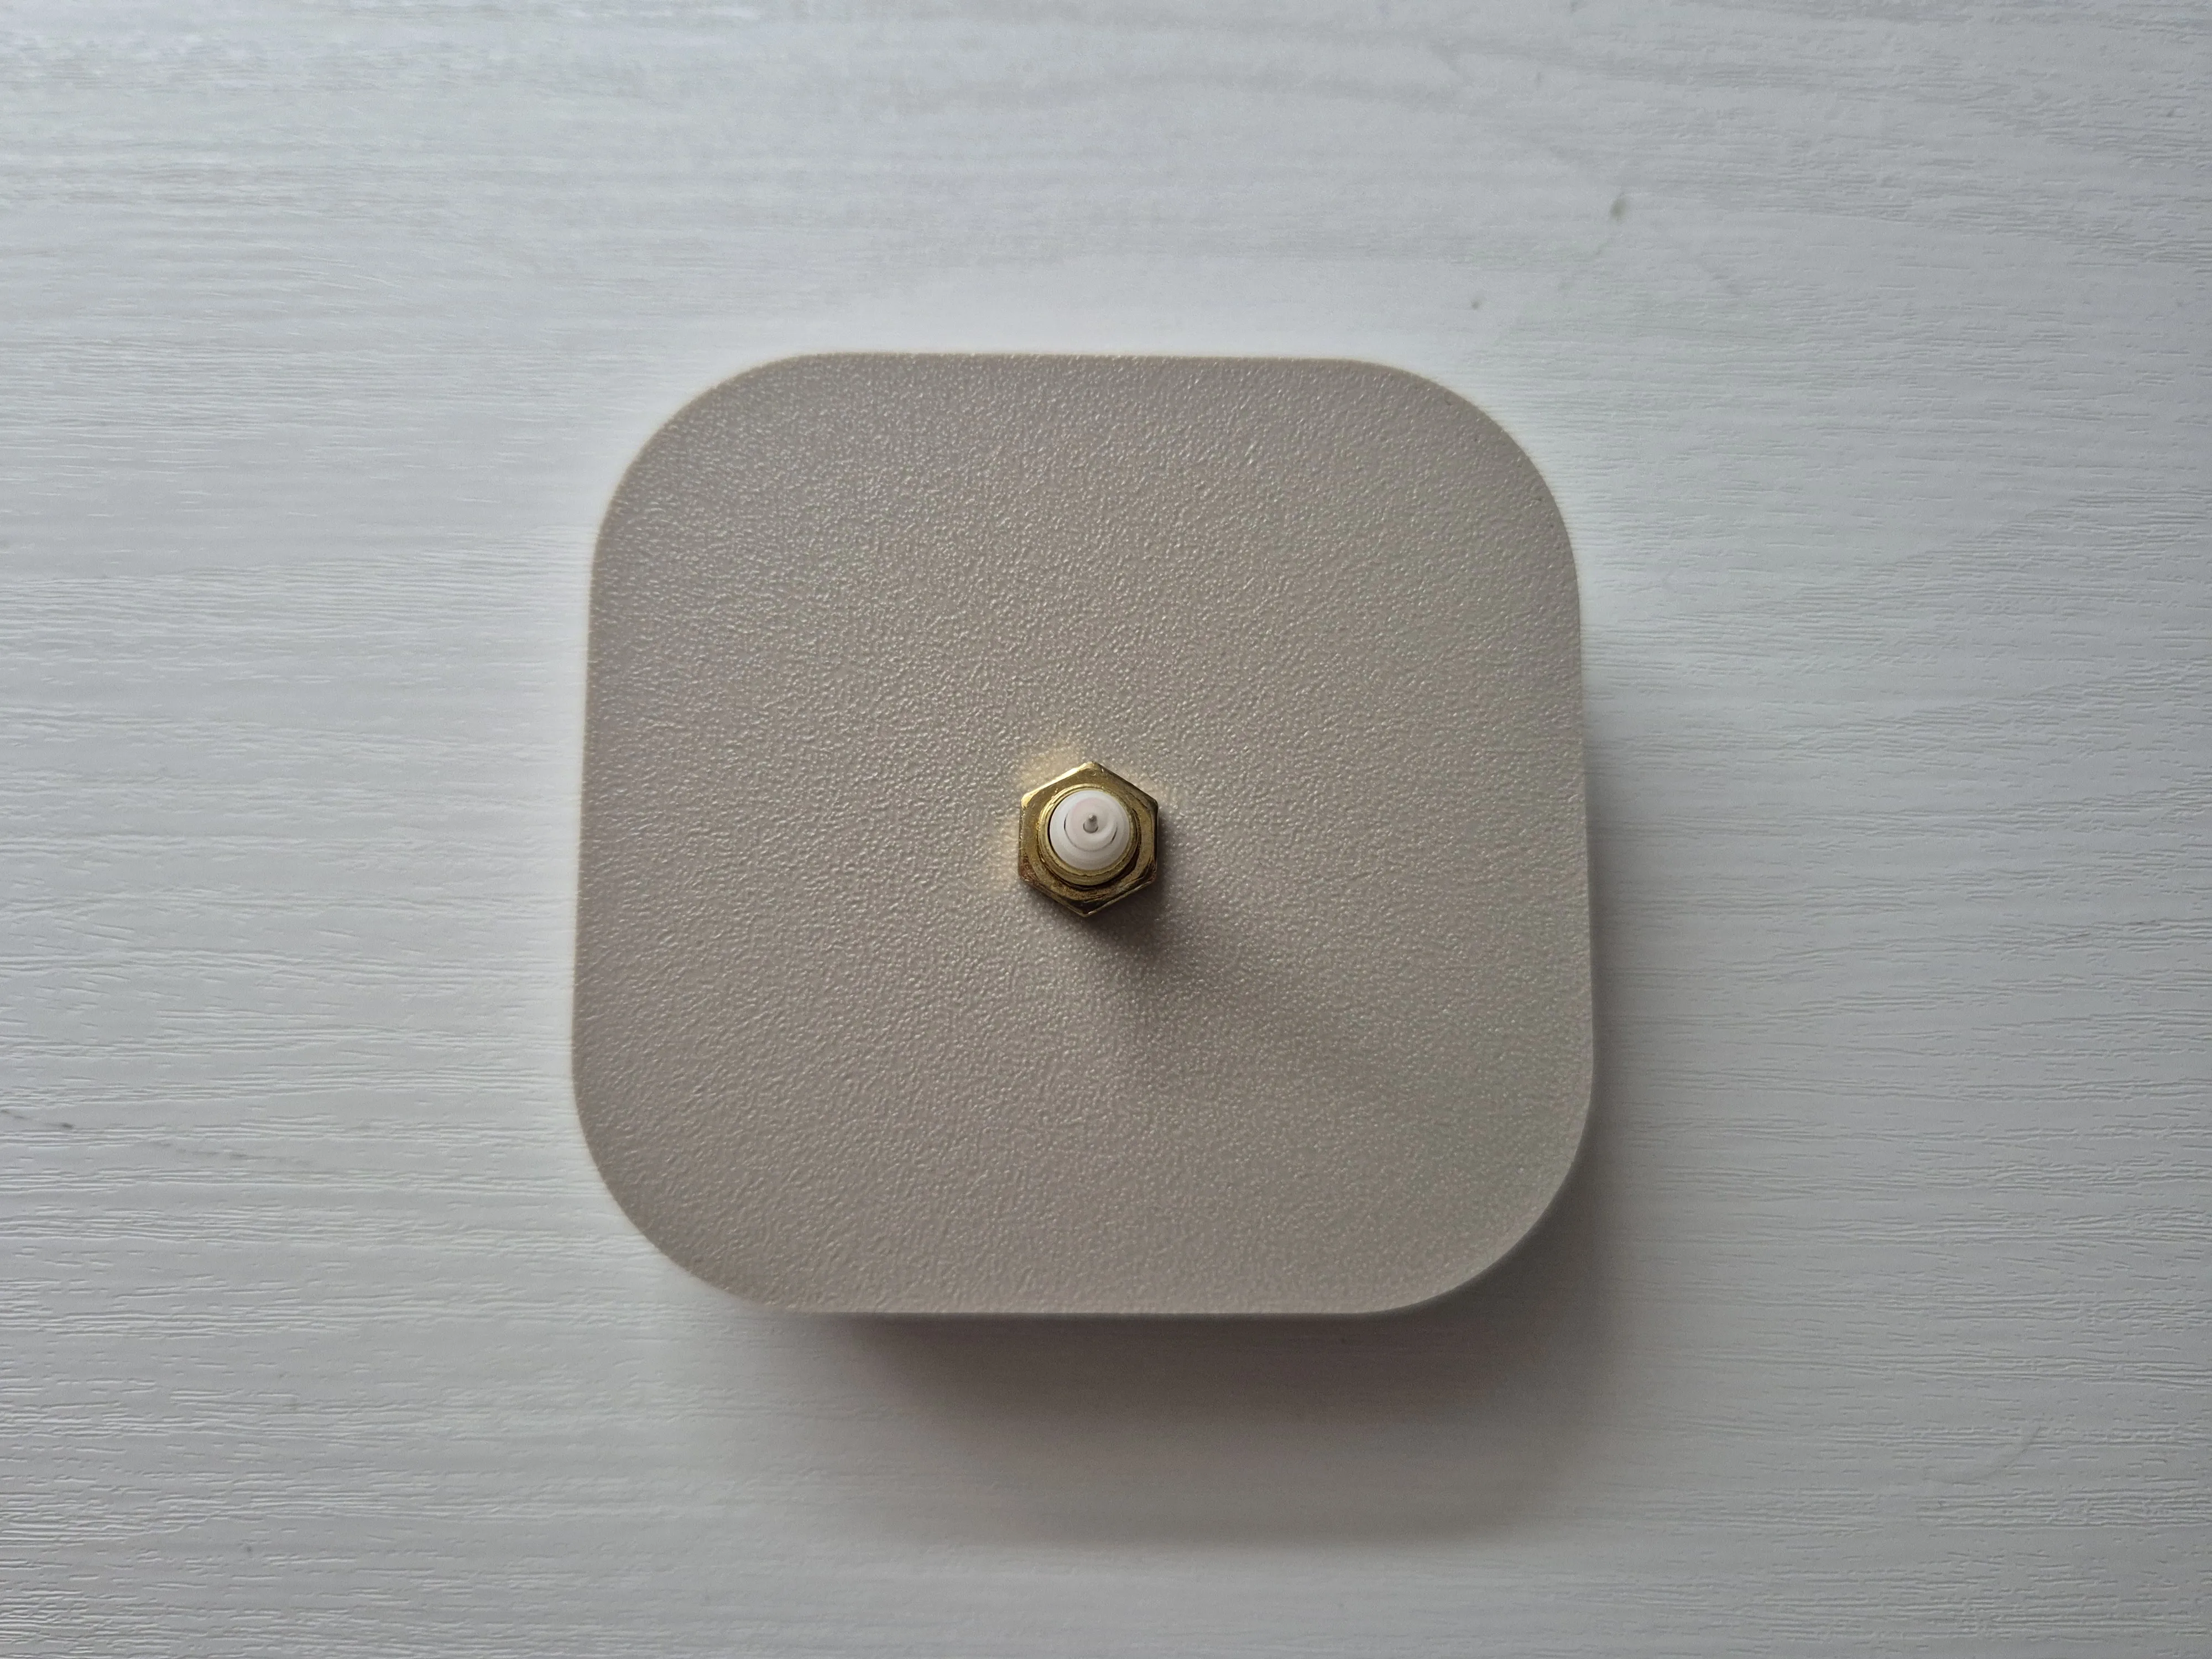
2. Attach the magnets to the clock hands.
Important: Ensure all magnets have the same polarity.
Press the hands onto the clock movement as shown:
– First the small hour hand, then the larger minute hand.
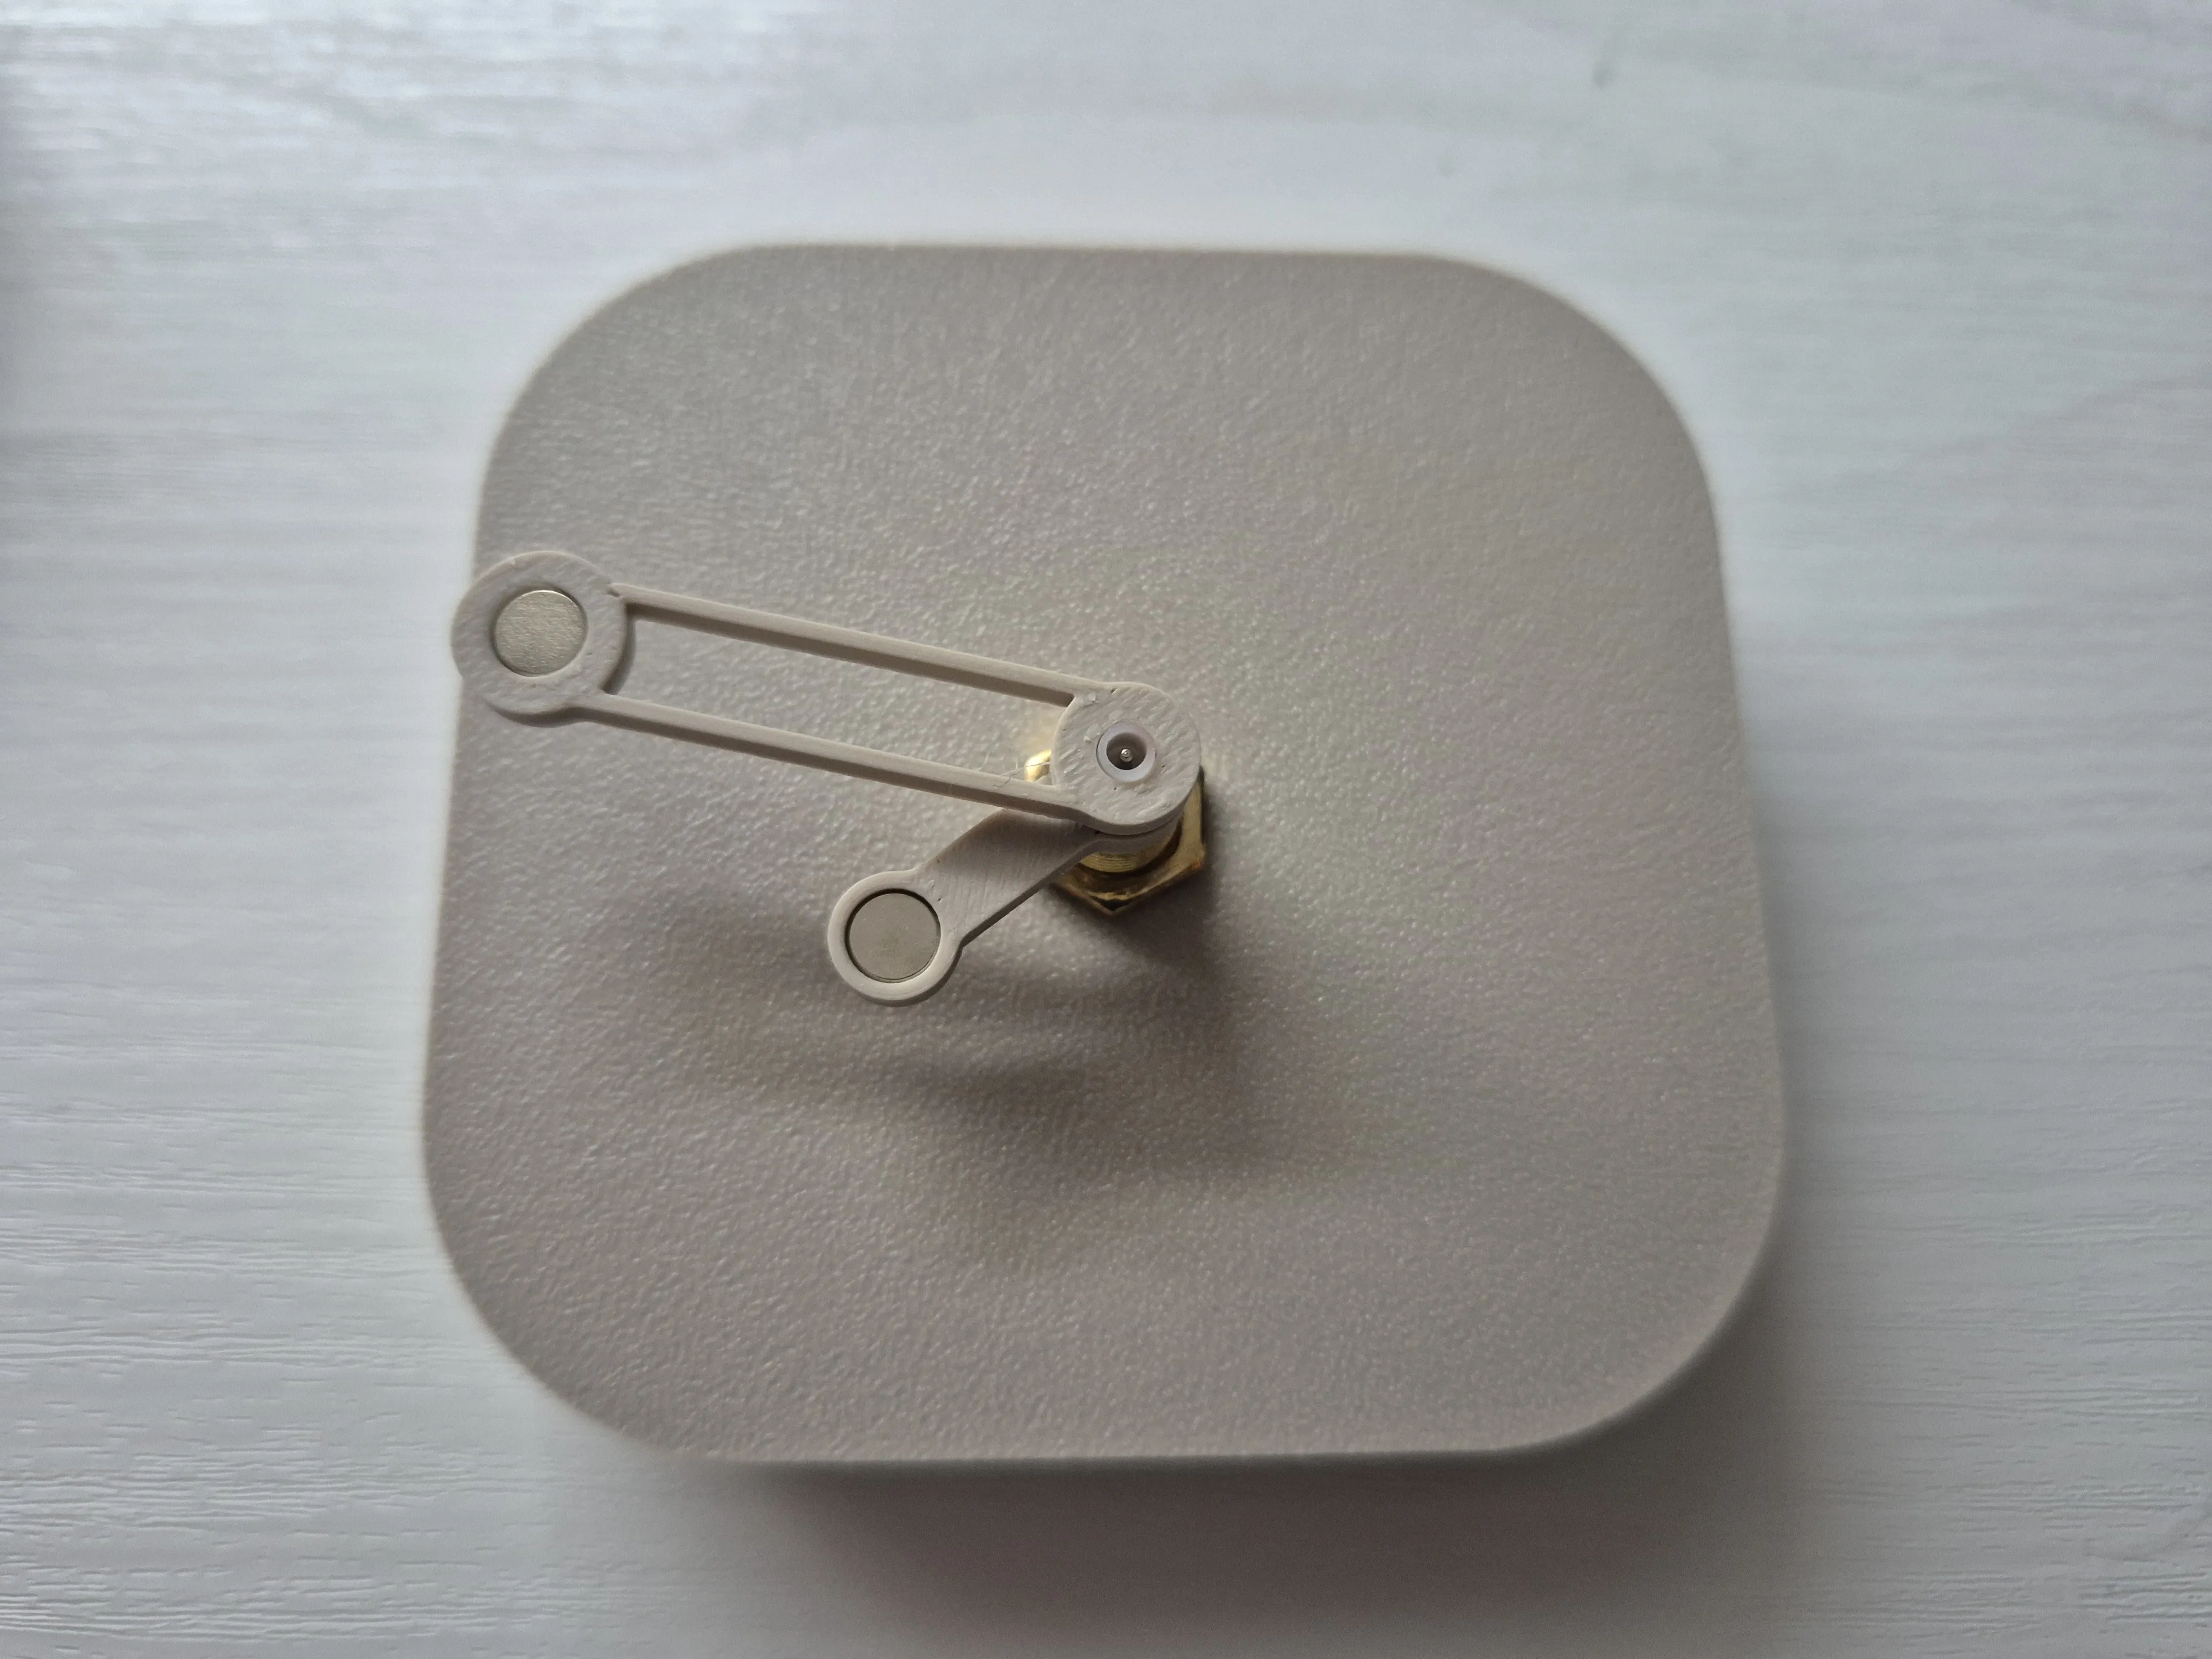
3. Insert the base body with the movement and hands into the second body shell.
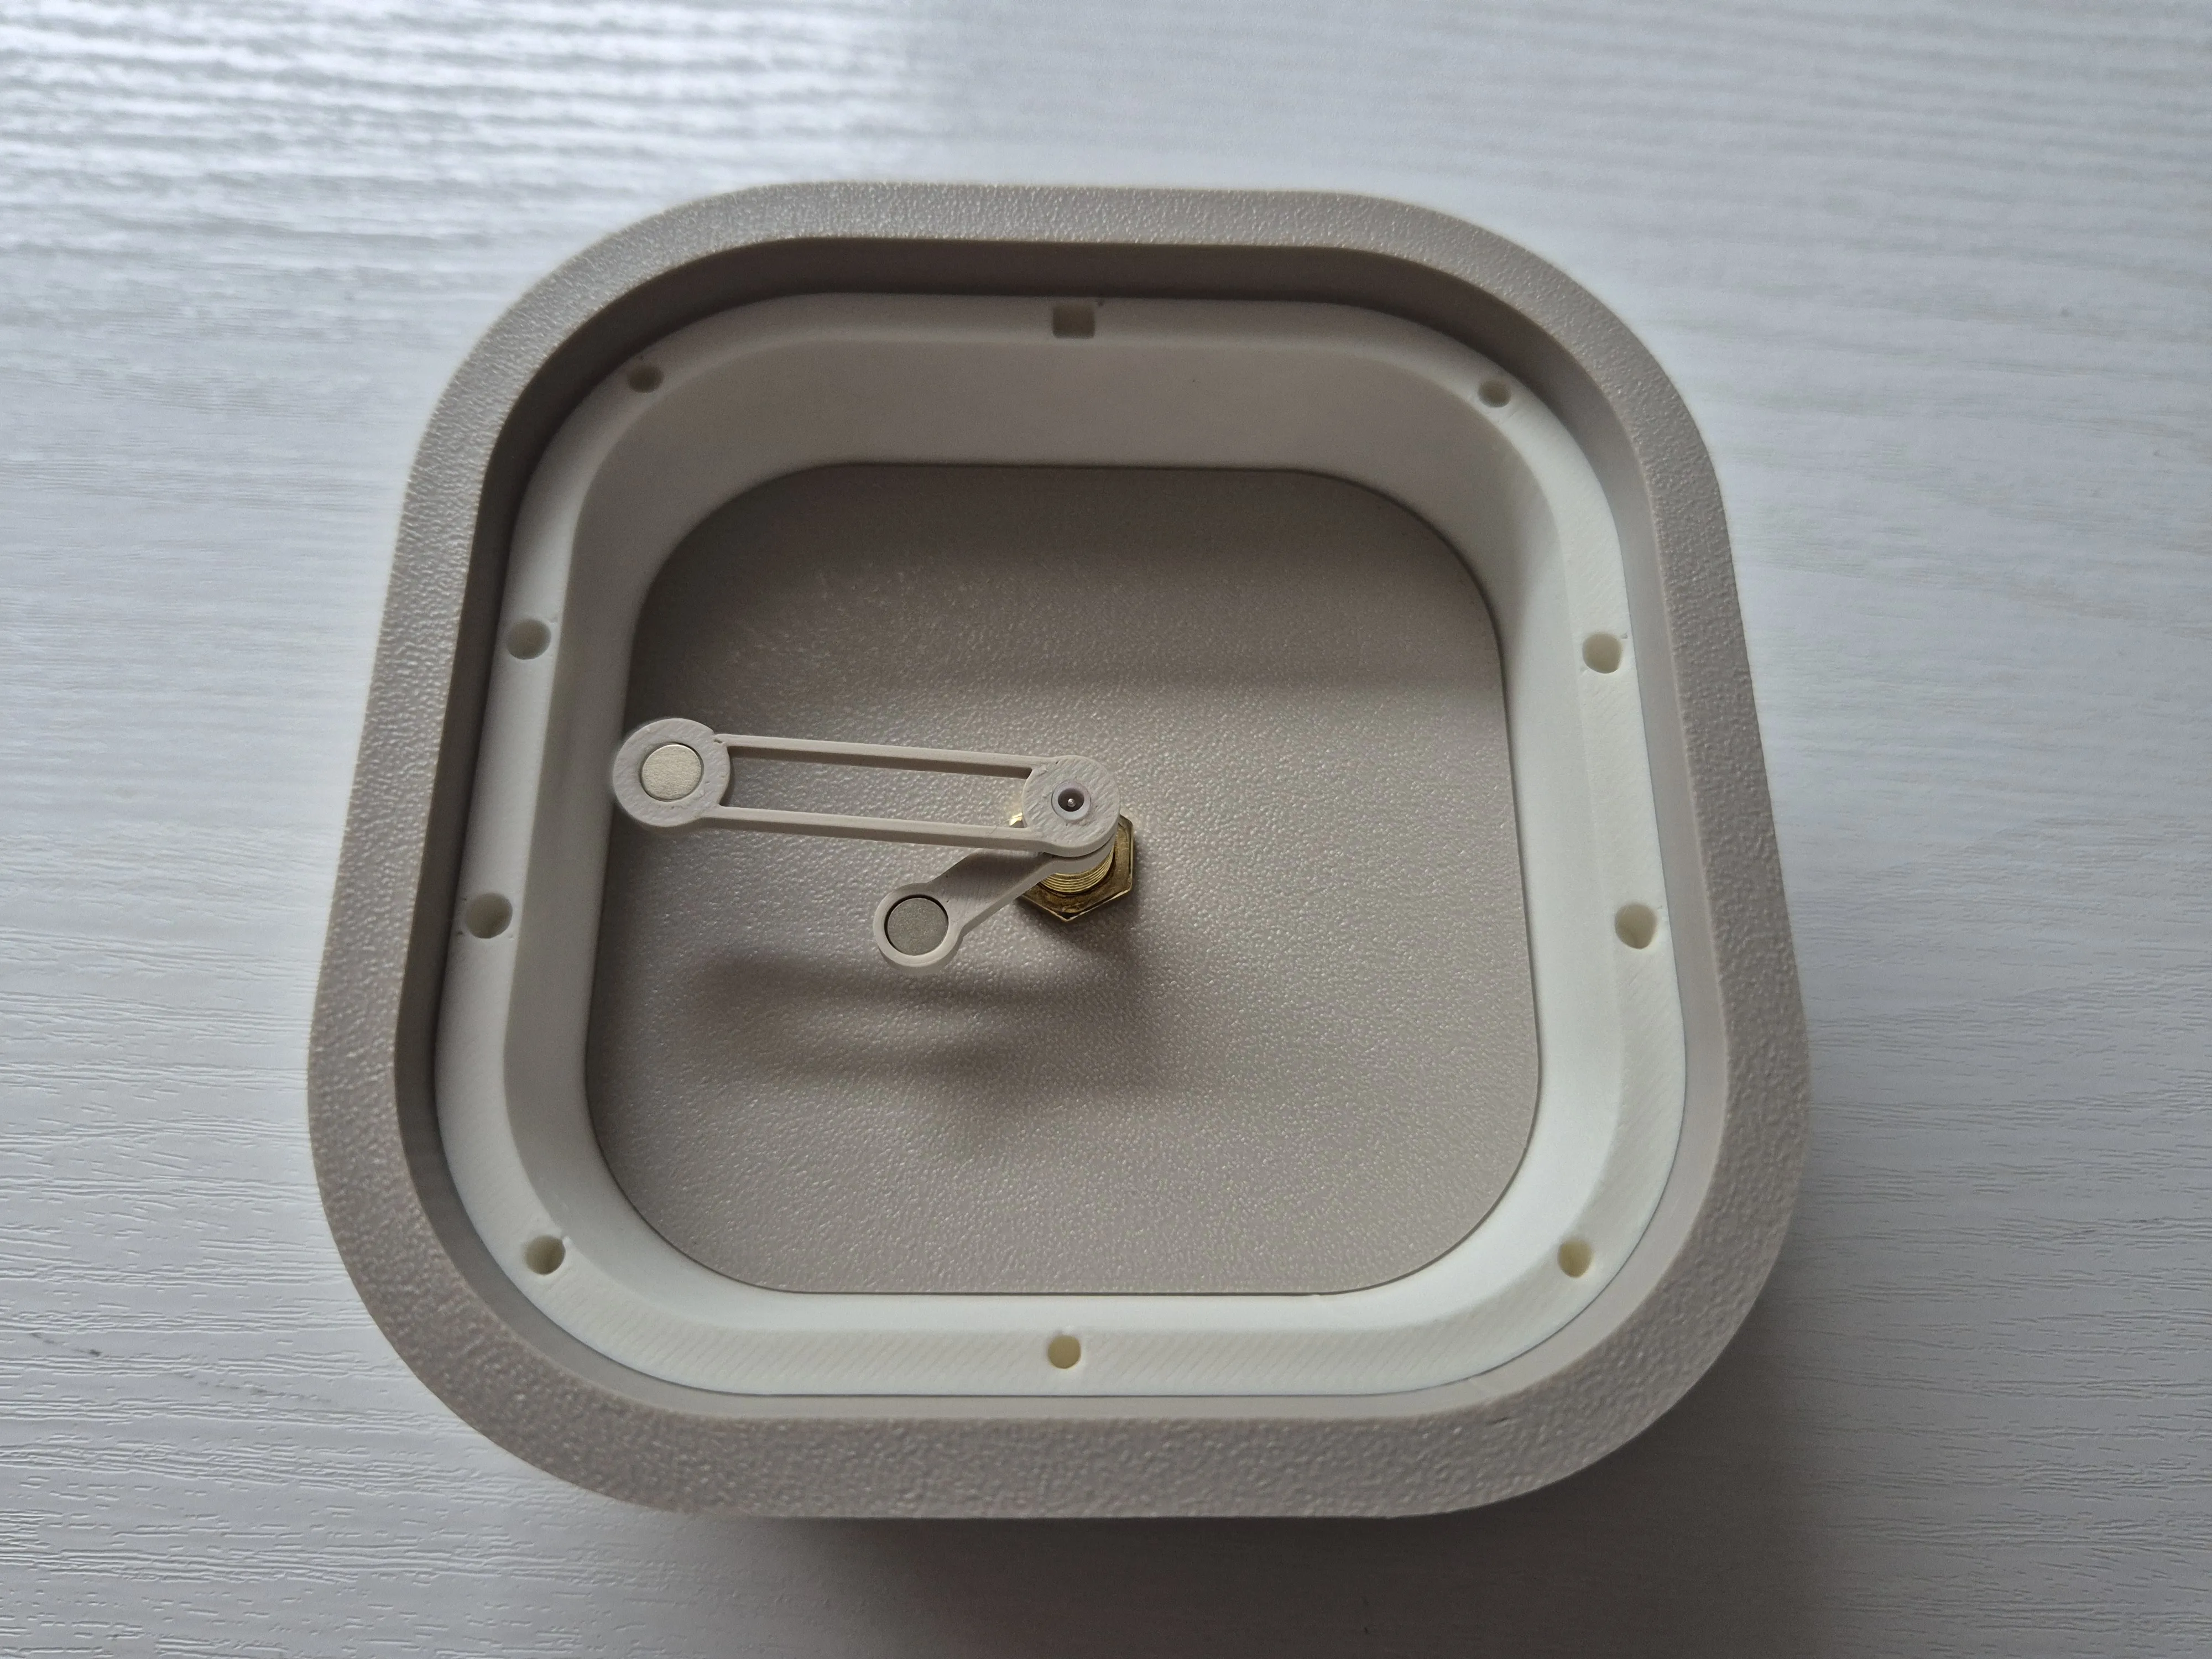
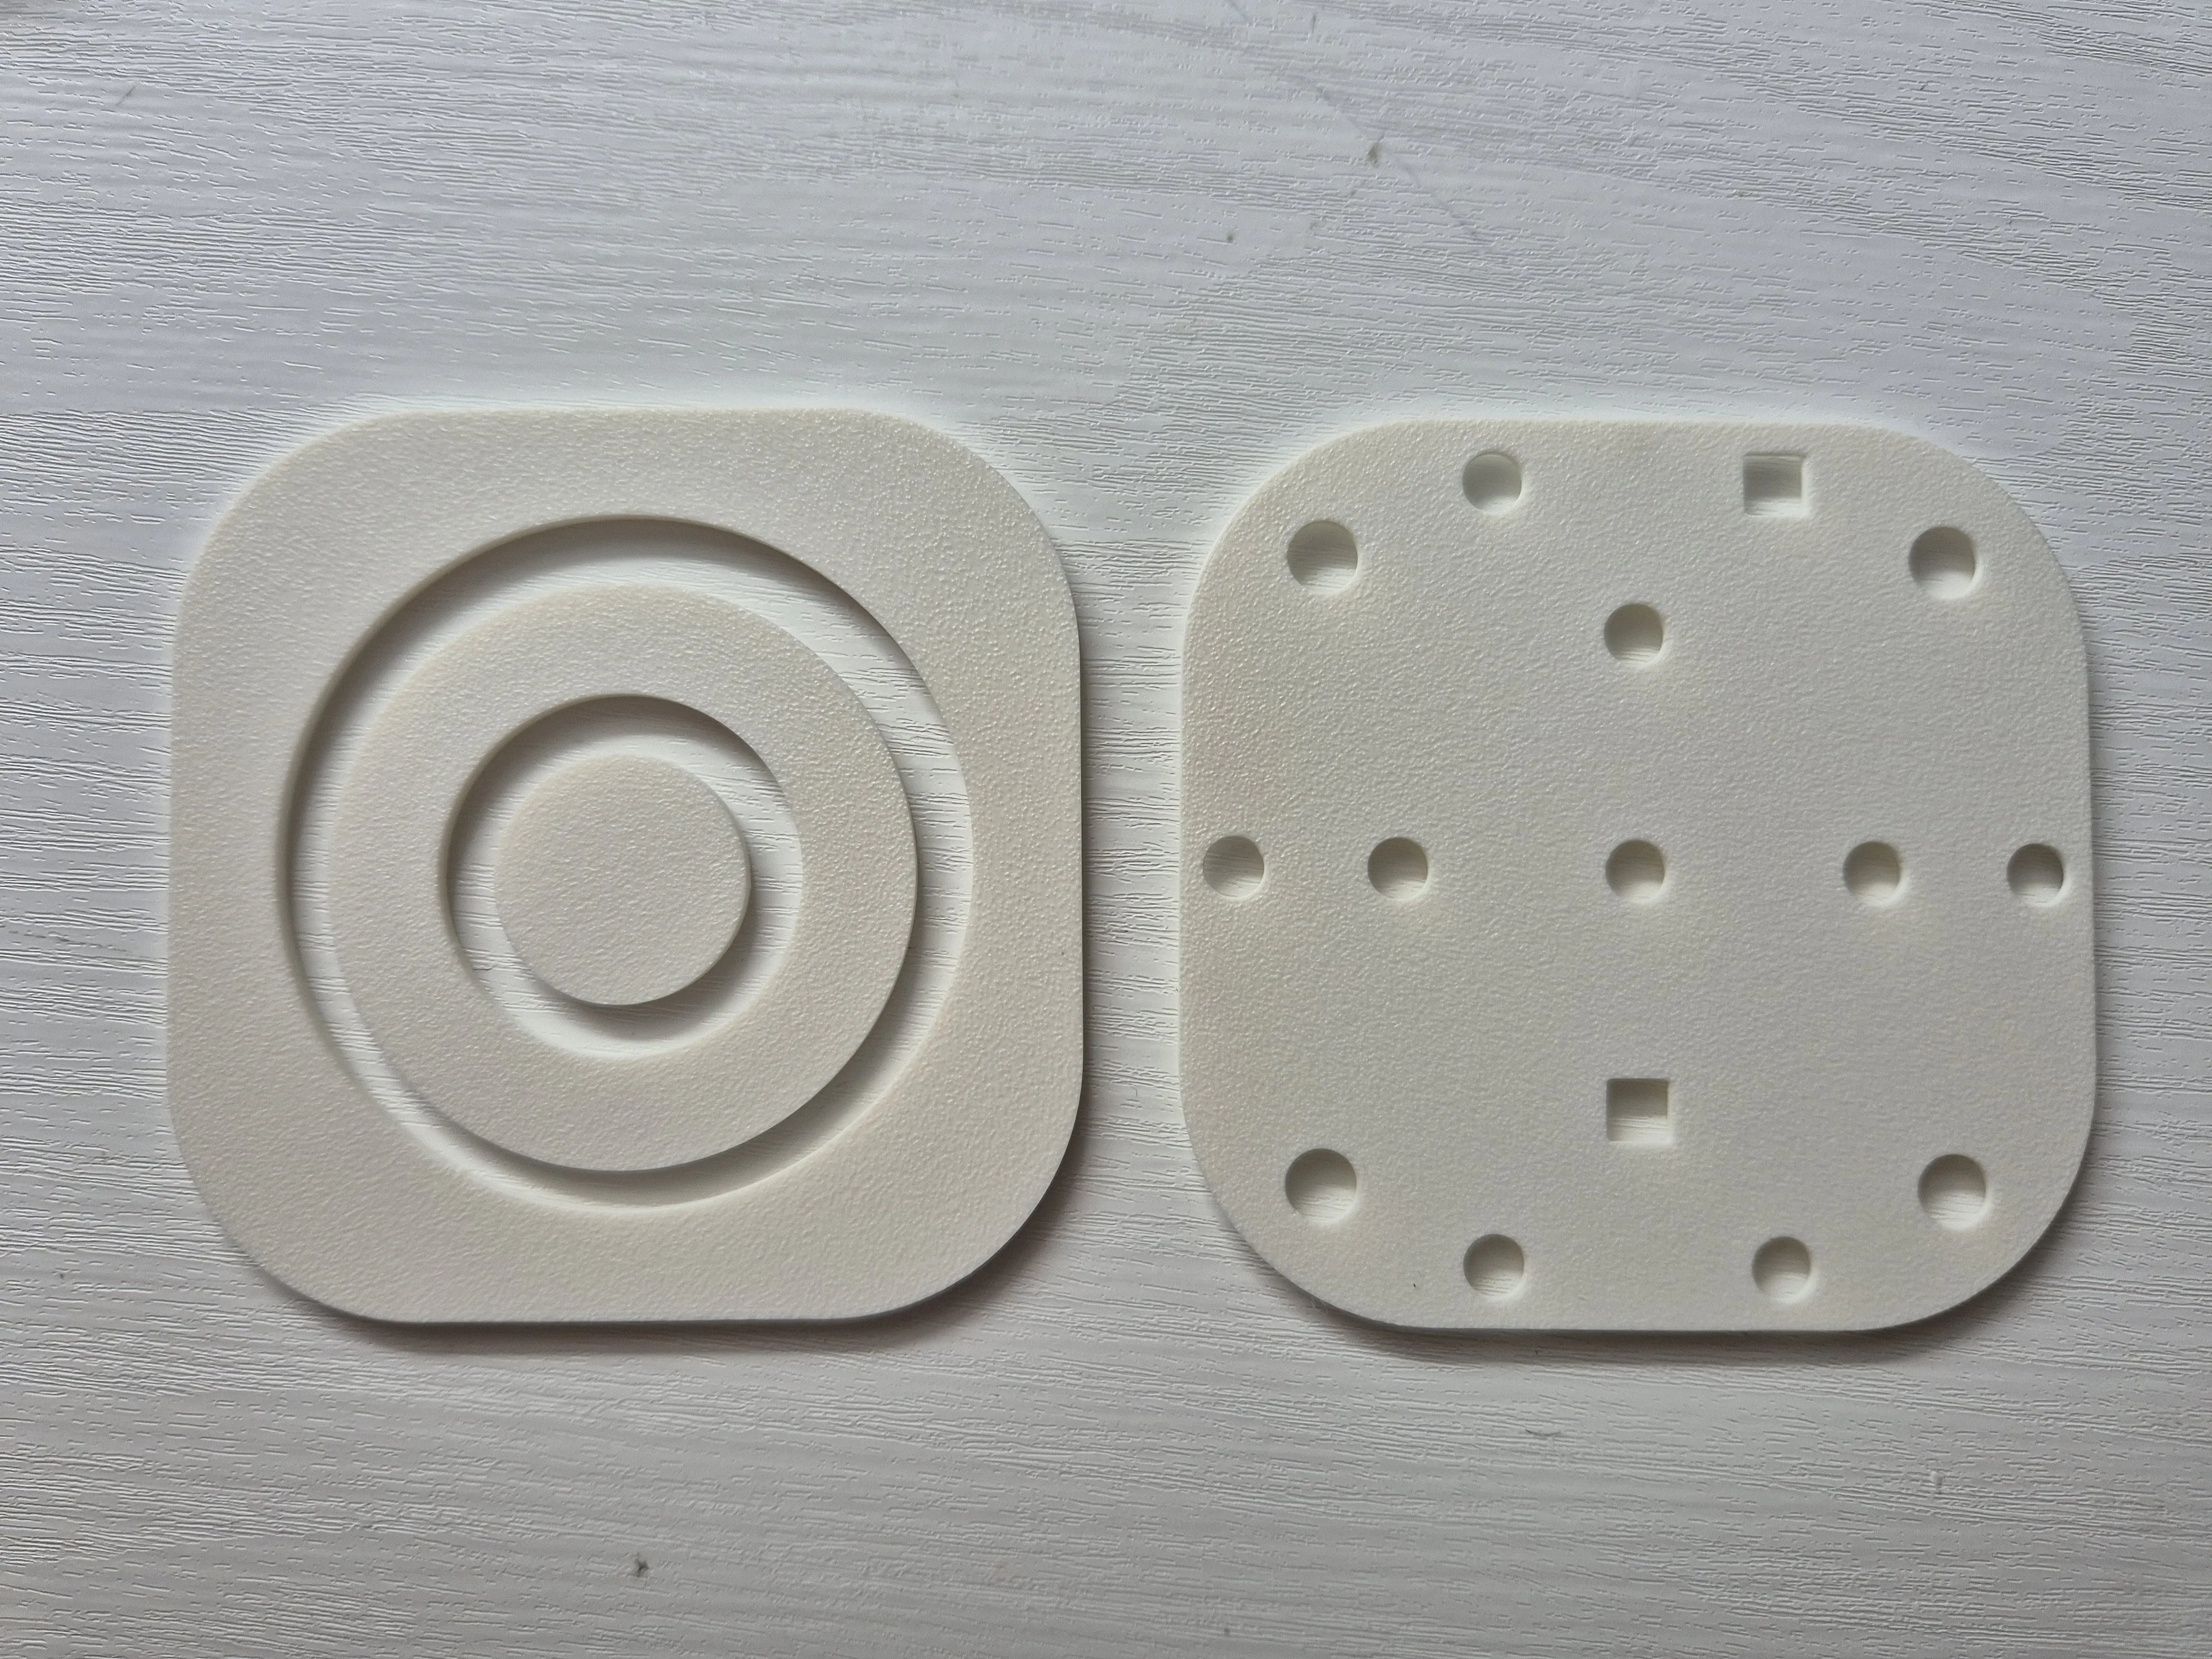
4. Connect the plates together as shown in the reference image.
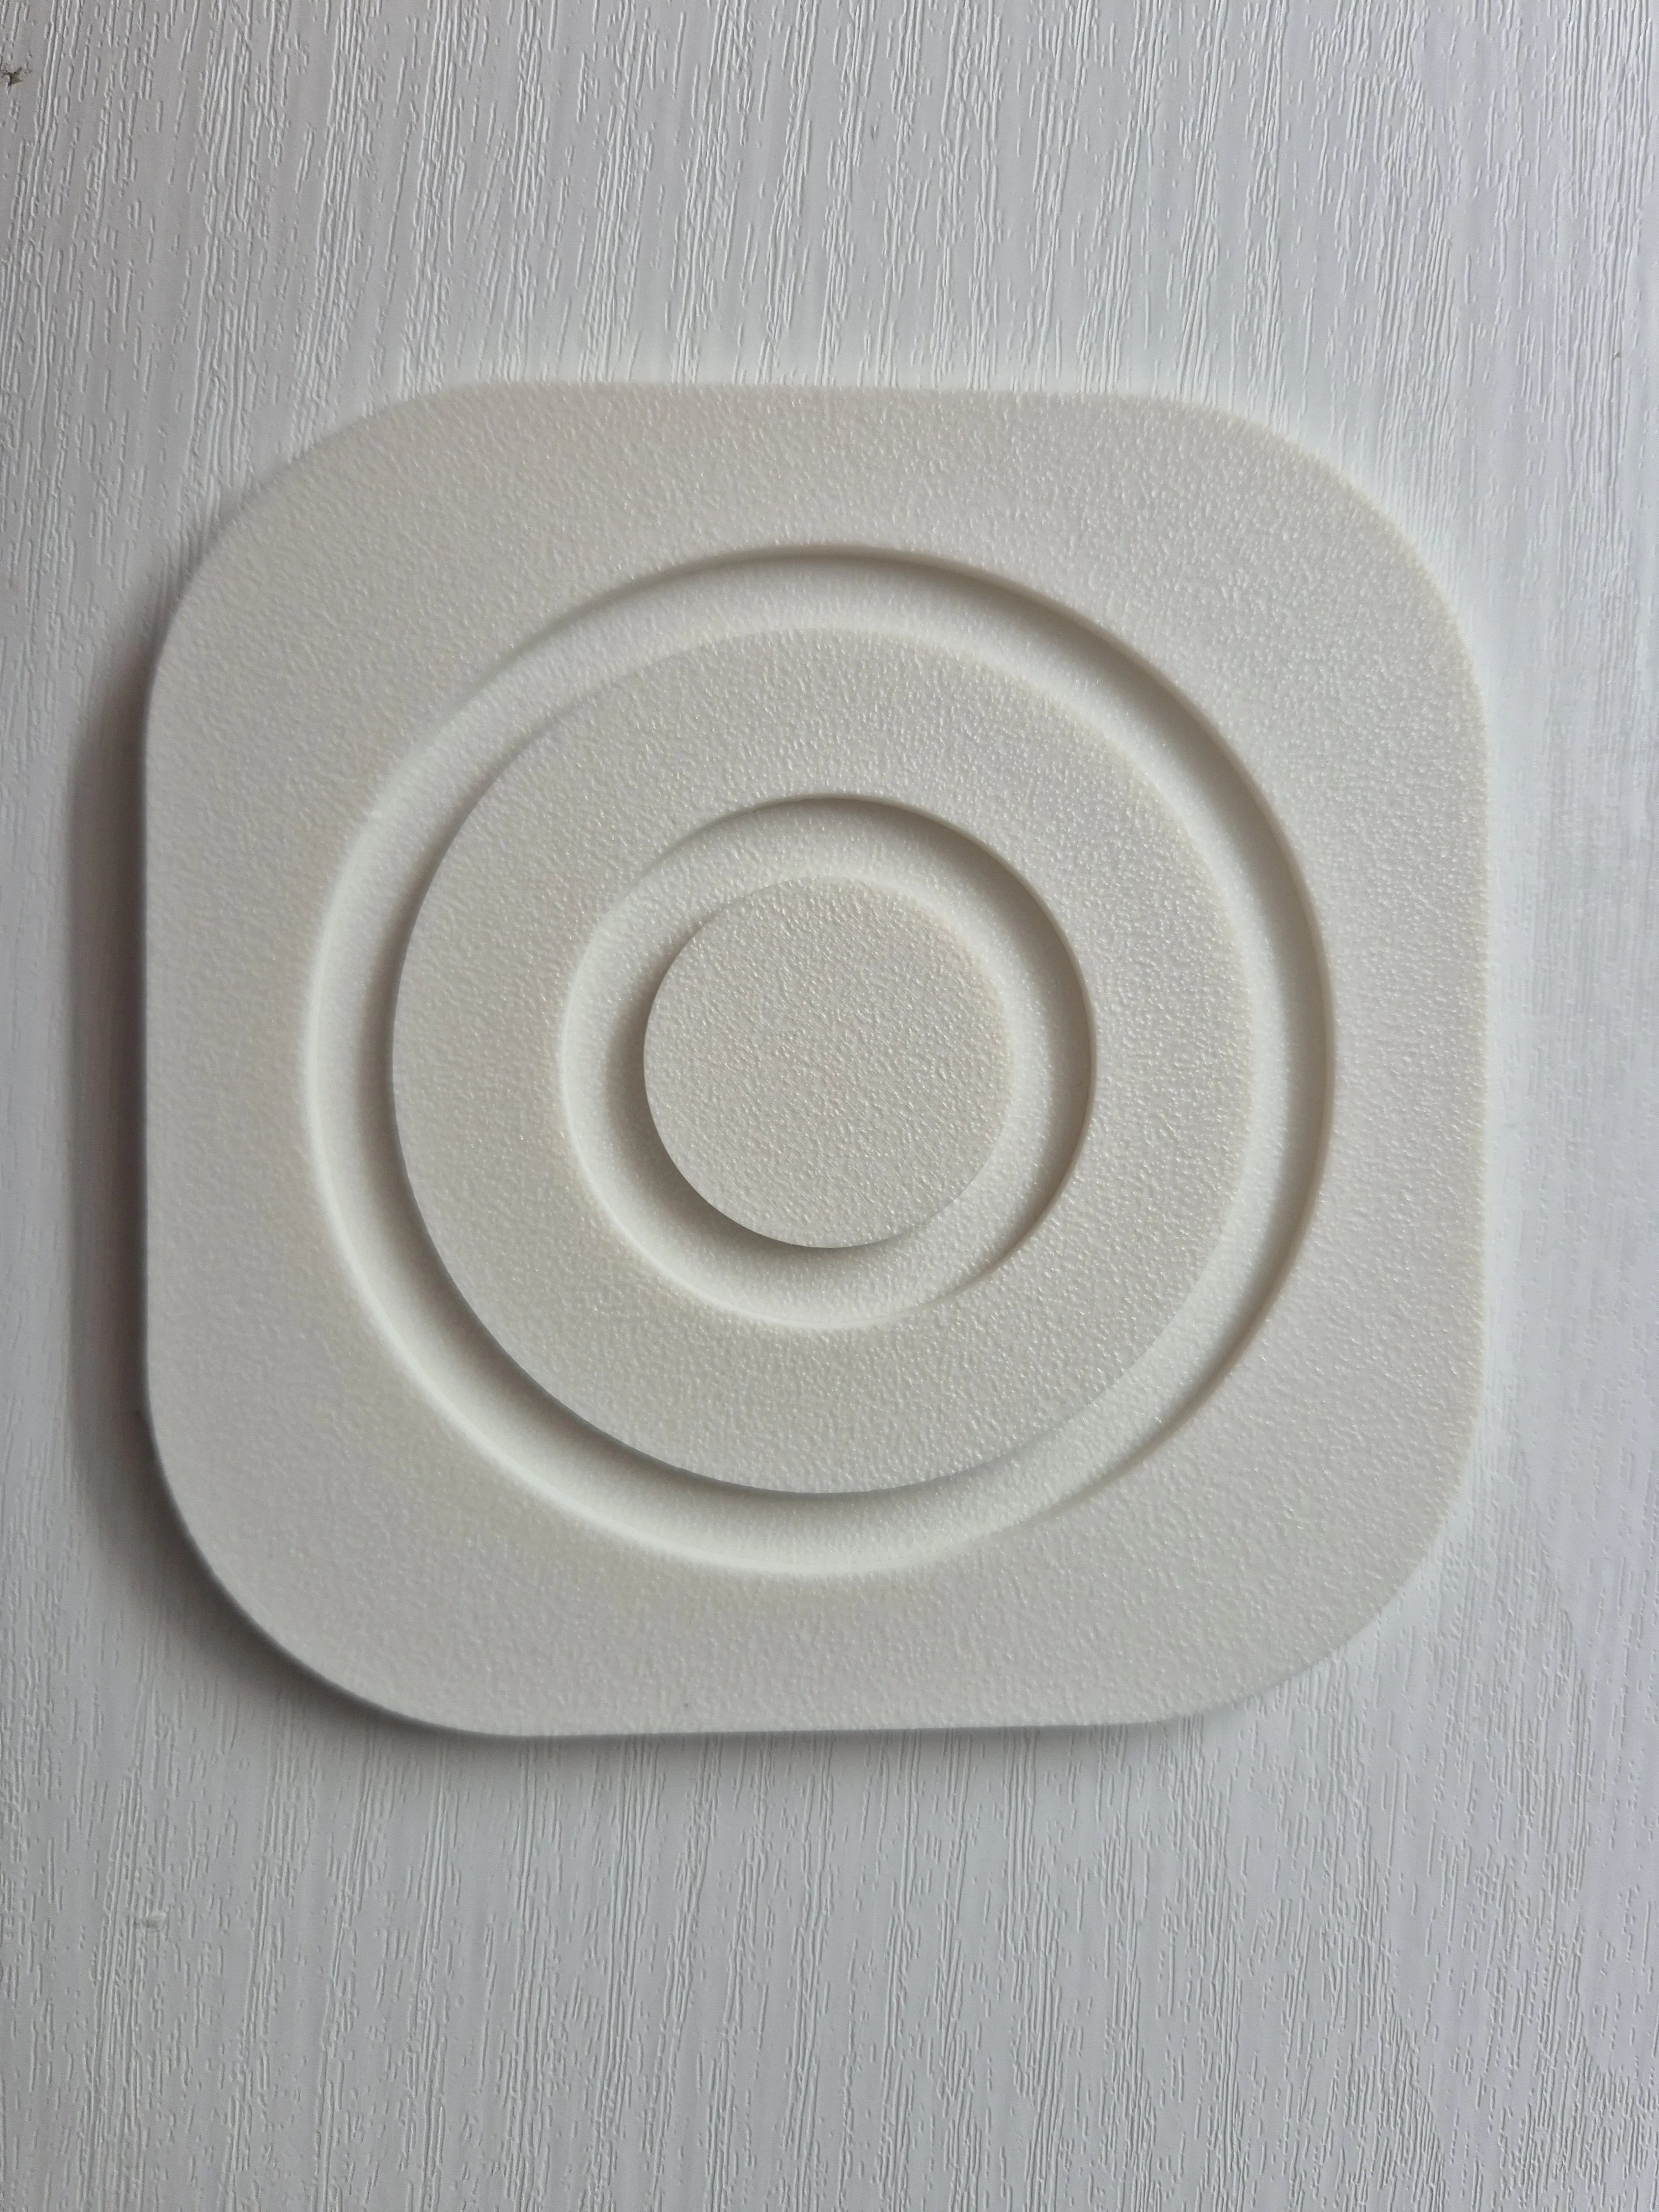
5. Attach the assembled plates onto the body.
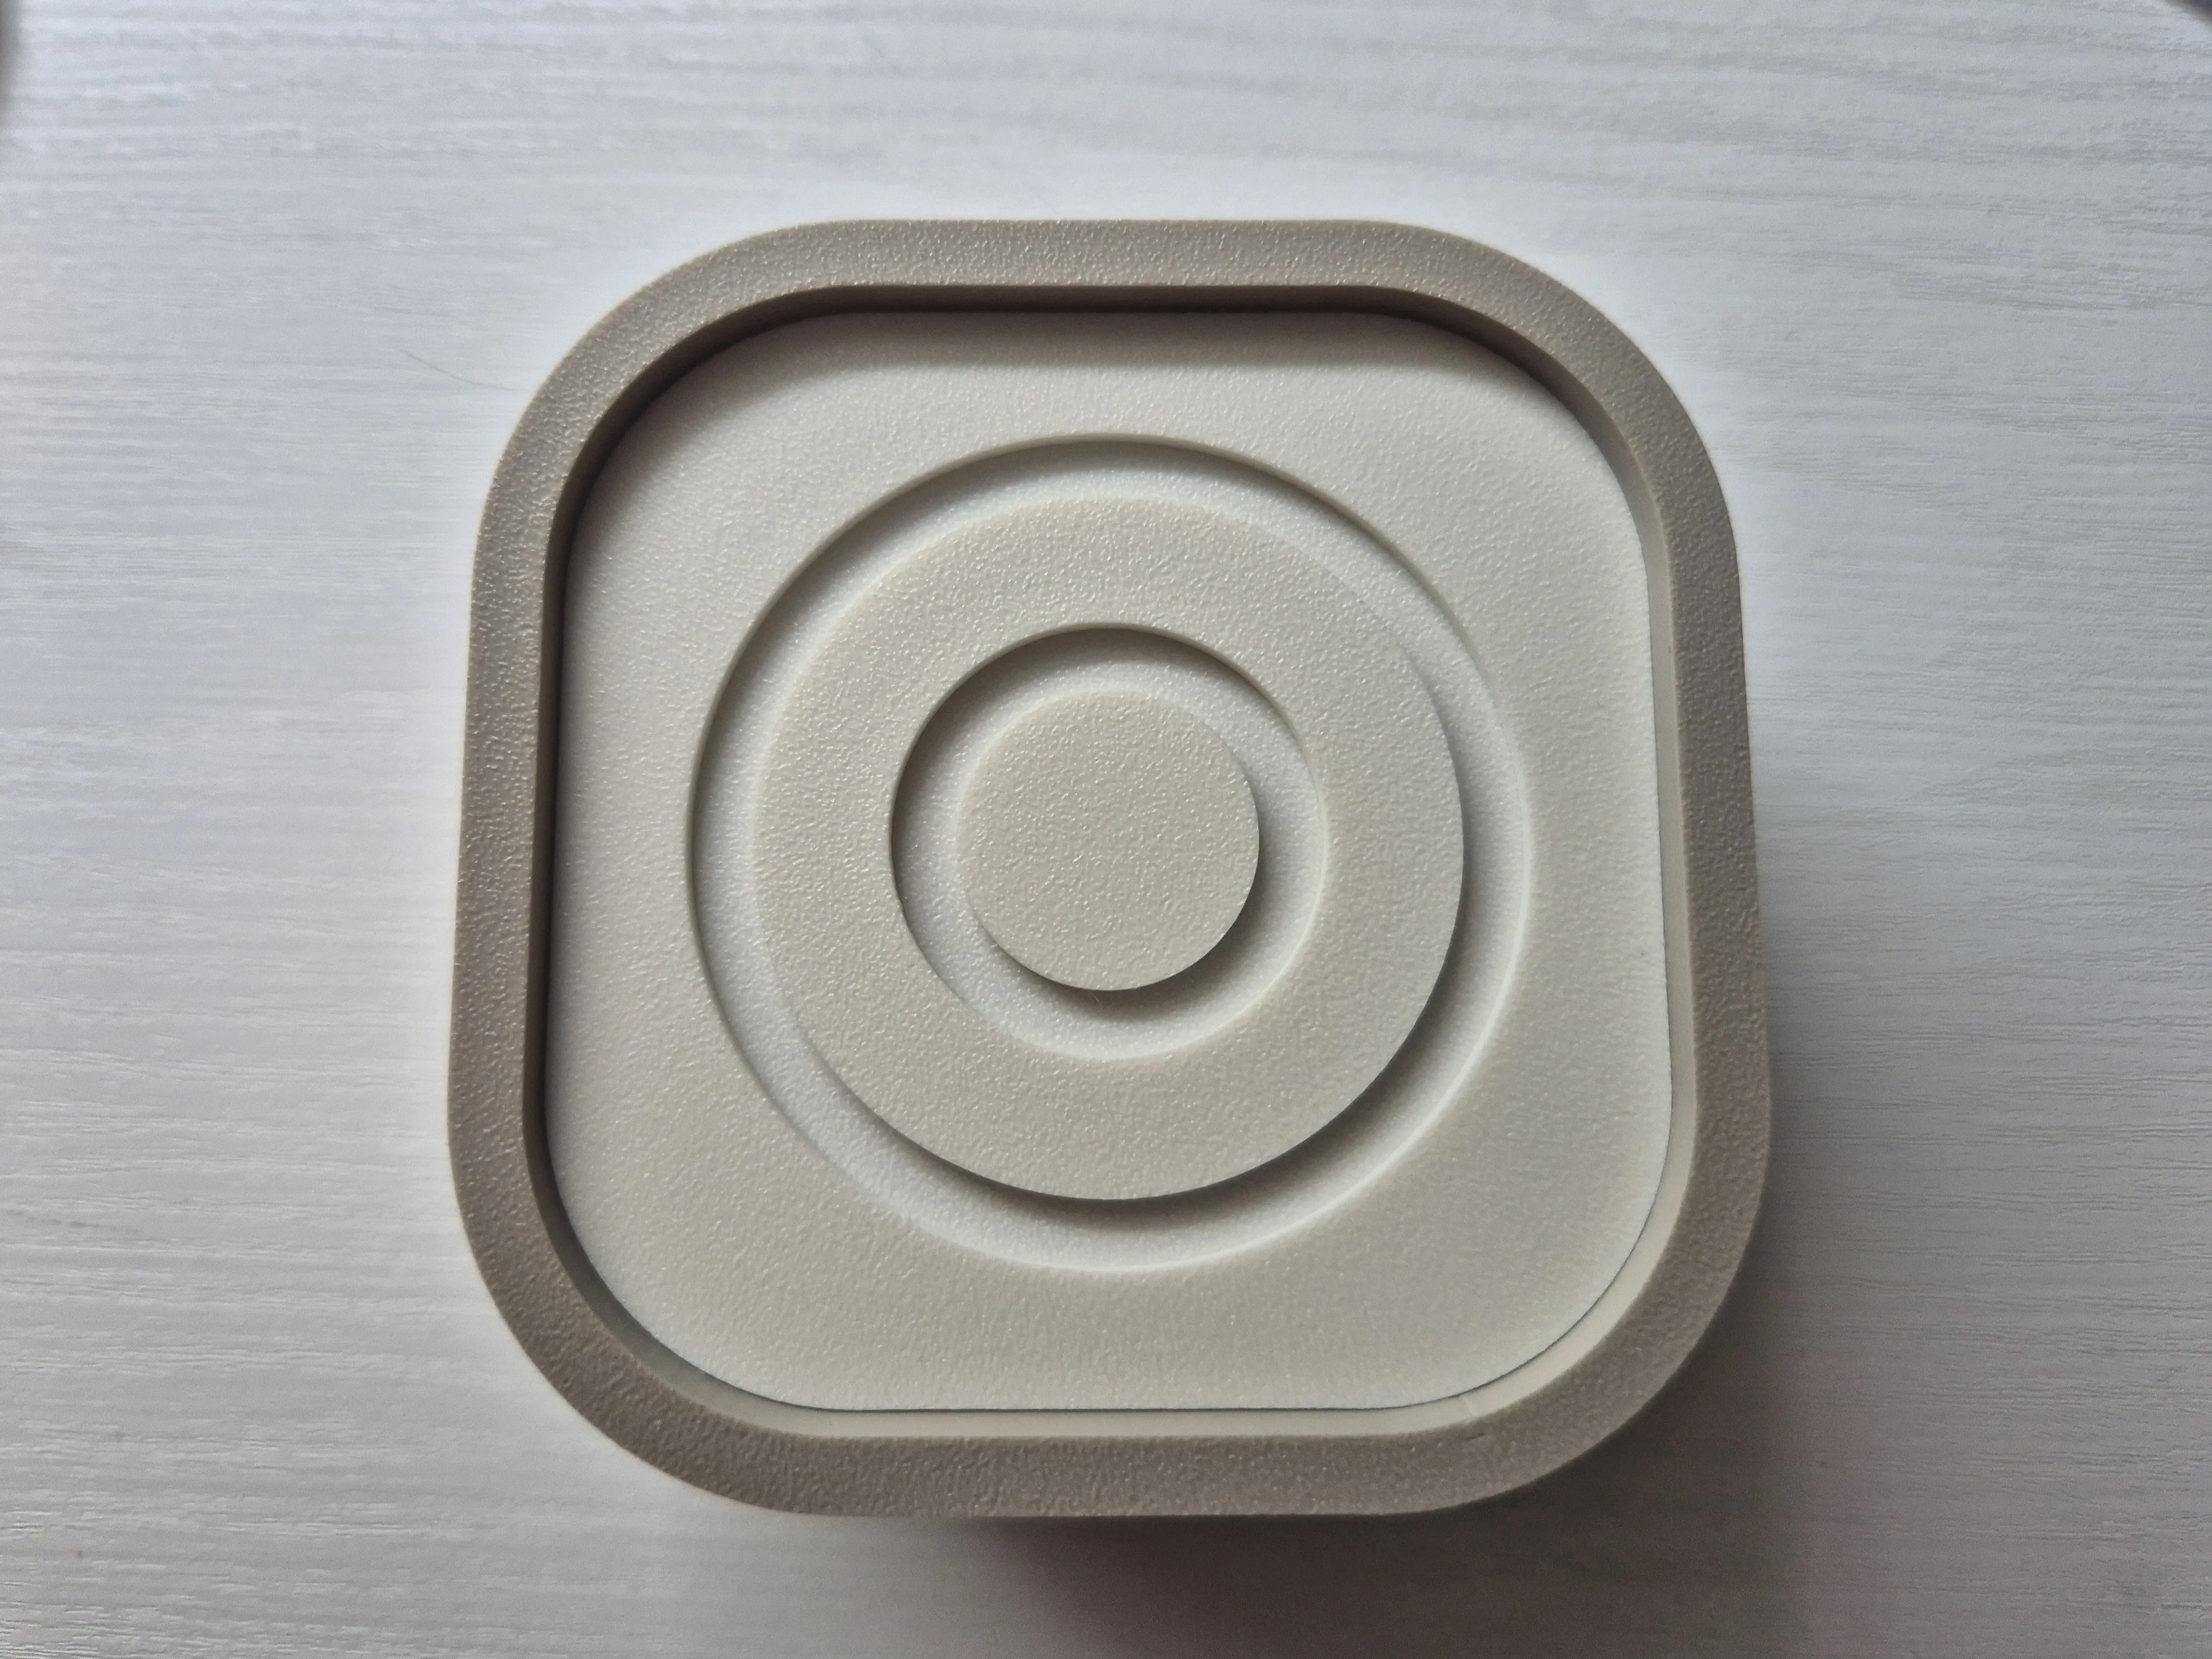
6. Slide the full body into the outer housing.
7. Place the external magnets.
8. Set the correct time using the knob on the back of the movement.
9. Insert the rear cover into the housing to close it.
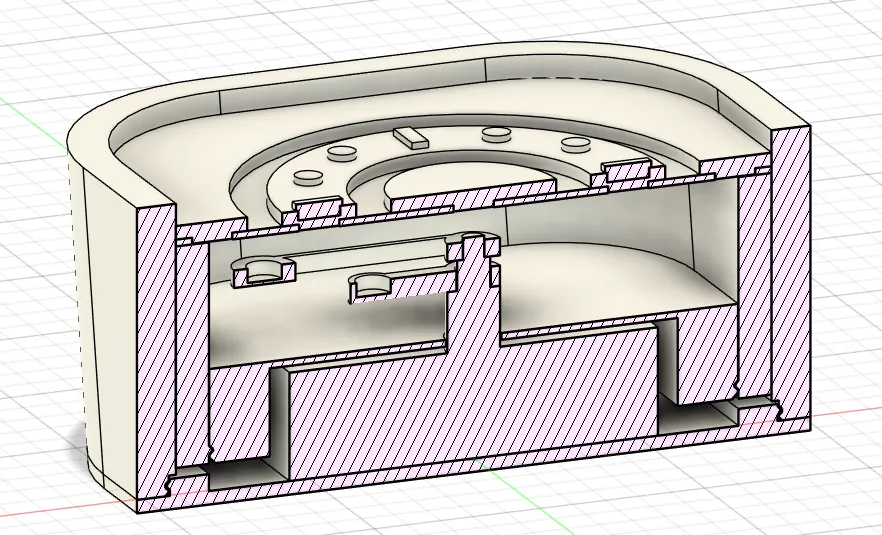
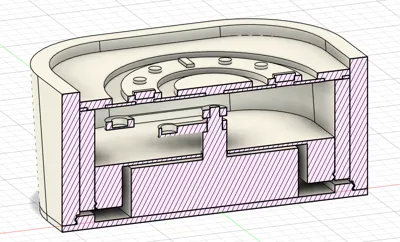
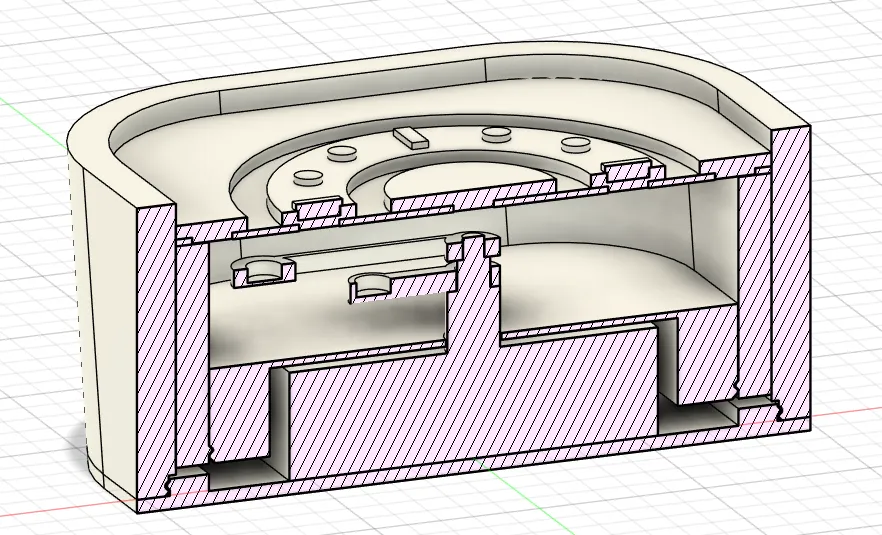
Section View:
☕ Enjoying the model?
If you'd like to support my work and help me keep making cool designs like this, feel free to treat me to a coffee:
https://ko-fi.com/blackdesign1
License

You shall not share, sub-license, sell, rent, host, transfer, or distribute in any way the digital or 3D printed versions of this object, nor any other derivative work of this object in its digital or physical format (including - but not limited to - remixes of this object, and hosting on other digital platforms). The objects may not be used without permission in any way whatsoever in which you charge money, or collect fees.


Comment & Rating (23)