



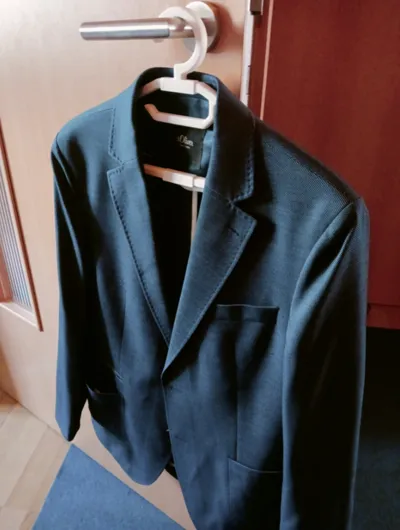
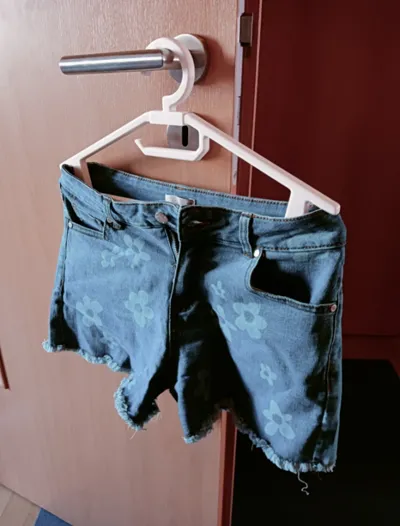
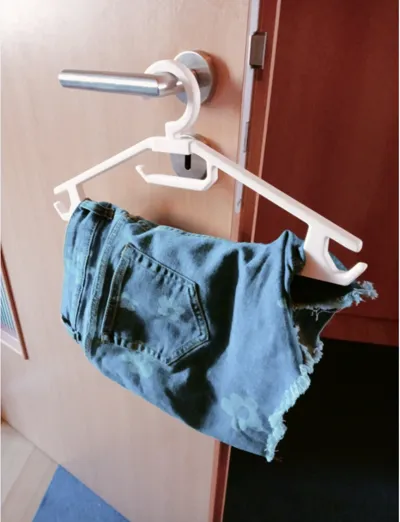
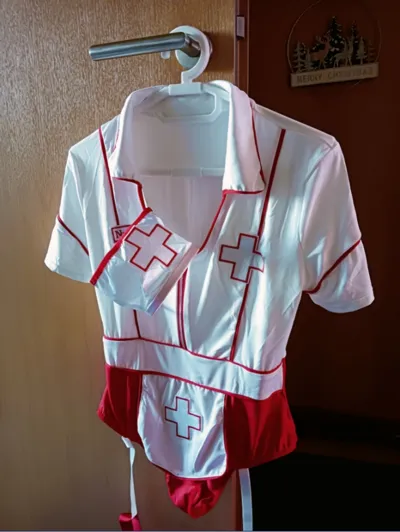
Print Profile(4)


Description
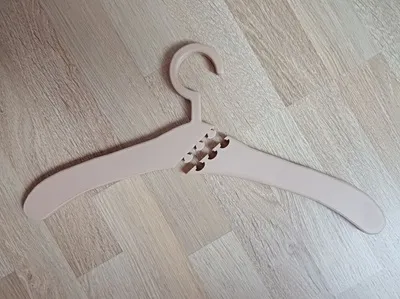
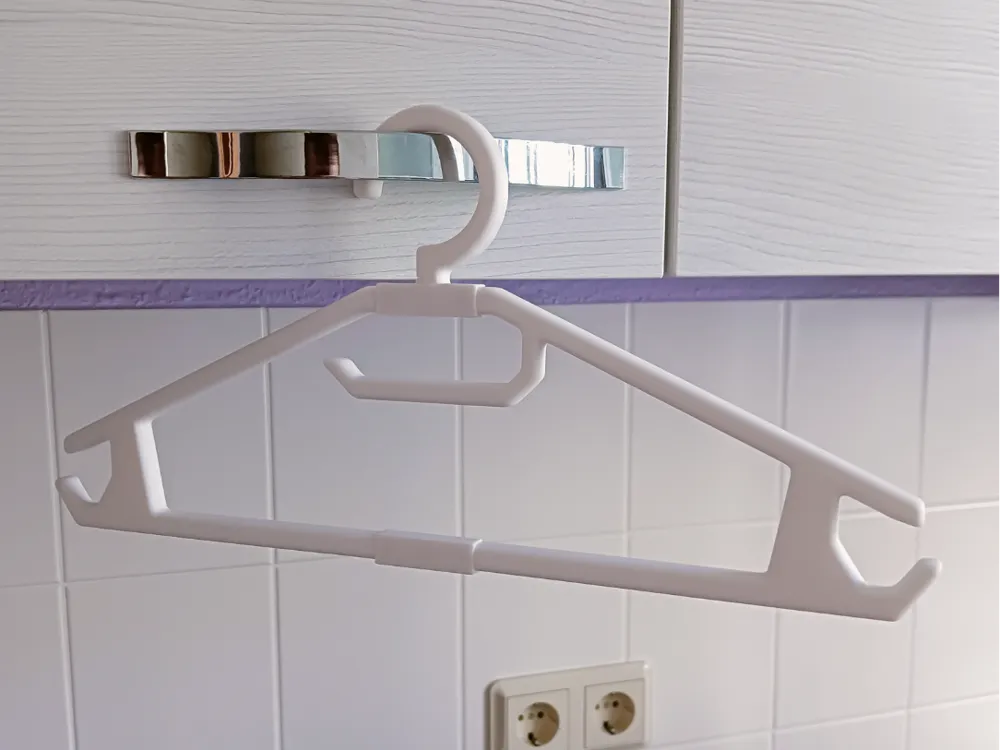
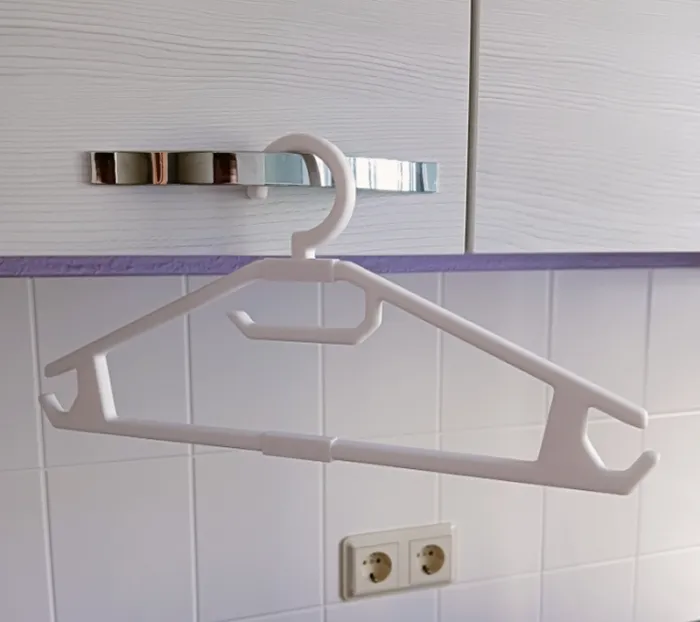
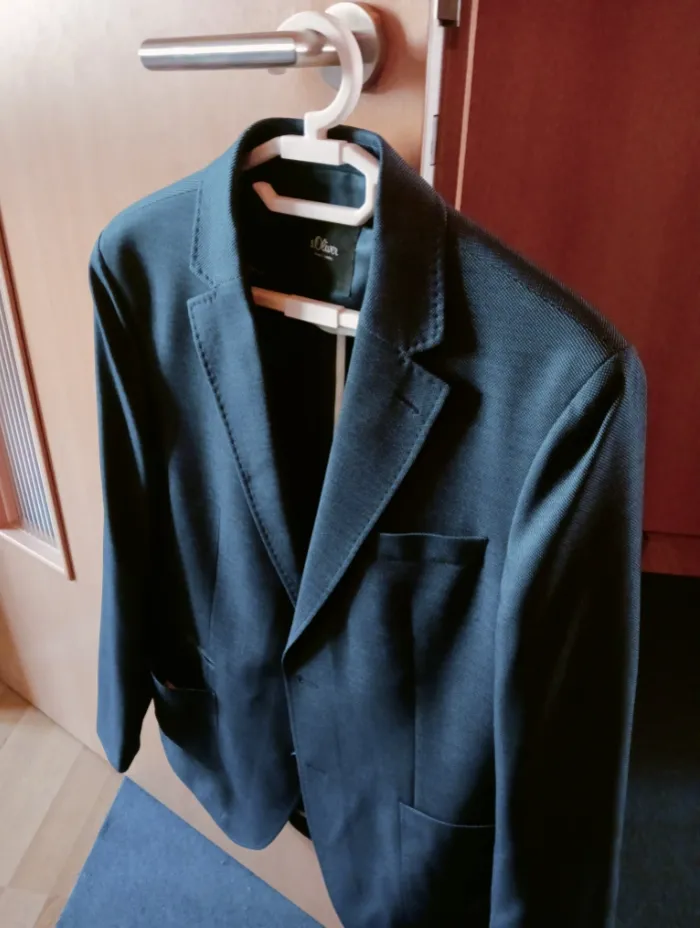
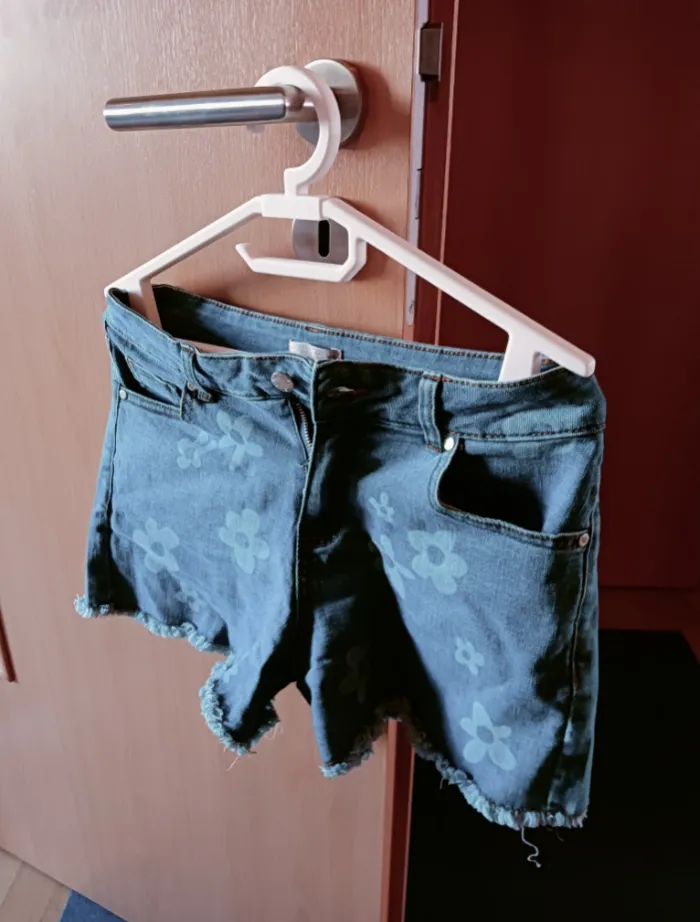
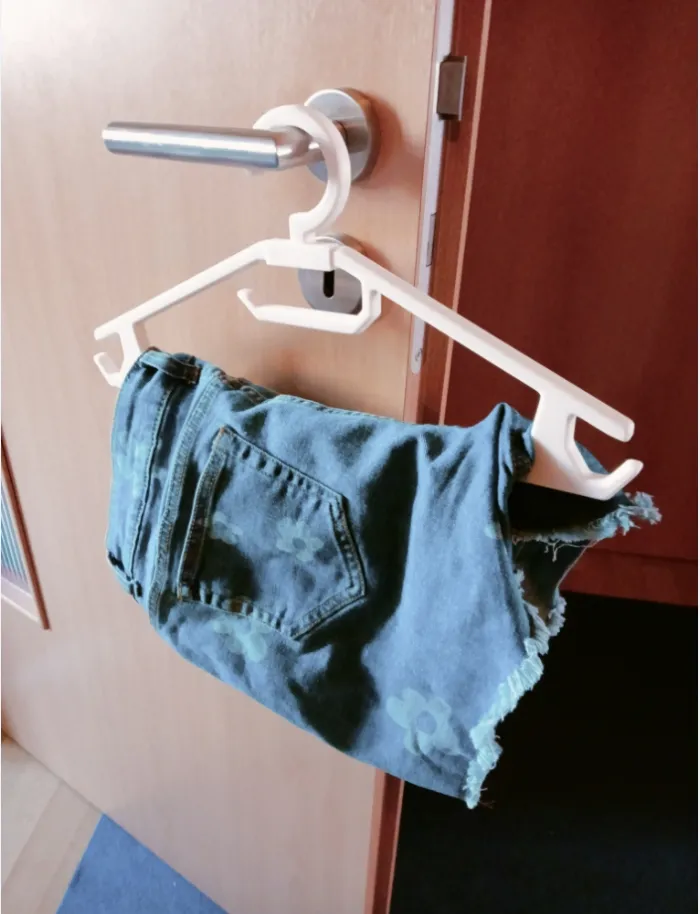
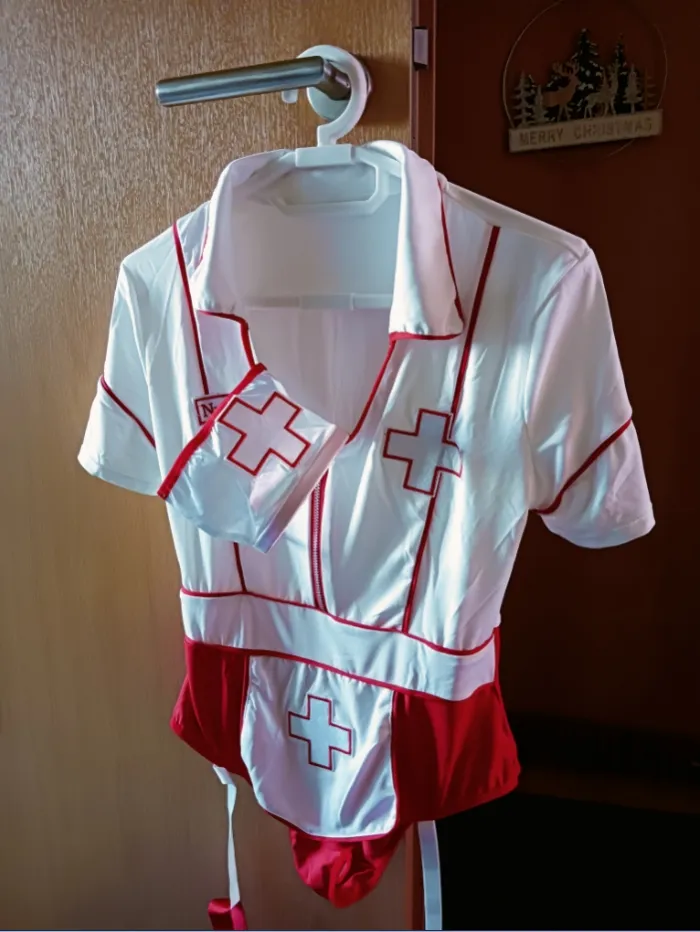
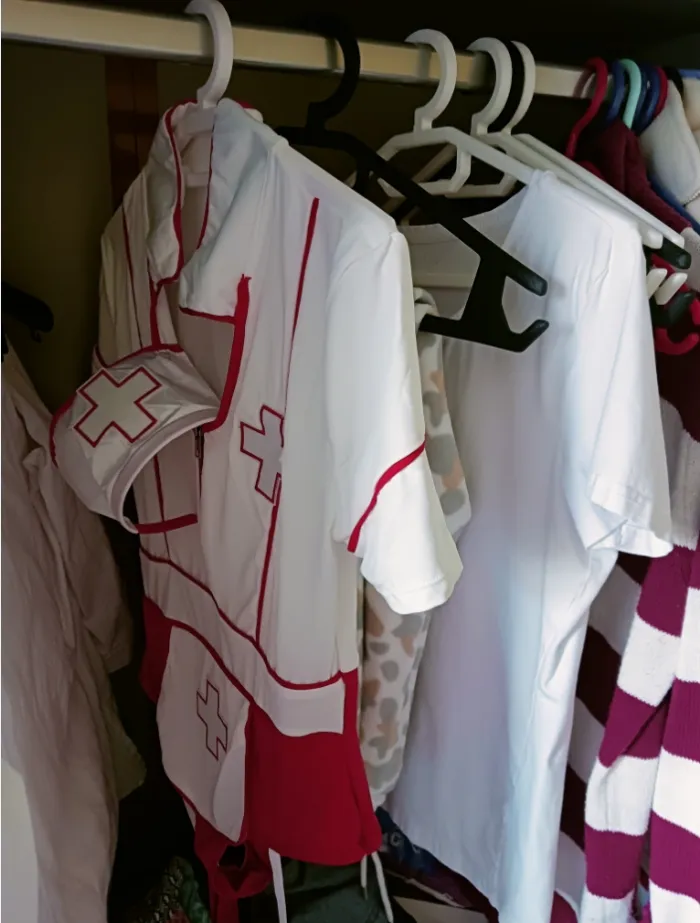
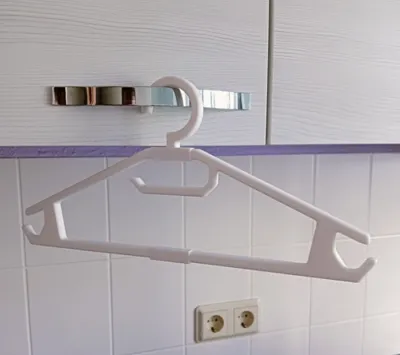
Coat Hanger - Mantel (Jacken) - Bügel
Spachen / Languages: Deutsch, English
ATTENTION: New version, Print Profile 2, description below!
ATTENTION: New version, Print Profile 2, description below!
Glue stick recommended.
Deutsch
Print Profile 1: Clothes hanger in two parts
Load the print model as 3MF and view the print proposal. The hanger is designed at a height of 2cm. It was assembled from simple objects and smoothed as a whole so that all edges are rounded. But I only print it halfway up by sinking one half under the printing plate in the bamboo studio. I didn't get better results when scaling, so I prefer this solution. I print the first layer a little higher and use a little more elephant foot compensation. This way I avoid an edge that is too sharp.
Leave the order of the print objects on a plate in the 3MF file! With multicolor printing you have a cleaning tower. Since this is not available for single color printing, I added cylinders at a low height, they should be printed first. Join the hanger with 2K adhesive (e.g. UHU Plus Schnellfest) and respect the drying time of the adhesive.
Add the hanger with 2K adhesive (e.g. UHU Plus Schnellfest) and respect the drying time of the adhesive.
Have fun printing!
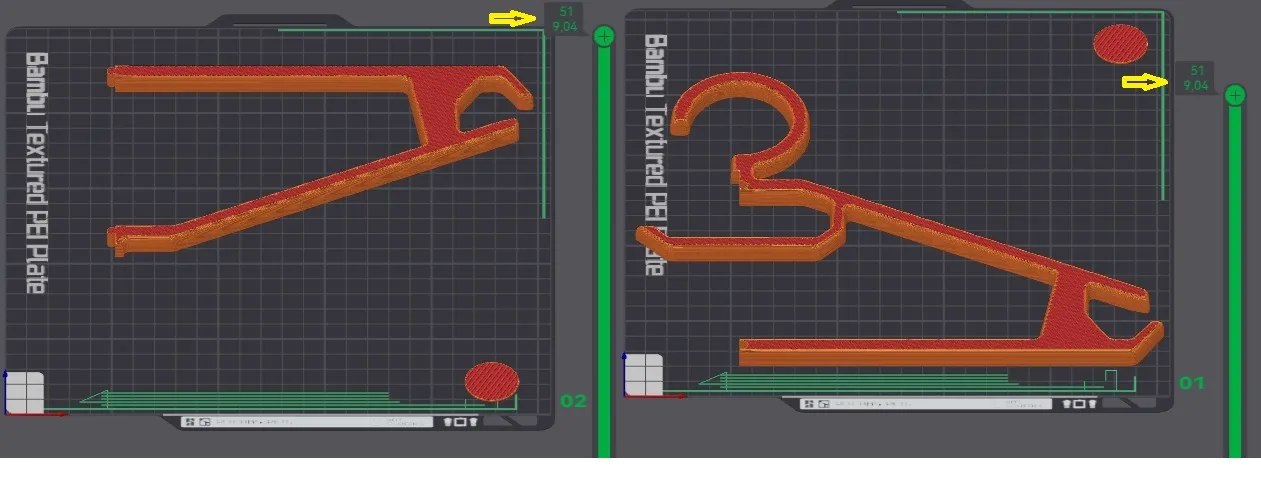
NEW Print Profile 2: Clothes hanger in 4 parts
Boosts are recognition for the designer and an incentive to keep going. As a designer, I also see it as my duty to offer improvements if I can, if the users have rewarded my product with Boosts.
As I designed my clothes hanger to use it myself, I was concerned that it could become a little unstable. We can't print the clothes hanger in one piece. It has to be put together. This is somewhat difficult with such a narrow object, as the contact surfaces are very small and do not withstand the forces acting on them so well when bent. I have now improved the clothes hanger so that the seams where it is assembled are reinforced. In this context, I reworked the entire object once again. I chose a different material this time: ABS. ABS is still relatively easy to print. This clothes hanger in particular does not appear to have any disadvantages. It can be printed in ABS just as well as in PLA, only at higher temperatures. This should make the hanger more durable, I hope. And also less sensitive to detergent, water and fabric softener. Use the second print profile for this new clothes hanger.
The new clothes hanger can be scaled in height. For example to 130%. To do this, you must scale all objects on all three panels to the same height. If the height is different, the hanger can carry heavier clothes. The hanger can also be scaled slightly smaller overall. To do this, all 3 axes (X, Y and Z) must be scaled to 50%, for example (uniform scaling). The original height is the minimum height, but this should be maintained because otherwise the thin base of the holes may disappear, limiting uniform scaling downwards. Thinner hangers usually don't make sense either, as they are more unstable. So if you have scaled uniformly, set the height back to the minimum dimension (9.83mm). I have added a fourth pressure profile for a small clothes hanger (does not need to be assembled, fits on print plate) that is only half the size and a thicker version in normal size of the hanger as a third pressure profile.
You will receive these 4 parts after printing:
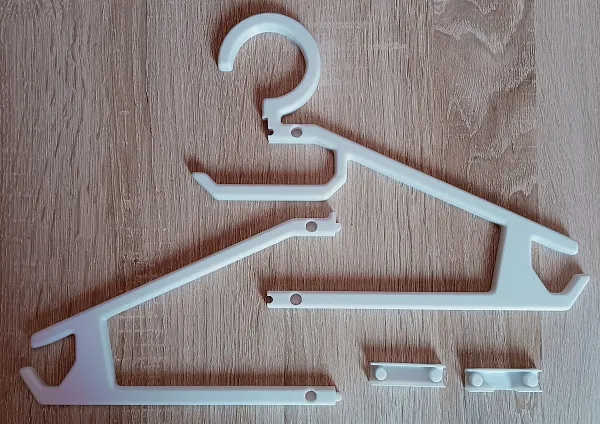
I recommend practising the assembly once before you apply glue,
because the assembly must go quickly afterwards.
You will also notice whether burrs are hindering the assembly, which you can then remove.
Place the two large pieces on top of each other like this:
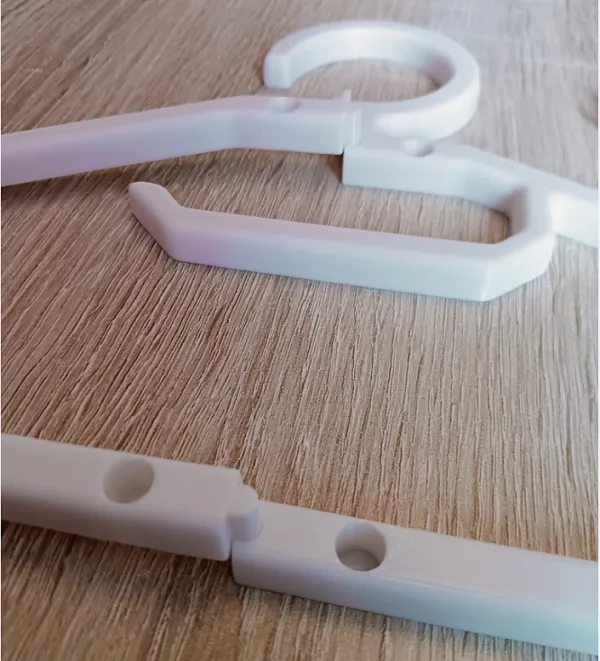
Apply pressure to these areas as shown and push the left-hand part downwards:
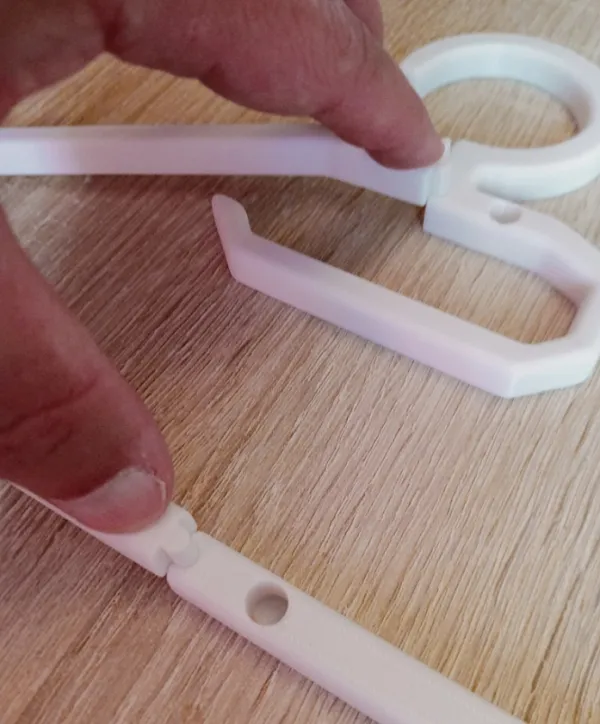
Until both parts are flush:
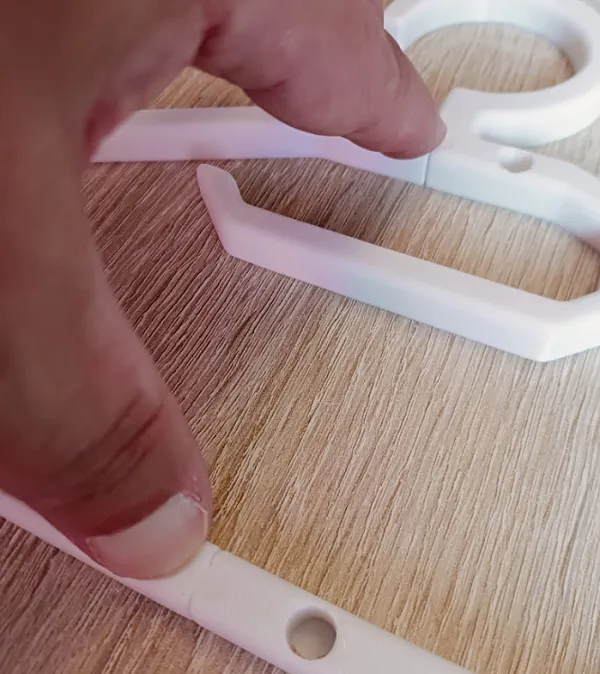
The other two small parts (brackets) belong in these places:
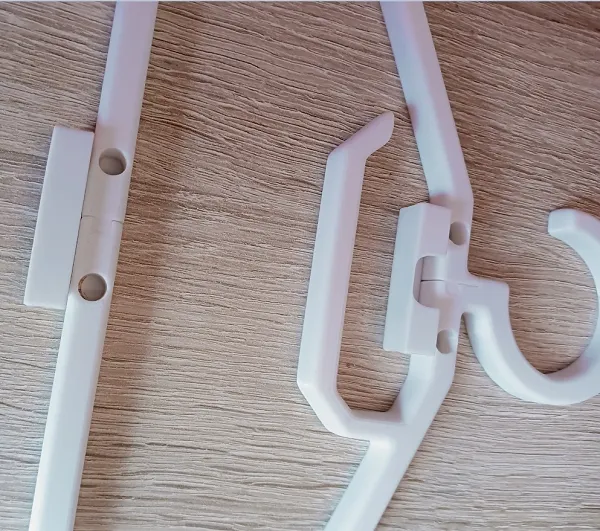
Place the clamps on top so that the pins fit into the holes and
apply pressure to the clamps. Press them down properly.
The clamps should be a little tight:
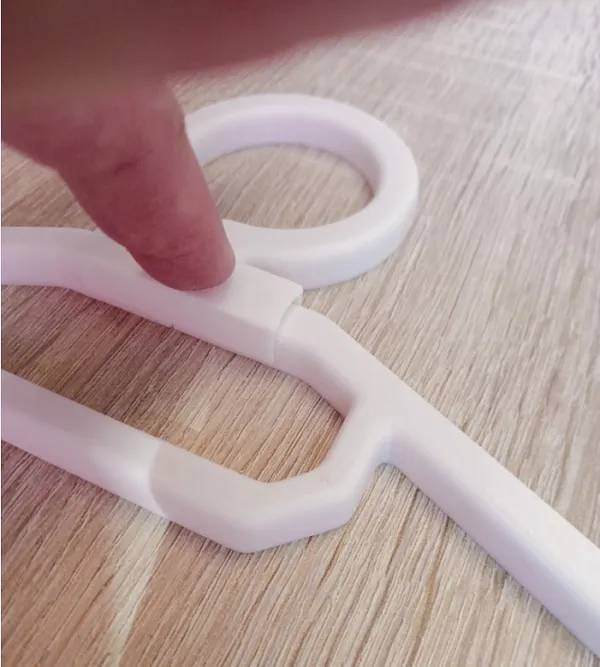
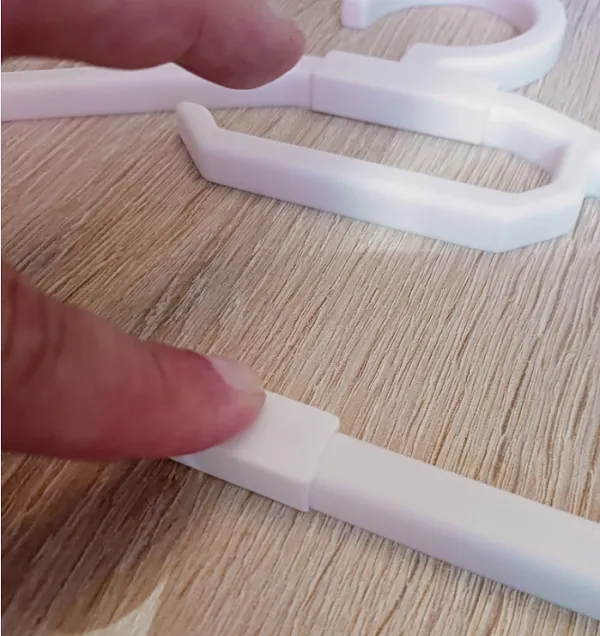
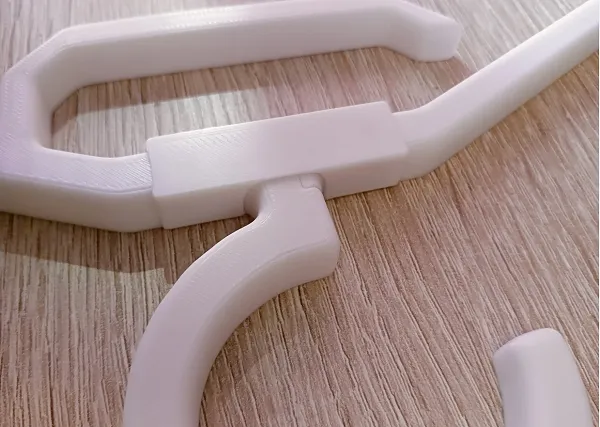
After that has worked well take everything apart again!
Yes, I'm really sorry, that's your guarantee of success for gluing the parts together. :-)
Now we come to the bonding.
You can wet the interfaces with superglue
(I use Loctite superglue as a gel, from the discounter round the corner).
This works with ABS.
Then place the two parts on top of each other again and press them together,
until they are flush.
This step leaves traces of glue on the underside,
which you can remove afterwards with a file,
but also increases the stability!
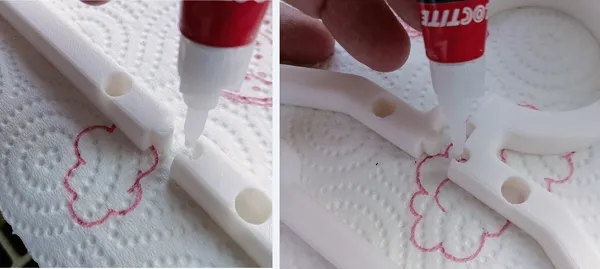
If you want to avoid filing and don't want any glue to leak out, skip this step,
join the parts without glue and continue with the next step.
Insert glue into the holes, wetting the inside of the holes and the side walls:
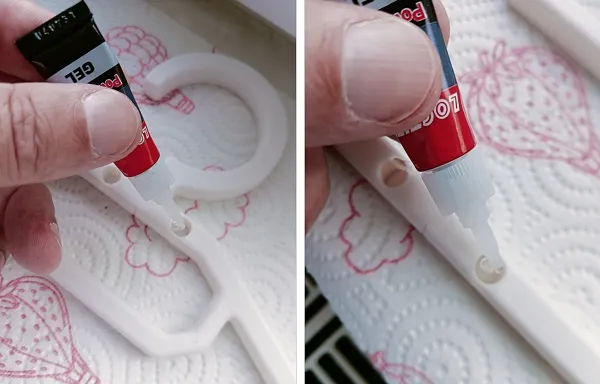
Also wet the walls of the clamps from the inside with adhesive.
Do not go too close to the outer edges,
as the adhesive will still be pressed apart a little when the parts
is pressed apart, as it could swell out.
Then press the two clips back onto the clothes hanger
firmly into the recesses as described above.
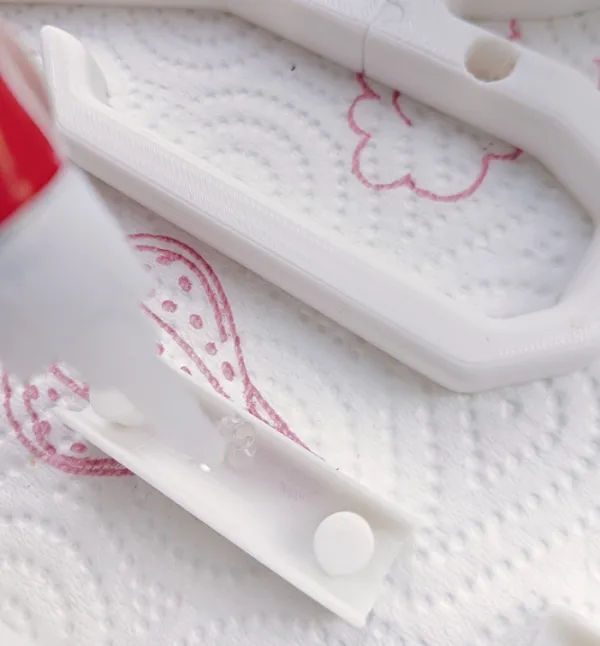
Wait about 10 minutes after gluing to be sure
that the connections hold.
Your result could then look like this:
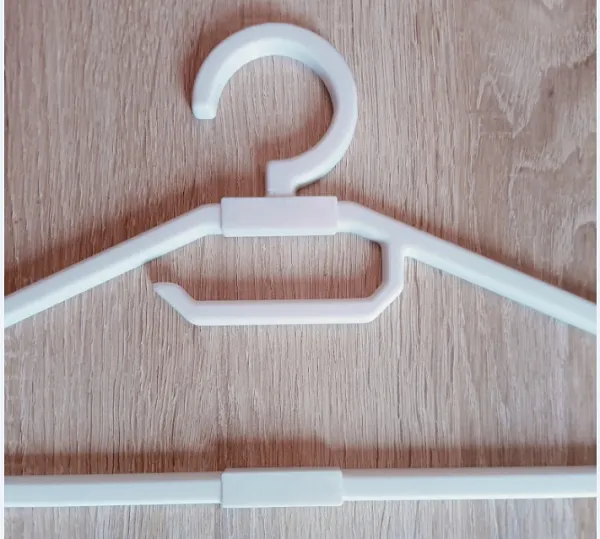
Clean and tidy. After filing, using a nail file on the back,
to remove the adhesive residue, it can look like this:
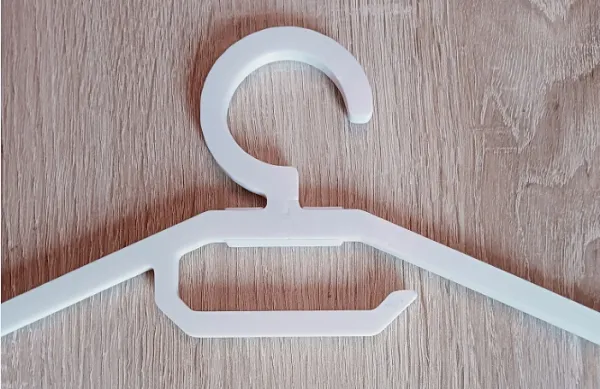
An acceptable result, in my opinion!
This bracket is now much more stable than the previous version. If you want, you can choose which of the two versions you want to use, select the respective pressure profile!
Englisch
Print Profile 1: Hanger in two parts
Load the print model as 3MF and view the print proposal. The bracket is designed at a height of 2cm. It was assembled from simple objects and smoothed as a whole so that all edges are rounded. But I only print it halfway up by sinking one half under the printing plate in the bamboo studio. I didn't get better results when scaling, so I prefer this solution. I print the first layer a little higher and use a little more elephant foot compensation. This way I avoid an edge that is too sharp.
Leave the order of the print objects on a plate in the 3MF file! With multicolor printing you have a cleaning tower. Since this is not available for single color printing, I added cylinders at a low height, they should be printed first.Join the hanger with 2K adhesive (e.g. UHU Plus Schnellfest) and respect the drying time of the adhesive.
Have fun printing!
NEW Print profile 2: Clothes hanger in 4 parts
Boosts are recognition for the designer and an incentive to keep going. As a designer, I also see it as my duty to offer improvements if I can, if the users have rewarded my product with Boosts.
As I designed my clothes hanger to use it myself, I was concerned that it could become a little unstable. We can't print the clothes hanger in one piece. It has to be put together. This is somewhat difficult with such a narrow object, as the contact surfaces are very small and do not withstand the forces acting on them so well when bent. I have now improved the clothes hanger so that the seams where it is assembled are reinforced. In this context, I reworked the entire object once again. I chose a different material this time: ABS. ABS is still relatively easy to print. This clothes hanger in particular does not appear to have any disadvantages. It can be printed in ABS just as well as in PLA, only at higher temperatures. This should make the hanger more durable, I hope. And also less sensitive to detergent, water and fabric softener. Use the second print profile for this new clothes hanger.
The height of the new clothes hanger can be scaled. For example to 130%. To do this, you must scale all objects on all three panels to the same height. If the height is different, the hanger can carry heavier clothes. The hanger can also be scaled slightly smaller overall. To do this, all 3 axes (X, Y and Z) must be scaled to 50%, for example (uniform scaling). The original height is the minimum height, but this should be maintained because otherwise the thin base of the holes may disappear, limiting uniform scaling downwards. Thinner hangers usually don't make sense either, as they are more unstable. So if you have scaled uniformly, set the height back to the minimum dimension (9.83mm). I have added a fourth pressure profile for a small clothes hanger (does not need to be assembled, fits on print plate) that is only half the size and a thicker version in normal size of the hanger as a third pressure profile.
You will receive these 4 parts after printing:
I recommend practising the assembly once before you apply glue,
because the assembly must go quickly afterwards.
You will also notice whether burrs are hindering the assembly, which you can then remove.
Place the two large pieces on top of each other like this:
Apply pressure to these areas as shown and push the left-hand part downwards:
Until both parts are flush:
The other two small parts (brackets) belong in these places:
Place the clamps on top so that the pins fit into the holes and
apply pressure to the clamps. Press them down properly.
The clamps should be a little tight:
After that has worked well take everything apart again!
Yes, I'm really sorry, that's your guarantee of success for gluing the parts together. :-)
Now we come to the bonding.
You can wet the interfaces with superglue
(I use Loctite superglue as a gel, from the discounter round the corner).
This works with ABS.
Then place the two parts on top of each other again and press them together,
until they are flush.
This step leaves traces of glue on the underside,
which you can remove afterwards with a file,
but also increases the stability!
If you want to avoid filing and don't want any glue to leak out, skip this step,
join the parts without glue and continue with the next step.
Insert glue into the holes, wetting the inside of the holes and the side walls:
Also wet the walls of the clamps from the inside with adhesive.
Do not go too close to the outer edges,
as the adhesive will still be pressed apart a little when the parts
is pressed apart, as it could swell out.
Then press the two clips back onto the clothes hanger
firmly into the recesses as described above.
Wait about 10 minutes after gluing to be sure
that the connections hold.
Your result could then look like this:
Clean and tidy. After filing, using a nail file on the back,
to remove the adhesive residue, it can look like this:
An acceptable result, in my opinion!
This bracket is now much more stable than the previous version. If you want, you can choose which of the two versions you want to use, select the respective pressure profile!
License



Comment & Rating (29)