Z-Shield V2 - Z-Axis Cover for P1P, P1S, and X1C
Z-Shield V2 - Z-Axis Cover for P1P, P1S, and X1C


Print Profile(6)


Description
VERSION 2 MODEL UPDATES:
- Adjusted dimensions and tolerances for an even better fit
- Added more Pattern/Color Options
- Lengthened Clips for better “Snap” Action and Snugness
- Strengthened clips by adding 1mm of extra material
- More Bed Clearance
VERSION 2 PROFILE UPDATES:
- Speed - Slowed down and matched to walls for less visibility of layer lines and speed lines.
- Supports - Adjusted Support Threshold Angle for better support removal and Patterns
- More Patterns/Color Options
- Switched to Gyroid Infill
- Seam Position to Nearest
2-1-2024:
- Added PETG and ABS Profiles
Version 1 of the Z-Shield was met with mostly positive feedback and praise; so first off let me say thank you to everyone who downloaded or printed the previous model! I greatly appreciate all feedback and I hope V2 can surpass V1 in every way!
To the few people who had fitment issues with V1 - Thanks for speaking up! This community can't grow without honesty and creators being held accountable for any potential design flaws. I always strive to learn and grow as a CAD Designer and Engineer, so any suggestions or feedback is encouraged and appreciated!
---------------------------------------------------------------------------------------------------------------------------------------------------------------------------------------------------------
Introducing the Z-Shield Version 2; a superior Z-Axis Cover for Bambu Lab P Series and X Series Printers. I’ve seen countless Z-Axis Covers for the P and X Series that simply sit in the recessed hole for the Z-Axis rod. I was never a fan of these designs, as I don’t want any component of my printer unnecessarily rubbing against plastic every time the bed moves.
These can be printed in PLA if chamber temps are kept on the low side, but printing in ASA or ABS would yield better results. I'd appreciate any feedback, comments, or ratings if you liked this model, or would like to see some modifications made!
Key Features:
- Universal Compatibility: The Z-Shield has been meticulously engineered to be compatible with all Bambu Core-XY printers. Whether you own an older P1P or a top-of-the-line X1C, you’ll have no issues with fitment.
- Fast Printing Capability: Efficiency is key in 3D printing, and the Z-Shield stands out in this regard. Printing with supports, most models should take an hour or less to print.
- Camera-Friendly Design: Understanding the importance of the built-in camera in Bambu printers, I’ve added an additional model of the Z-Shield with a recessed corner. This design ensures that the cover remains completely invisible to the onboard camera, allowing for uninterrupted monitoring and recording.
- Non-Contact Protection: The non-contact design ensures there's no friction between the cover and the moving parts of the printer, thus preserving both the cover’s and the printer's integrity.
- Durability and Aesthetics: The Z-Shield not only offers robust protection against environmental factors but also adds a sleek, professional look to your printer.
- Fully Customizable: The Z-Shield comes in 5 different patterns for maximum personalization. Customize colors, add gradients, or use the Bambu Text Tool to add your own text/logos!
Printing:
Cleaning your bed properly is important when printing the patterned covers. Make sure your bed has been thoroughly cleaned before printing!
Installation:
NOTE: INSTALL THE CLIP TOWARDS THE REAR OF THE PRINTER FIRST
Make sure ALL support material is removed before installing.
You should hear an audible click as the Z-Shield seats into position.

There should be approximately 1.7mm of clearance between your build plate and the Z-Shield on the left side of the printer. Make sure it is fully seated towards the left side of the printer. The right side cover will have plenty of clearance but should be installed in the same way.

Without Camera Cutout (Cover is Visible):
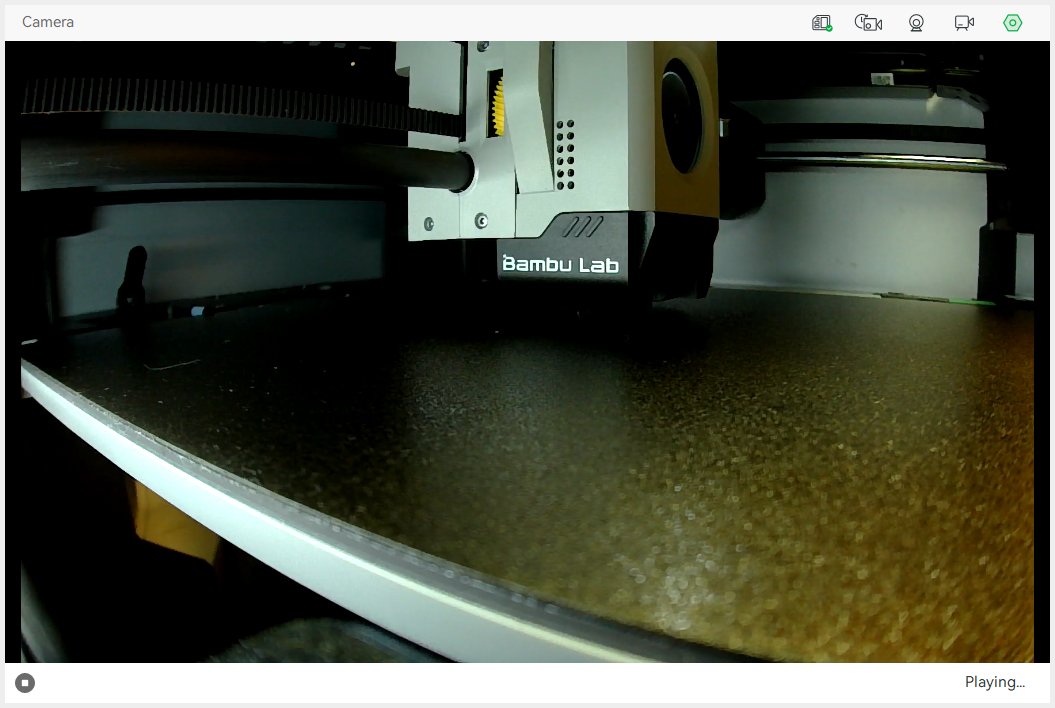
With Camera Cutout (Cover not Visible):

Comment & Rating (457)


