
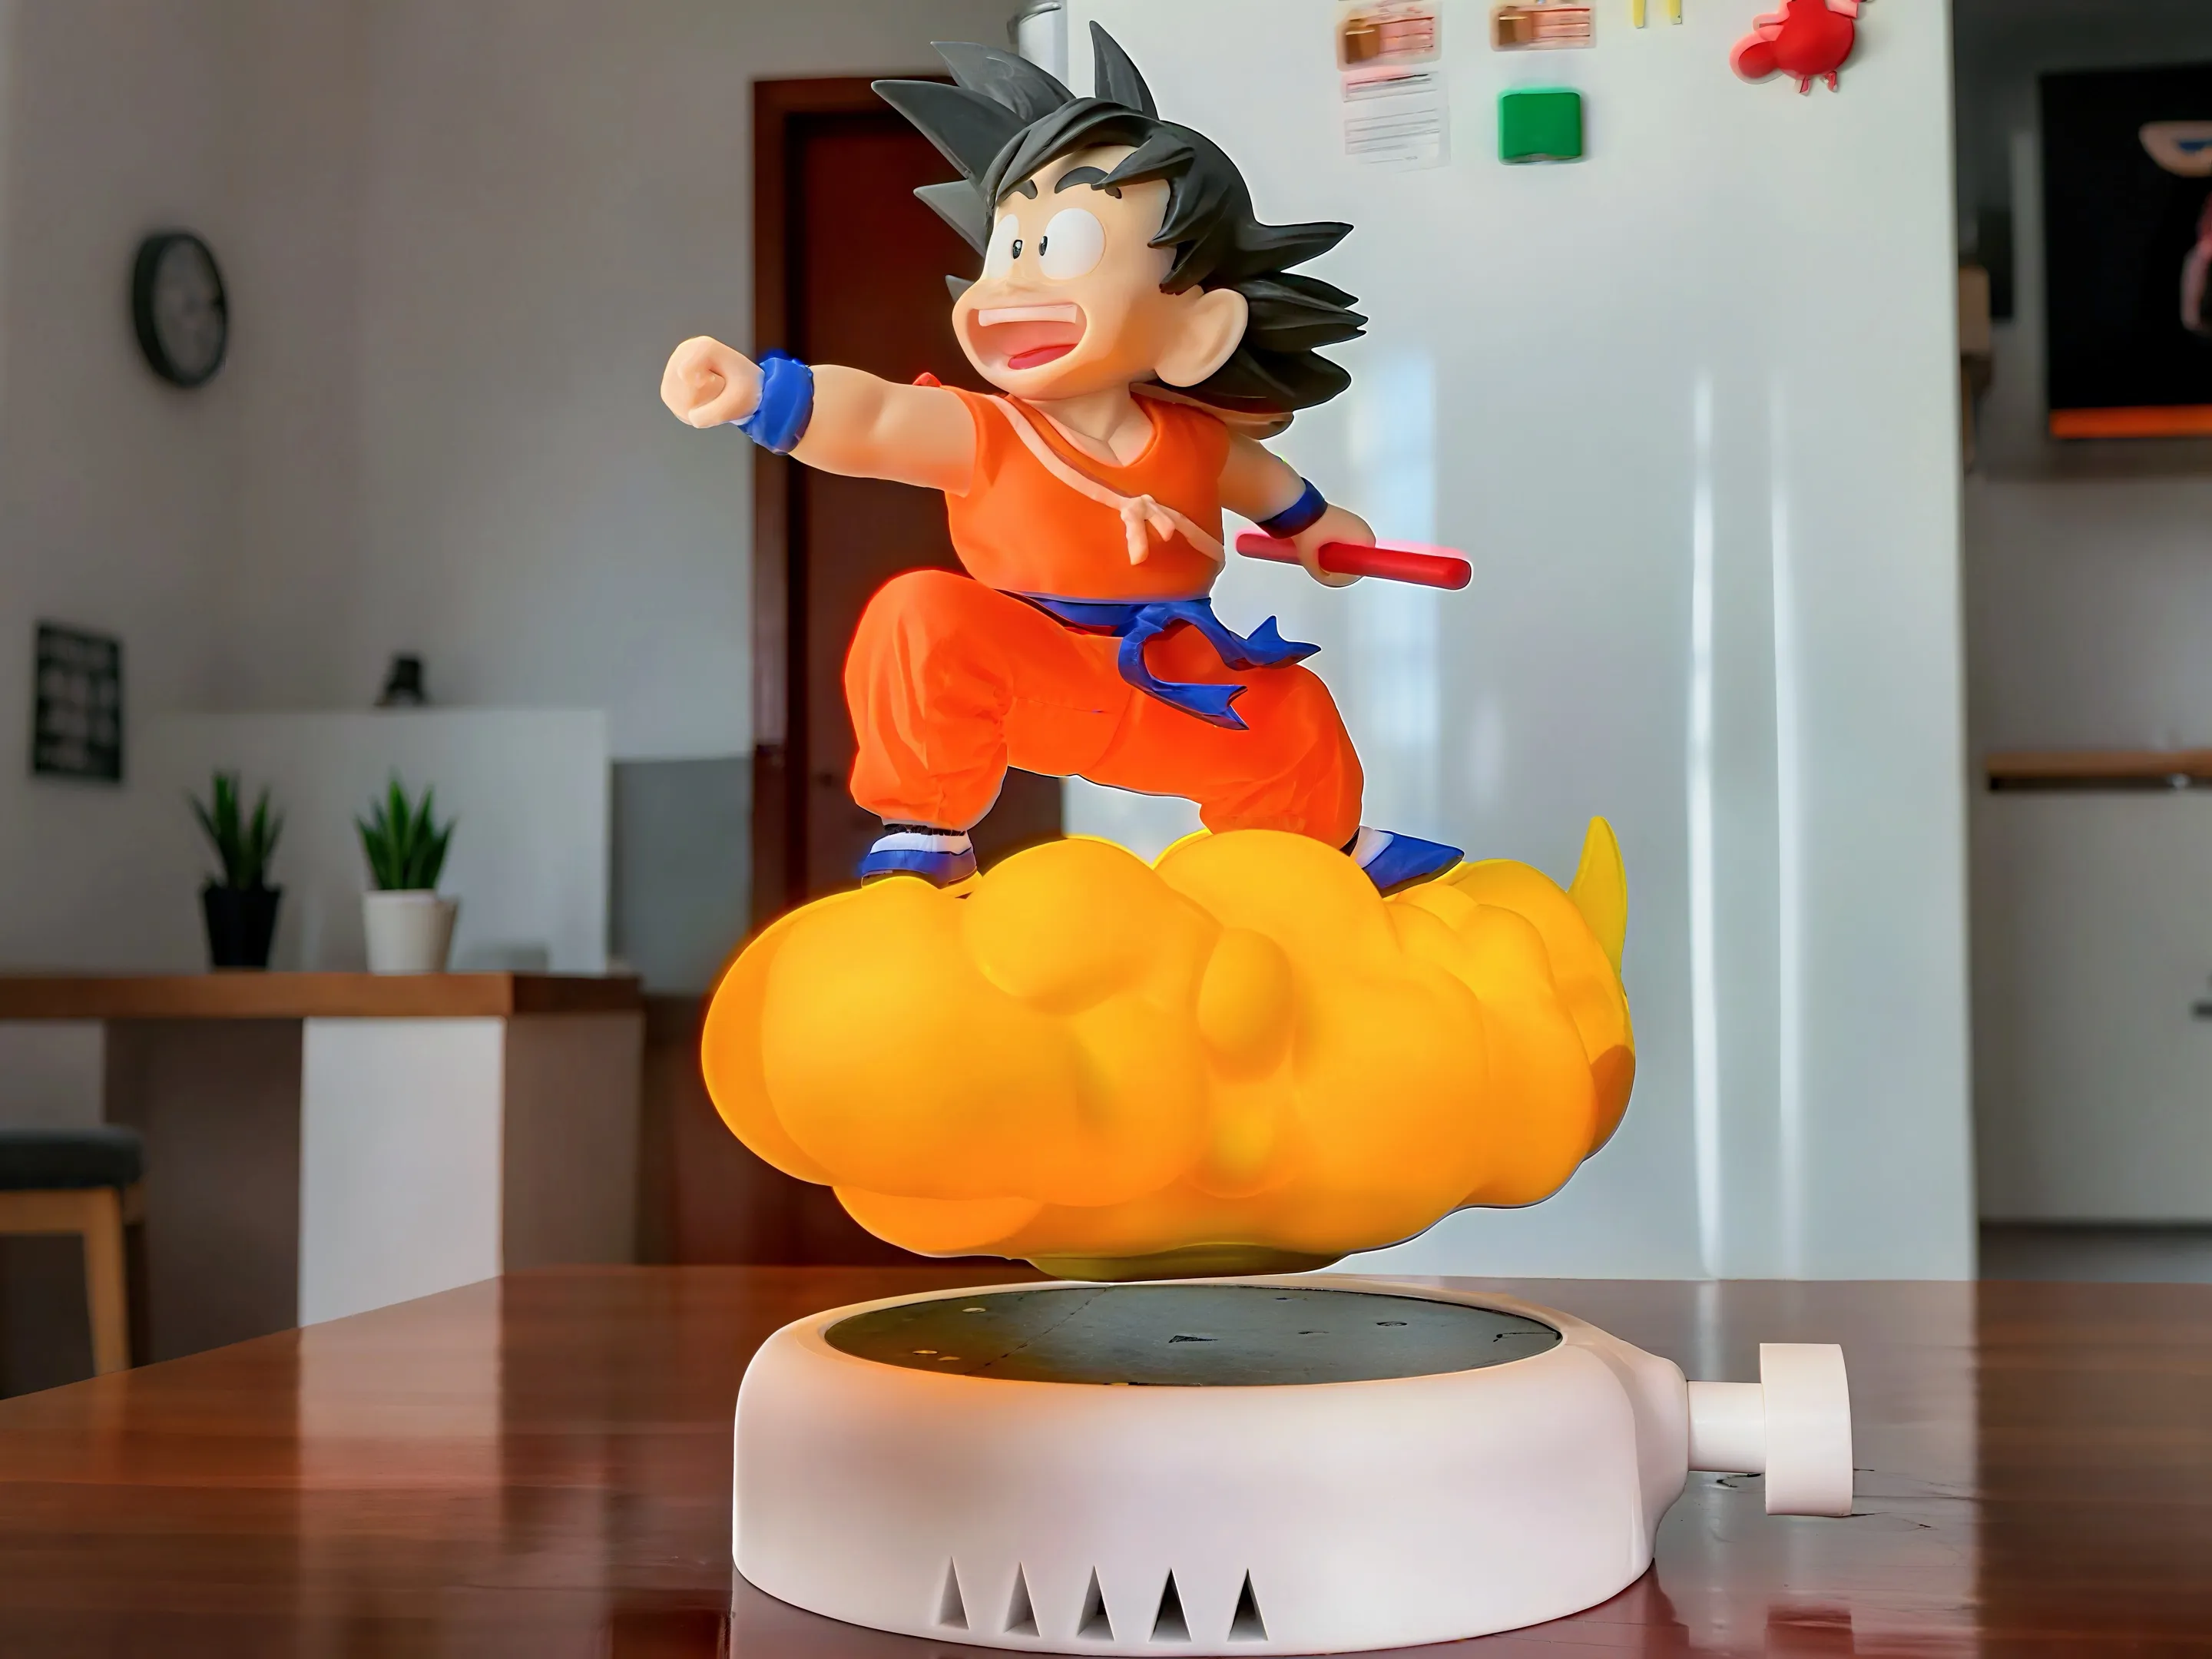
Flying Goku - Multicolor - Magnetic Levitation
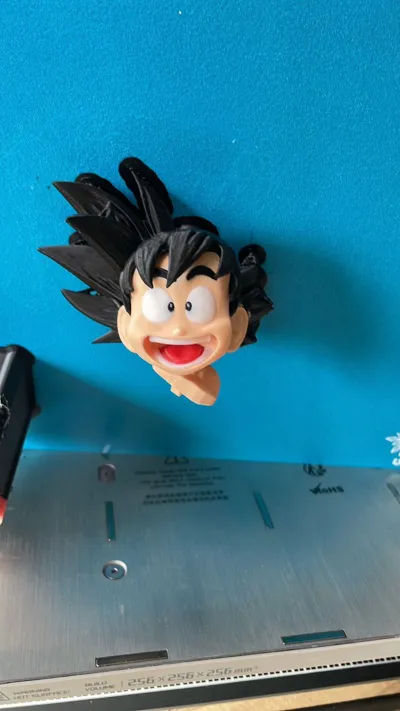
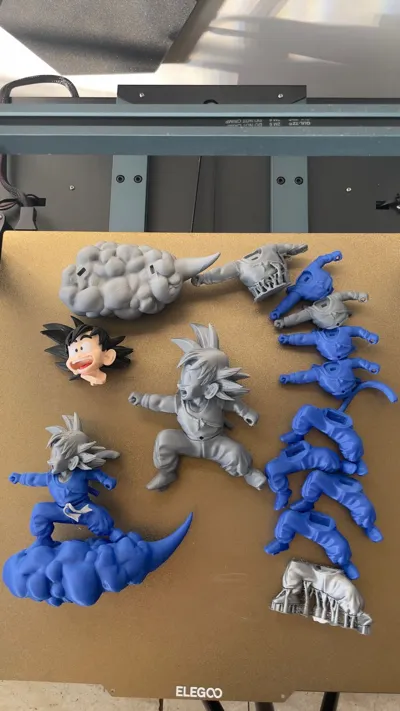
Print Profile(2)


Bill of Materials








Description

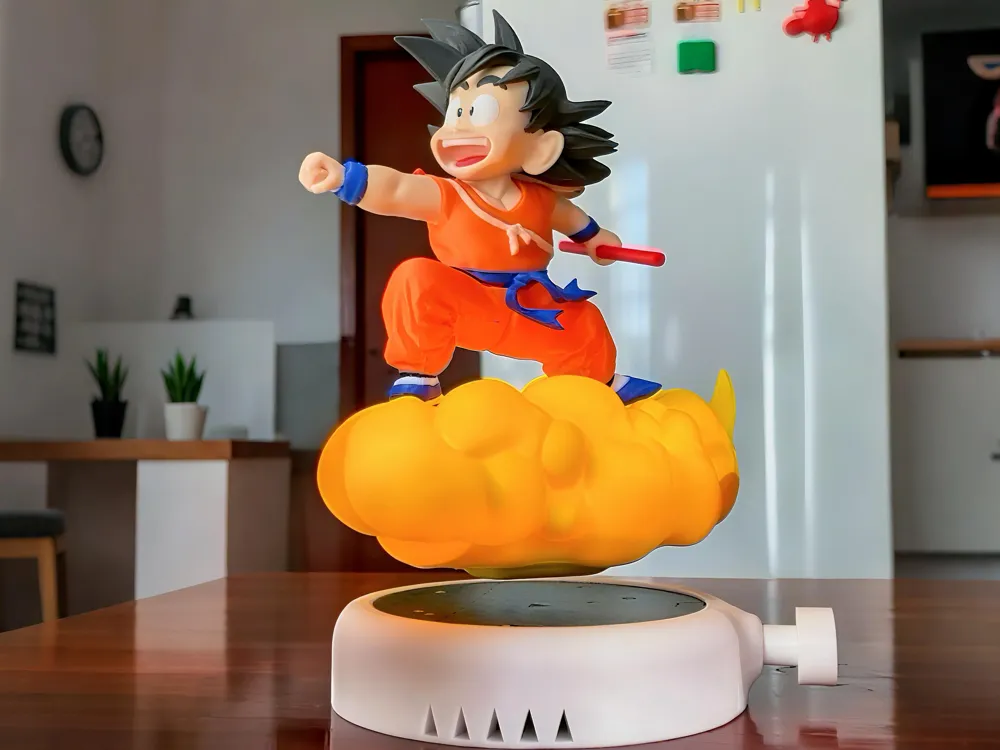
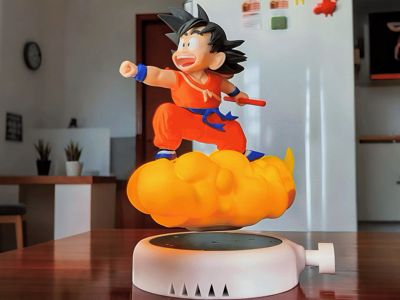
This is the first multicolor Goku designed specifically for magnetic levitation.
Membership
Boost Me (for free)
Created to work seamlessly with the BambuLab levitation kit (and compatible with similar systems), this model was engineered to be clean, precise, and fun to build.
You can also print it without using the Levitation kit—as a decorative piece!
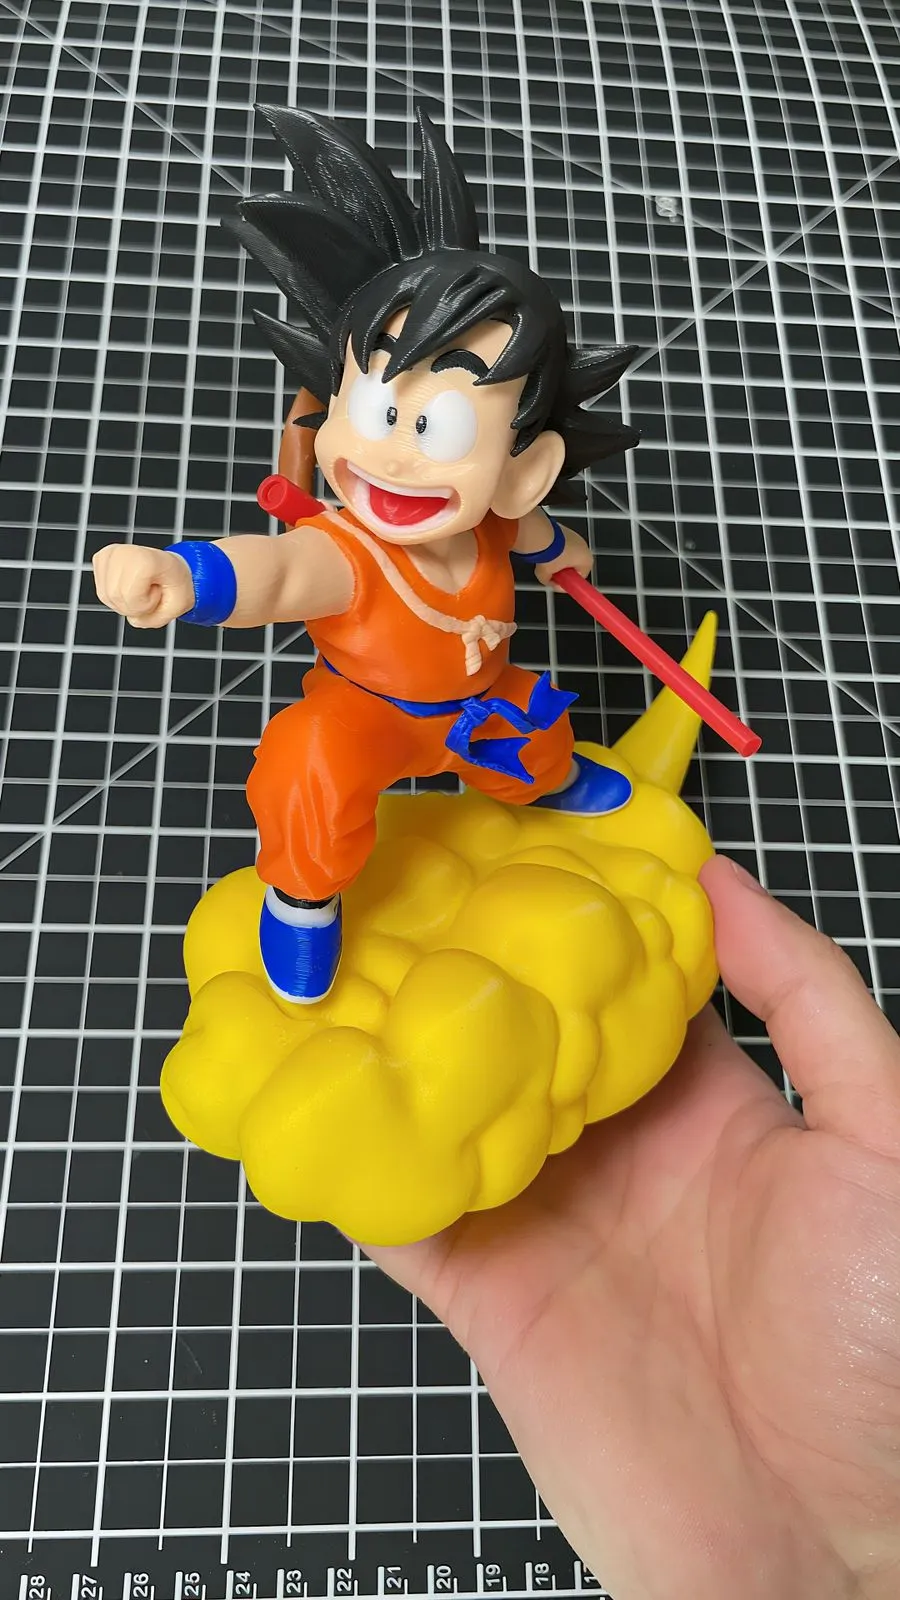
Find the Standard model here
Boost Me (for free)
Support my Work
Membership
Unlock the right to sell my models – Join today!
This project is part of a new era in 3D printing—where we go beyond prototypes and start designing real, functional products.
Here you can watch the video of the whole process
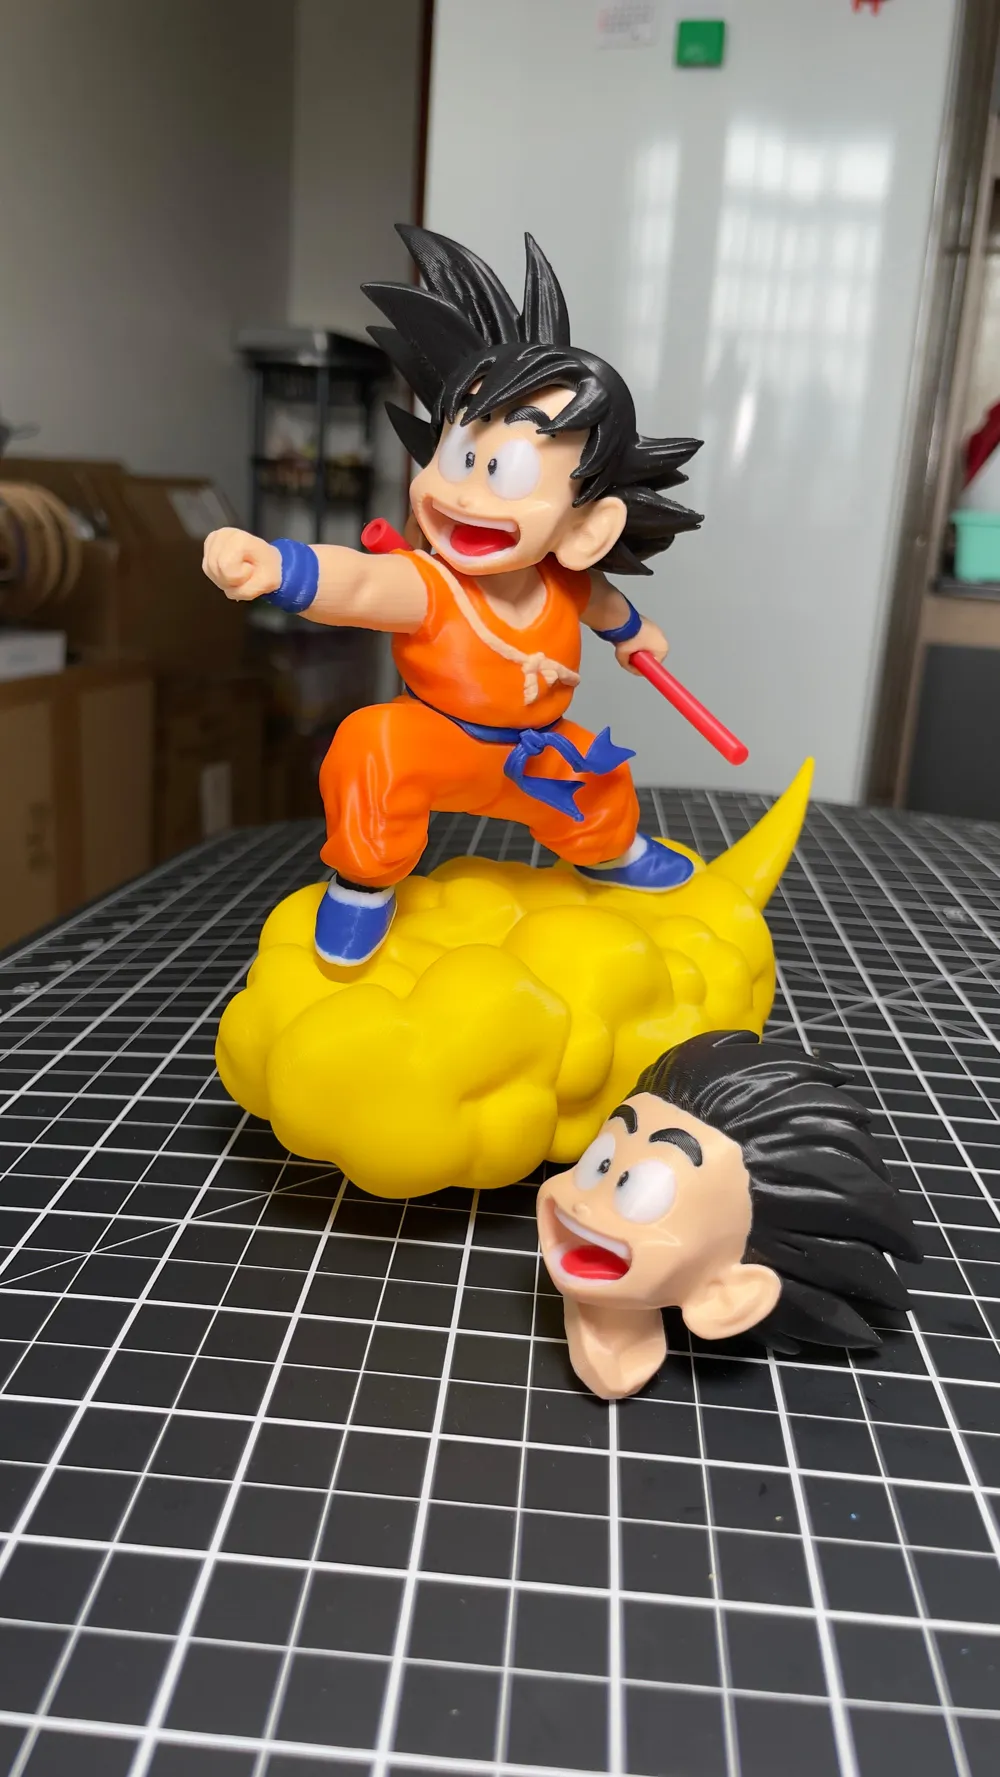
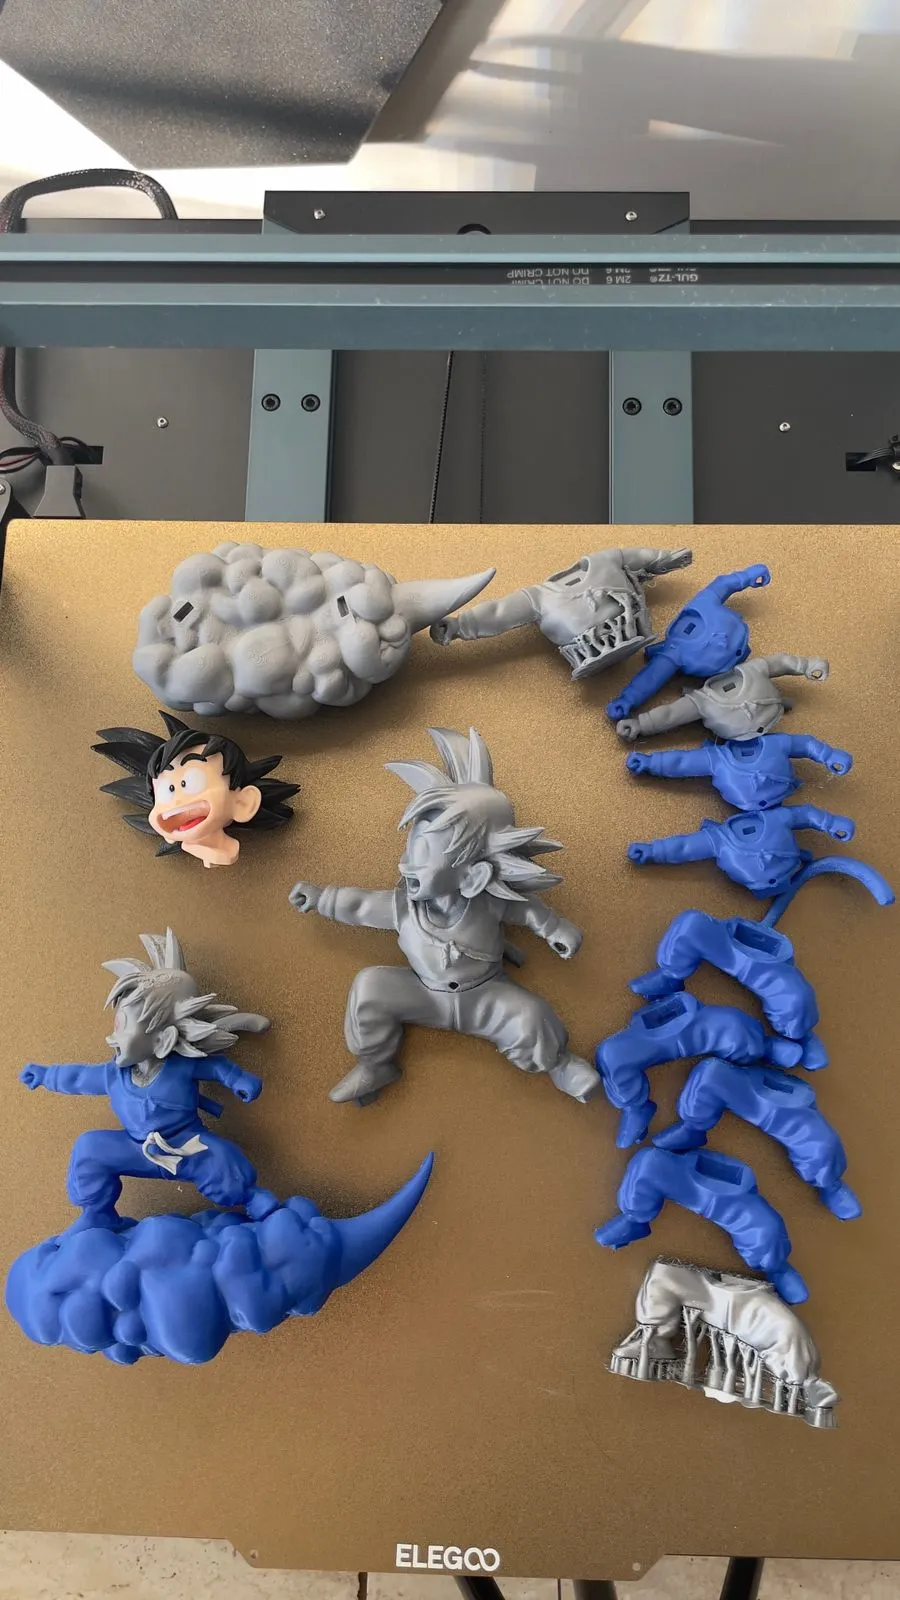
🧩 All parts are snap-fit, with no glue, no painting, and no post-processing required.

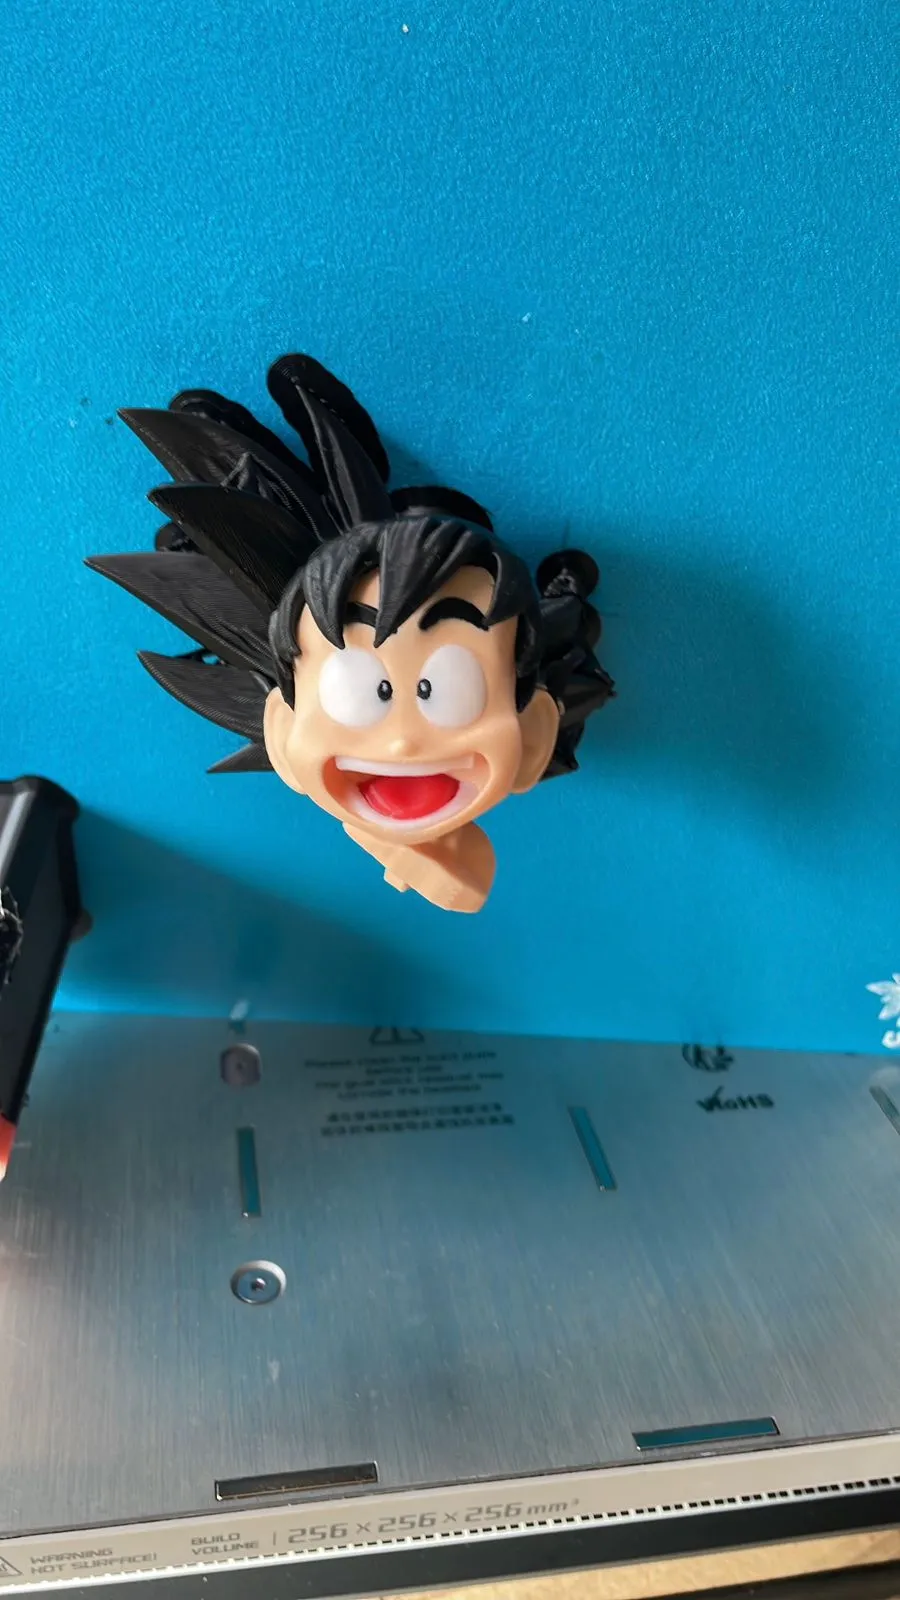
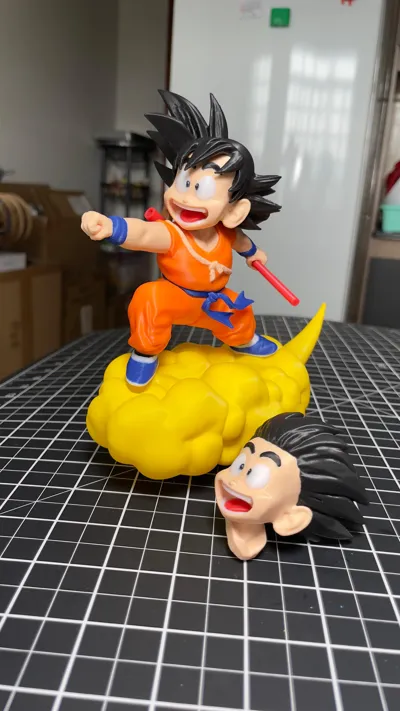

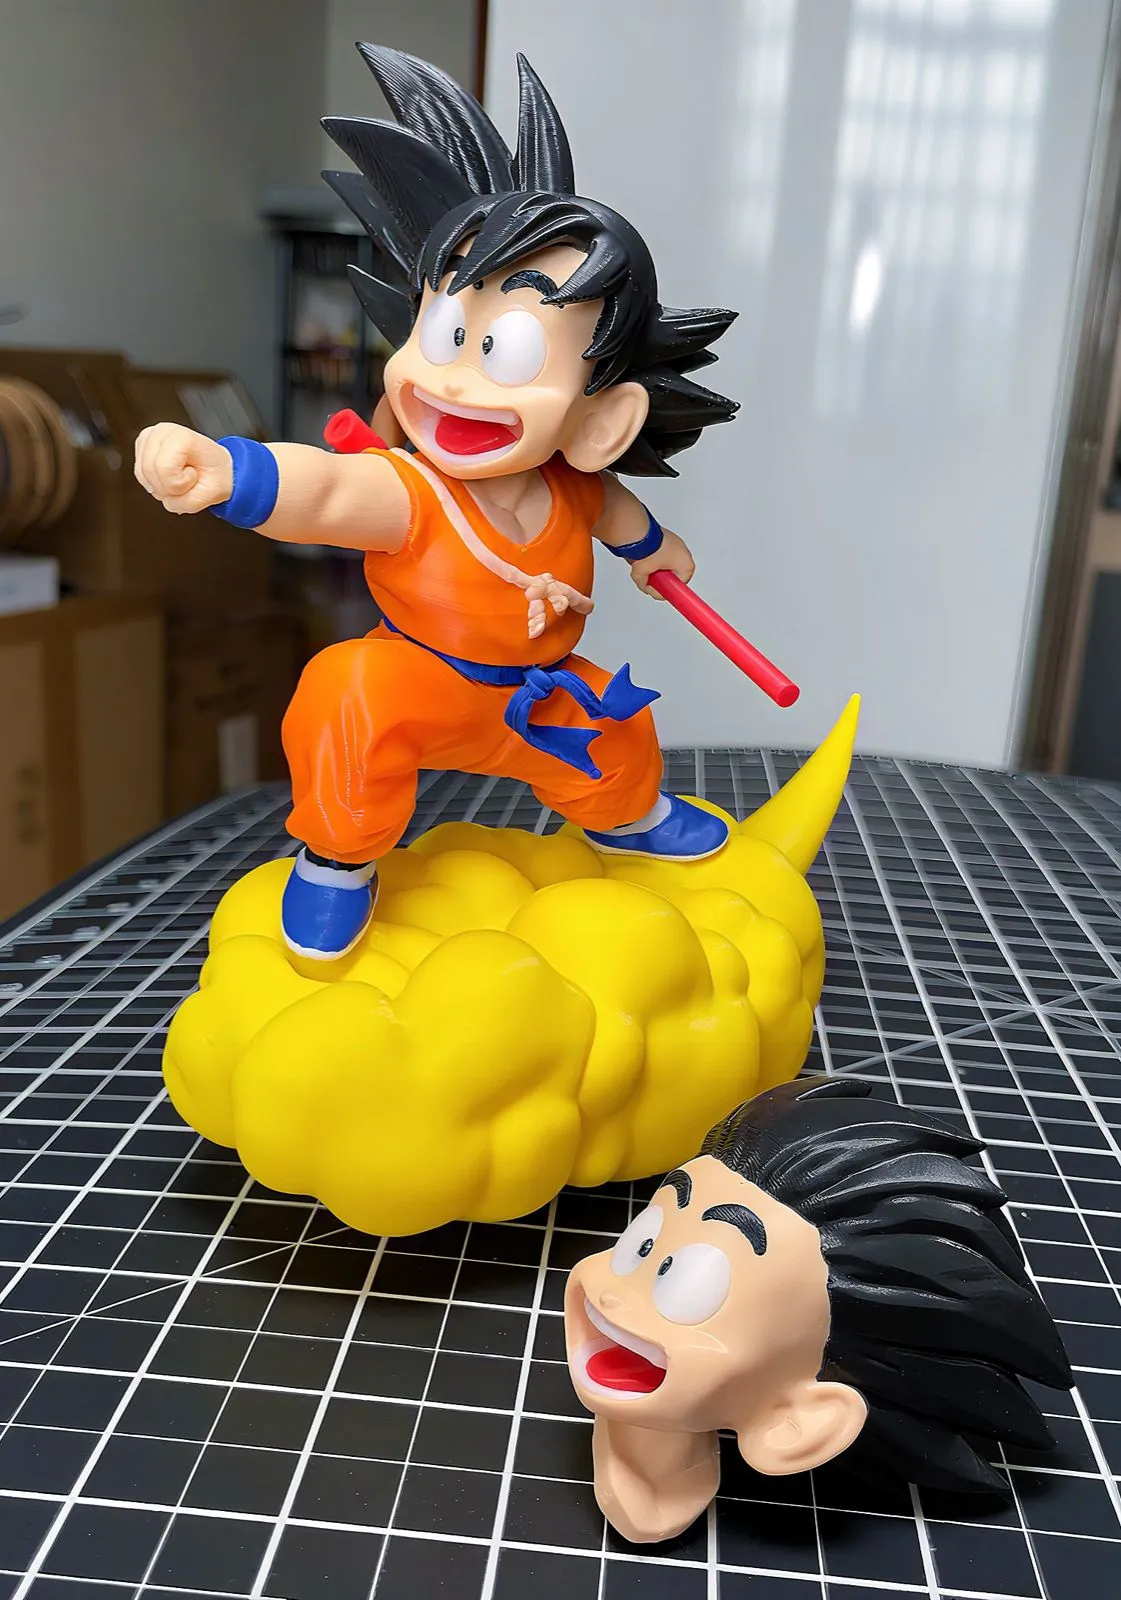
The model is split into 4 color parts for easy multicolor printing just hit print, and you’re done.

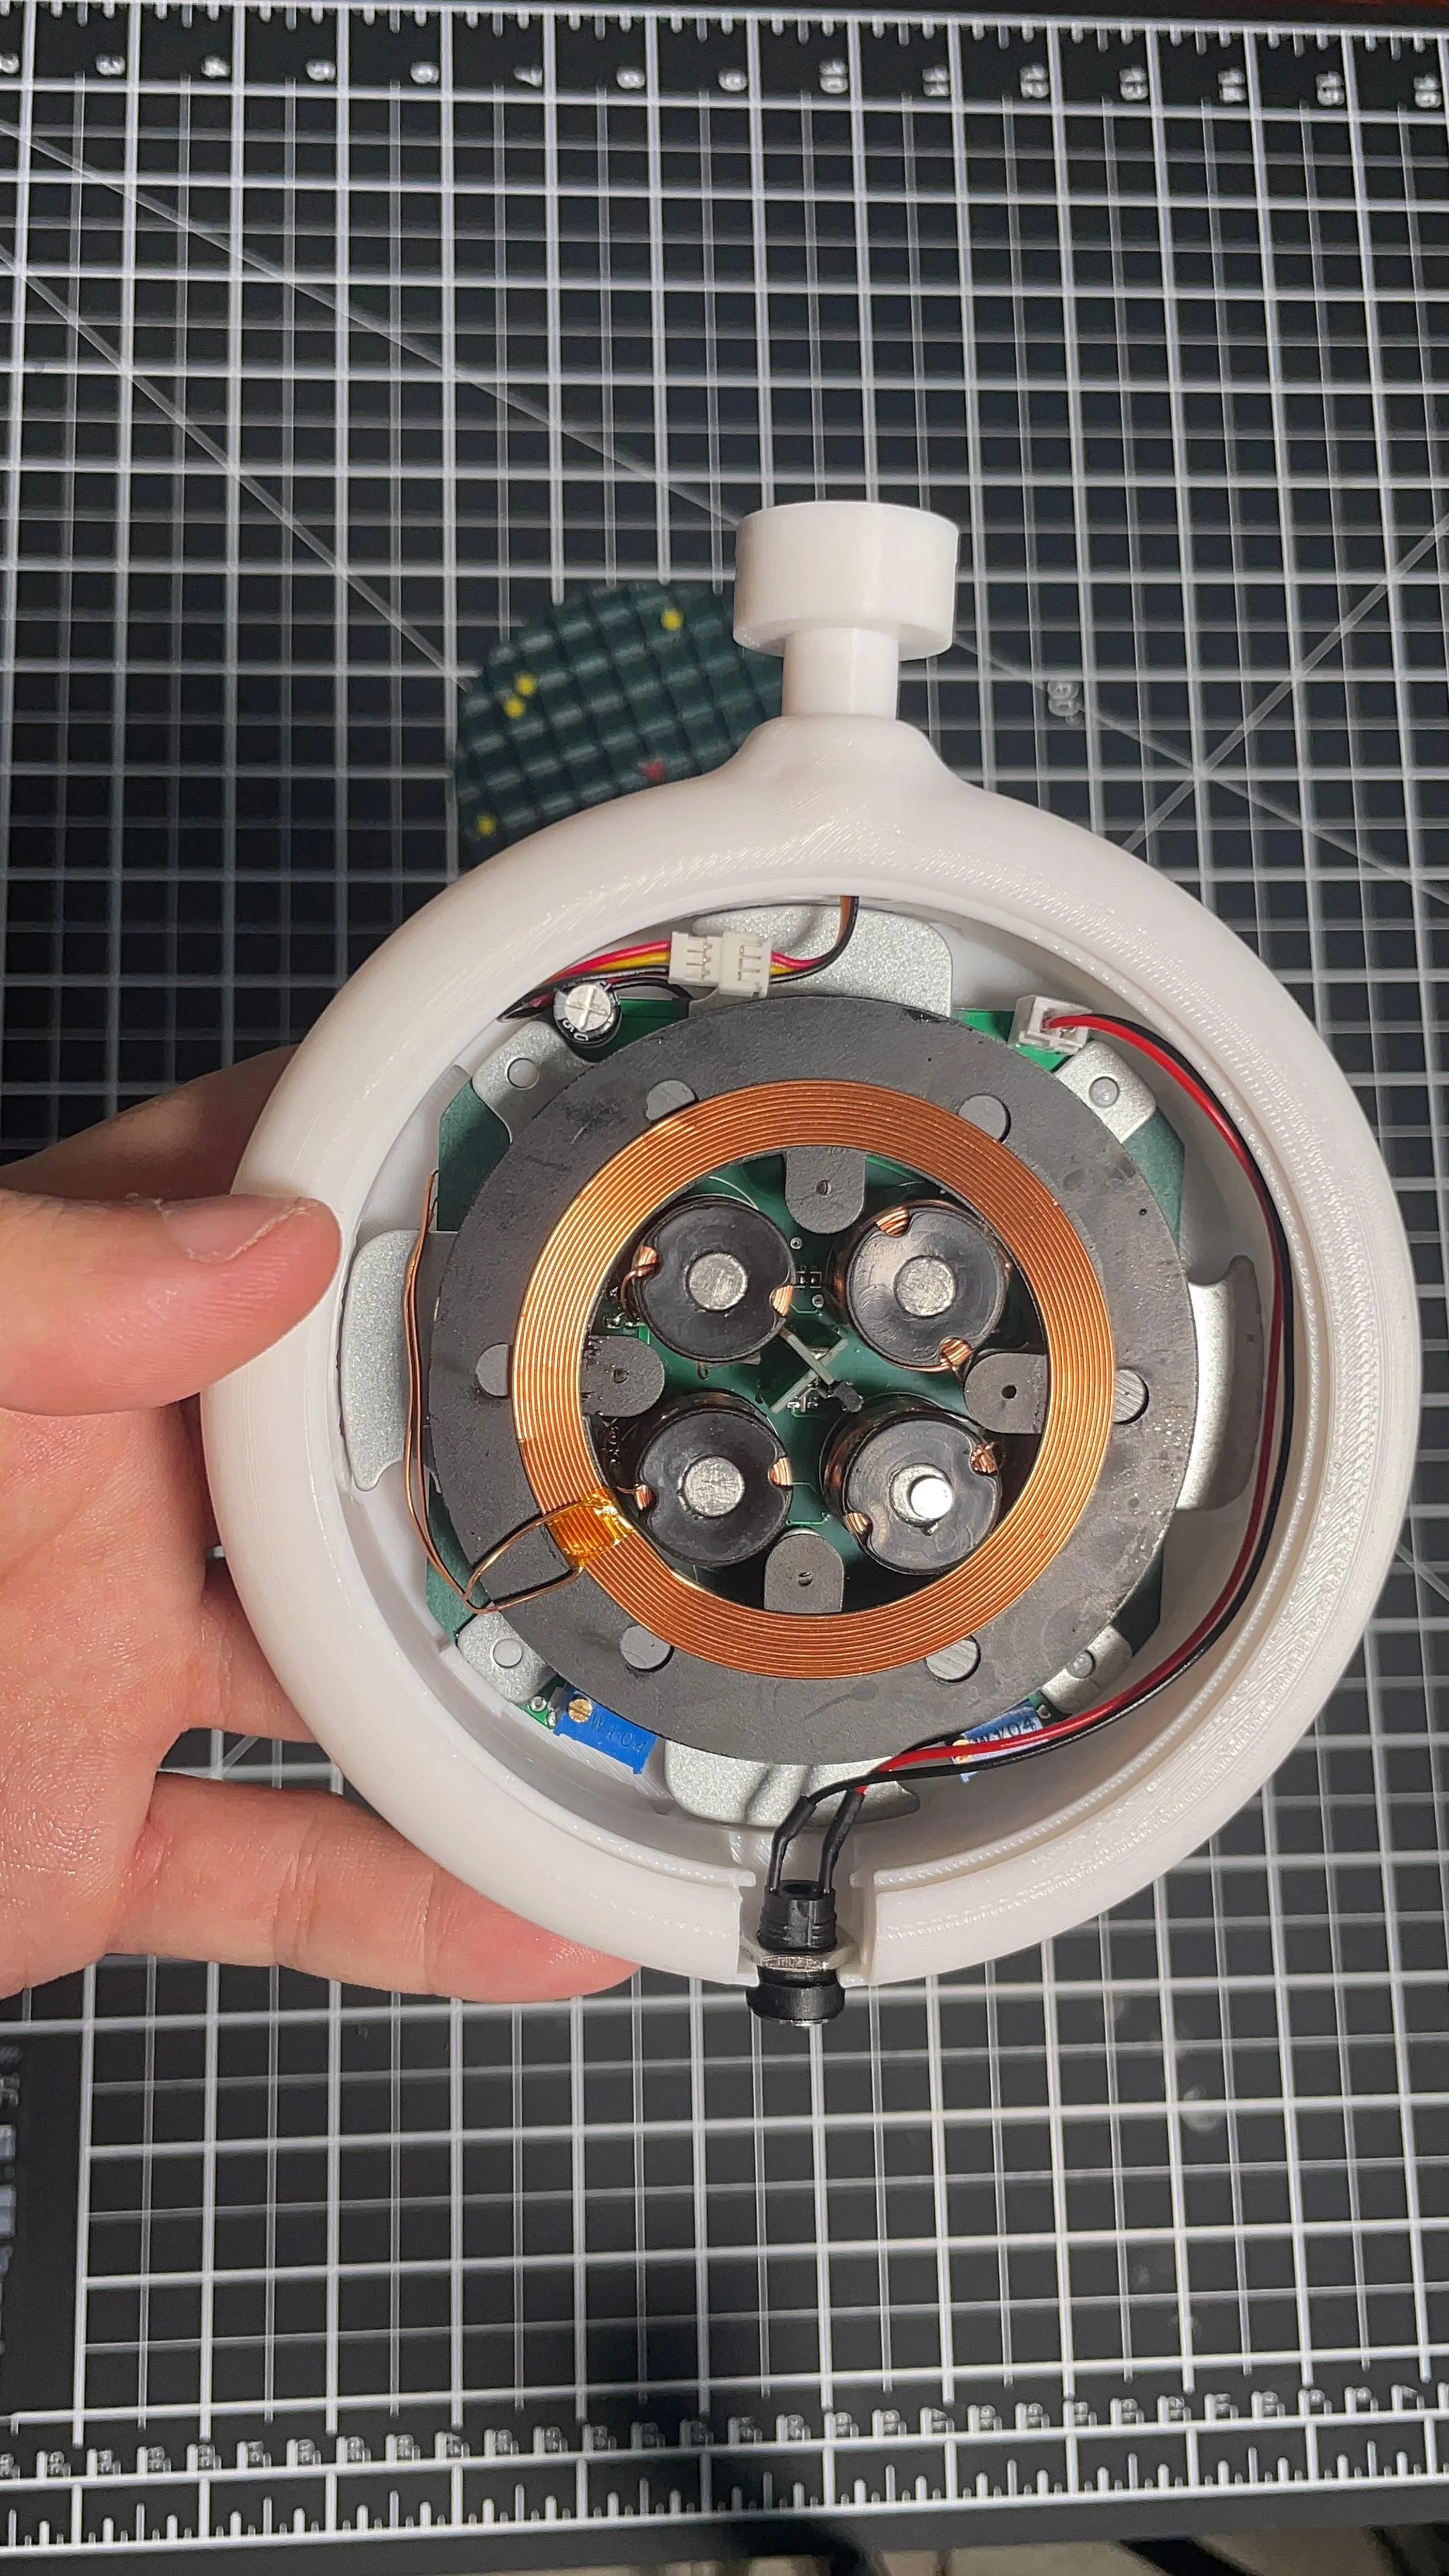
The base was also designed from scratch, inspired by the Dragon Radar, to house the electromagnet discreetly.
HOW TO ASSEMBLY VIDEO
TIPS:
Please do not change any settings.
Even just increasing the infill could affect the balance of the magnetic field.- I recommend using a piece of cardboard or the foam that comes with the kit so the part doesn’t get damaged. Gradually remove it as you feel the piece becoming balanced:

If the model starts to rotate while you slide out the foam, you’re on the right track.
If you find it difficult to fit the parts together, simply sand the edge that’s causing issues lightly with a blade.
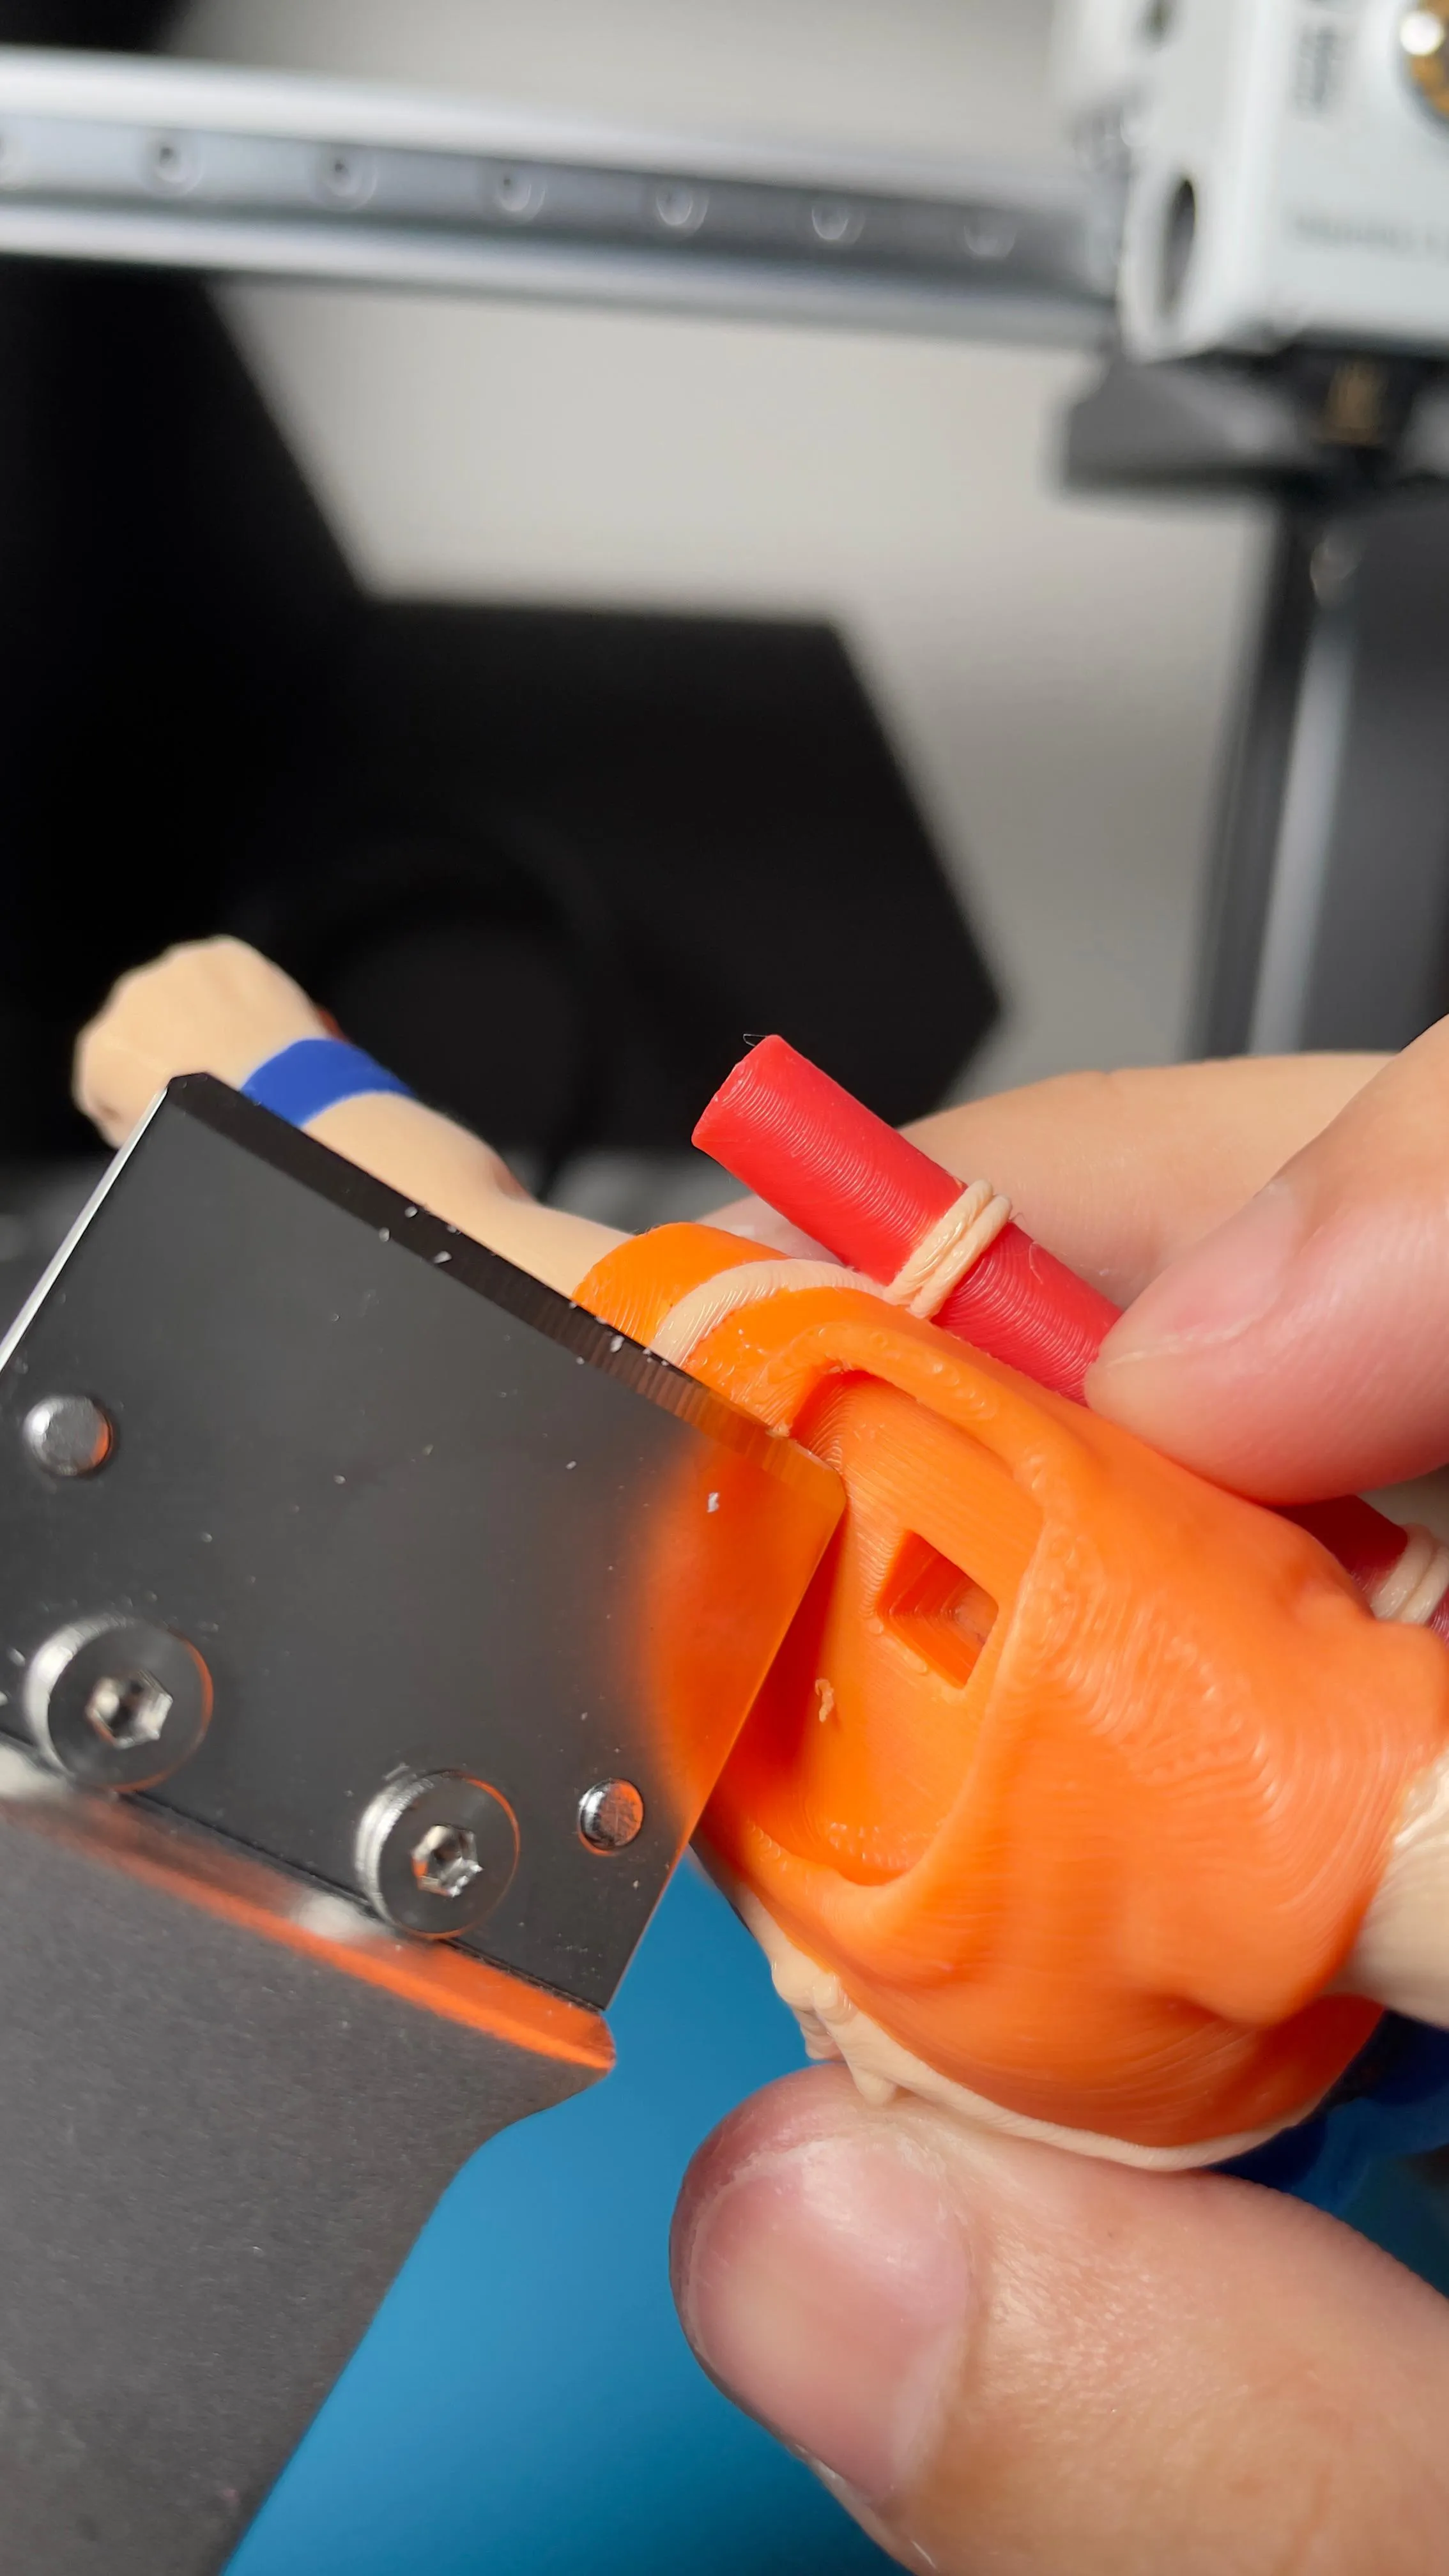
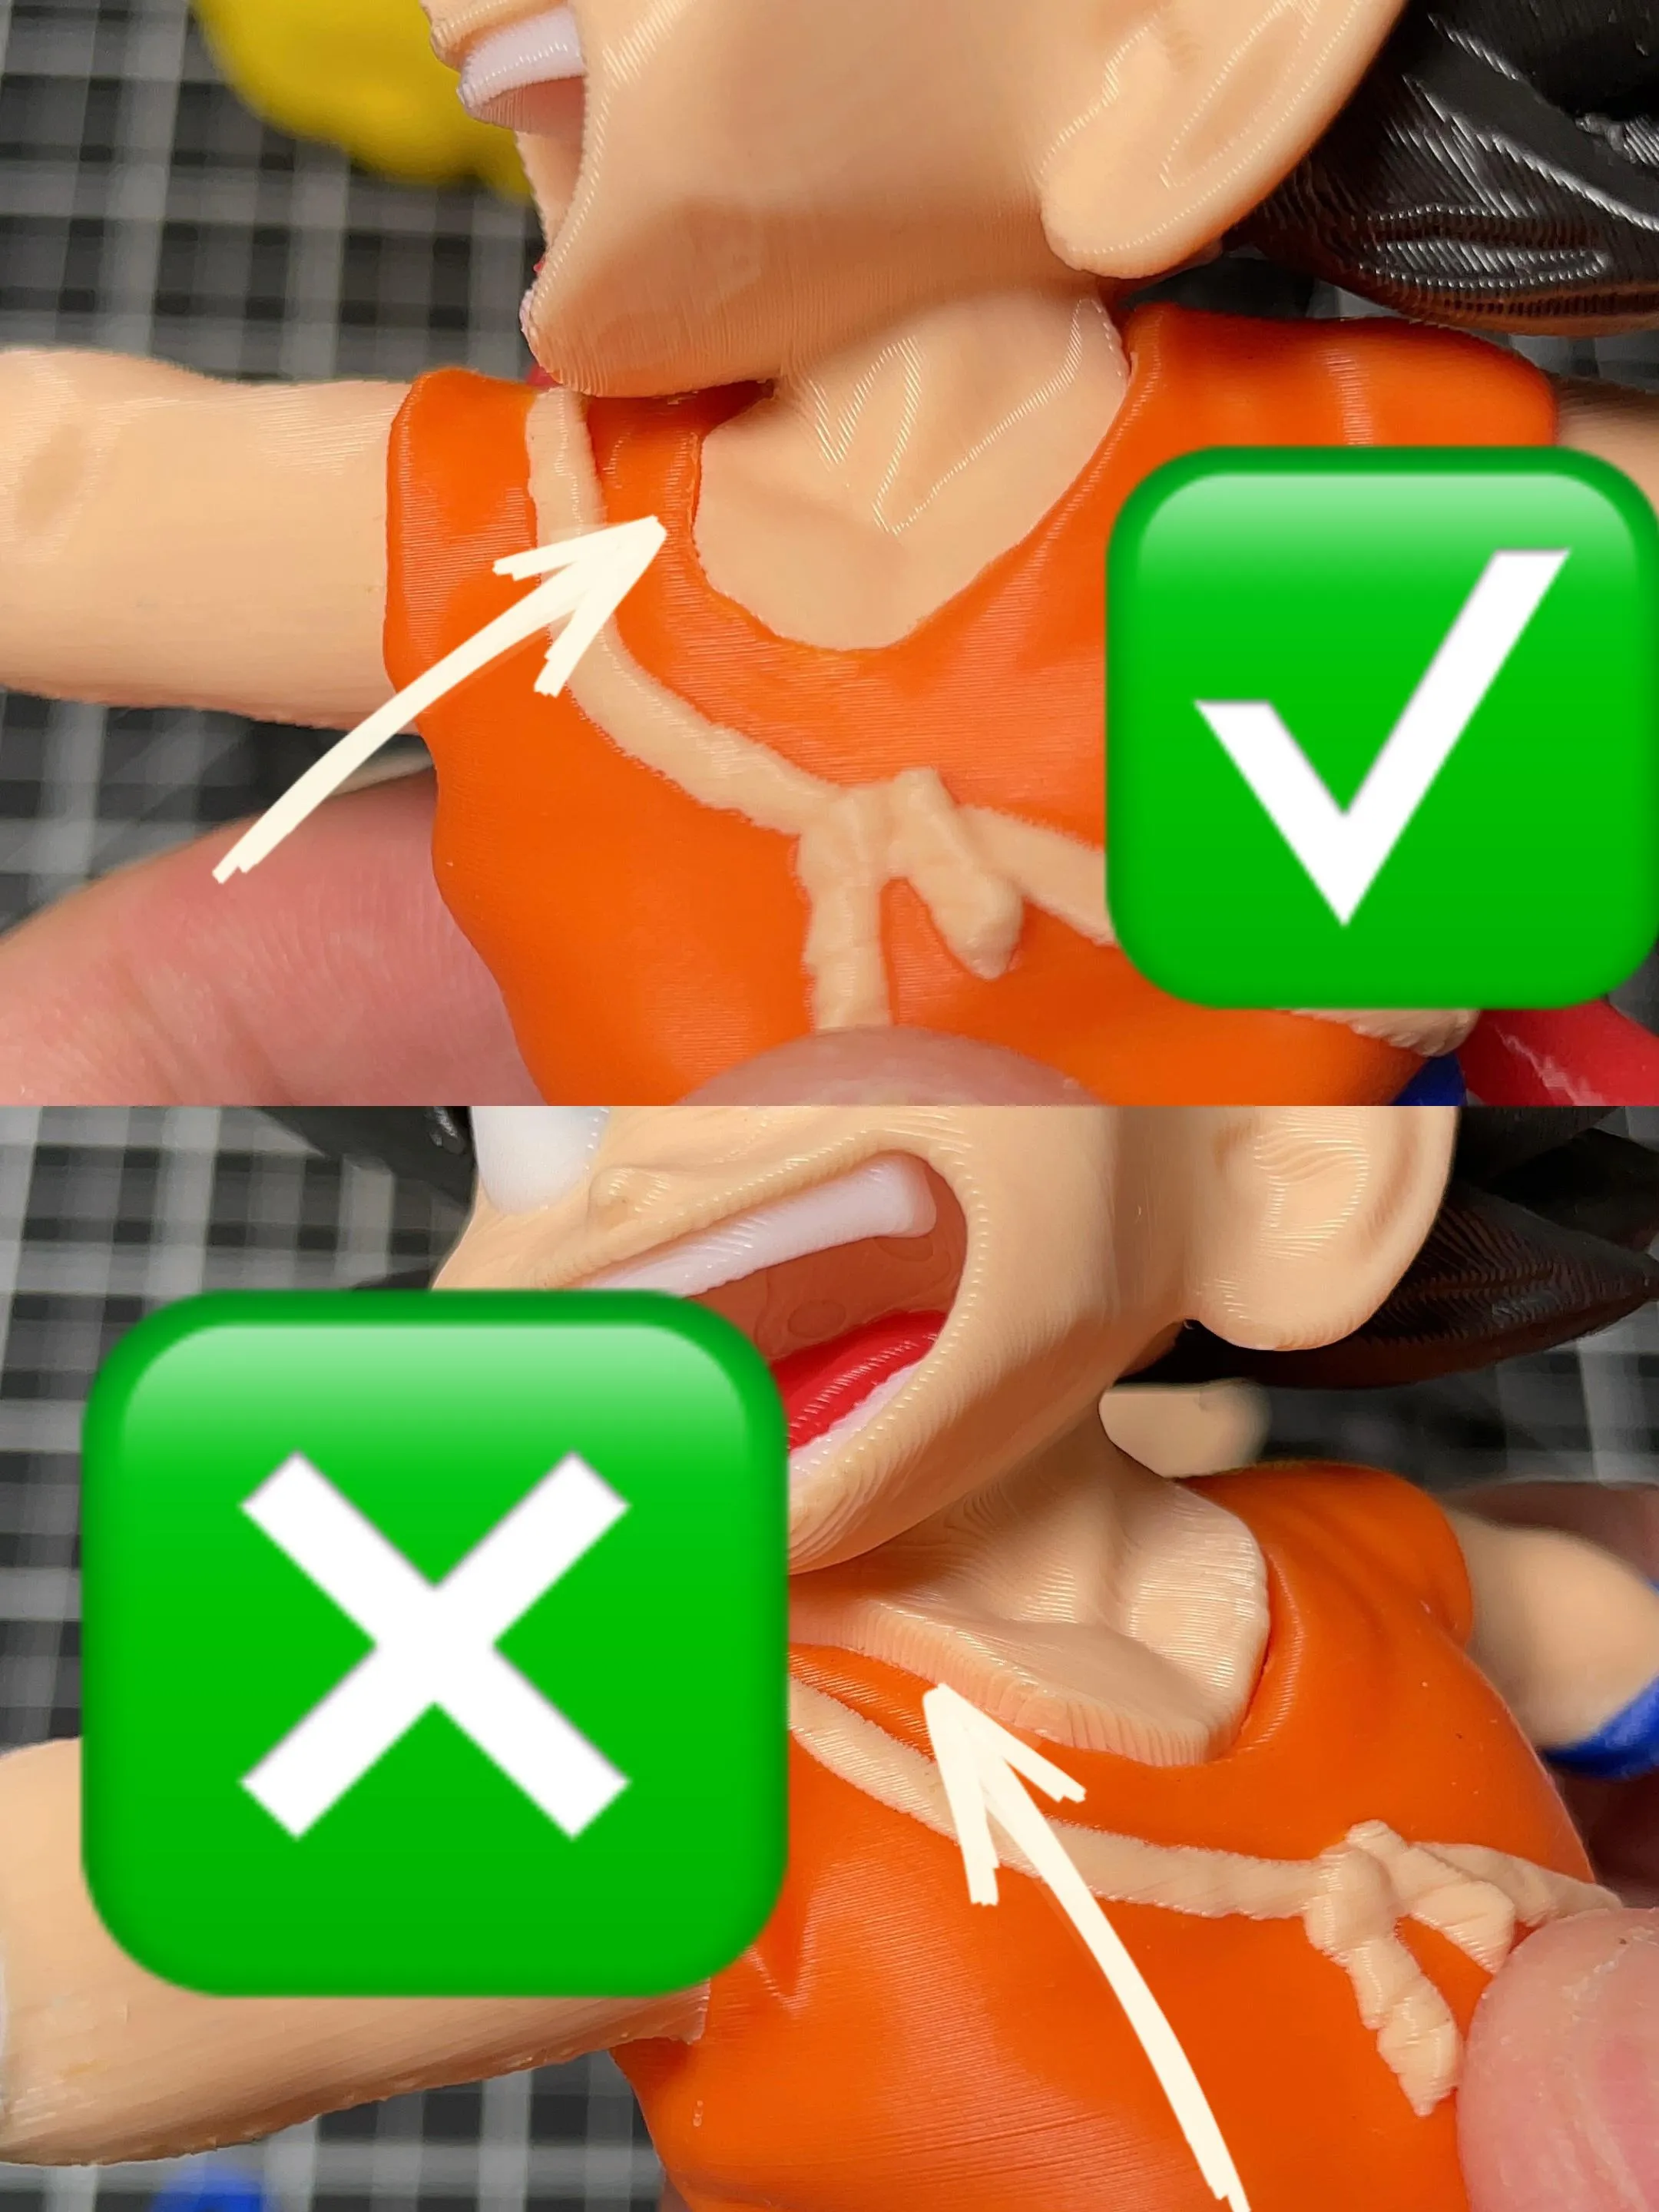
- The heads are interchangeable, and I recommend using PLA Skin from any brand you prefer.
- Make sure the electromagnet goes all the way in so it sits level. You’ll need to apply a bit of pressure to seat it fully at the bottom of the base and ensure it isn’t tilted.
ENJOY!
License

You shall not share, sub-license, sell, rent, host, transfer, or distribute in any way the digital or 3D printed versions of this object, nor any other derivative work of this object in its digital or physical format (including - but not limited to - remixes of this object, and hosting on other digital platforms). The objects may not be used without permission in any way whatsoever in which you charge money, or collect fees.


Comment & Rating (203)