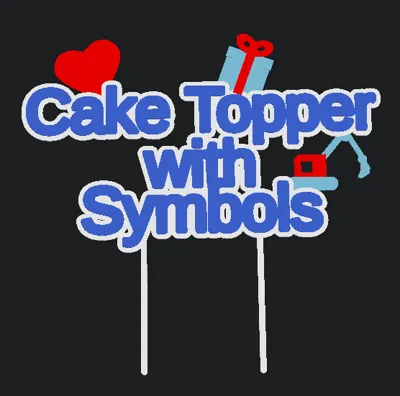
Cake Topper Generator: Now with Symbols!


Print Profile(1)

Description
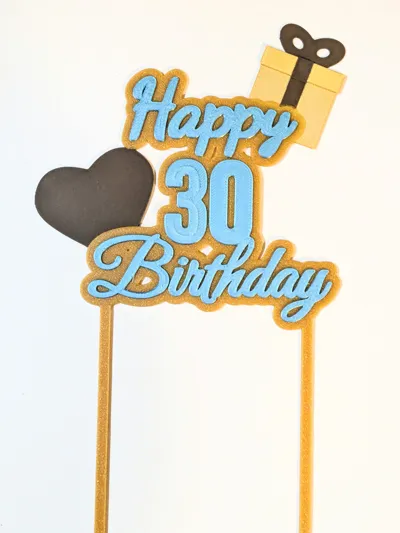
The Cake Topper Generator allows you to create custom cake toppers for any special occasion. With this remix, the personalization options go a step further: you can now additionally integrate a gift box symbol, digger or a heart into your design and adjust its size and position. This lets you design a truly unique cake topper!


Extensive Customization Options
The generator is highly customizable, so you can control every detail of your cake topper:
- Font: Choose from a wide variety of fonts (each line separatly if needed)
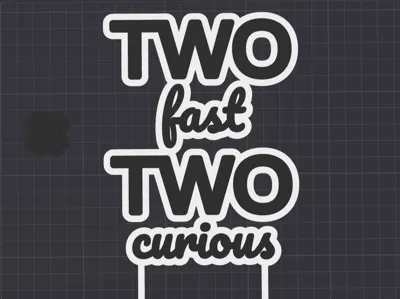
- Text Lines: Design your cake topper with 1 to 4 lines of text.
- Font Size: Adjust the size for each text line individually.
- Y-Offset: Fine-tune the vertical position of each text line.
- Extrusion Layers: Determine the number of layers for each text line and the outline. This enables multi-color prints even without AMS by allowing filament changes at different layer counts.
- Text Boldness: Give your text the desired thickness.
- Text Spacing & Line Spacing: Optimize the spacing between letters and lines for a perfect appearance.
- Outline Thickness: Set the thickness of the outline that encloses and connects the text.
- Posts: Create one or two posts with adjustable spacing and length to secure the topper in the cake.
- Add Support: Connect loose text elements for added stability.
- Width & Length: Adjust the overall dimensions of your topper.
New in the Remix: Symbols for Even More Personalization!
This remix expands the customization options with a special touch:
- Gift Box Symbol or Heart: Add a charming gift box symbol or a loving heart to your cake topper.
- Adjust Size & Position: Determine the size, orientation and exact placement of the symbol to perfectly integrate it into your design. Whether subtle on the edge or as an eye-catcher between text lines – the choice is yours!
Instructions for Successful Creation (Extended)
Creating your custom cake topper is easy. Here's a step-by-step guide:
- Set all Text Offset, Line Spacing parameters, and Outline Thickness to zero.
- Select your desired font.
- Enter the text for 1 to 4 lines.
- Set the font size for each non-empty line.
- Select your desired symbol (gift box or heart) and adjust its size and position.
- Generate the model.
- Adjust the Text Boldness to your liking.
- Adjust the Text Spacing in very small increments, e.g., +/-0.02 each time. Repeat this step until the result meets your expectations.
- If the texts are not connected, adjust the Outline Thickness in increments of +/-0.5. Repeat this step until all texts are connected. If there are gaps in the text, you may need to add support to create a small frame that connects the text.
- Adjust the Text Offset in increments of +/-0.5. Repeat this step until the text overlap is to your liking.
- Repeat steps 5 to 9 until the result meets your expectations.
- Adjust the Post Spacing until they touch the bottom edge of the text.
- Click "Download" to download the model.
Tips using Fonts:
Elegant & Script Fonts (romantic, fancy, or handwritten styles)
- Dancing Script
- Great Vibes
- Pacifico
- Satisfy
- Kaushan Script
- Amatic SC
- Indie Flower
- Shadows Into Light
- Permanent Marker
Bold & Modern Display Fonts (stand-out, party feeling)
- Bebas Neue
- Anton
- Fjalla One
- Archivo Black
- Alfa Slab One
- Bangers
- Fredoka One
Friendly Sans-Serif & Rounded Fonts (modern, simple, legible)
- Montserrat
- Poppins
- Comfortaa
- Quicksand
- Righteous
- Rubik
For traditional elegance, consider “Playfair Display,” “Merriweather,” or “Lora”; for classic boldness, “Impact” or “Arial Black” work well.
Recommendation: For names or short phrases, scripts (like Dancing Script or Great Vibes) look beautiful and lively. For bold statements or numbers, try Bebas Neue, Anton, or Montserrat. Mixing a bold font for the main message with a script for a name can look very stylish.
Tips for Optimal Printing
- 0 to 2 Posts: You can create a cake topper with 1 or 2 posts by changing Post_Spacing. Set the spacing to 0 for 1 post, otherwise 2 posts will be created. If you want a cake plaque, set Post_Length to 0.
- Multi-color with and without AMS: Not everyone has AMS. But that doesn't limit you to using only one color for your cake topper. With or without AMS, you can print 4 colors: 1 color for each of the 3 text lines and 1 color for the text outline and posts. Each text line has its own number of extrusion layers. By setting different layer counts for different texts, you can then add pauses to the layers after slicing in Bambu Studio. During the pause, you can then change the filament. Those with AMS can use the same layer count for all texts and assign different filaments to different parts in Bambu Studio.
- Color by Layer: Select this setting to simplify all colors of all symbols and text by the outline layer hight and everything above. This makes it easier to print especially without AMS.
- Text Connection: If there are gaps in the text or the font is narrow, the cake topper may not be created in one piece because the distance between the texts is too large. Or, with certain fonts, texts may be too close together. You can change the Outline Thickness and Text Boldness, as well as the Text Offset and Text Spacing, to ensure everything touches and isn't too tight.
How to Print a Model with Different Filaments Without AMS?
- Load the 3mf file of the model into Bambu Studio.
- Slice the model.
- Click the Layers icon in the bottom right to switch the display mode to single layer.
- Scroll the slider until you reach the layer without outline and posts, or the layer whose color you want to change. This is essentially the layer of the Outline_Layers parameter plus 1. For example, if Outline_Layers is 8, slide the slider to layer 9.
- Right-click on the (+) slider and then on Add pause to add a pause at the beginning of this layer.
- If there are texts with a different layer count, move the slider up until you reach the layer where you want to change the filament.
- Repeat steps 5 and 6 until you have added a pause to all layers whose filament you want to change.
- Now you can click Print Plate to start the print. The print will pause at the layer you added a pause to. You can then Unload the current filament, Load a different filament, and Resume print. Repeat this step until the print is complete. You will see a color stratification in the finished print.
Boost Me (for free)
If you enjoy this model, please consider leaving a Like and sharing your creations. Thank you for your support!

Comment & Rating (11)