
Esp32 Timestation OLED
Print Profile(1)

Description
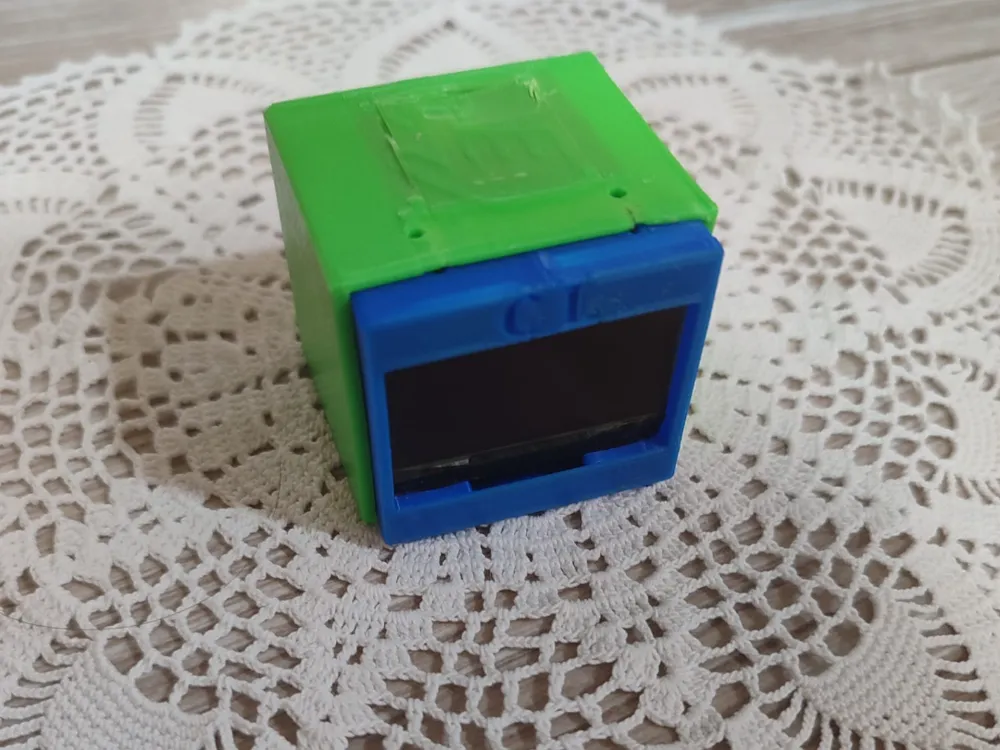
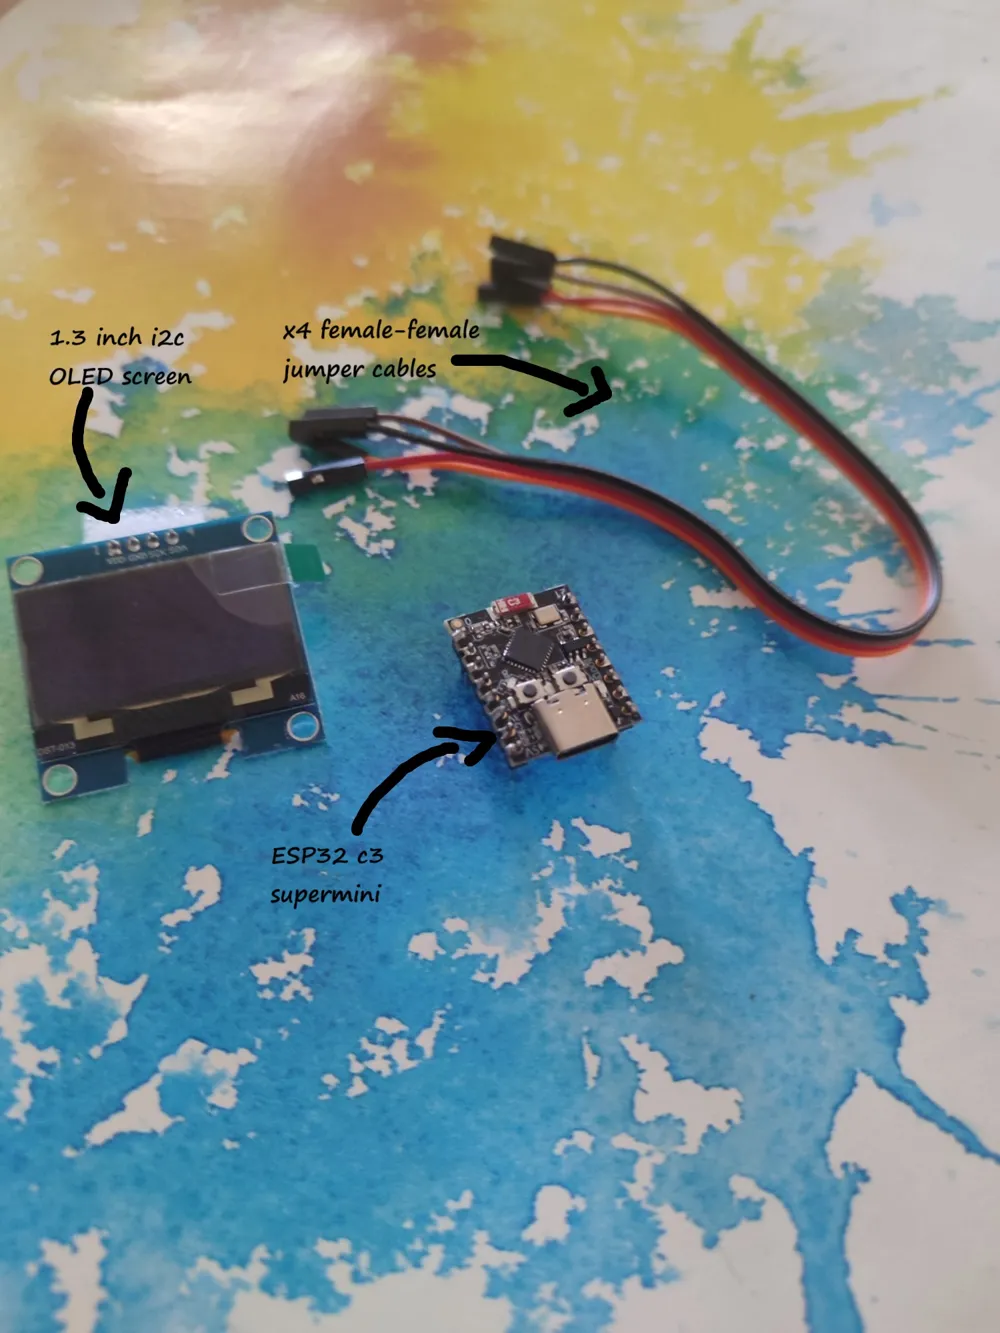
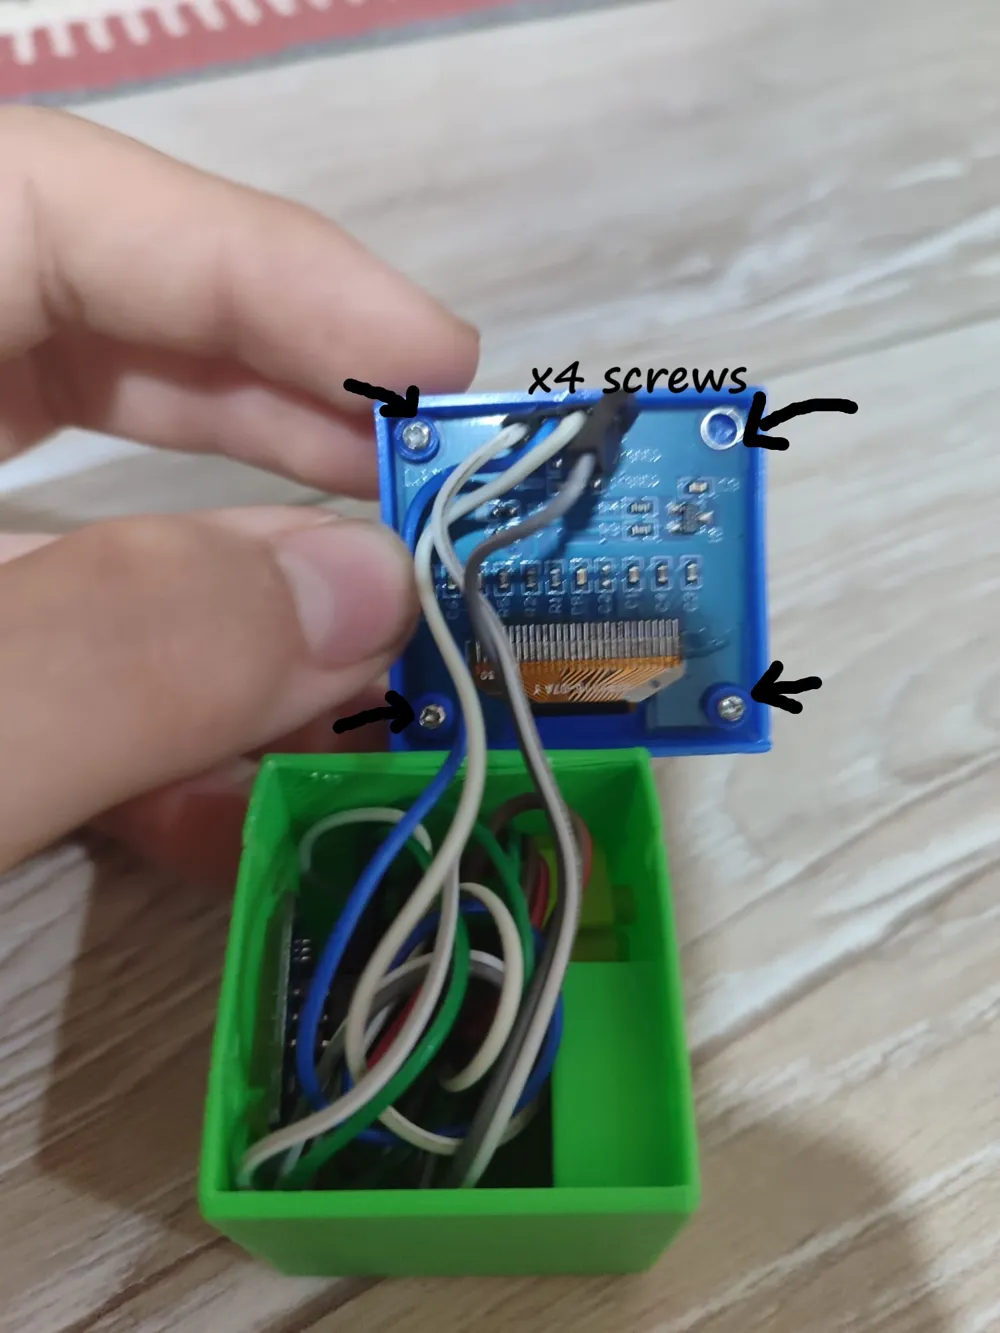
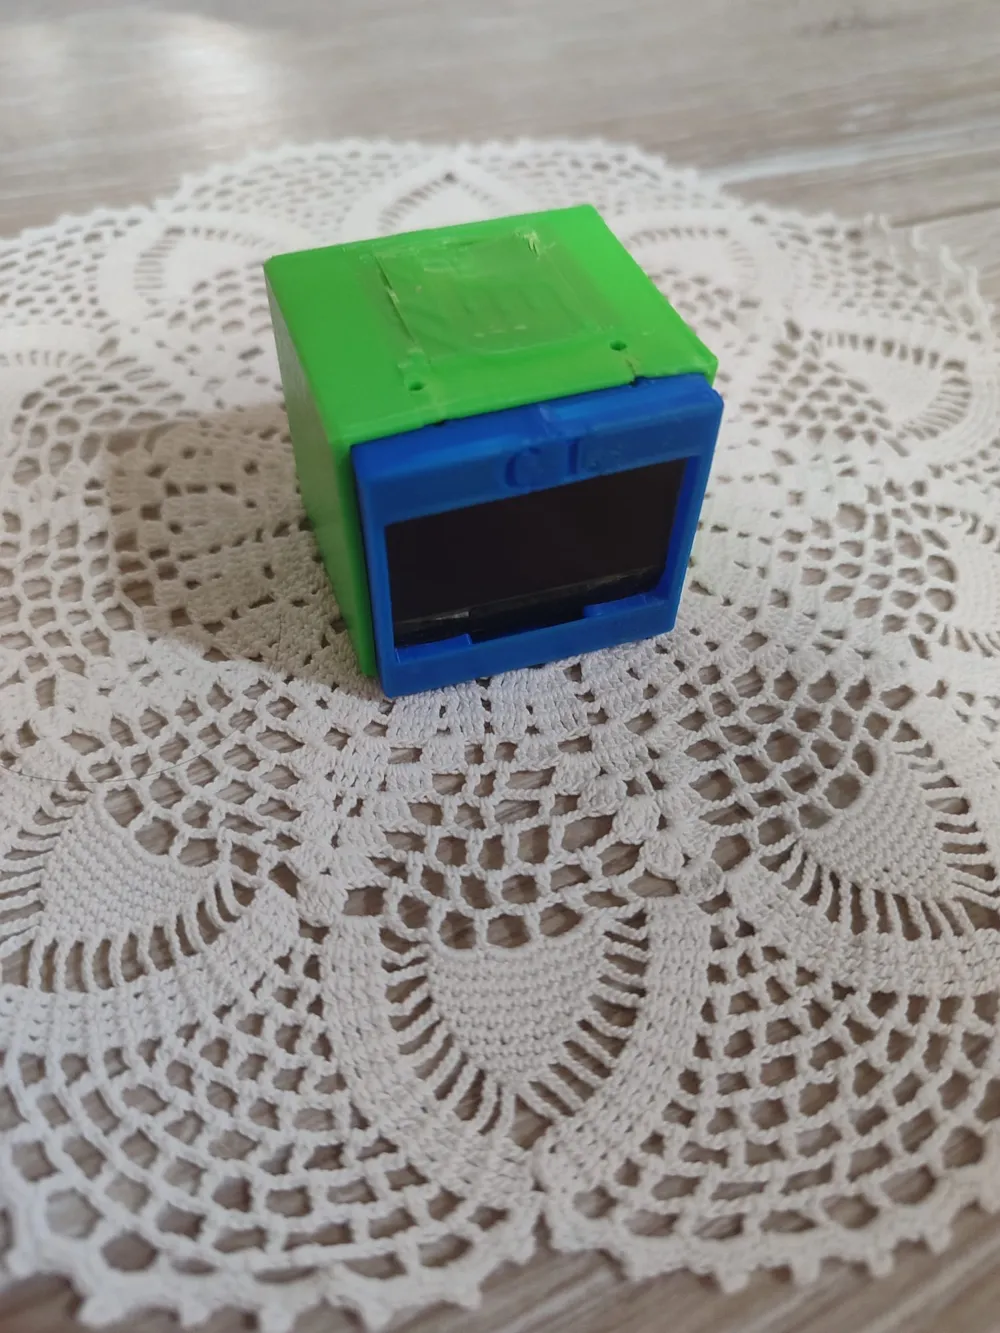
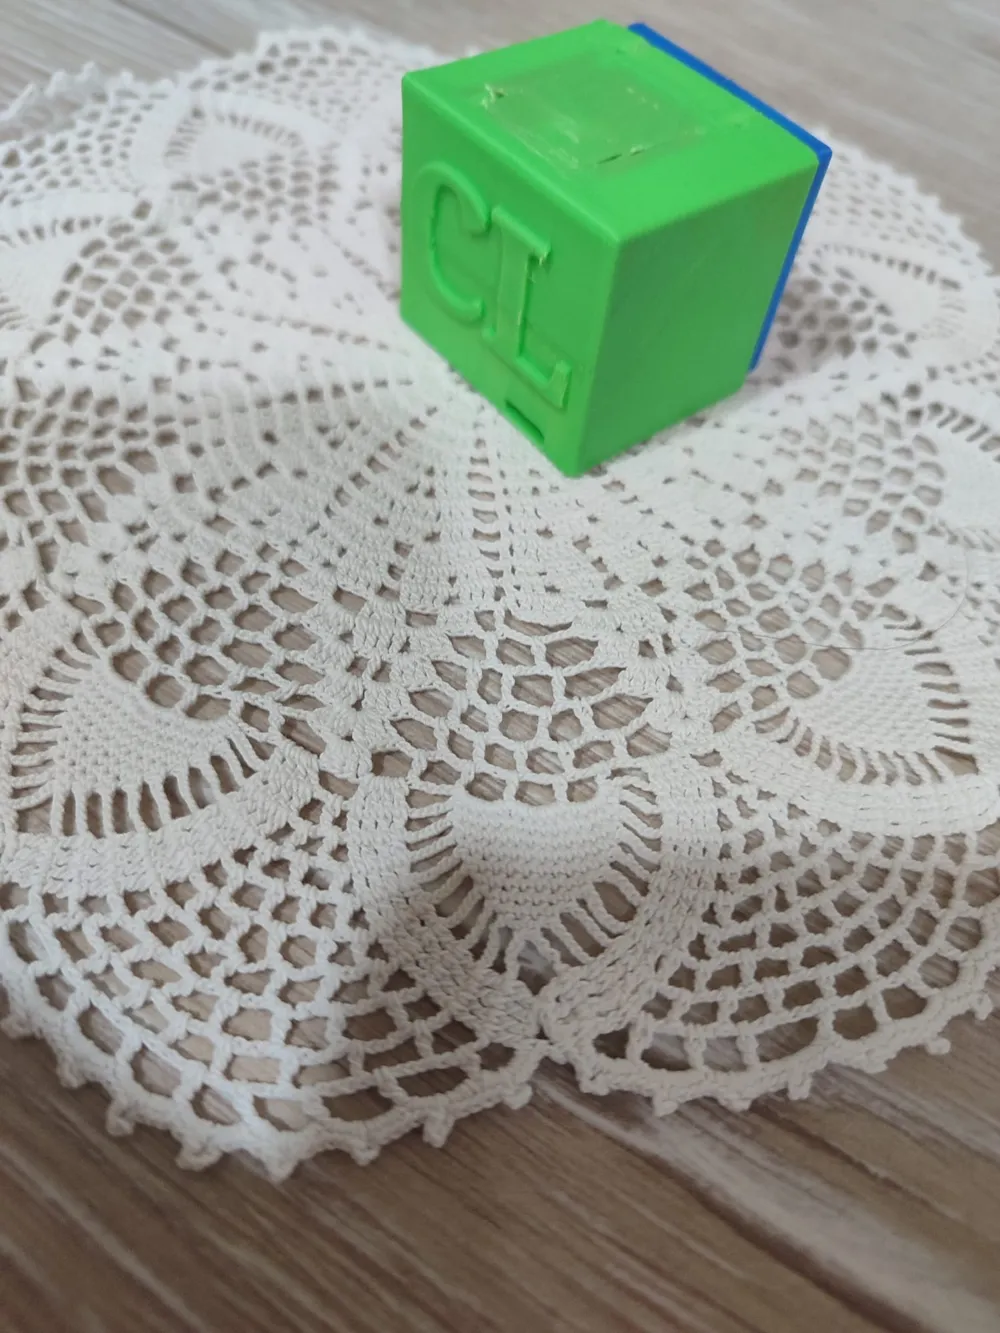
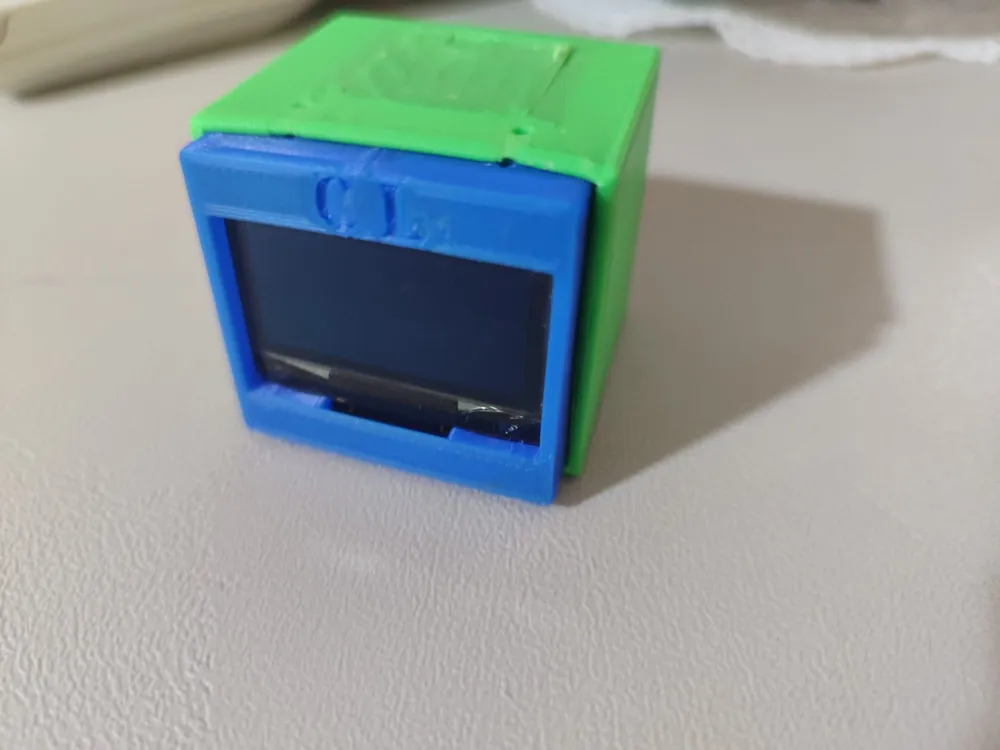
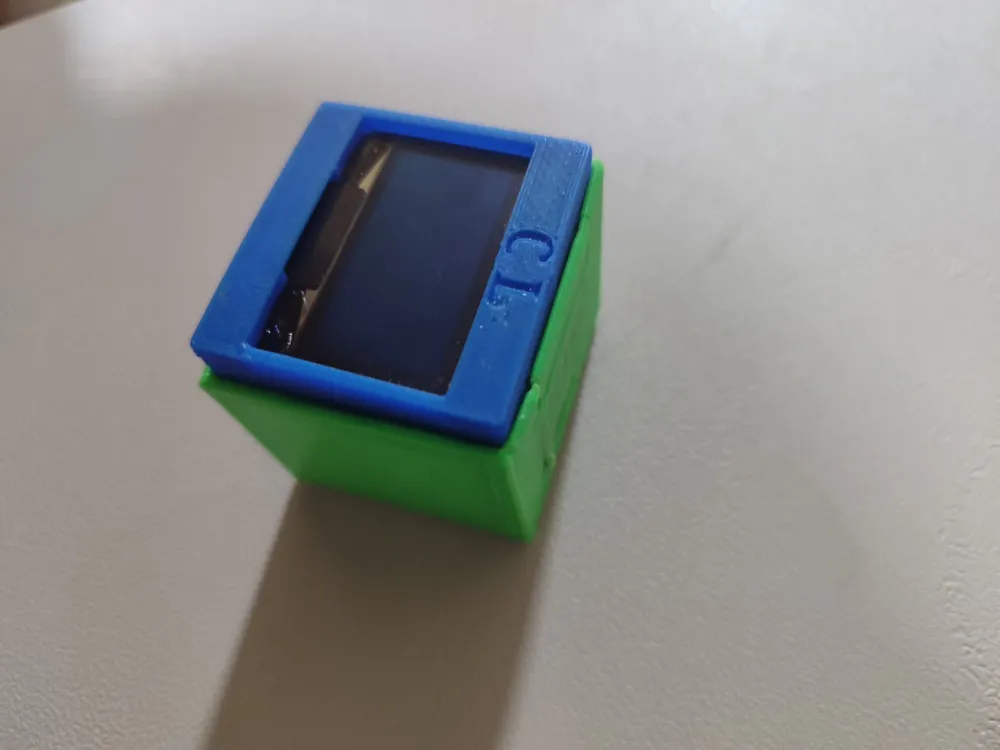
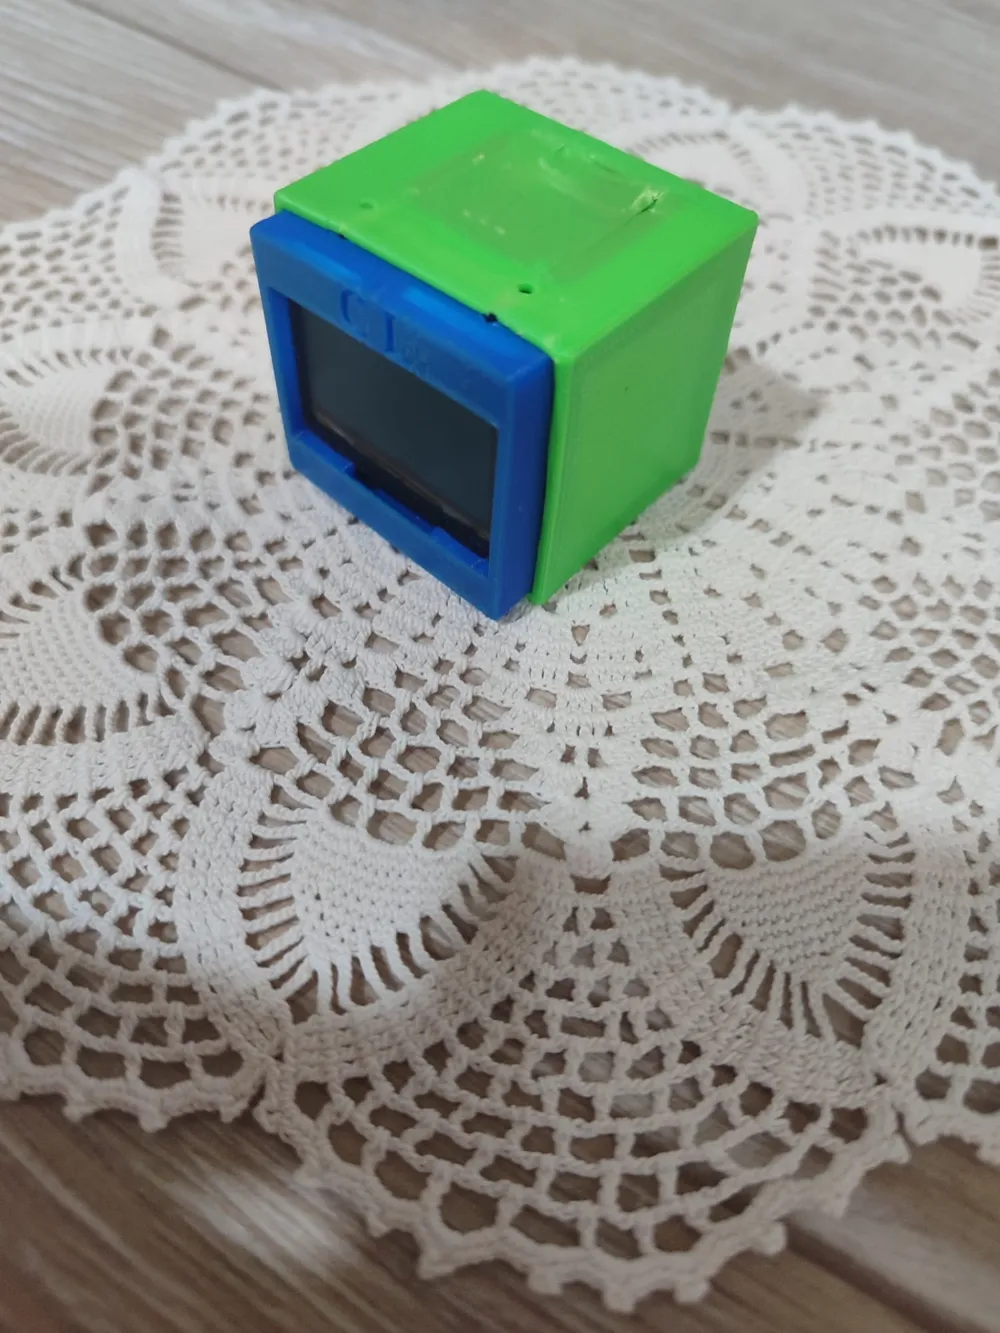
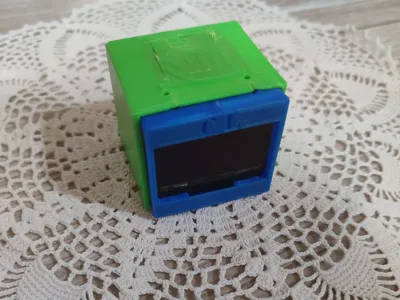
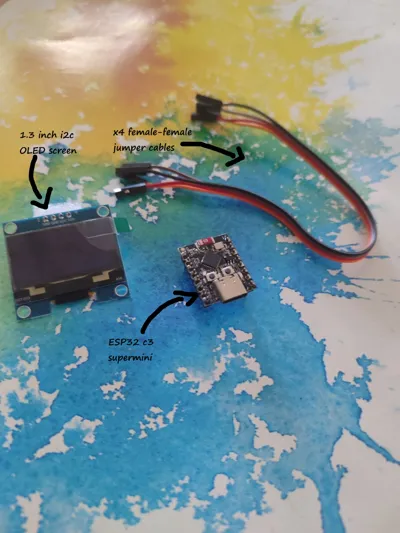
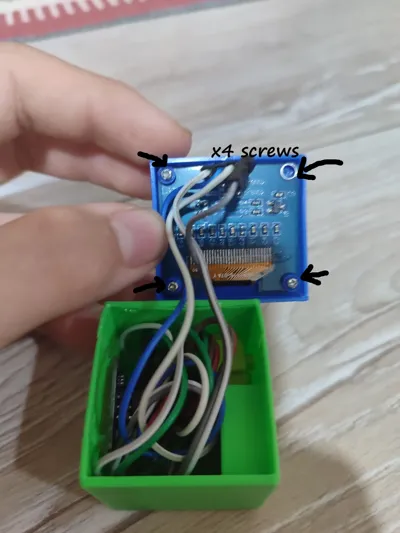
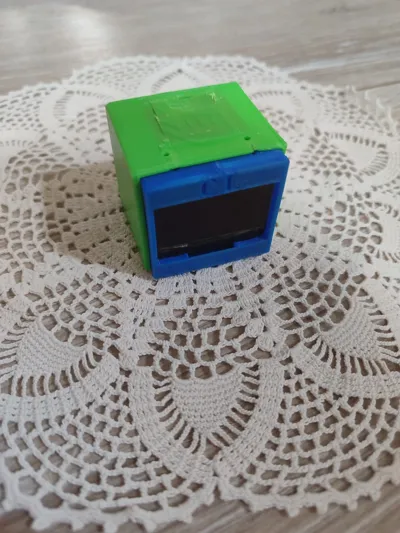
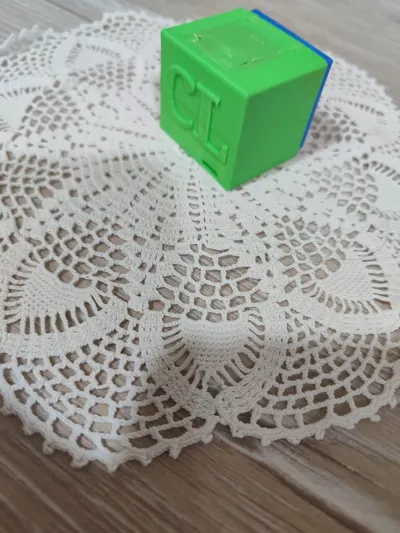
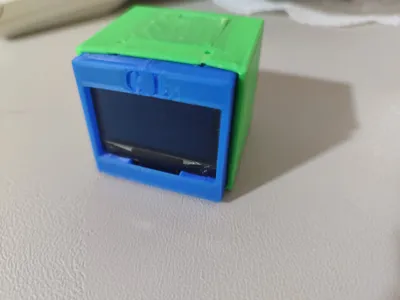
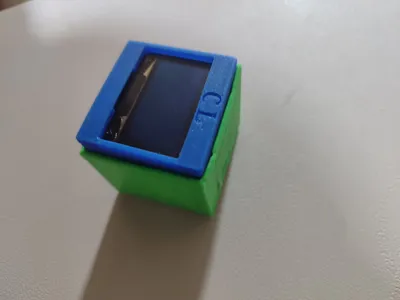
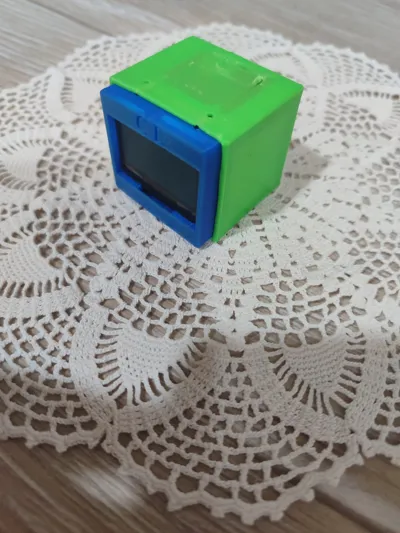
I made this for my desk. It is cute little and just for YOU:) . At this project I used an esp32 c3 supermini, bunch of jumper wires and an 1.3 inch black white OLED screen. Here is the github link for the code: “https://github.com/CihoRobotics/Esp32_WIFI_deskclock” You can upload it with arduino IDE. In the code you must write your WI-FI SSID and the WI-FI password as well. The city is for the time, date and the wheater. You must change the API key from the openwheaterapp too. It feels very hard but trust me, it is very easy. For essembly, First print the tree of the 3d prints, then you get the esp32 c3 supermini and just pop it into the place with the type c looking back. Then get the wires and first wire to, 3.3volt, the other is to the GND, other is to the GPIO 4 and the other is to the GPIO 5. Then the front peice is where the OLED screen will be placed. There you place the OLED screen then the four of the screw helpers and screw it to the four holes at the OLED screen. Then you hook the jumper cables to OLED (3.3v → VCC, GND → GND, GPIO 4 → SDA, GPIO 5 → SCL) Thats it. Then you pop the front in the back and it helds. but when it doesn't helds there is two at the top and two at the bottom for swcrews to get in. And you got it. THE ESP32 TIMESTATION:)
You can buy them at Aliexpress or even at amazon. You must buy for this project is;
- Esp32 c3 supermini,
- 1.3 inch i2c OLED screen (black/white) (with x4 mini screws)
- x4 female-female jumper wires (for oled and the esp32 to communucate)
two of the 3d printed files to be printed
Thats it.
Boost Me (for free)
Boost me for more print files like this:)
License



Comment & Rating (1)