
Coffee table/PC
Print Profile(1)

Description
Boost Me (for free)
If you wish to support me, I am infinitely grateful :)
READ THE DESCRIPTION
Coffee Table
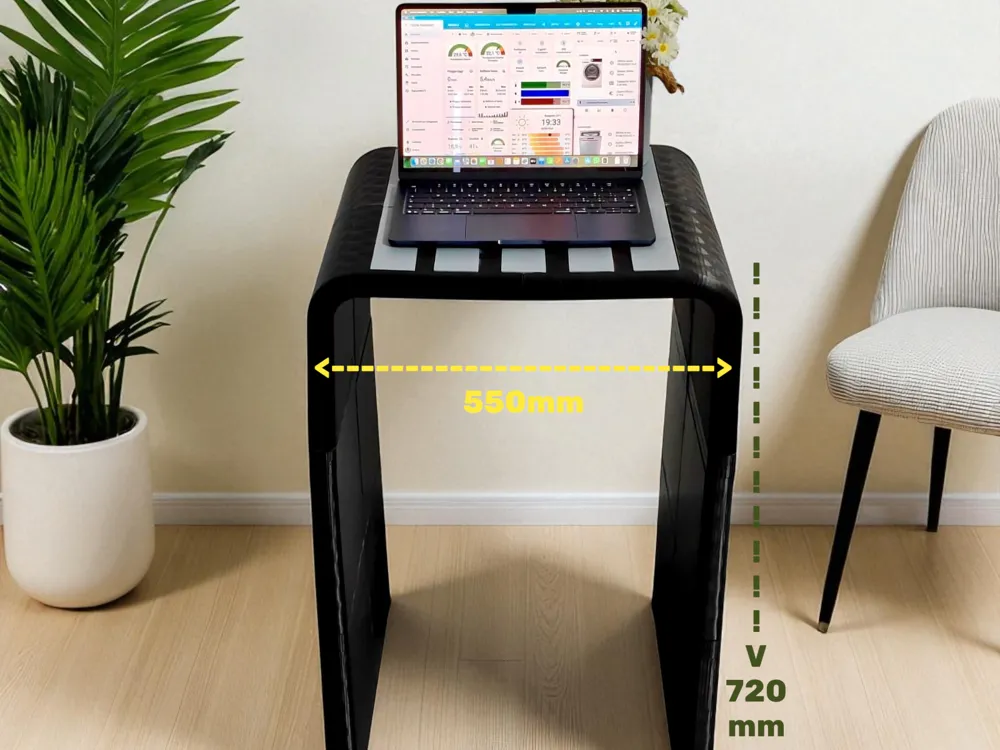
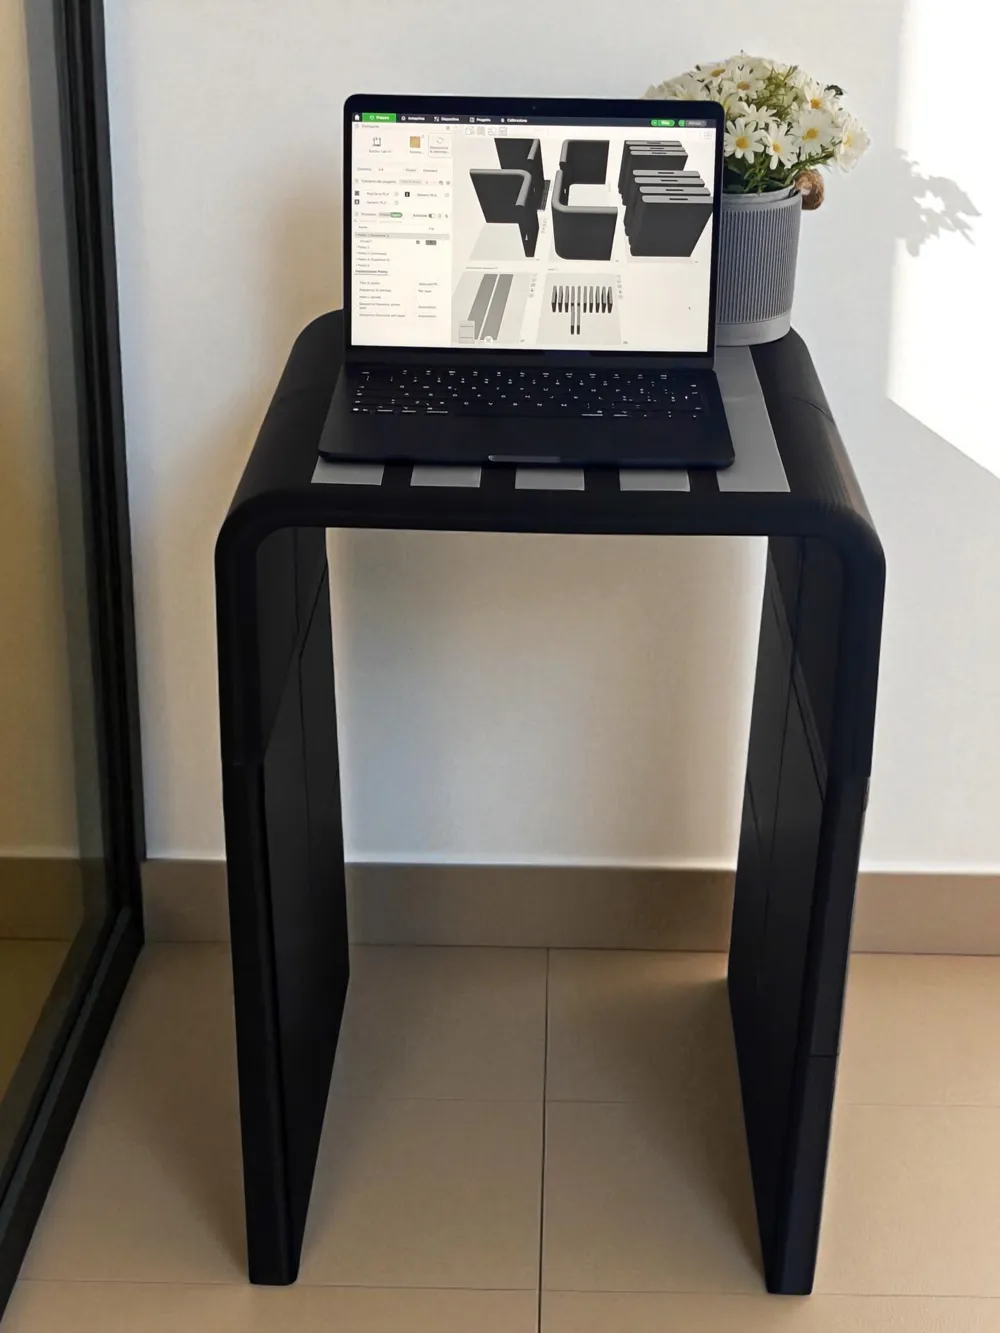
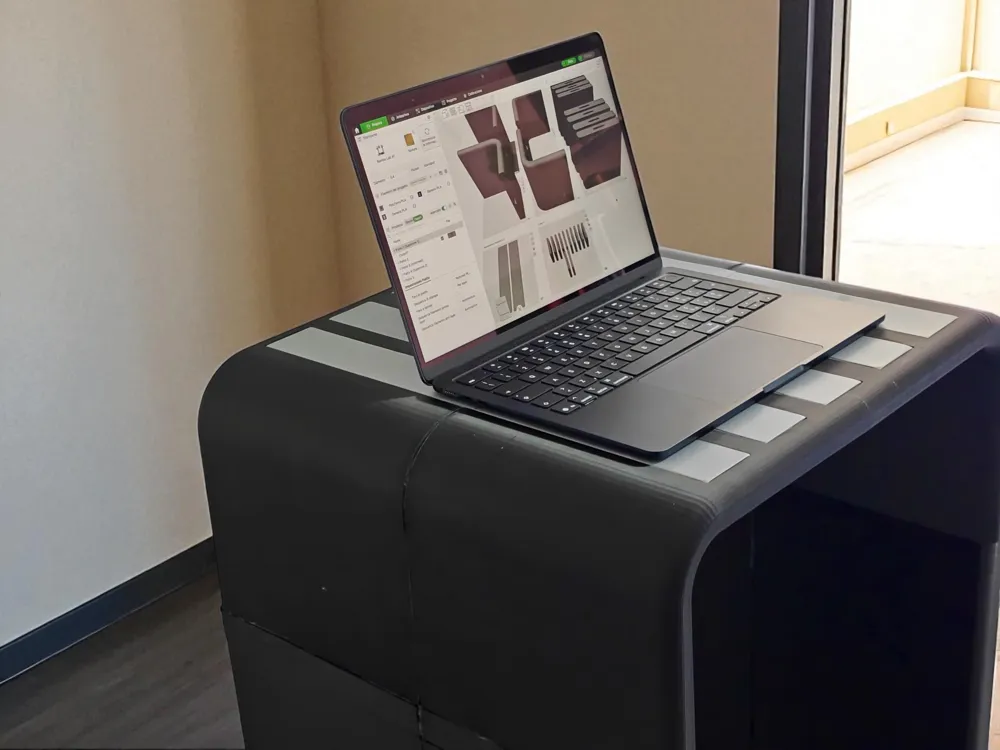
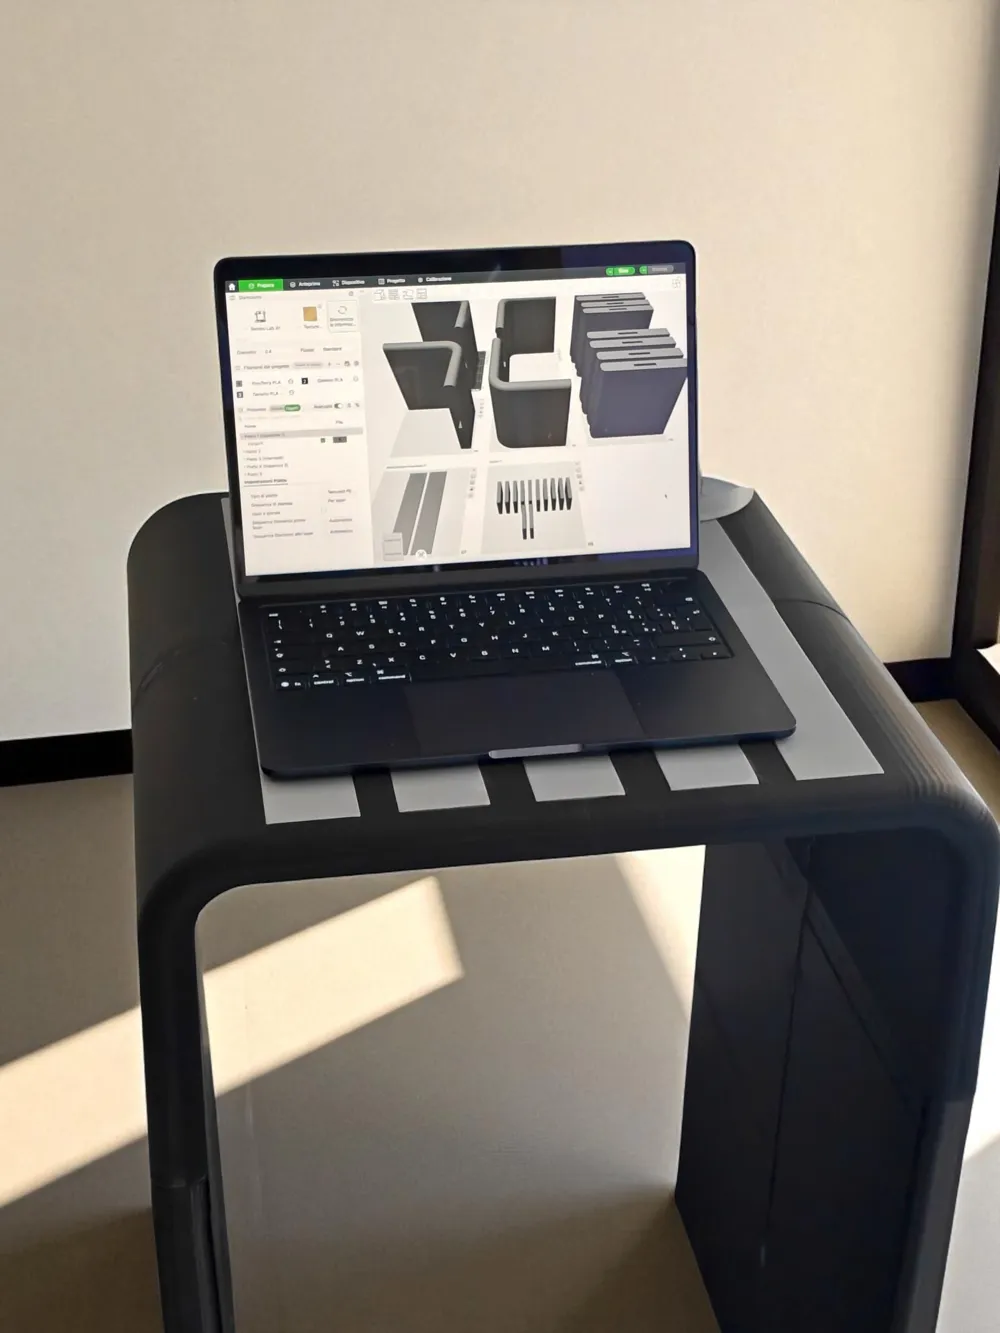
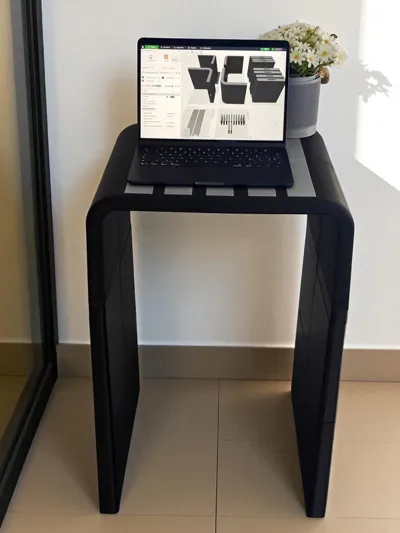
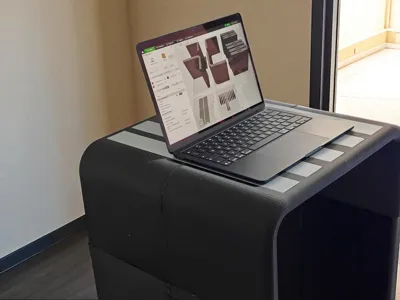
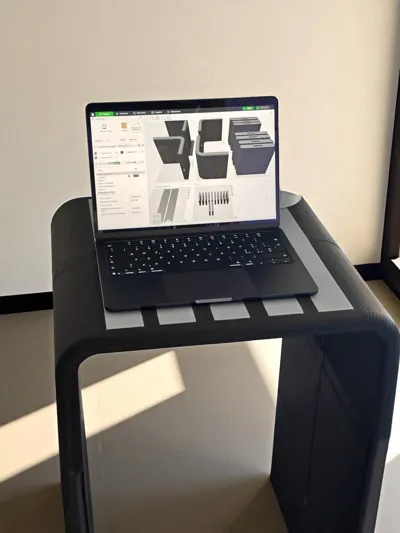
The table shown in the images may exhibit minor imperfections or wear marks This is because it is the prototype I used for all testing
I disassembled and reassembled it over 20 times to verify each joint, test the connectors, simulate errors, and optimize assembly for maximum simplicity and speed
I also intentionally broke some connectors to test their strength and improve the structure
The file you download is optimized and does not have these defects It will be perfectly printable and assemblable on the first try
Description
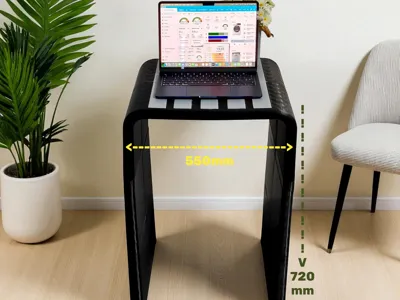
This project allows you to assemble a modular table with a simple and functional design, perfect for a PC, MacBook, work tools, personal items, or simply a drink
The table consists of 3 main sections:
- Top (tabletop): composed of 4 curved pieces (1, 2, 3, 4)
- Legs (intermediate section): 4 central pieces (5, 6, 7, 8)
- Feet (lower section): 4 support bases (9, 10, 11, 12)
All pieces connect via printable rectangular connectors, which are inserted into the appropriate slots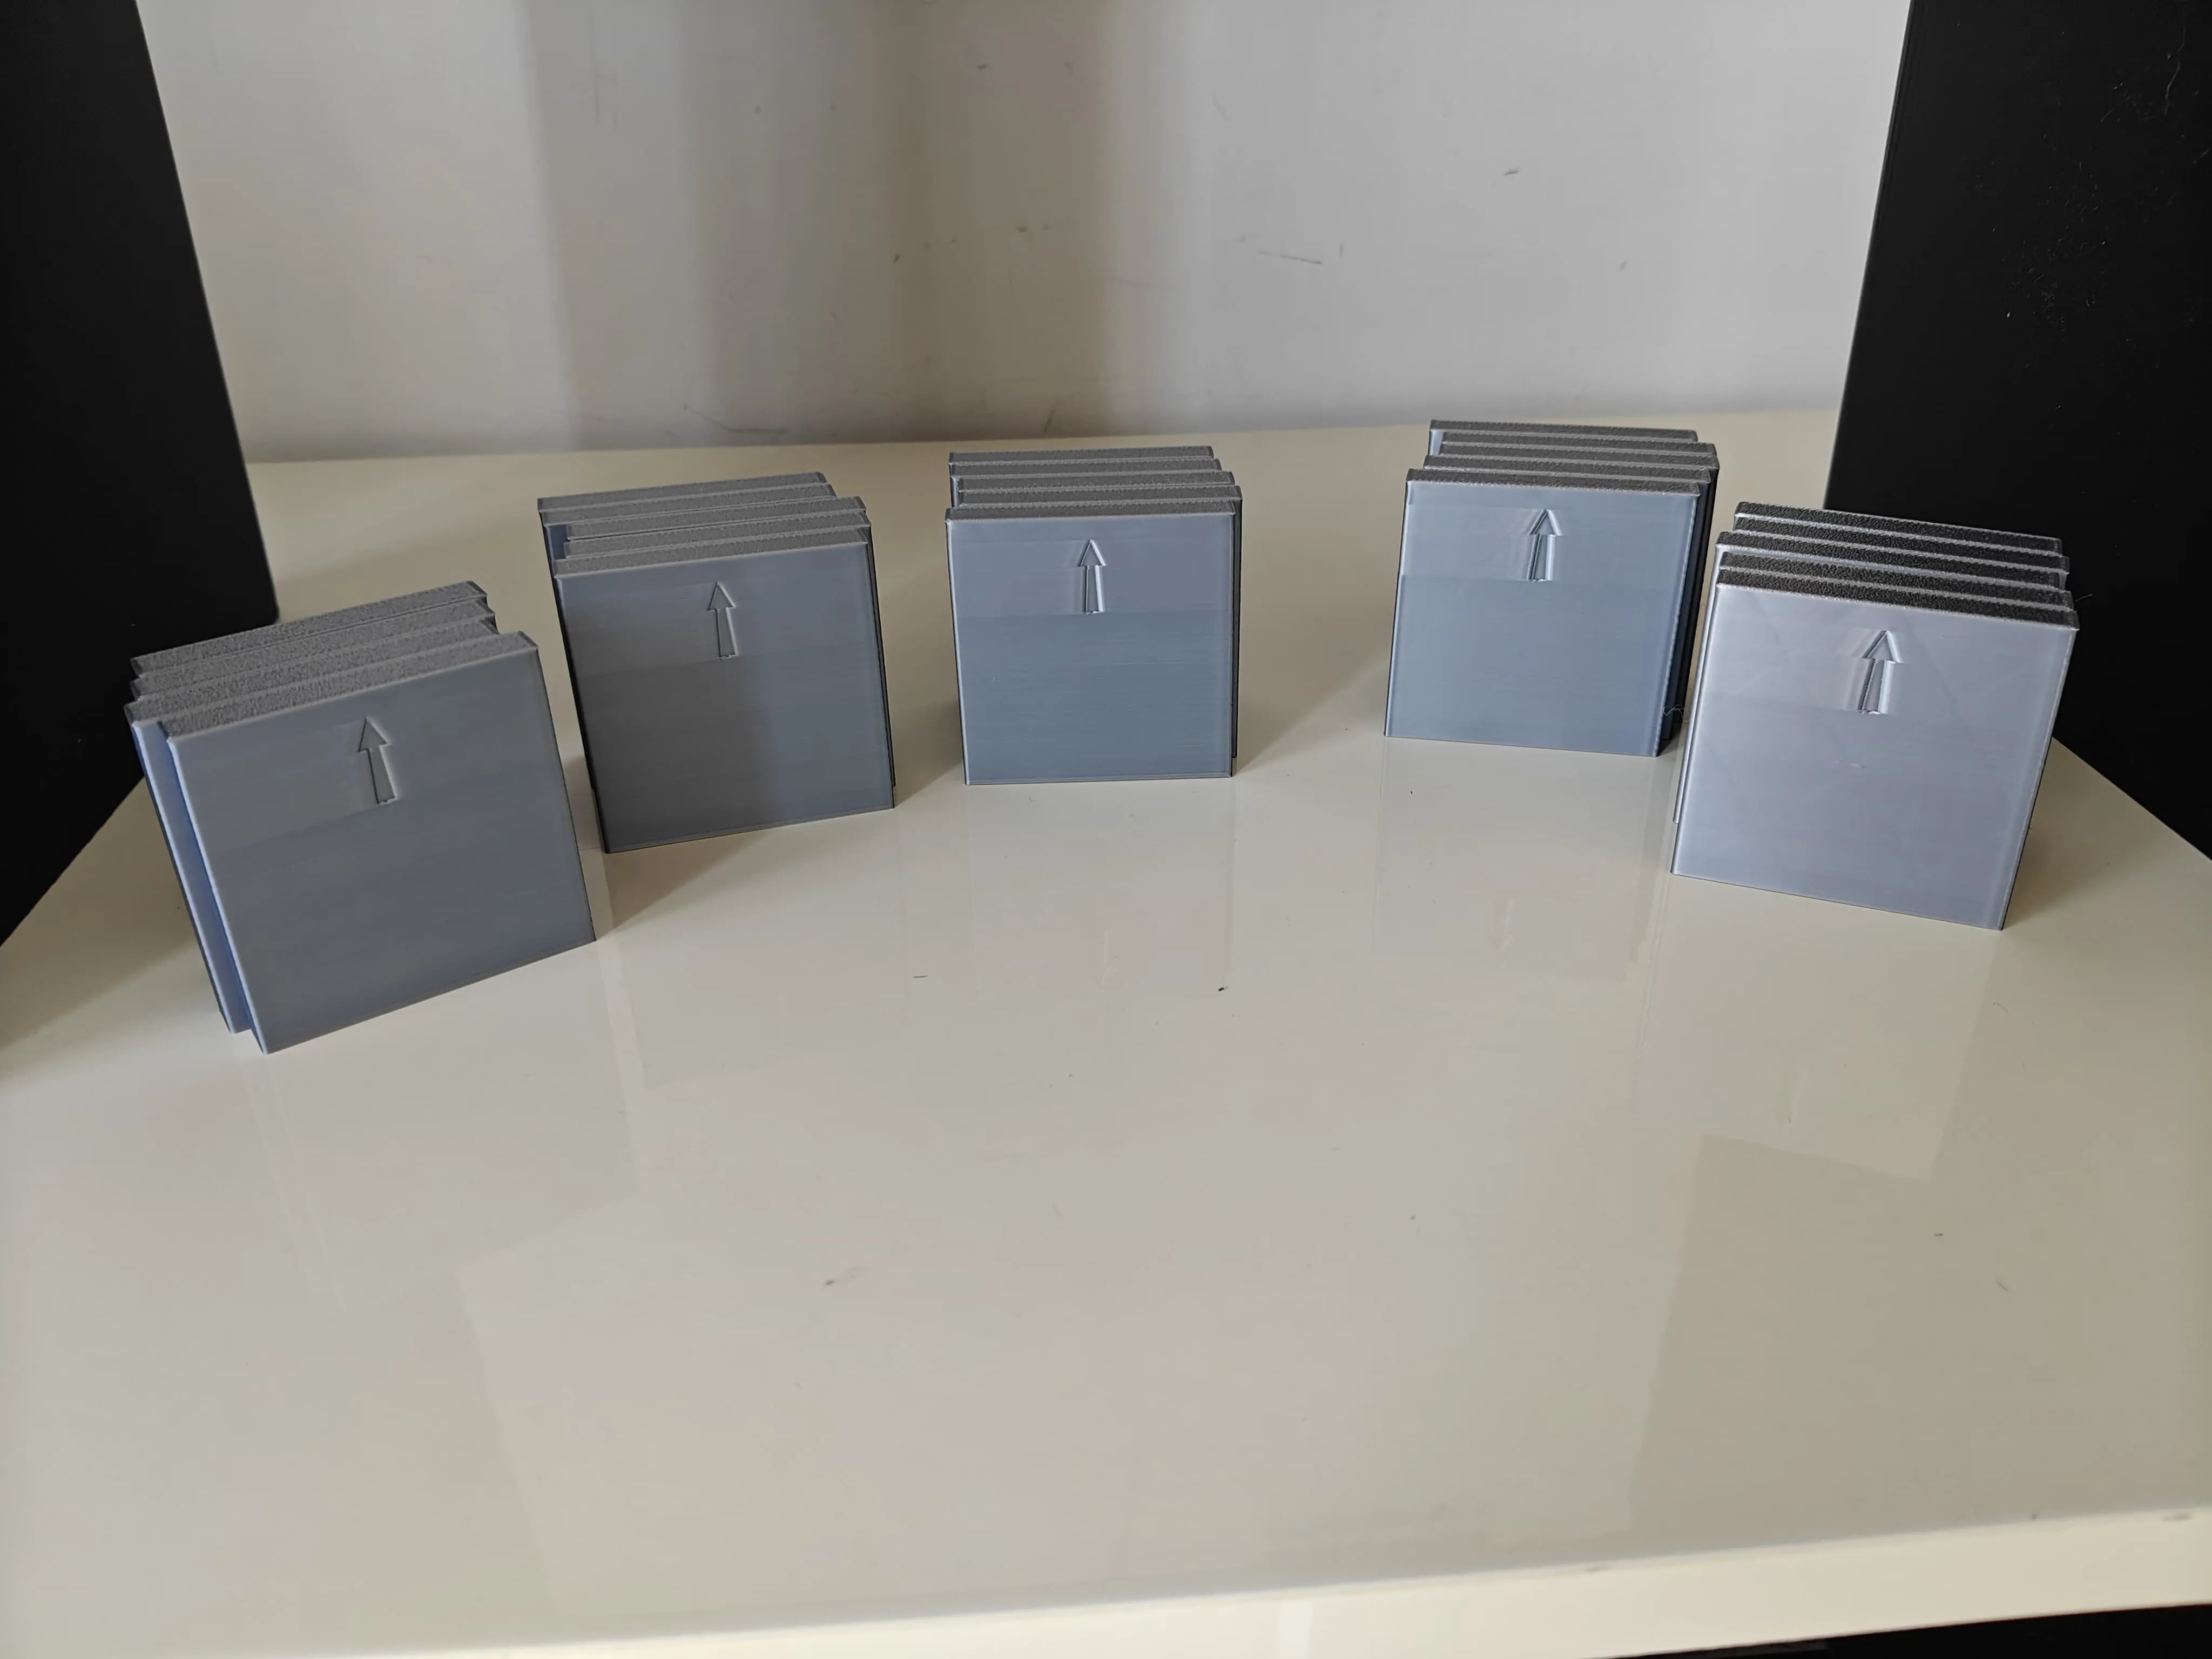
Printing Tips
- Do not modify the infill density: it has been designed to ensure an excellent balance between strength and print durability
- Do not remove the brim: it helps ensure adhesion of the taller, narrower pieces to the bed
- Do not increase the print speed: especially for the legs and feet, it is important to maintain a low speed to ensure precision and robustness
- Use PLA or similar materials: the project is optimized for PLA and PETG filament
- Recommended color: preferably matte colors to better mask the print layers (aesthetic, not technical, recommendation)
Assembly
Assembly is simple but requires patience The pieces are numbered to make everything more intuitive
Important Note on Connectors
The rectangular connectors have an arrow printed on top:
this arrow must point inward into the piece you are inserting it into,
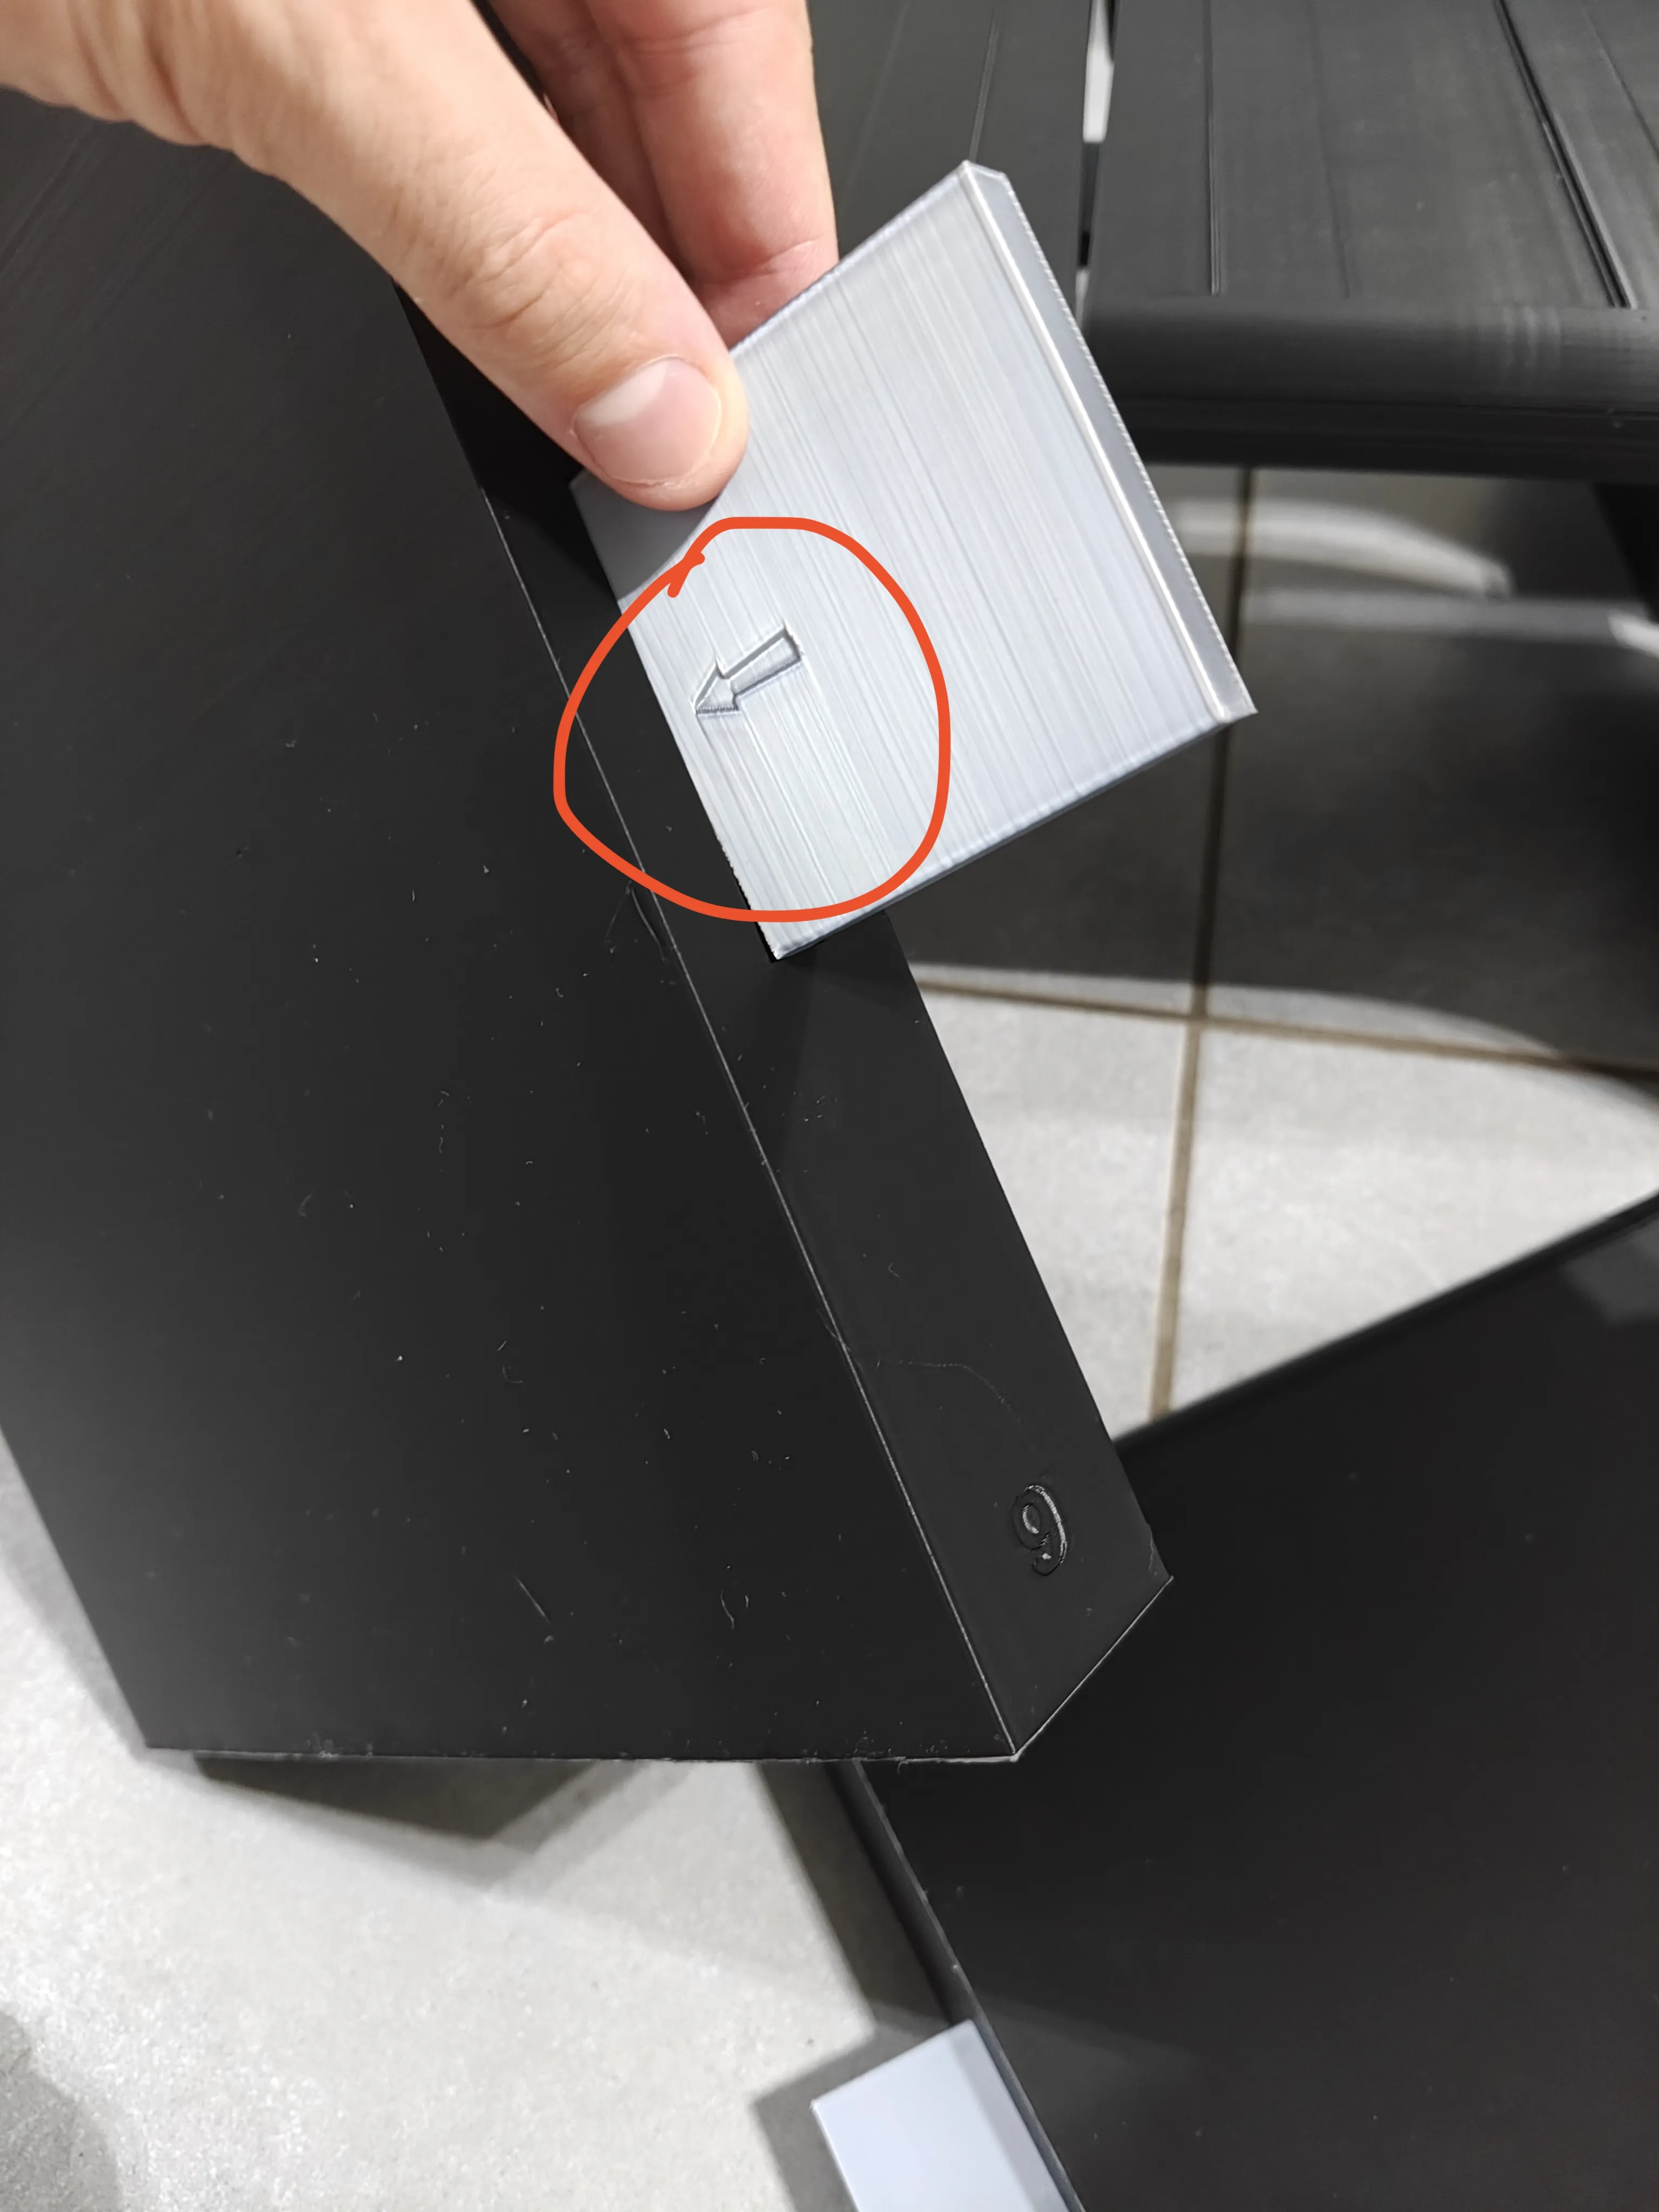
that is, it must enter the hole of the first piece
The protruding part of the connector will then be used to interlock the other part of the piece
Assembly order (from bottom to top):
- Complete legs (feet + intermediate part):
- Assemble piece 5 onto 9
- Assemble piece 6 onto 10
- Assemble piece 8 onto 12
Assemble piece 7 onto 11
Join using the connectors
Therefore, 9/10/11/12 are the ones that rest on the floor
- Assembly of the top:
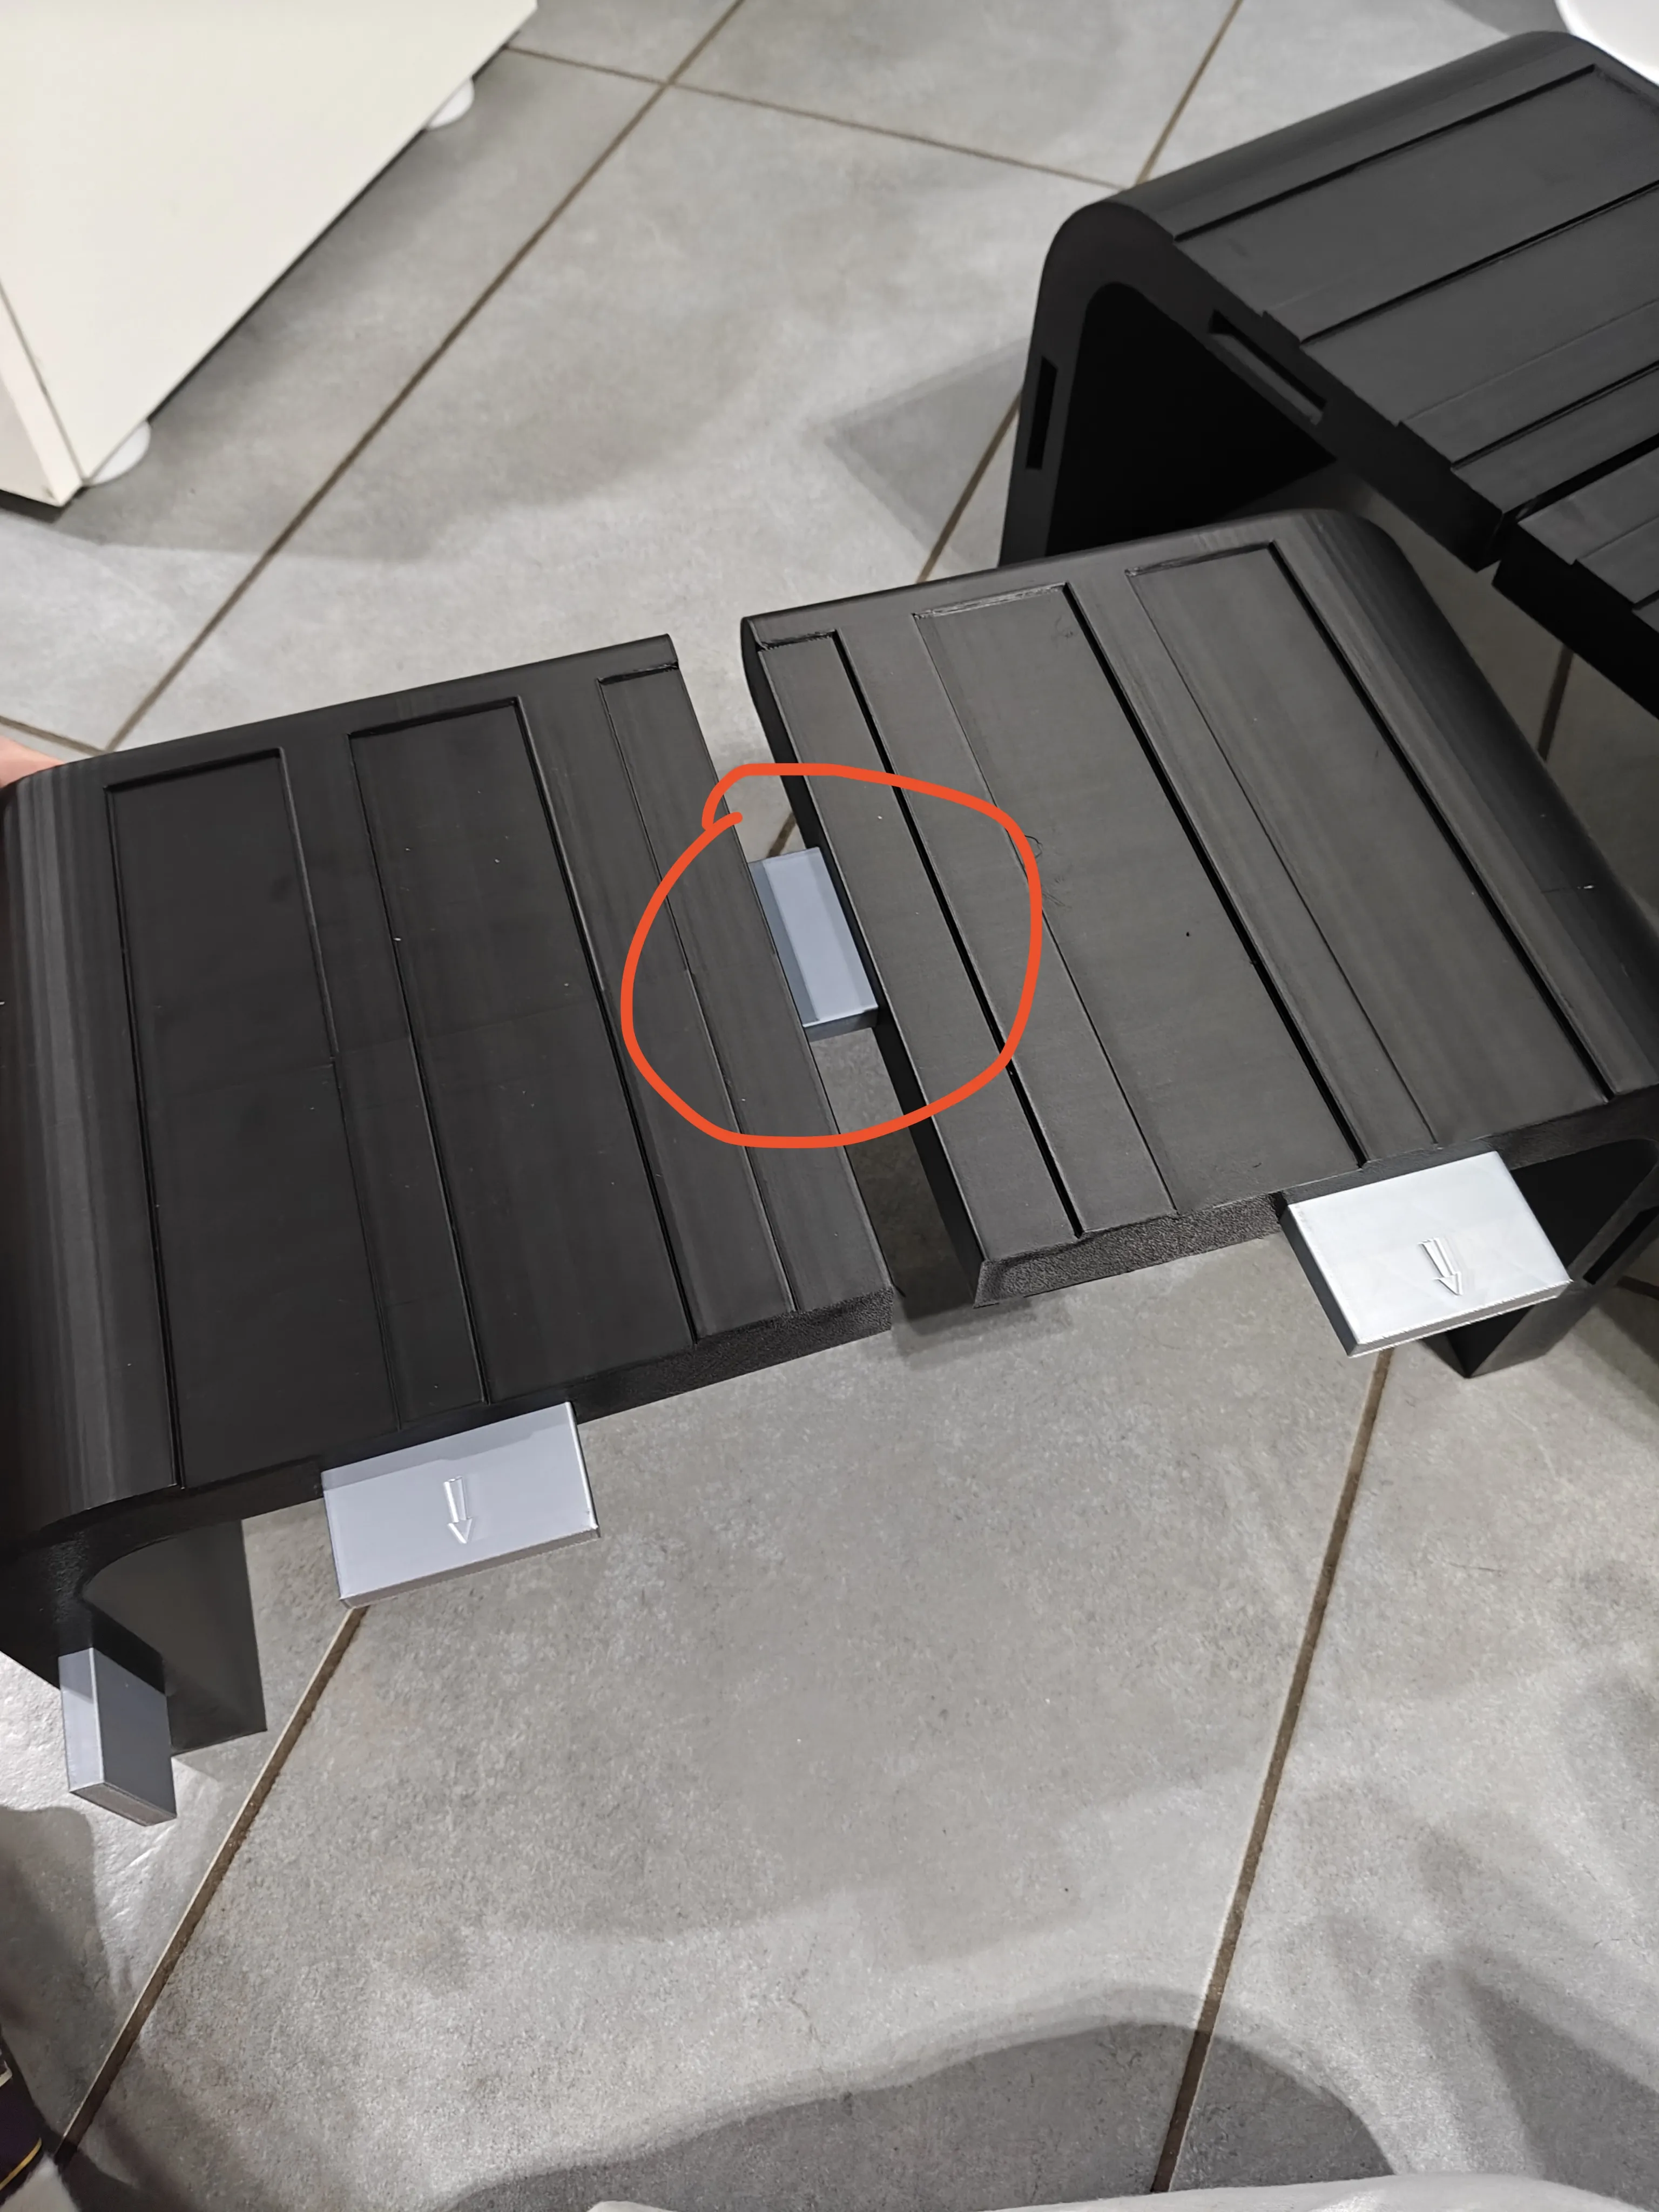
- Join 1 with 2 using a connector
Join 3 with 4 in the same way
- Final joining of the two halves of the table:
Carefully align the right and left sides of the table (already assembled) and interlock them from top to bottom It will take some patience, but the result will be very stable - You can also simply interlock the pieces, but for optimal hold, it is recommended to use PLA glue on each joint and connector
PLATE number 7 must be printed 5 times to complete all the decorative bars provided for the table
Robust and Stable
The table, with these settings, is very stable and perfectly supports the weight of a computer, everyday objects, and even the weight of your arms while working
If you desire even more resistance, you can increase the infill density, but keep in mind that this will increase the printing time and material consumption With the basic settings, however, it is already more than sufficient for everyday use
❓ FAQ – Frequently Asked Questions
Can I use only part of the table?
Yes! The table is completely modular:
- You can use only the top (pieces 1, 2, 3, 4) to create a low table
- You can assemble only two pieces per side for a narrower table
- You can remove the feet (pieces 9–12) to lower the height
Can I increase the table's robustness?
Yes, you can increase the infill density to make it even more resistant However:
- Printing time and material consumption will increase
- In the current configuration it is already very stable, even for PCs, arms, and everyday objects
Which materials are recommended?
- PLA+ or PETG are ideal
- Avoid ABS unless you have a controlled environment (it may warp)
Is glue or screws needed?
No! All assembly is done via press-fit joints with the printed rectangular connectors
I personally added glue to the connectors to increase robustness
How should the connectors be inserted?
Each connector has an engraved arrow:
- The arrow must enter the piece, so it must be pointed inward into the module
Can I change the colors?
Absolutely yes As an aesthetic recommendation, use matte colors, which better hide the print layers
⚠️ Common Mistakes to Avoid
Using high print speeds
Avoid this Legs and feet require reduced speeds for good quality and stability
Removing the Brim
The Brim is essential to prevent detachment and ensure secure adhesion Do not remove it
Using low infill density
Do not go below the recommended value Low density compromises the strength of the table
Inserting connectors the wrong way
Always check the engraved arrow: if it does not point inward into the piece, you risk:
- Deforming the joint
- Making the structure unstable
Share photos of your prints! I'd love to see the colors you've chosen :)
If anyone is interested in the vase in the photos, here's the link:
https://makerworld.com/it/models/1223106-vaso-drainflow-con-sottovaso#profileId-1240331
Documentation (1)
License

You shall not share, sub-license, sell, rent, host, transfer, or distribute in any way the digital or 3D printed versions of this object, nor any other derivative work of this object in its digital or physical format (including - but not limited to - remixes of this object, and hosting on other digital platforms). The objects may not be used without permission in any way whatsoever in which you charge money, or collect fees.


Comment & Rating (5)