
3D Printable RC Spitfire (Original)


Print Profile(1)


Description
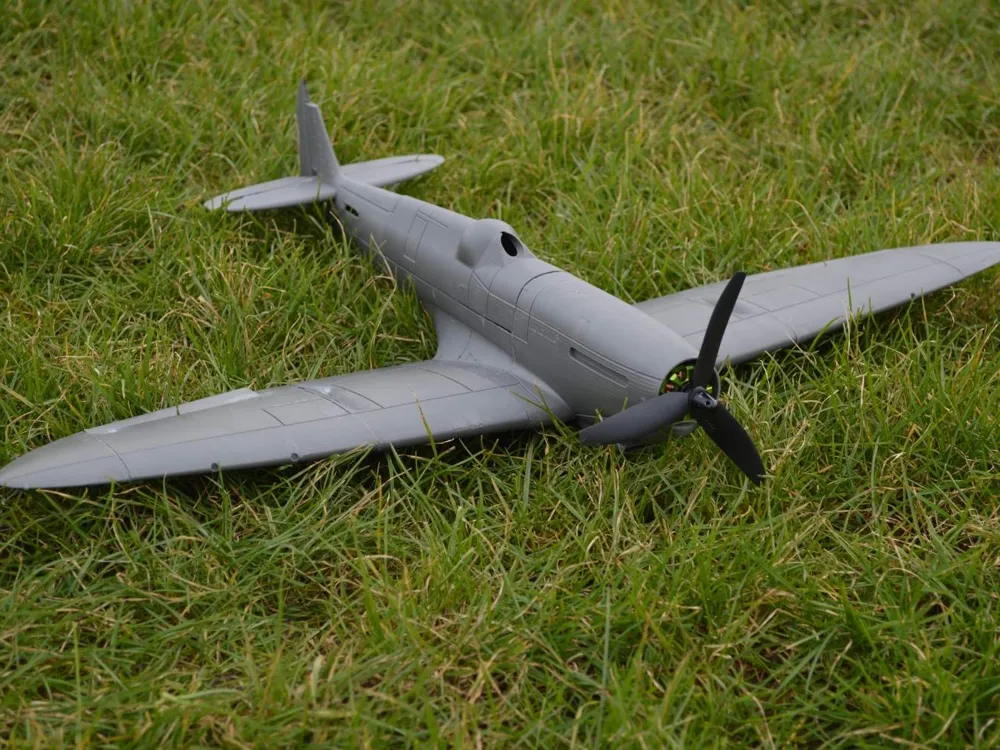
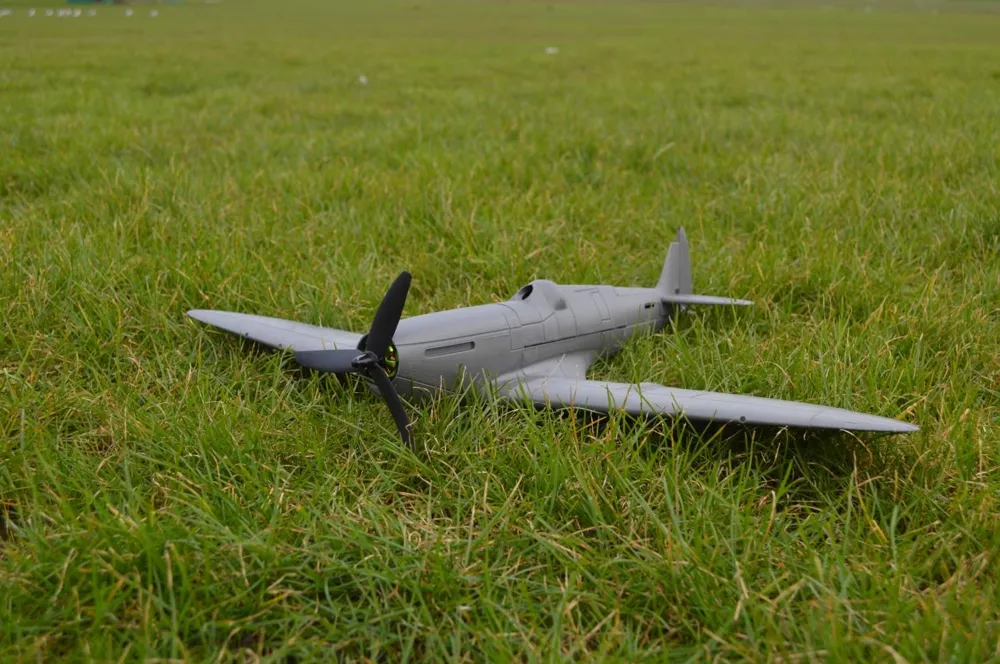
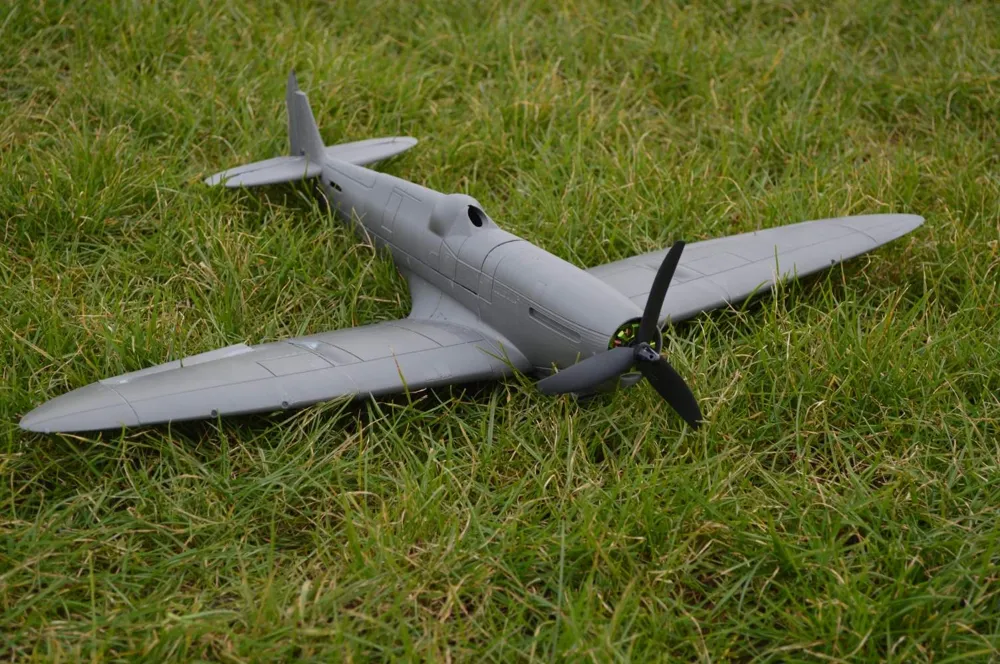
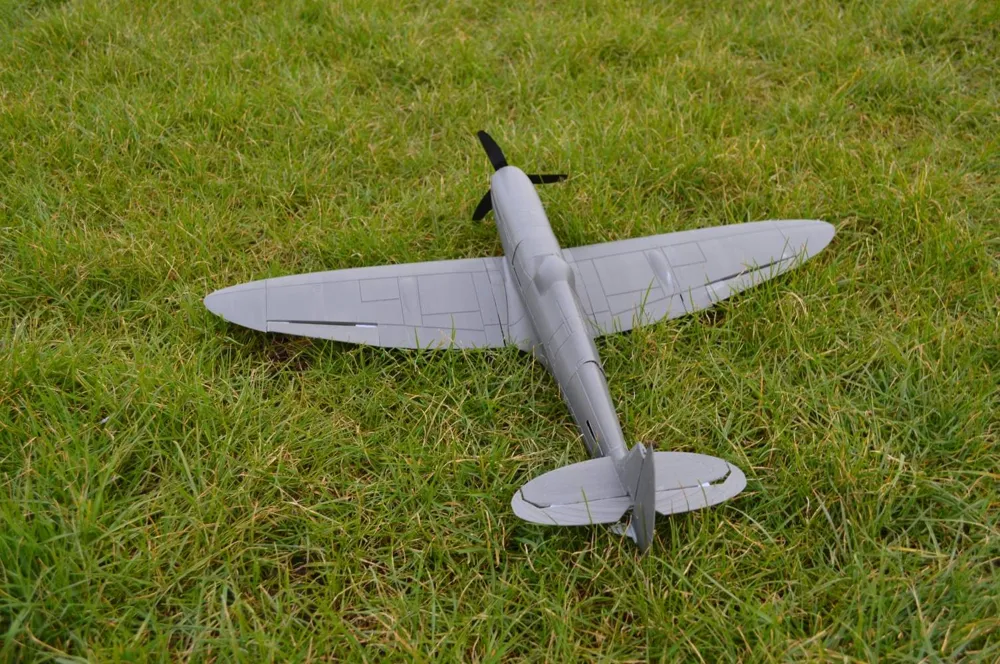
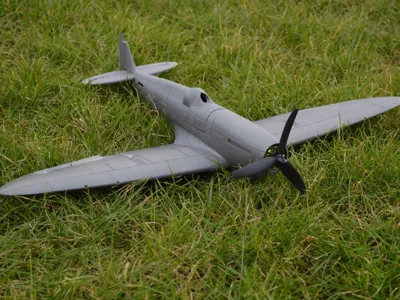
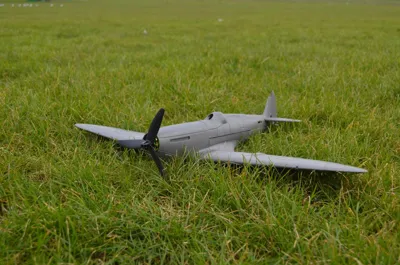
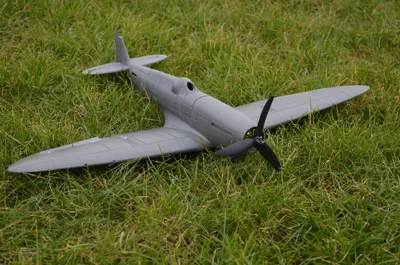
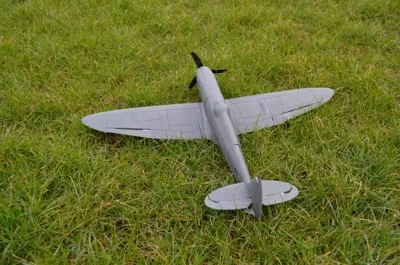
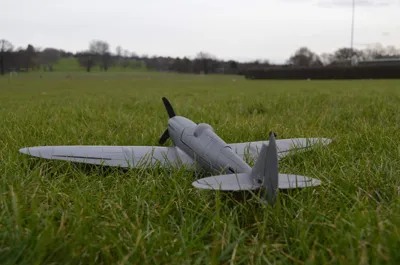
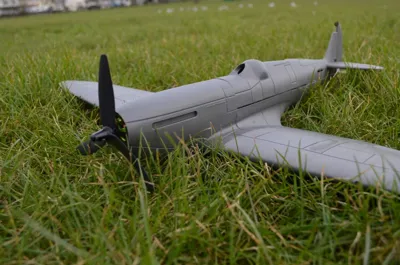
This is the first and original RC Spitfire models I released online. Over time, it’s been copied and remixed by many others and shared on various websites.
I recommend printing this mostly as a display model, since the plane is quite heavy and difficult to fly—only a handful of people have managed to get it airborne.
While I’d love to revisit and improve this project, I just don’t have the time right now… maybe one day!
Instructions:
- Print all Parts with 2 Shells and 10% Infill (The part was designed to be printed with 2 shells however if possible you can also try to print with 1 shell to reduce weight)
- All the parts have already been orientated correctly so that they print without any problems.
- Most of the parts are support free, but there are few parts that will require a little bit of support that will need to be removed after the model is printed.
- The parts will need to be joined together using a strong plastic glue. I have used the folloing (
- It is possible to use Carbon Fibre Rods in the wings to increase strength, although that removes the dihedral wing effect.
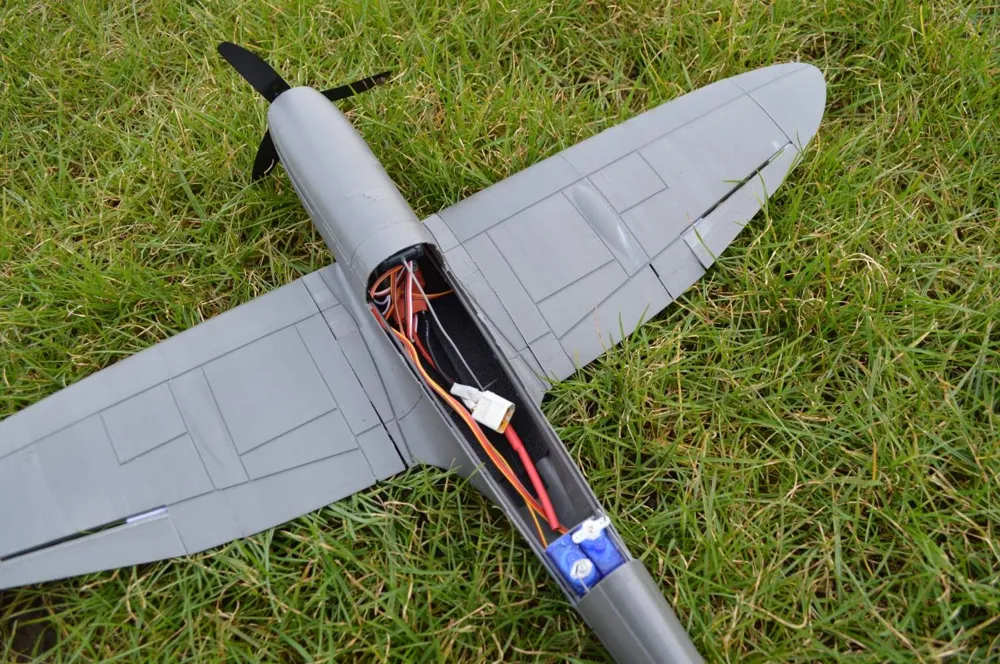
Note: When Building the plane I highly recommend that you attach the motor first to the nose before gluing the nose to the middle section or else it will be very hard to attach the motor later on.
Parts Required:
I am still in the process of testing different Electronics with this RC Model for the best result, so I will not be giving any specific list of electronics.
Required:
- 1x Brushless Motor
- 1x ESC
- 4x 9g Servos or 5g Servos – Have not tested the 5g servos but they will fit much better whereas with some 9g servos you need to remove the plastic screw holders so that they fit.
- 4x Servo Horns
- 4x Servo Push Rods – I am just using 0.8mm Piano Wire
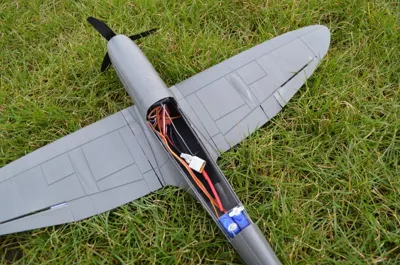
- Battery – If you’re using a big battery you will need to manually cut the centre plastic from the middle section so that it fits.
- Minimum 4CH Transmitter and Receiver
- CA Glue and CA Hinges.
Optional:
- Flite Controller – For Auto levelling and Stabilisation
- Carbon Fibre Rods
- FPV Camera and Transmitter – The hole in the top canopy is to for FPV cameras
- FPV Receiver and Monitor
License



Comment & Rating (33)